 3
darkFlash DY460 Review
Thermal Stress Test »Assembly

Installing the full ATX, BTF equipped board holds no surprises at all, and you can clearly access all the connectors. Unlike the DY470, which is missing the cutouts for microATX variants with these type of connectors, you do get those with the DY460 as darkFlash was mindful to update the motherboard tray to go with the times.
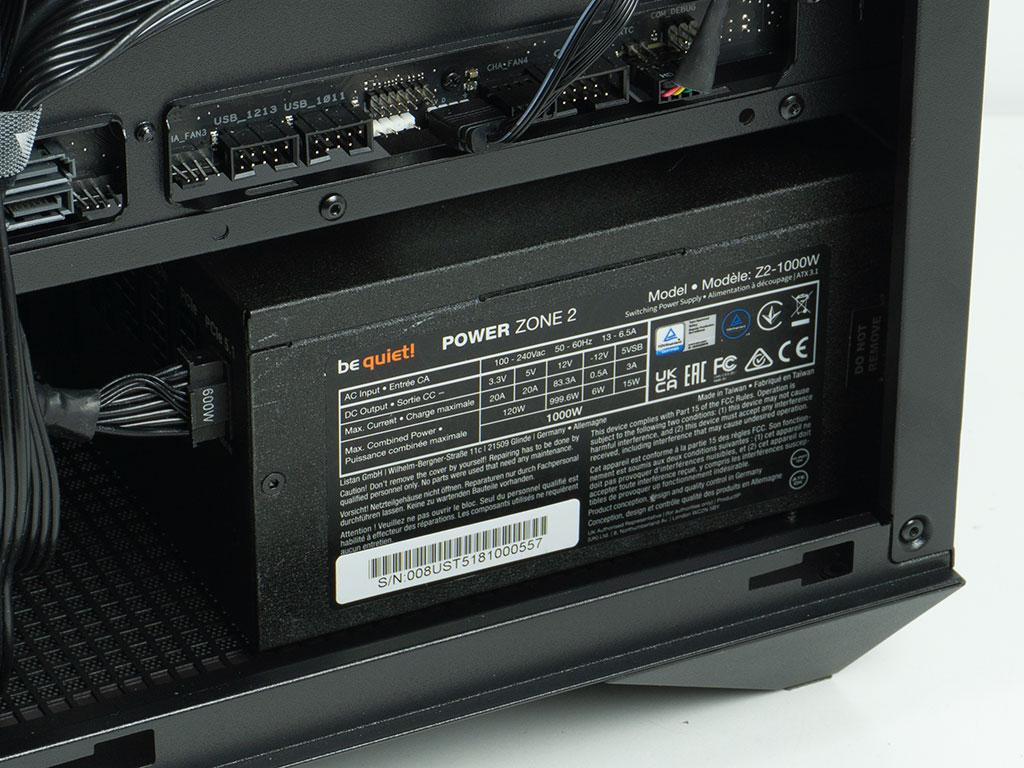
Adding a PSU is just done the ordinary way by sliding it into the bay and securing it with the provided screws.
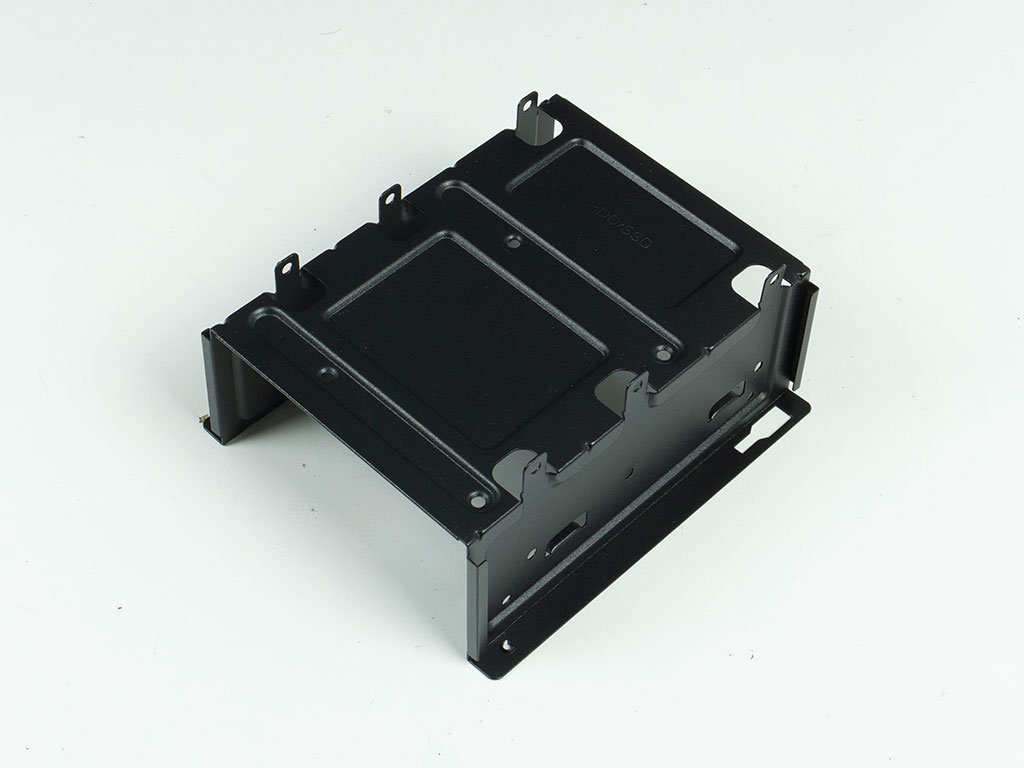
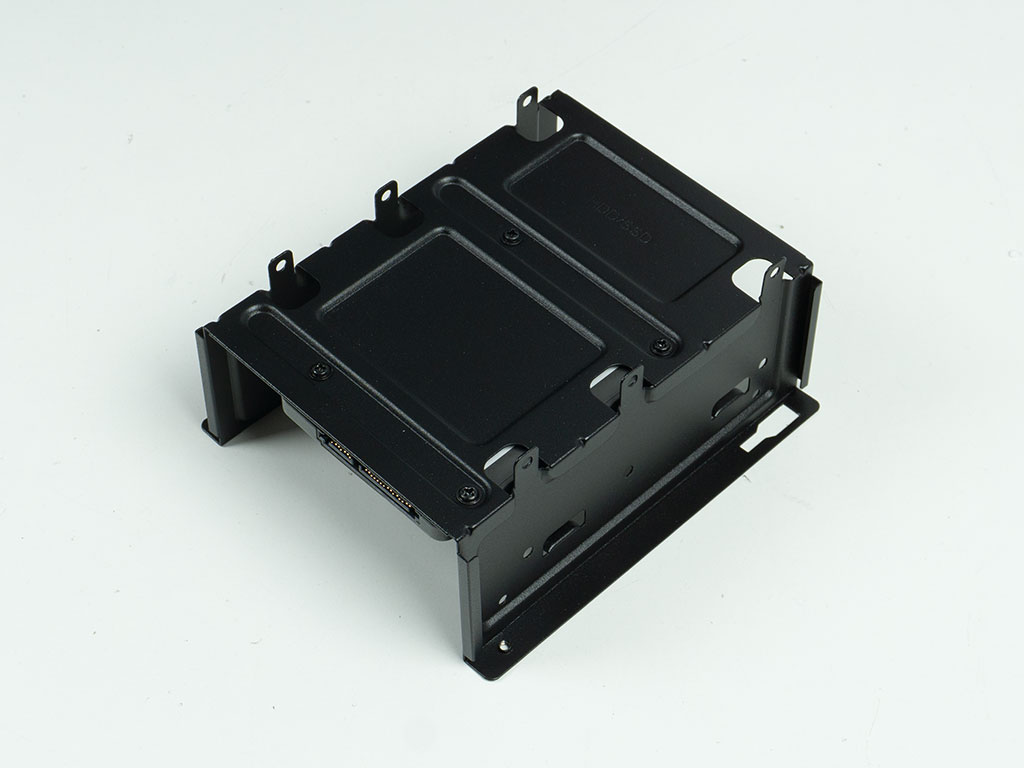
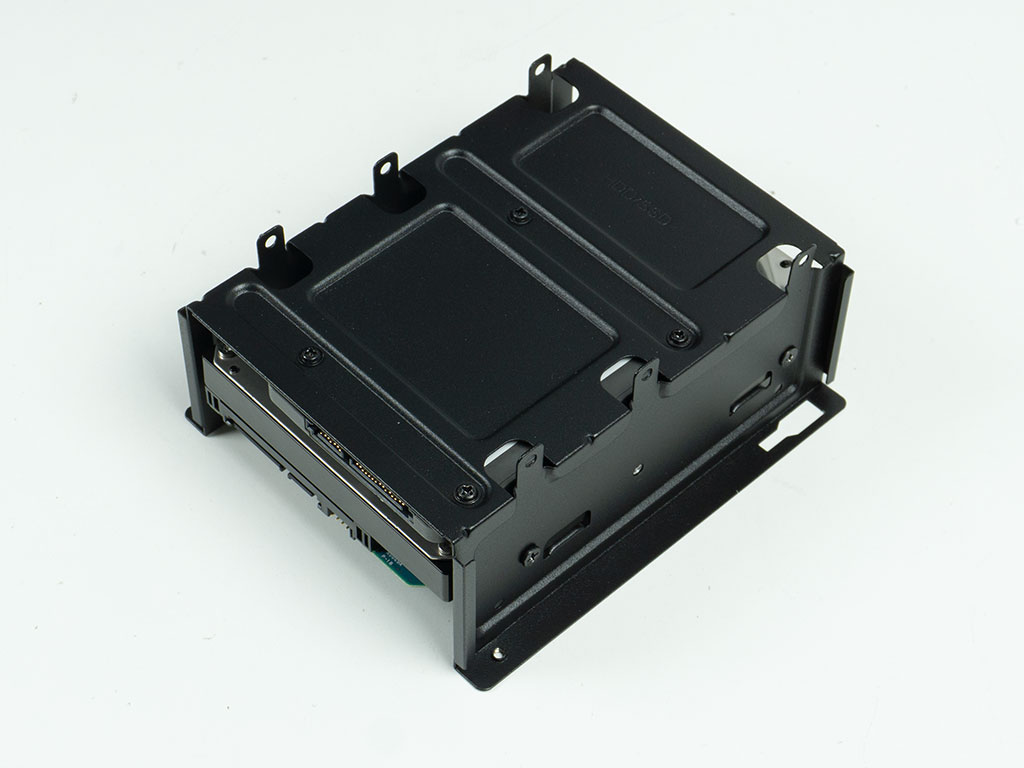
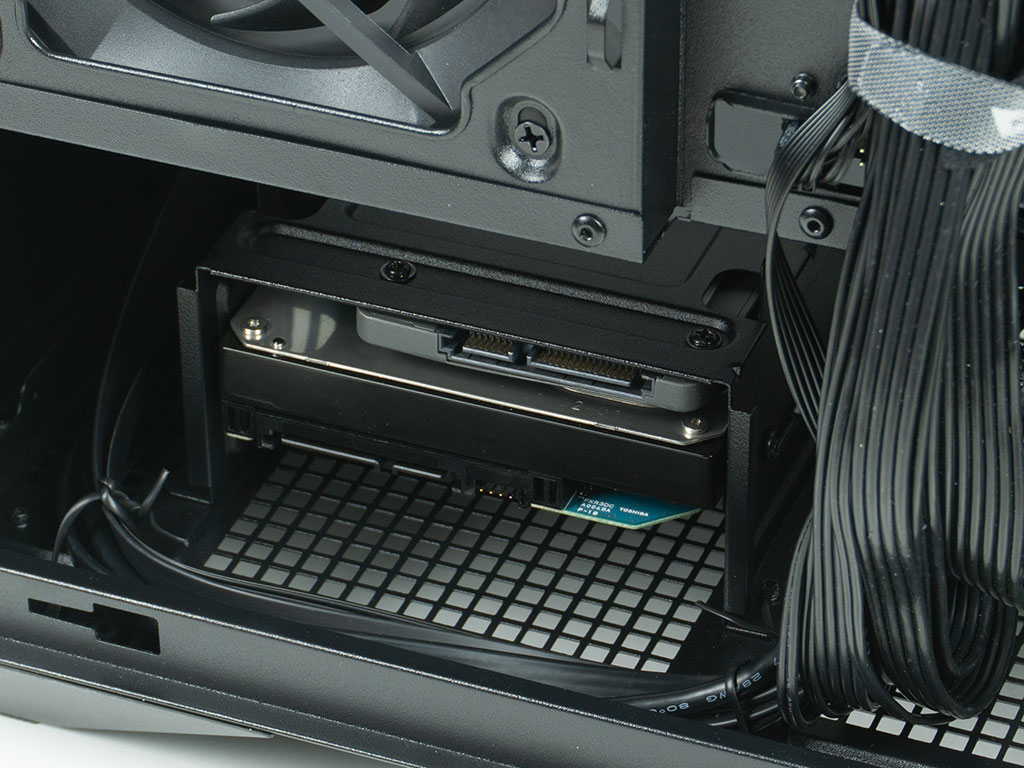
As the metal storage cage has specific spots depending on the side of the drive you plan to install, those opting to include the 2.5" drive should install it before adding a 3.5" unit on the top, as the bigger drive would block the mounting holes of the smaller variant. Regardless of type you will be using screws to secure the drives to the tray, then having to install it back into the tipped over case, to secure the cage from the underside of the chassis.
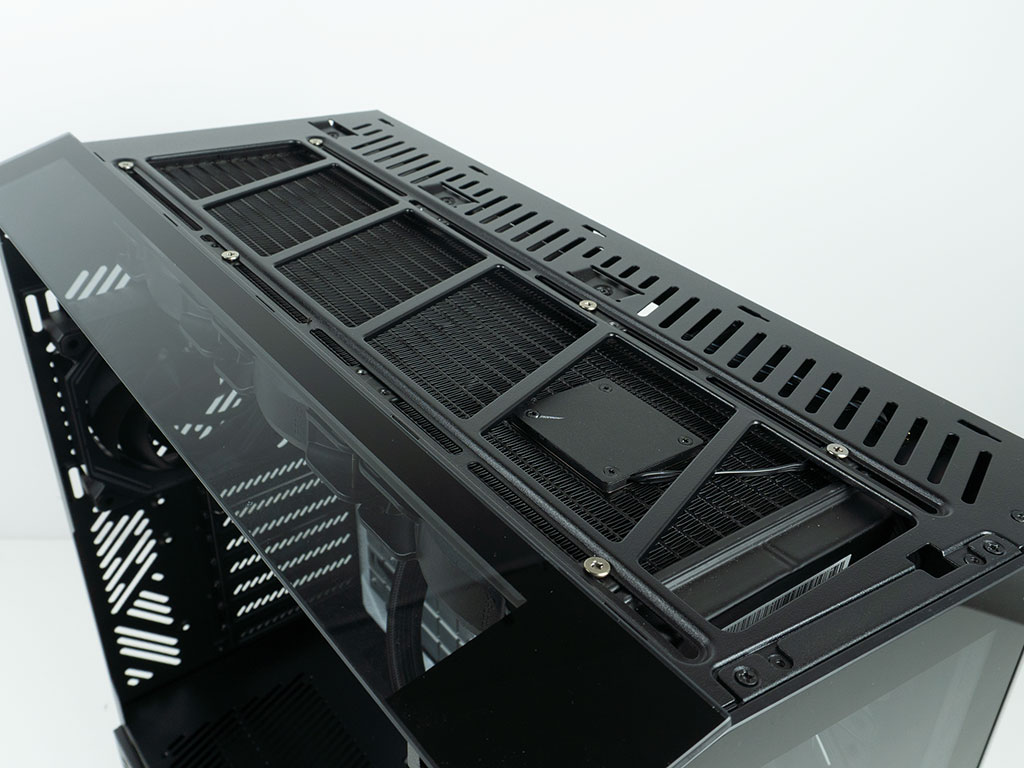
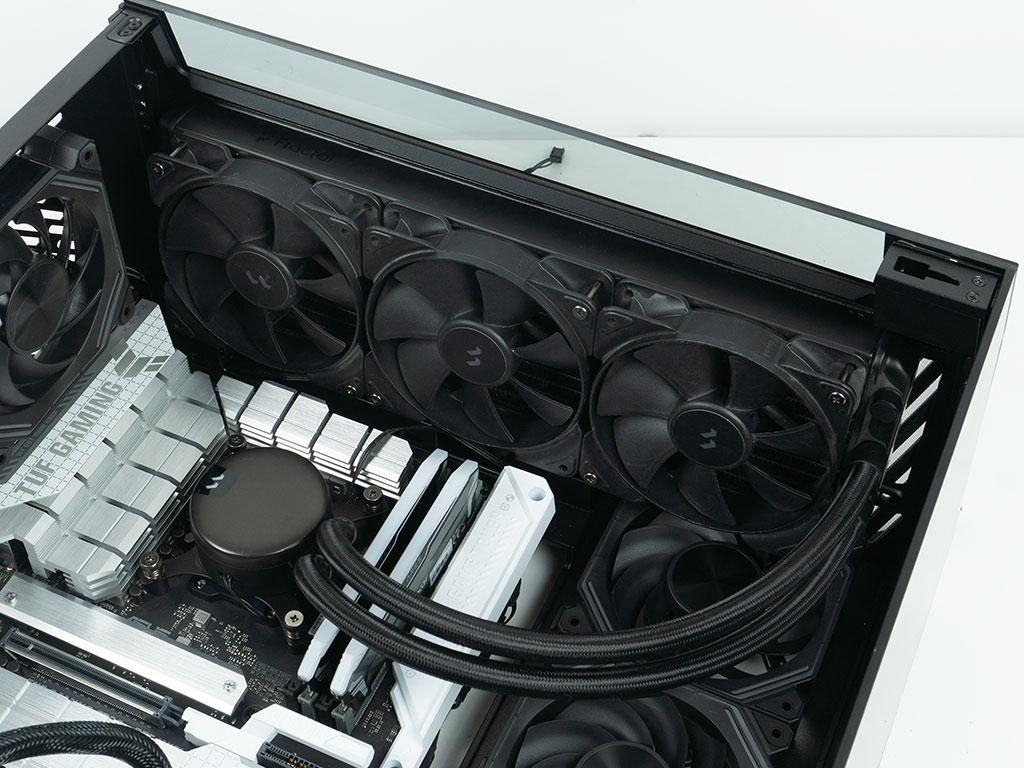
The slightly tilted top panel can easily hold that 360 mm AIO with plenty of room to spare so both the rear fan easily fit and nothing gets close to any motherboard components either. That said, you will want to connect everything to the top edge to the motherboard before placing the liquid cooler in the ceiling of the case, as there is no useful access to that area of the board with it in place.
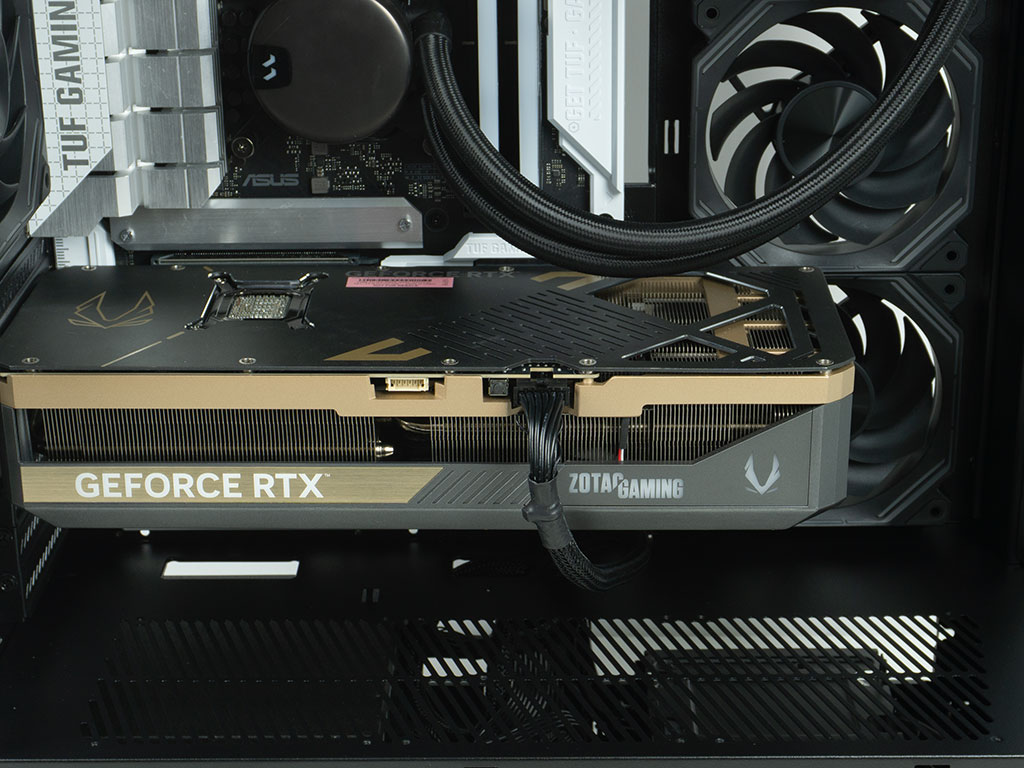
Adding the GPU is straightforward and there is ample space to install even the bigger units. There is also plenty of clearance to the side fans, so you could try your luck and see if an AIO could fit, but darkFlash never mentions such a possibility in the official specification table. Unfortunately, unlike the DY470, you will no longer get any built-in GPU support in the DY460.
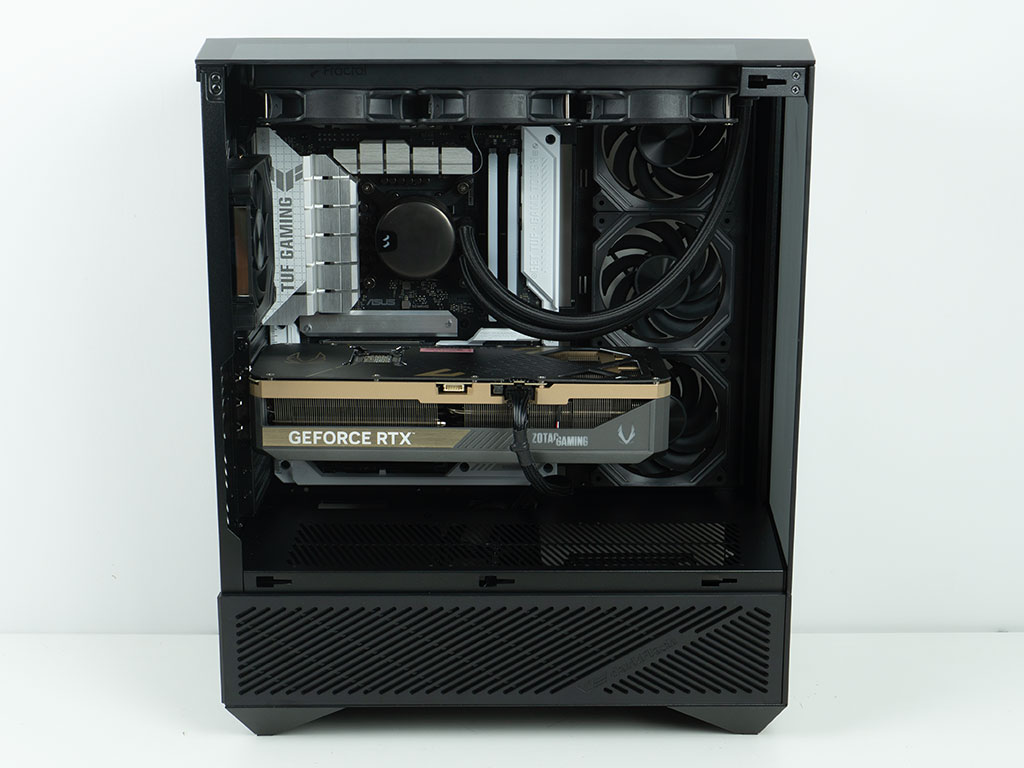
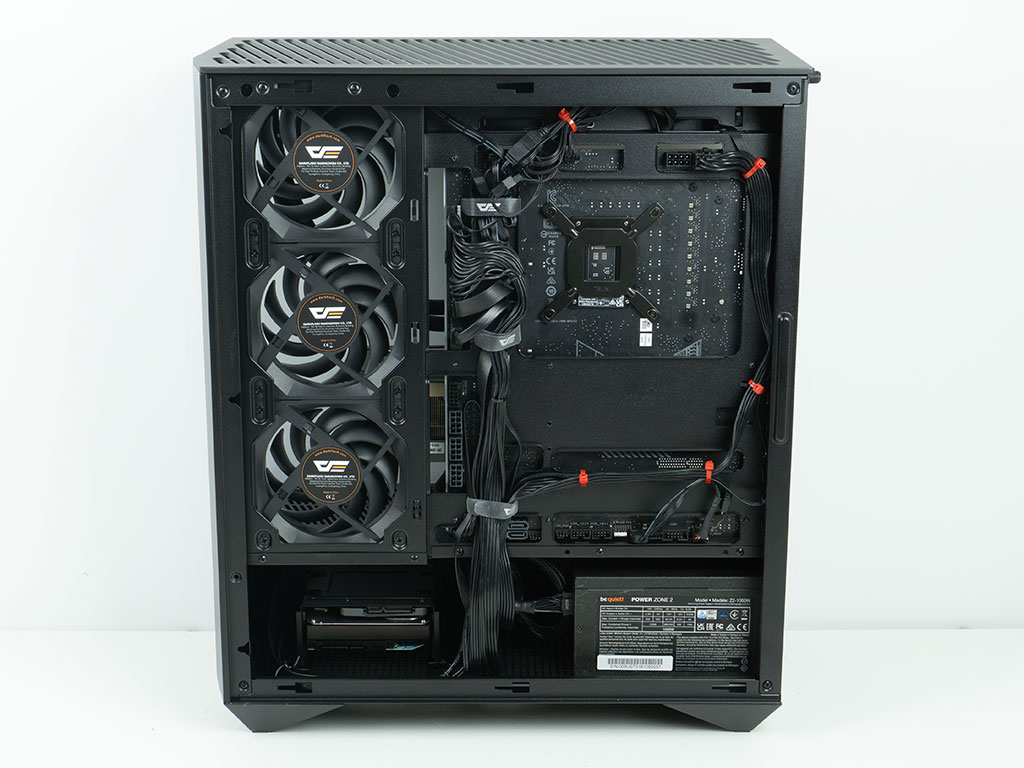
With everything installed, the darkFlash DY460 looks super clean when looked at from the side. This is naturally mostly due to the BTF equipped board, but even with a classic one, you should be able to minimize most cable runs as much as is possible for an enclosure of this type. On the back, the cable management is very good thanks to the long Velcro strips being able to hold all the wiring in that area of the chassis. We did use a few of our signature red zip ties as well, but were easily able to spread things out. The fact that there are only two wires in total for the four fans certainly helps a lot.
Finished Looks
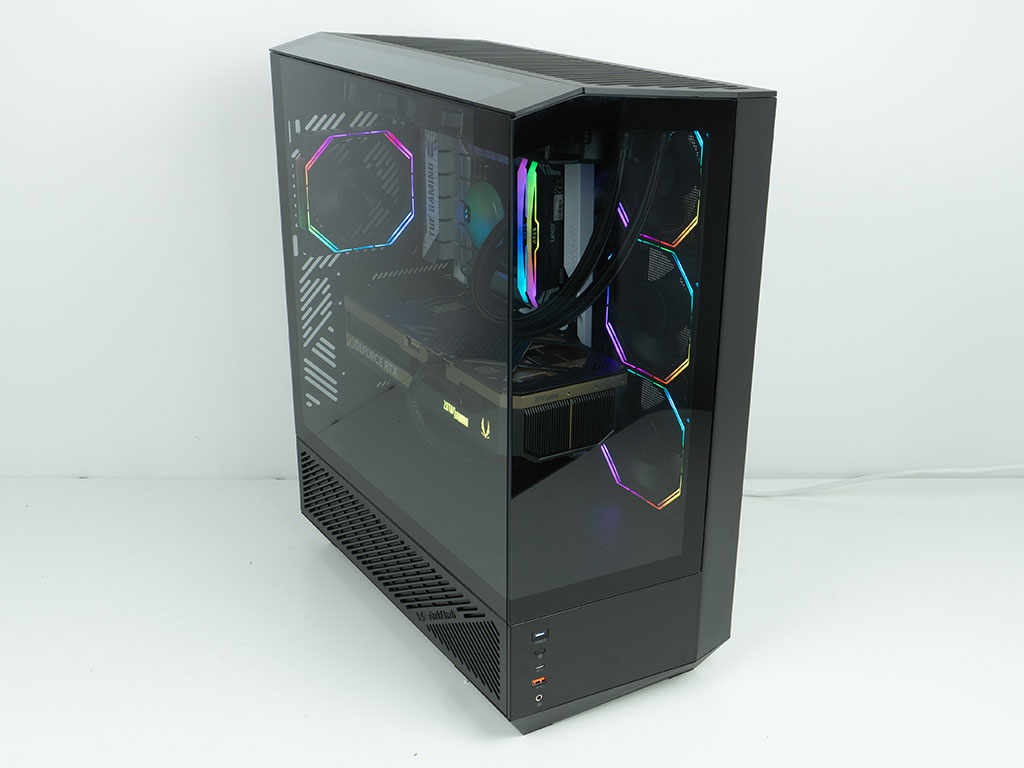
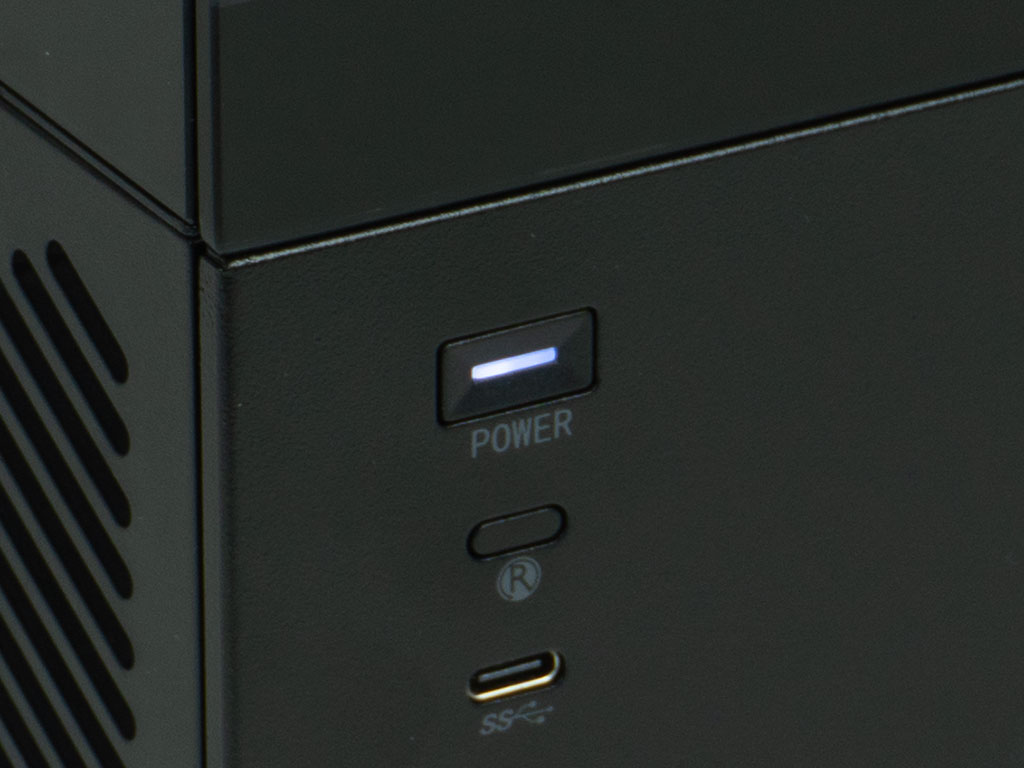
With everything assembled, turning the darkFlash DY460 on, a clean white power LED lights up at the center of the power button in the front, and the ARGB elements inside the fan frames look great as well.
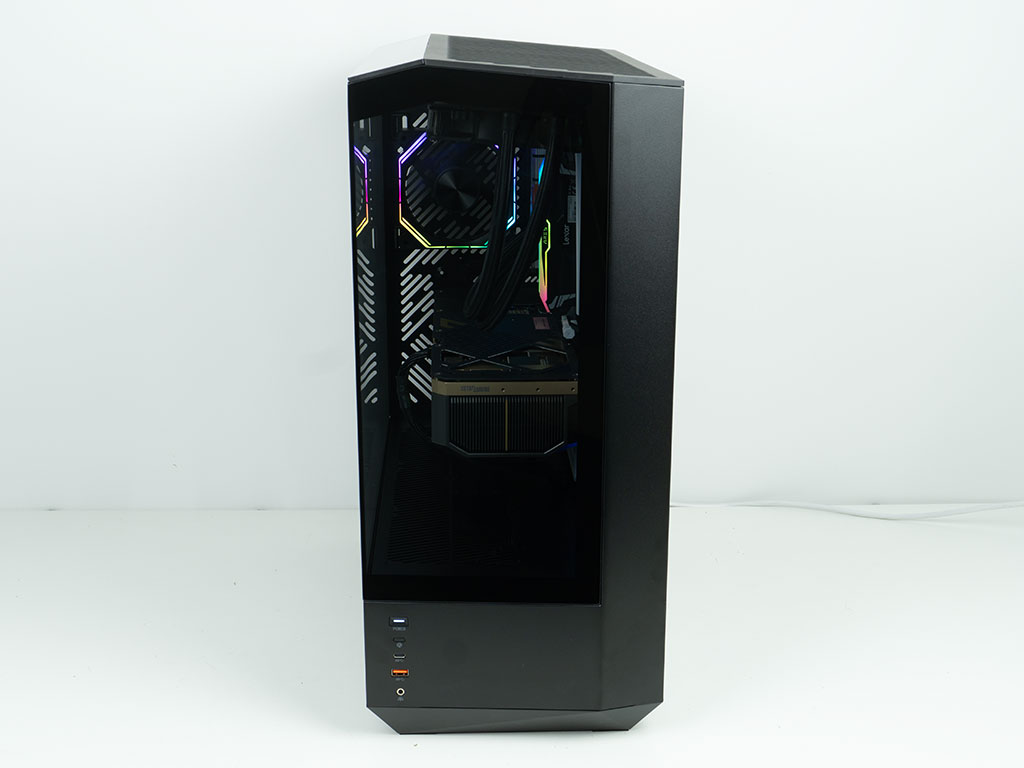
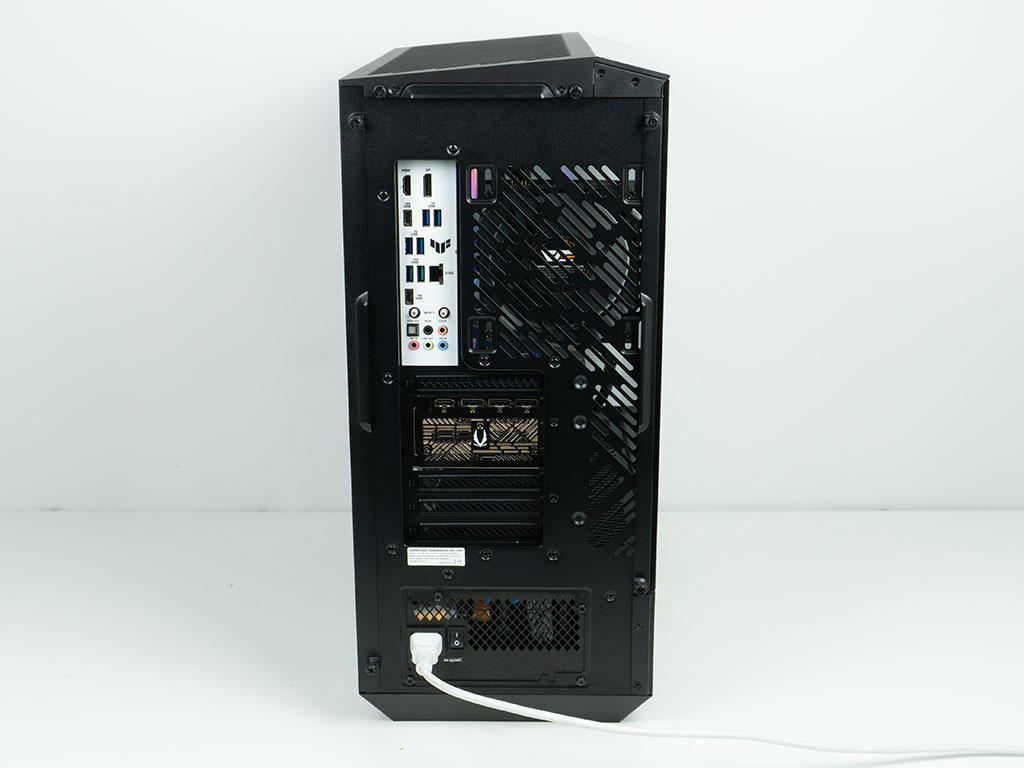
When viewed through the front, you can clearly see all the hardware within, but darkFlash has placed the bend and glass portion very well, so that you will not see a lot of cable mess, even when using classic ATX boards. In the rear, everything is where you would expect to see it for a modern, mid-tower chassis. Hooks for external cable management would have been a nice touch, as they are becoming more common these days.
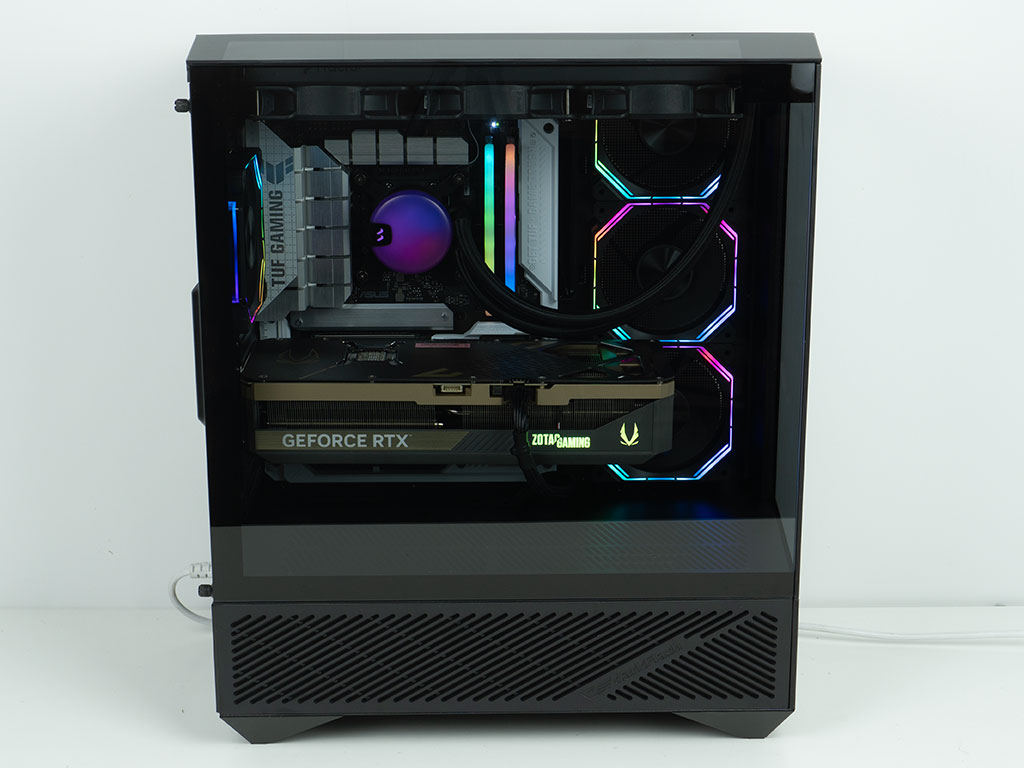
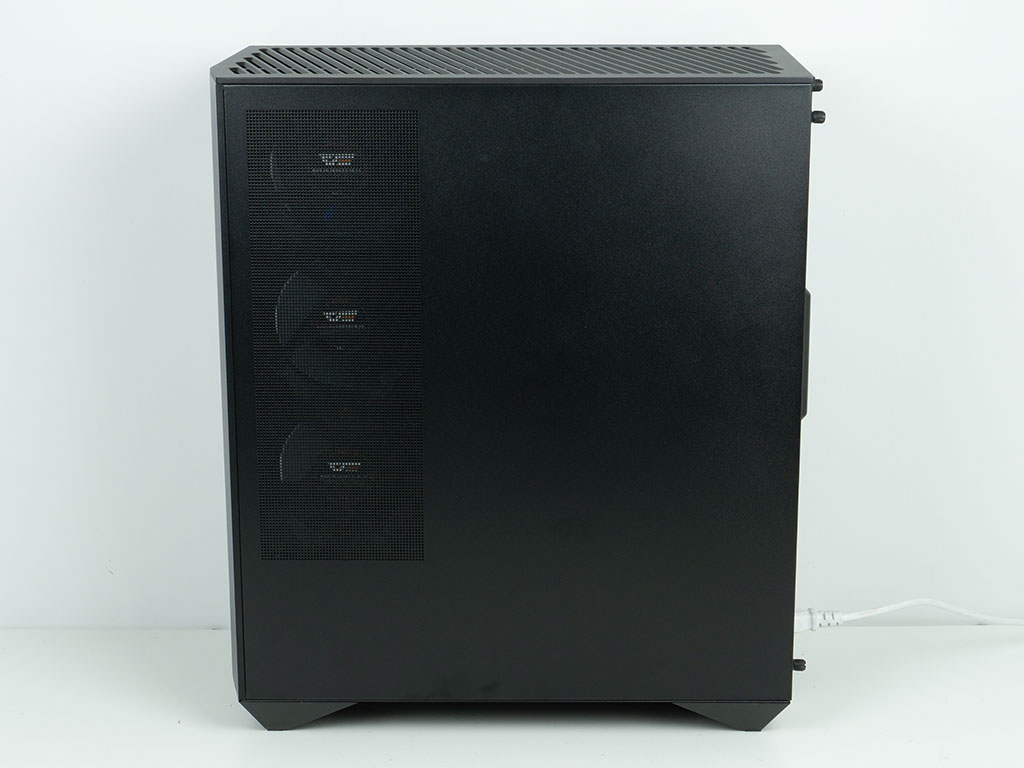
Thanks to the clear glass panel on the main side, you will be able to feast your eyes on your hardware. At the top, the slight angle of the AIO will also mean that you get a better look at such a cooling unit, so those going for fancier variants with thicker radiators or even LCD screens and ARGB elements will get to enjoy that as well. Lastly, taking a peek at the opposing side, you can clearly see the three intake fans though the vented area of the chassis. As these fans do not have ARGB elements on the rear surface of the frame, things are nice and understated from this angle.
Nov 20th, 2026 14:05 PST
change timezone
Latest GPU Drivers
New Forum Posts
- How to prevent OLED burn damage due to PC freezes or power outtages? (48)
- Honestly, do you care about GTA VI? (208)
- When you could finally run Crysis maxed out? (63)
- WarpCoreBench scores! (80)
- GTA VI (20)
- Anthrophics IPO (25)
- GeekMagic Ultra Smart WiFi Weather Station (8)
- Very unusual two gaming-pc scenarios. (35)
- Can i play GTA 6 now? (Joke) (14)
- Zen 3 IF/IMC degradation (239)
Popular Reviews
- AMD Zen 6 Technical Deep Dive
- Ugreen NASync DXP4800 GT Review
- Microsoft Surface Laptop Ultra Review - The Next-gen Arm Laptop
- Corsair RM1200e (Second Generation) Review
- Acemagic Retro X3 Review
- Upcoming Hardware Launches 2027 (Updated Nov 2026)
- Pulsar Office Tour & First Look at P1 Dual-Sensor Mouse
- Biwin Black Opal NV7400 2 TB Review
- AMD Ryzen 7 9800X3D Memory Performance Scaling
- AMD Ryzen 7 9800X3D Review - The Best Gaming Processor
TPU on YouTube
Controversial News Posts
- NVIDIA Co-Founder and CEO Jensen Huang Officially Resigns (490)
- Report: Jensen Huang Eyes NVIDIA Comeback (255)
- Open Letter Asking NVIDIA to Reinstate Jensen Huang Passes 115,000 Signatures (184)
- OpenAI CEO Argues Home PCs Waste the World's Limited DRAM Supply (152)
- NVIDIA Launches Investigation Into Jensen Huang's Relationship With Suspected Chinese Spy (136)
- Intel "Raptor Lake Next" 16-Core and 20-Core CPUs Surface (130)
- Legendary Game Studio BioWare Shuts Down Following EA Layoffs (104)
- Dell CEO Says the Memory Shortage Will Get Worse in 2027 (95)