 5
5
DeepCool CG560 Review
Thermal Stress Test »Review System
| System Parts for Case Reviews | |
|---|---|
| Processor: | ATX: Intel Core i5-11600K mATX/ITX: Intel Core i5-10600K Provided by: Intel |
| Motherboards: | ATX: Gigabyte Z590 AORUS PRO AX ITX: Gigabyte Z590I Vision D Provided by: Gigabyte mATX: ASRock B560M Steel Legend Provided by: ASRock |
| Graphics Card: | Palit GeForce RTX 2080 Gaming Pro OC Provided by: Palit ZOTAC GAMING GeForce RTX 3060 Ti Twin Edge OC Provided by: Zotac |
| Memory: | 16 GB XPG SPECTRIX D50 3200 MHz 16 GB XPG SPECTRIX D60G DDR4 3000 MHz 16 GB XPG GAMMIX D20 DDR4 3200 MHz Provided by: ADATA |
| HDD: | Toshiba MG08ADA400E 7200 RPM SATA III Provided by: Toshiba |
| SSD: | ATX:XPG SPECTRIX S20G 500 GB mATX: XPG GAMMIX S50 Lite 1 TB ITX: ADATA Falcon 512 GB ADATA Ultimate SU800 512 GB ADATA Ultimate SU720 500 GB Provided by: ADATA |
| Power Supply: | ATX: Fractal Design ION+ 650W 80 Plus Gold SFX: Fractal Design ION SFX-L 650W 80 Plus Gold Provided by: Fractal Design |
| Cooling: | be quiet! Pure Loop 120/240/280/360 Provided by: be quiet! |
Assembly

With the DeepCool CG560, the very first thing you want to do is install your 2.5" hard drives as these will be blocked by the motherboard. Four classic screws hold them in place. Trays or at least holes with rubber rings on which to hang the drives to avoid such a limitation would have been great.


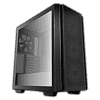
Installing the motherboard is pretty straightforward—use the two aligning spacers to keep it in place perfectly and screw the board into place. The 120 mm tower cooler easily fits with room to access the top row of headers on the motherboard. DeepCool advertises and does actually allow an E-ATX motherboard to be installed inside the CG560. However, doing so blocks the two main cable-routing grommets, eliminating any chances to keep things nice and tidy. Other cases may have the space for doing the same, but instead opt for the ability to install and show off two 2.5" drives. Lastly, long GPUs should fit nicely within the DeepCool CG560 even if you opt for a radiator setup in the front.


To add a 3.5" drive, first unscrew and pull out the metal cage. As you can see, there are mounting holes for an SSD on top of the cage. A fun fact is that the cage is high enough to hold both a 3.5" and a 2.5" drive inside, which would make for a total of three drives here, but the lip in the front of the cage would block the data and power connectors. The cage uses classic screws to hold a 3.5" drive in place. Once filled, put it back into one of two positions and screw it down from underneath the case.

Adding a PSU is straightforward, as you simply slide it underneath the shroud and screw it down with classic case screws. DeepCool mentions a maximum PSU length of 160 mm, which seems very conservative. Even with the HDD placed towards the rear of the case, the 150 mm long Fractal Ion 650 W unit leaves around 40 mm of room in addition to the space needed owing to its modular nature.


With everything installed for the system to run, the interior makes a nice and clean impression. On the back, we invested quite a bit of time and lots of zip ties to keep things organized. Due to each ARGB fan coming with two cables, there is more to deal with. However, the 3-pin leads of the out-of-the-box fans are very short, roughly around 20 cm, so the 5-way splitter also acts as a sorely needed extension, which is unfortunate. This means connecting those fans to a capable motherboard independently isn't an option, and you are thus not able to adjust fan speeds individually, either.


While the DeepCool CG560 only offers two free 120 mm fan-mounting positions through the air vent in the ceiling, we also removed the 140 mm one in the rear to fit the third CF120 Plus. As you can see, there is still plenty of room around the fans in the ceiling to accommodate 140 mm variants instead.


The three ARGB cables were connected to the provided ARGB splitter, with a fourth establishing the daisy-chained connection to the three fans in the front. The PWM cables were all connected to the separate PWM splitter, which was in turn connected to a single motherboard header. Each of these splitters comes with double-sided tape, but there was no need to utilize it, as we instead let the tension of the cables suspend them in place.


While the finished looks will use all DeepCool provided parts, the case also allows for AIOs to be installed. As the CG560 comes with three fans in the front out of the box, the top of the chassis is the best place to install such a unit. The 280 mm AIO fits well. However, while the mounting holes would allow it, we were unable to slide it all the way to the back to, for instance, provide as much room as possible for a second 360 radiator in the front, as its bottom-left corner collides with the motherboard heatsink.
Finished Looks
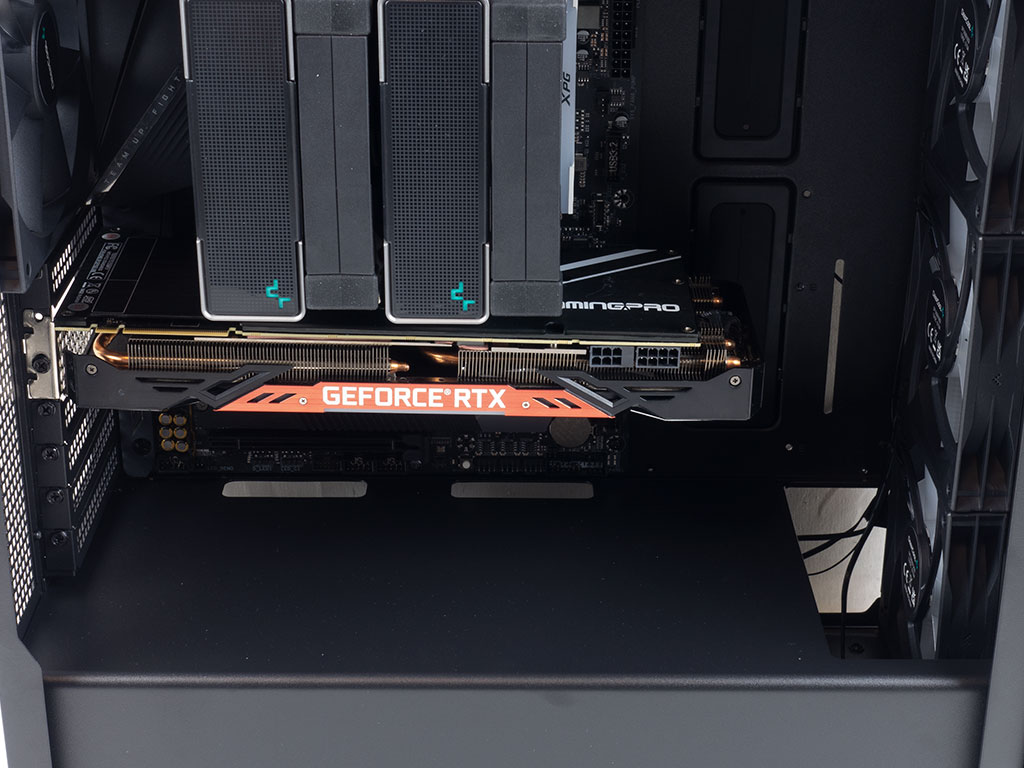
When turned on, all the installed fans offer the same multi and single-color animations you may cycle through. Interestingly enough, the built-in controller does not allow you to pick a single color, with the closest being a single-color "breathing" mode.

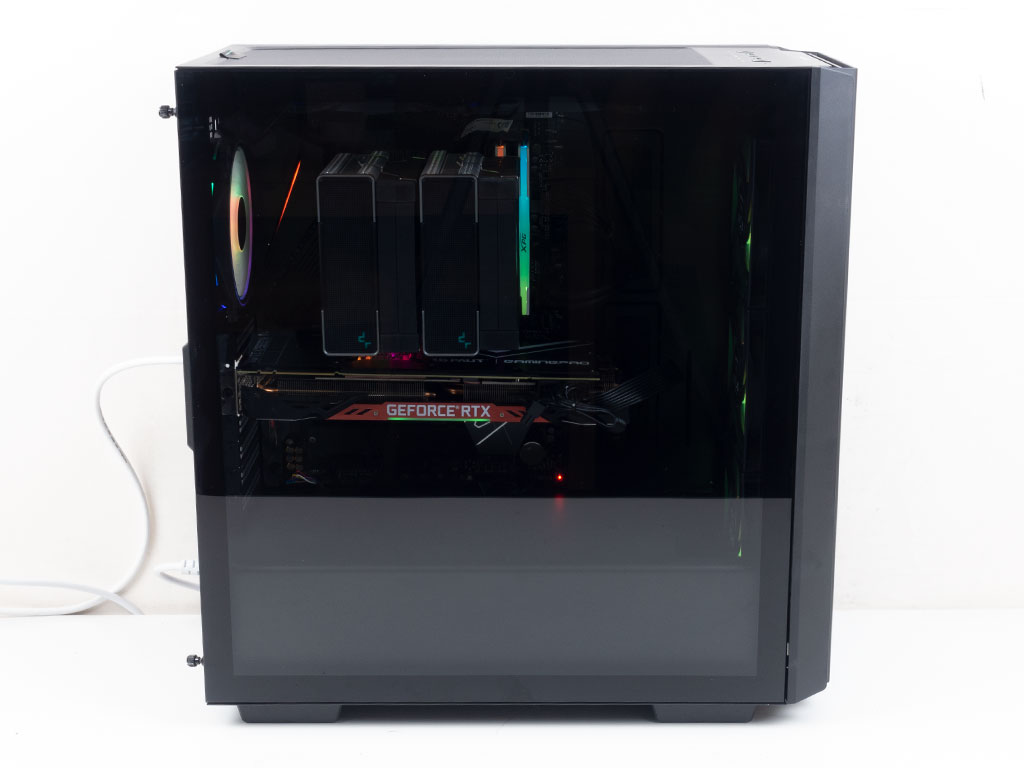

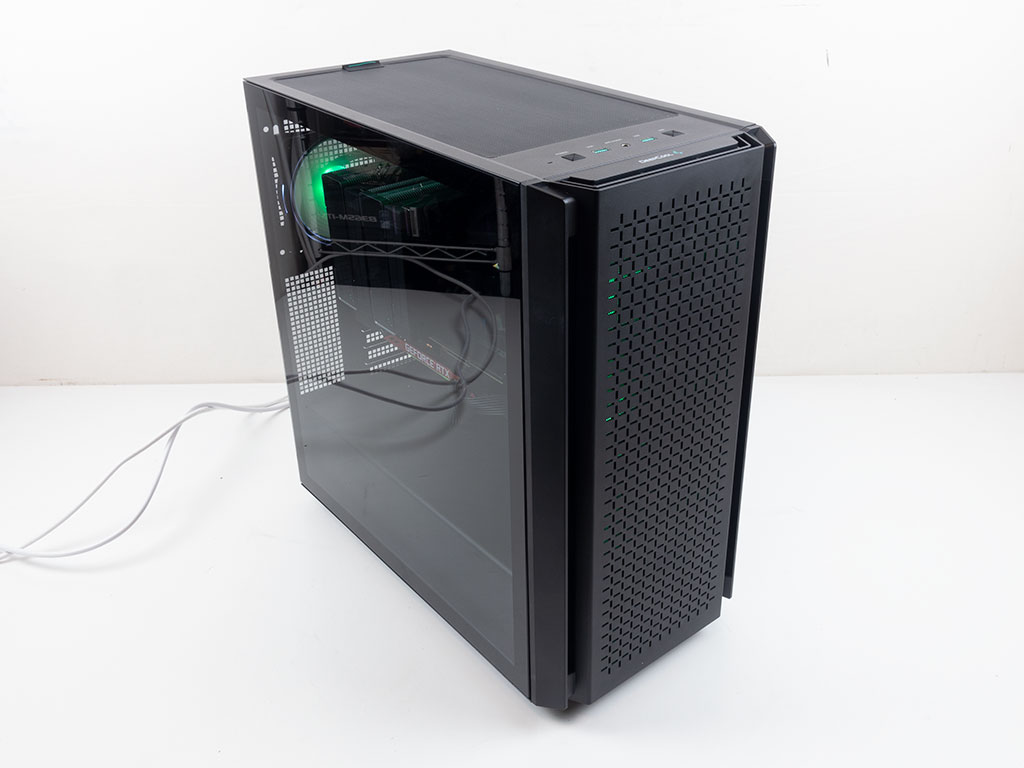
Looking at the system from the front, you can see the hub-mounted ARGB elements through the front. The additional fans in the ceiling also give the interior of the case a nice glow. In the rear, everything is where you would expect it, and while you can see the ARGB exhaust fan from here as well, the default configuration would just be the black unit instead.


Taking a quick look a the CF120 Plus fans in the ceiling and rear, you can clearly see the lit-up rings in the frame of the fans as well. A peek at the top of the DeepCool CG560 reveals a bit of what the rings look like on the other side, more of which you can see from the rear of the case.
May 9th, 2024 07:18 EDT
change timezone
Latest GPU Drivers
New Forum Posts
- Your way of cooling your PC? (65)
- Used quadro worth it? (3)
- Inconsistent cpu-z frequncies (5)
- What's your latest tech purchase? (20478)
- About to lose my mind with crashes/hangs: Is my 13700K dying? (21)
- Microsoft butchering Xbox Studios (16)
- Looking for recommendations to upgrade my ap201 (11)
- Last game you purchased? (269)
- Only some humans can see refresh rates faster than others, I am one of those humans. (225)
- Soundblaster x-ae5 plus sometimes switches center channel to other channels. (0)
Popular Reviews
- CHERRY XTRFY M64 Pro Review
- Corsair iCUE Link RX120 RGB 120 mm Fan Review
- Bykski CPU-XPR-C-I CPU Water Block Review - Amazing Value!
- Finalmouse UltralightX Review
- Upcoming Hardware Launches 2023 (Updated Feb 2024)
- AMD Ryzen 7 7800X3D Review - The Best Gaming CPU
- Cougar Hotrod Royal Gaming Chair Review
- Meze Audio LIRIC 2nd Generation Closed-Back Headphones Review
- ASUS Radeon RX 7900 GRE TUF OC Review
- ASRock NUC BOX-155H (Intel Core Ultra 7 155H) Review
Controversial News Posts
- Intel Statement on Stability Issues: "Motherboard Makers to Blame" (261)
- AMD to Redesign Ray Tracing Hardware on RDNA 4 (206)
- Windows 11 Now Officially Adware as Microsoft Embeds Ads in the Start Menu (167)
- NVIDIA to Only Launch the Flagship GeForce RTX 5090 in 2024, Rest of the Series in 2025 (144)
- Sony PlayStation 5 Pro Specifications Confirmed, Console Arrives Before Holidays (119)
- AMD's RDNA 4 GPUs Could Stick with 18 Gbps GDDR6 Memory (114)
- NVIDIA Points Intel Raptor Lake CPU Users to Get Help from Intel Amid System Instability Issues (106)
- AMD Ryzen 9 7900X3D Now at a Mouth-watering $329 (104)