 23
23
ECS LIVA Mini PC Kit Review
Conclusion »Assembly & Setup
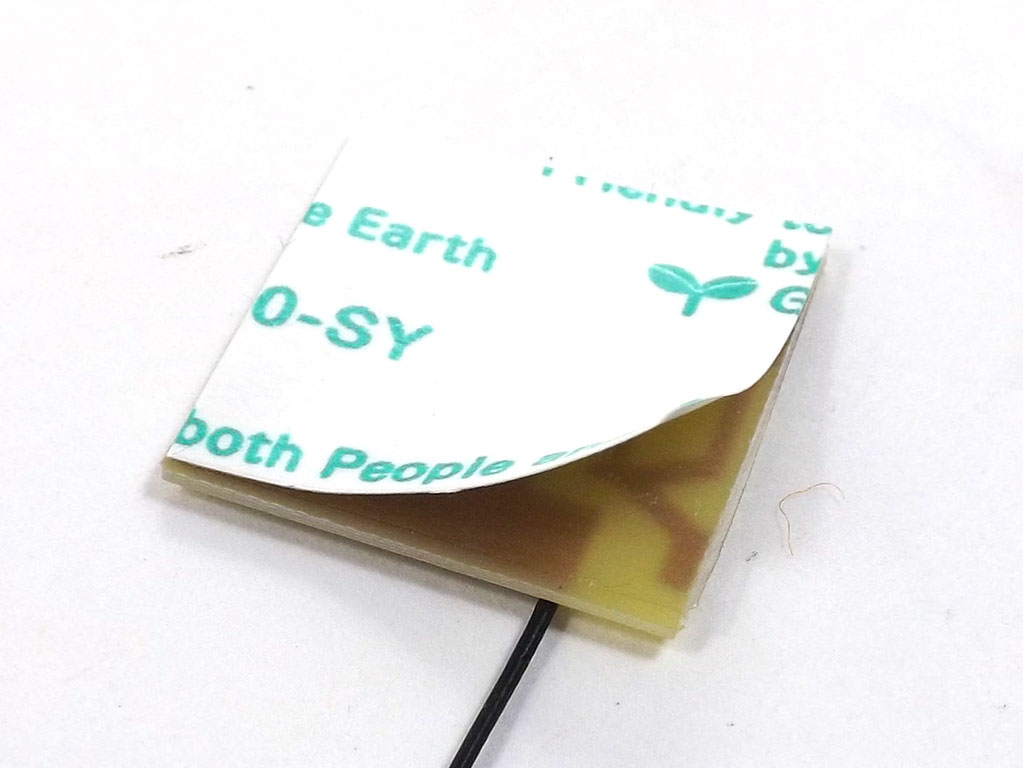

After installing the wireless card, you have to install the antennas in their proper locations within the plastic housing. Remove a backing to expose the adhesive that keeps the antenna in place and install the antenna with the black wire in the same location as mine, shown in the photograph above.


Install the second antenna next, making sure to route the wires through the little spots that hold them in place, both on the underside of the top and along the side. This will have the wires facing up, held in place securely for you to set the ECS BAT-MINI PCB into place.


Two little clips in the casing hold the PCB in place tightly. It takes a bit of effort to secure the PCB, and you will hear a very strong "click" when it's secure to let you know you did everything as it should be done.


Next, attach the two wires, sliding the plastic covers out of the way to be able to do so. I slid the covers back as close to the wireless card as possible to help prevent any shorts. Place the bottom cover on top next, compress it slightly, and you are all done!
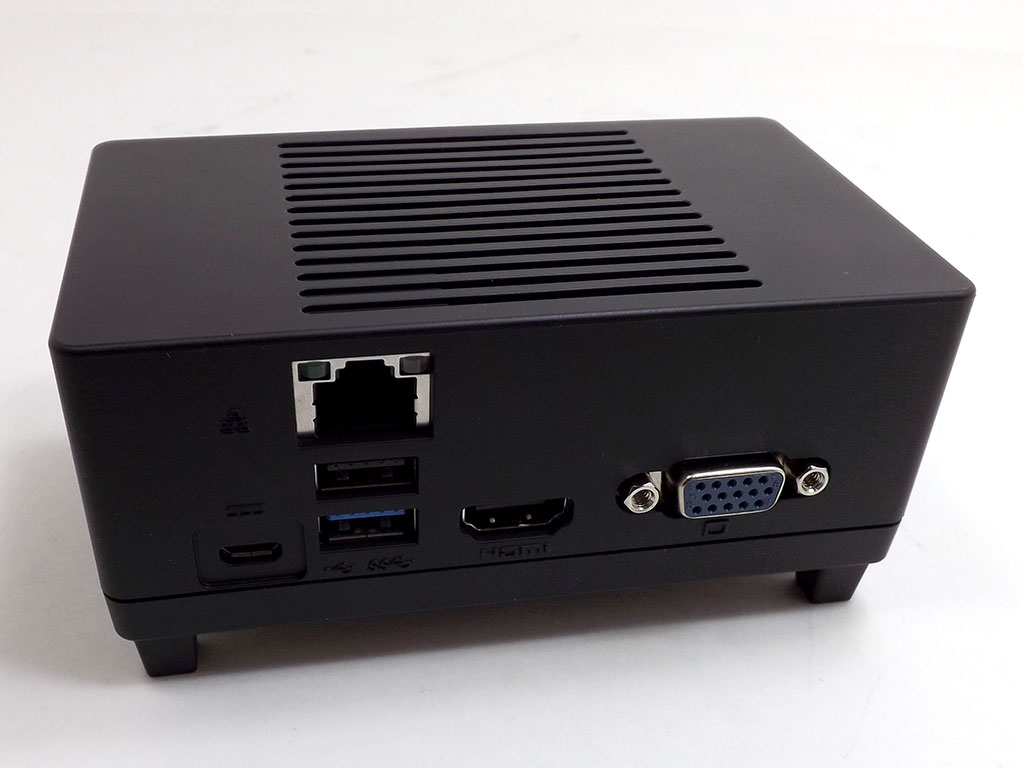
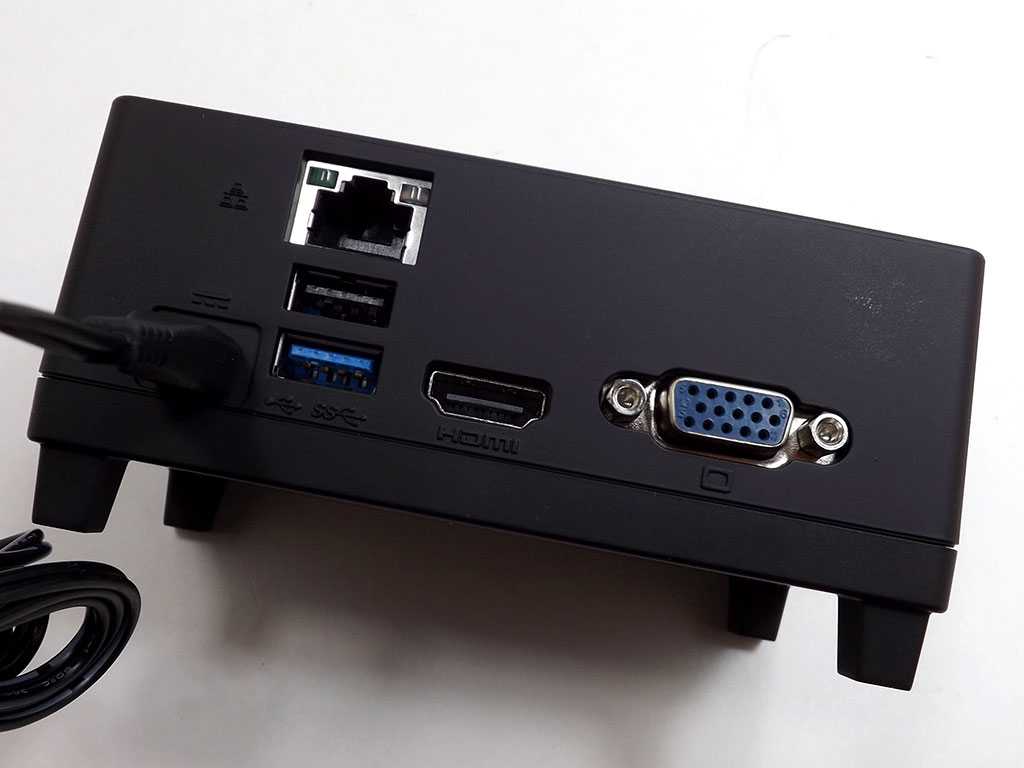
Looking at the back of the unit, we can see that everything lines up nicely, and we are now ready to feed the ECS LIVA Mini PC Kit some power to fire it up.
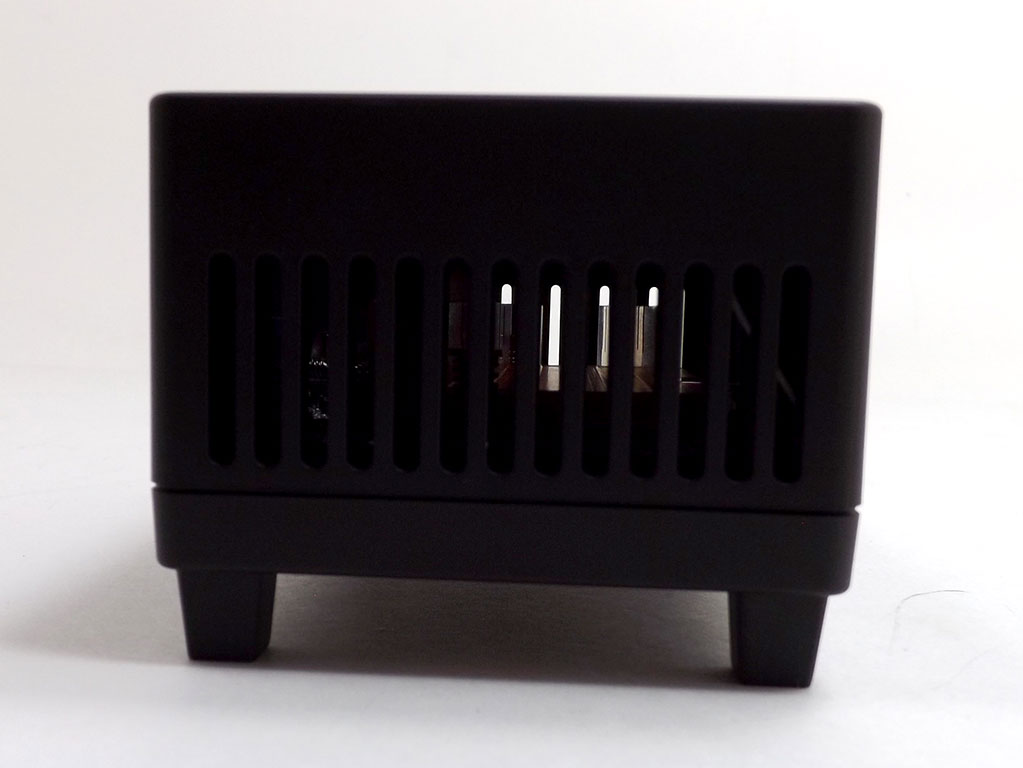

Since the ECS LIVA Mini PC Kit is passively cooled, with no fans, there are vents on the side and the top to help airflow travel around the heatsink thanks to convective cooling, which is sufficient because the Bay Trail-M SoC only pulls 4 W on average. The casing itself barely got warm when I used it, and was also absolutely silent because there are no fans or other moving parts.
May 7th, 2024 05:04 EDT
change timezone
Latest GPU Drivers
New Forum Posts
- GPU Hot Spot Temperature 105 Celsius, fans at 3000 RPM, while GPU Temperature is max 70 Celsius (41)
- The Official Thermal Interface Material thread (1171)
- Intel Core "Special Edition" Owners' Club (32)
- What are you playing? (20591)
- Throttle STOP Program Function (0)
- What's your latest tech purchase? (20452)
- Only some humans can see refresh rates faster than others, I am one of those humans. (204)
- Overheating/undervolt/setup issues (9)
- Gigabyte Aorus Elite AX V2 rev 1.1 BIOS update "AMD AGESA V2 1.2.0.B" (6)
- Cybersecurity - OSINT Software for Linux (3)
Popular Reviews
- Finalmouse UltralightX Review
- Corsair iCUE Link RX120 RGB 120 mm Fan Review
- Cougar Hotrod Royal Gaming Chair Review
- Meze Audio LIRIC 2nd Generation Closed-Back Headphones Review
- Upcoming Hardware Launches 2023 (Updated Feb 2024)
- ASRock NUC BOX-155H (Intel Core Ultra 7 155H) Review
- AMD Ryzen 7 7800X3D Review - The Best Gaming CPU
- ASUS Radeon RX 7900 GRE TUF OC Review
- Montech Sky Two GX Review
- HYTE THICC Q60 240 mm AIO Review
Controversial News Posts
- Intel Statement on Stability Issues: "Motherboard Makers to Blame" (249)
- AMD to Redesign Ray Tracing Hardware on RDNA 4 (177)
- Windows 11 Now Officially Adware as Microsoft Embeds Ads in the Start Menu (167)
- Sony PlayStation 5 Pro Specifications Confirmed, Console Arrives Before Holidays (118)
- AMD's RDNA 4 GPUs Could Stick with 18 Gbps GDDR6 Memory (114)
- NVIDIA to Only Launch the Flagship GeForce RTX 5090 in 2024, Rest of the Series in 2025 (111)
- NVIDIA Points Intel Raptor Lake CPU Users to Get Help from Intel Amid System Instability Issues (106)
- AMD Ryzen 9 7900X3D Now at a Mouth-watering $329 (104)