 7
Formula V Line Crystal U9 PA Review
Review System Setup »A Closer Look - Inside
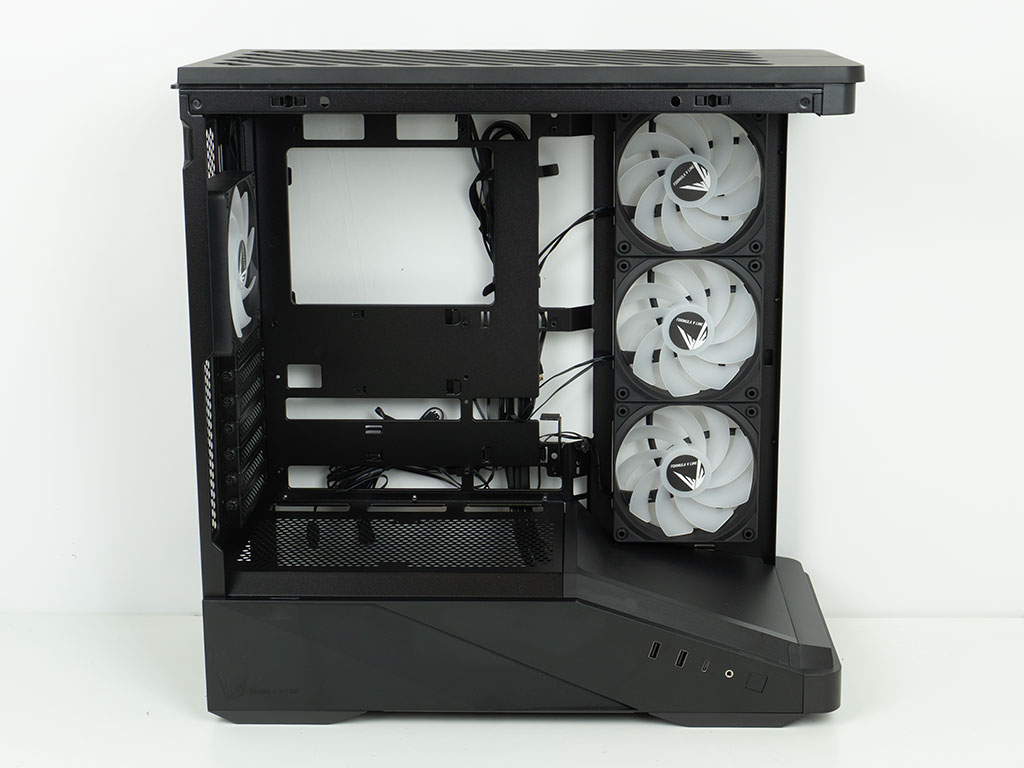
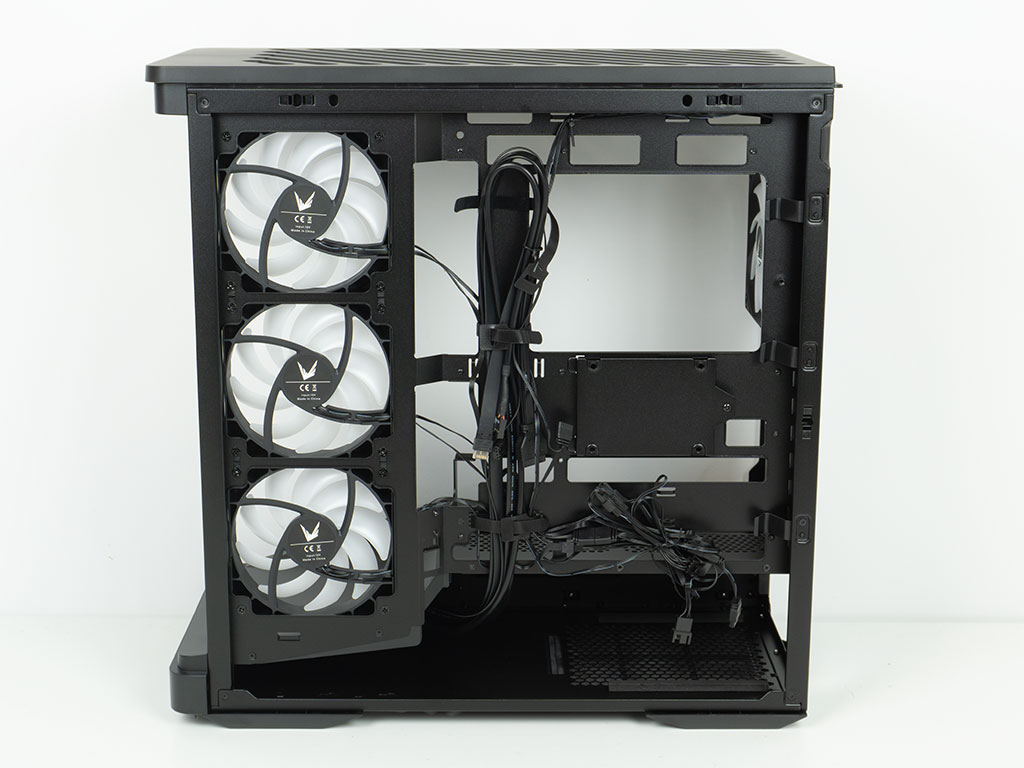
Gaining access to the interior of the Crystal U9 PA is completely tool-less as all panels are held in place by push pins. Simply pull the sides and front off the case, and you are ready to build. The interior of the chassis focuses on functional necessities for the most part. As such there are no grommets and Formula V Line clearly thinks it is perfectly acceptable to have the side intake fan wiring run across the large openings in plain view. The case actually has no official way to route these wires differently.
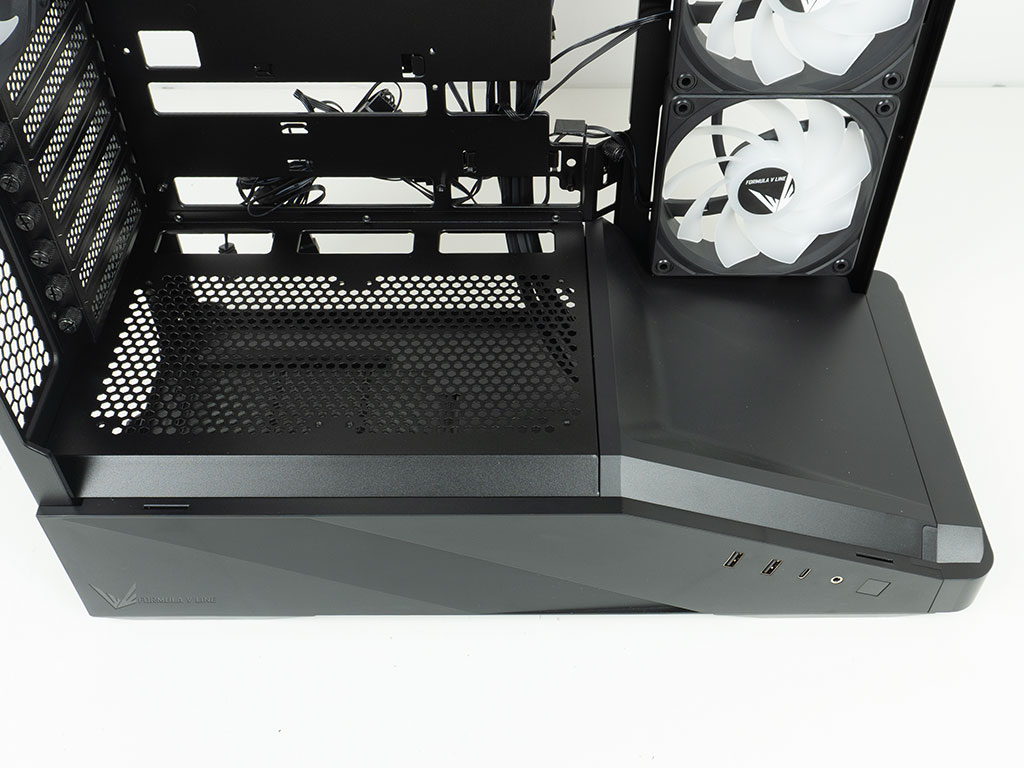
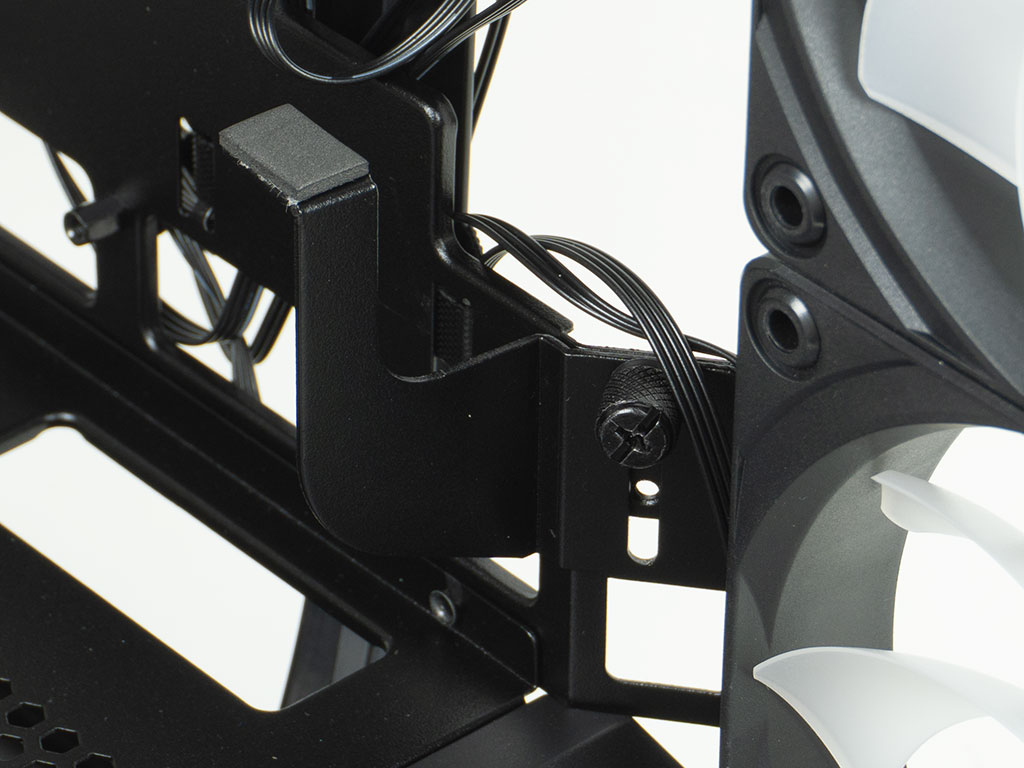
The flat surface of the shroud is the only element that is made of metal. This is also the area where you may install up to two 120 mm intake fans on top. However, doing so will also mean that you will lose access to the bottom most expansion slot. On the upside fans here should not interfere with any motherboard headers when using classic ATX board with connectors on the front face of the PCB. The small extra that goes beyond the bare necessities is a small GPU support bracket. It is made of metal with a foam pad on it as an anti-vibration measure. While having this is always better than none at all, such short supports tend to be of limited use to keep today's wide and heavy GPUs from all sagging.
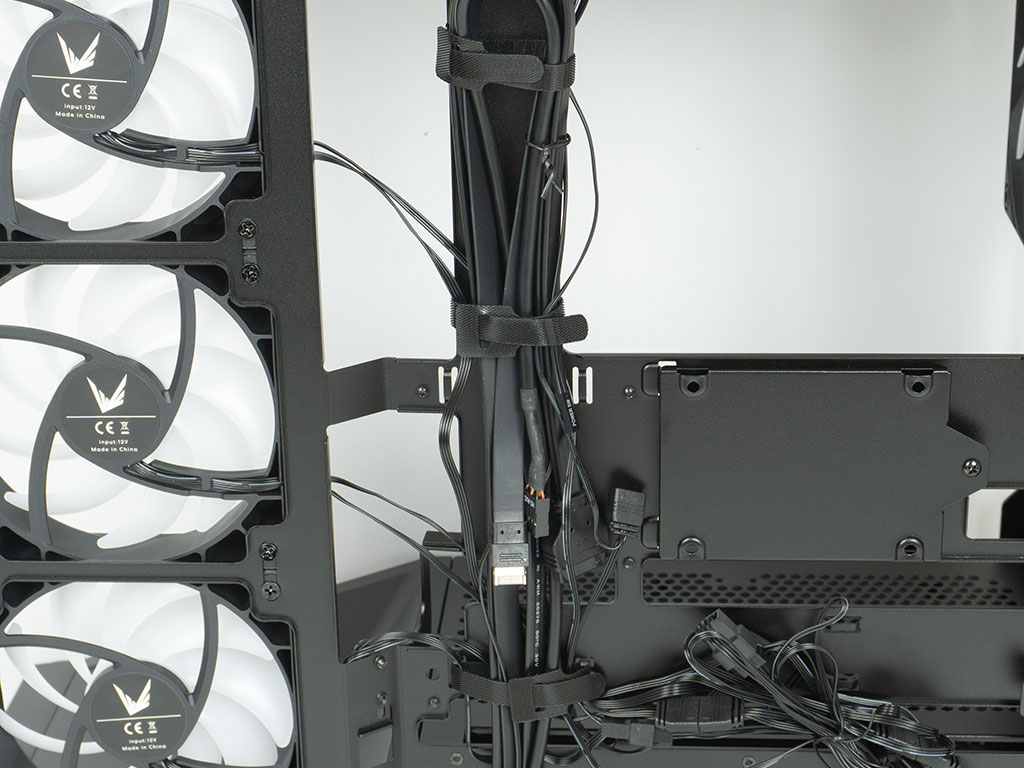
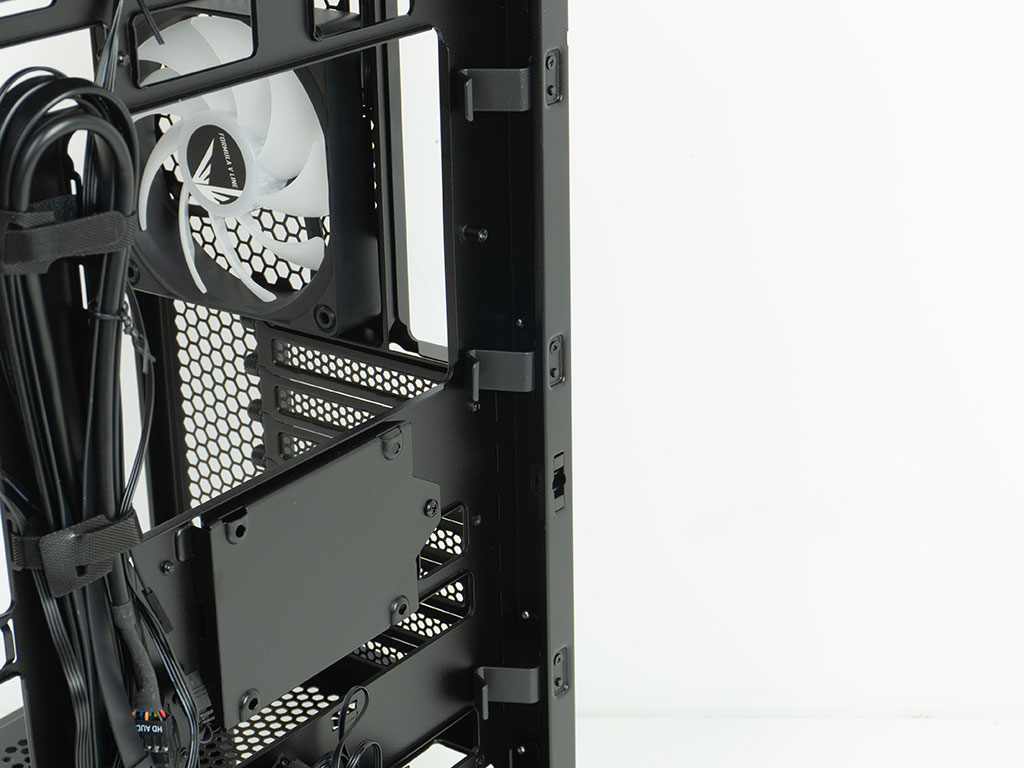
The other extra can be found in form of three unmarked black Velcro strips to hold cables in place. These actually go a bit beyond the bare minimum, with a looping through design, so you can pull these tight easier. On top of that, Formula V Line has placed three plastic clips on the rear edge behind the motherboard tray. We have seen these types of cable management elements before, and they do work rather well.
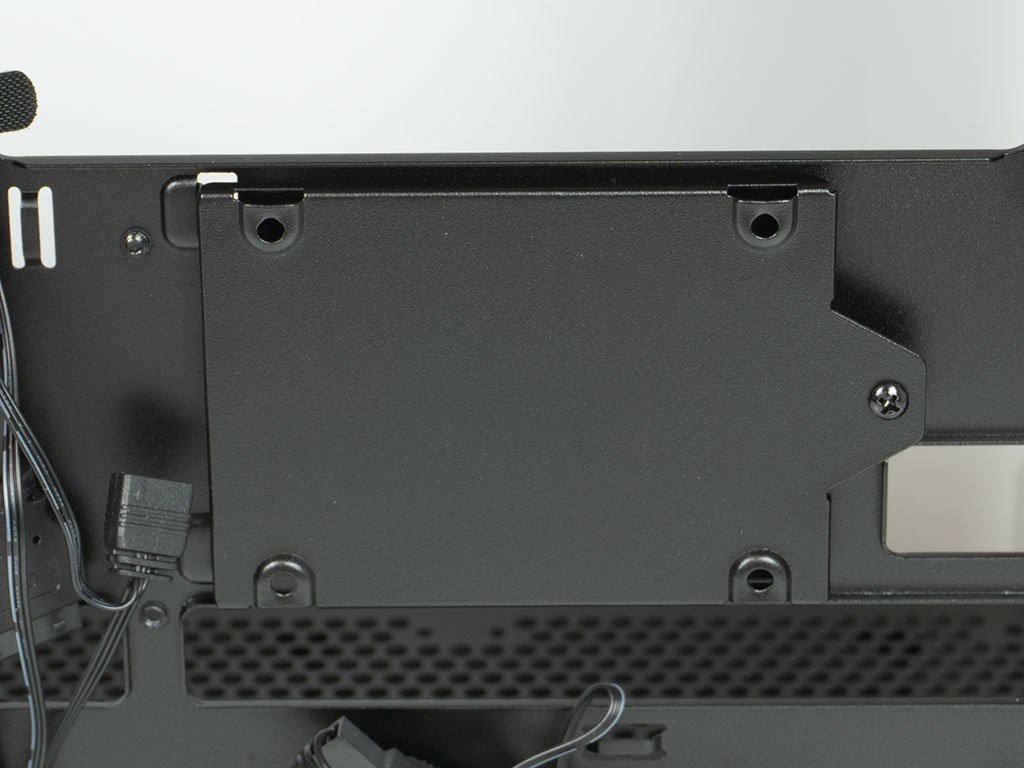
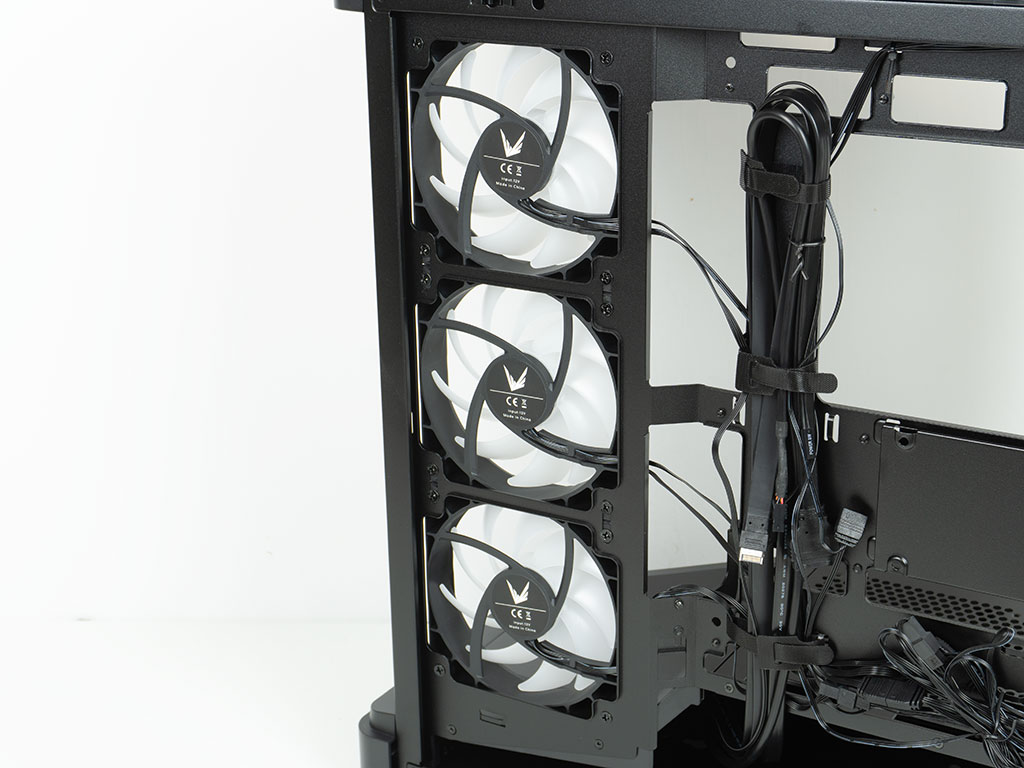
Formula V Line limits the Crystal U9 PA to a single 2.5" drive using a tray attached to the backside of the motherboard tray. This is a bit unfortunate, as other cases—even those with BTF support—tend to allow for two 2.5" or one 3.5" configuration in this position. The intake fans of this variant of the chassis are their own PA120R units, with you may also buy separately. The R stands for reverse bladed, so that the clean face is visible when viewing the system through the glass. These utilize PWM and both the fan and ARGB wiring allows for daisy-chaining. This is also the reason you don't get a separate PCB, as none is needed.
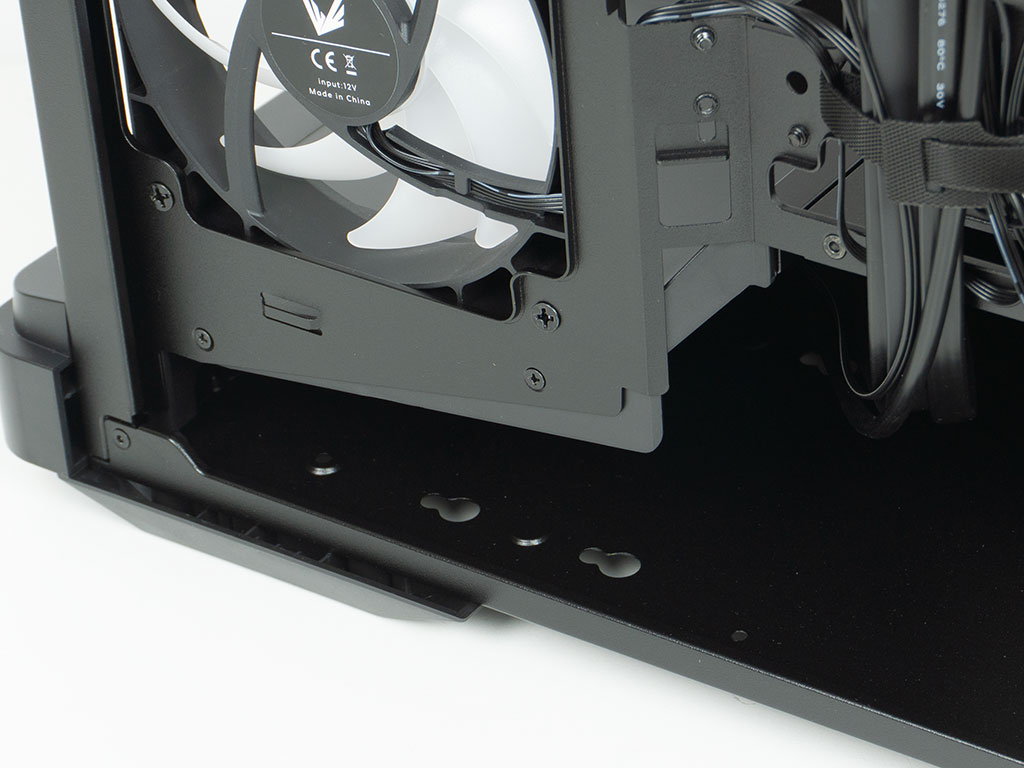
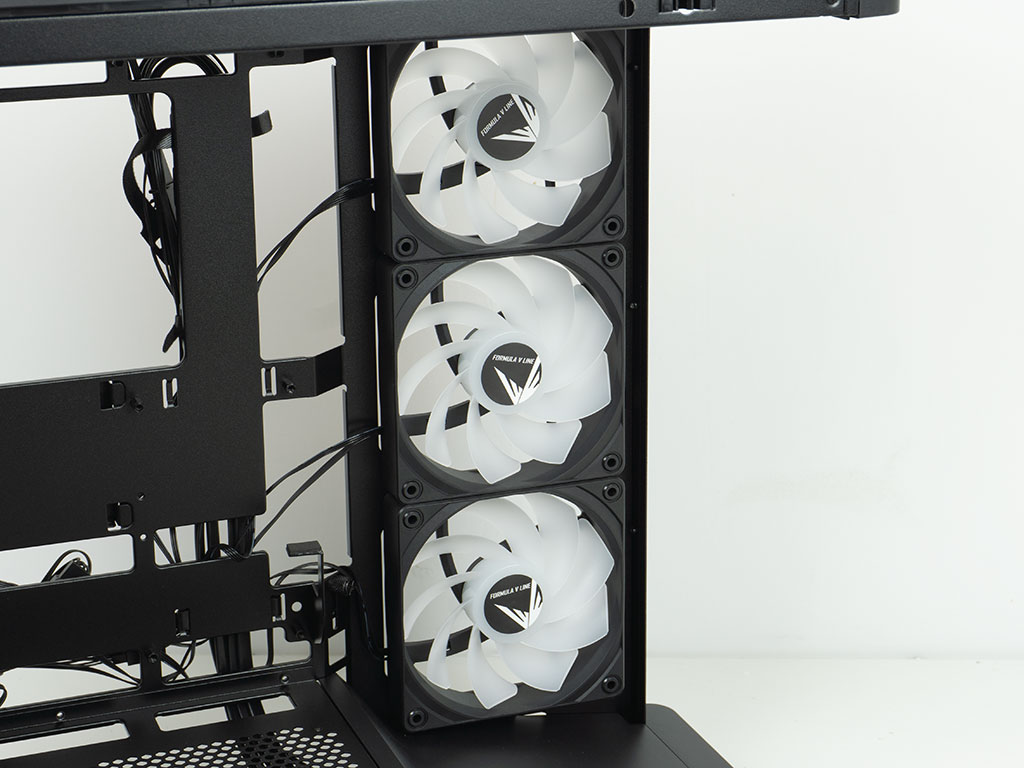
In the front, below the angled section of the shroud, you will find the one location for a 3.5" drive as previously mentioned. Above that, the three intake fans are in full view. There is a slight gap between the fans and the mounting frame, which we will use to hide the wiring without damaging it. While this may not be intended by design, it will allow us to keep the final build result as clean as possible.
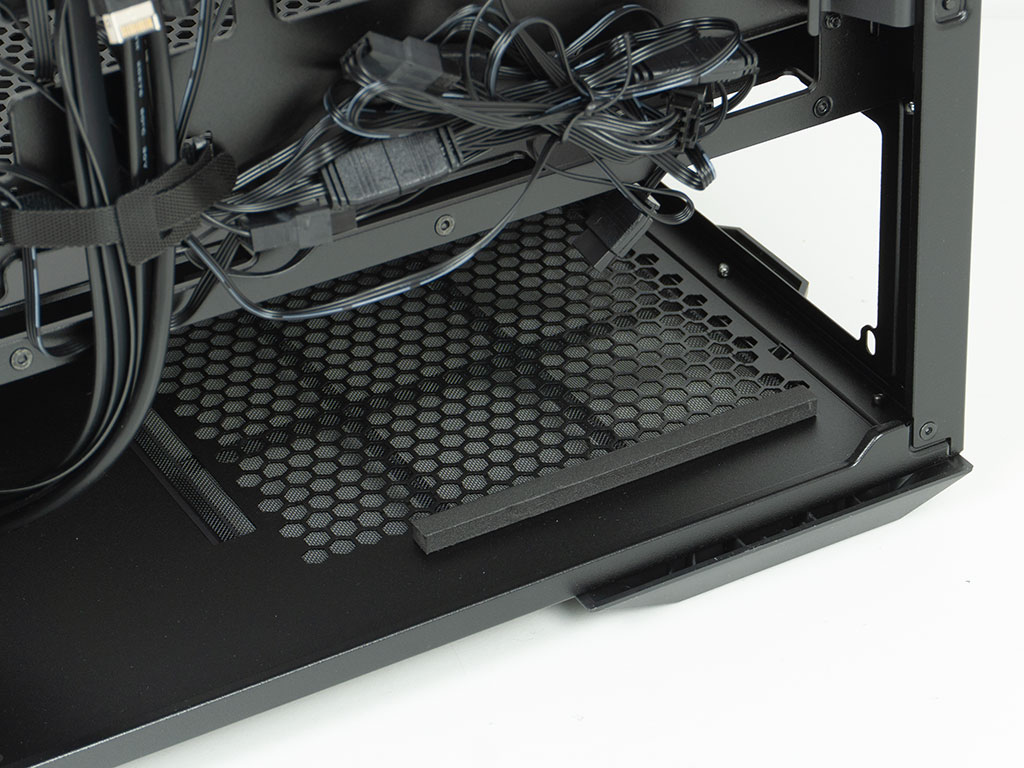
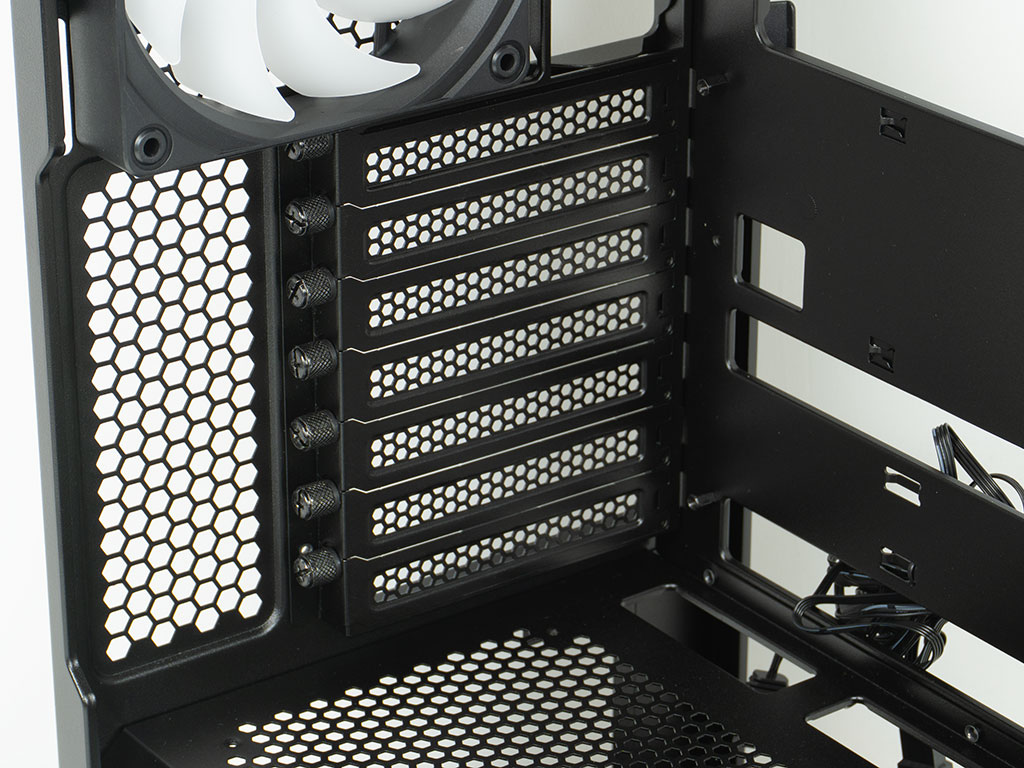
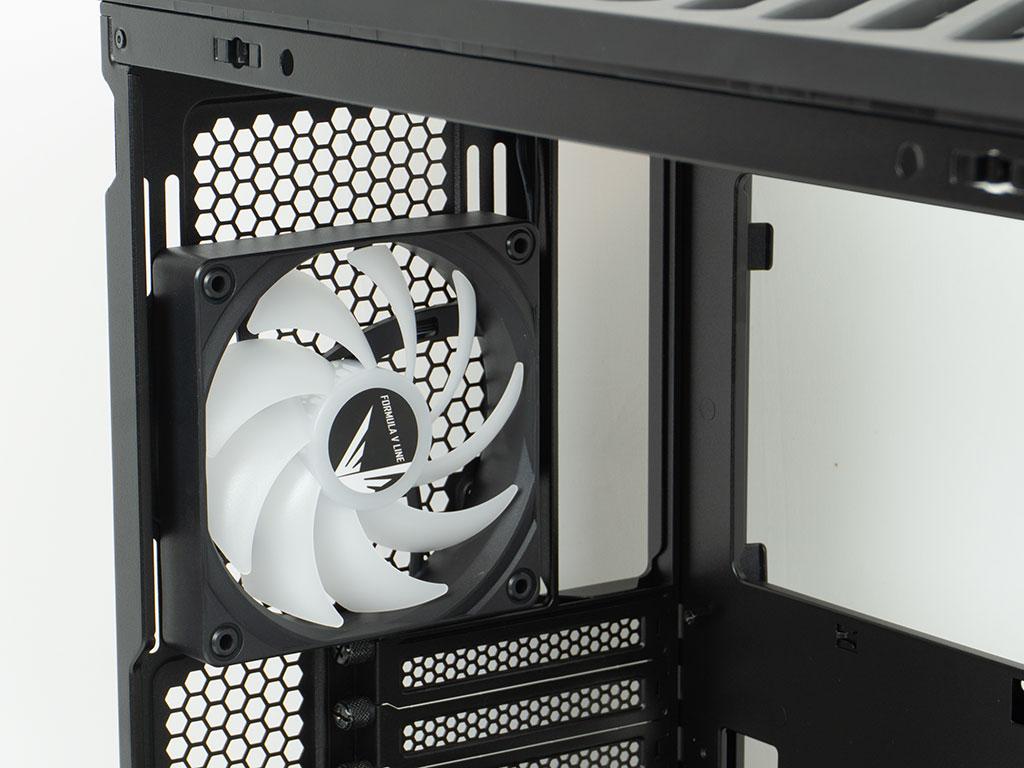
In the rear, the PSU bay is equipped with two foam strips for the unit to sit on. While Formula V Line doesn't communicate exactly how long your power supply can be, there is plenty of room, so you should not run into any clearance issues. Above that, the seven expansion slots are actually secured using big thumb screws, which is a nice touch. Lastly, the exhaust fan in the rear is another one of the PA120 series, but with the traditional blade setup to push air out the back of the chassis.
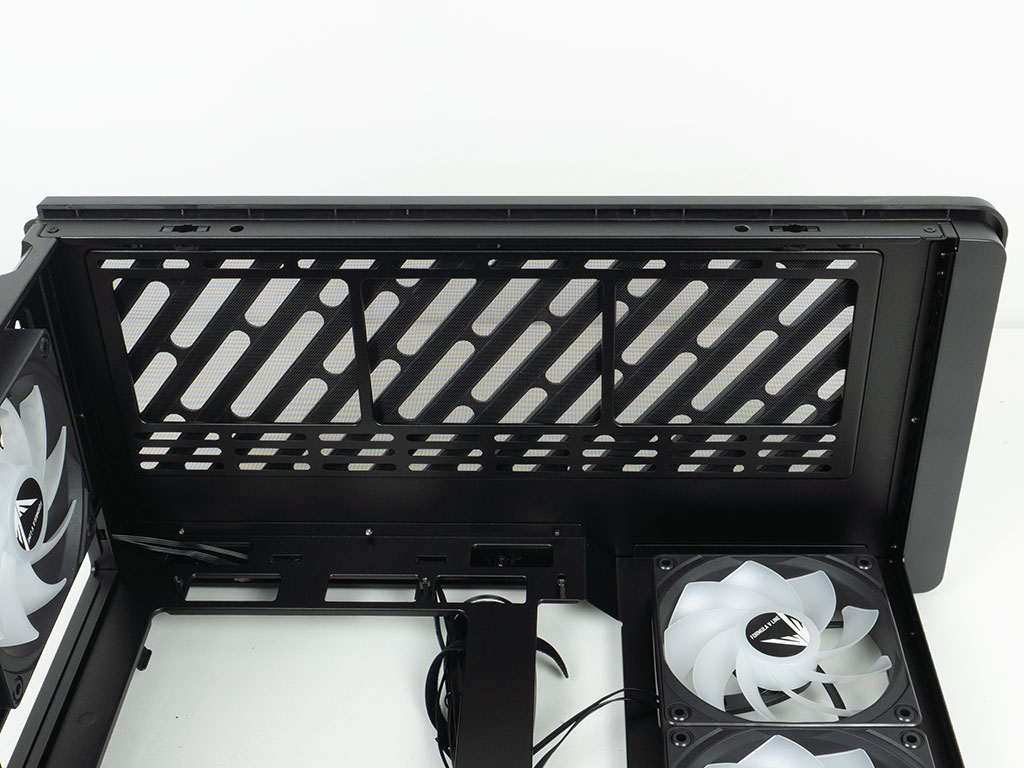
The ceiling, when viewed from within the case, gives you an idea about the open vented design. This will mean that the Crystal U9 PA should perform pretty well, as heat can't get trapped in upper parts of the chassis.
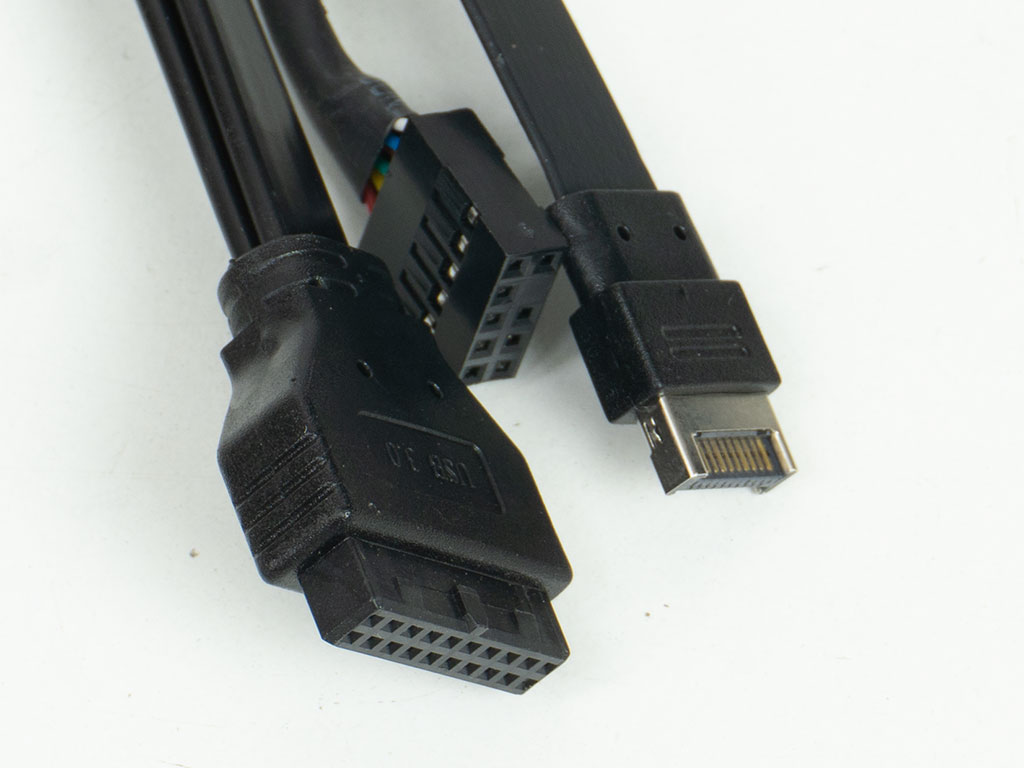
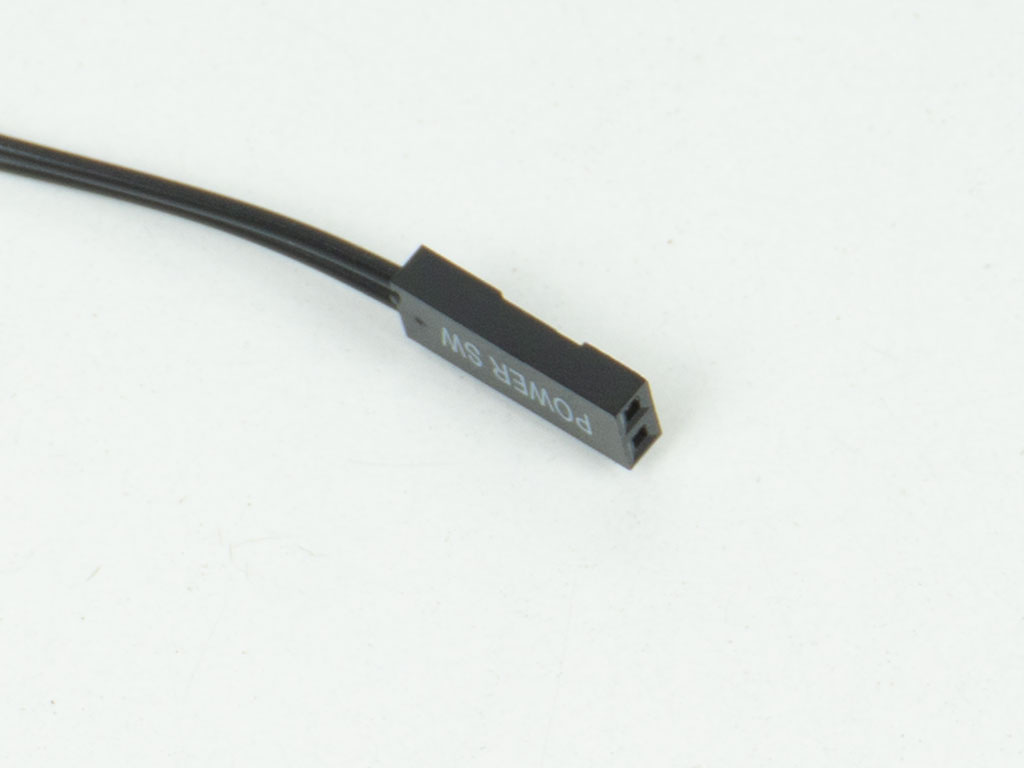
All the wiring inside the Formula V Line Crystal U9 PA is black and both USB cables are of the flat-band variety, which will come in handy for BTF motherboards, as space behind the motherboard tray is limited. As the chassis only has a power button, you also only get a single dual-pin connector to worry about.
Nov 20th, 2026 14:13 PST
change timezone
Latest GPU Drivers
New Forum Posts
- 1 - 5 person file storage server equivalent accasible from anywhere + general VM server. (0)
- WarpCoreBench scores! (81)
- How to prevent OLED burn damage due to PC freezes or power outtages? (48)
- Honestly, do you care about GTA VI? (208)
- When you could finally run Crysis maxed out? (63)
- GTA VI (20)
- Anthrophics IPO (25)
- GeekMagic Ultra Smart WiFi Weather Station (8)
- Very unusual two gaming-pc scenarios. (35)
- Can i play GTA 6 now? (Joke) (14)
Popular Reviews
- AMD Zen 6 Technical Deep Dive
- Ugreen NASync DXP4800 GT Review
- Microsoft Surface Laptop Ultra Review - The Next-gen Arm Laptop
- Corsair RM1200e (Second Generation) Review
- Acemagic Retro X3 Review
- Upcoming Hardware Launches 2027 (Updated Nov 2026)
- Pulsar Office Tour & First Look at P1 Dual-Sensor Mouse
- Biwin Black Opal NV7400 2 TB Review
- AMD Ryzen 7 9800X3D Memory Performance Scaling
- AMD Ryzen 7 9800X3D Review - The Best Gaming Processor
TPU on YouTube
Controversial News Posts
- NVIDIA Co-Founder and CEO Jensen Huang Officially Resigns (490)
- Report: Jensen Huang Eyes NVIDIA Comeback (255)
- Open Letter Asking NVIDIA to Reinstate Jensen Huang Passes 115,000 Signatures (184)
- OpenAI CEO Argues Home PCs Waste the World's Limited DRAM Supply (152)
- NVIDIA Launches Investigation Into Jensen Huang's Relationship With Suspected Chinese Spy (136)
- Intel "Raptor Lake Next" 16-Core and 20-Core CPUs Surface (130)
- Legendary Game Studio BioWare Shuts Down Following EA Layoffs (104)
- Dell CEO Says the Memory Shortage Will Get Worse in 2027 (95)