 7
Formula V Line Crystal U9 PA Review
Thermal Stress Test »Assembly
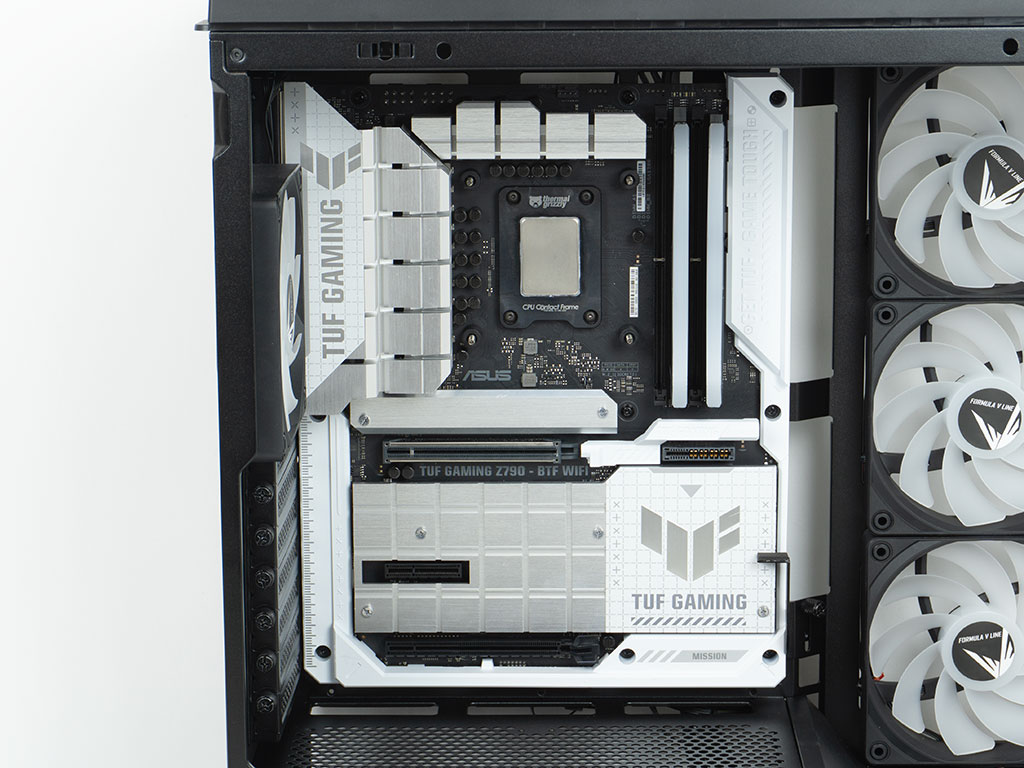
Installing the motherboard is straightforward using the pre-installed spacers and supplied screws. The ASUS BTF board fits perfectly well, with its headers clearing all openings. There are also lots of well-placed cutouts to allow for cable routing for classic boards, but at least the ones on the right edge of the board towards the front of the chassis could have really used some grommets. As you can already see in this image, it was fortunately possible to re-route the fan wiring.
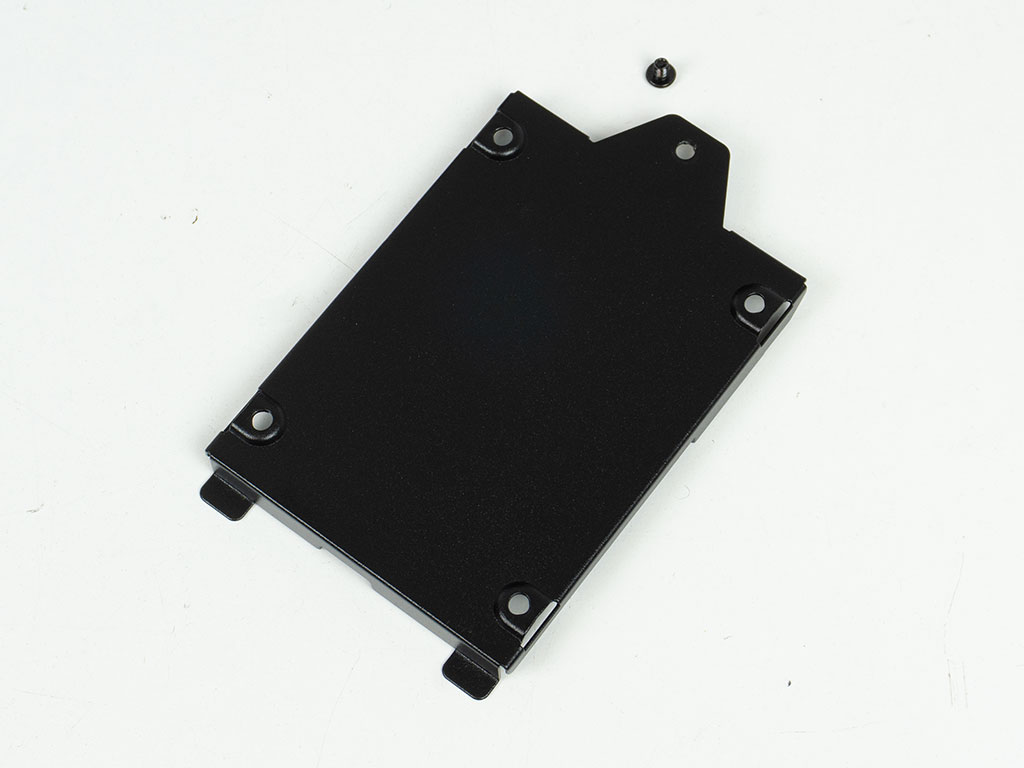
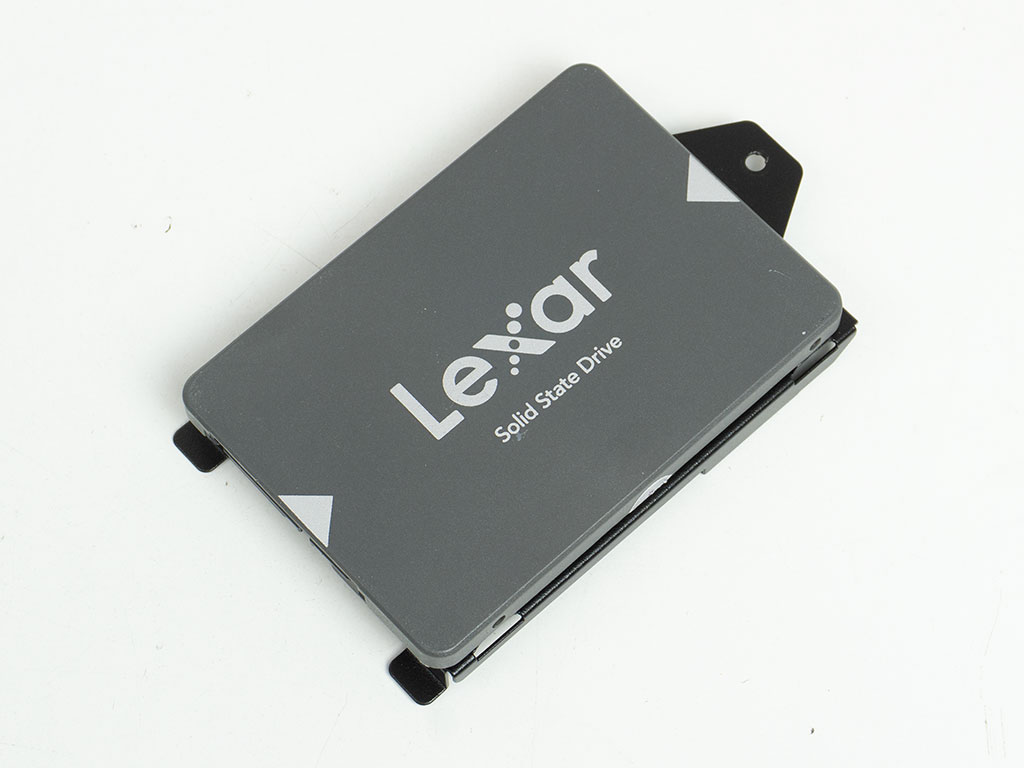
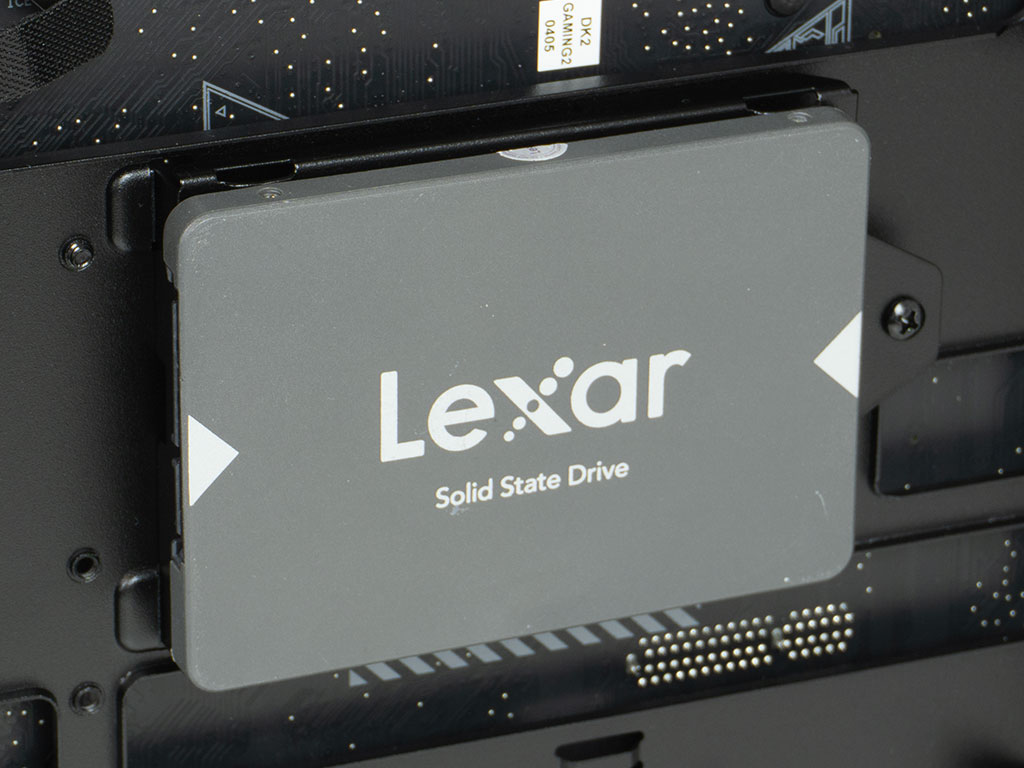
To add a SSD, you first have to remove a single screw holding the mounting plate in place and then secure the drive to it using screws as well. Once filled, simply place the tray back where you found it and reattach that one screw to keep it in place firmly.
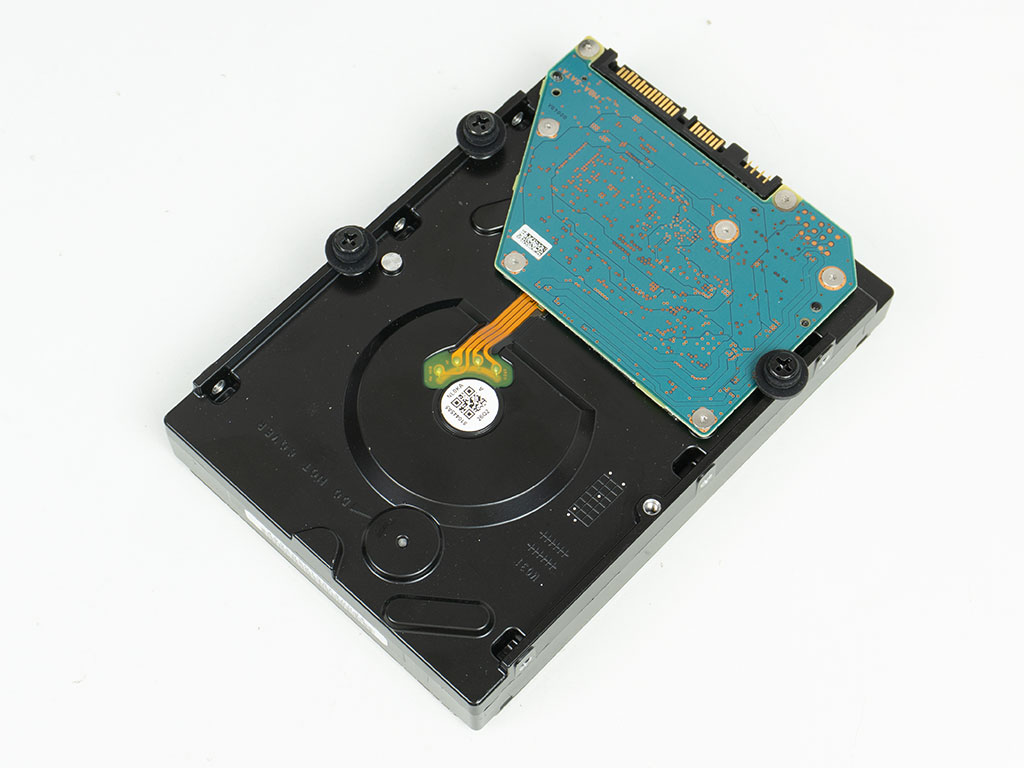
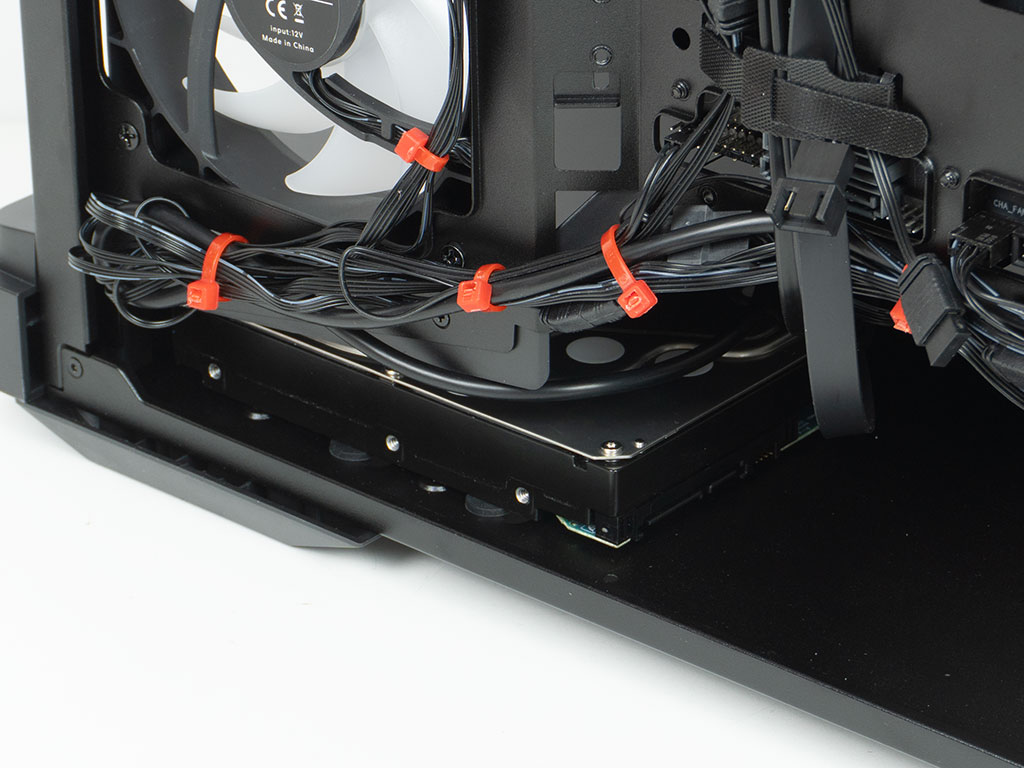
For those wanting to include a 3.5" drive, you simply screw on the rubber rings unto the right three positions and slide the unit into place. Formula V Line could have easily added a bit more flexibility here, by punching holes on the floor for two 2.5" drives side by side for example.
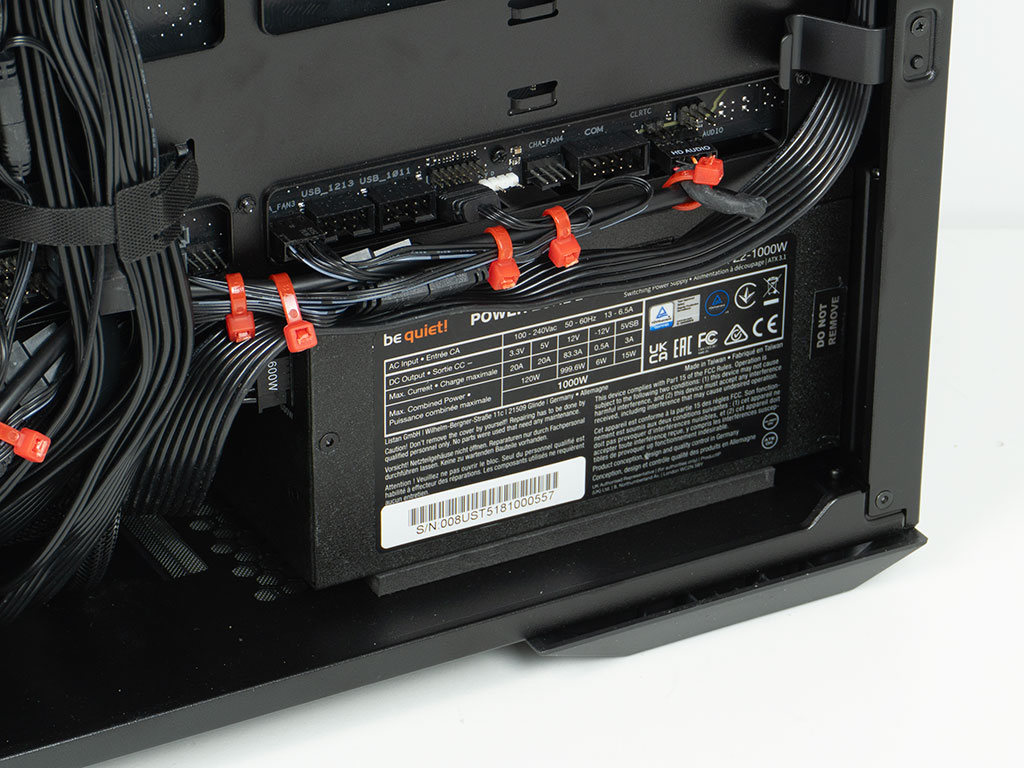
Sliding in a PSU is easy as well, as there is plenty of room to do so. Thus, even if you are using longer variants, it should not be an issue. To secure it, once again the Crystal U9 PA utilizes traditional screws to get the job done.
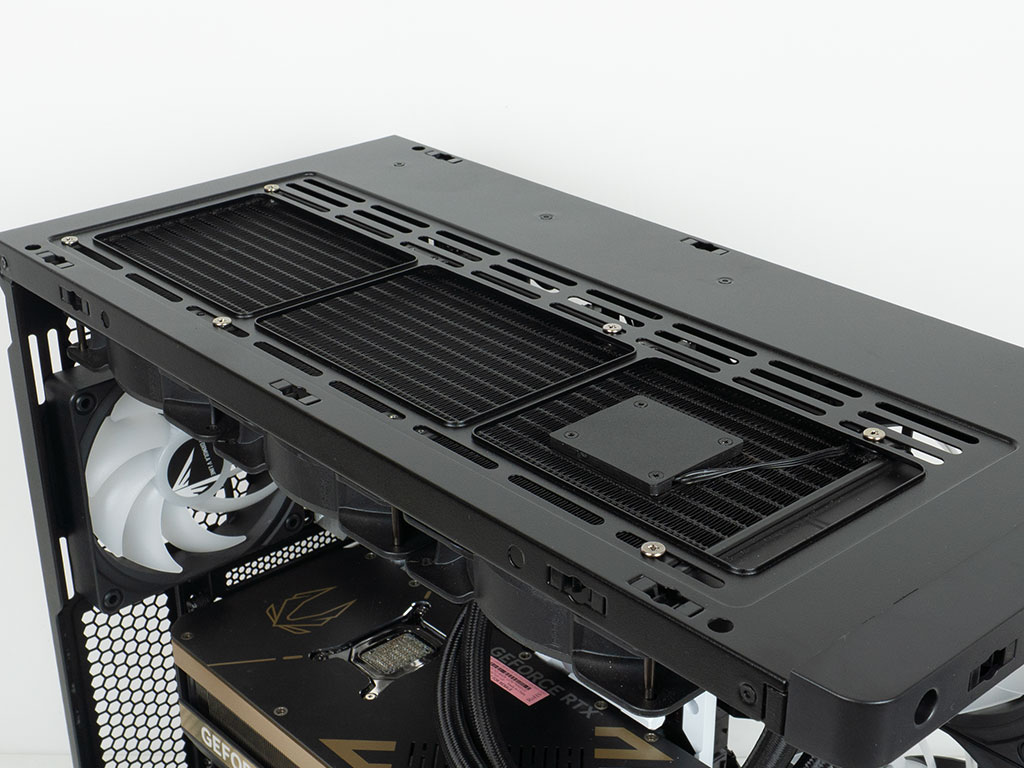
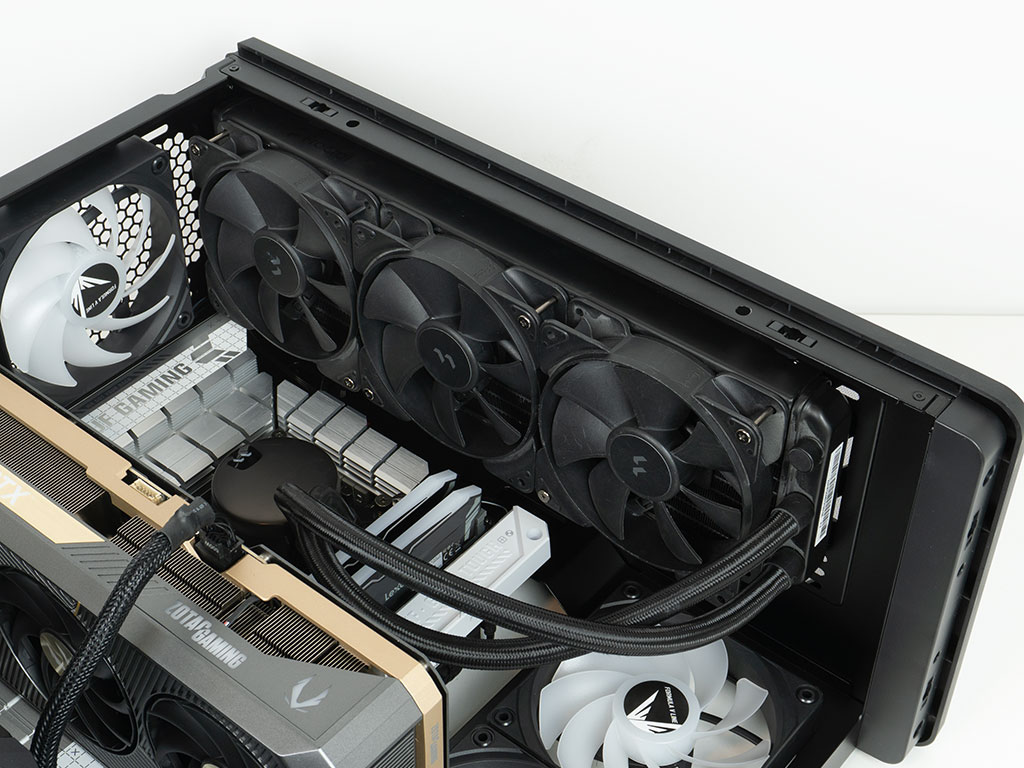
Thanks to the width and length of the chassis, you will easily be able to fit a 360 mm AIO, and without it interfering with the motherboard or tall memory. That means you could even opt for thicker radiators or fans. For those wanting to use a 280 mm variant, you will be limited to the standard thickness of mass market AIOs as the width clearance is not enough for those units. That said, even with 120 mm wide versions, you will only have very limited access to the connectors at the top edge of the board, so make sure to pre-connect everything before installing your liquid cooling.
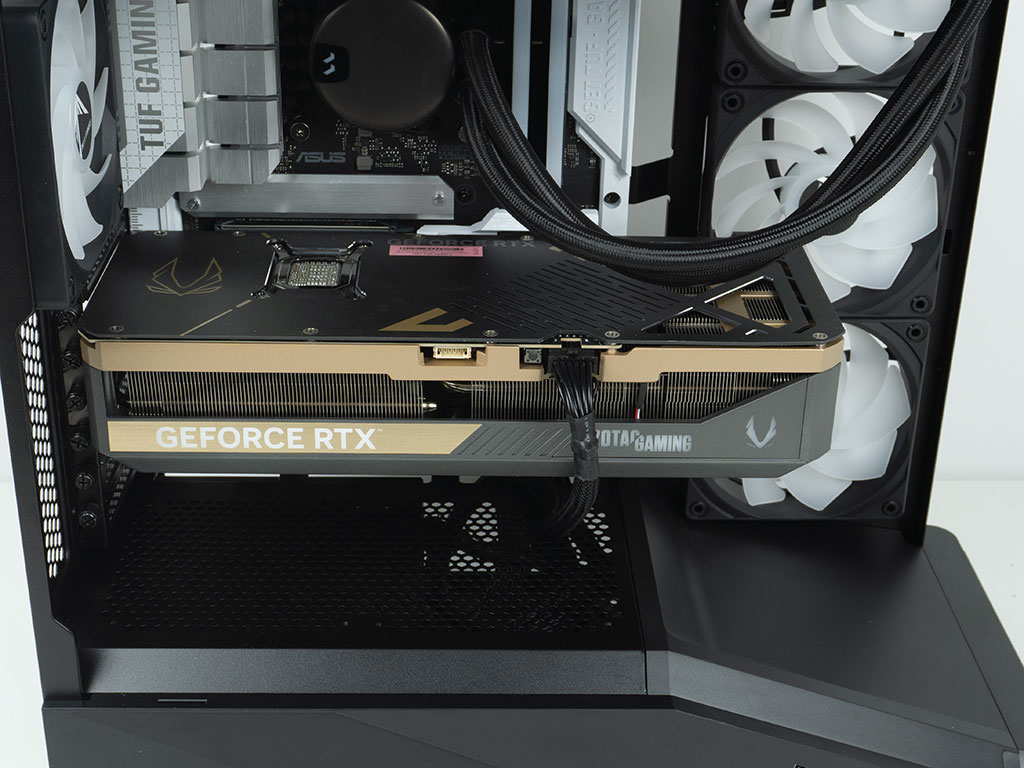
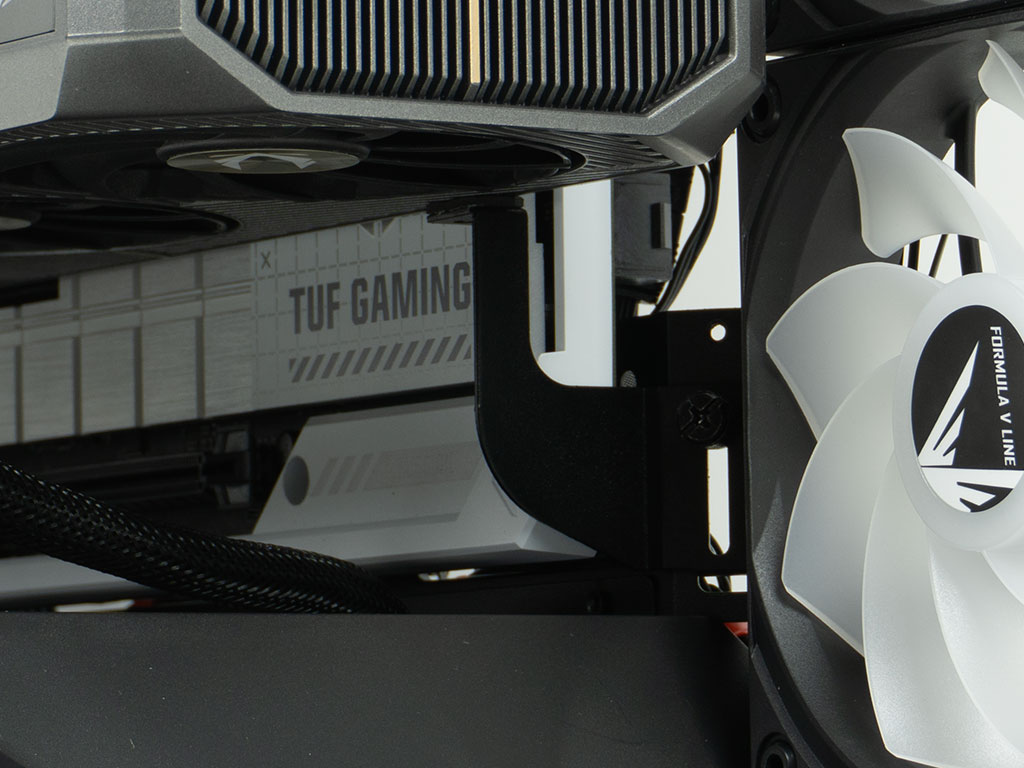
Installing a modern GPU is no issue either, as the Crystal U9 PA has room for units of up to 420 mm length. The GPU bracket can also accommodate those 3+ slots thick variants nicely, but as expected the effect of this type of support is limited and our GPU wasn't completely level even with it in place properly.
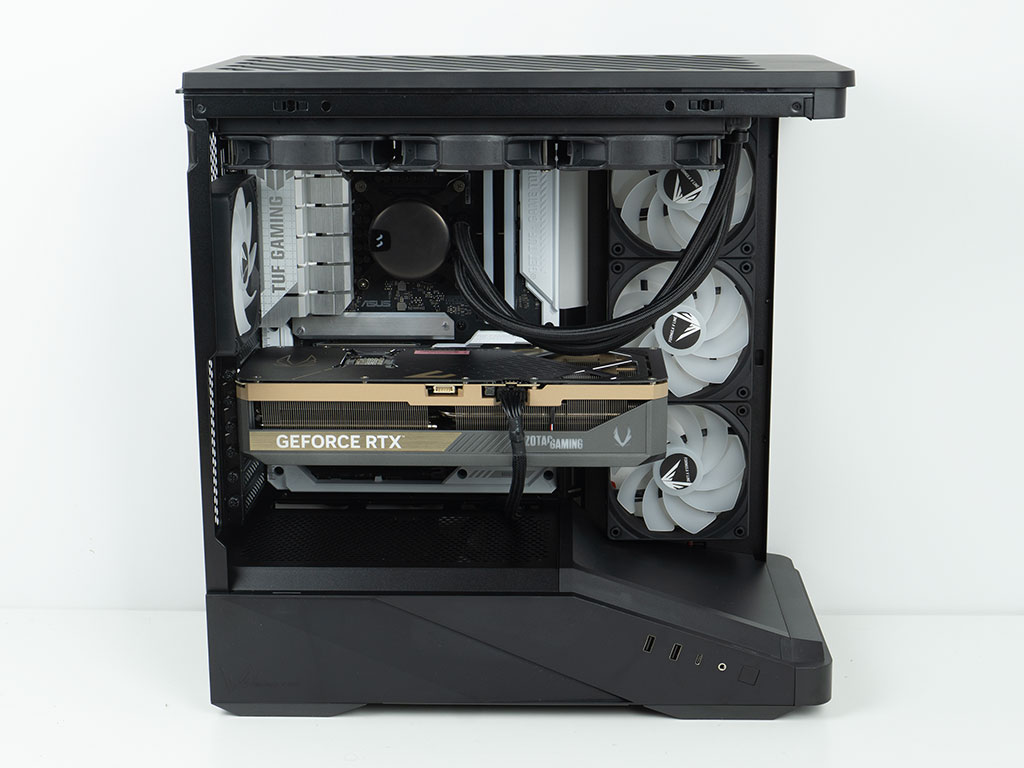
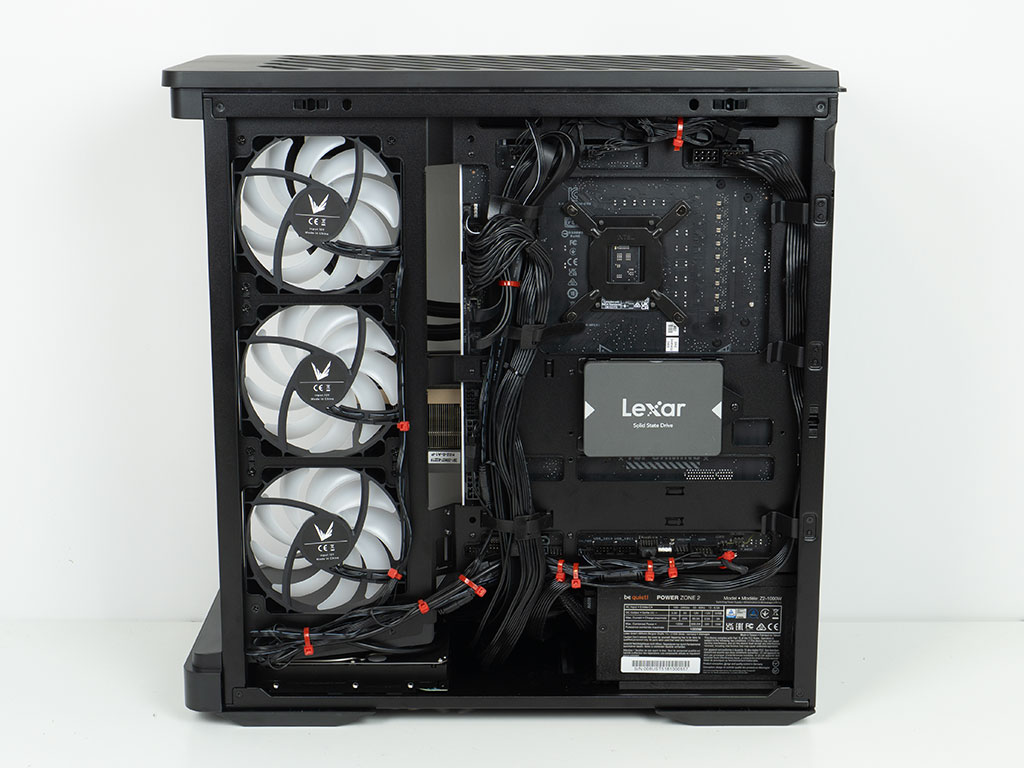
With everything in place, the interior of the Formula V Line Crystal U9 PA looks really clean. However, this is due to the use of the BTF board and our unconventional cable management for side intake fans which goes against the design of the chassis. We also made sure to stay clear of the two large openings towards the front of the case with any cable routing, but you will be able to see these at certain angles, unfortunately. This issue will also be more pronounced for those opting for the white version of the case. That said, we were able to spread the cables out nicely and both the Velcro strips and the plastic clips were helpful in initial cable management, but we did still use quite a few extra zip ties here and there.
Finished Looks
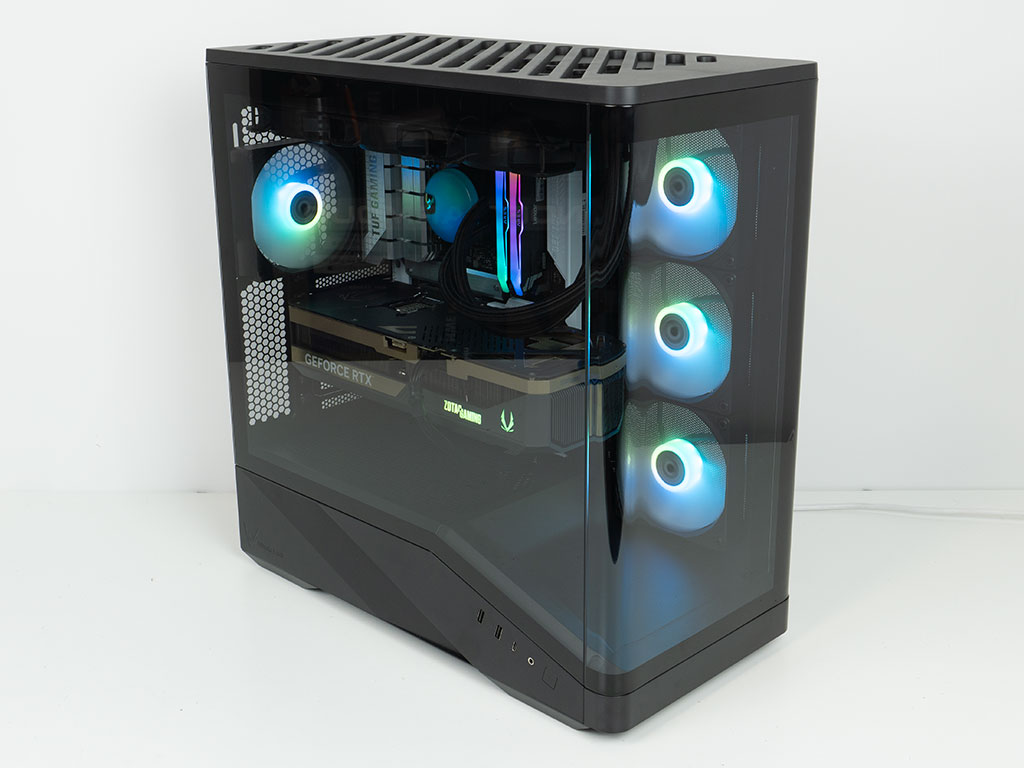
Turning the system on, the four included fans light up at their hubs with the ARGB elements. As these are controlled by the motherboard, you will get to sync all these with your other components via software.
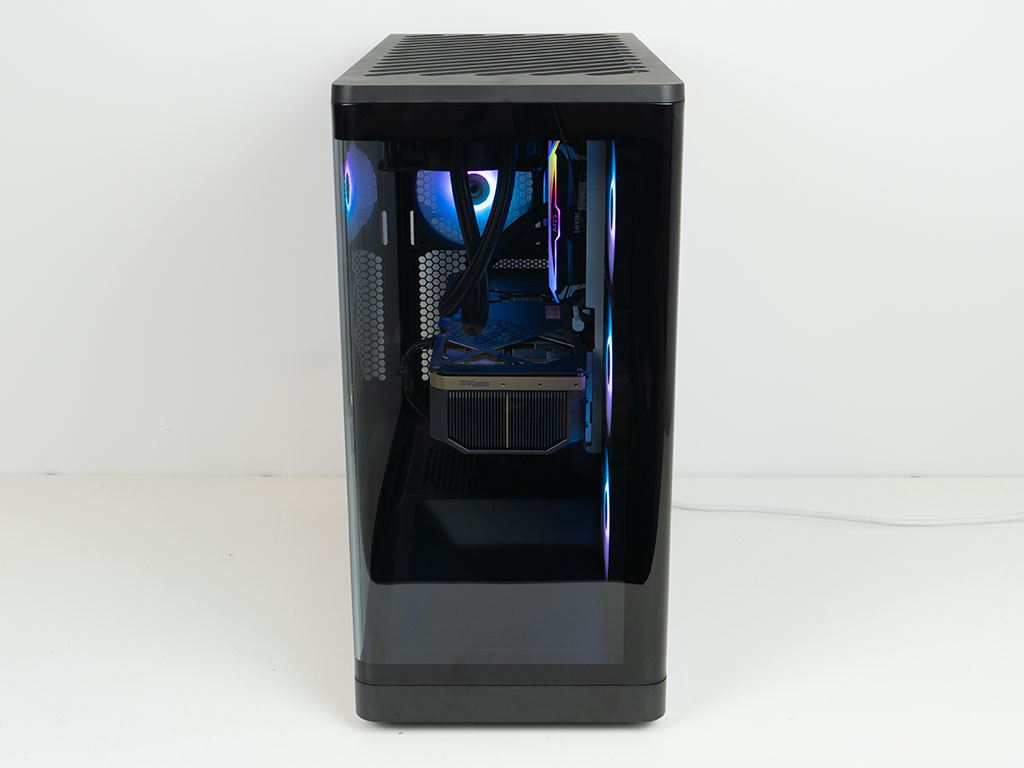
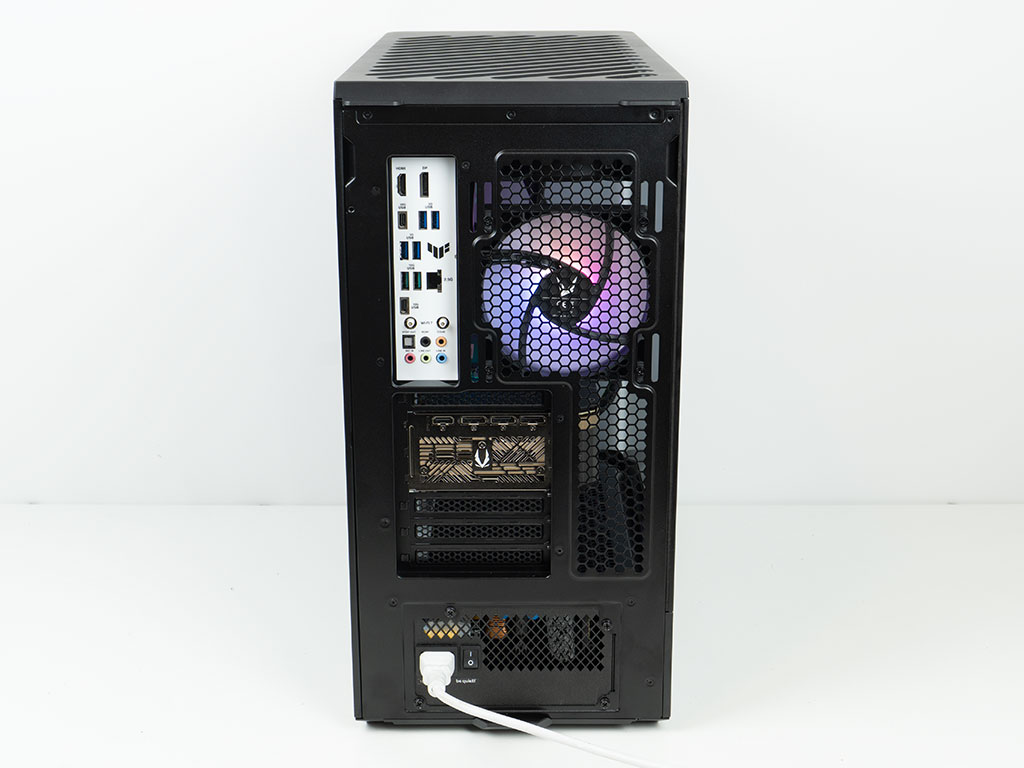
Looking at the finished build from the front, the glass gives you an unobstructed, ever so gently tinted view of the components within. The fans are just thick enough to hide the cable openings from view from this straight on angle. In the rear, everything is where you would expect to see it for a modern chassis.
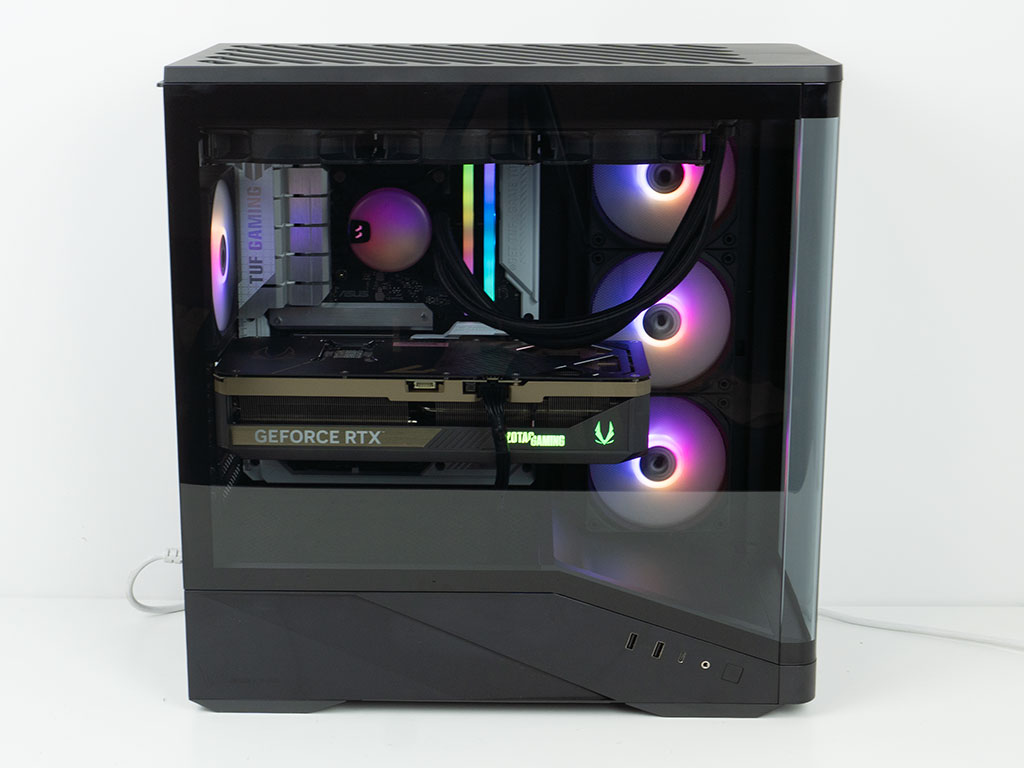
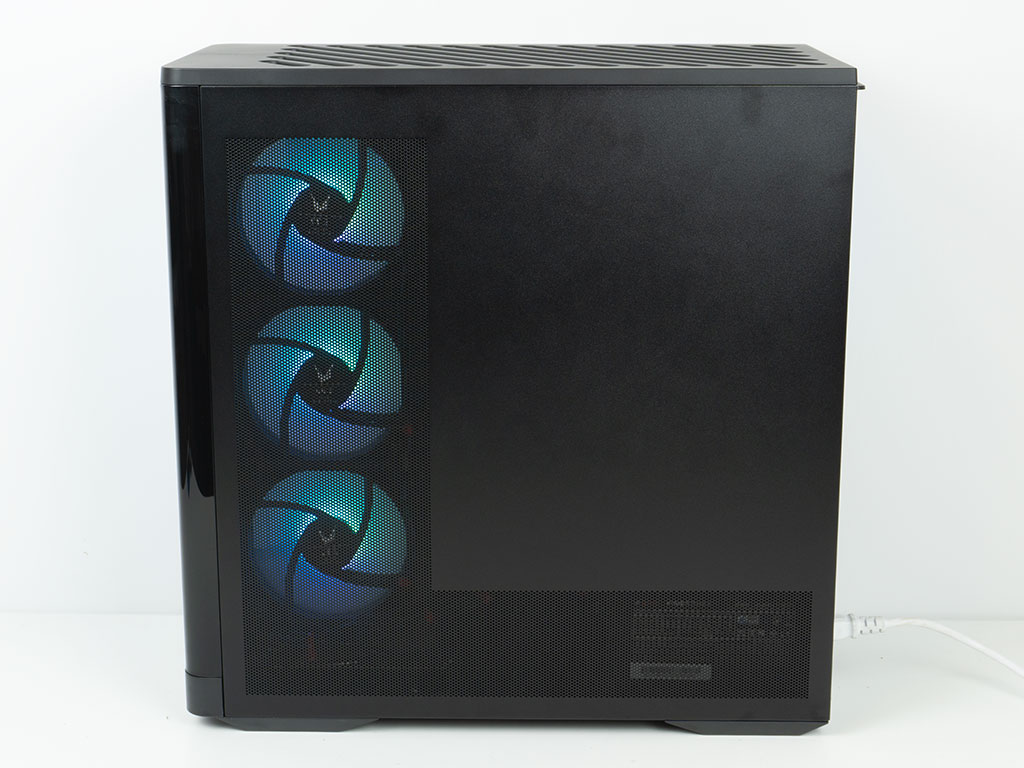
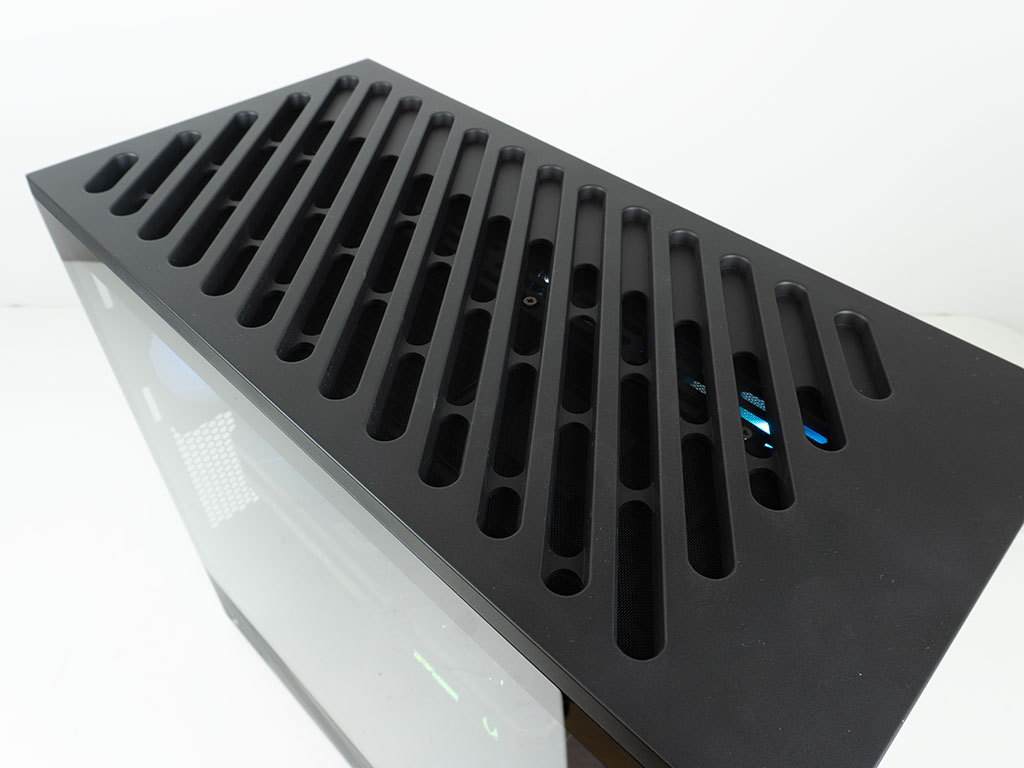
Similarly to the front, the gentle tint of the side glass panel is perfectly balanced, allowing you to still enjoy the ARGB components you may have without them being dimmed too much. On the opposite side, you can clearly see the area used for the side intake fans to pull in cool outside air into the system. In the top, thanks to the open design, the radiator and screws holding it in place are also visible. Once again, this likely means that the chassis will perform well regarding its thermals.
Nov 20th, 2026 14:31 PST
change timezone
Latest GPU Drivers
New Forum Posts
- Logitech Headsets Modded Driver — Unlock Dolby in G HUB (23)
- 1 - 5 person file storage server equivalent accasible from anywhere + general VM server. (1)
- WarpCoreBench scores! (81)
- How to prevent OLED burn damage due to PC freezes or power outtages? (48)
- Honestly, do you care about GTA VI? (208)
- When you could finally run Crysis maxed out? (63)
- GTA VI (20)
- Anthrophics IPO (25)
- GeekMagic Ultra Smart WiFi Weather Station (8)
- Very unusual two gaming-pc scenarios. (35)
Popular Reviews
- AMD Zen 6 Technical Deep Dive
- Microsoft Surface Laptop Ultra Review - The Next-gen Arm Laptop
- Ugreen NASync DXP4800 GT Review
- Corsair RM1200e (Second Generation) Review
- Acemagic Retro X3 Review
- Upcoming Hardware Launches 2027 (Updated Nov 2026)
- Pulsar Office Tour & First Look at P1 Dual-Sensor Mouse
- Biwin Black Opal NV7400 2 TB Review
- AMD Ryzen 7 9800X3D Memory Performance Scaling
- AMD Ryzen 7 9800X3D Review - The Best Gaming Processor
TPU on YouTube
Controversial News Posts
- NVIDIA Co-Founder and CEO Jensen Huang Officially Resigns (490)
- Report: Jensen Huang Eyes NVIDIA Comeback (256)
- Open Letter Asking NVIDIA to Reinstate Jensen Huang Passes 115,000 Signatures (184)
- OpenAI CEO Argues Home PCs Waste the World's Limited DRAM Supply (152)
- NVIDIA Launches Investigation Into Jensen Huang's Relationship With Suspected Chinese Spy (136)
- Intel "Raptor Lake Next" 16-Core and 20-Core CPUs Surface (130)
- Legendary Game Studio BioWare Shuts Down Following EA Layoffs (104)
- Dell CEO Says the Memory Shortage Will Get Worse in 2027 (95)