 14
Formula V Line Air Power G10 Review
Thermal Stress Test »Assembly
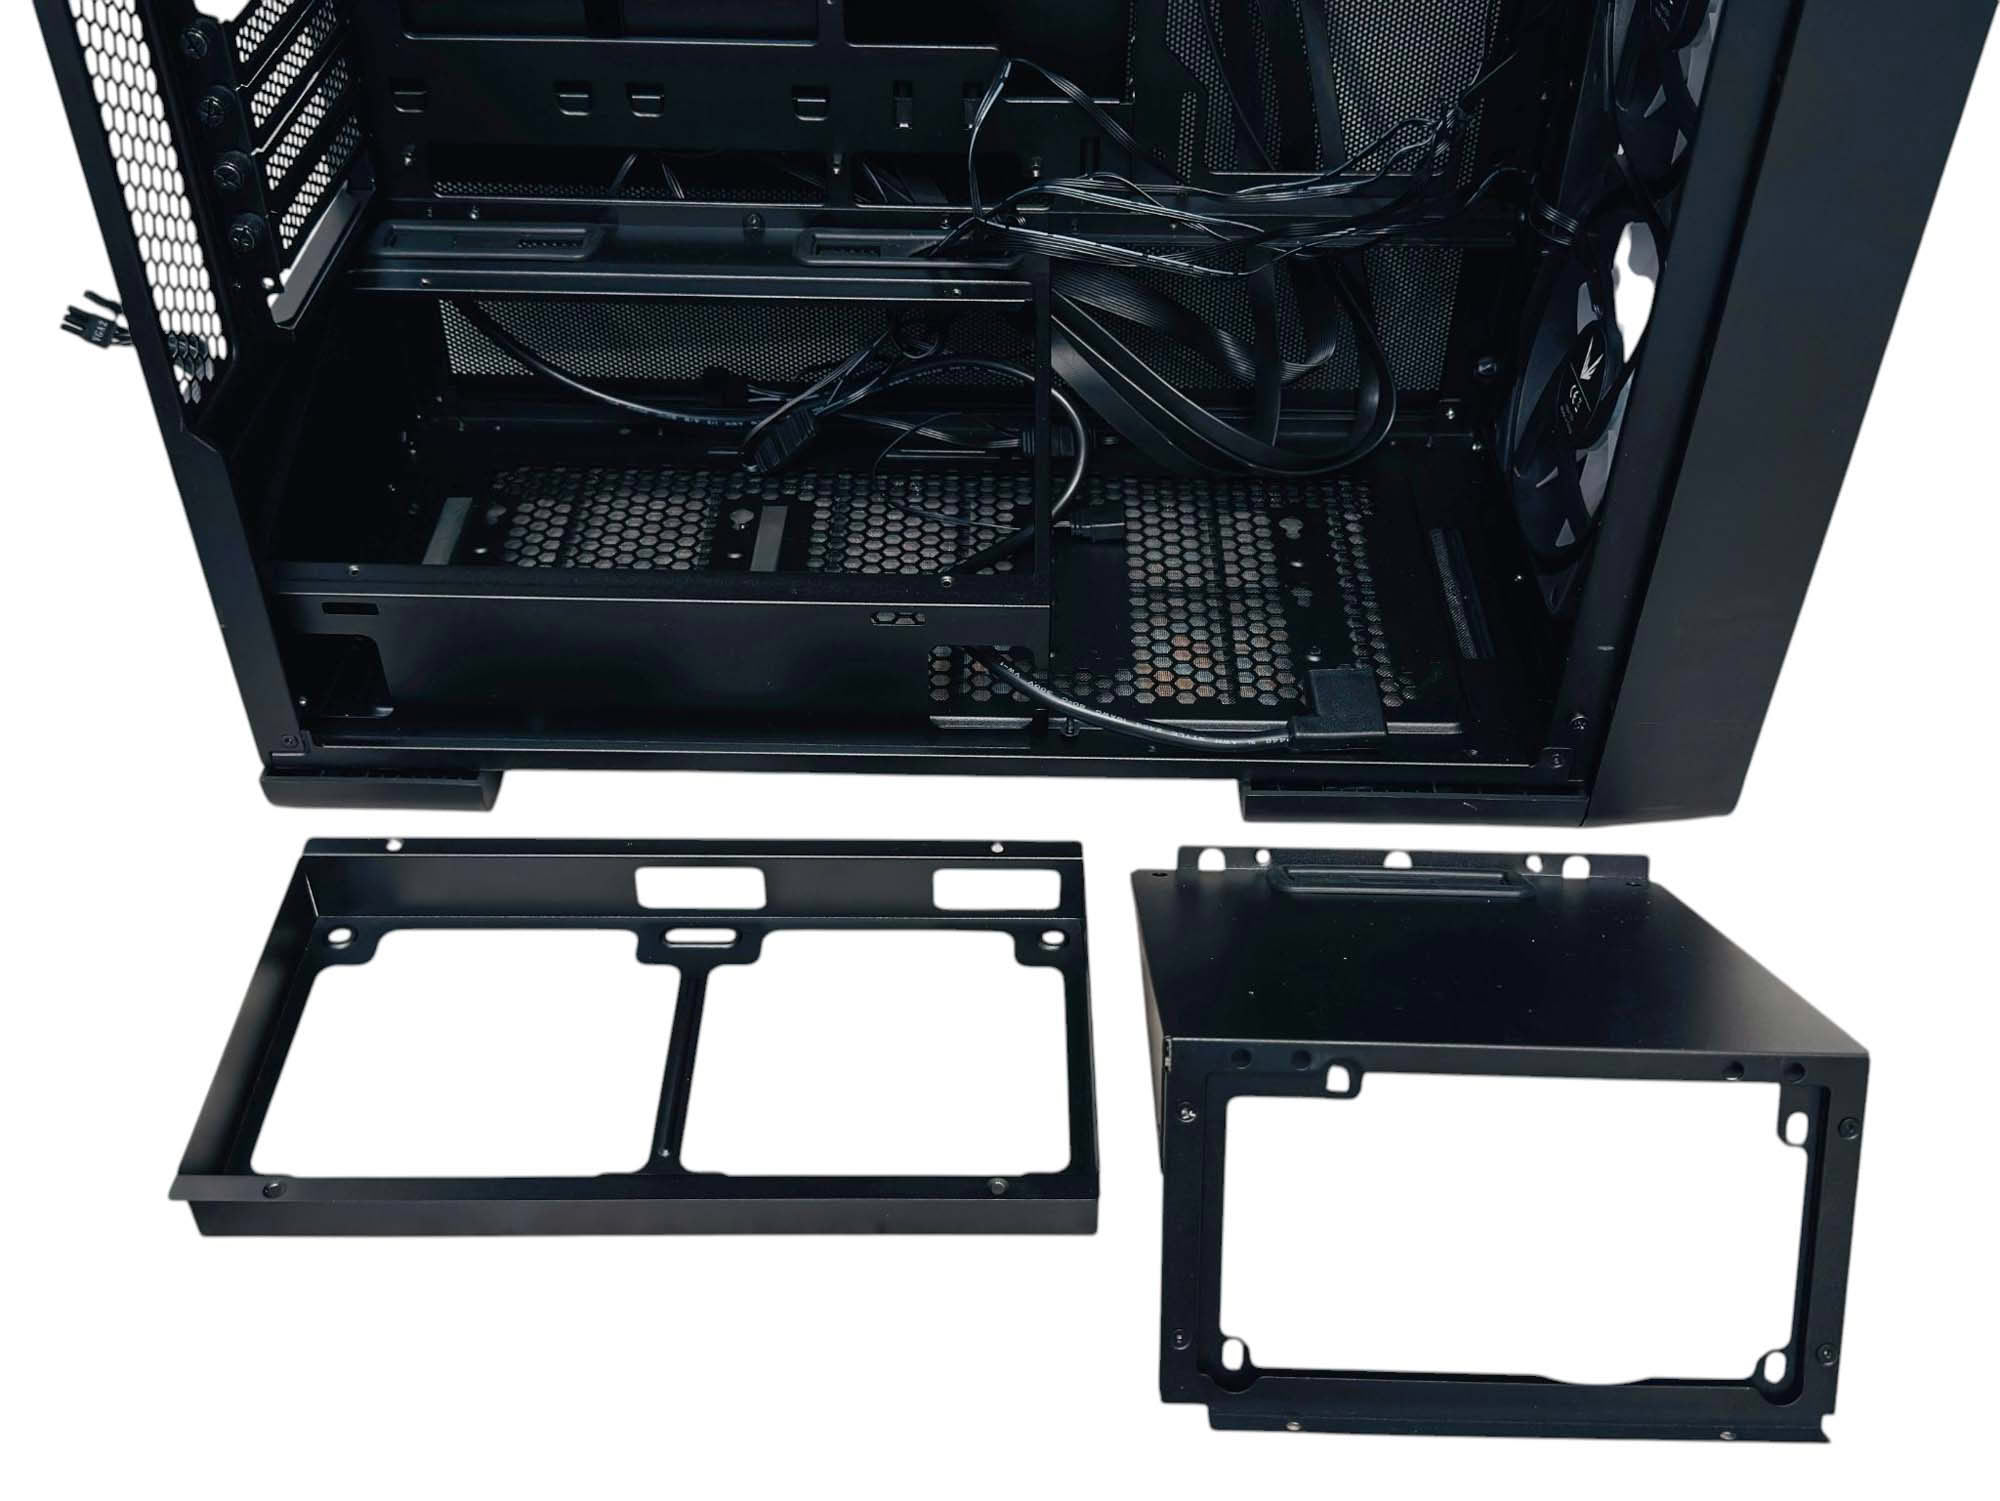
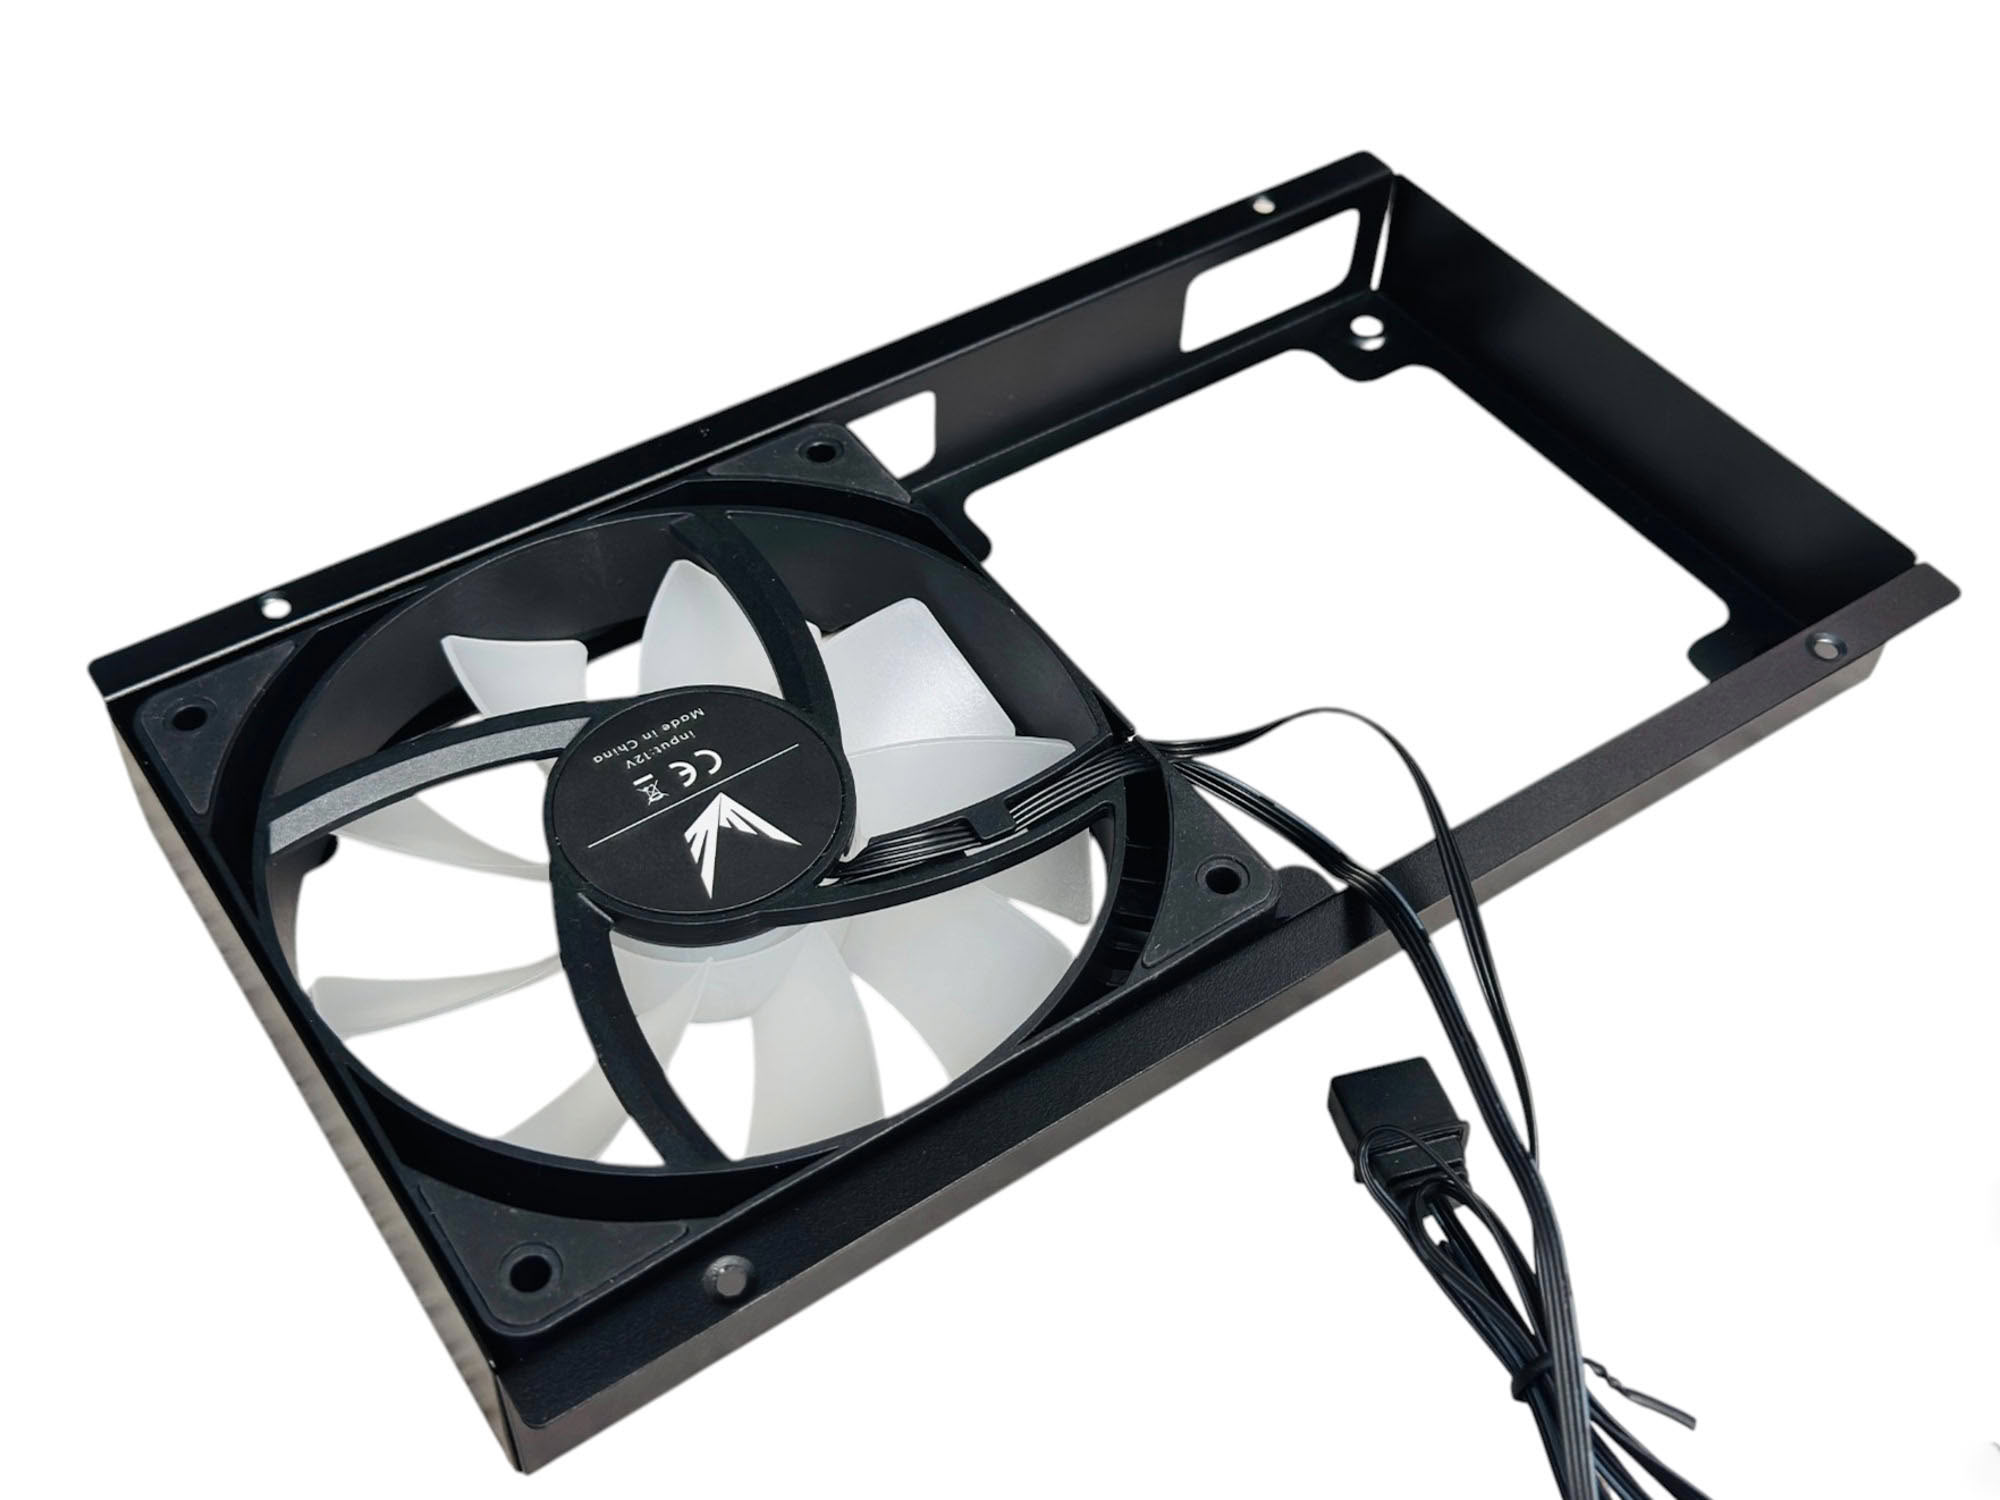
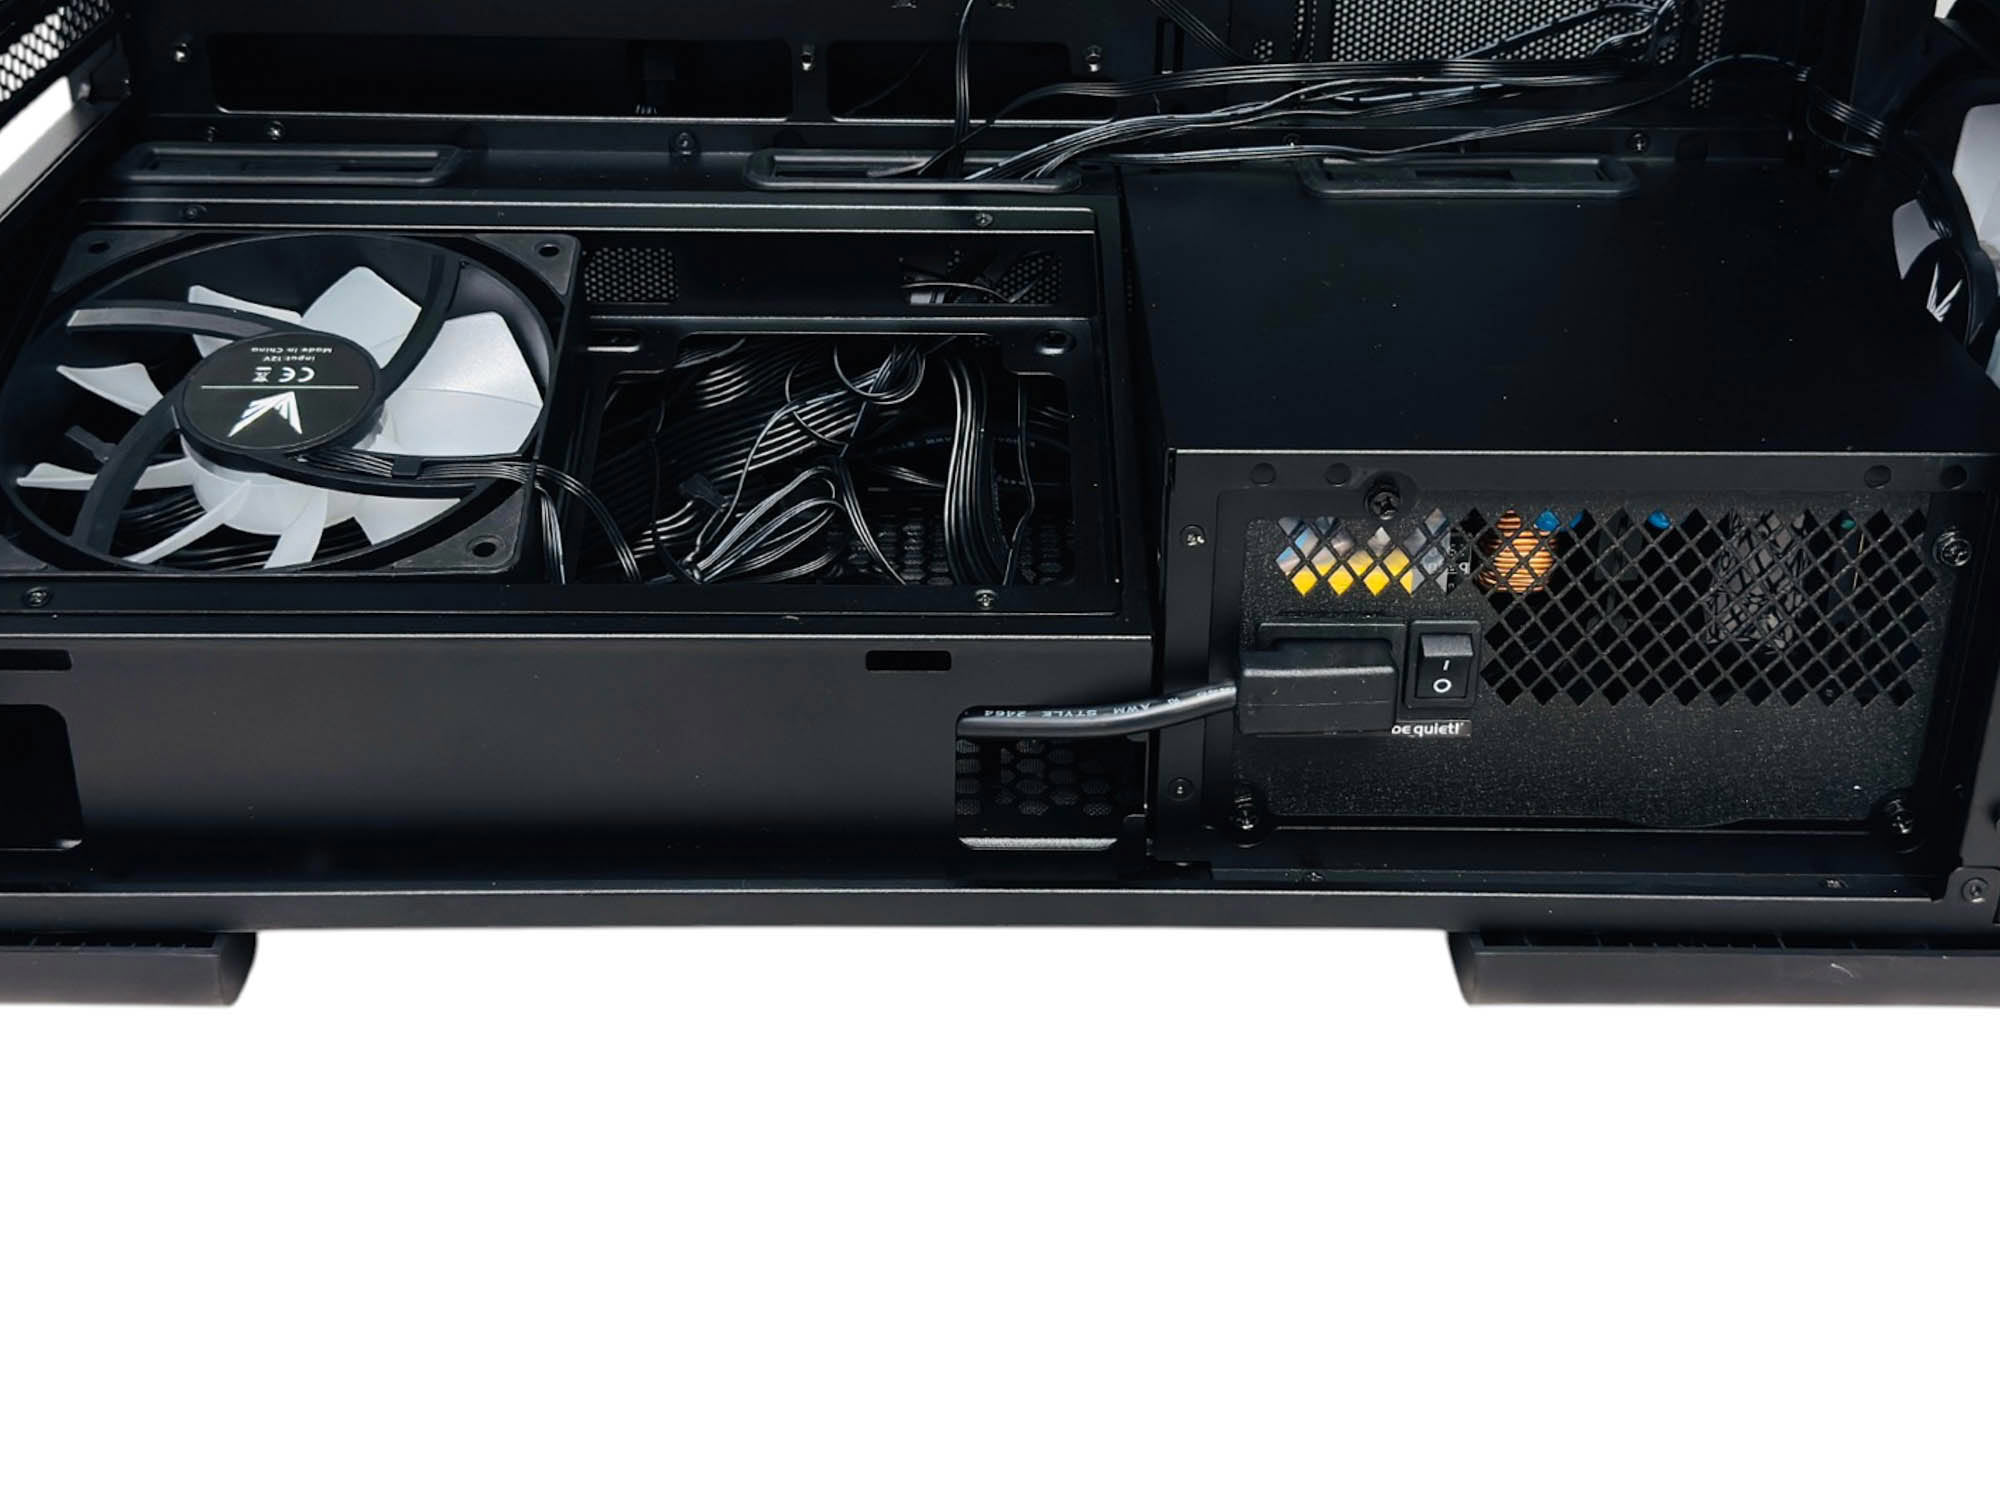
To start with, it's necessary to deal with the PSU and fan mounts, swapping them if needed so the fan mount is under your graphics card. This is best done before installing the motherboard. The included spare fan does not have reversed blades so you'll need to install it with the inner frame pointing upwards, so the airflow is directed at your graphics card. Unfortunately, without a second fan there's a gaping hole in the frame that's a little unsightly. The PSU meanwhile needs the kettle lead extension to be threaded through a small hole at the front of the fan enclosure. An optional task is to disconnect and re-route the fan and lighting cables through the PSU enclosure at the rear, but they are barely visible once a graphics card is installed.
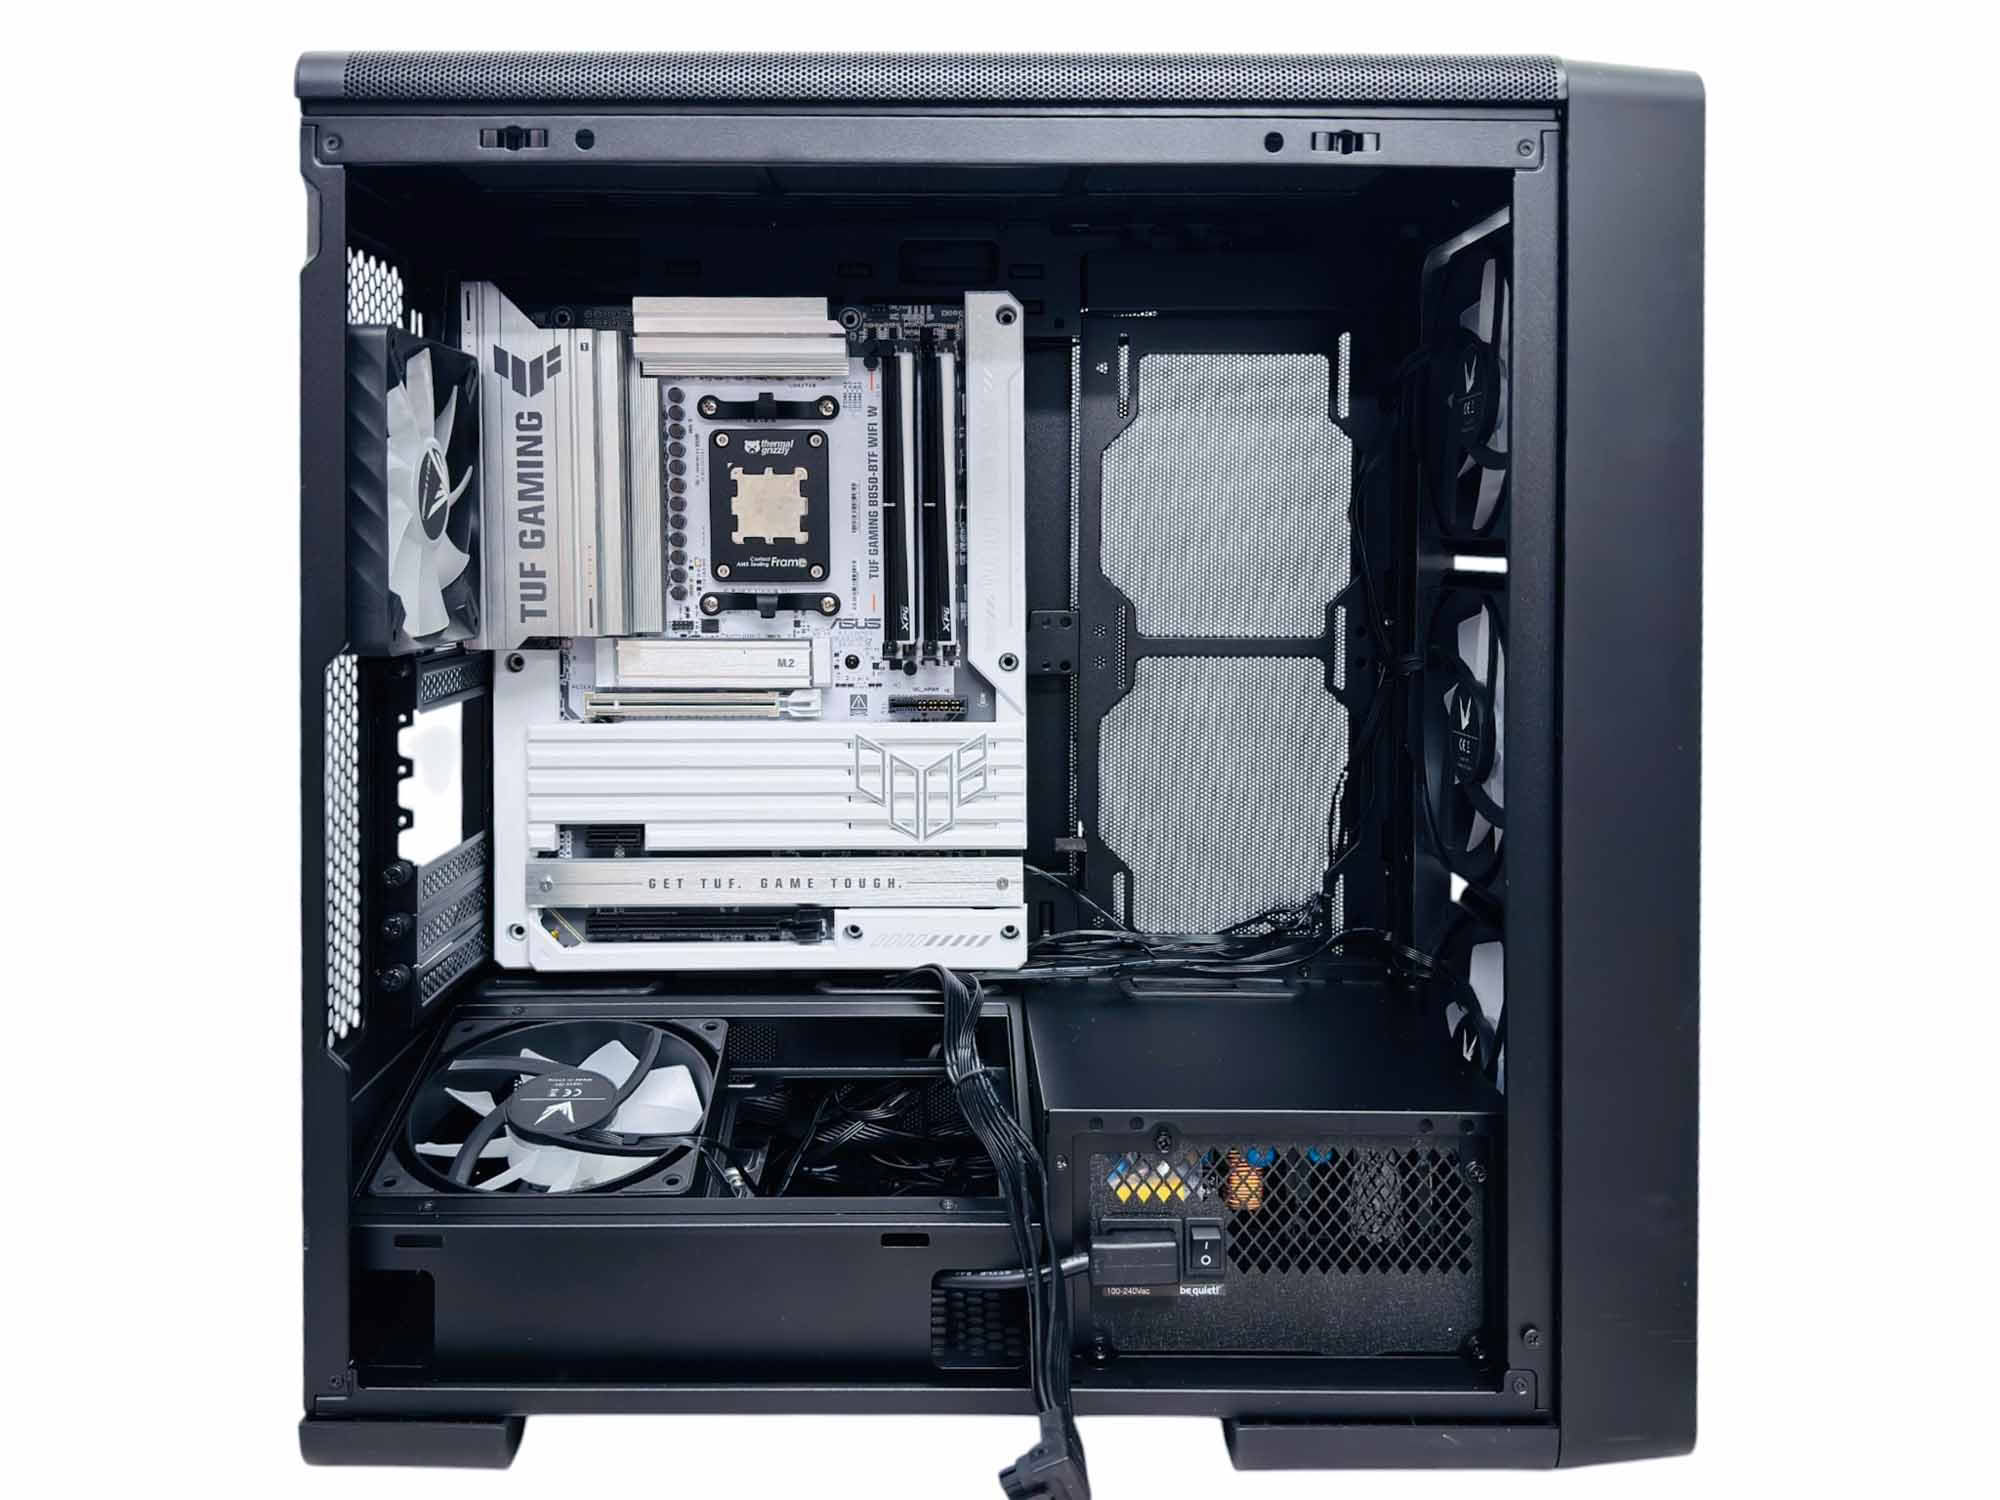
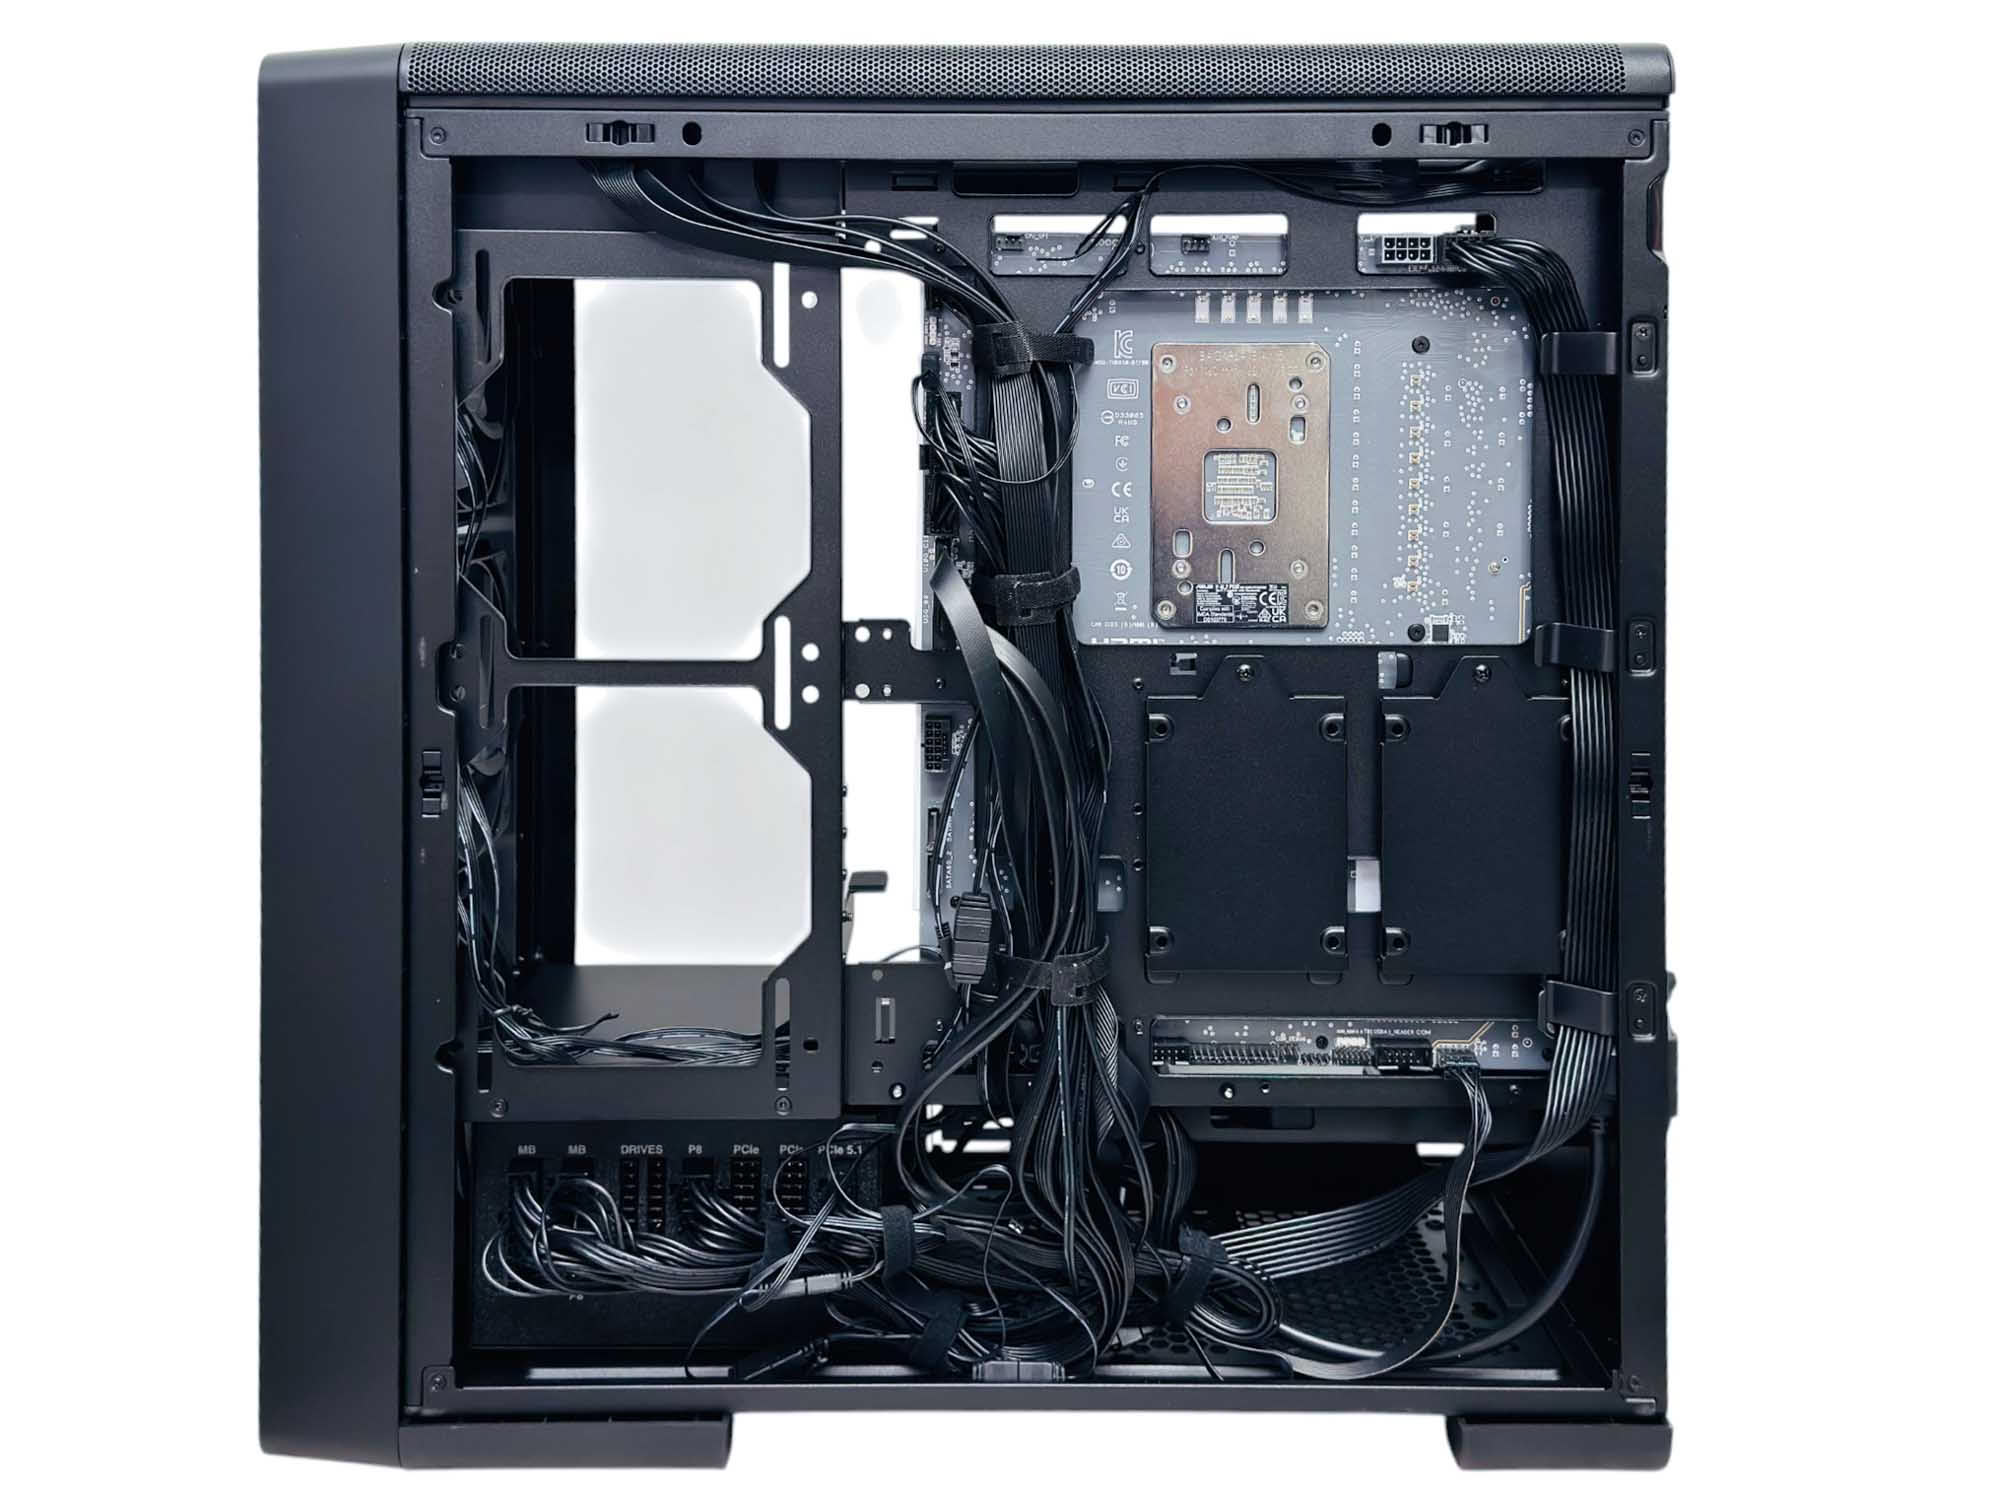
Installing a rear connector motherboard is a little fiddly due to the proximity of the rear fan. As usual the large fascia on our ASUS board meant the cable management holes below it were covered, requiring any cables here to be threaded through prior to installing it, such as the GPU power cable here. As usual, the cables do quickly obscure connectors on rear connector motherboards, so you'll need to plan to connect things up first before you start anchoring them down. Another reason to add a second fan is that the large area beneath them is great for stowing cables, but will be visible without a second fan covering the area beneath.
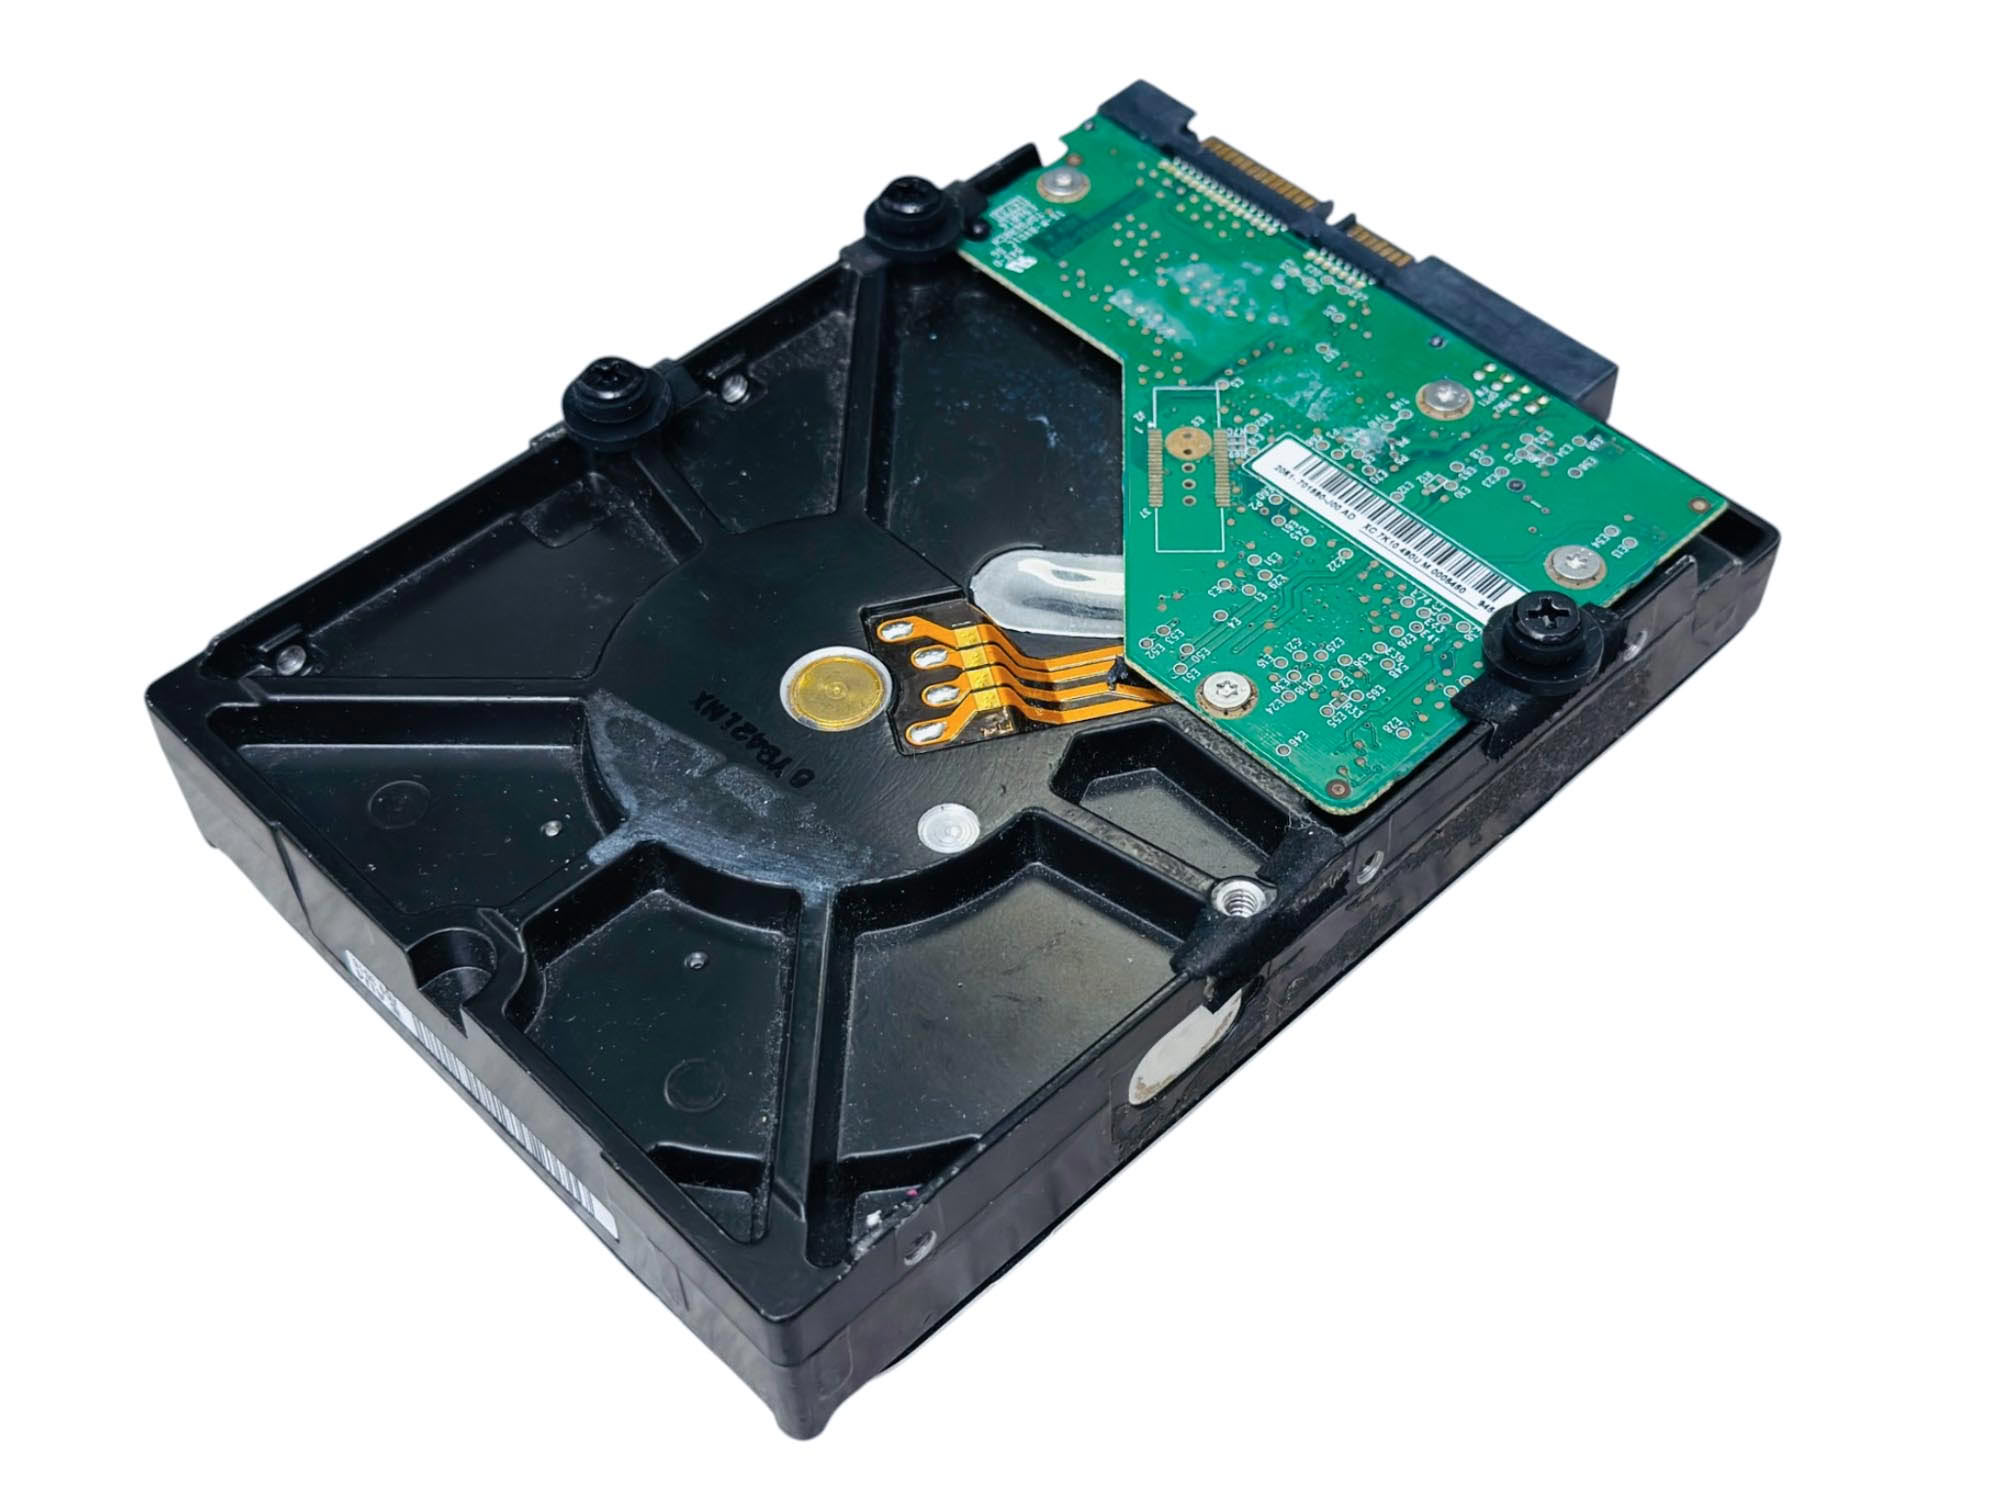
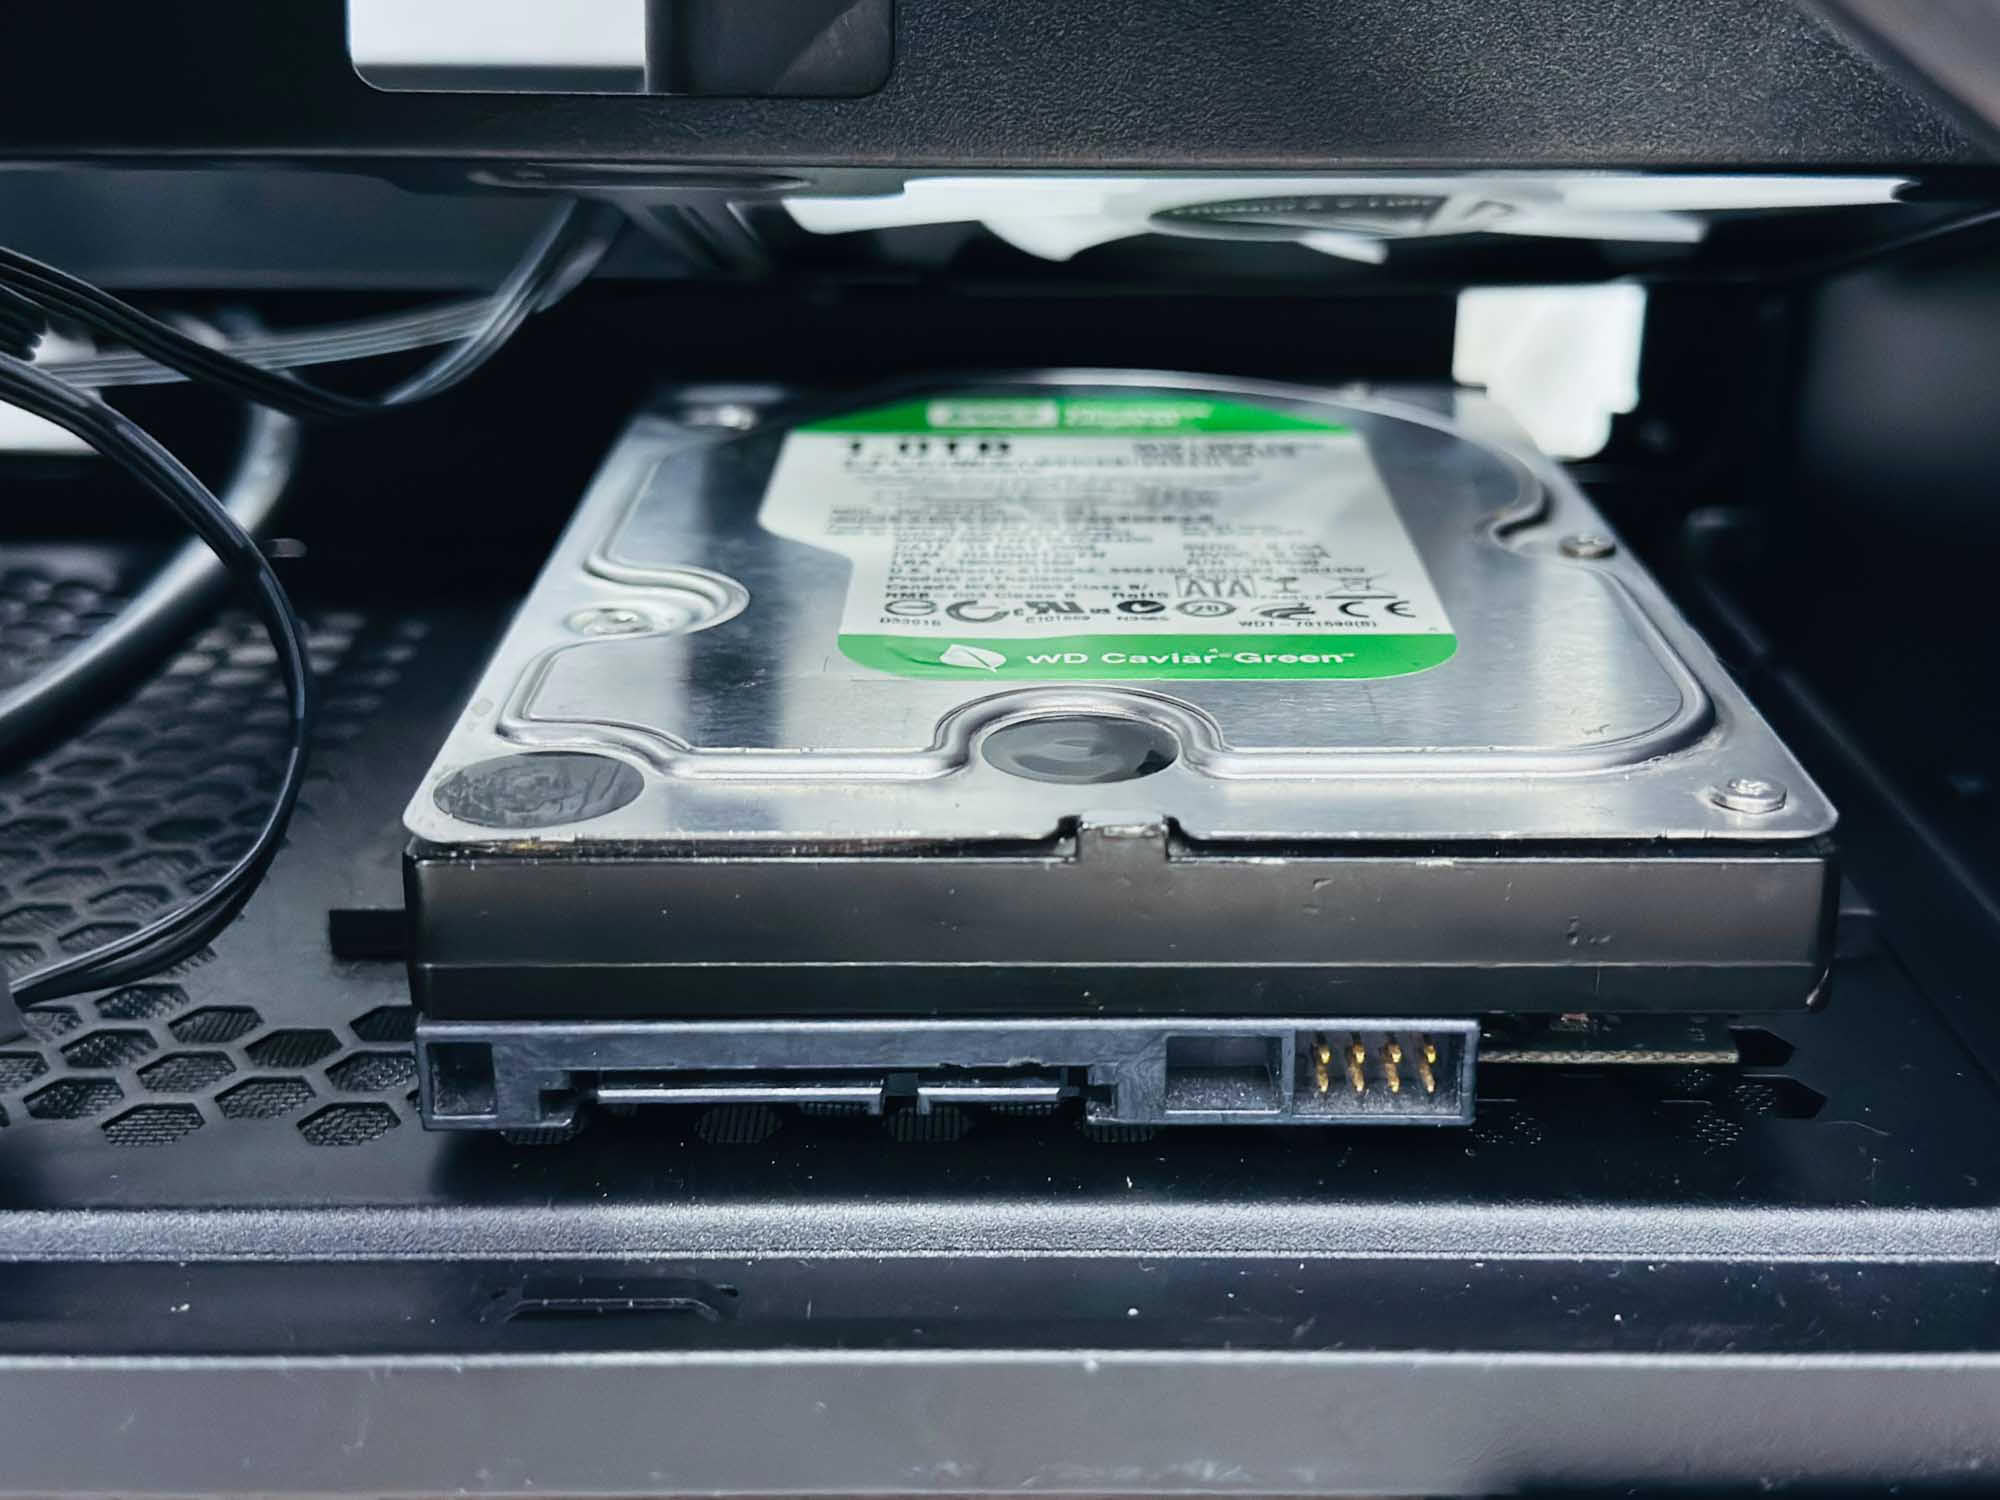
The hard disk is secured using three rubber grommets secured to it with screws, allowing it to slide into place. As the PSU occupies this spot or the one further forward, while there are two 3.5" mounts here, only one can be used at any given time.
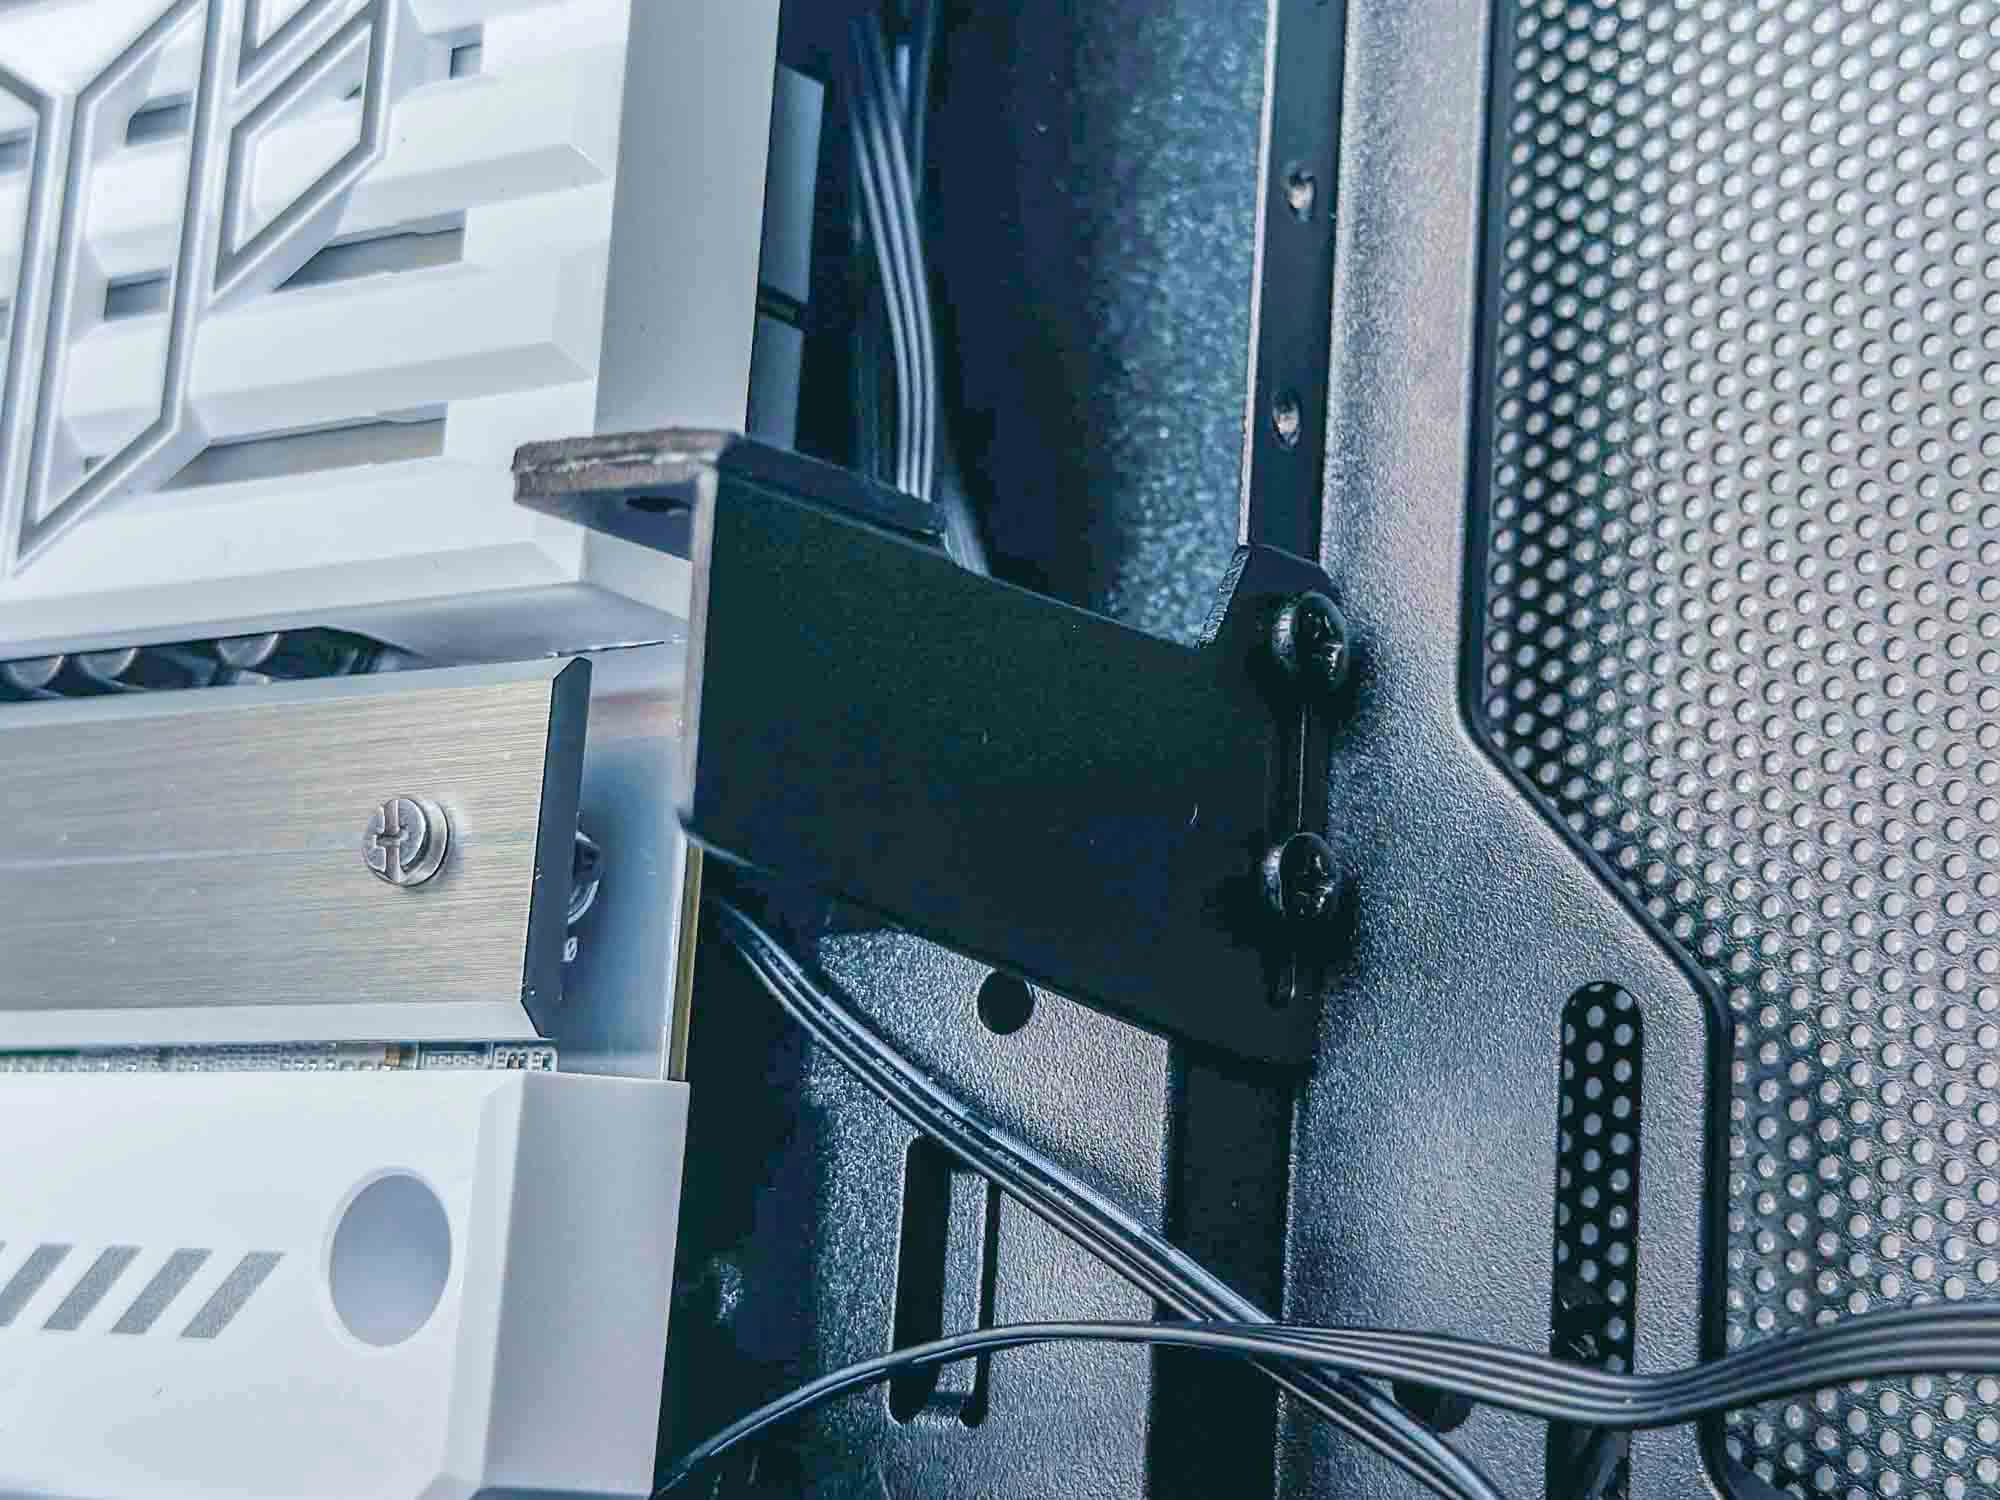
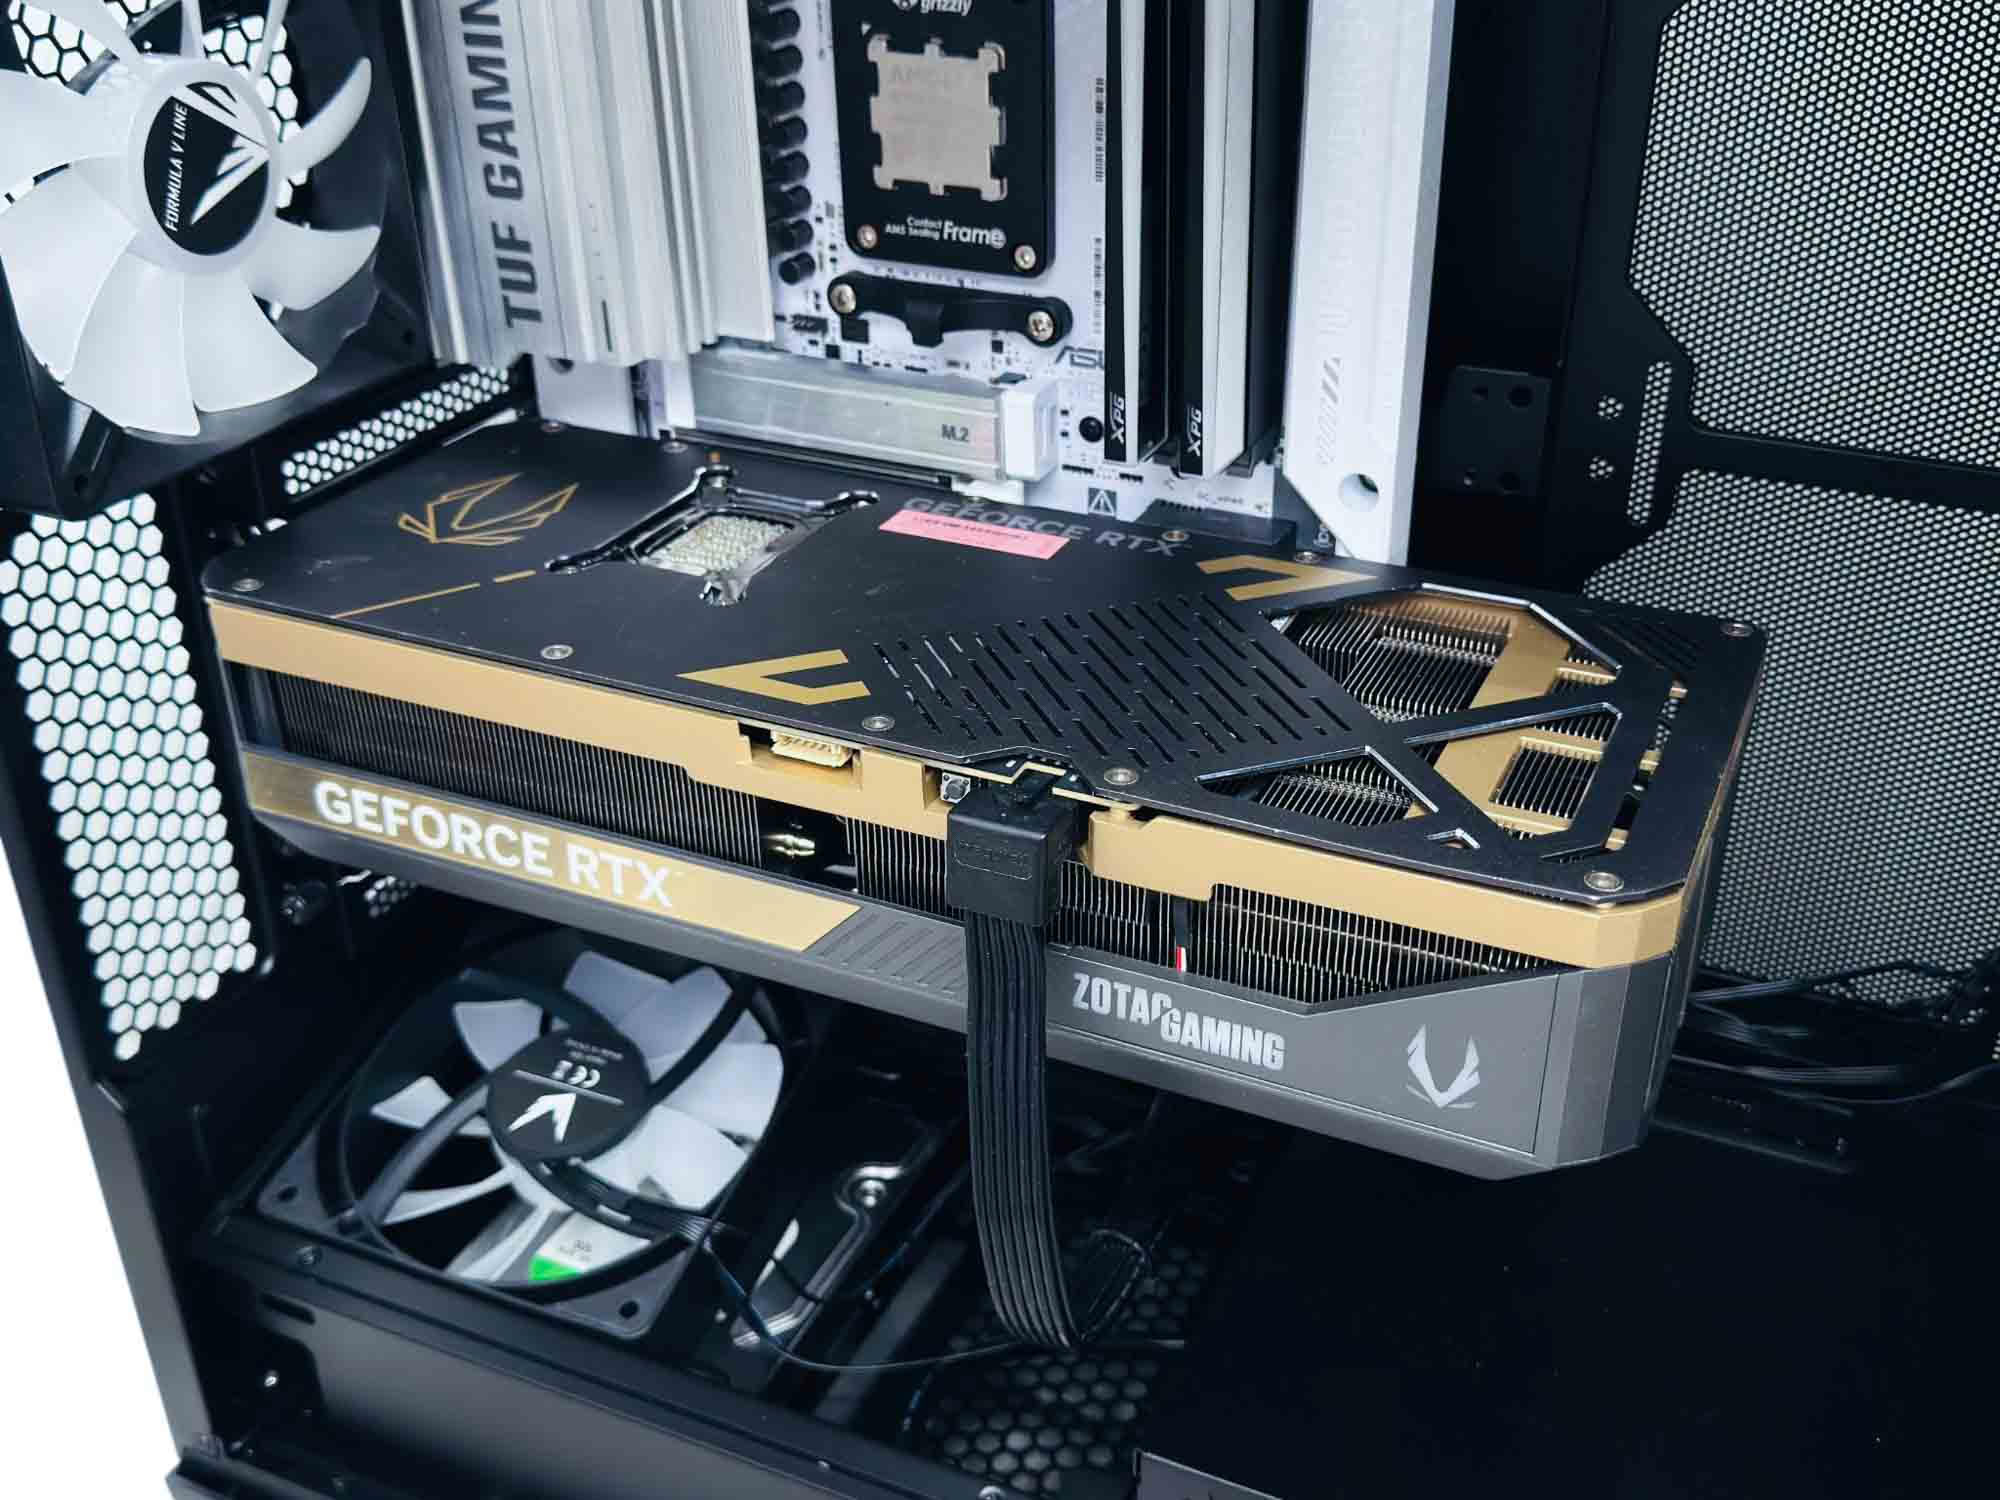
The GPU support is very fiddly to install as getting a normal-size screwdriver to it requires removing the entire front panel. Its inclusion feels like an afterthought as it would have been fairly easy to have it secured on the face of the motherboard tray rather than the side. Once there it's just about long enough to reach under your GPU, although height is the only available adjustment.
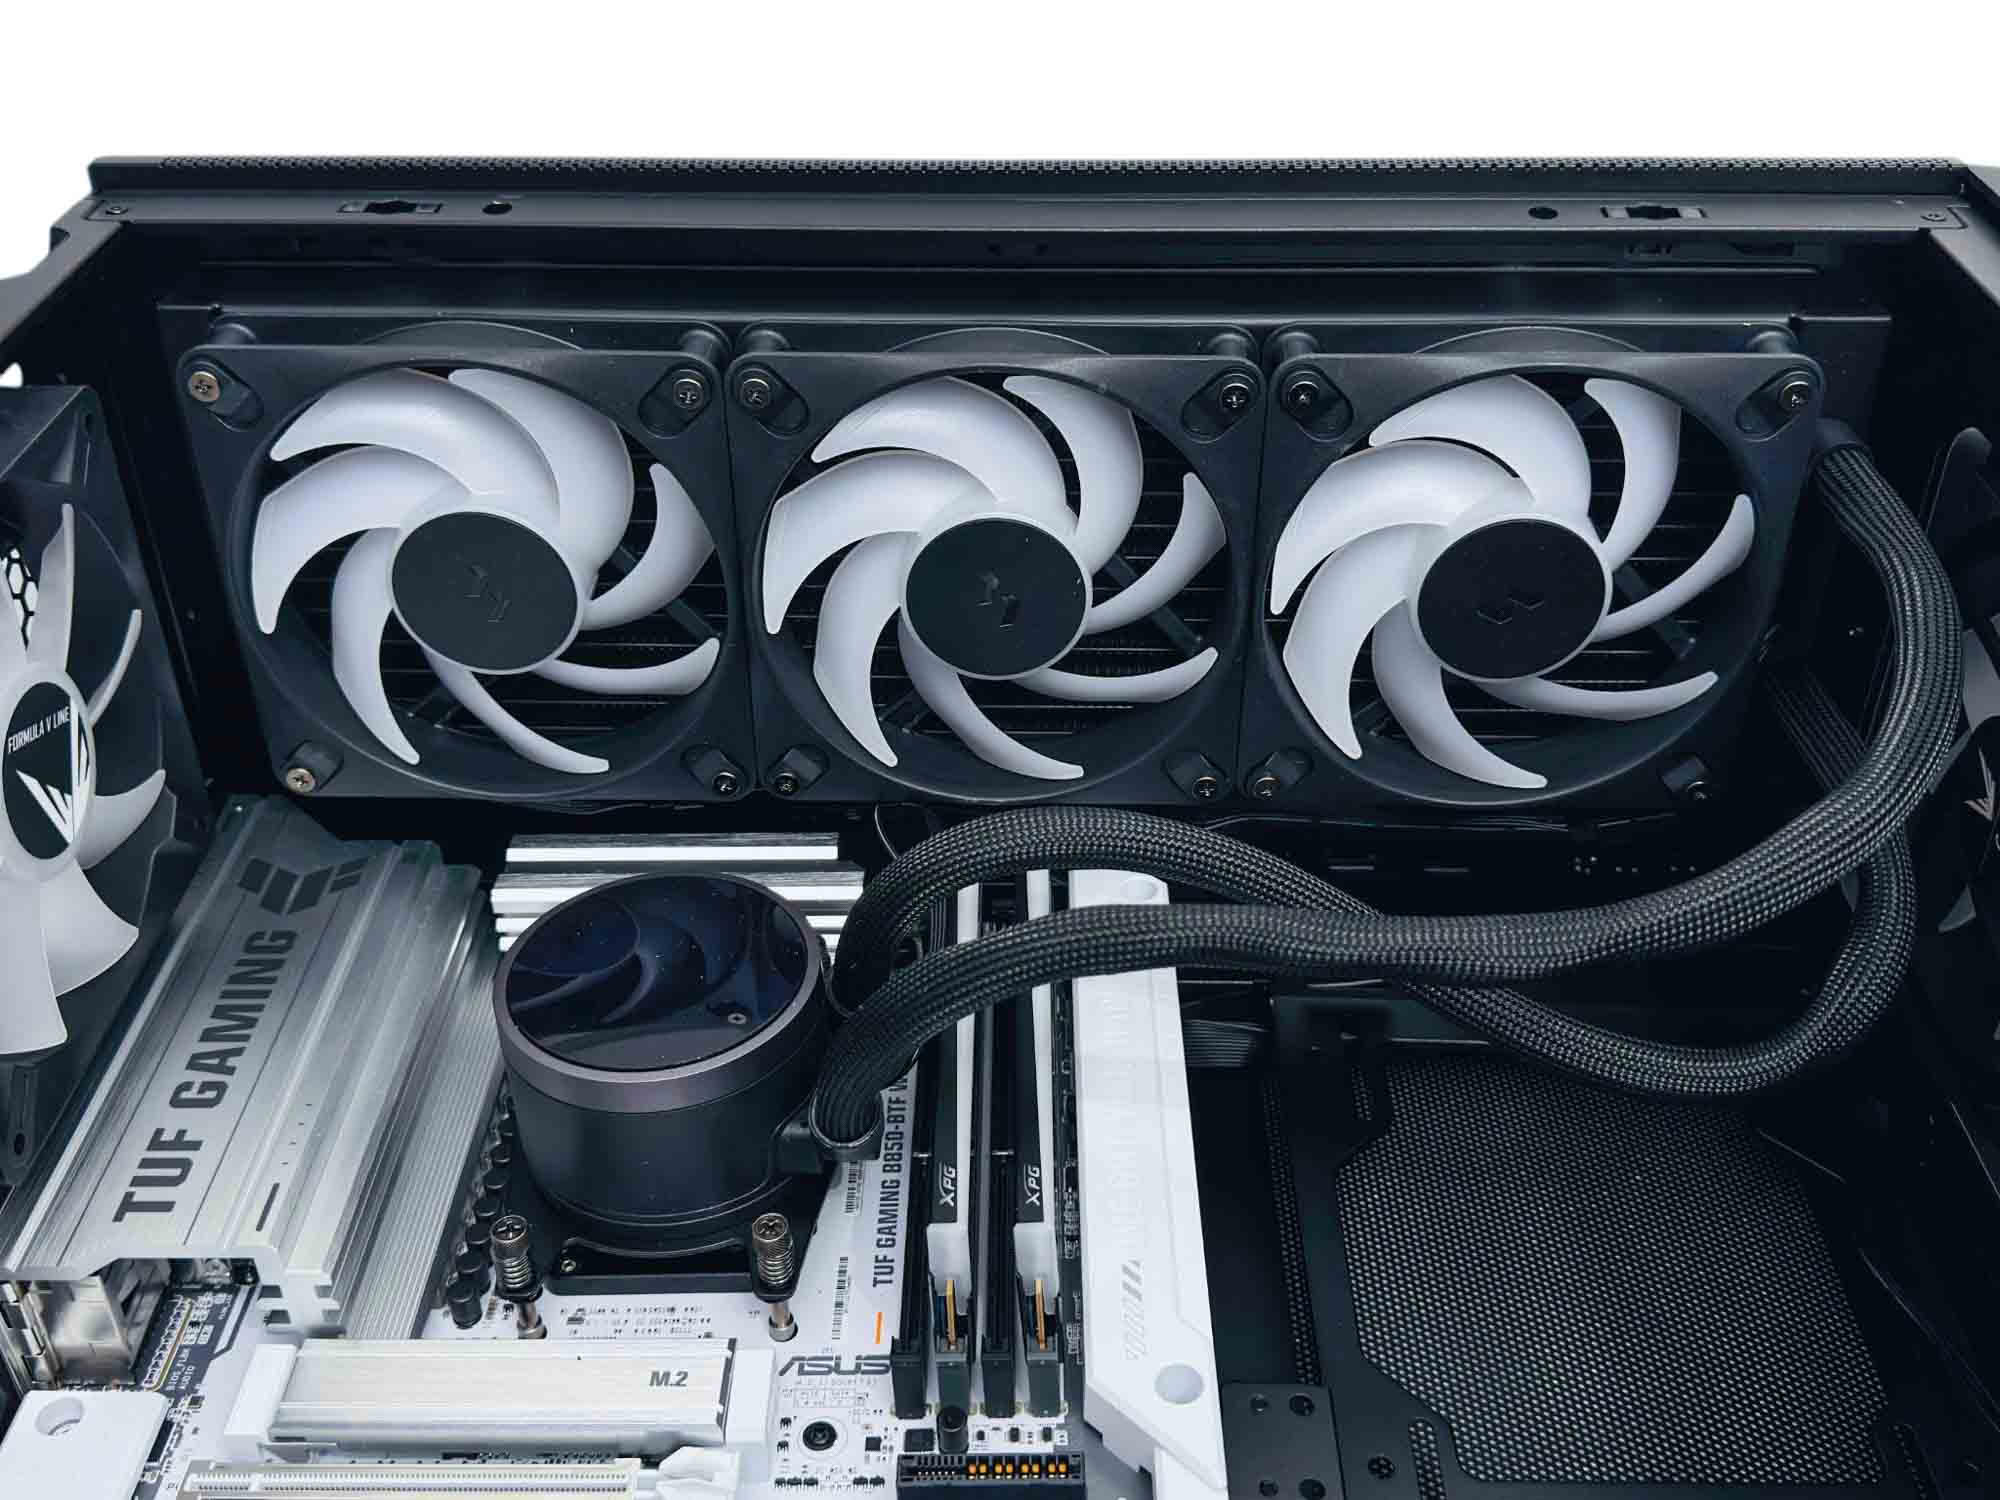
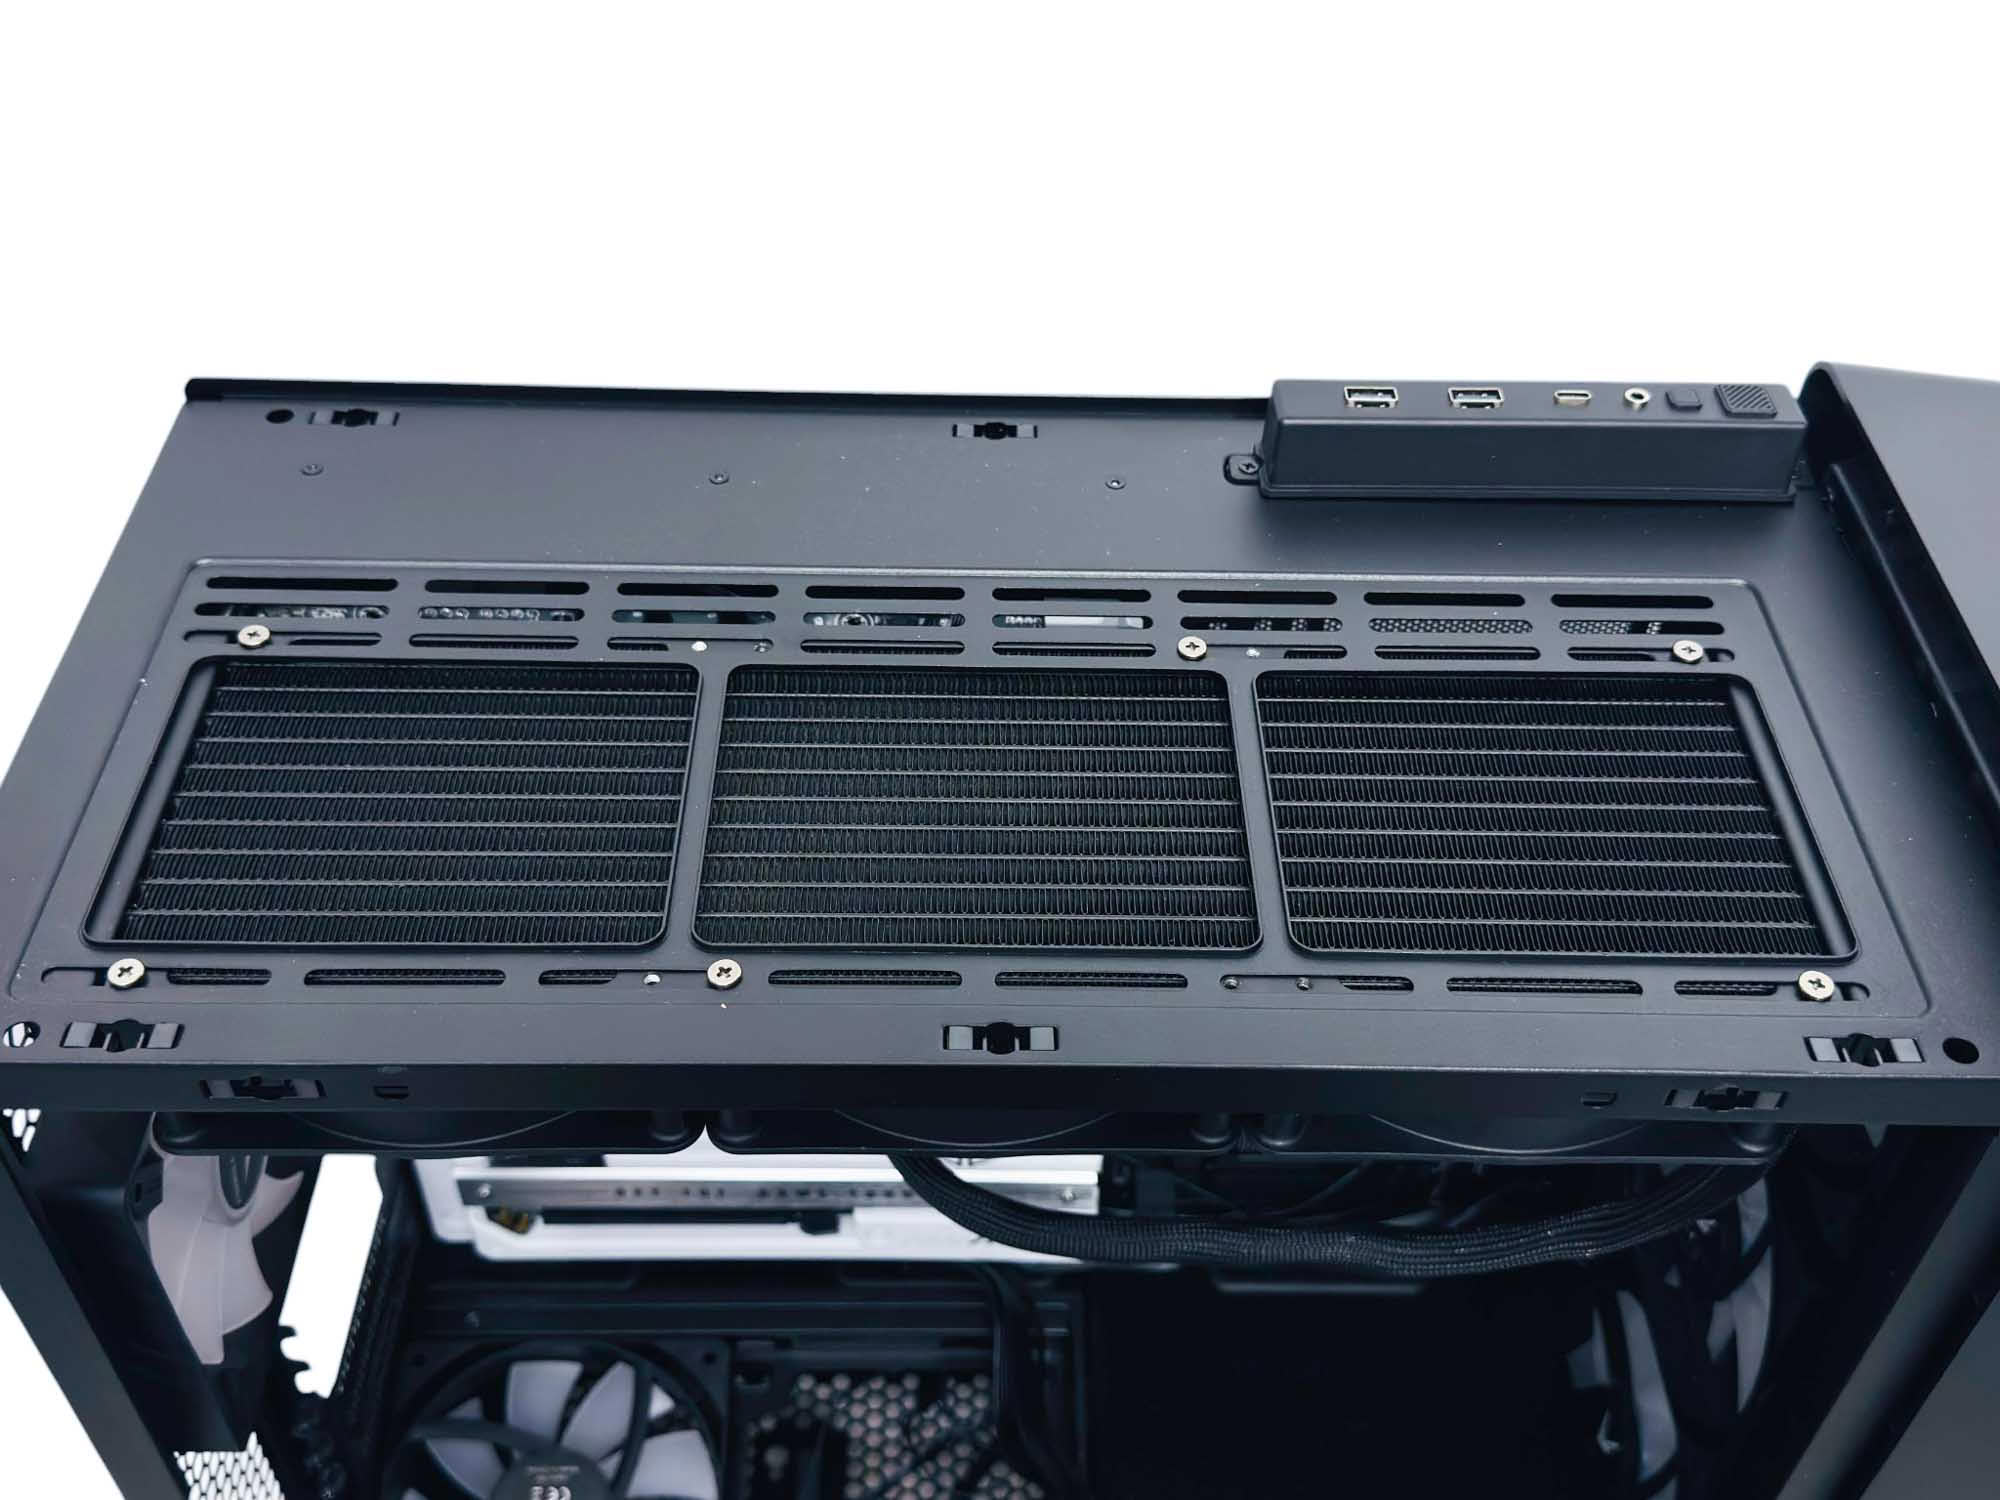
The natural orientation for liquid coolers is for the tubes to be at the front of the case, and the extra space at either end to slot the radiator in is very welcome.
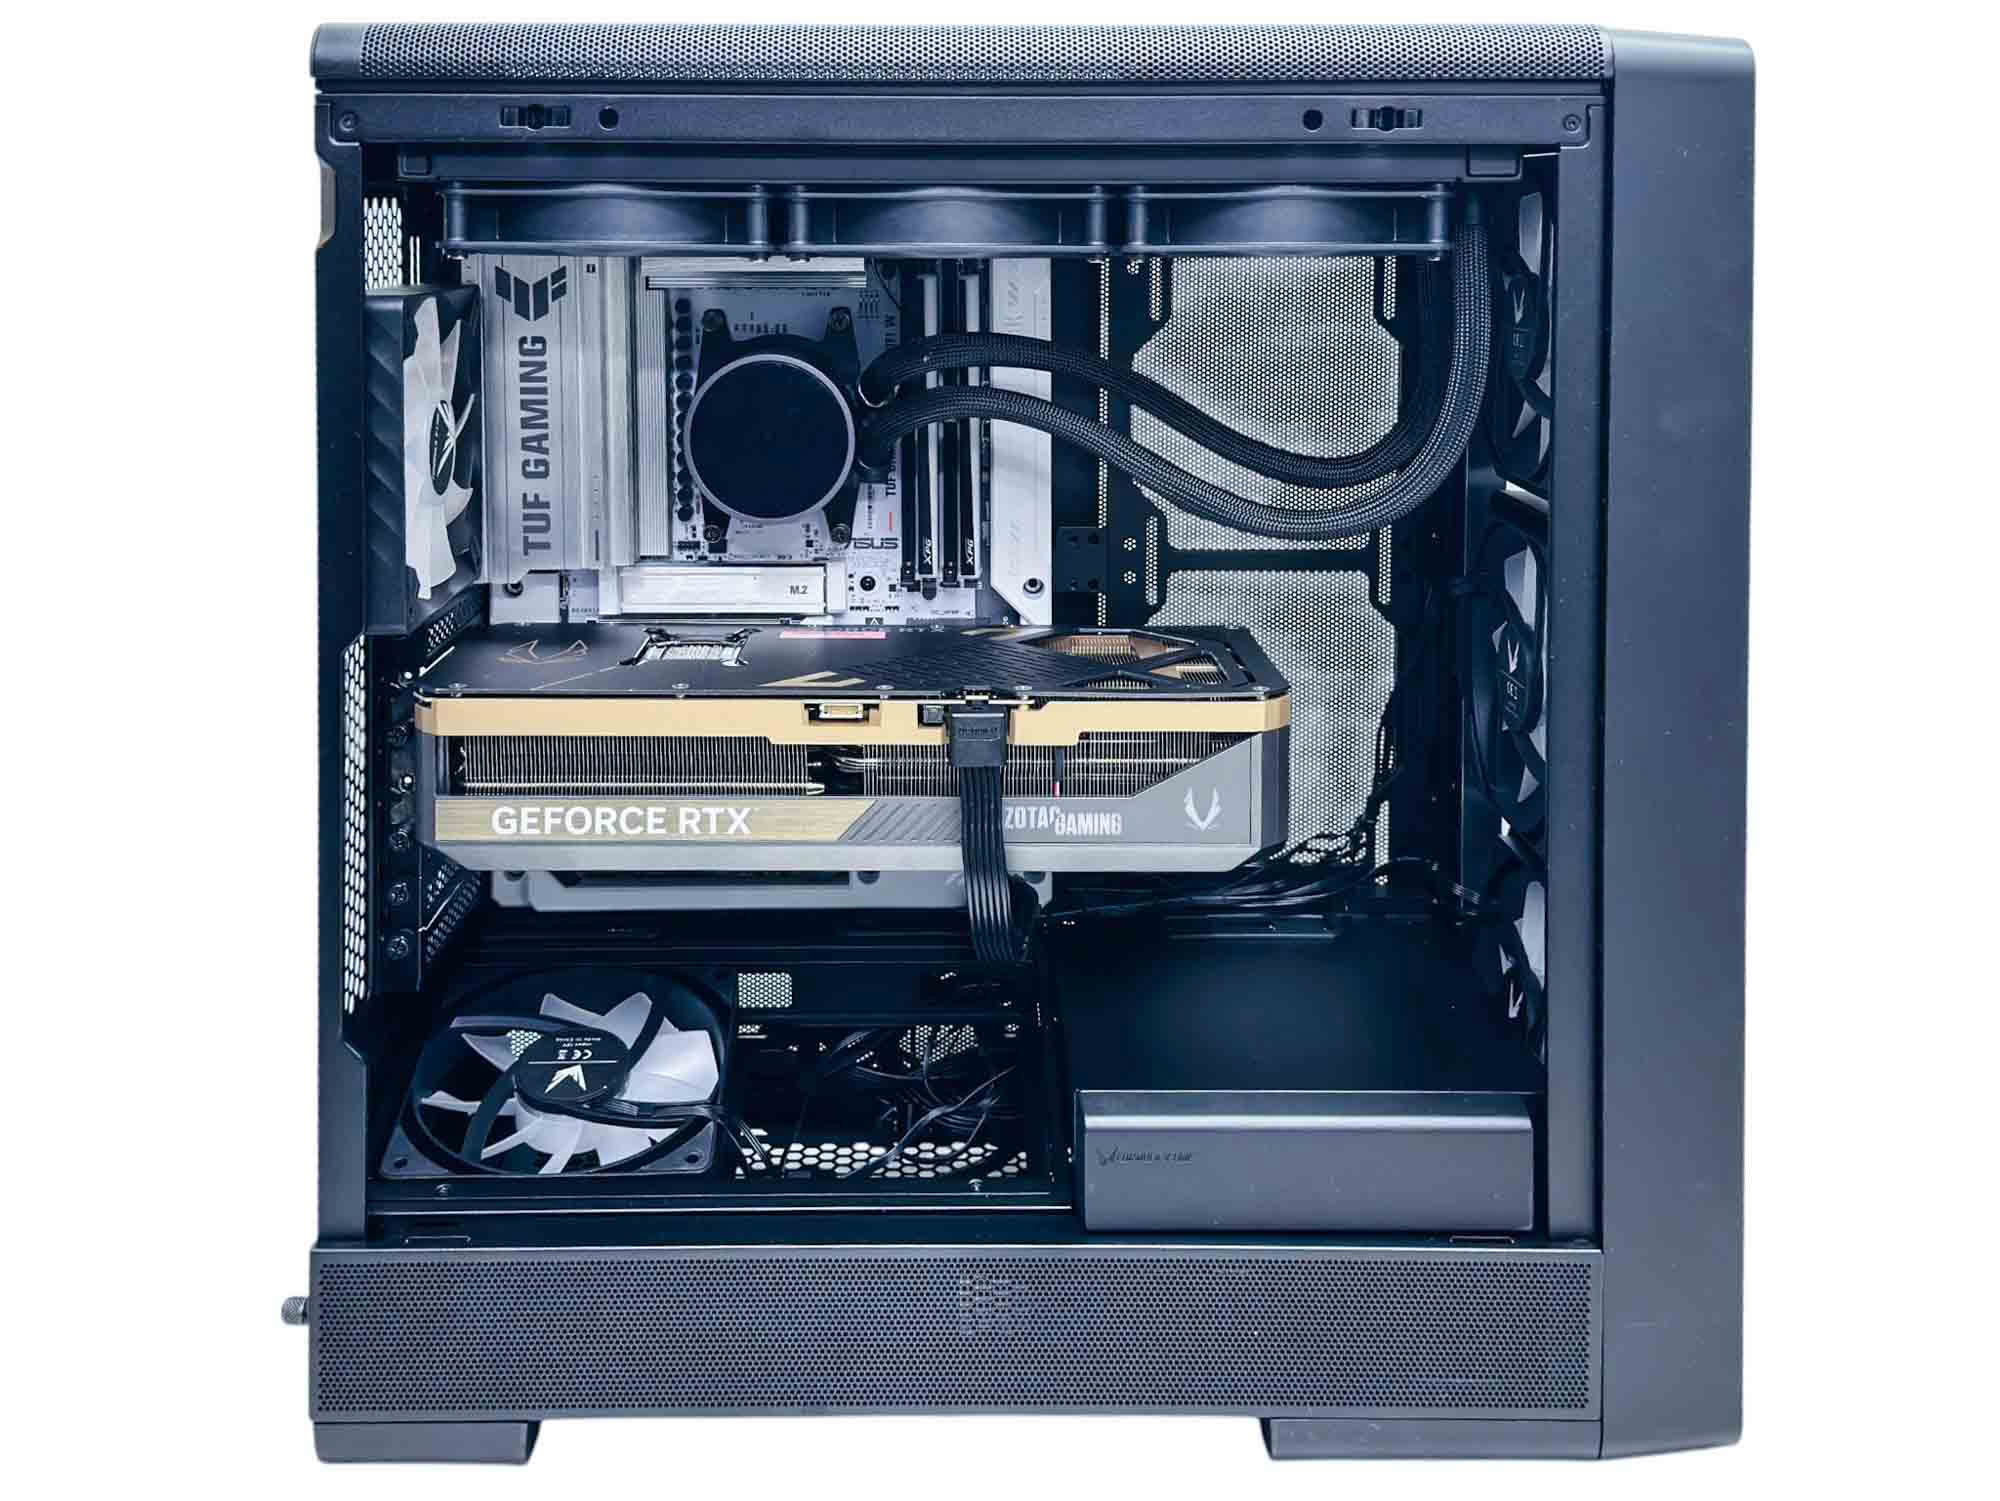
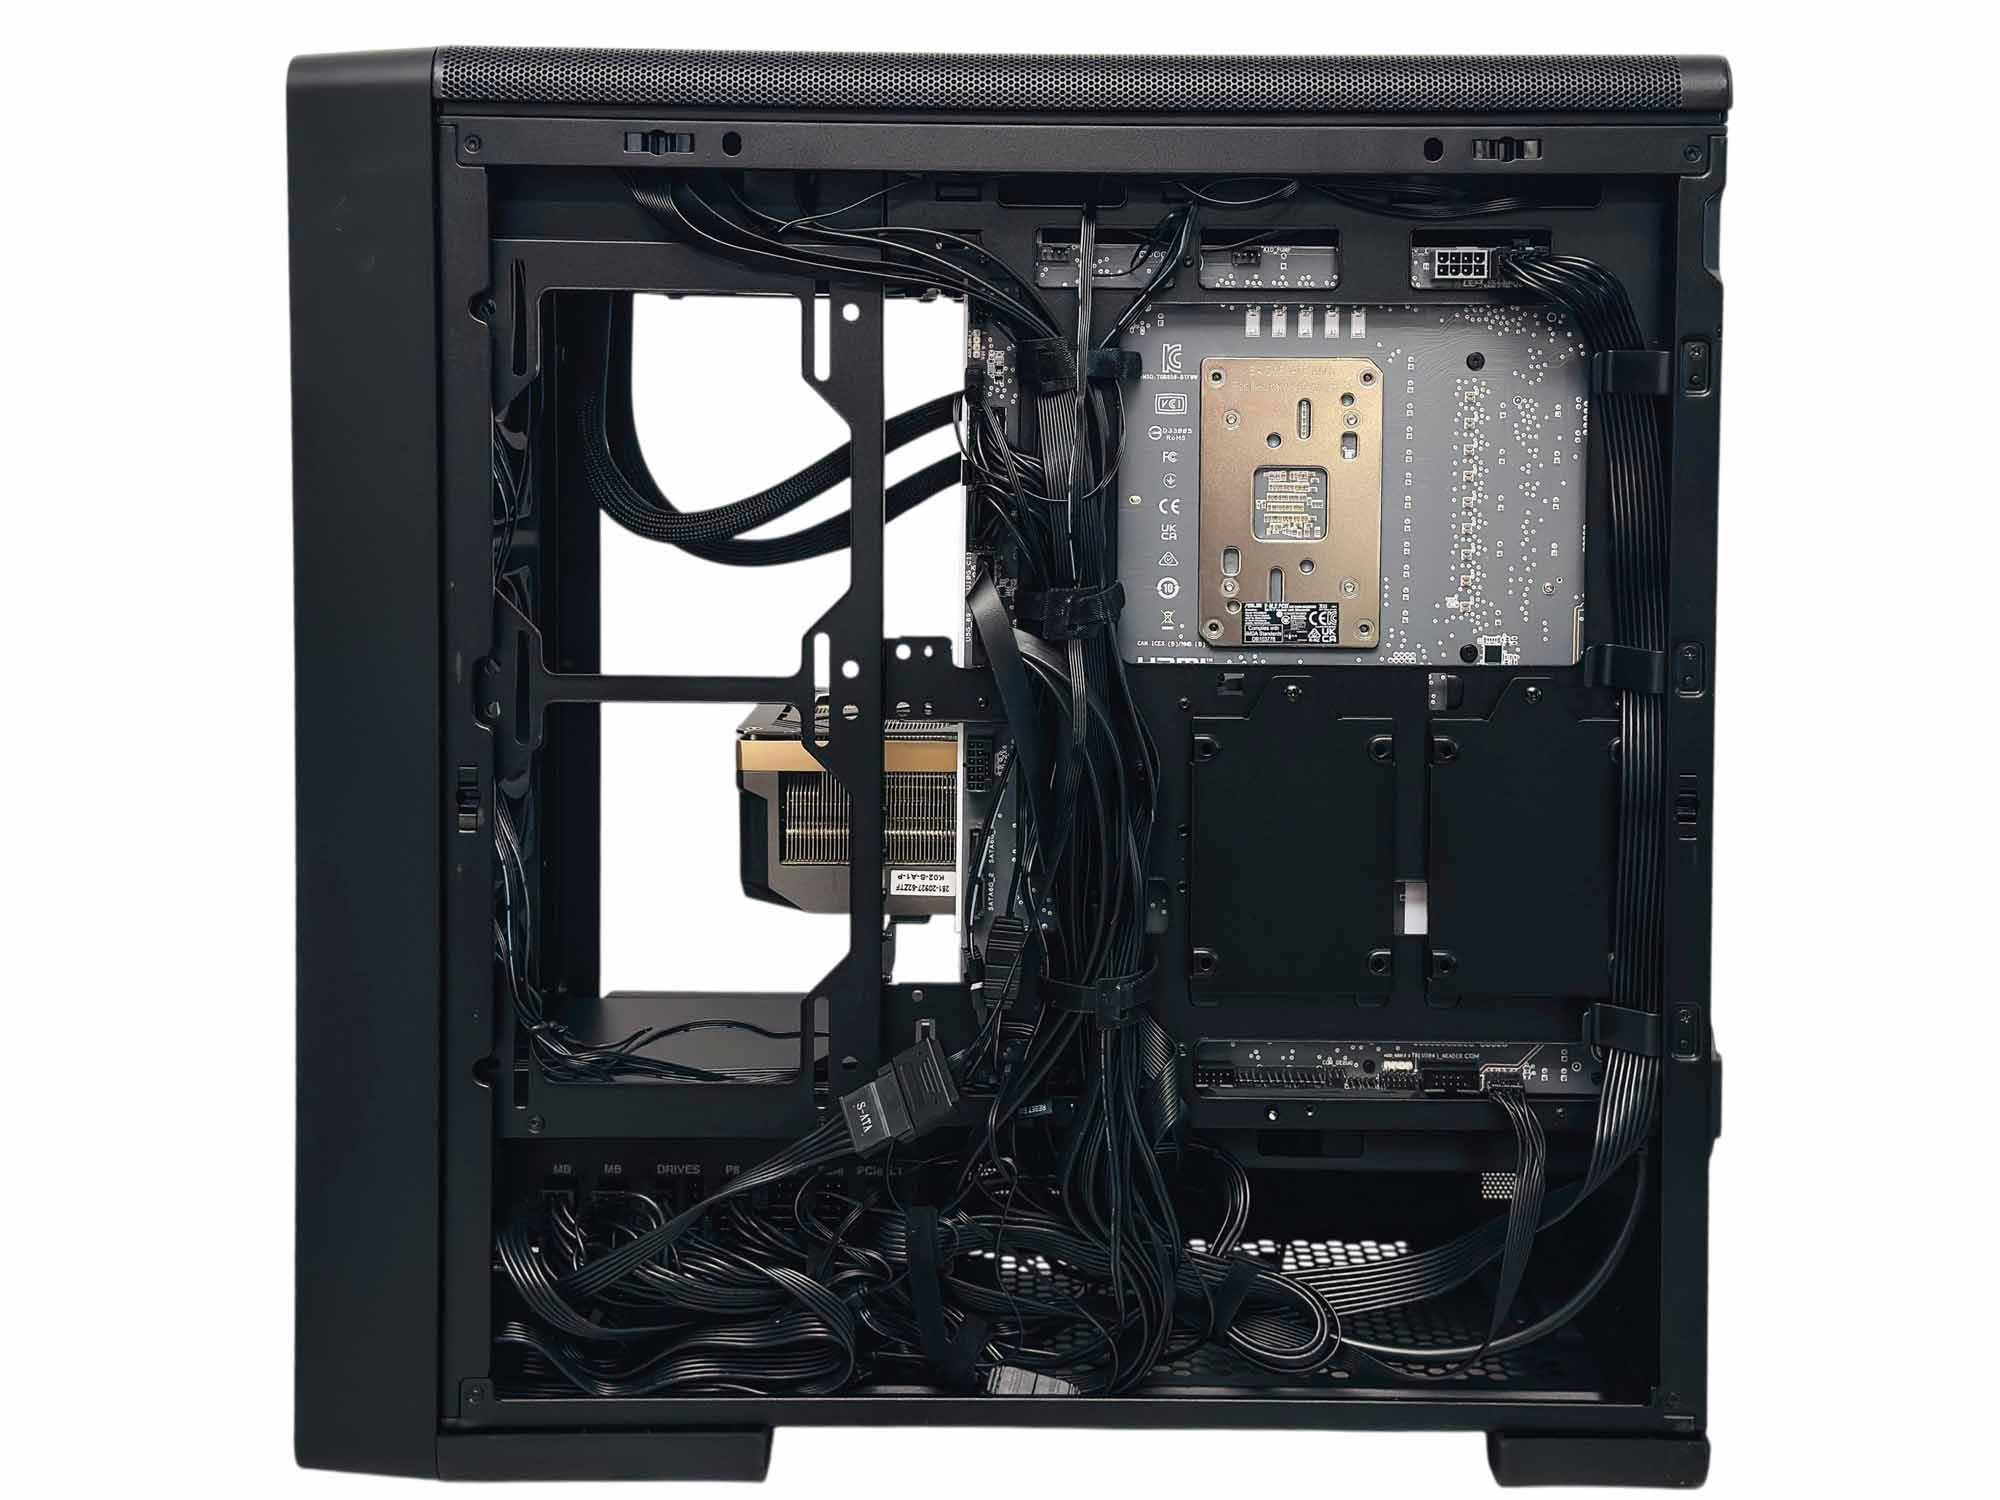
While the fan below the GPU will undoubtedly aid cooling, the mount is angled so half the airflow does end up missing even large GPUs. It would have been useful to be able to have the fans laying flat here, with the intention here being to see more of the RGB fan included. Cable tidying in the end was quite fiddly, mainly due to a lack of anchor points and limited space to stow them because of the large open area next to the motherboard tray.
Finished Looks
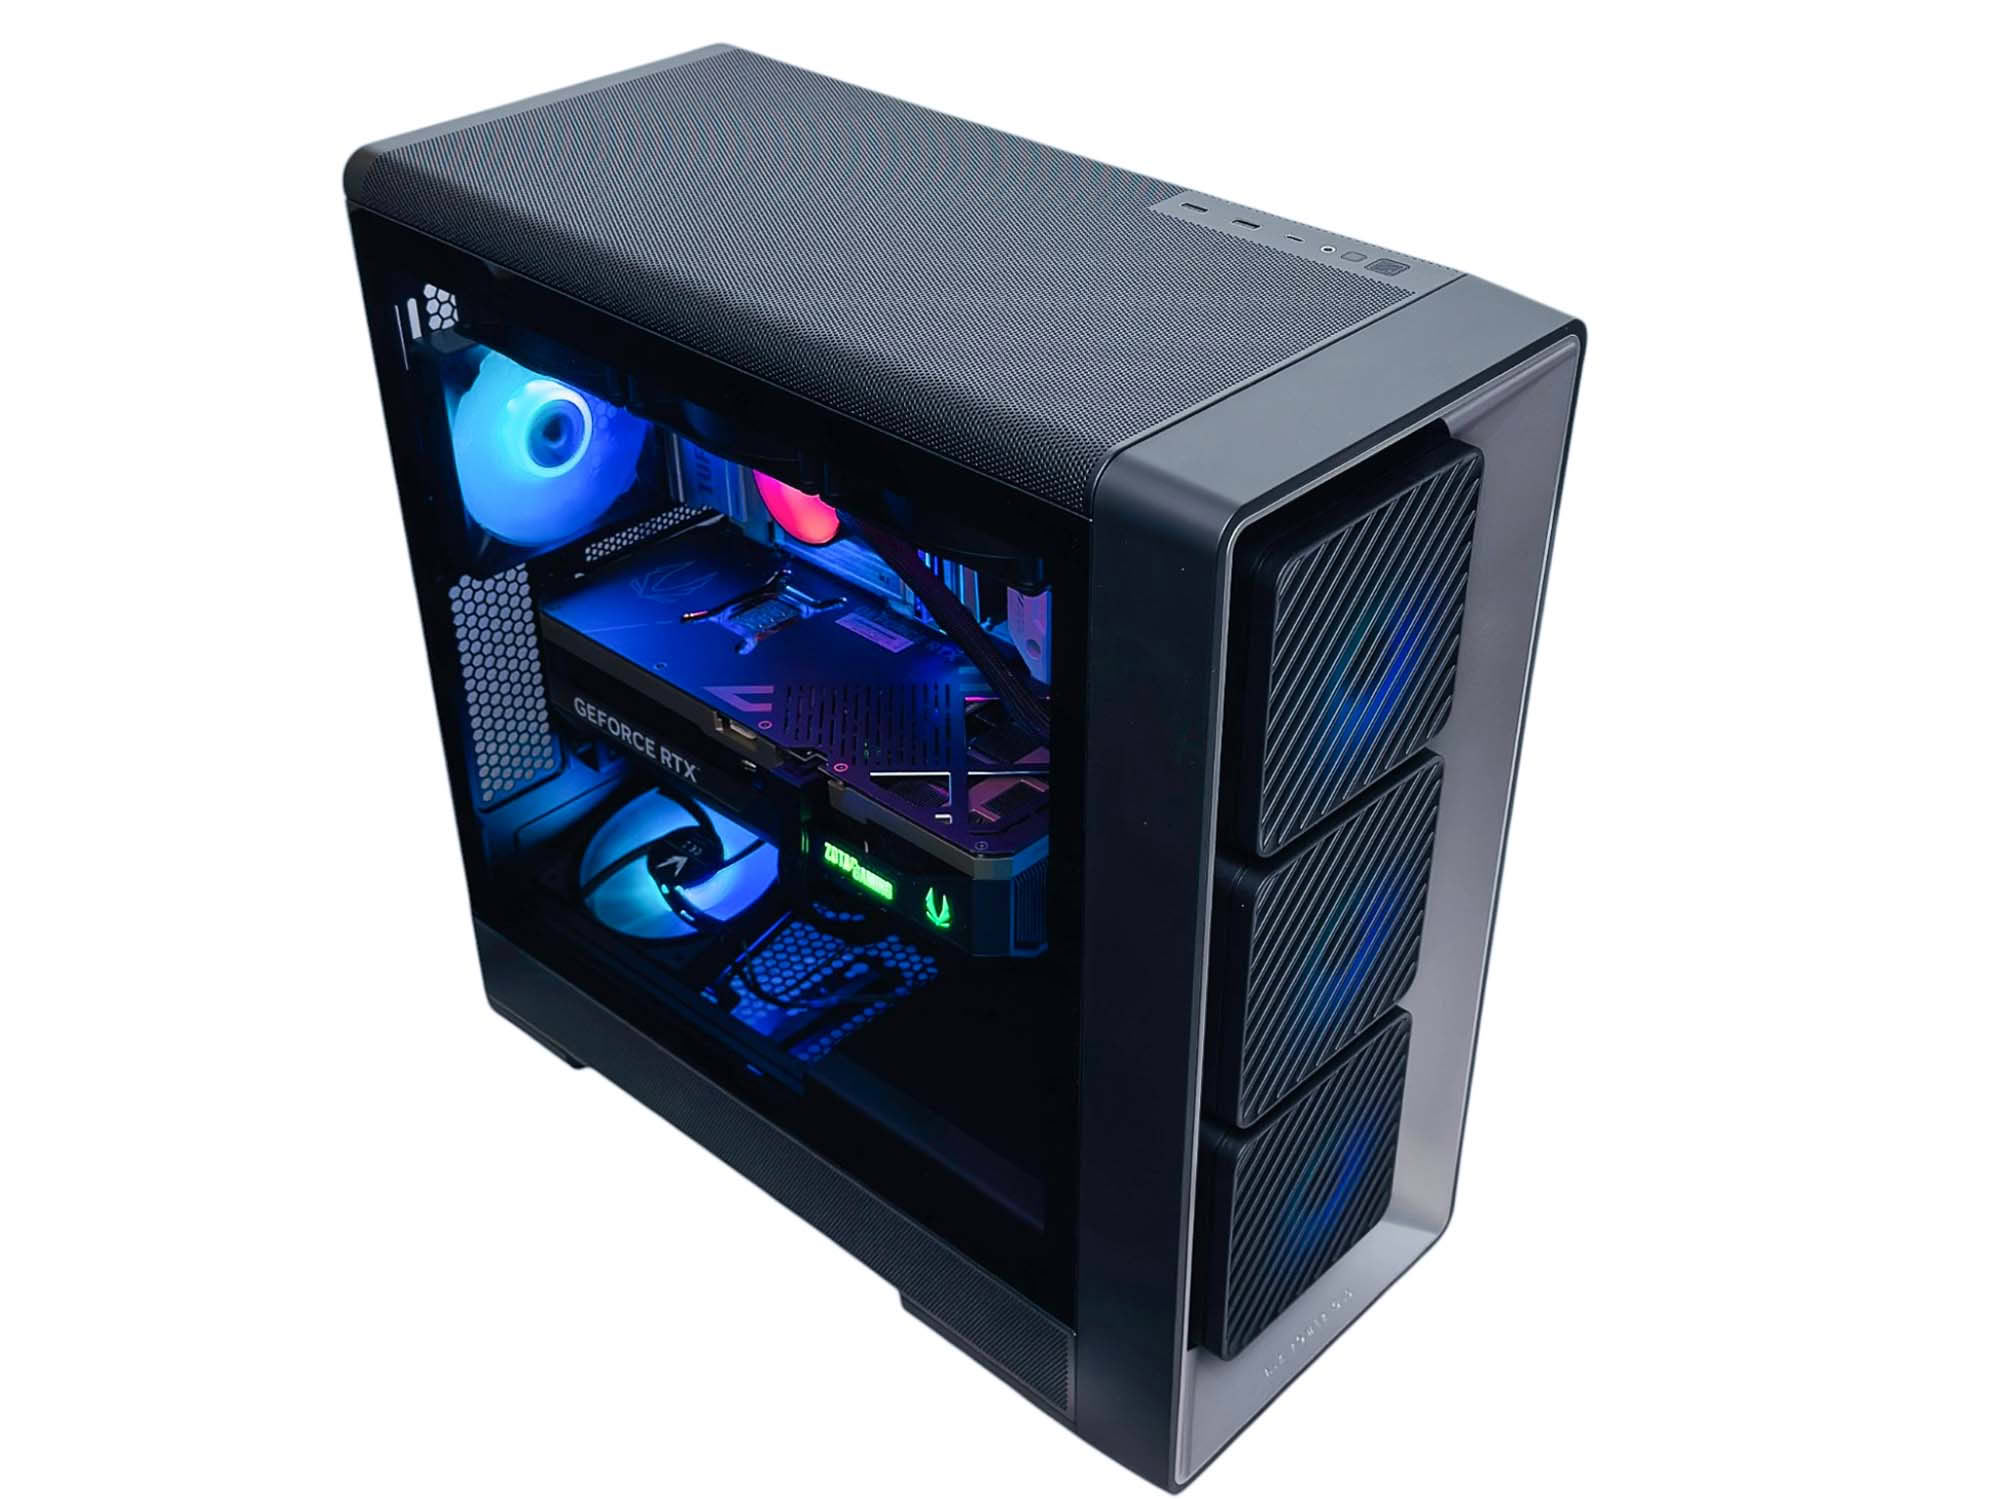
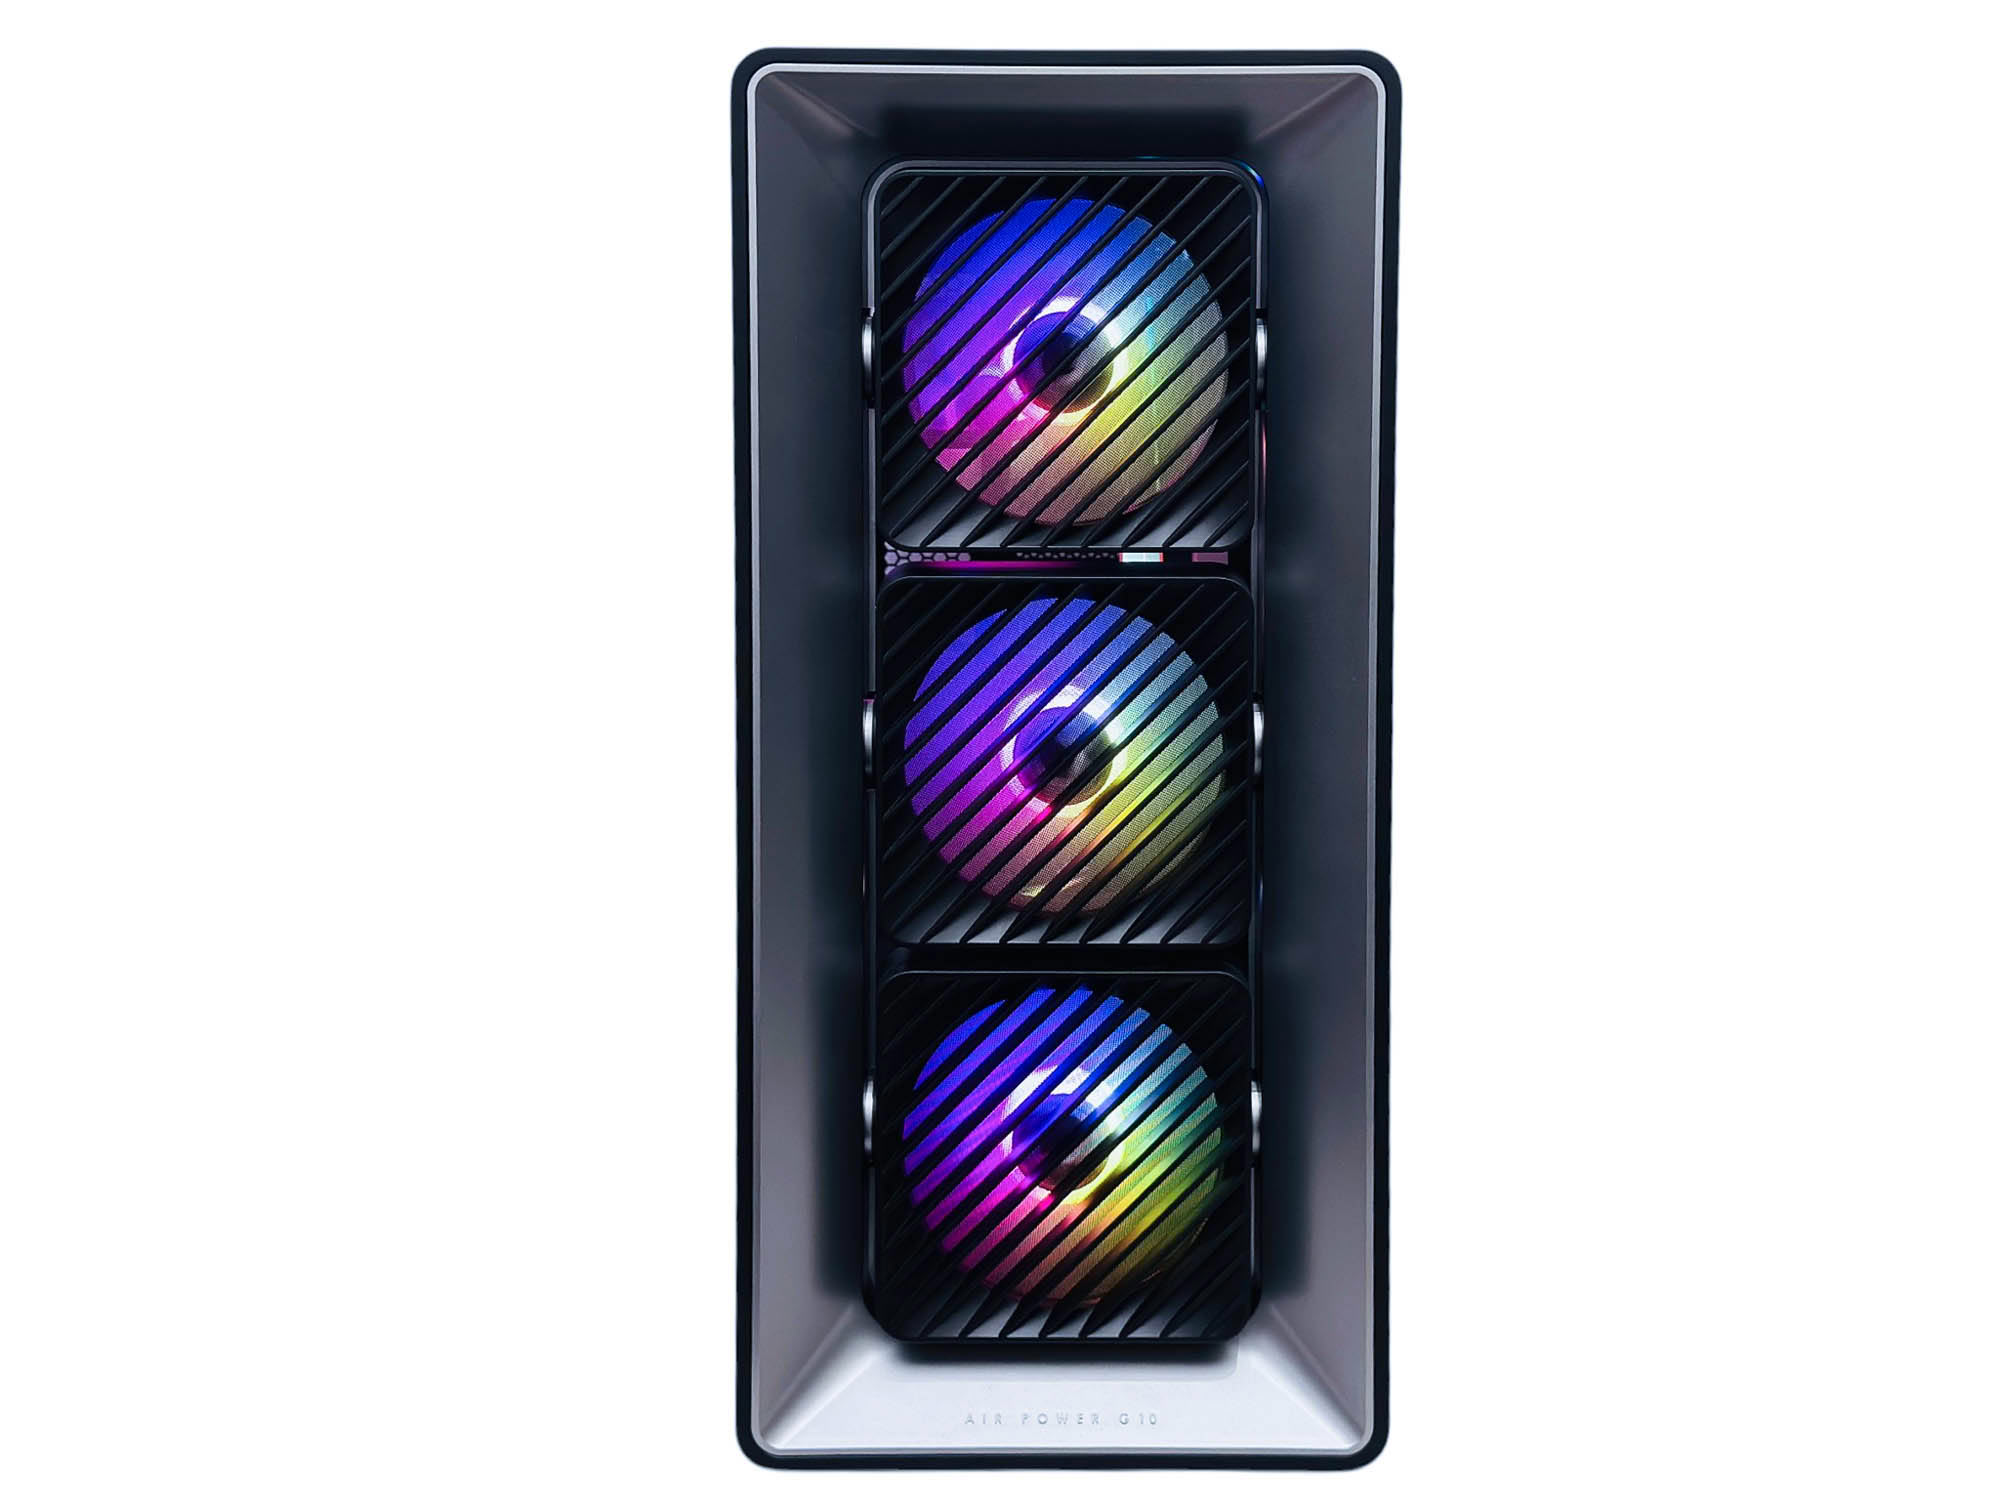
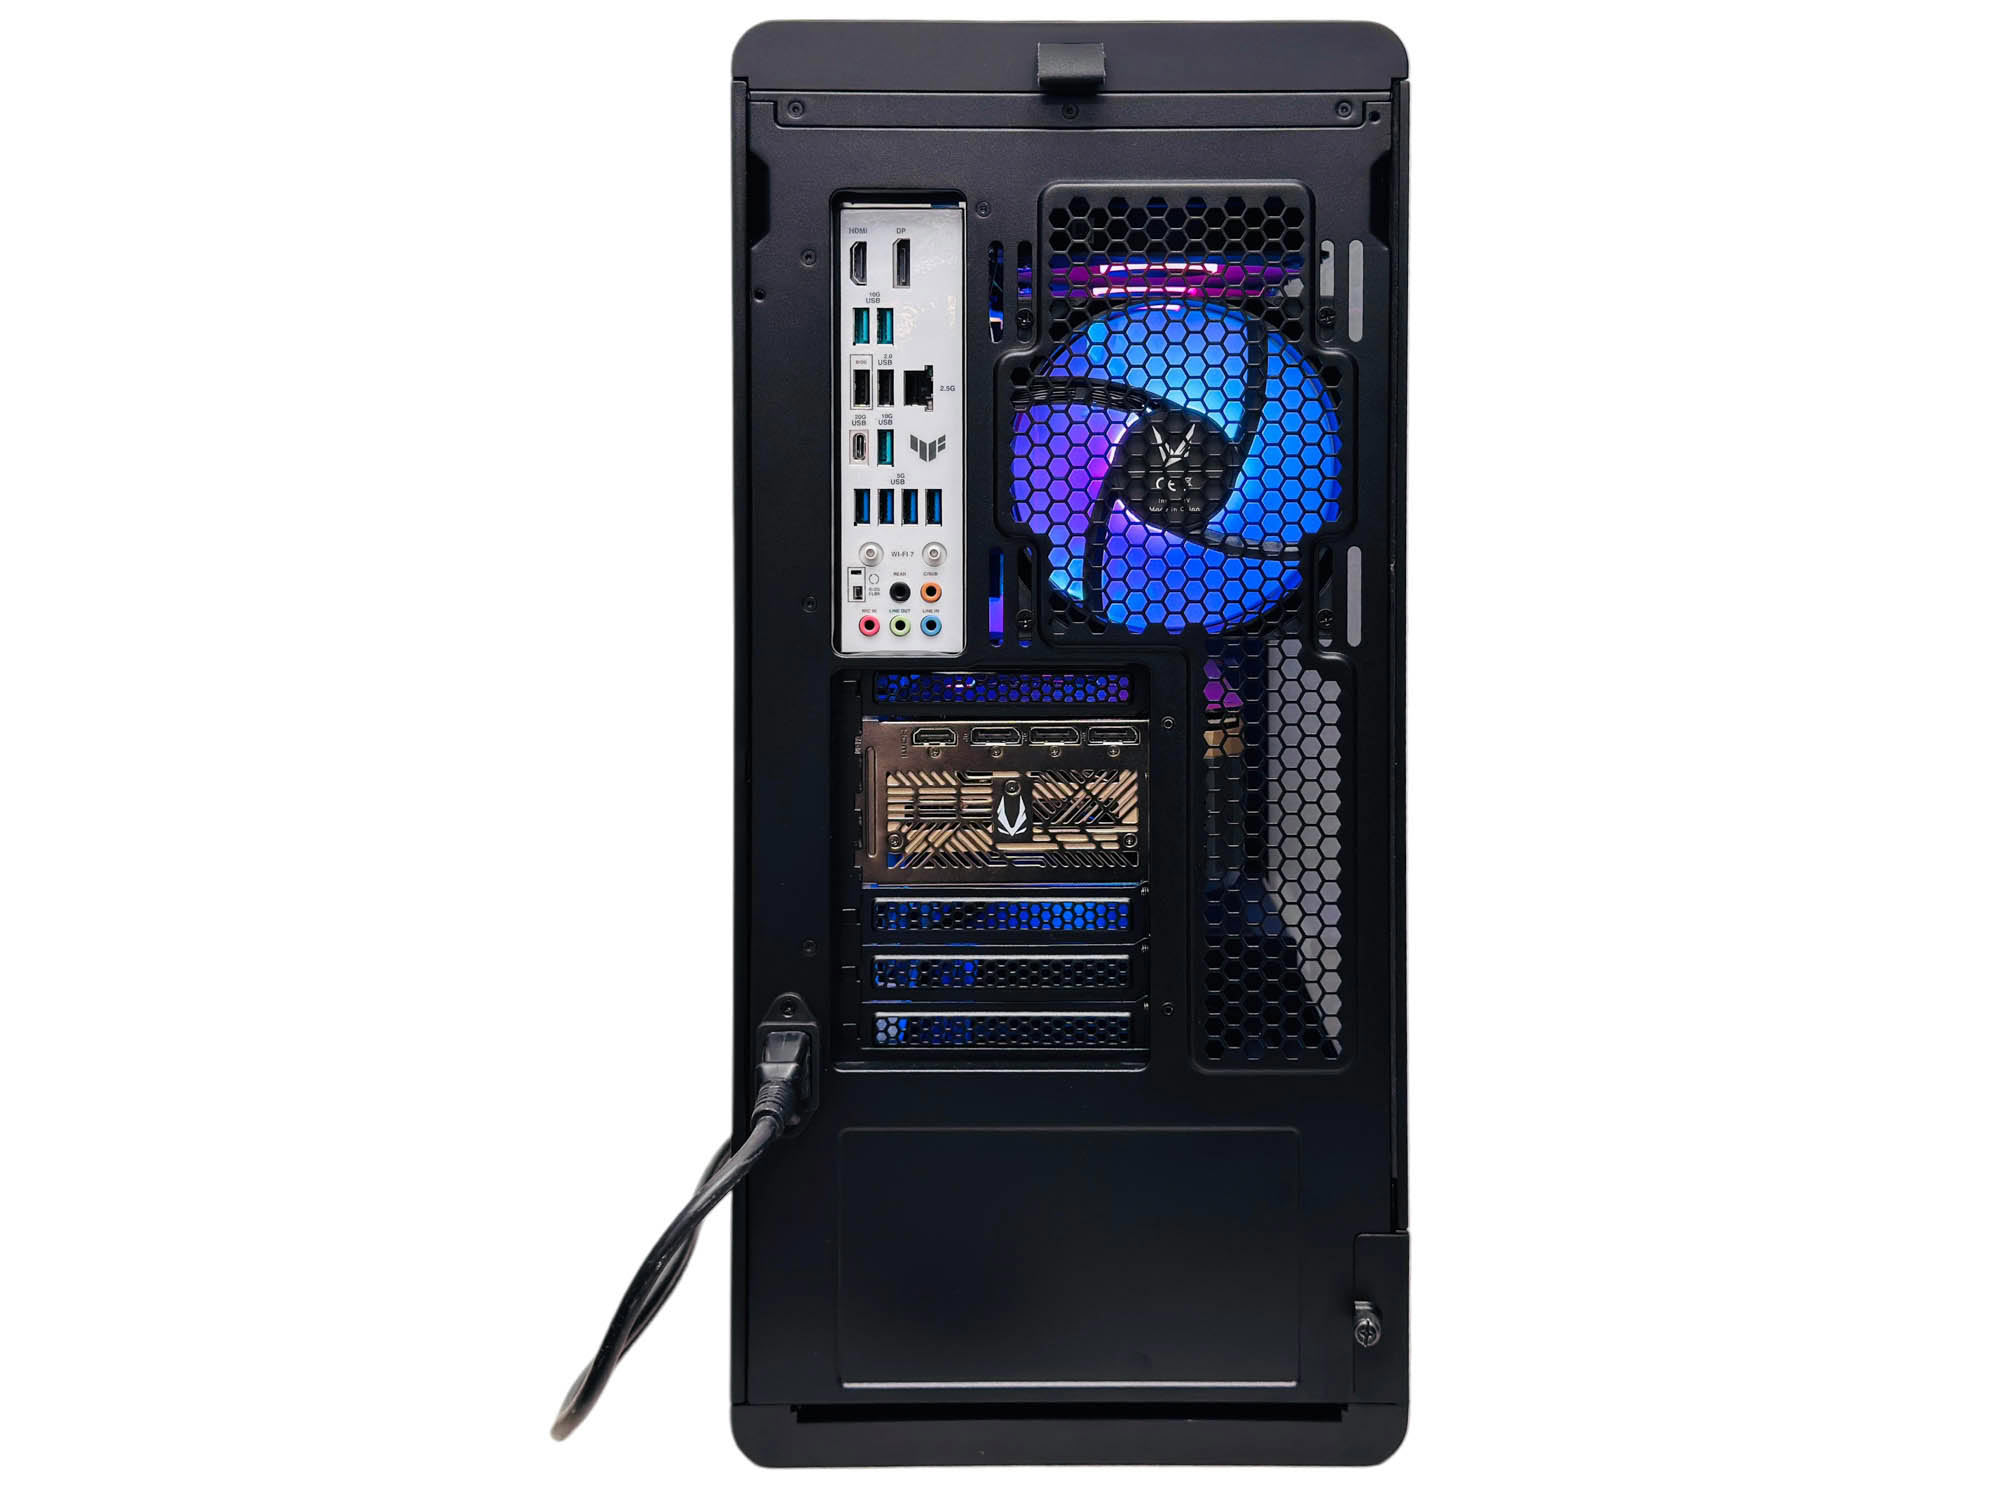
Despite niggles with the installation, once the case is complete, it looks fantastic, with the front view being one of the best out there, definitely punching well above its price range in terms of aesthetics. The fact that the fans are enclosed—and the lighting doesn't spill out—really contrasts them with the metal-effect fascia.
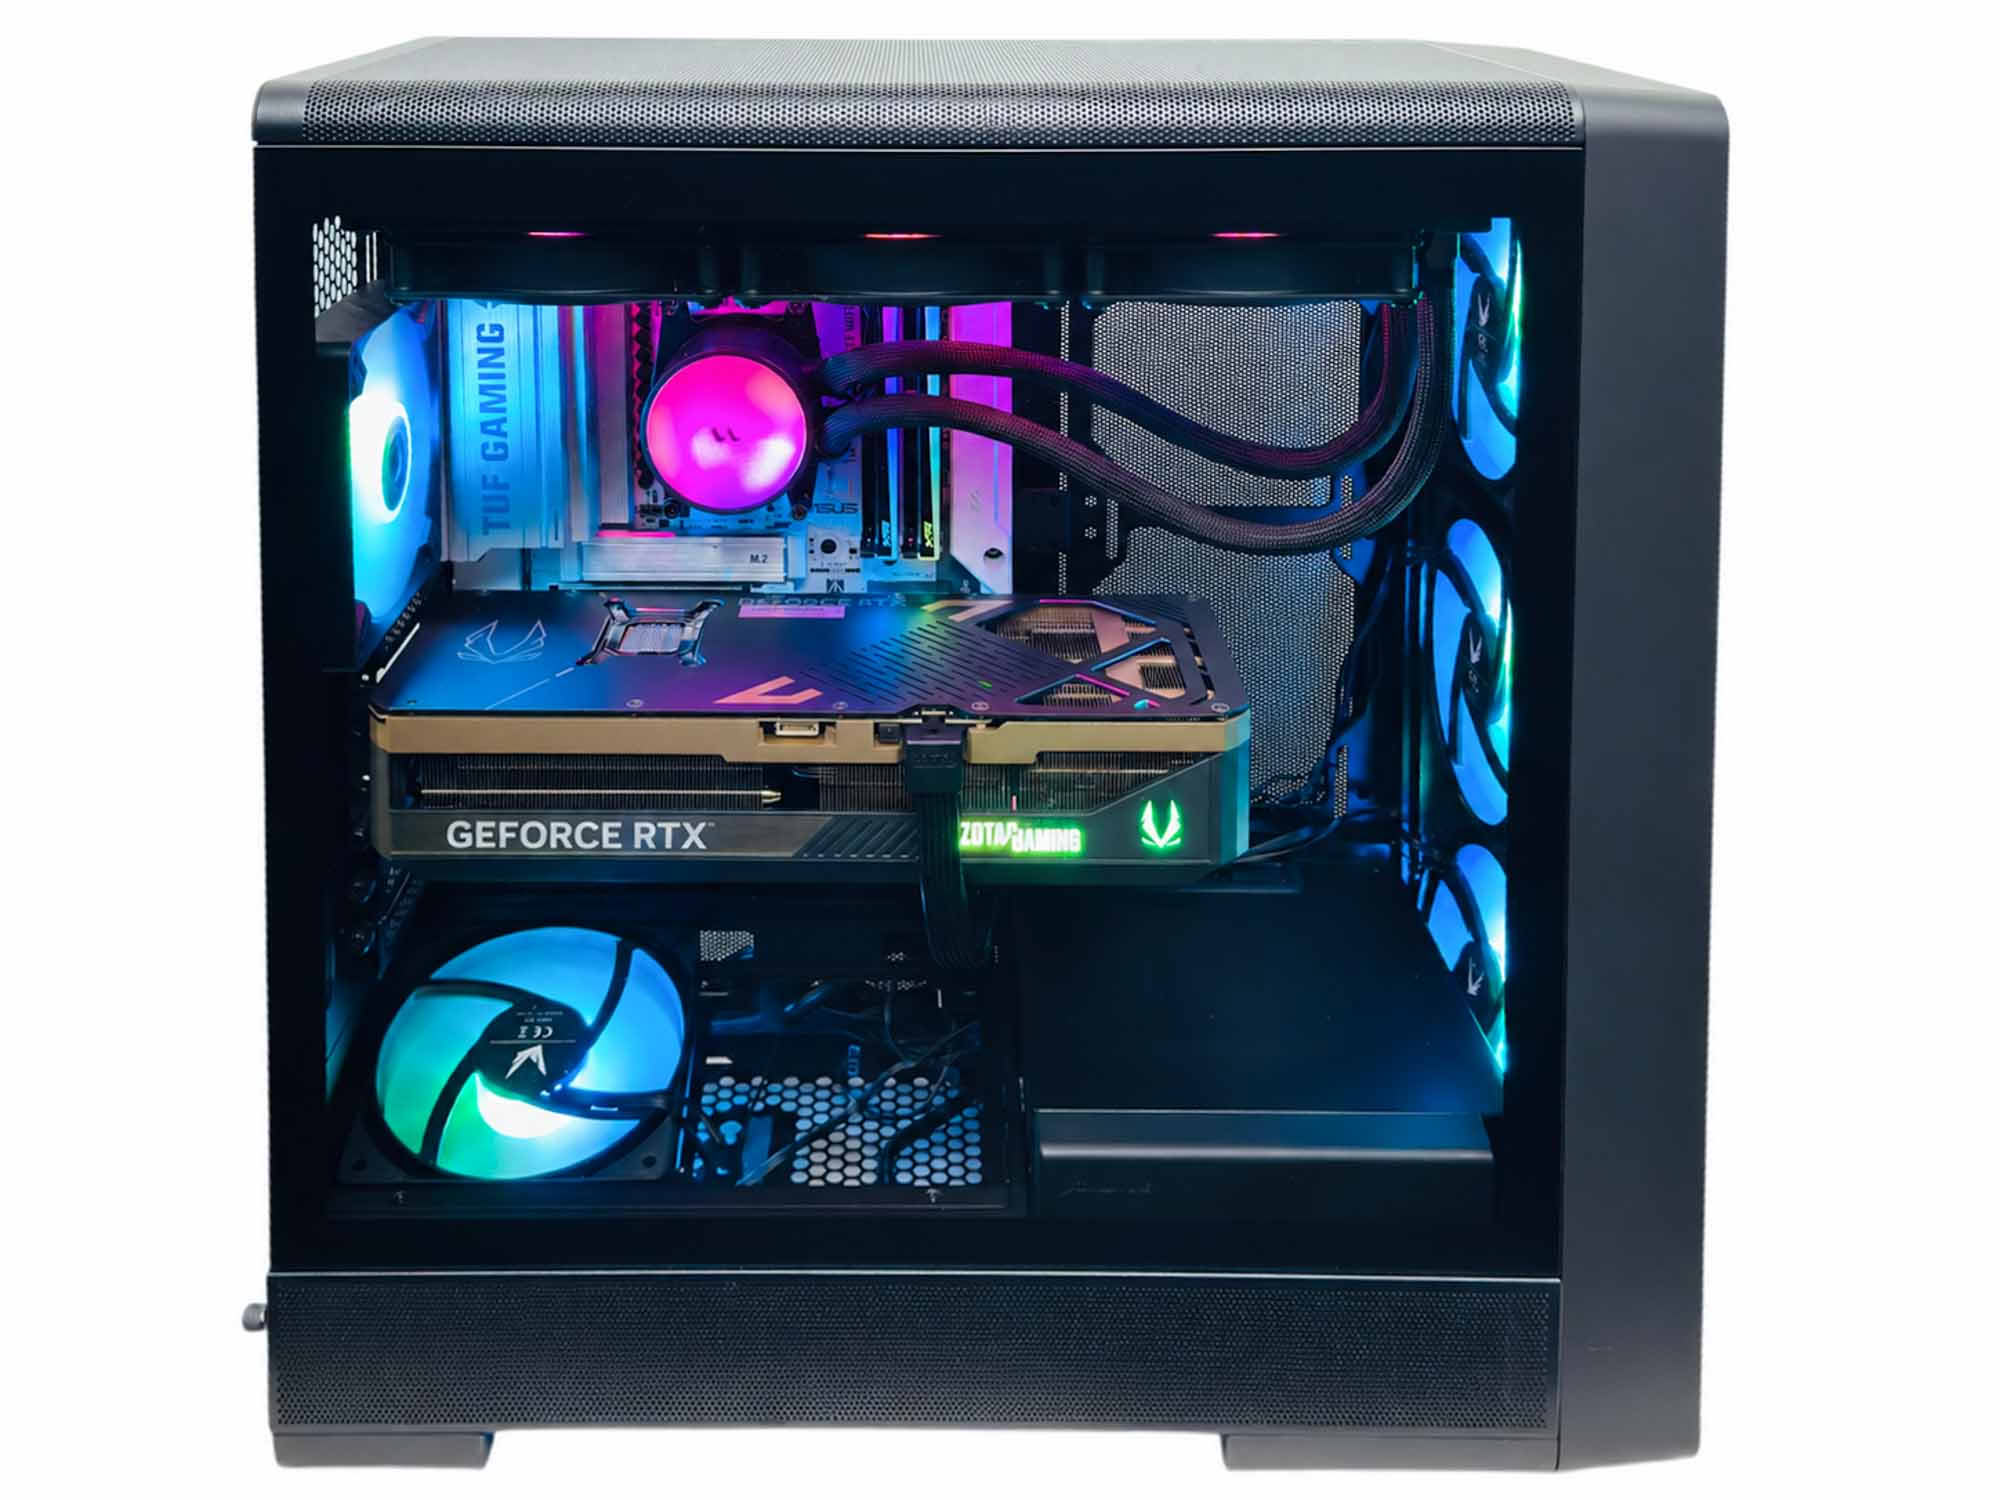
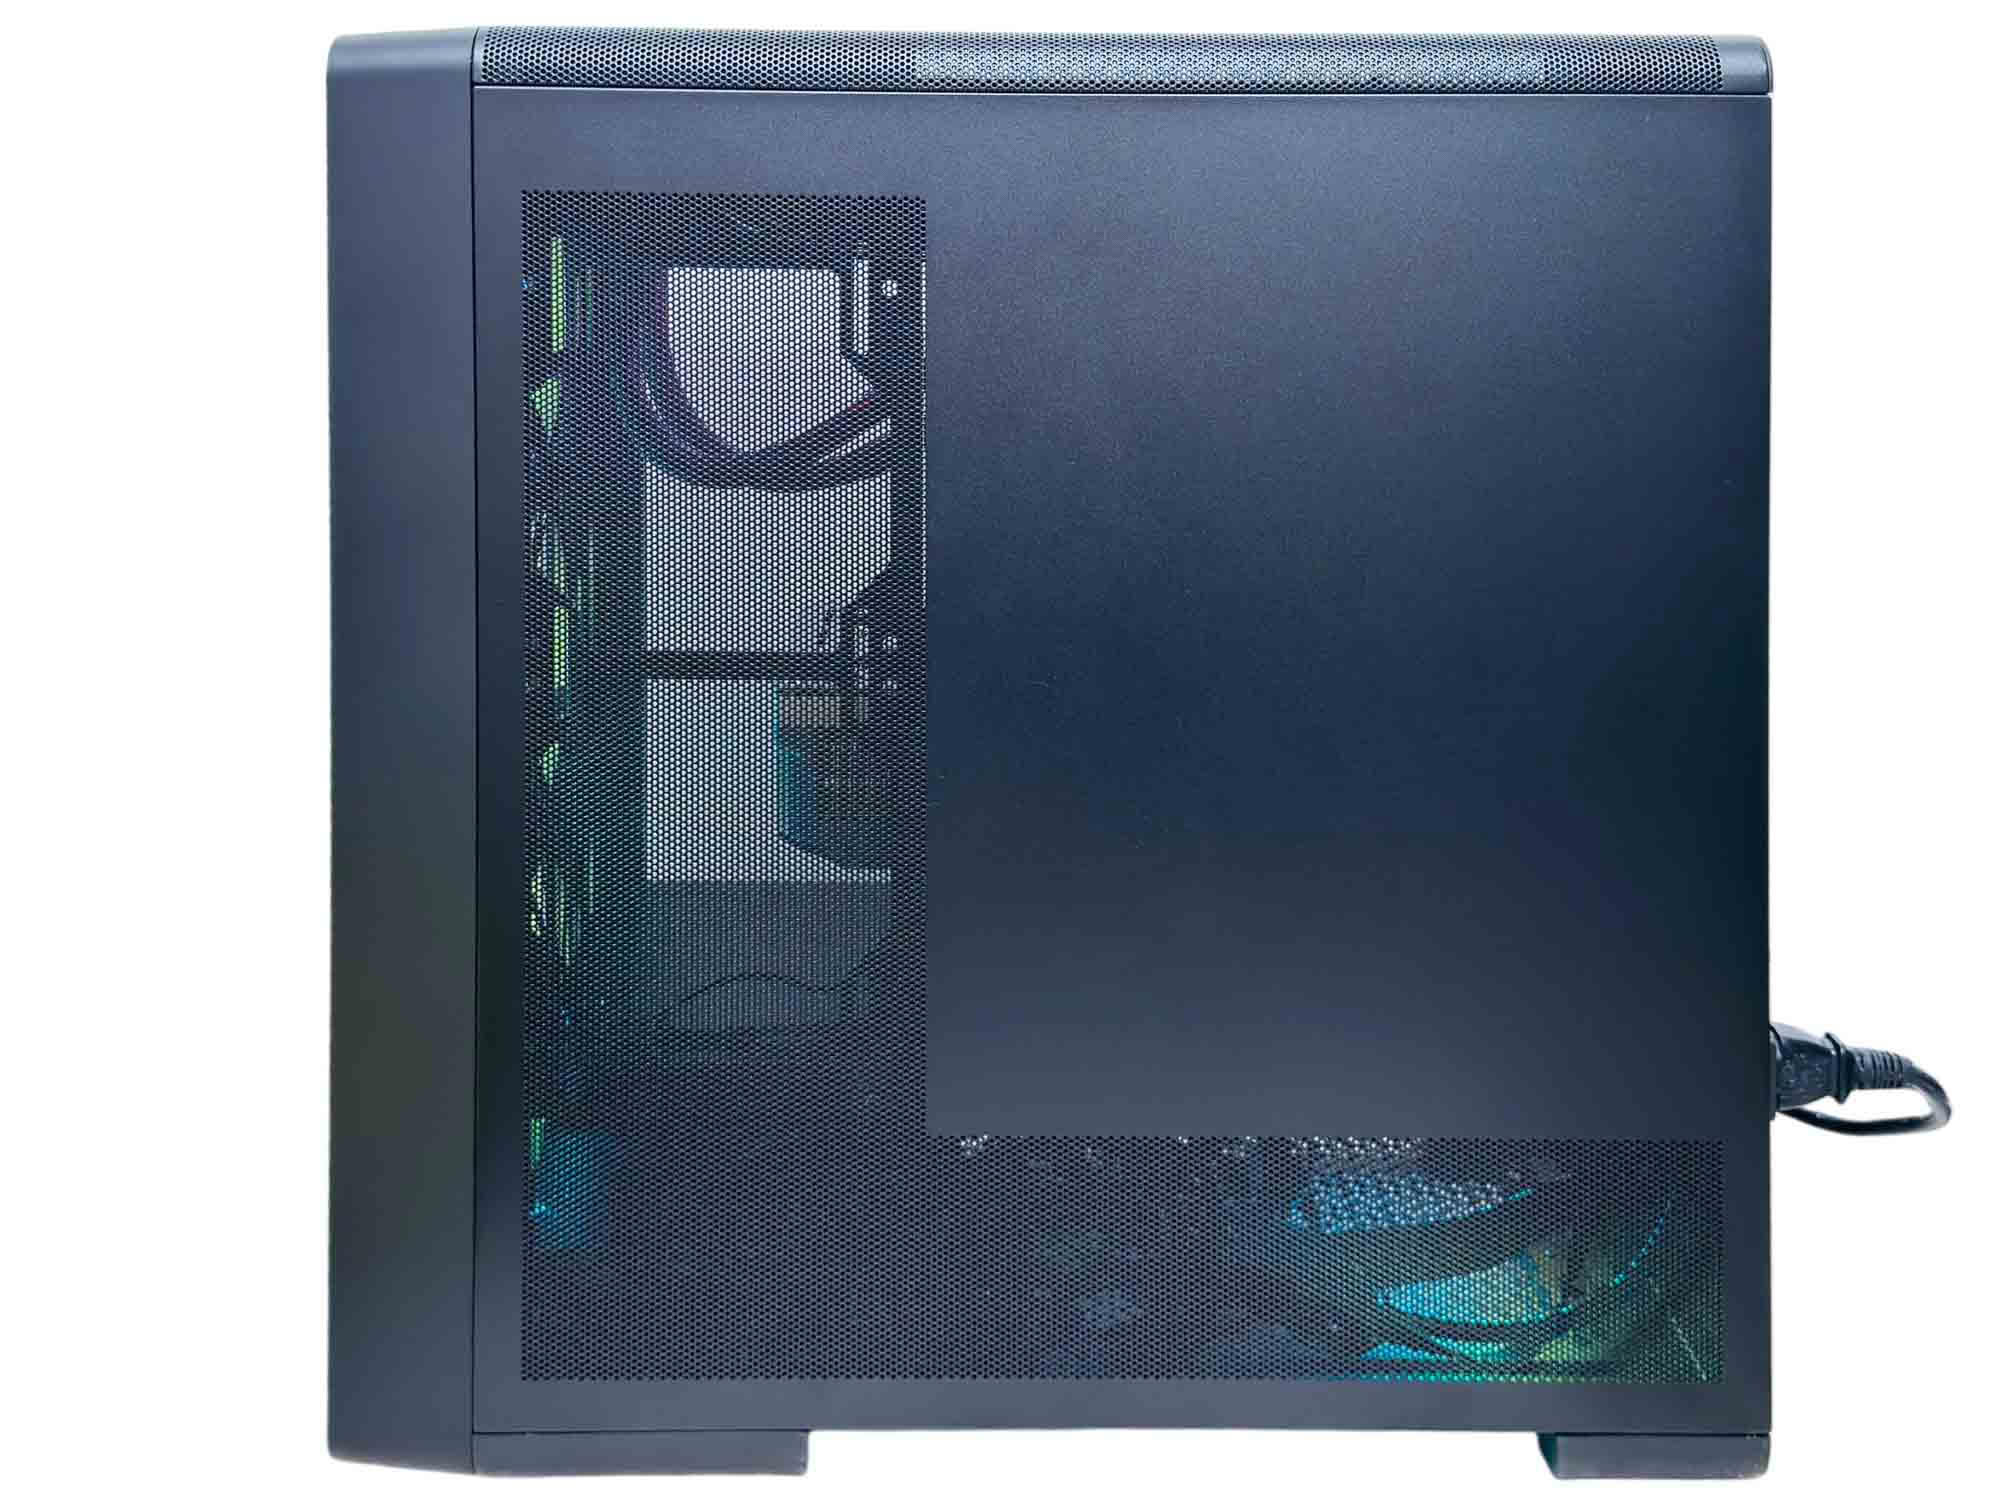
The view of your hardware through the side panel is excellent, with lighting on CPU coolers and memory being very visible. The far side panel is less so, as cables and tubing are silhouetted through the mesh, so it's something to consider if the case will be visible from both sides.
Nov 19th, 2026 15:56 CST
change timezone
Latest GPU Drivers
New Forum Posts
- Honestly, do you care about GTA VI? (163)
- Windows 11 General Discussion (7736)
- Current Sales, Bundles, Giveaways (10448)
- Last game you purchased? (1409)
- WarpCoreBench scores! (76)
- Got the EOL 32GB TridentZ 6000 CL26 1.4V (12)
- Dell Workstation Owners Club (3516)
- Making a game in Godot engine (4)
- DTS DCH Driver for Realtek HDA [DTS:X APO4 + DTS Interactive] (2815)
- Security Apps (2)
Popular Reviews
- Acemagic Retro X3 Review
- Ugreen NASync DXP4800 GT Review
- Upcoming Hardware Launches 2027 (Updated Nov 2026)
- Pulsar Office Tour & First Look at P1 Dual-Sensor Mouse
- AMD Zen 6 Technical Deep Dive
- Biwin Black Opal NV7400 2 TB Review
- Sapphire Radeon RX 7700 XT Pure Review
- Sapphire Radeon RX 7700 XT Pulse Review
- AMD Ryzen 7 9800X3D Review - The Best Gaming Processor
- Chieftec Iceberg PRO 360 DARK Review
TPU on YouTube
Controversial News Posts
- NVIDIA Co-Founder and CEO Jensen Huang Officially Resigns (488)
- Report: Jensen Huang Eyes NVIDIA Comeback (223)
- Open Letter Asking NVIDIA to Reinstate Jensen Huang Passes 115,000 Signatures (184)
- OpenAI CEO Argues Home PCs Waste the World's Limited DRAM Supply (152)
- NVIDIA Launches Investigation Into Jensen Huang's Relationship With Suspected Chinese Spy (136)
- Intel "Raptor Lake Next" 16-Core and 20-Core CPUs Surface (130)
- Legendary Game Studio BioWare Shuts Down Following EA Layoffs (104)
- Dell CEO Says the Memory Shortage Will Get Worse in 2027 (95)