 8
8
Fractal Design Define XL Review
A Closer Look - Inside »A Closer Look - Outside
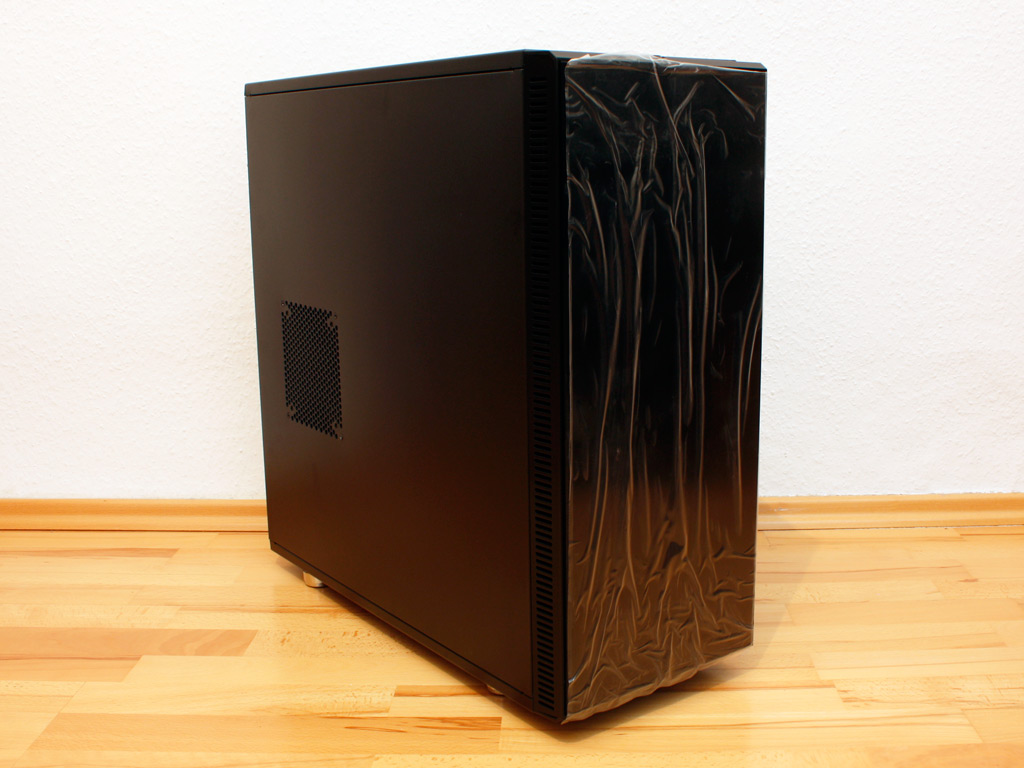
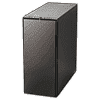
The front of the Define XL ships with a plastic sheet covering the front door, so you can be sure that it is free of any blemishes out of the box. Even though the front looks like it is made of brushed Aluminum, it is actually just simple plastic with a similar texture.


The overall design is the exact same one we have seen on the Define R3, but simply has been grown out to the size of a full tower chassis. That means that the door still opens the wrong way for most of us and that you cannot switch it around to open differently. Turning the chassis around we have a similar picture as with the mid-tower version of the case. The layout is the same, but there seems to be more space to the sides, along the bottom and at the top of the XL version. This actually reminds me of the Obsidian 700 and 800D in terms of cable routing possibilities when looking at it from this area.


Both sides of the chassis are closed off completely, including the one side air vent for a cooling fan. Fractal has used the same sound dampening materials as within the Define R3 so these actually work rather well.


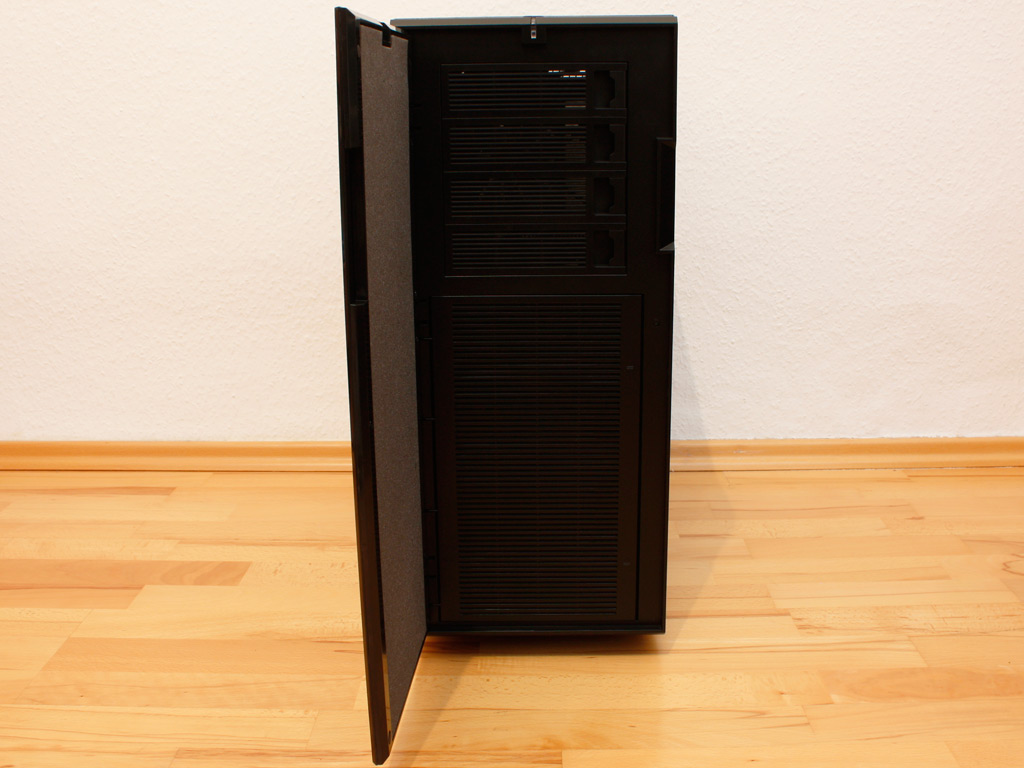
Behind the foam covered front door you will also find an access panel to the hard drive bays. This does not mean that these are hot swappable, but give you the possibility to clean the dust filters of the fans. Instead of having two separate such doors, the Define XL utilizes one big one. You will still only find a single fan in this area so you can only actively cool about half the hard drive bays out of the box. Above that are four external drive bays instead of just the two found on the normal Define R3. This is an area where the chassis has definitely grown. These are also filled by the new - easily removable covers we have seen on the R3.


Turning the case around, we have the PSU bay on the very bottom. It is obvious that there is a frame which allows you to install the unit from the outside. While that does not make much sense at this moment it will come in handy during the assembly process as we will se later on. Above that are 7+1 expansion slots. The eighth one has been placed next to the seven standard ones and seems to be the perfect place to put the fan controller in our finished build. Two rubberized openings are also present, allowing you to route tubing out the back of the case. Above that is the rear exaust fan, which pushes hot air out of the chassis. You can also see there is an air vent above that, which - as we will see later on - serves a very specific purpose.
You will find the I/O and buttons in the same place as on the Define R3. There are four instead of just two USB 2.0, one eSATA along with a pair of audio connectors at the front edge of the top.
May 5th, 2024 12:07 EDT
change timezone
Latest GPU Drivers
New Forum Posts
- The Official Thermal Interface Material thread (1146)
- [HELP] AMD GPU FINDING BIOS PROBLEM (5)
- RTX 6000 ADA Problem. (8)
- Free Games Thread (3777)
- Ghetto Mods (4332)
- Resolution problems in-game with Av receiver (windows 11) (5)
- Browser Bechmark scores (96)
- Change GPU or PSU ? Games looks bad with microsuttering (17)
- Xiaomi Poco X3 India does not install system (0)
- Need advice for UPS that will be use only for bios updates (14)
Popular Reviews
- Finalmouse UltralightX Review
- Meze Audio LIRIC 2nd Generation Closed-Back Headphones Review
- ASRock NUC BOX-155H (Intel Core Ultra 7 155H) Review
- Montech Sky Two GX Review
- Cougar Hotrod Royal Gaming Chair Review
- Upcoming Hardware Launches 2023 (Updated Feb 2024)
- AMD Ryzen 7 7800X3D Review - The Best Gaming CPU
- Alienware Pro Wireless Gaming Keyboard Review
- HYTE THICC Q60 240 mm AIO Review
- Logitech G Pro X Superlight 2 Review - Updated with 4000 Hz Tested
Controversial News Posts
- Intel Statement on Stability Issues: "Motherboard Makers to Blame" (240)
- Windows 11 Now Officially Adware as Microsoft Embeds Ads in the Start Menu (167)
- AMD to Redesign Ray Tracing Hardware on RDNA 4 (147)
- Sony PlayStation 5 Pro Specifications Confirmed, Console Arrives Before Holidays (117)
- AMD's RDNA 4 GPUs Could Stick with 18 Gbps GDDR6 Memory (114)
- NVIDIA Points Intel Raptor Lake CPU Users to Get Help from Intel Amid System Instability Issues (106)
- AMD Ryzen 9 7900X3D Now at a Mouth-watering $329 (104)
- AMD "Strix Halo" Zen 5 Mobile Processor Pictured: Chiplet-based, Uses 256-bit LPDDR5X (103)