 6
Fractal Design Epoch XL RGB TG Review
Thermal Stress Test »Assembly
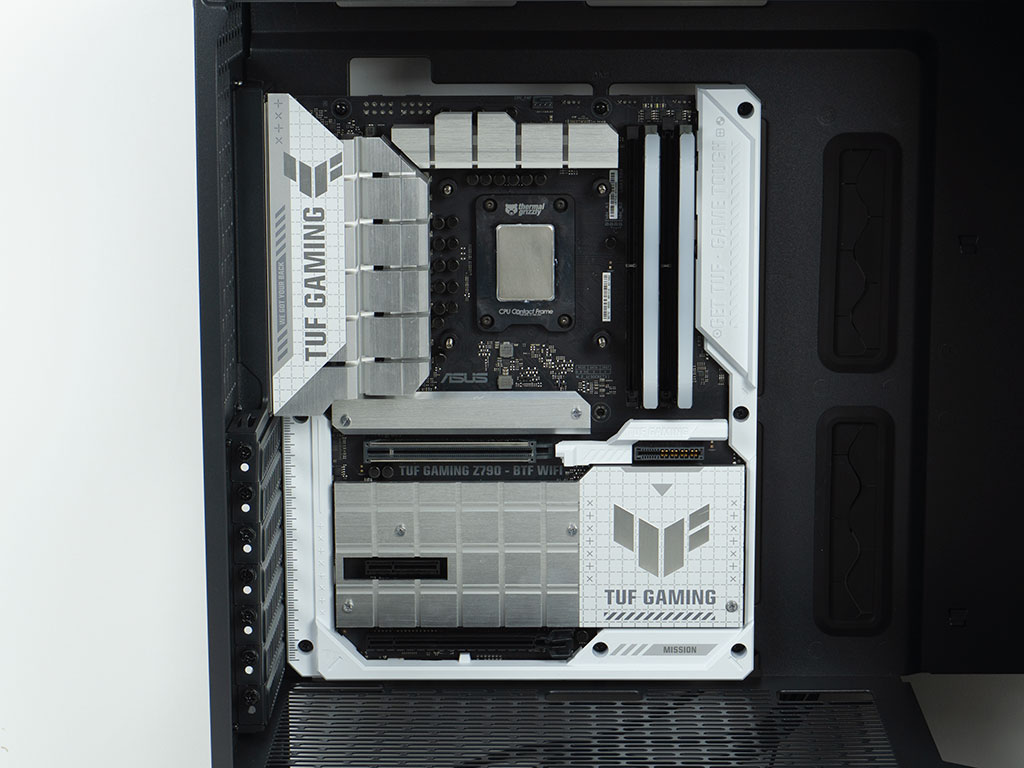
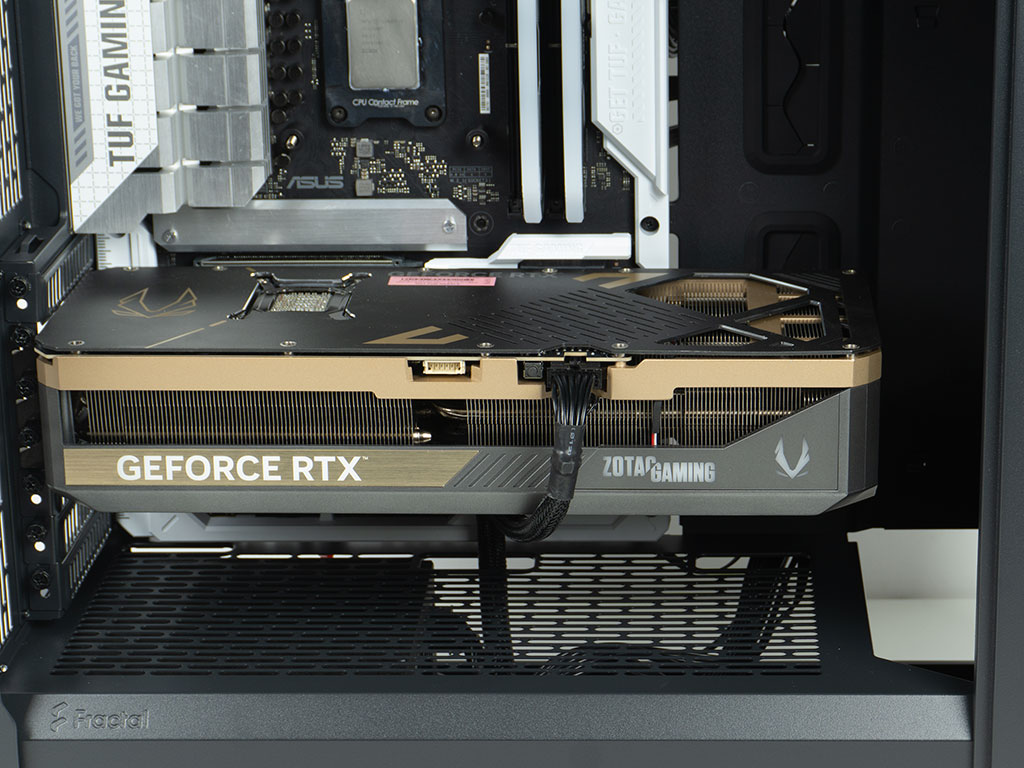
Installing a motherboard inside the Fractal Design Epoch XL is done by traditional means using spacers and screws. The grommet covered openings line up well with the board, which also holds true with the openings in the shroud. While the Epoch maxes out at 355 mm, which is already plenty for almost all scenarios, the XL steps it up to a 415 mm length limit for GPUs in the default configuration.
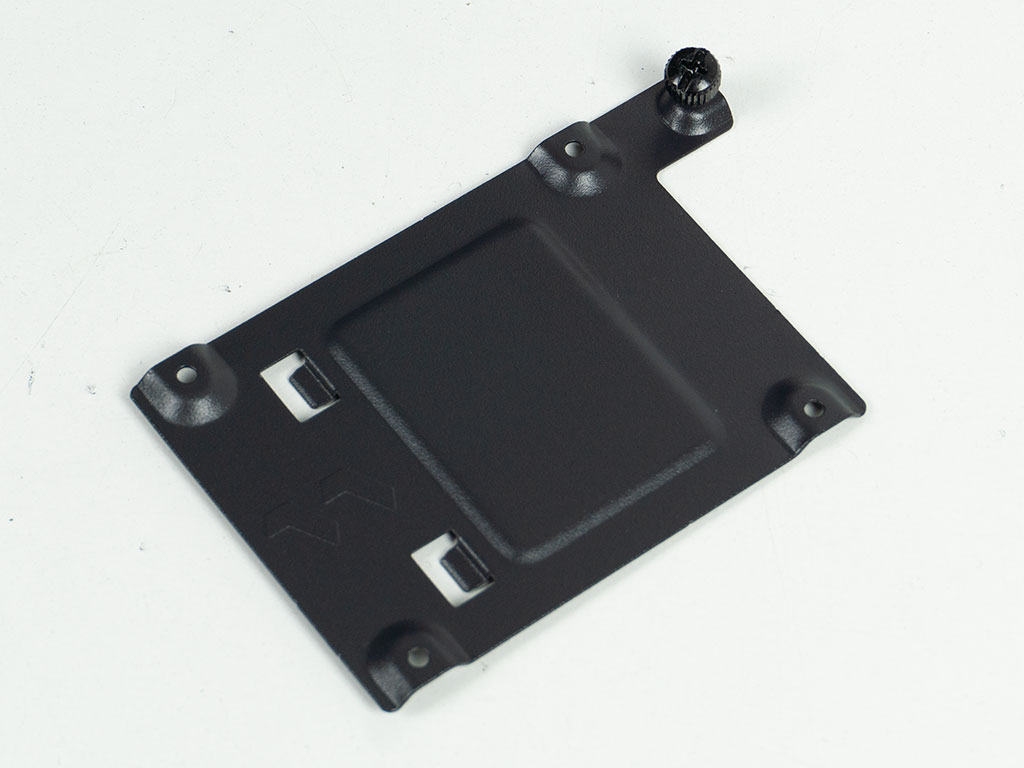
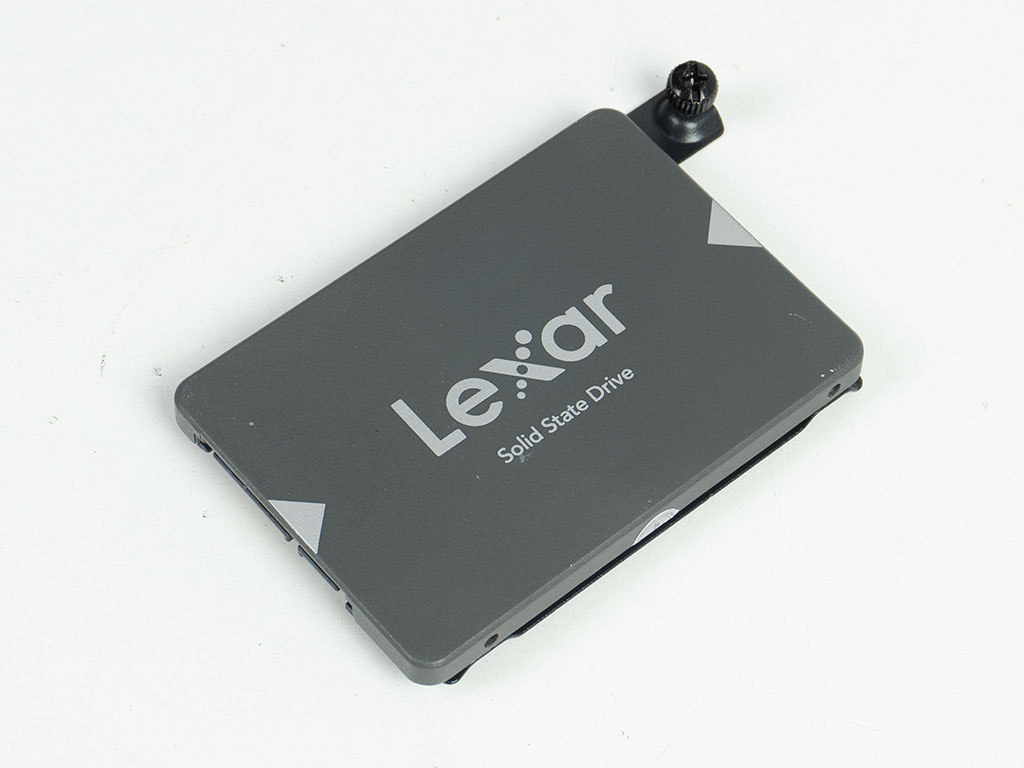
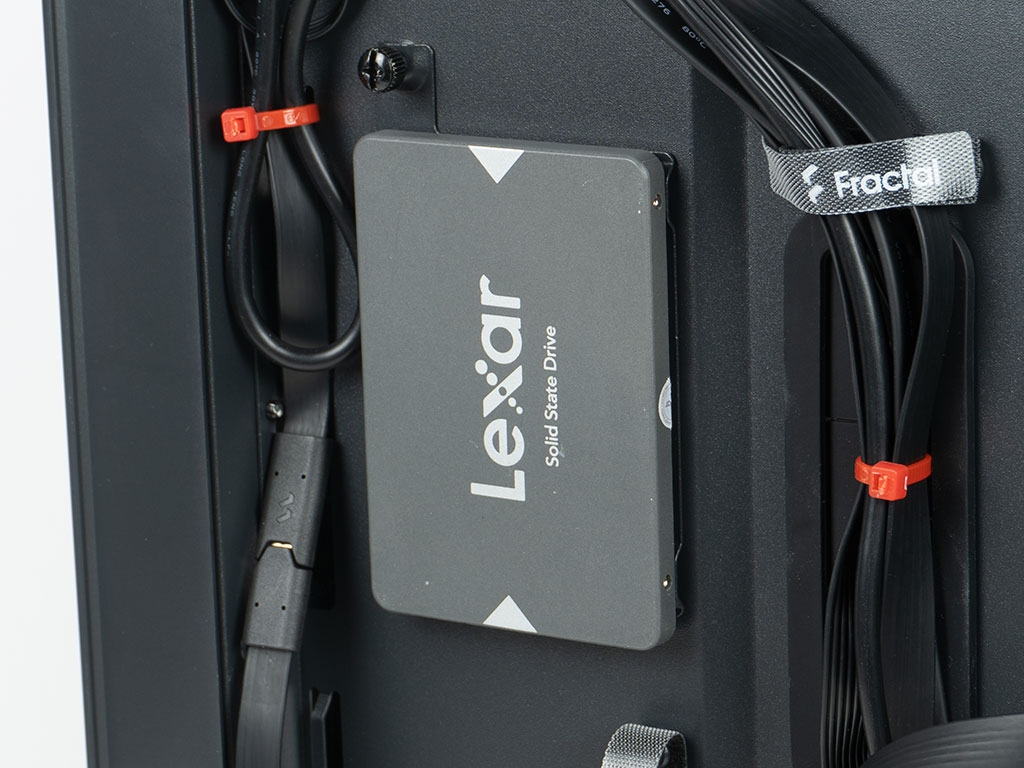
Adding a SSD is pretty straightforward as well, you mount it onto one of the detached trays using screws, once filled, simply pop that tray back into its position on the motherboard tray.
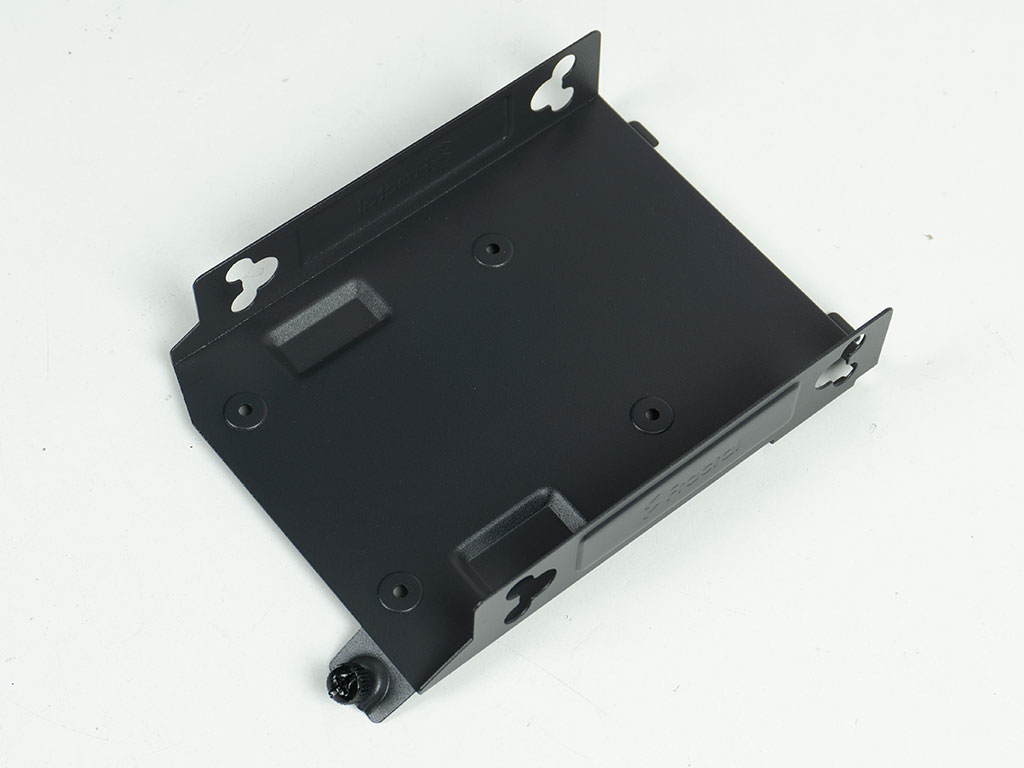
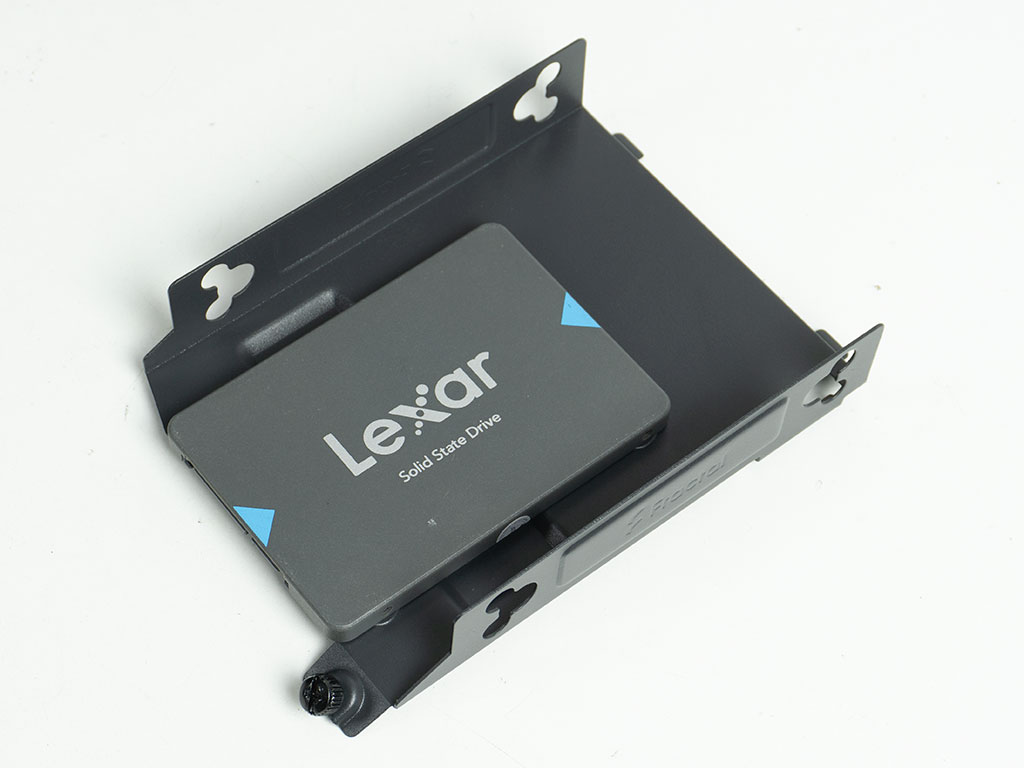
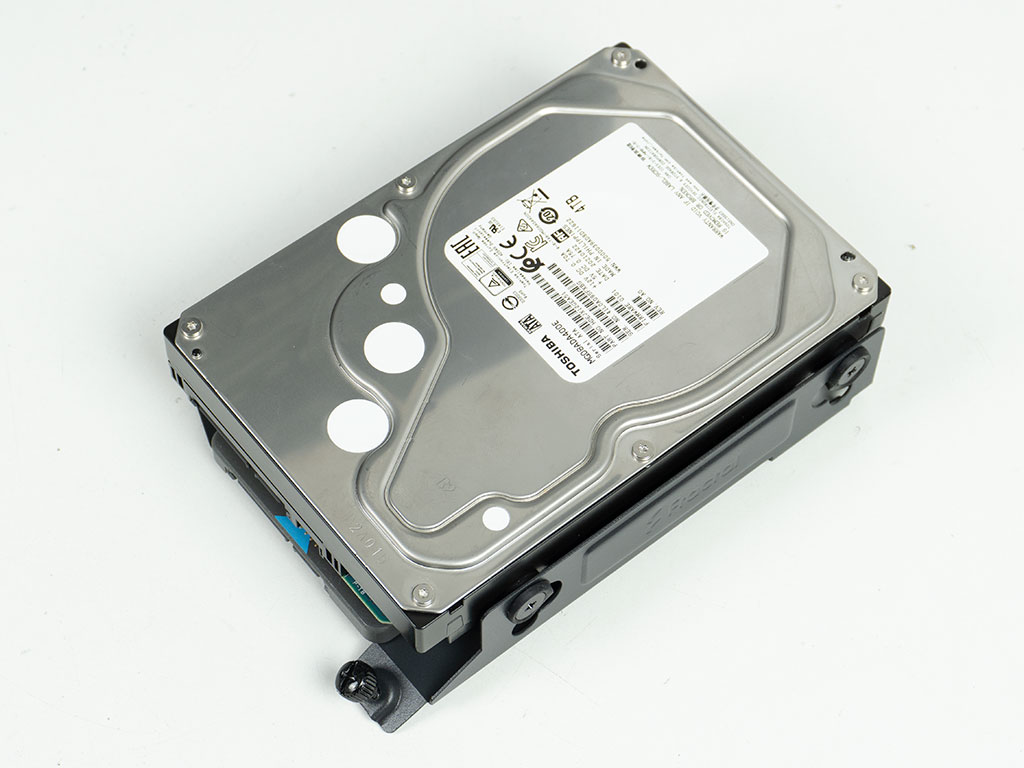
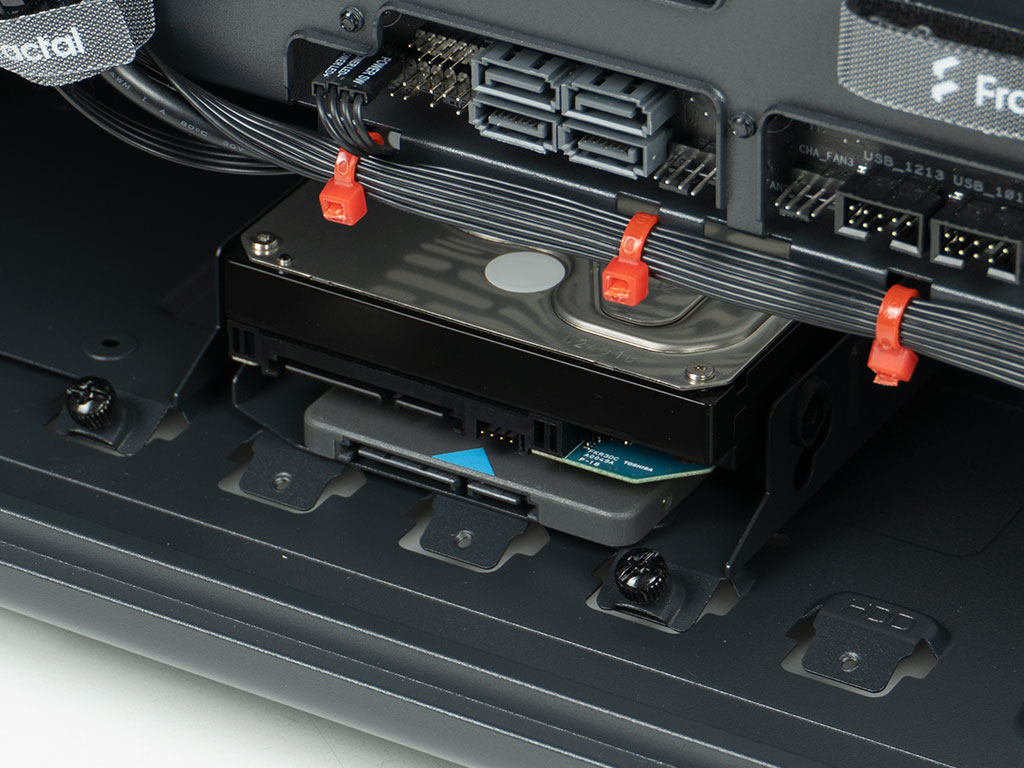
Each of the individual 3.5" hard drive trays may actually hold both a 2.5" and 3.5" unit at the same time, meaning the Fractal Design Epoch XL can accommodate a total of six drives out-of-the-box, which is more than the vast majority of cases out there these days. Each of the drives is also held in place by screws and Fractal provides rubber rings for the larger variants as an anti-vibration measure. You may install two trays next to each other. But, unlike the smaller Epoch, you will have to sacrifice one of these if you need room both in the front for cooling alongside the rear for an unusually long PSU.
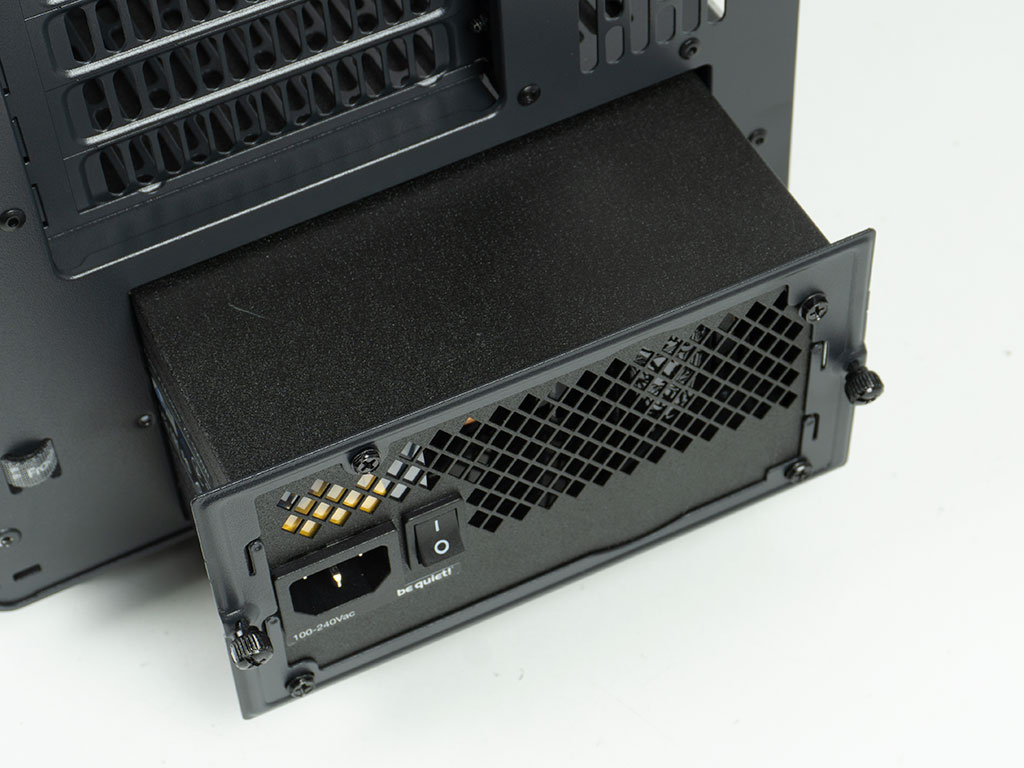
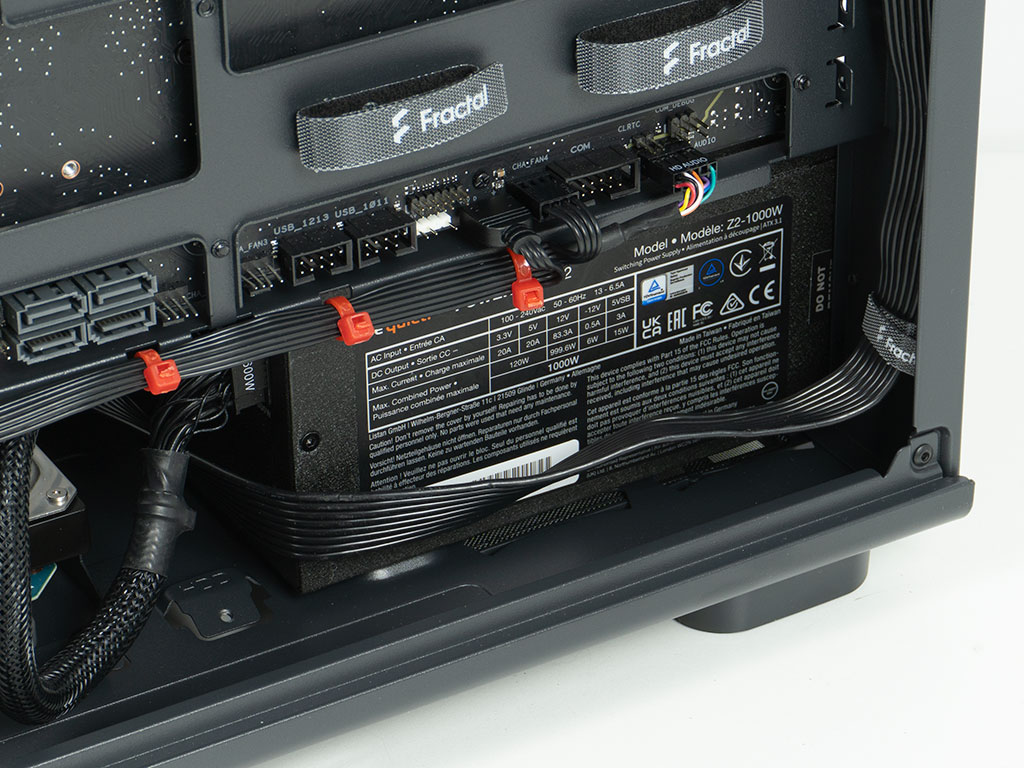
That said, adding the PSU requires you to screw on the frame first and then slide it into the chassis through the back of the chassis. If you look closely, you can see our unit comes pretty close to the mounting spot of that hard drive tray. In other words, you should stick to 160 mm PSU variants. Fortunately, there are plenty of options that fit that bill.
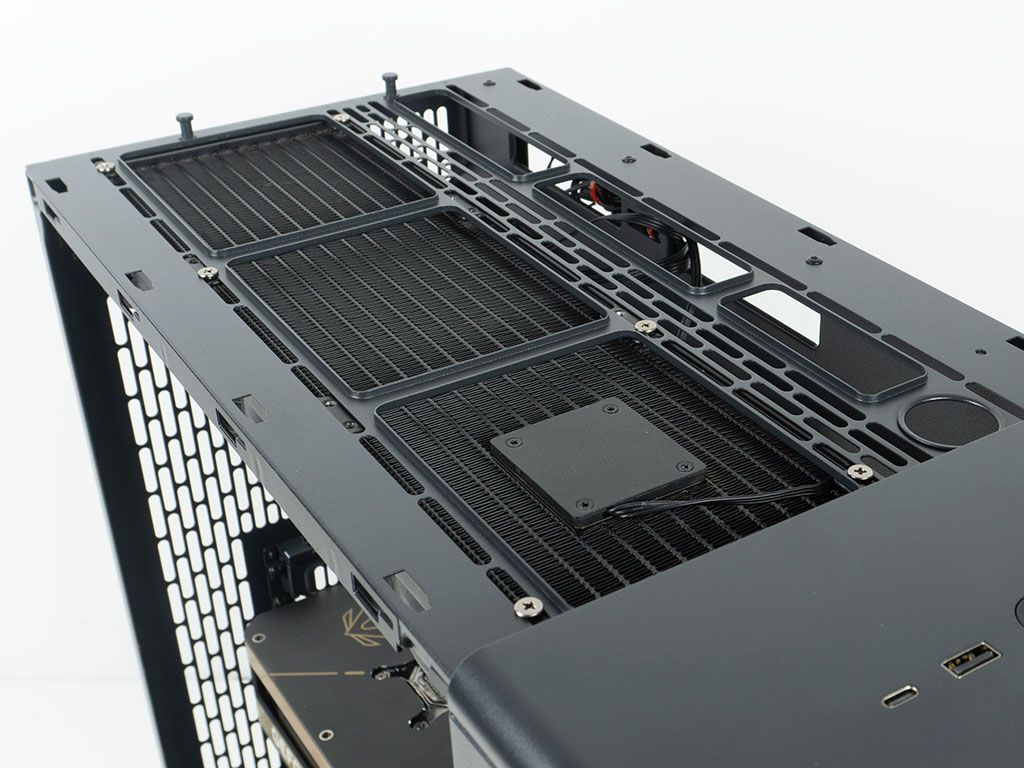
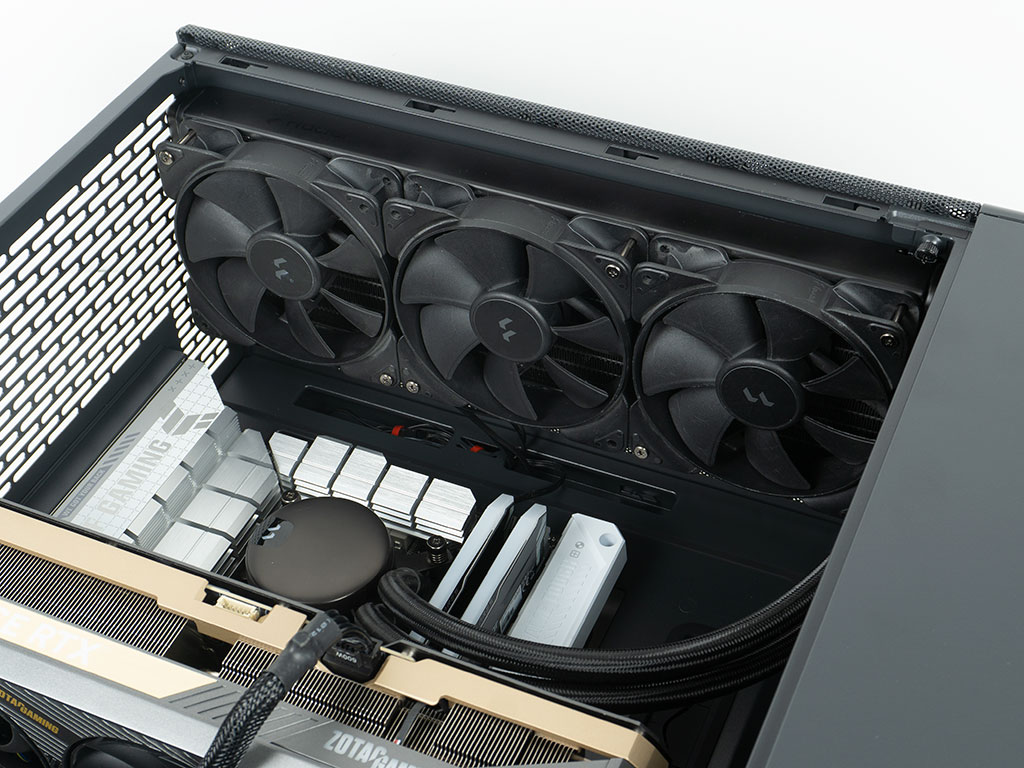
The top of the Epoch XL has no problems at all with a 360 mm AIO. It is both far enough offset and high enough above the board so that you retain easy access to all the connectors at the top edge of the motherboard.
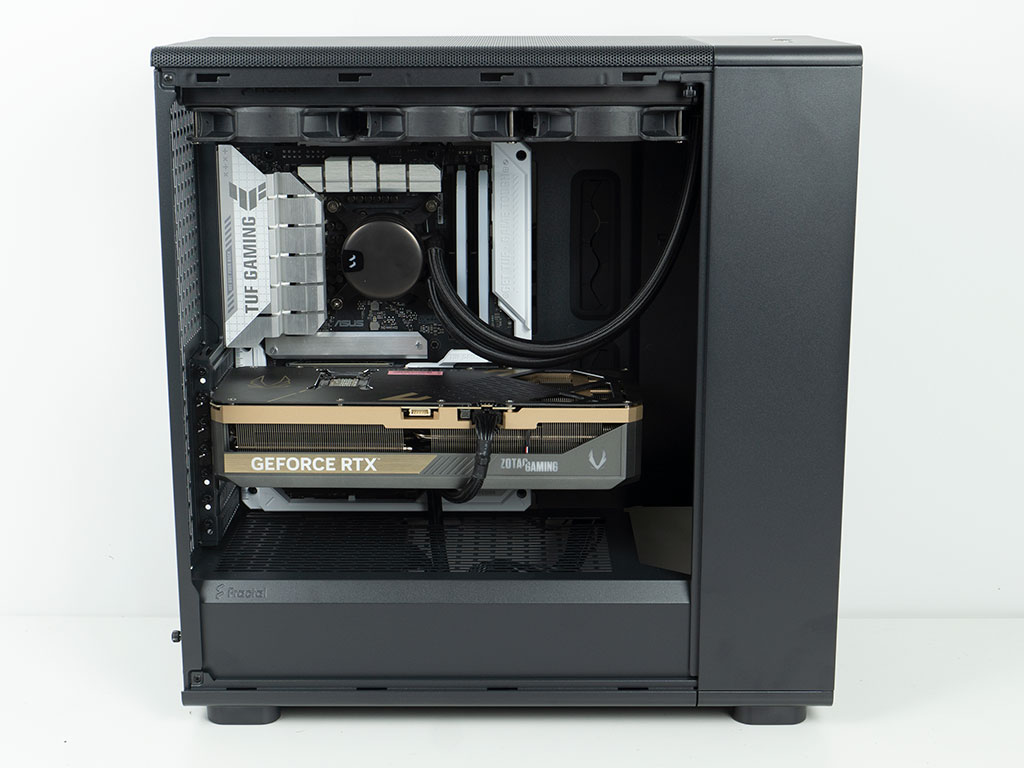
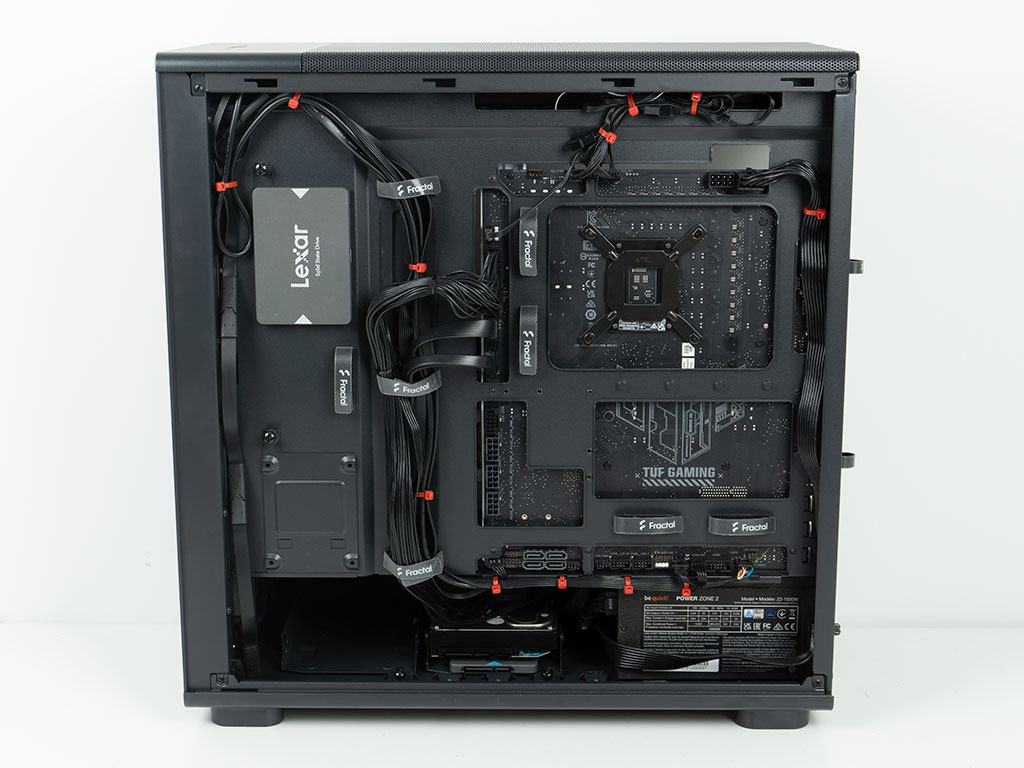
With everything installed, the Fractal Design Epoch XL makes a very clean interior impression thanks to the BTF equipped motherboard. Fractal did well to include grommets on the cable routing openings around the motherboard as well. As we know from the North XL review, which employed a classic ATX board, the resulting wiring is nice and clean due to this detail as well. Only the small cutouts in the shroud for cable management could benefit from slightly better placement, but that is barely noticeable. In the rear, the large hooks for zip ties allow us to create a clean setup, but you really won't need too many to keep everything clean due to the increased number of Velcro strips.
Finished Looks
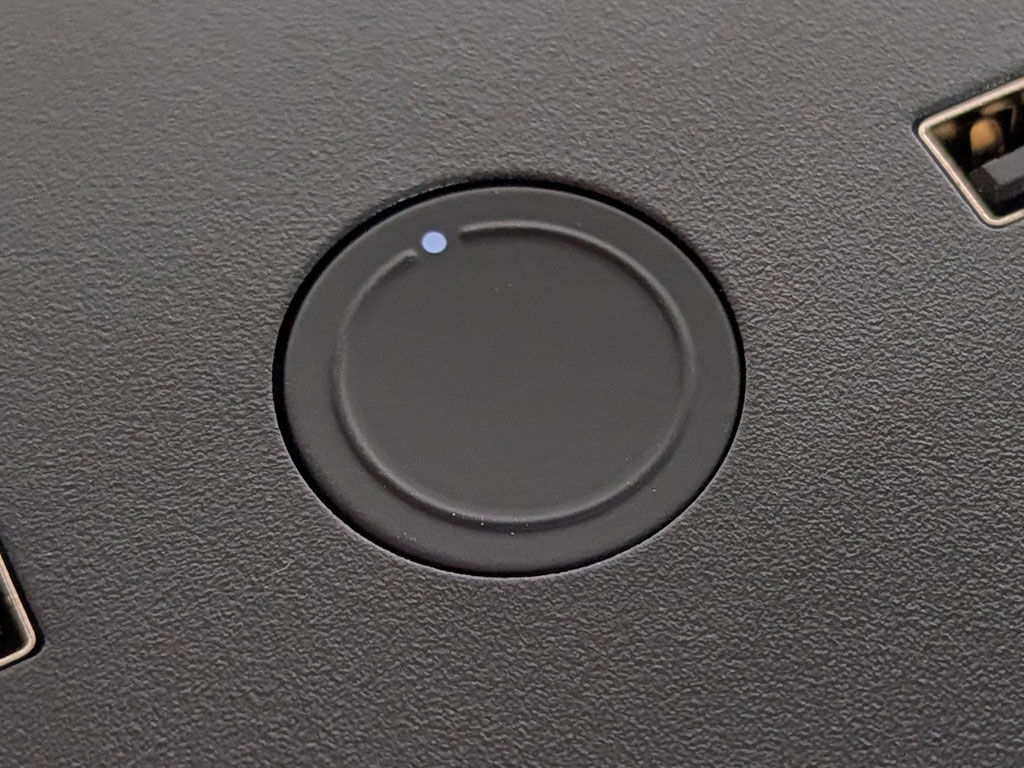
Once turned on, the white LED at the top of the power button lights up. It is really tiny so it is not on you if you happen to mistake it for a white painted dot instead. Fractal could have made that slightly larger and even added an HDD activity LED light at the 6 o'clock position for good measure.
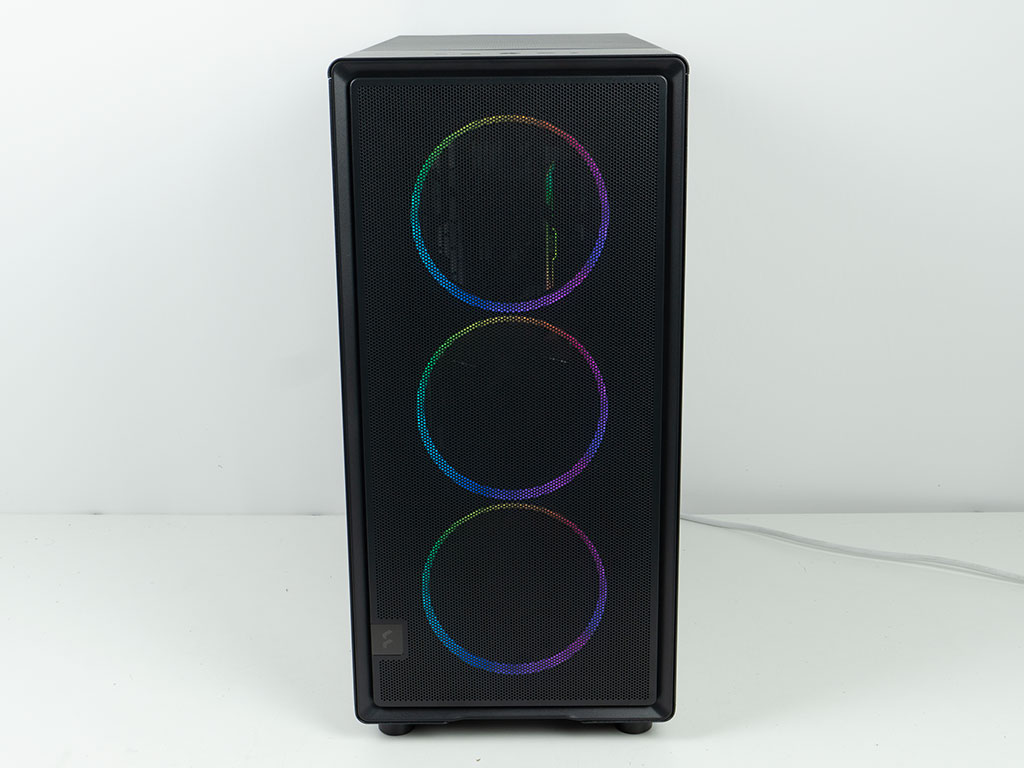
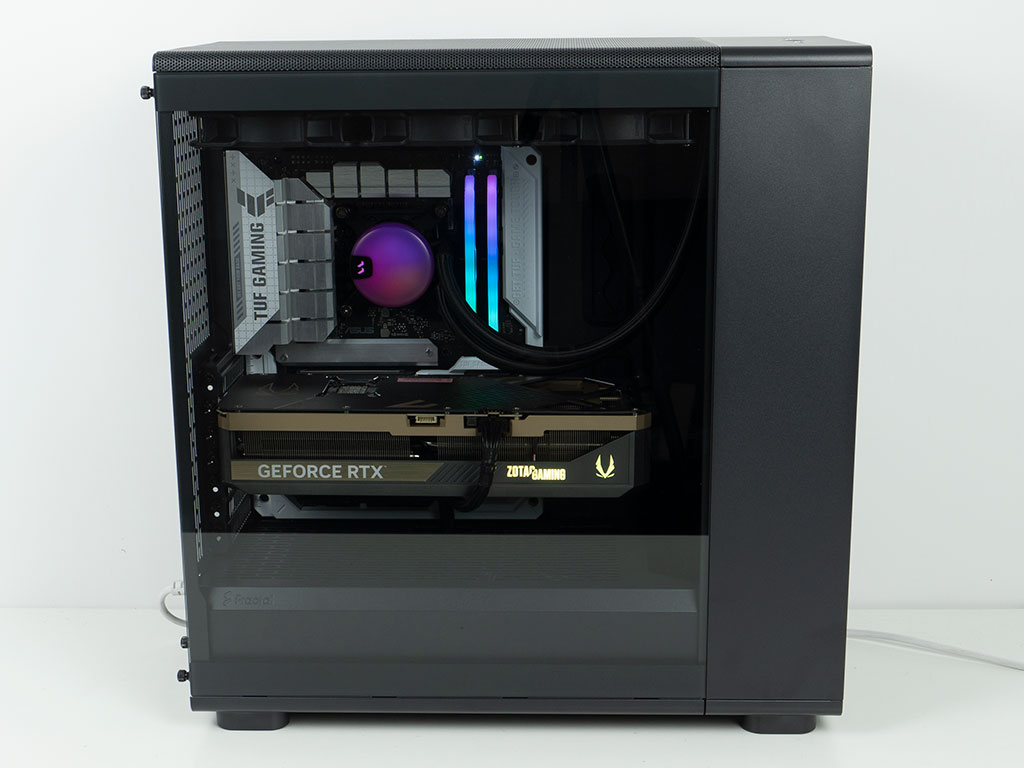
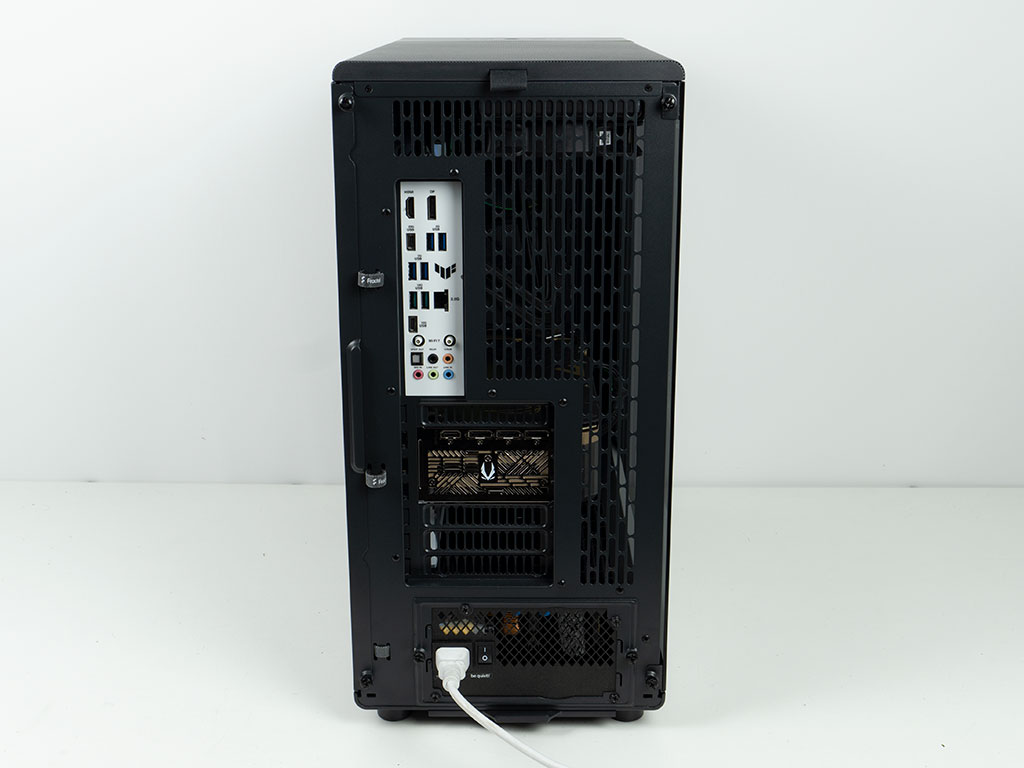
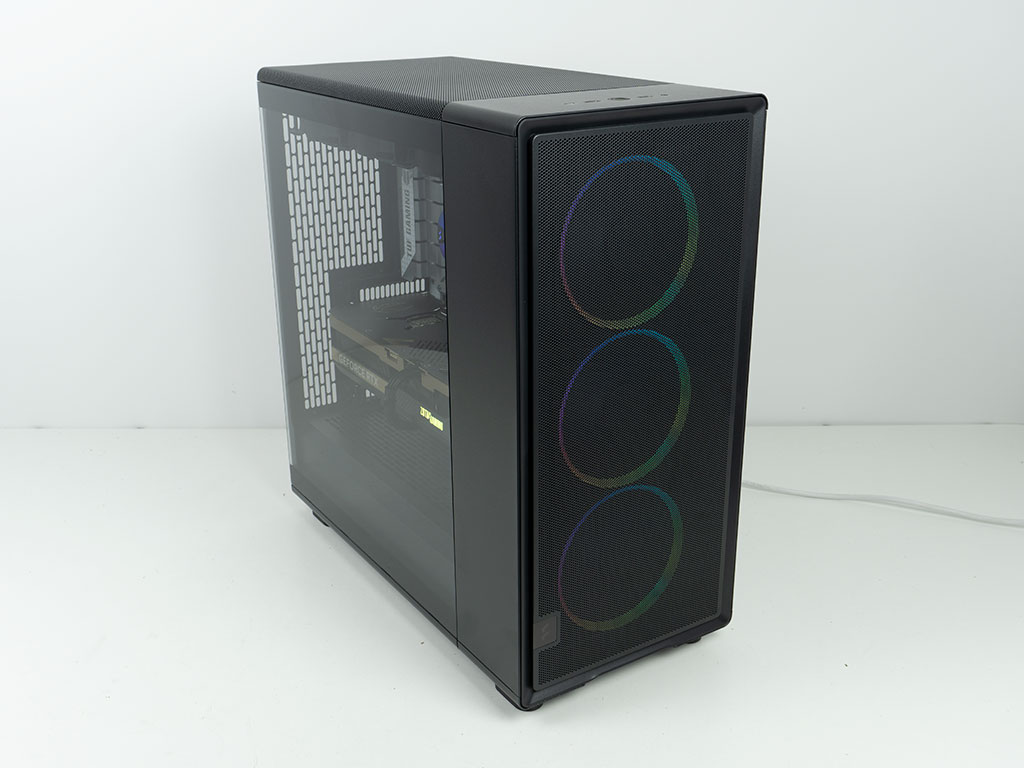
Thanks to the clean mesh front, you can clearly see the three Momentum 14 RGB rings. They are sufficiently bright to outshine the studio lights as well. Looking into the window thanks to the metal panel in the front of the chassis, you will not notice any storage units on the floor of the Epoch. The GPU is short enough to stay fully visible. In the rear, you will find everything where it is expected, with the large vents allowing for air to freely pass over your components and out the back of the Fractal Epoch XL. Here you may also use the Velcro strips to organize your external wiring if you have not opted to employ them for internal cable management.
Nov 20th, 2026 14:05 PST
change timezone
Latest GPU Drivers
New Forum Posts
- How to prevent OLED burn damage due to PC freezes or power outtages? (48)
- Honestly, do you care about GTA VI? (208)
- When you could finally run Crysis maxed out? (63)
- WarpCoreBench scores! (80)
- GTA VI (20)
- Anthrophics IPO (25)
- GeekMagic Ultra Smart WiFi Weather Station (8)
- Very unusual two gaming-pc scenarios. (35)
- Can i play GTA 6 now? (Joke) (14)
- Zen 3 IF/IMC degradation (239)
Popular Reviews
- AMD Zen 6 Technical Deep Dive
- Ugreen NASync DXP4800 GT Review
- Microsoft Surface Laptop Ultra Review - The Next-gen Arm Laptop
- Corsair RM1200e (Second Generation) Review
- Acemagic Retro X3 Review
- Upcoming Hardware Launches 2027 (Updated Nov 2026)
- Pulsar Office Tour & First Look at P1 Dual-Sensor Mouse
- Biwin Black Opal NV7400 2 TB Review
- AMD Ryzen 7 9800X3D Memory Performance Scaling
- AMD Ryzen 7 9800X3D Review - The Best Gaming Processor
TPU on YouTube
Controversial News Posts
- NVIDIA Co-Founder and CEO Jensen Huang Officially Resigns (490)
- Report: Jensen Huang Eyes NVIDIA Comeback (255)
- Open Letter Asking NVIDIA to Reinstate Jensen Huang Passes 115,000 Signatures (184)
- OpenAI CEO Argues Home PCs Waste the World's Limited DRAM Supply (152)
- NVIDIA Launches Investigation Into Jensen Huang's Relationship With Suspected Chinese Spy (136)
- Intel "Raptor Lake Next" 16-Core and 20-Core CPUs Surface (130)
- Legendary Game Studio BioWare Shuts Down Following EA Layoffs (104)
- Dell CEO Says the Memory Shortage Will Get Worse in 2027 (95)