 18
Fractal Design North Momentum Edition Review
Review System Setup »A Closer Look - Inside
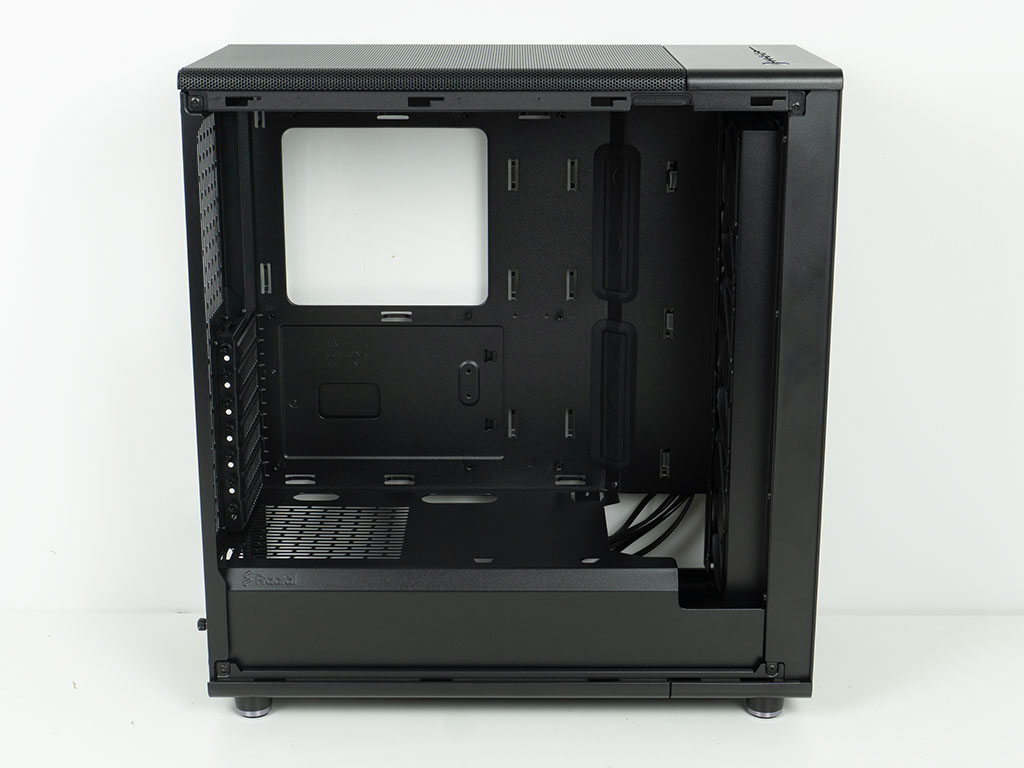
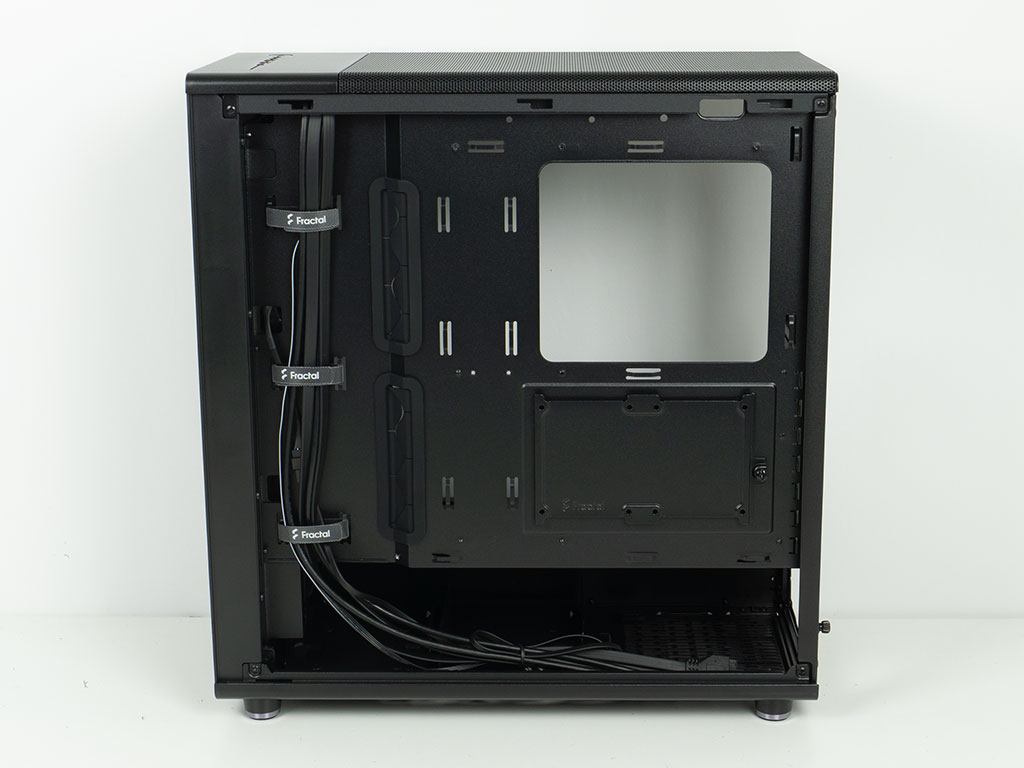
To gain access to the interior, simply detach the captive thumb screws holding each panel in place. The solid piece towards the front of the chassis may also easily be removed as well by loosening a single thumb screw, to give you full access to the interior of the North Momentum Edition. While the interior of the white Fractal North is actually a gunmetal gray for example, everything within the Momentum Edition is—yes, you guessed it—black. Taking a first look at the backside of the motherboard tray, things look rather simple but also pretty functional, with well-placed large hooks for cable management, for example.
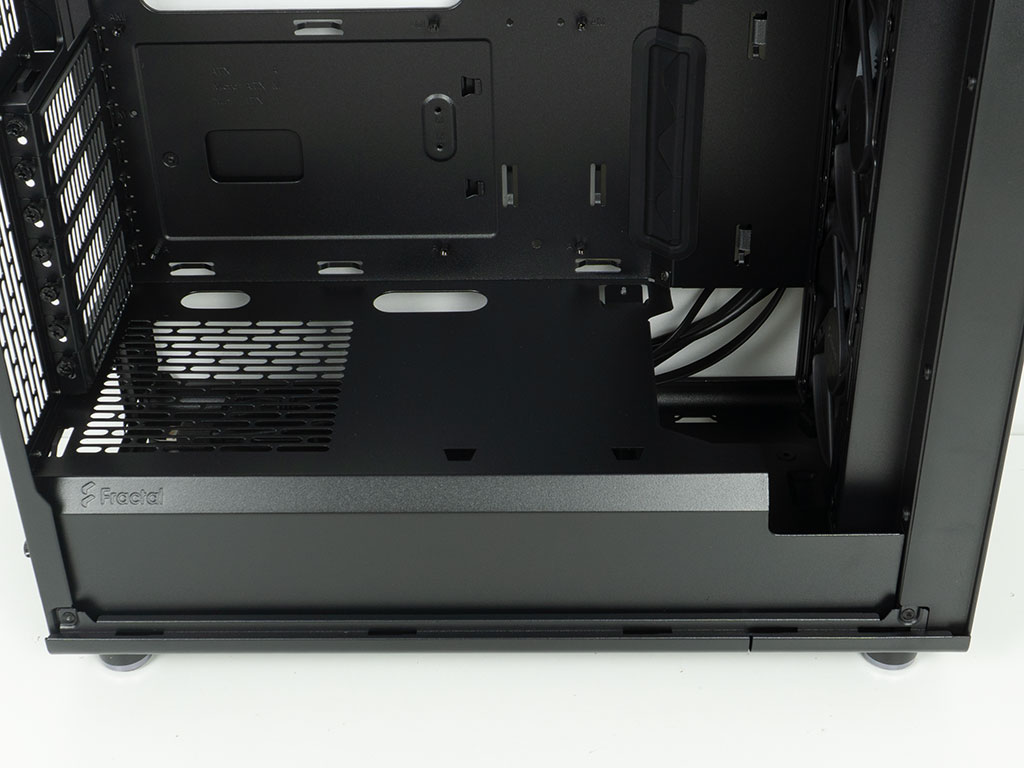
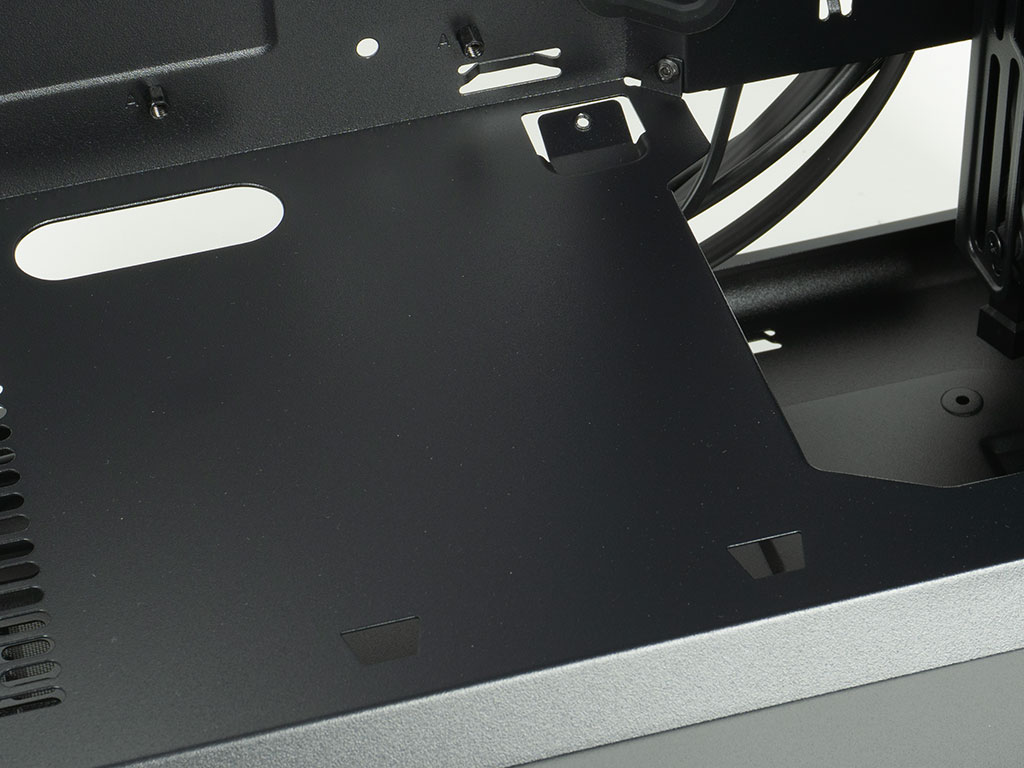
The shroud is made of steel and comes with a large opening in the front, along with smaller cable routing cutouts along the bottom edge of the motherboard. A vent above the PSU bay gives you the flexibility to have the power supply fan facing upward if you like. Lastly, you can see a mounting position for a 3.5" HDD tray on the underside ceiling of the shroud.
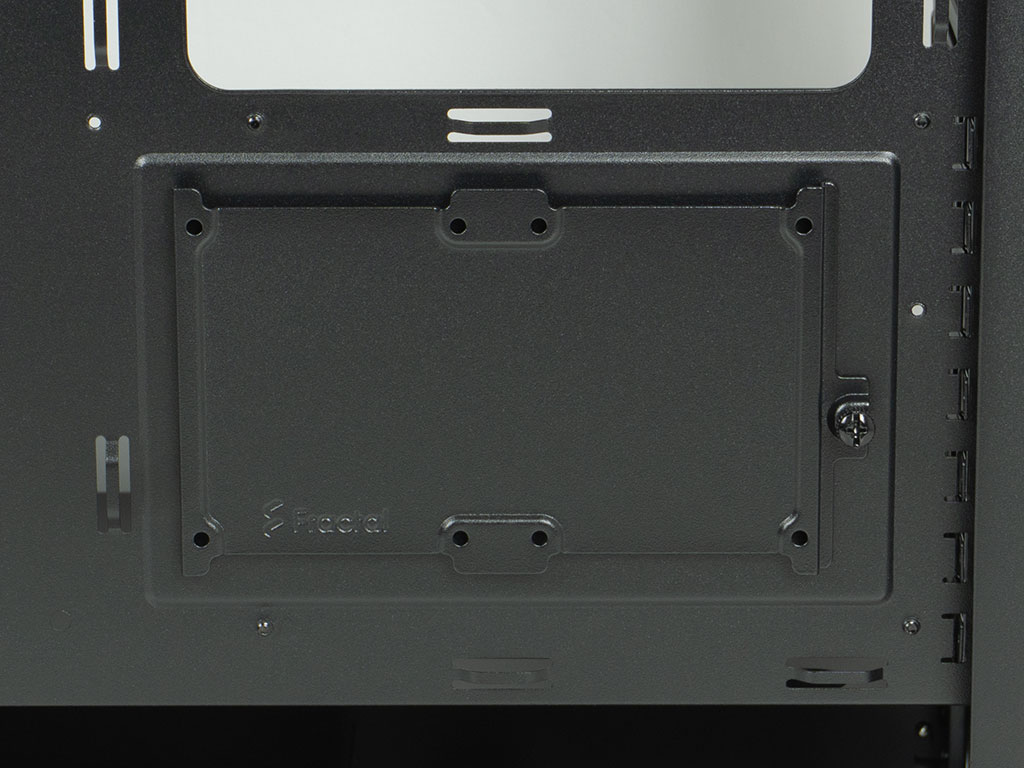
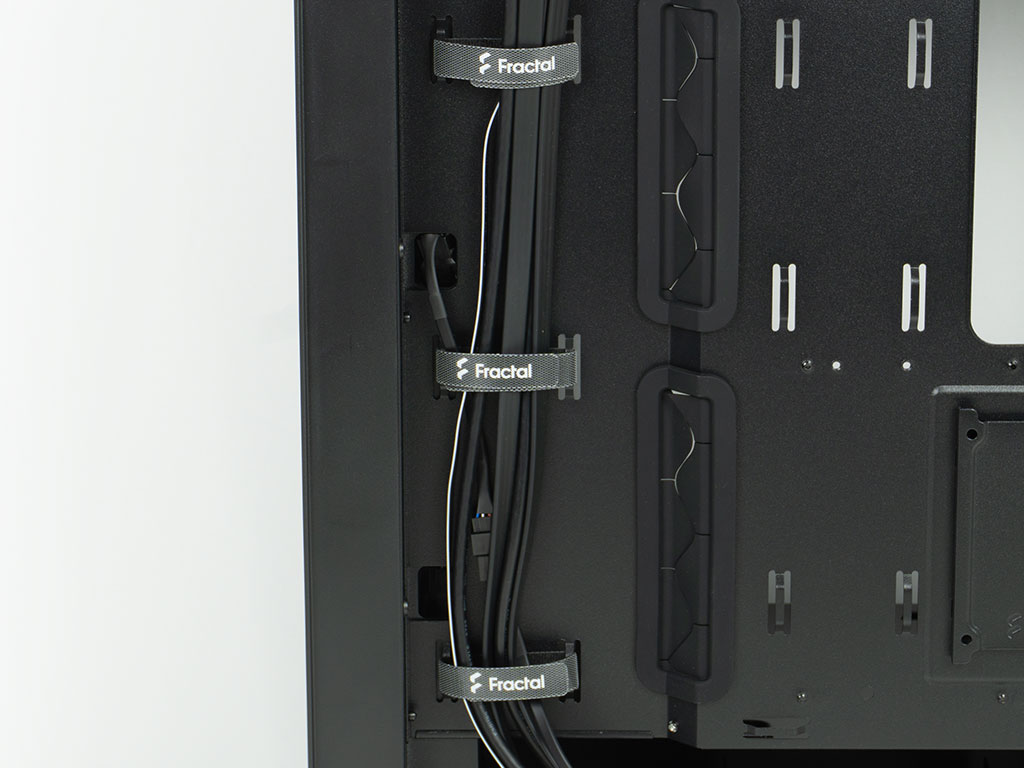
Underneath the cutout for the CPU cooler bracket you will find a tray for two 2.5" drives, which is held in place by a single thumb screw. Fractal has also pre-installed three Velcro strips and neatly pre-routed the case wiring. One thing you will no longer find is the PWM hub, which is part of the classic North cases. It is simply no longer needed as the Momentum Fans are daisy-chained.
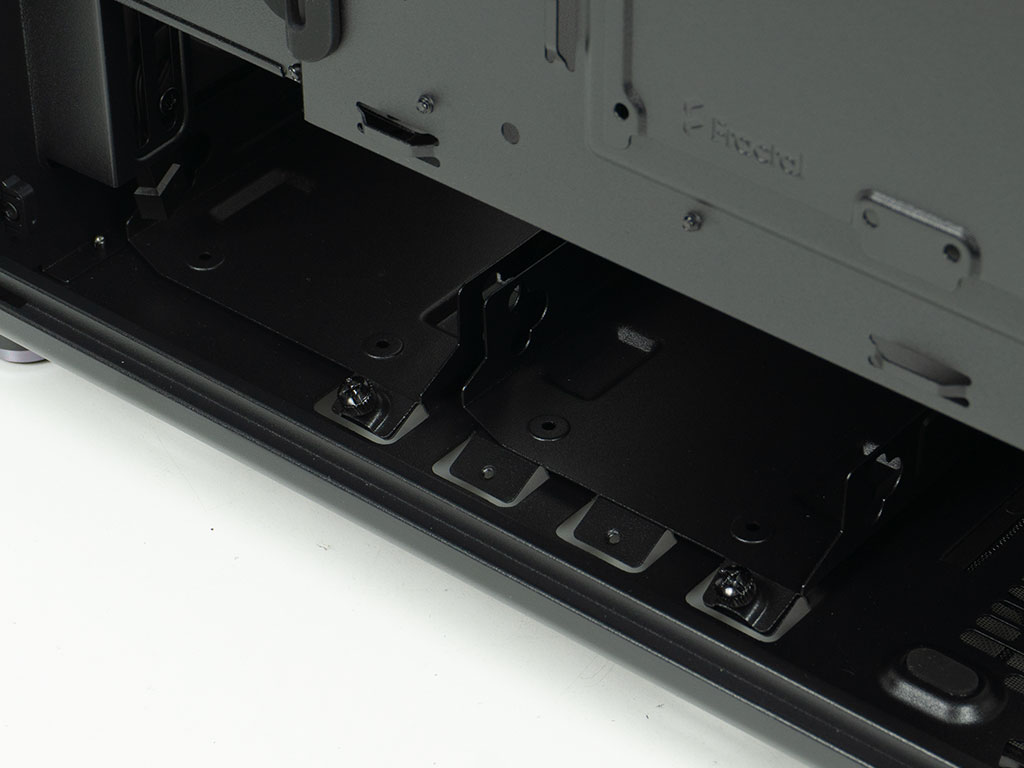
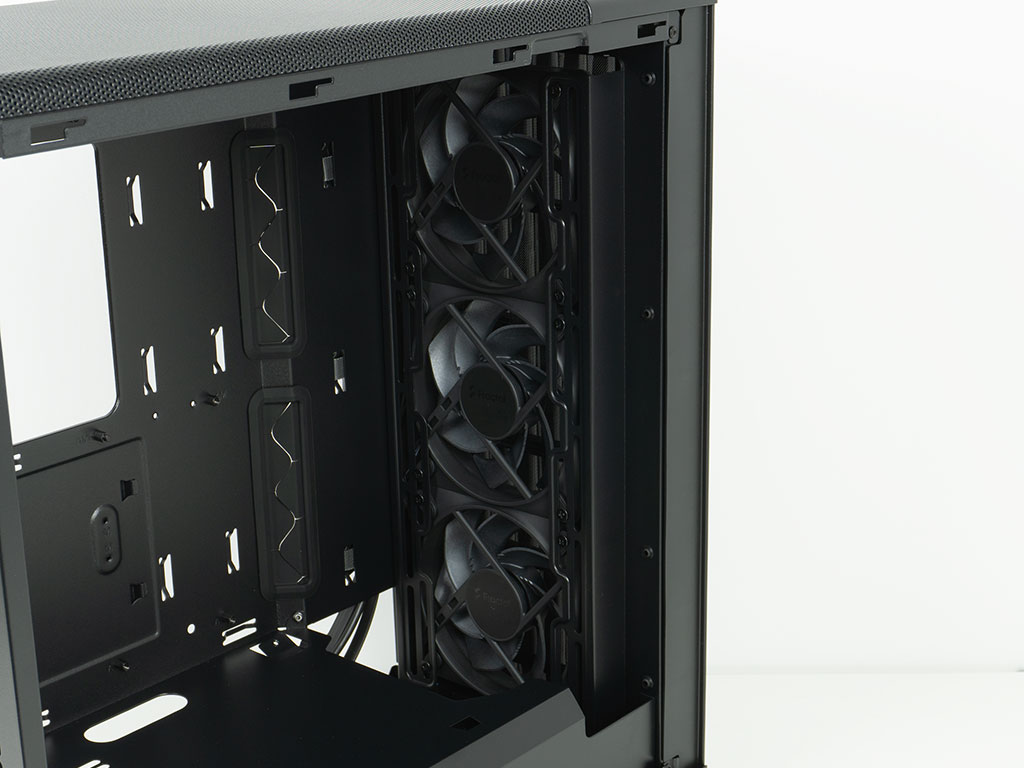
In the front, there are the two out of three possible 3.5" trays. Above those there is the cooling element with the three pre-installed 120 mm fans clearly visible. Alternatively, you may go for two 140 mm units or a 360 mm liquid cooling setup.
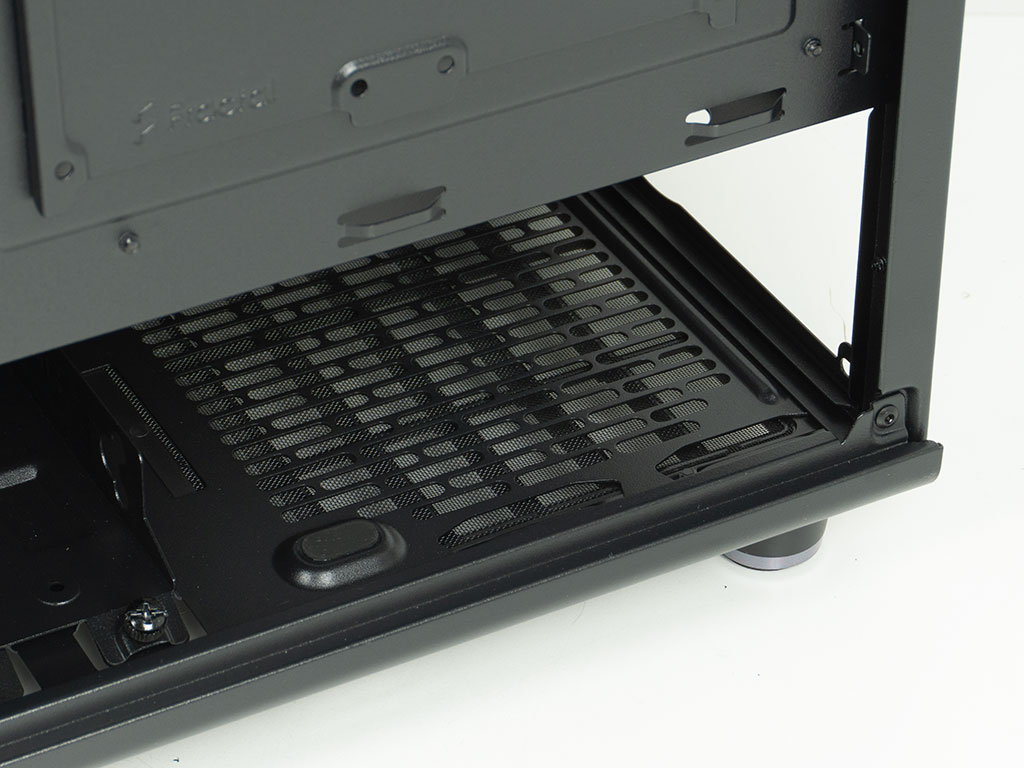
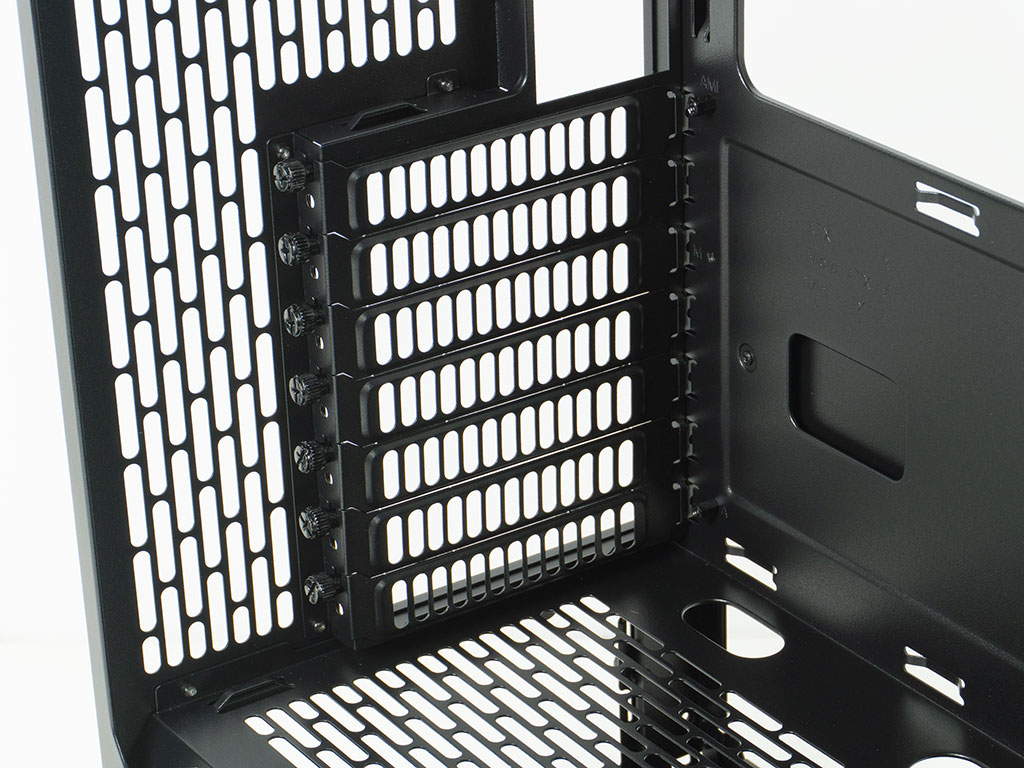
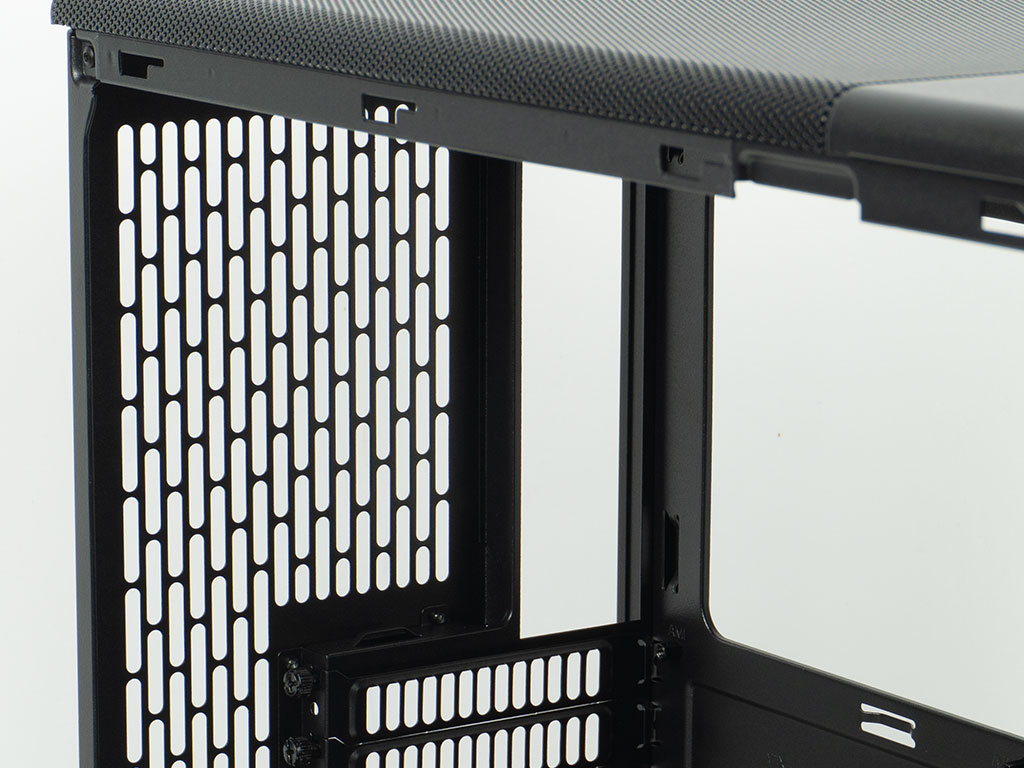
In the rear, the PSU bay underneath the shroud is pretty straightforward, with some foam pads for the unit to rest on. Above that are the seven expansion slots, where Fractal also employs thumb screws to hold each cover in place. As there are no dividing elements in the chassis frame between the expansion slots, you will be able to use horizontal GPU mounting brackets as well. In the very top, there is that vent/fan mount as noted before. If you look closely, you will notice the hooks for cable management in this part of the chassis, which should make it easy to cleanly route fan wiring to a header of the motherboard, while keeping the cable mess to a minimum.
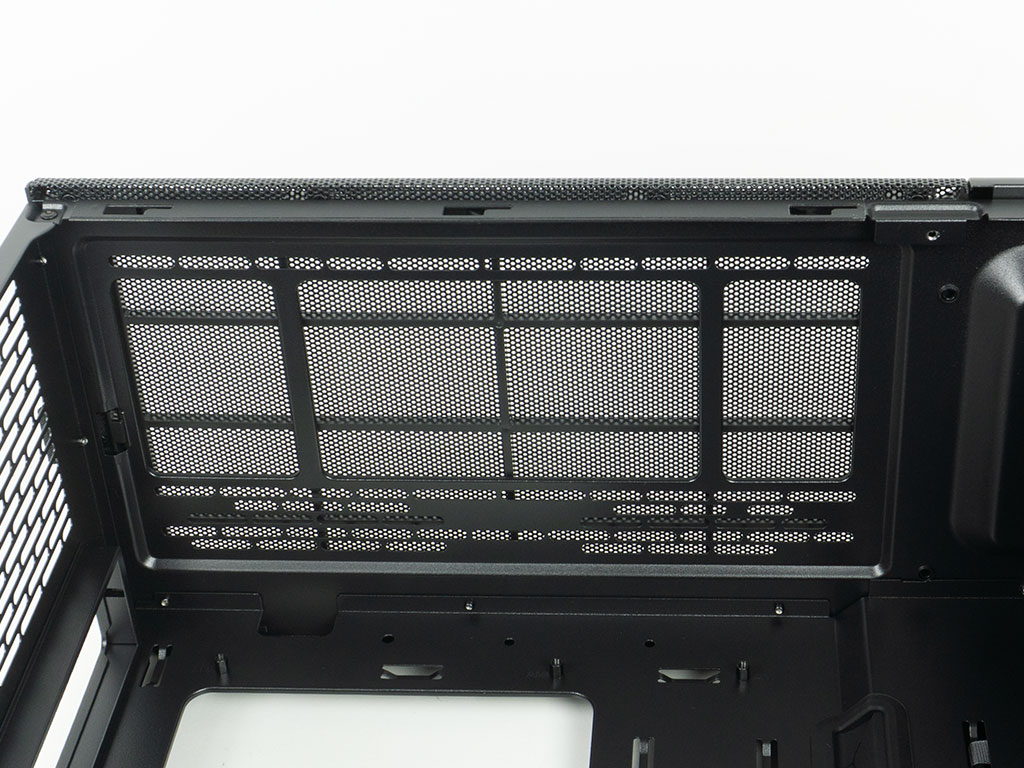
The fan/liquid cooling mounting element in the ceiling is offset as far away from the motherboard as possible, and Fractal mentions a 35 mm clearance limit for components like heat sinks or memory. That isn't a lot by today's standards. Back in 2022, AIOs were still priced very differently, with premiums on larger units. Nowadays, that is no longer the case and being limited to 240 mm in the ceiling is a much bigger drawback. While one could make the argument that the chassis can handle a 360 mm variant in the front by moving the included fans to the top and rear of the case, you would still have the issue that a liquid cooling system in the front will reduce the possible length available to your GPU.
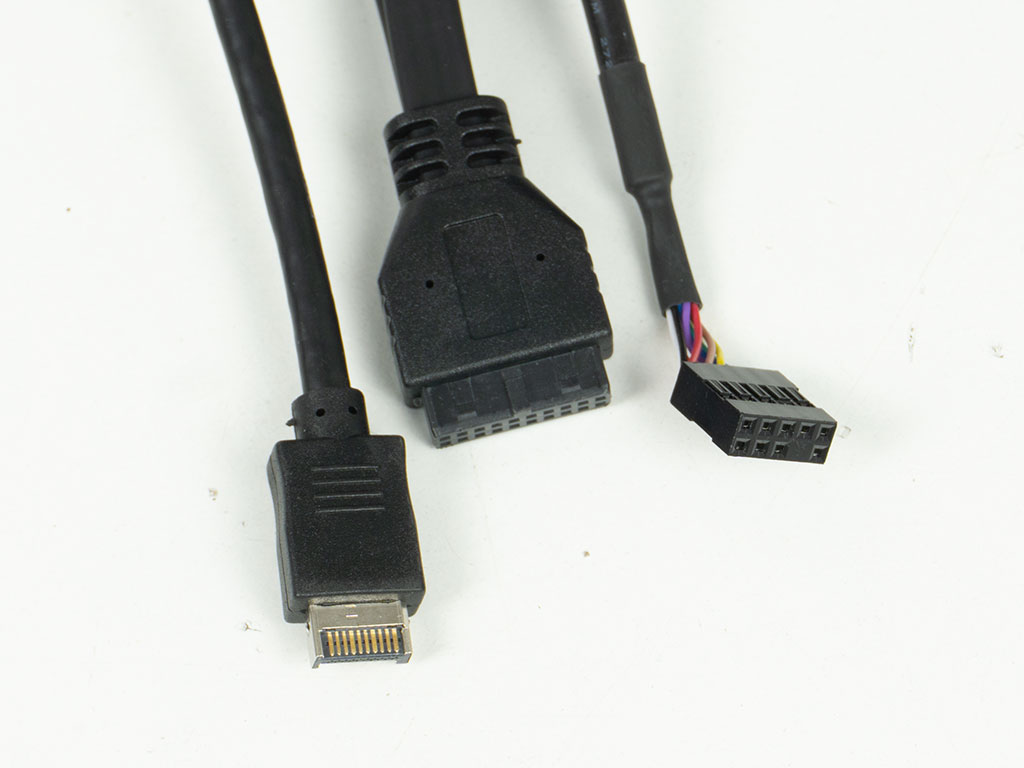
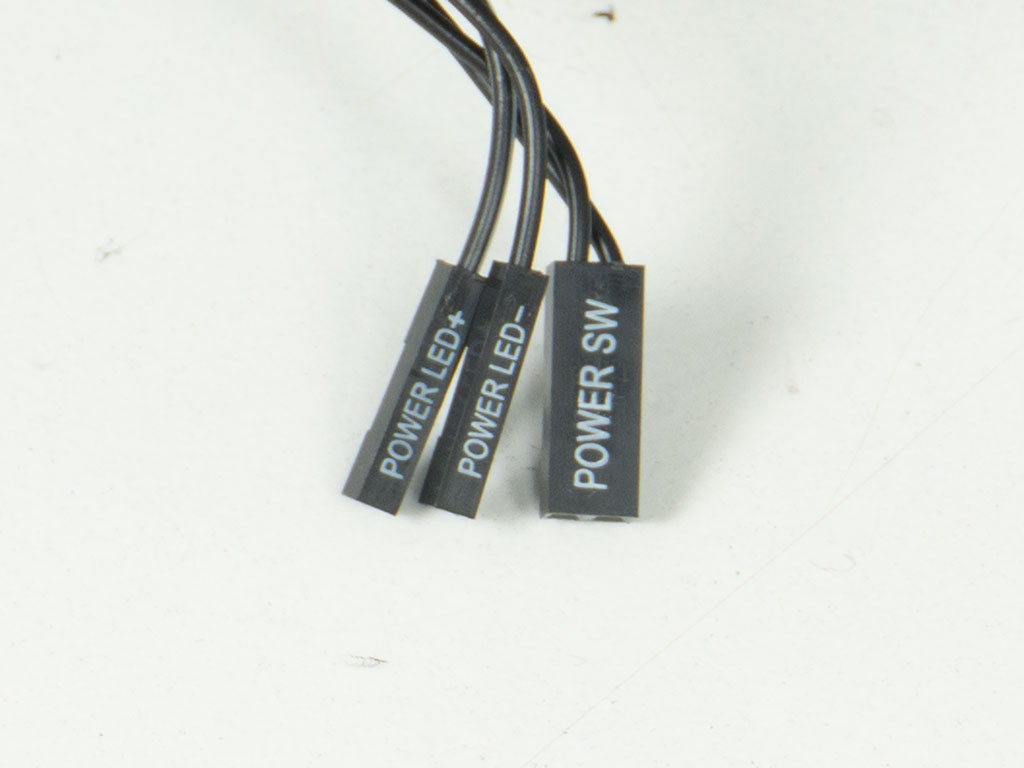
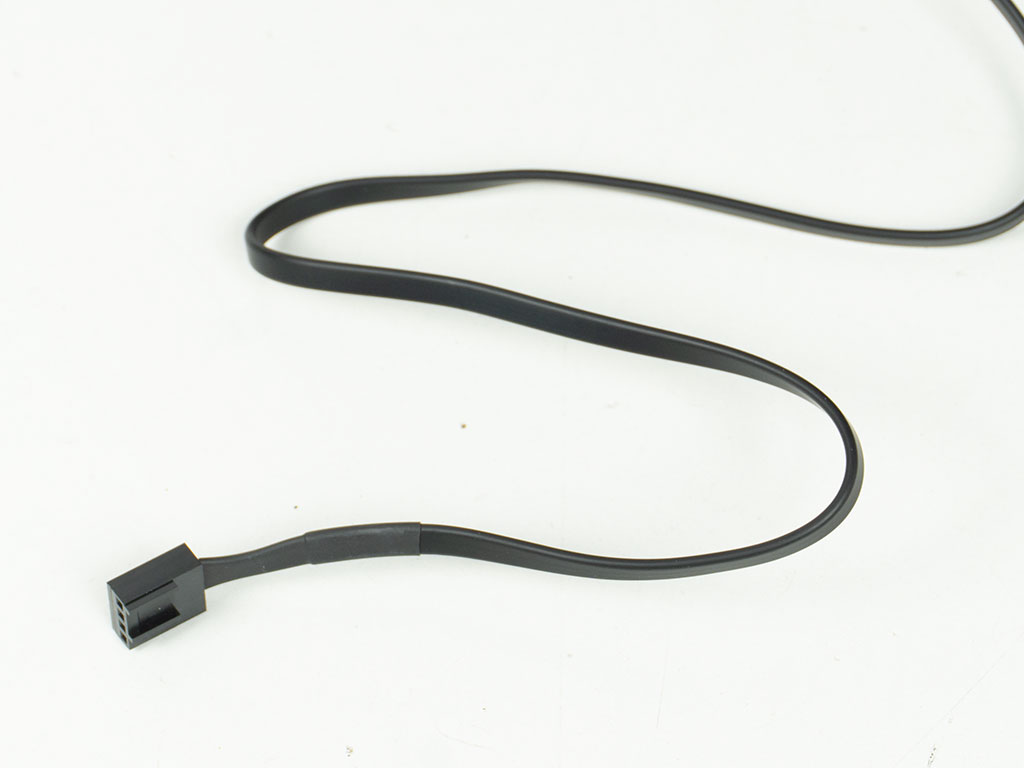
All the wiring within the Fractal Design North is of the sleeved black variety. Fractal Design has pre-routed the three fans in the front perfectly already, and pre-applied an extension wire so that you will easily be able to connect it to any motherboard PWM header of your choice.
Nov 18th, 2026 03:08 CST
change timezone
Latest GPU Drivers
New Forum Posts
- Wireless Internet sharing between PC and router both-ways, is it possible? (2)
- Hi, just to say thanks and who I am (5)
- Without Jensen, PC gaming will be (39)
- [Poll] 12V-2x6 Connector Protection: What Are You Using? (WireView / Ampinel / Equalizer / Other / Nothing) (30)
- WarpCoreBench scores! (58)
- nvidia 4000 ada lovelace on windows 7 ? (8)
- Help with fixing Overclock (9)
- Slow SSD read speeds - help! (16)
- Will zen 6 mobos have anything extra vs current ones? (52)
- 9070 GRE 3.9ghz validation reached. (19)
Popular Reviews
- Acemagic Retro X3 Review
- Upcoming Hardware Launches 2027 (Updated Nov 2026)
- AMD Zen 6 Technical Deep Dive
- ASUS ROG Strix B850-I Gaming Wi-Fi7 W Review
- Corsair HX1000i Shift Crystal Review
- Chieftec Iceberg PRO 360 DARK Review
- AMD Ryzen 7 9800X3D Review - The Best Gaming Processor
- Phantom Blade Zero Performance Benchmark Review - 35 GPUs Tested
- Biwin Black Opal NV7400 2 TB Review
- Montech King 95 3D PRO Review
TPU on YouTube
Controversial News Posts
- NVIDIA Co-Founder and CEO Jensen Huang Officially Resigns (465)
- Open Letter Asking NVIDIA to Reinstate Jensen Huang Passes 115,000 Signatures (184)
- OpenAI CEO Argues Home PCs Waste the World's Limited DRAM Supply (152)
- Report: Jensen Huang Eyes NVIDIA Comeback (140)
- NVIDIA Launches Investigation Into Jensen Huang's Relationship With Suspected Chinese Spy (136)
- Intel "Raptor Lake Next" 16-Core and 20-Core CPUs Surface (130)
- Legendary Game Studio BioWare Shuts Down Following EA Layoffs (104)
- Dell CEO Says the Memory Shortage Will Get Worse in 2027 (95)