 18
Fractal Design North Momentum Edition Review
Thermal Stress Test »Assembly
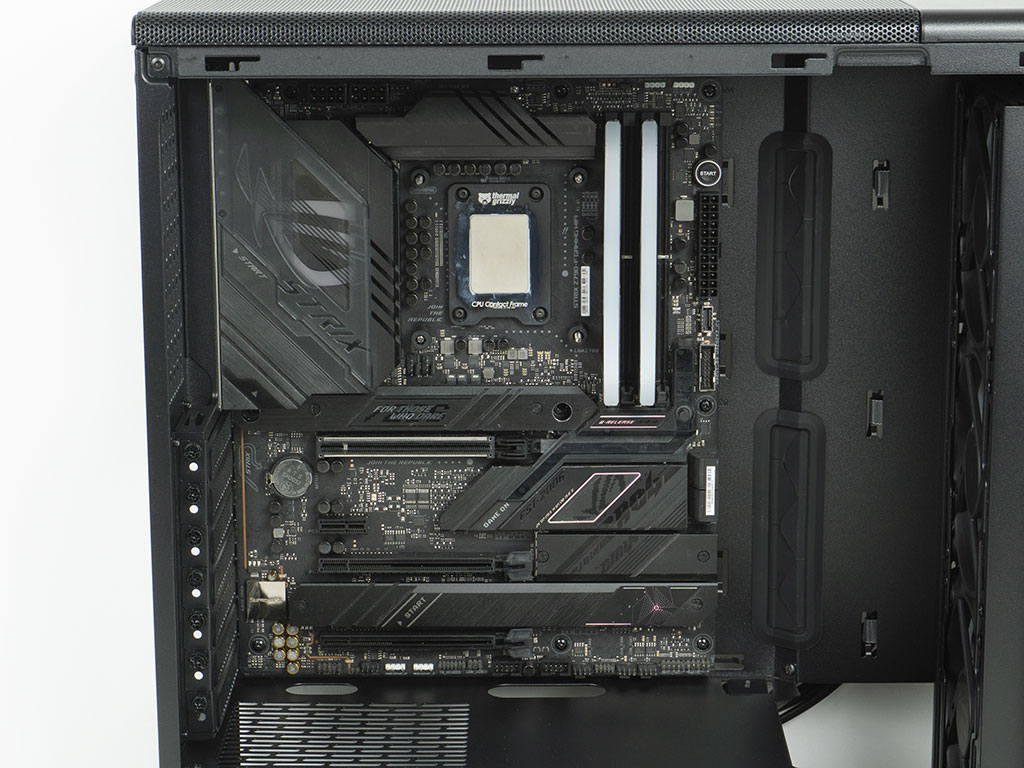
Installing a motherboard inside the Fractal Design North Momentum Edition is done by traditional means using spacers and screws. The slightly angled grommet covered openings line up well with the board, which also holds true with the openings in the shroud. The cable routing experience in the floor and above the top edge of the board could be improved with additional cutouts.
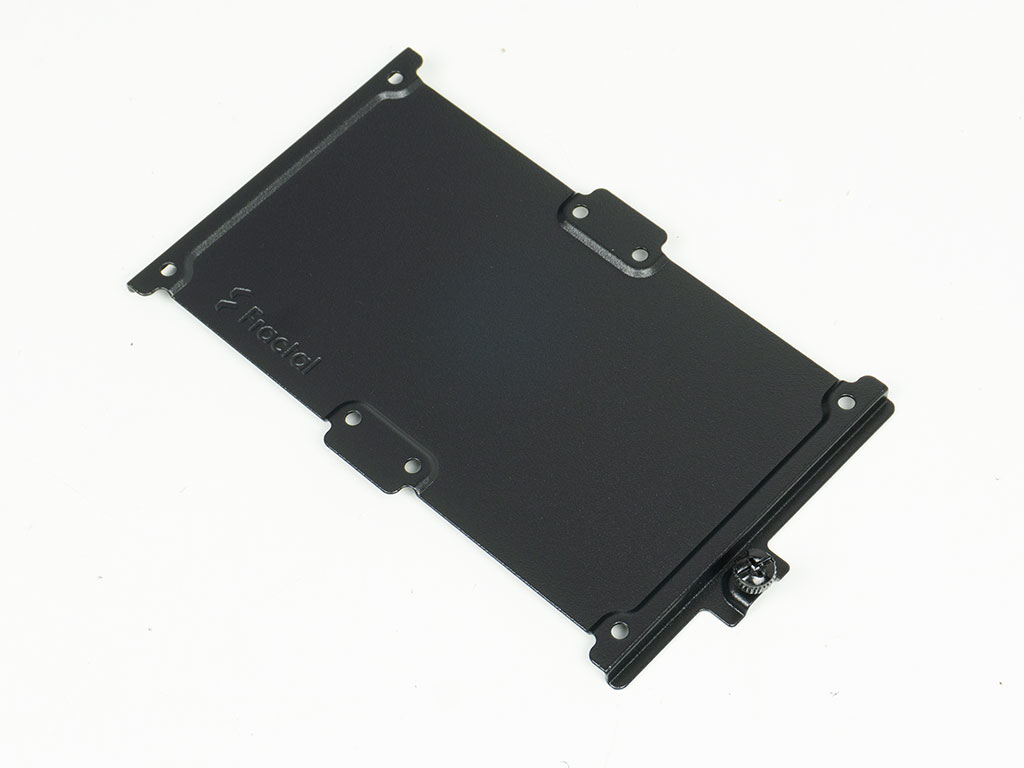
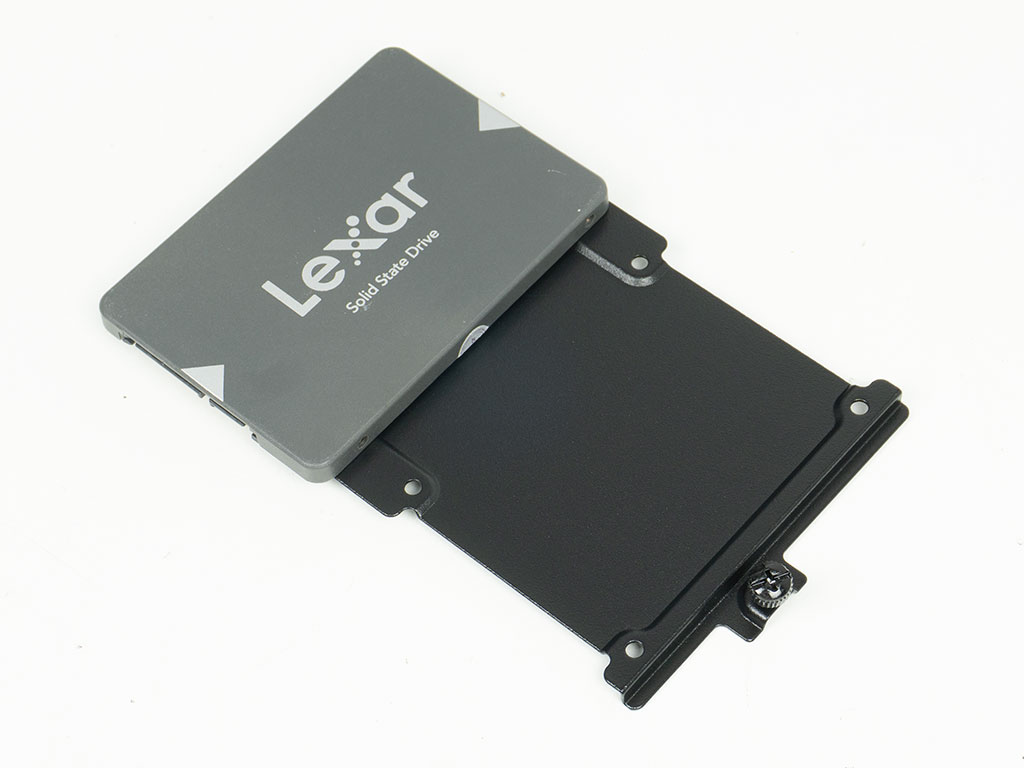
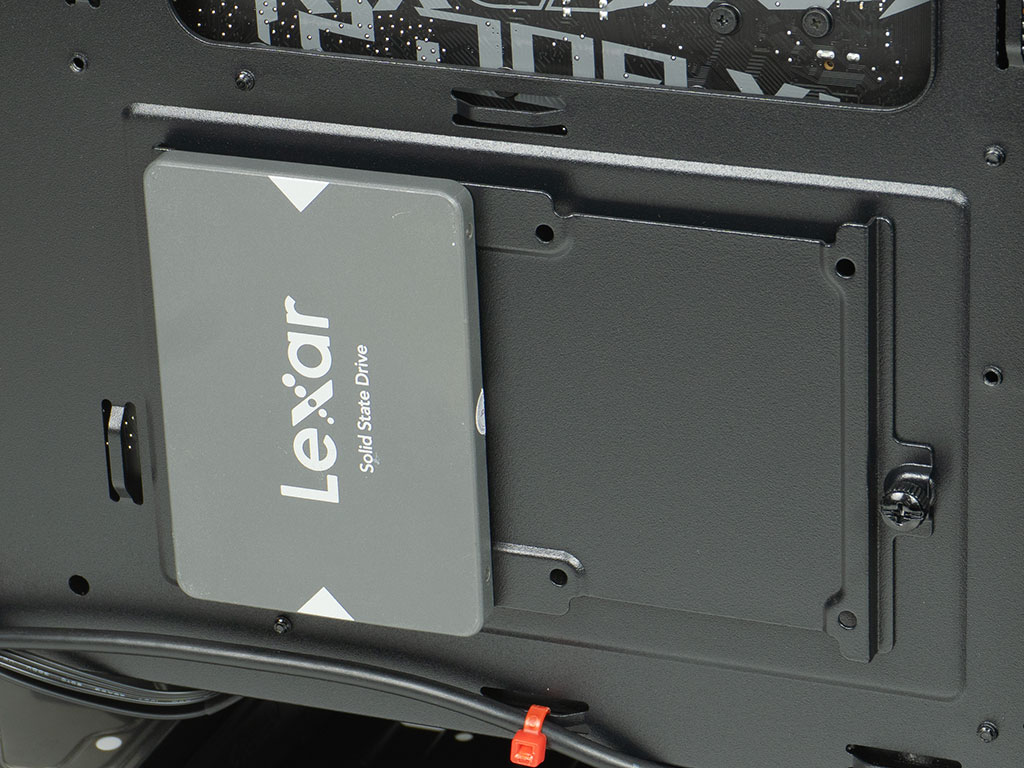
Adding a SSD is pretty straightforward as well, you simply mount it onto the detached tray using screws, once filled, simply pop that tray back into its position on the motherboard tray.
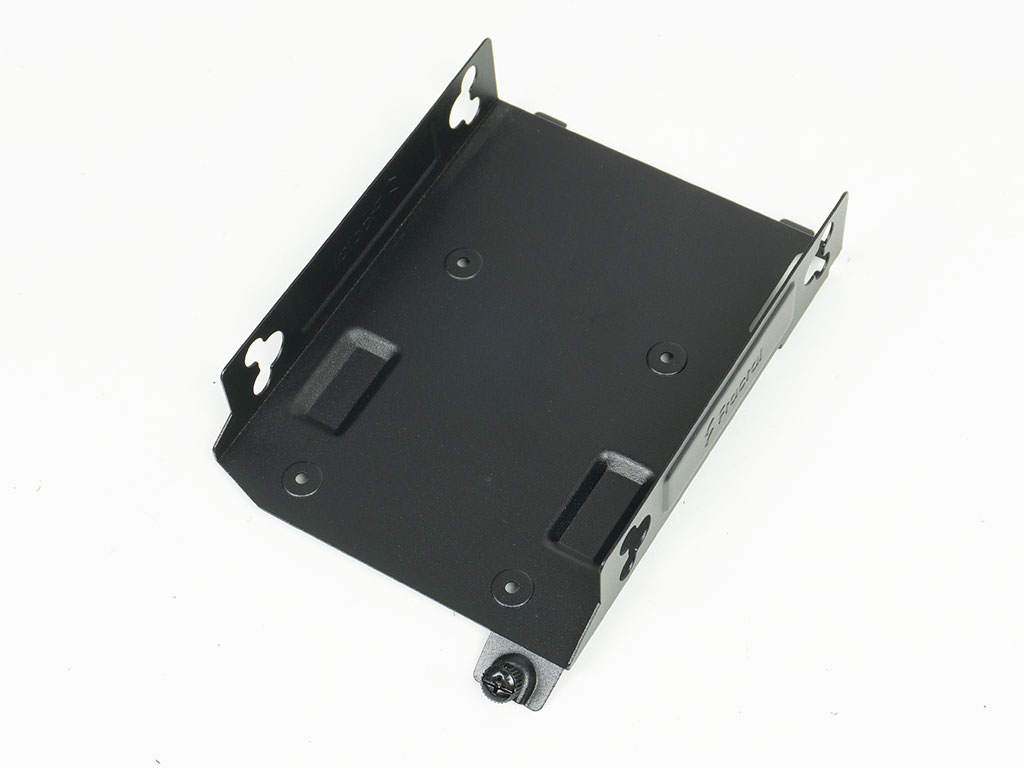
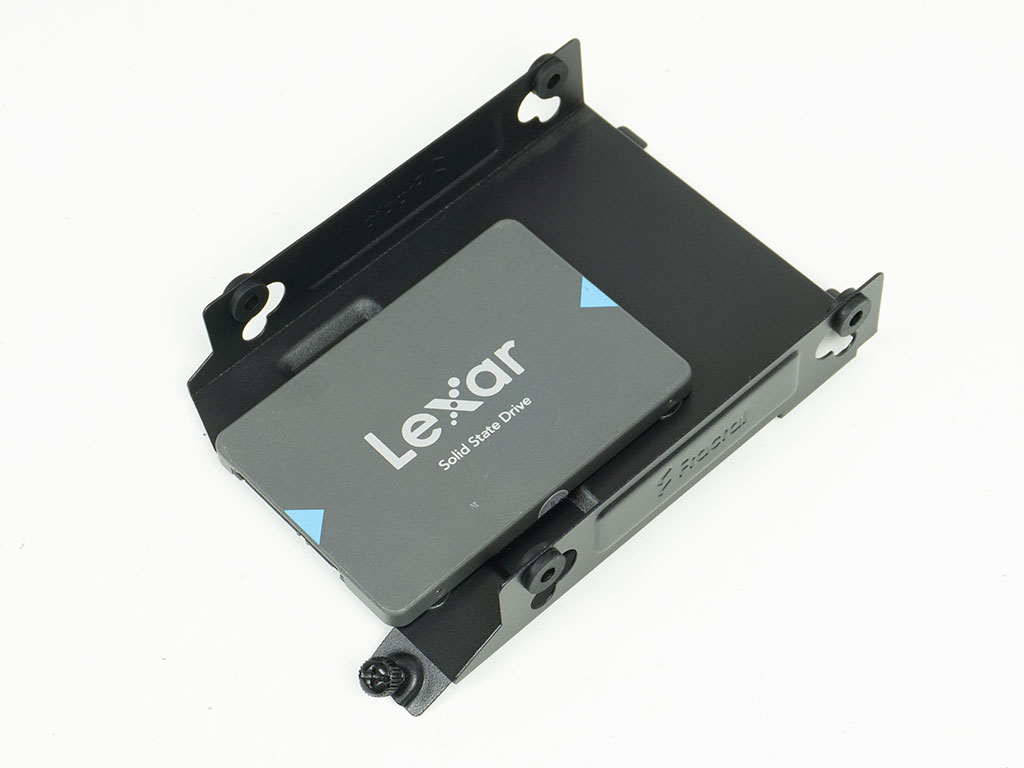
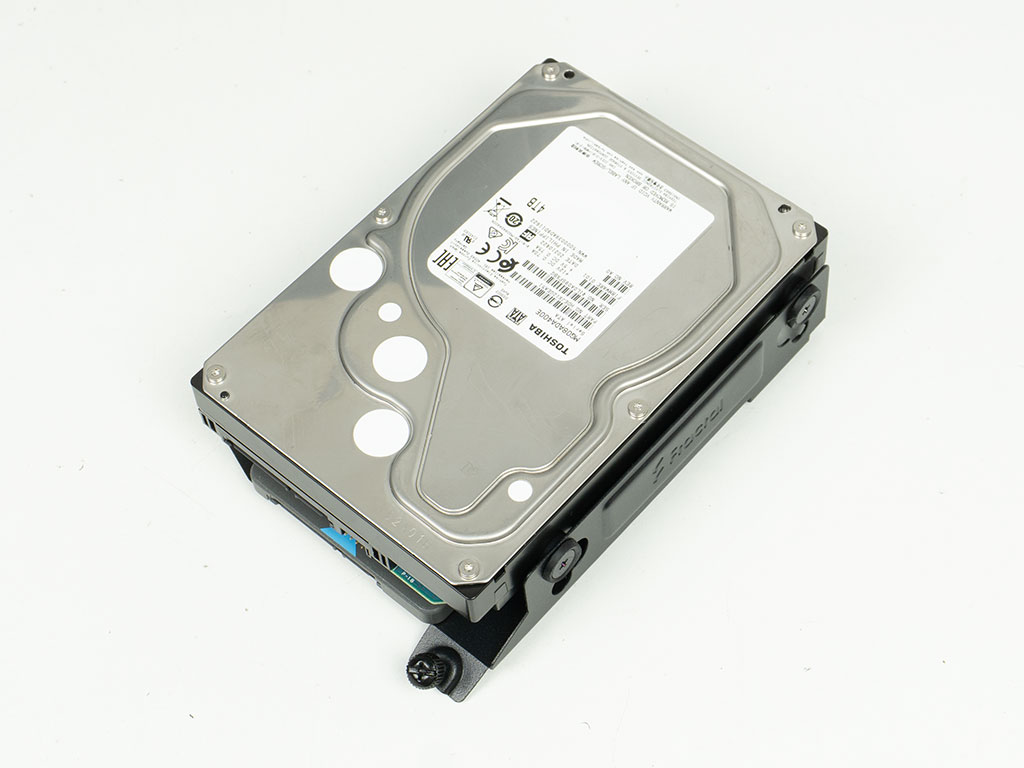
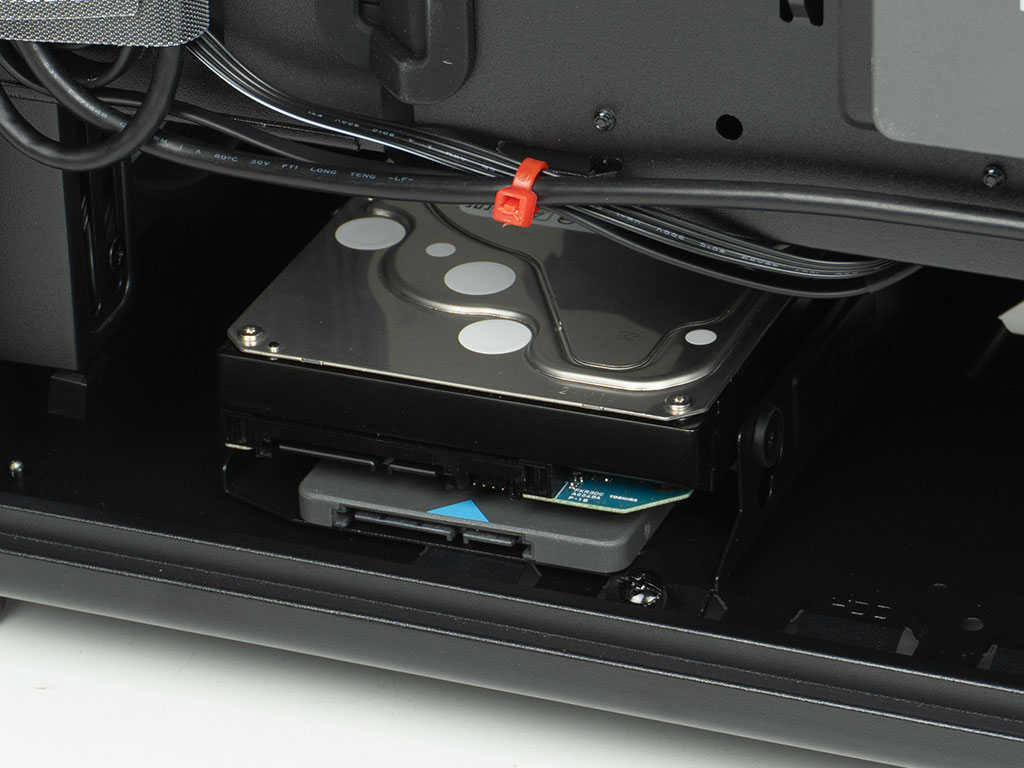
Each of the individual 3.5" hard drive trays may actually hold both a 2.5" and 3.5" unit at the same time. This means the Fractal Design North Momentum Edition can accommodate a total of six drives out-of-the-box, which is plenty. Each of the drives is also held in place by screws and Fractal provides rubber rings for the larger variants as an anti-vibration measure. You may install two trays next to each other and a third suspended from the shroud ceiling. Should you opt to only put one on the floor, then there are a total of four possible locations to pick from.
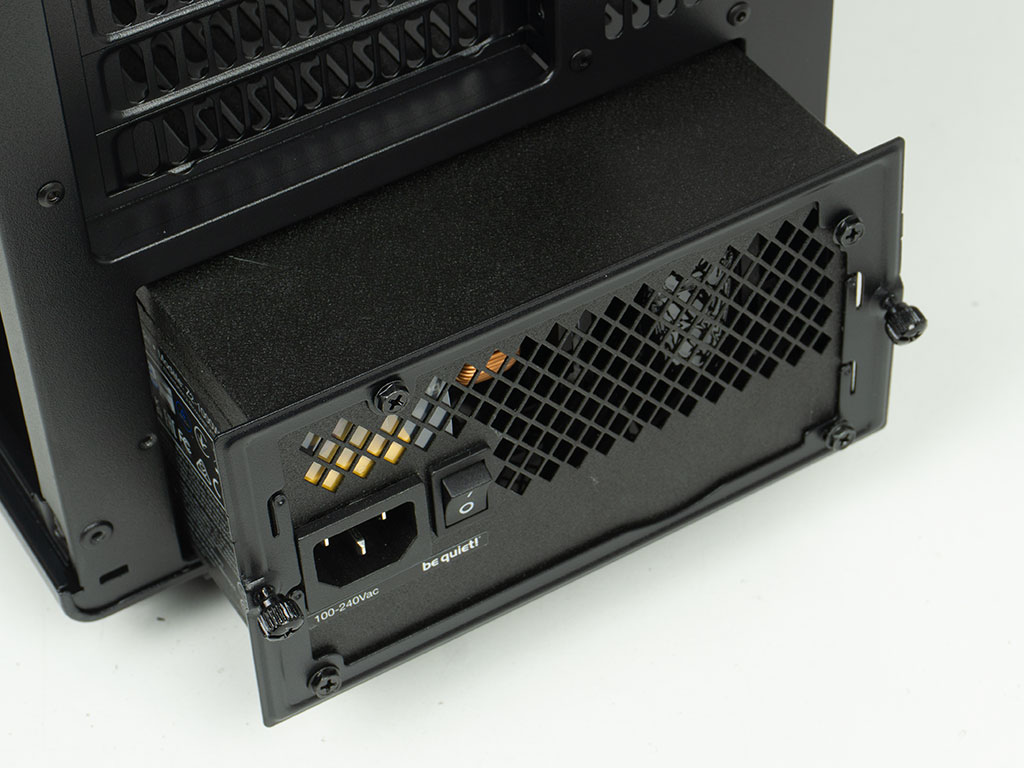
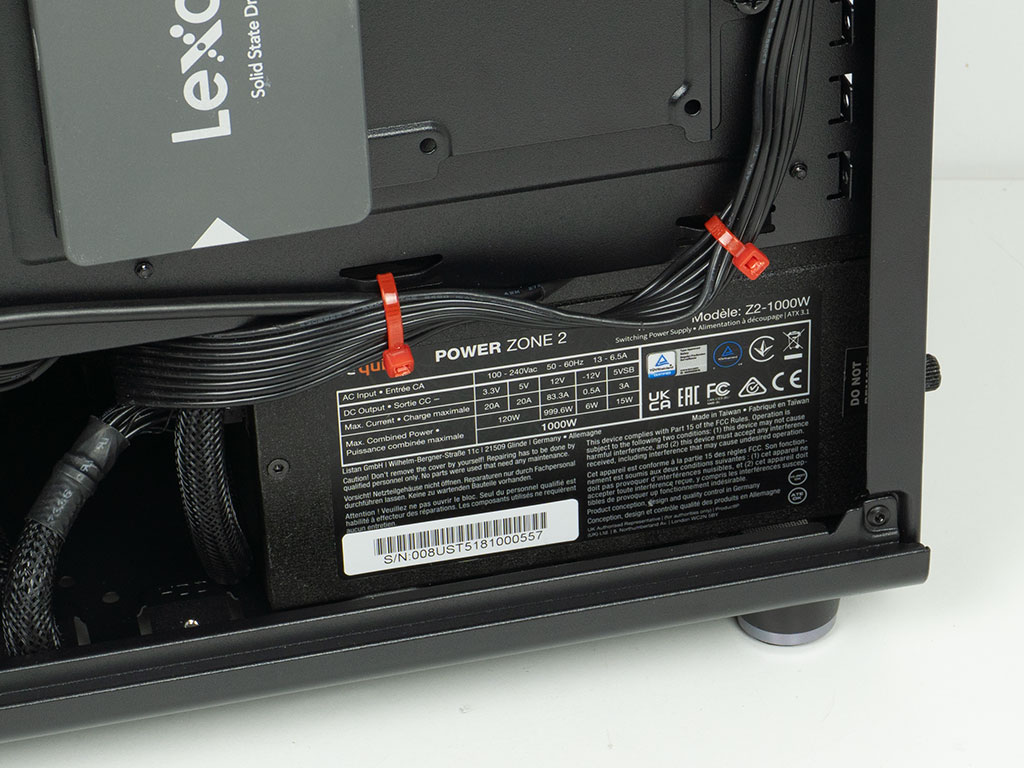
Adding the PSU requires you to screw on the frame first and then slide it into the chassis through the rear. There is ample room unless you are using the HDD cage mounting position closest to the PSU bay. That cuts the space down to a mere 155 mm, which could be too tight for some units, but as you may install one tray in the ceiling of the shroud, that fortunately isn't really a limitation you need to concern yourself with.
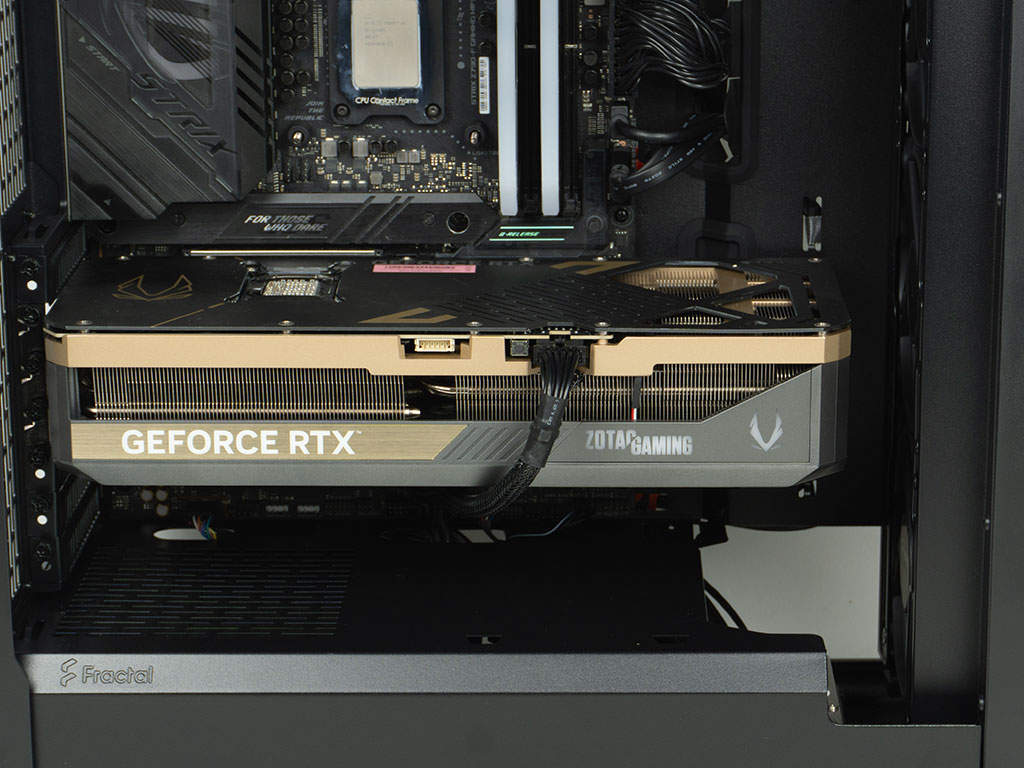
Adding a modern GPU is done by traditional means as well, but as you can see these components have clearly gotten bigger over the last four years. Nowadays, a GeForce RTX 5070 Ti—while easily fitting—will no longer allow for any liquid cooling to be installed in the front of the chassis.
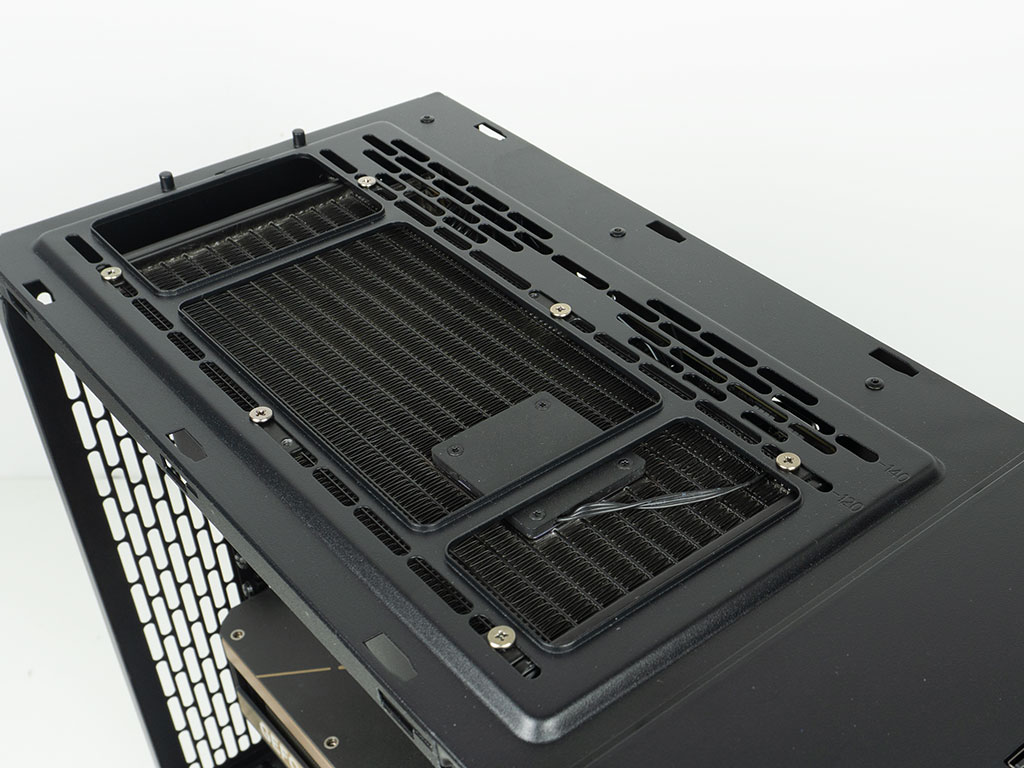
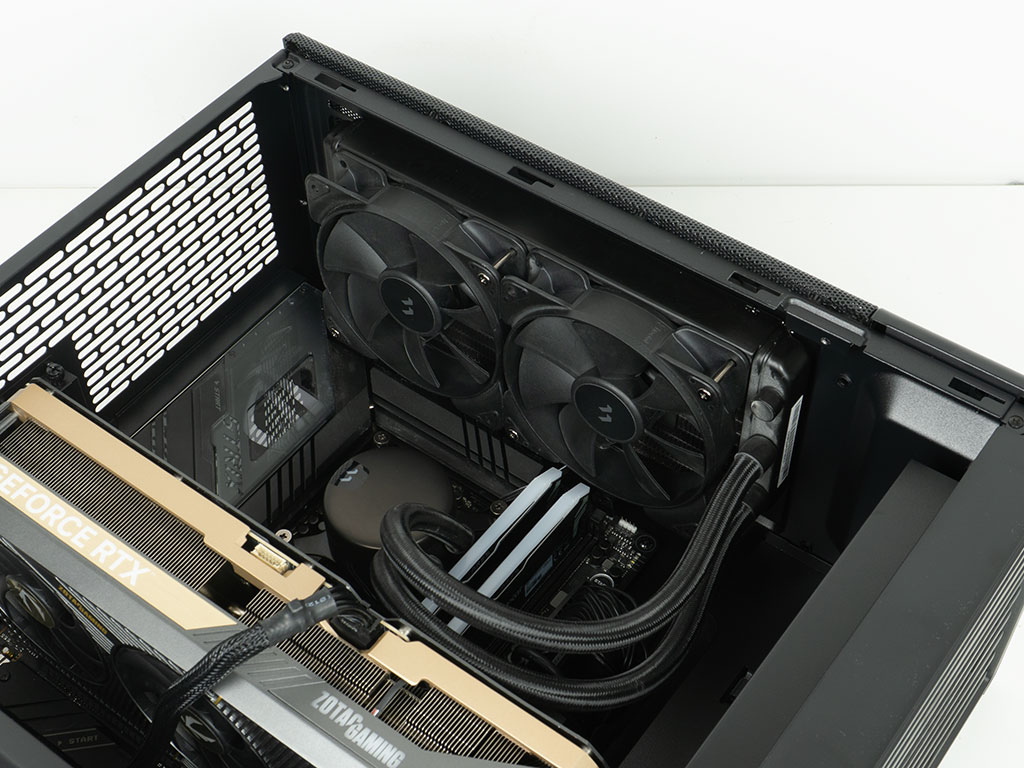
A 240 mm AIO will certainly fit within the Fractal Design North Momentum Edition ceiling, but it will be a rather tight fit, just barely clearing motherboard heatsinks and tall ARGB memory. As such, you will need to invest the time to pre-route and connect any wiring at the top of the motherboard.
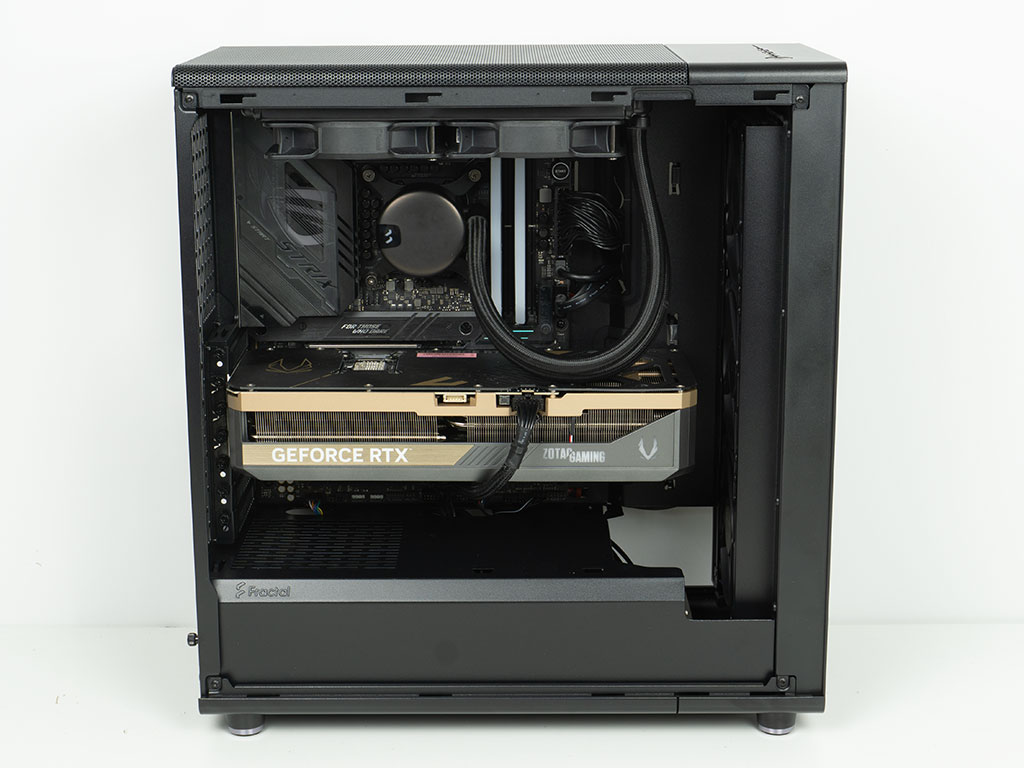
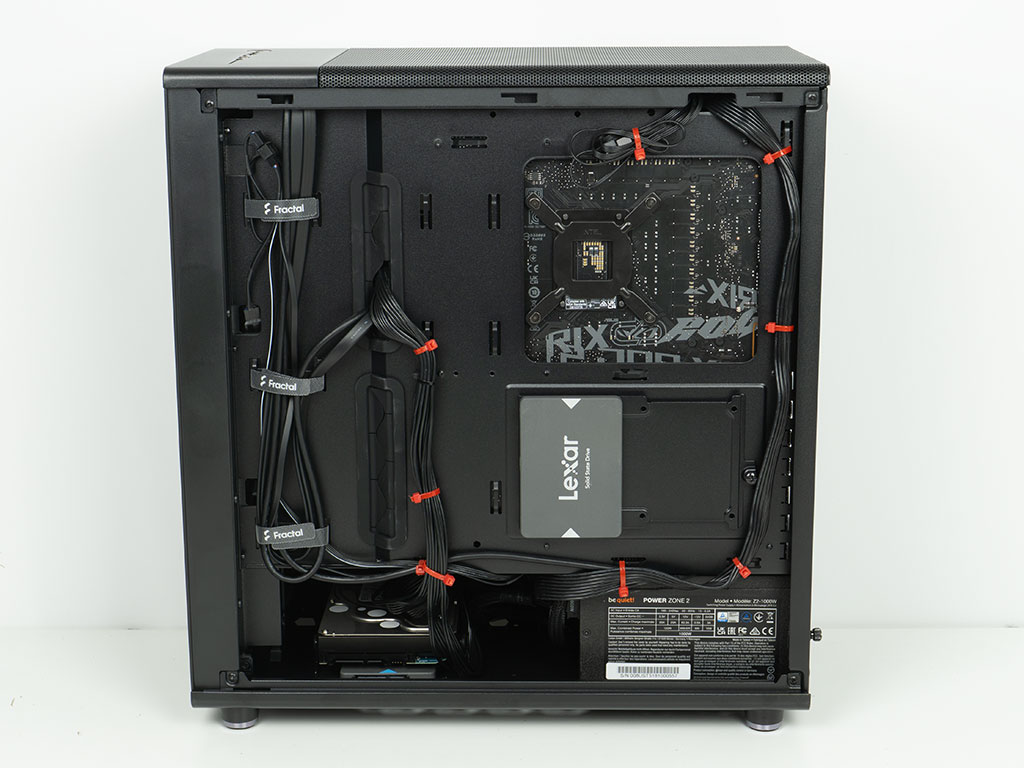
With everything installed, the Fractal Design North Momentum Edition looks quite clean. The wiring above the motherboard is hidden from view by the AIO, but you will still see a little bit more than usual above the shroud. The large opening in the shroud also means that storage elements can be seen when looking down into the case. In the rear, the large hooks for zip ties allow us to create a very orderly wiring setup, but it does require far more zip ties than Fractal provides out of the box.
Finished Looks
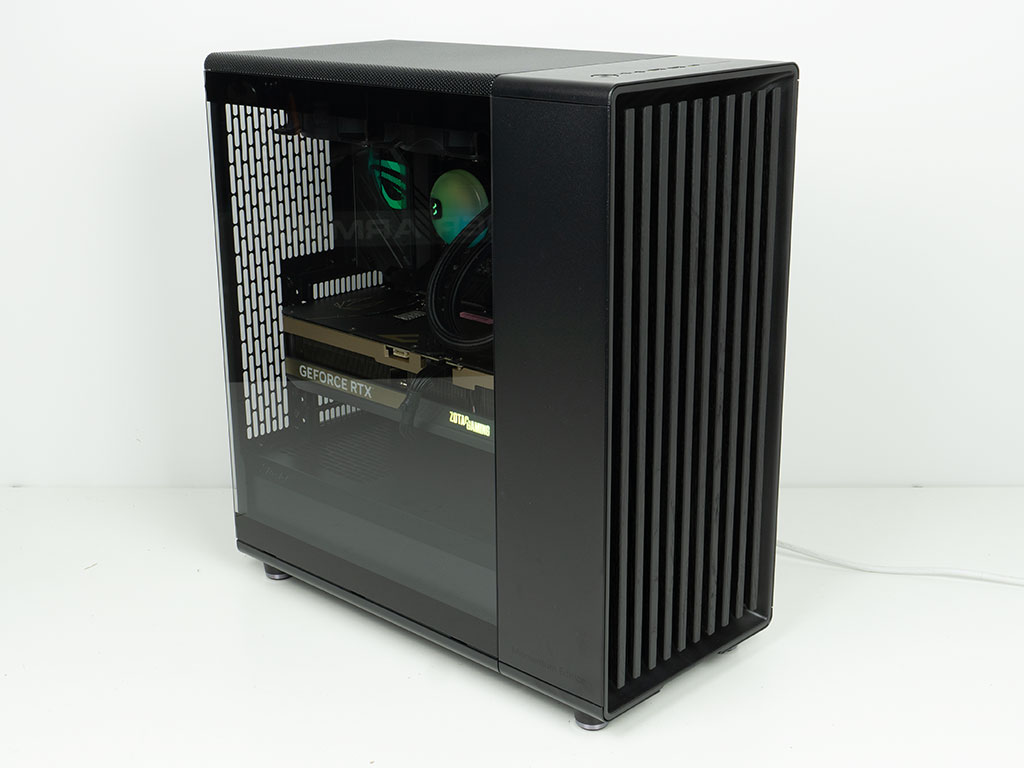
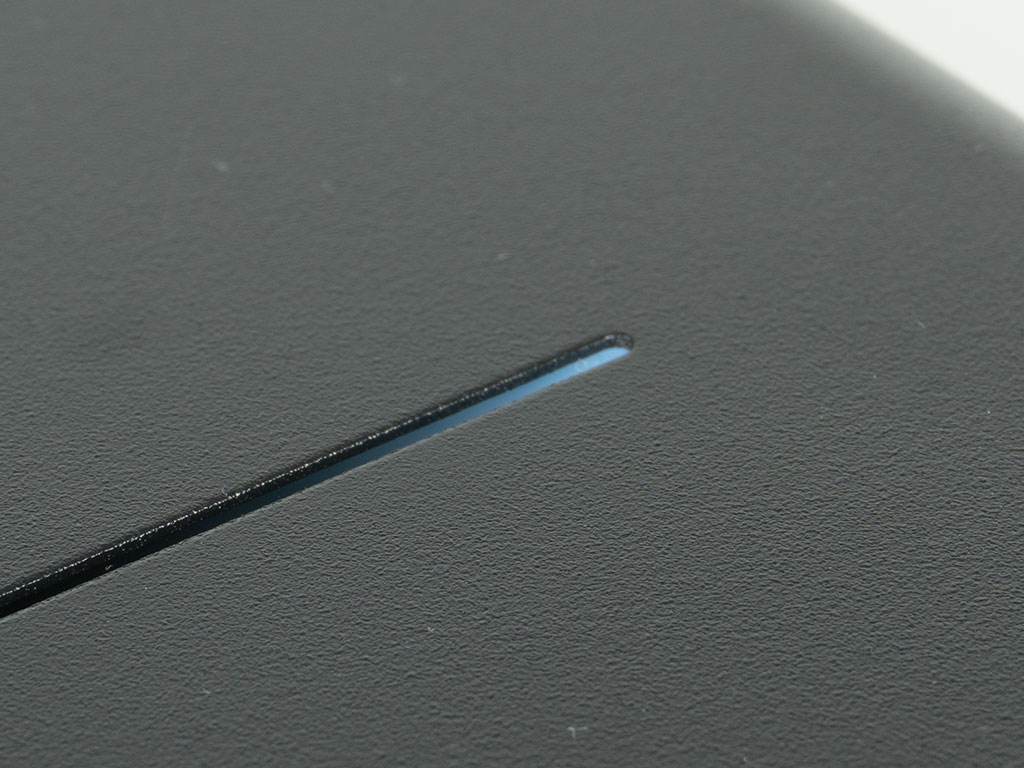
With the system turned on, you won't see any flashy ARGB hues from the case itself. There is a very subtle white LED at the top of the chassis to give you some sort of visual feedback that the system is powered on.
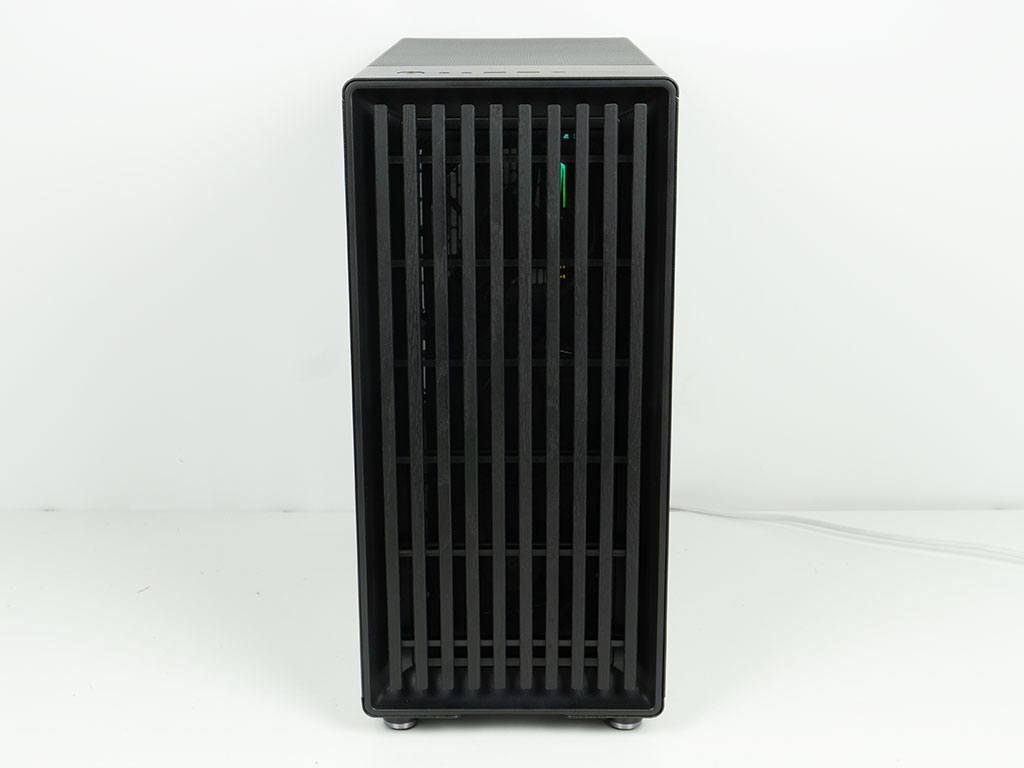
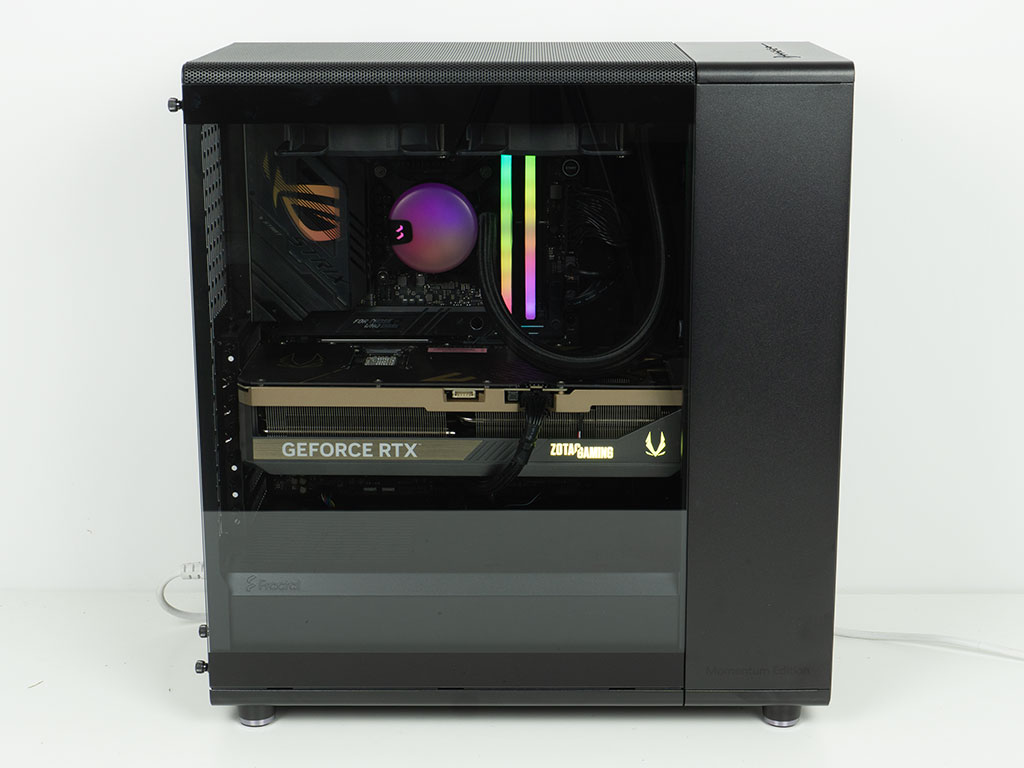
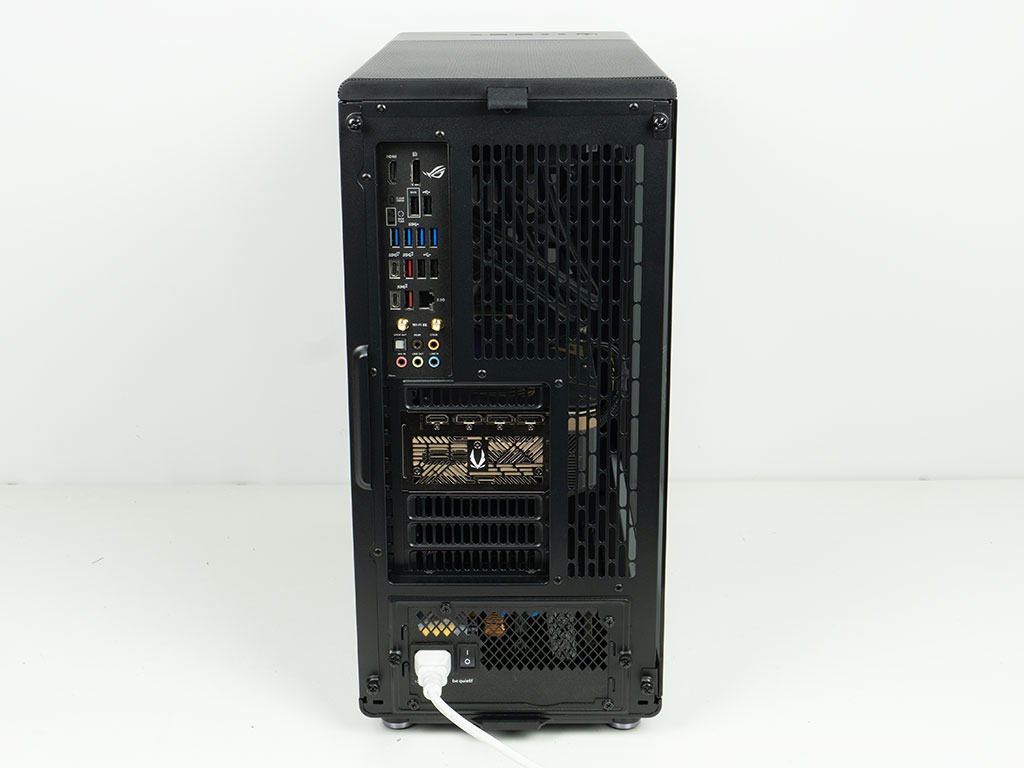
Looking at the front of the finished setup, you can actually see a few ARGB elements of the components though the space between the wood strips of the Fractal Design North Momentum Edition. Thanks to the clear window panel, all your hardware is easily visible from the side as well. In the rear, everything is where you would expect it from a modern mid-tower chassis.
Nov 18th, 2026 03:26 CST
change timezone
Latest GPU Drivers
New Forum Posts
- Wireless Internet sharing between PC and router both-ways, is it possible? (3)
- [Poll] 12V-2x6 Connector Protection: What Are You Using? (WireView / Ampinel / Equalizer / Other / Nothing) (31)
- Will zen 6 mobos have anything extra vs current ones? (53)
- Hi, just to say thanks and who I am (5)
- Without Jensen, PC gaming will be (39)
- WarpCoreBench scores! (58)
- nvidia 4000 ada lovelace on windows 7 ? (8)
- Help with fixing Overclock (9)
- Slow SSD read speeds - help! (16)
- 9070 GRE 3.9ghz validation reached. (19)
Popular Reviews
- Acemagic Retro X3 Review
- Upcoming Hardware Launches 2027 (Updated Nov 2026)
- AMD Zen 6 Technical Deep Dive
- ASUS ROG Strix B850-I Gaming Wi-Fi7 W Review
- Corsair HX1000i Shift Crystal Review
- Chieftec Iceberg PRO 360 DARK Review
- AMD Ryzen 7 9800X3D Review - The Best Gaming Processor
- Phantom Blade Zero Performance Benchmark Review - 35 GPUs Tested
- Biwin Black Opal NV7400 2 TB Review
- Montech King 95 3D PRO Review
TPU on YouTube
Controversial News Posts
- NVIDIA Co-Founder and CEO Jensen Huang Officially Resigns (465)
- Open Letter Asking NVIDIA to Reinstate Jensen Huang Passes 115,000 Signatures (184)
- OpenAI CEO Argues Home PCs Waste the World's Limited DRAM Supply (152)
- Report: Jensen Huang Eyes NVIDIA Comeback (140)
- NVIDIA Launches Investigation Into Jensen Huang's Relationship With Suspected Chinese Spy (136)
- Intel "Raptor Lake Next" 16-Core and 20-Core CPUs Surface (130)
- Legendary Game Studio BioWare Shuts Down Following EA Layoffs (104)
- Dell CEO Says the Memory Shortage Will Get Worse in 2027 (95)