 7
7
ID-Cooling SE 224 XT ARGB & SE 224 XT Basic Review
Finished Looks »Installation


With a universal and simple mounting hardware design, installing the SE 224 XT Basic or SE 224 XT ARGB is incredibly simple. First, position the backplate on the motherboard. Then, slide the plastic spacers over the screws, at which point you can secure everything in place by sliding the mounting arms over the screws and locking them in place with the four Philips-head nuts.


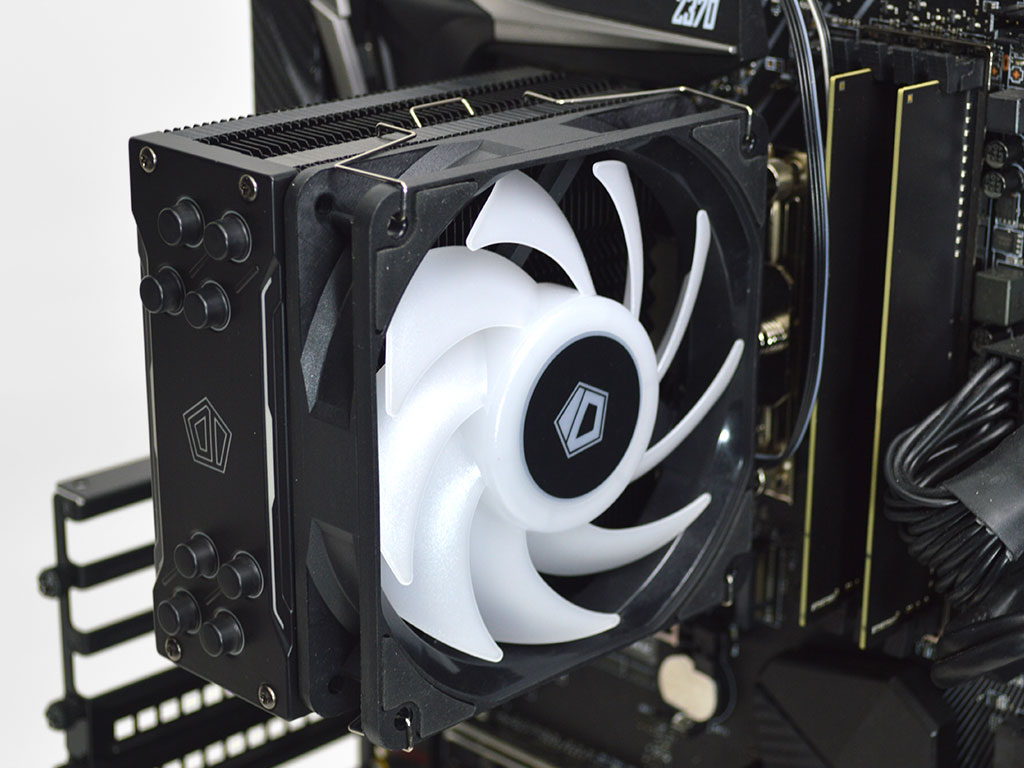
Now, apply some thermal paste and mount the cooler on the CPU, alternating every couple of turns to ensure even spread and pressure. Once done, you can attach the fan to the heatsink using the included fan clips.

At this point, all you need to do is plug the fan in, and in the case of the SE 224 XT ARGB the ARGB cable. Depending on your motherboard, the ARGB cable on the fan may be too short. It would have been nice had ID-Cooling included an extension cable as not all motherboard layouts are the same.
Overall, the installation was nearly effortless, and I would rate it a 9 on a scale of 1 (hardest) to 10 (easiest). The mounting hardware is simple and exceptionally easy to work with. It is also sturdy, unlike some of their competition that makes use of cheaper plastic mounting hardware. If ID-Cooling had included an extension cable, they would have earned a perfect 10/10 here. Instead, I had to grab a cable I had handy in order to route the cable behind the motherboard tray to keep the wiring neat and tidy.
Jun 16th, 2024 02:41 EDT
change timezone
Latest GPU Drivers
New Forum Posts
- Is the ThermalRight Frozen Prism 360 AIO good? (104)
- Black screen in SOME games 6800xt Sapphire Pulse (10)
- i7-9750H Core voltage not applying, everything else is (3)
- Jefferson Lab in Newport News Openhouse (5)
- EZ debug light VGA without any problems (0)
- FINAL FANTASY XIV: Dawntrail Official Benchmark (96)
- when using only 2 out of 4 ram slots which 2 are best? (11)
- What are you playing? (20831)
- What phone you use as your daily driver? And, a discussion of them. (1543)
- I should upgrade my gpu and psu? (16)
Popular Reviews
- Pulsar Xlite V3 eS Review
- Aune AR5000 Headphones + S17 Pro Headphones Amplifier Review
- VAXEE Outset AX Wireless (4K) Review
- Upcoming Hardware Launches 2024 (Updated May 2024)
- Team Group T-Force G70 Pro 2 TB Review
- AMD Ryzen 7 7800X3D Review - The Best Gaming CPU
- Intel Lunar Lake Technical Deep Dive - So many Revolutions in One Chip
- NZXT H6 Flow RGB Review
- ASUS Radeon RX 7900 GRE TUF OC Review
- Thermal Grizzly KryoSheet Review - Tested on RX 7900 XTX with 475 W
Controversial News Posts
- Possible Specs of NVIDIA GeForce "Blackwell" GPU Lineup Leaked (132)
- NVIDIA RTX 5090 "Blackwell" Founders Edition to Implement the "RTX 4090 Ti" Cinderblock Design (118)
- AMD Ryzen 9000 Zen 5 Single Thread Performance at 5.80 GHz Found 19% Over Zen 4 (106)
- AMD Outs Ryzen 5000XT Processors for Socket AM4, an 8-year Old Socket (105)
- Nightmare Fuel for Intel: Arm CEO Predicts Arm will Take Over 50% Windows PC Market-share by 2029 (105)
- AMD Says Ryzen 9000 Series Won't Beat 7000X3D Series at Gaming (101)
- AMD Zen 5 Storms into Gaming Desktops with Ryzen 9000 "Granite Ridge" Processors (100)
- Biden Administration to Revive Trump-Era Tariffs on China-made GPUs and Motherboards (95)