 7
Lenovo Yoga Pro 9i Gen 11 Aura Edition (16IPH11) Review - Yoga Top Dog with Tandem OLED
Display Testing »Disassembly and Teardown
While the Lenovo Yoga Pro 9i Gen 11 Aura Edition (16IPH11) is one of the top-tier Lenovo laptops in their Yoga lineup, this machine ain't that complicated for servicing.
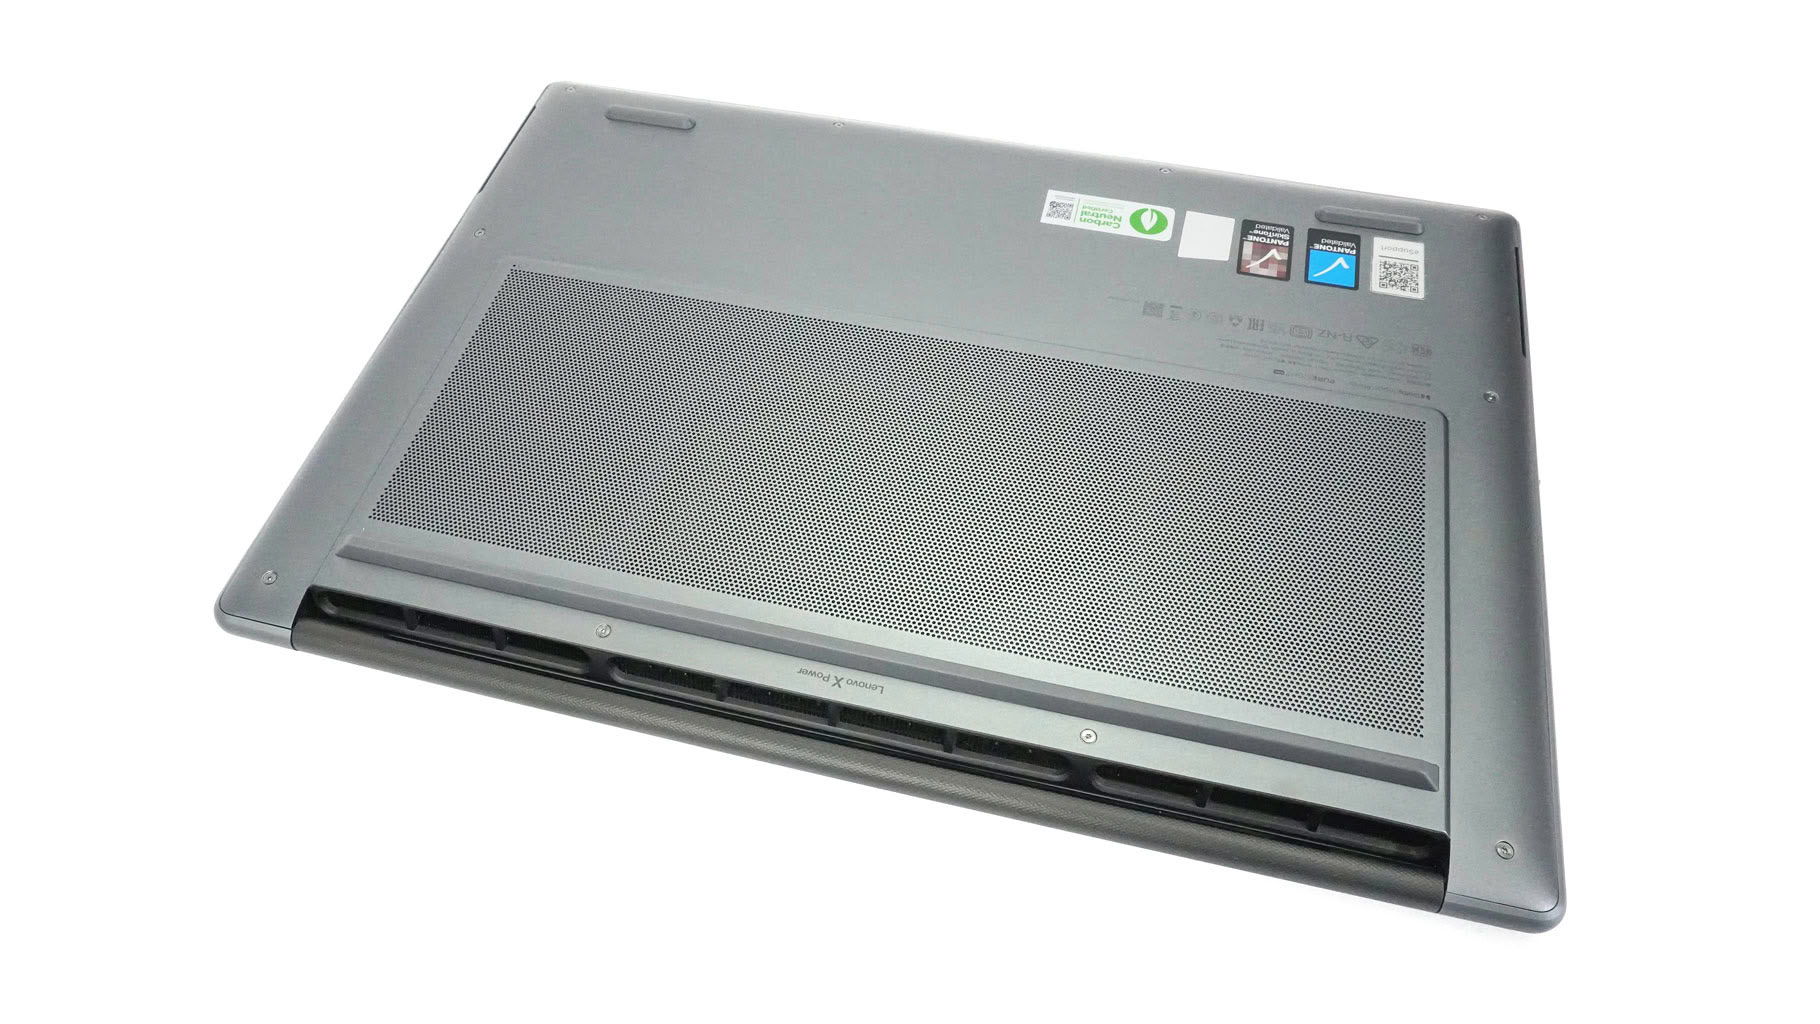
There are ten T5 Torx head screws waiting to be undone before you can pry off the bottom panel. Start from one of the top edges and work your way around all sides, keeping in mind that the rear exhaust vents are attached directly to the plate.
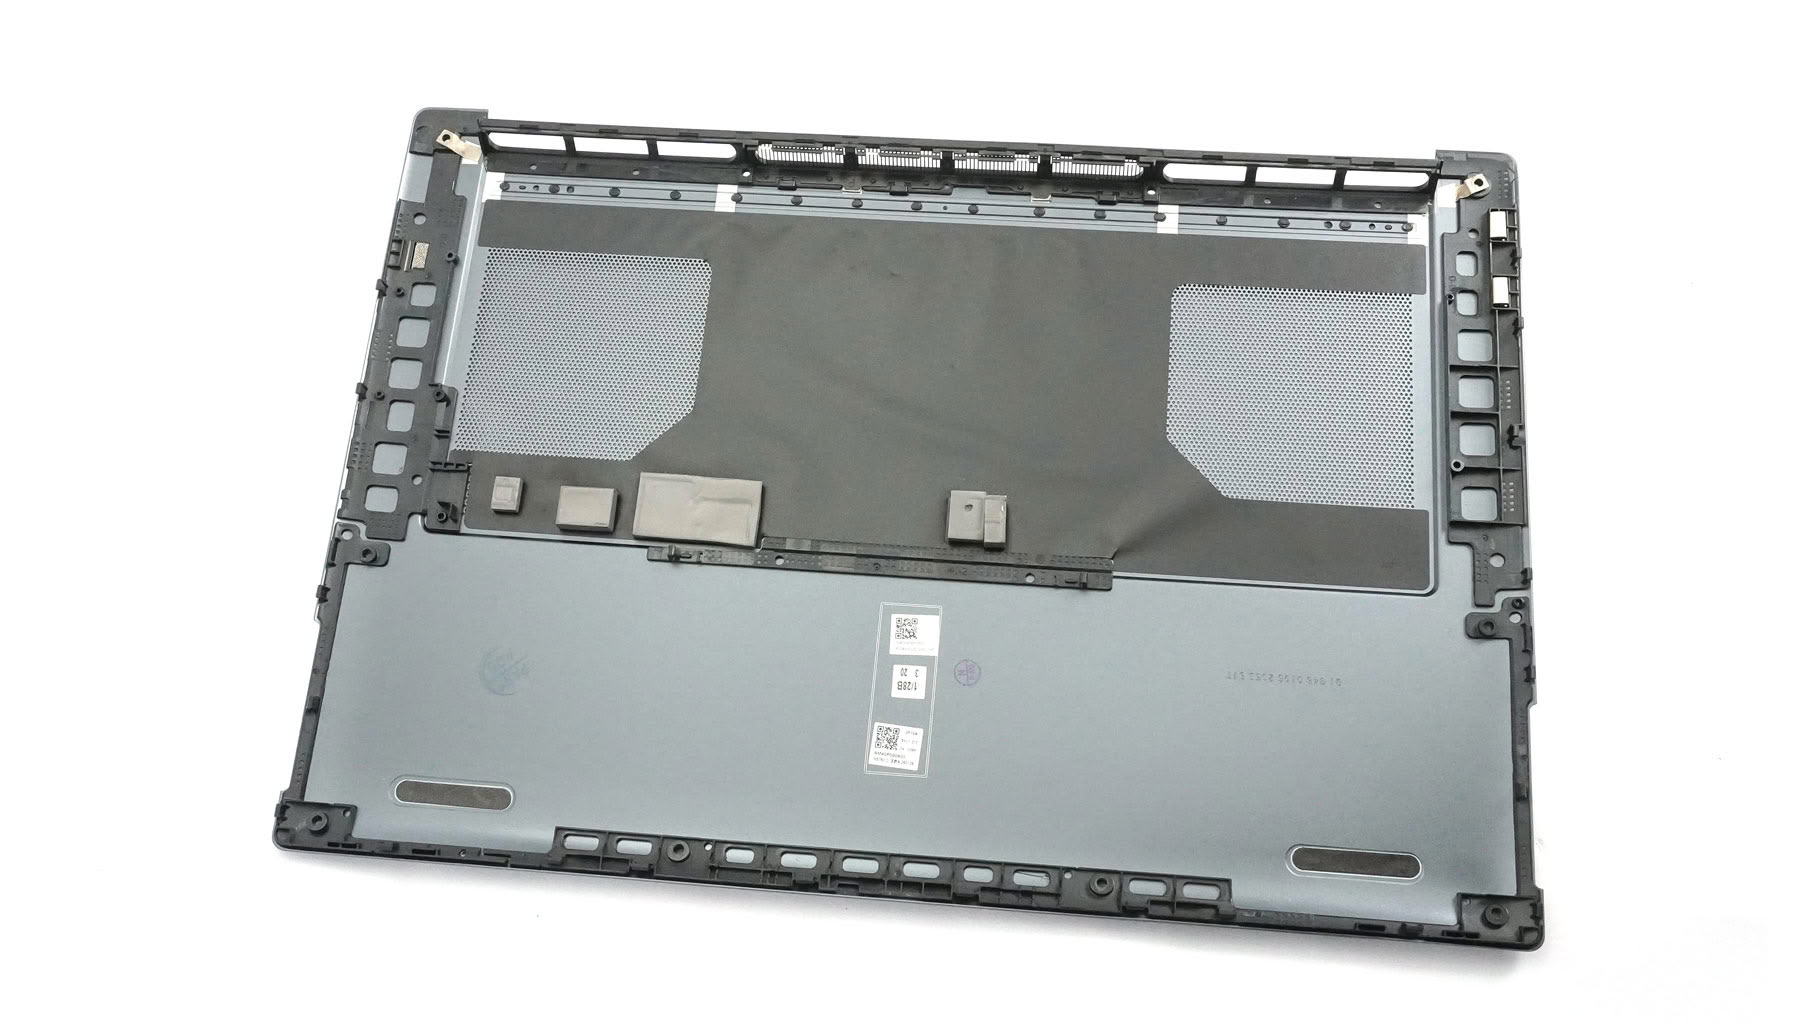
On the inside of the panel, I can spot thermal pads for the Wi-Fi card, the SSD, and some of the power inductors on the motherboard.
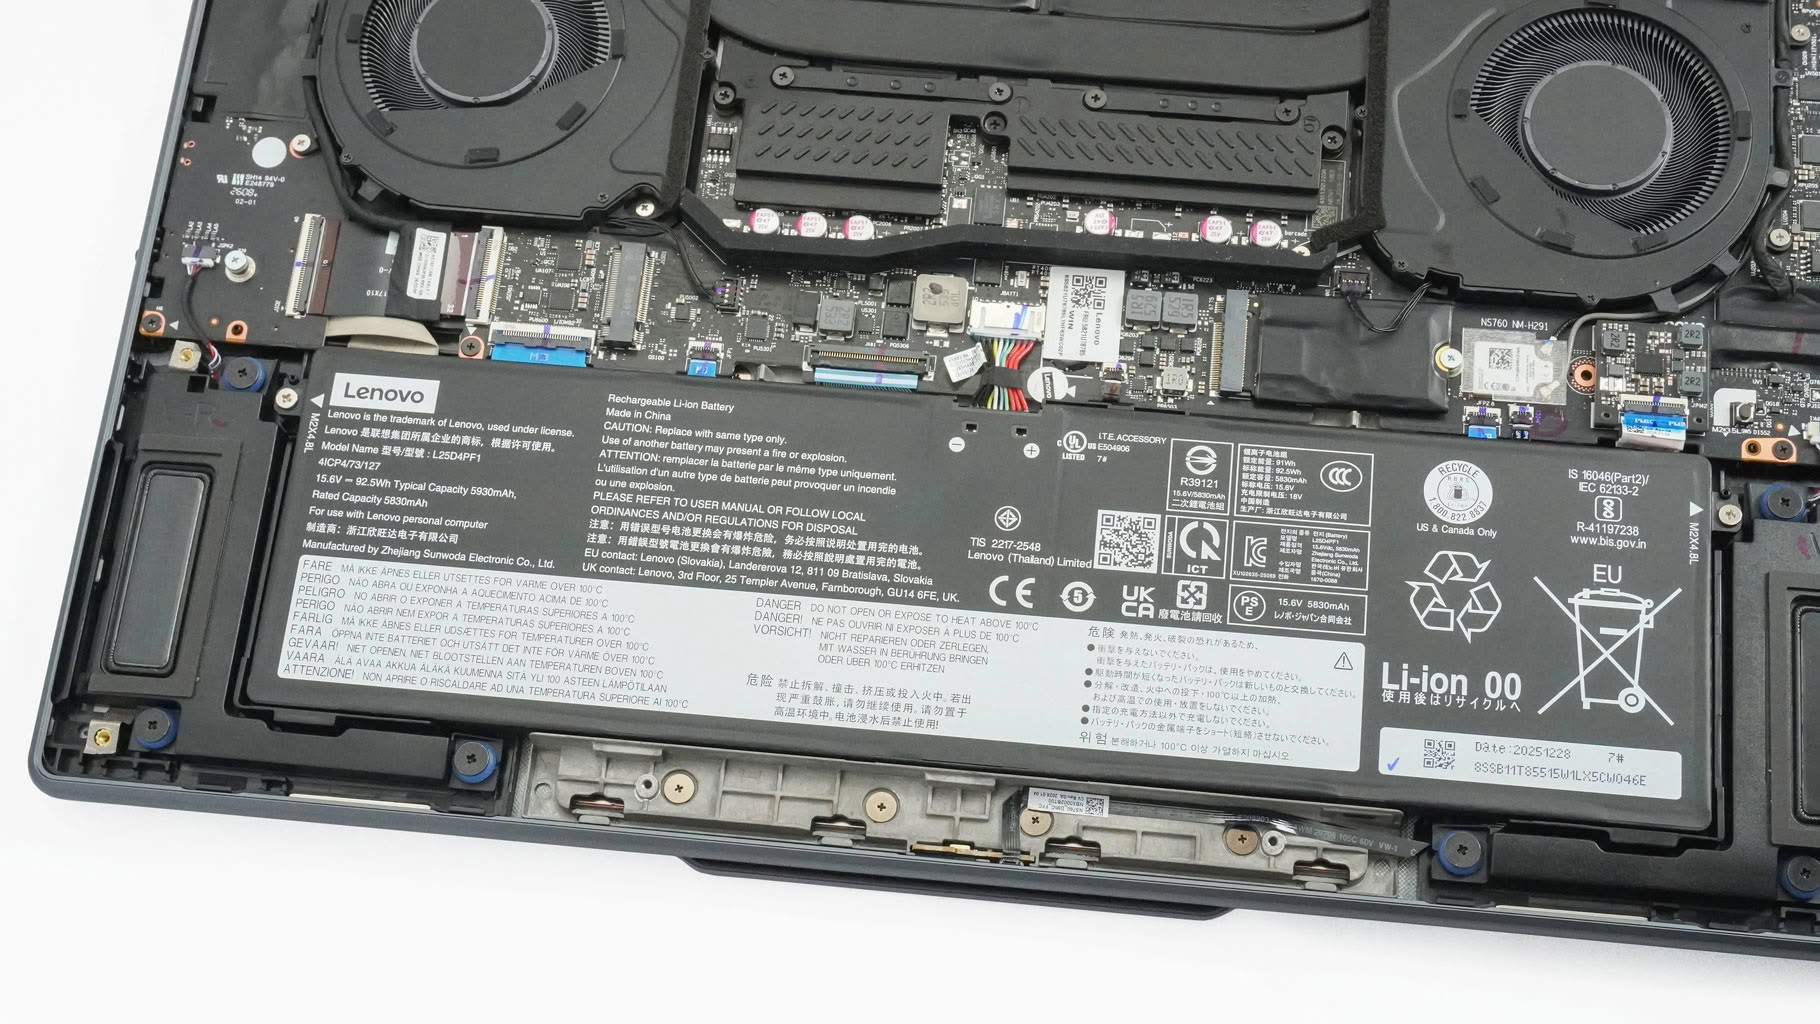
A hefty 92.5 Wh battery powers this notebook. To swap it out, pull down the connector and undo the two captive screws on the top sides.
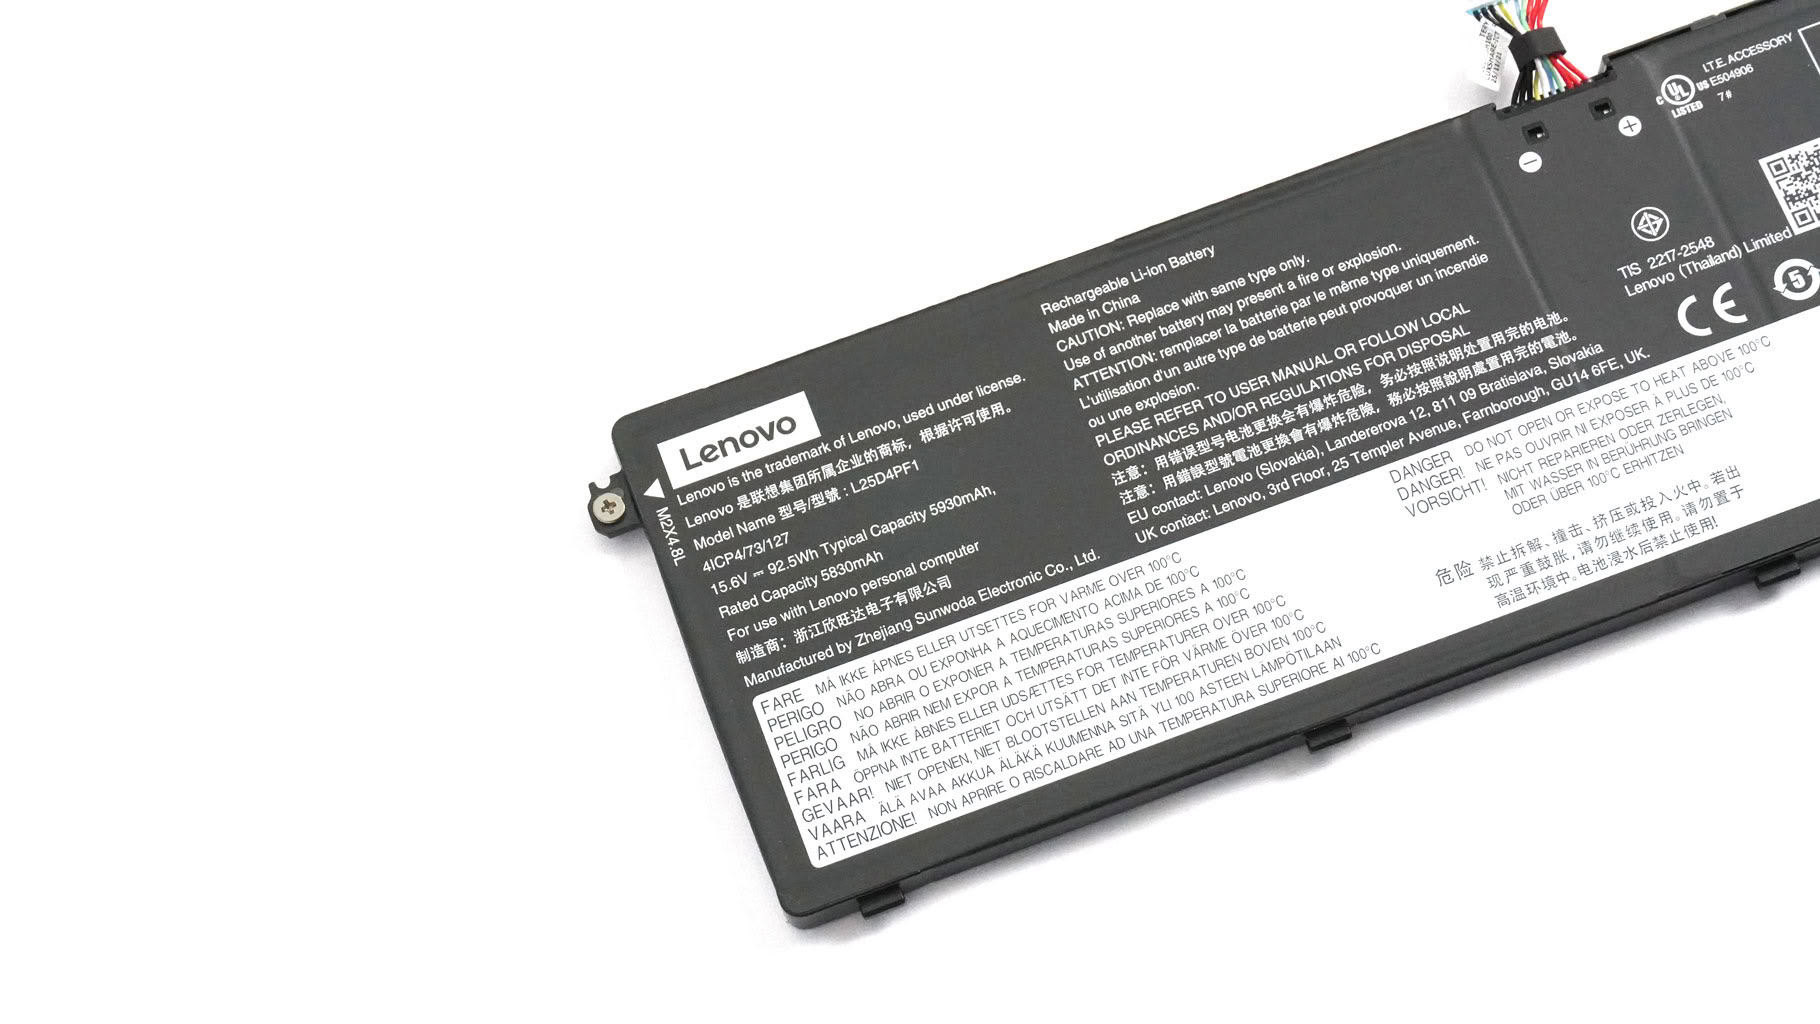
The capacity is enough for a bit over 11 hours of 4K video playback. That's a respectable result!
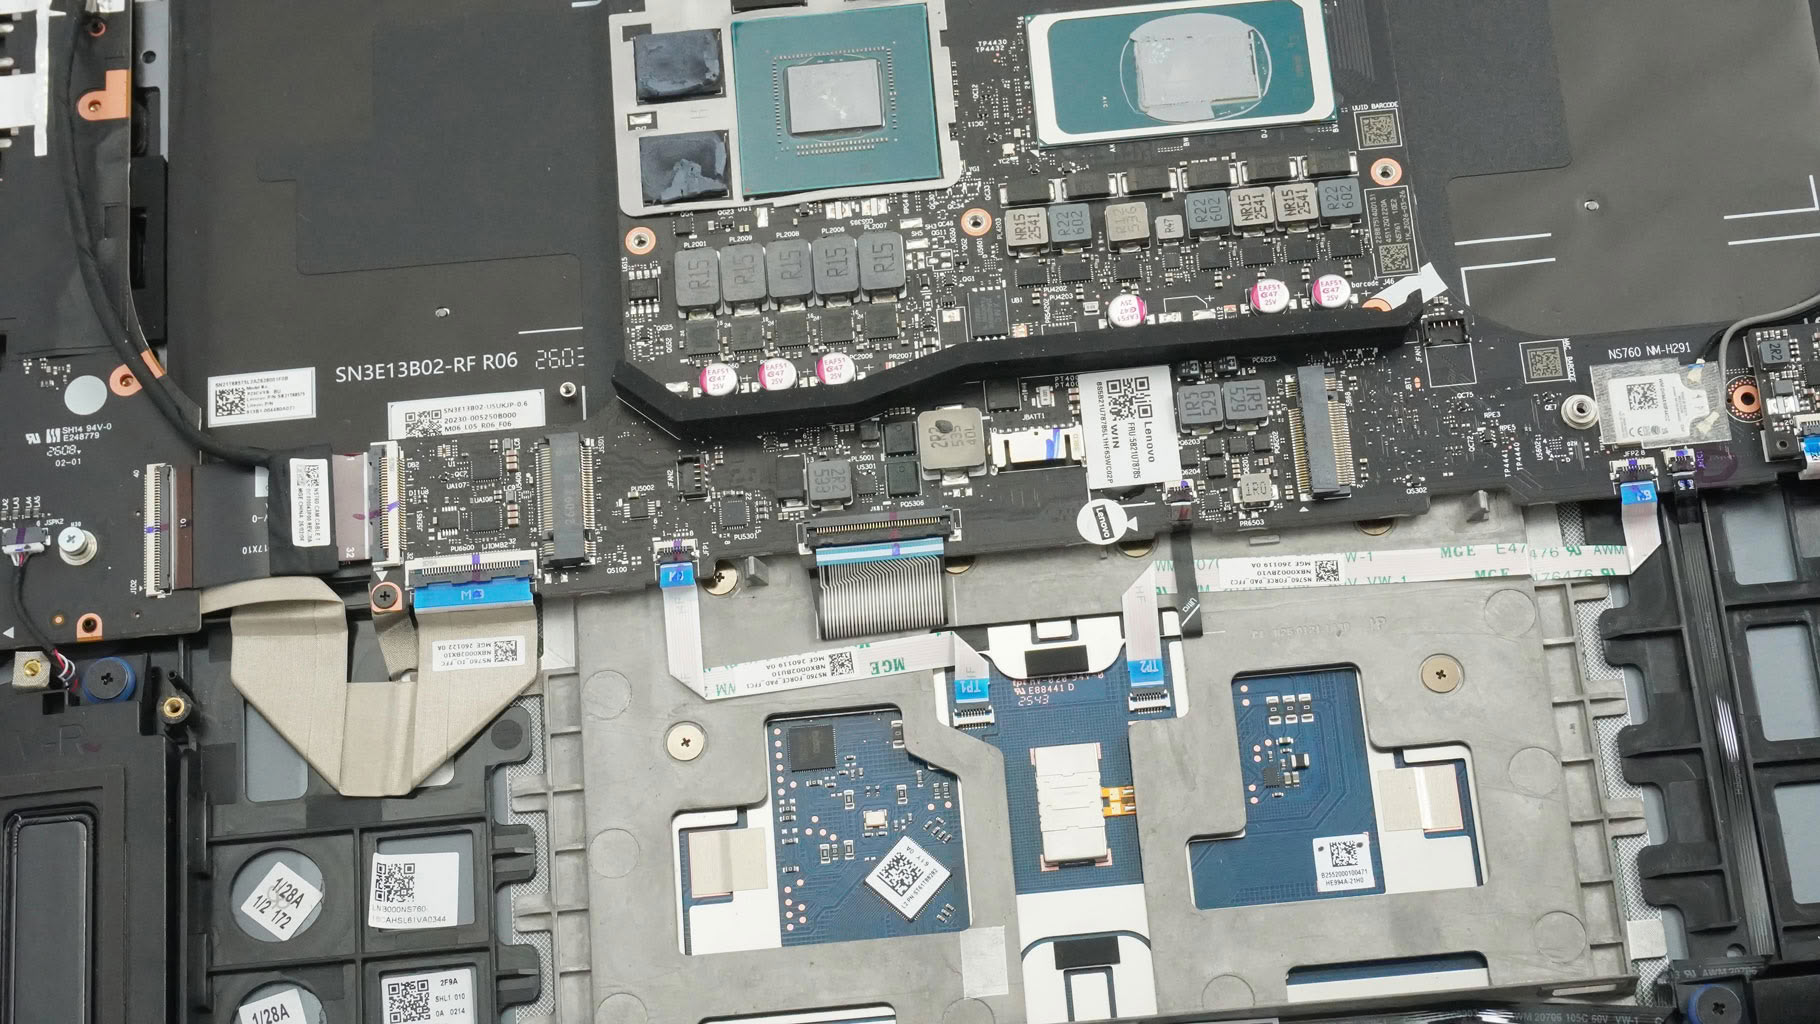
Your upgrade options include a 2280 Gen 4 M.2 slot on the left and a shorter 2242 Gen 5 slot on the right.
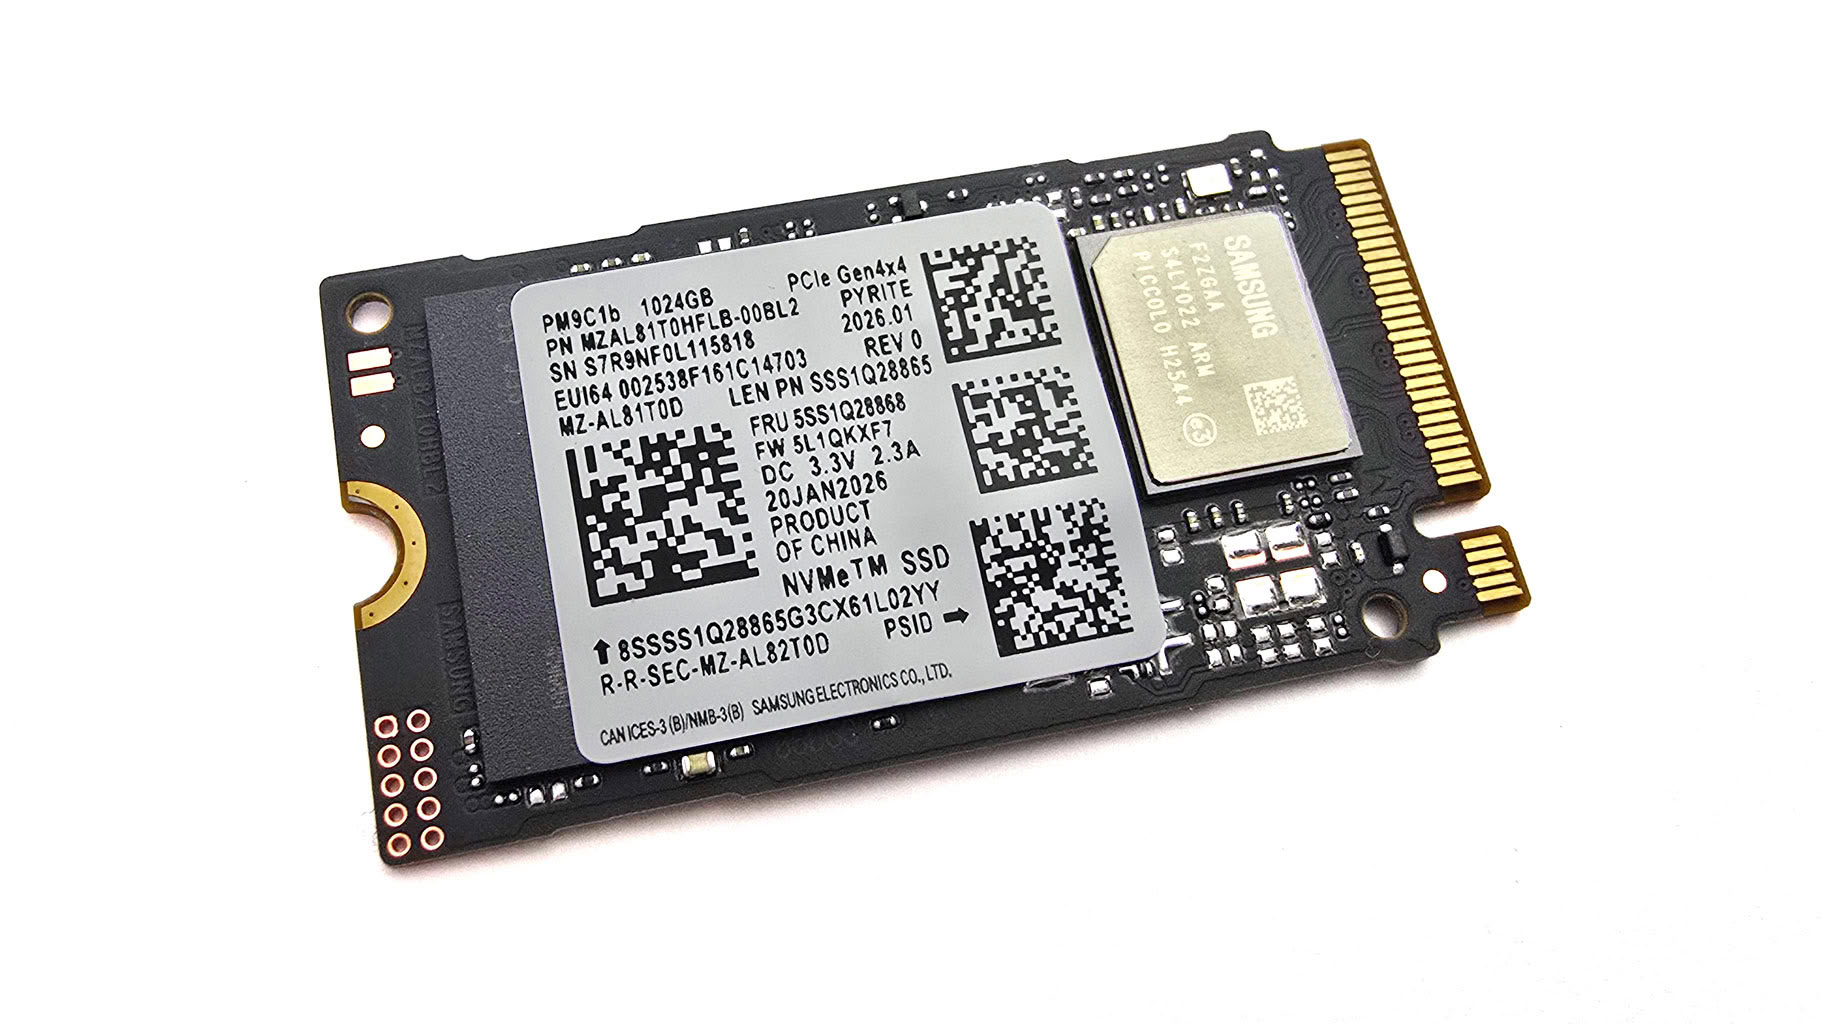
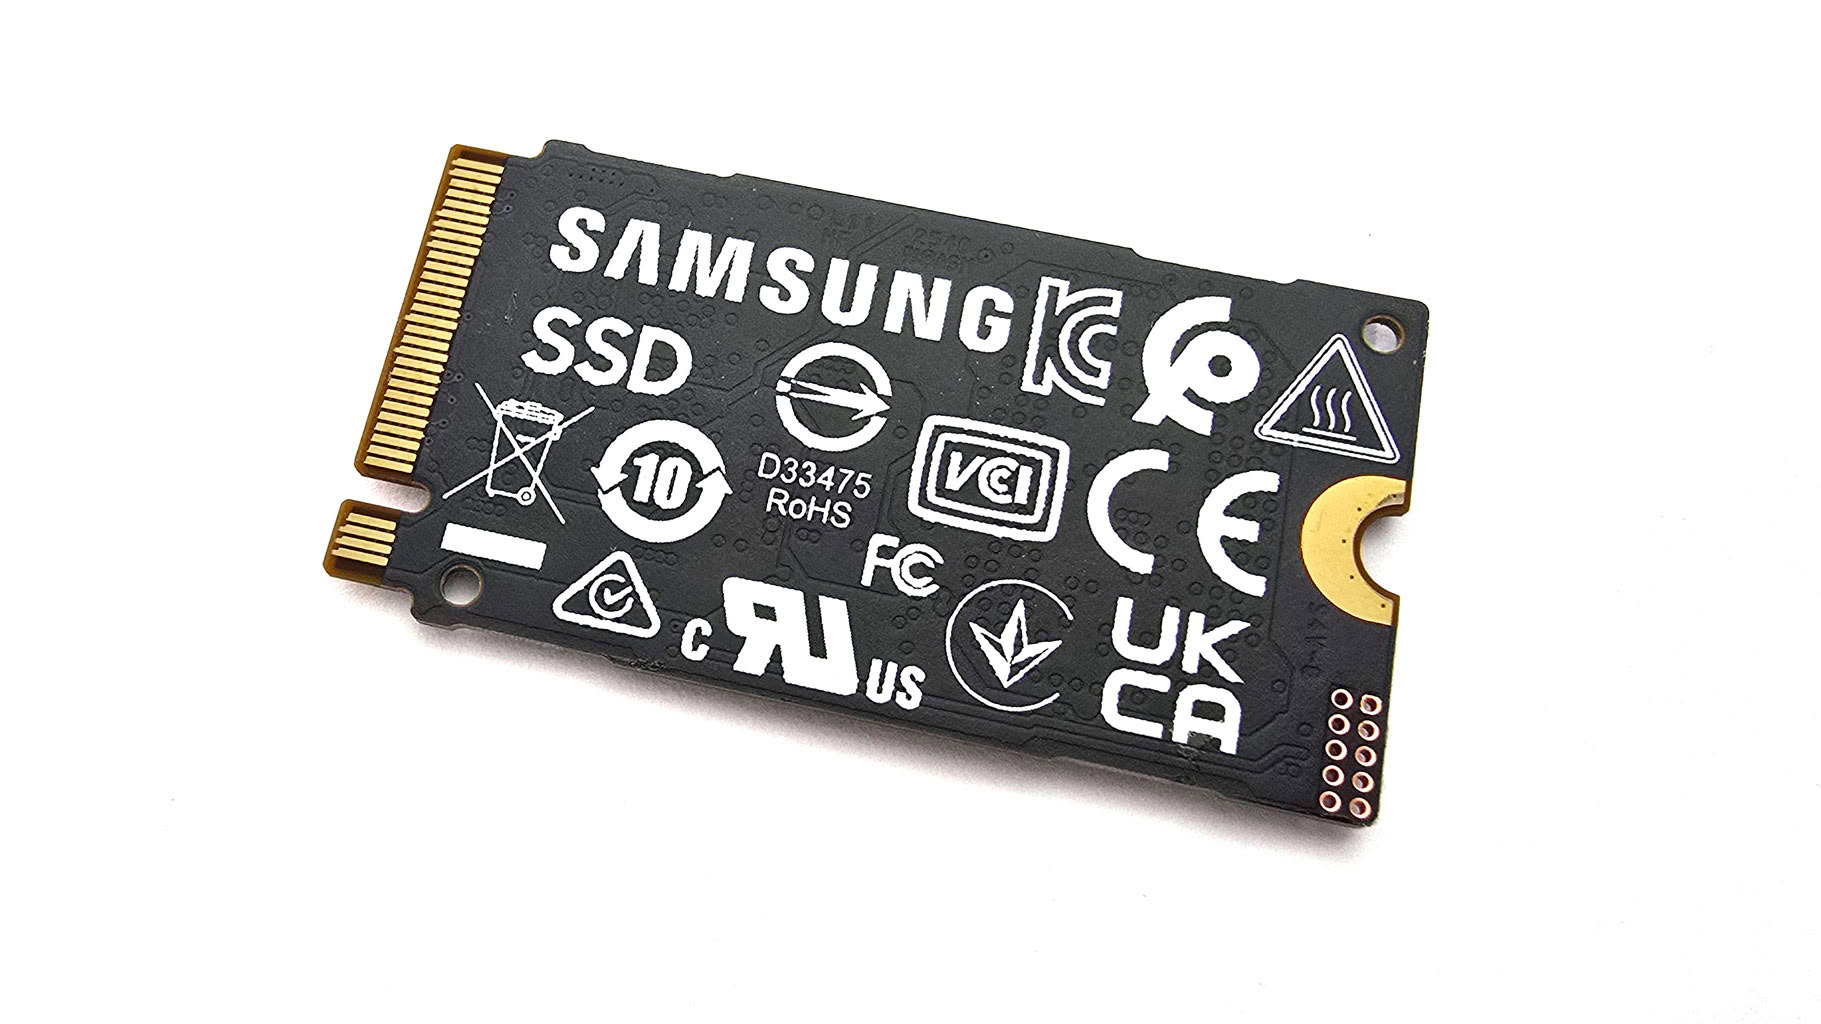
This is the system Gen 4 SSD.
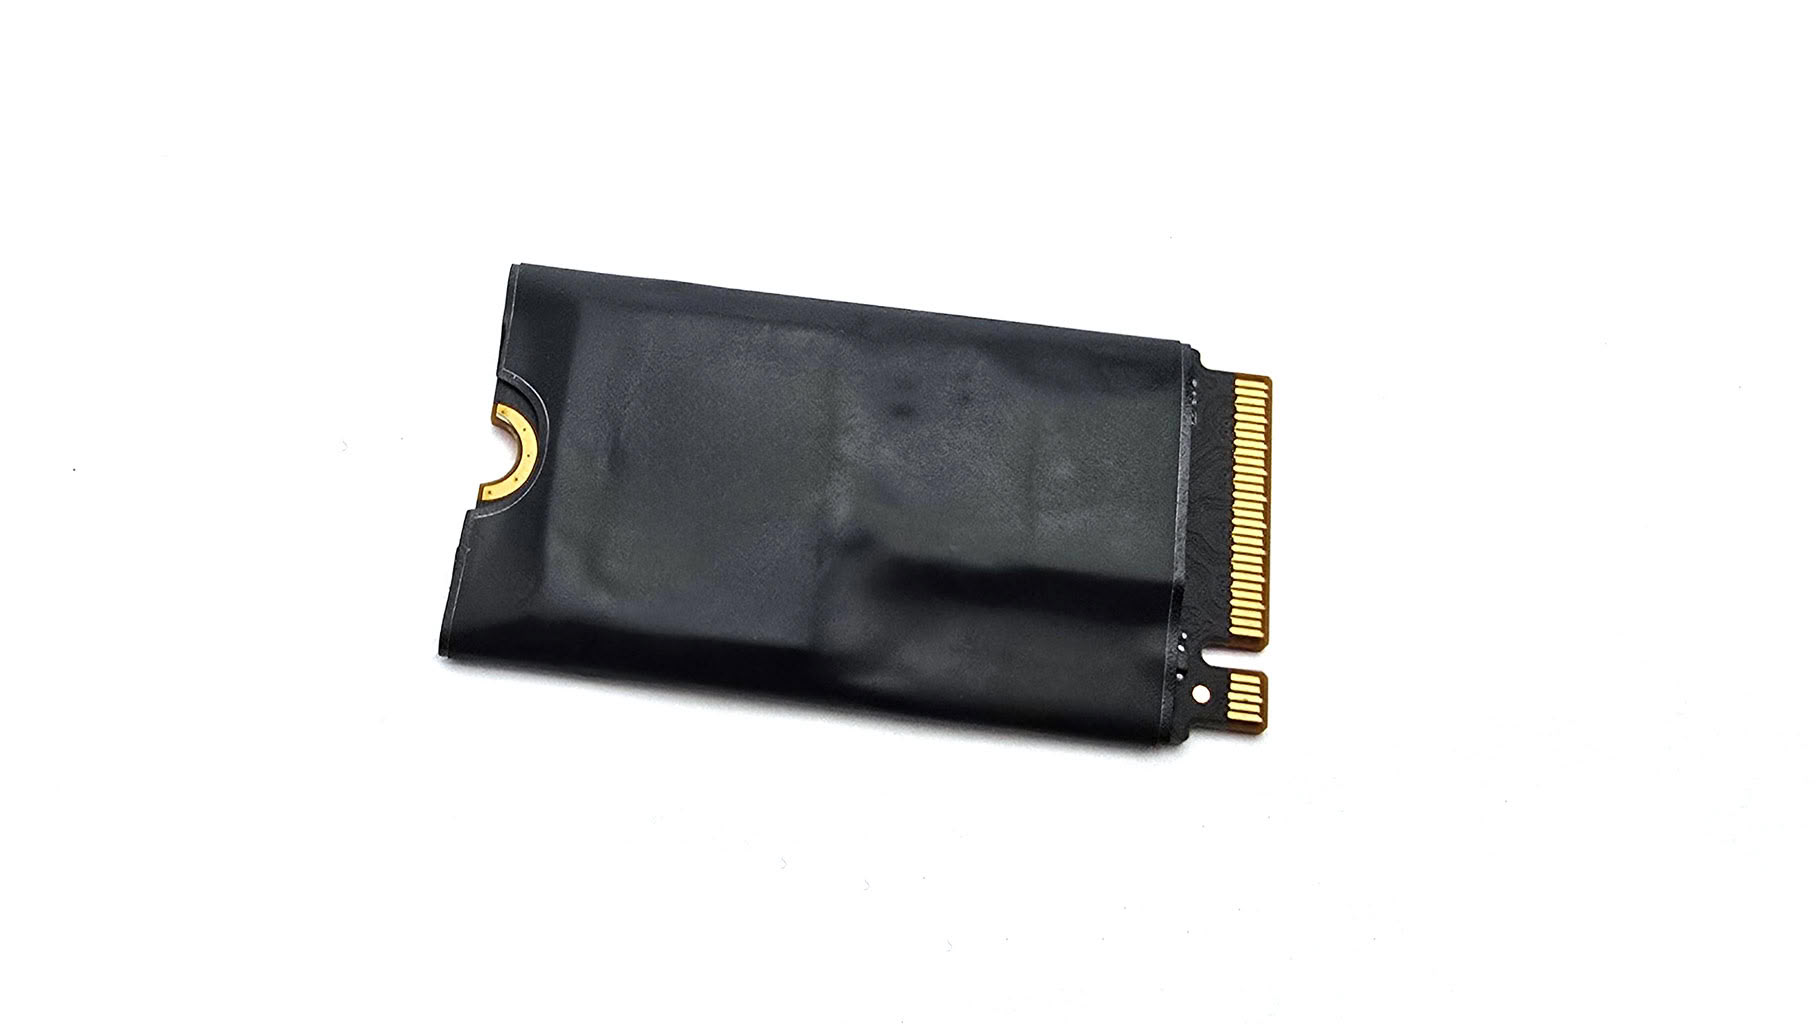
Also, the NVMe is covered in a thermal insulation film.
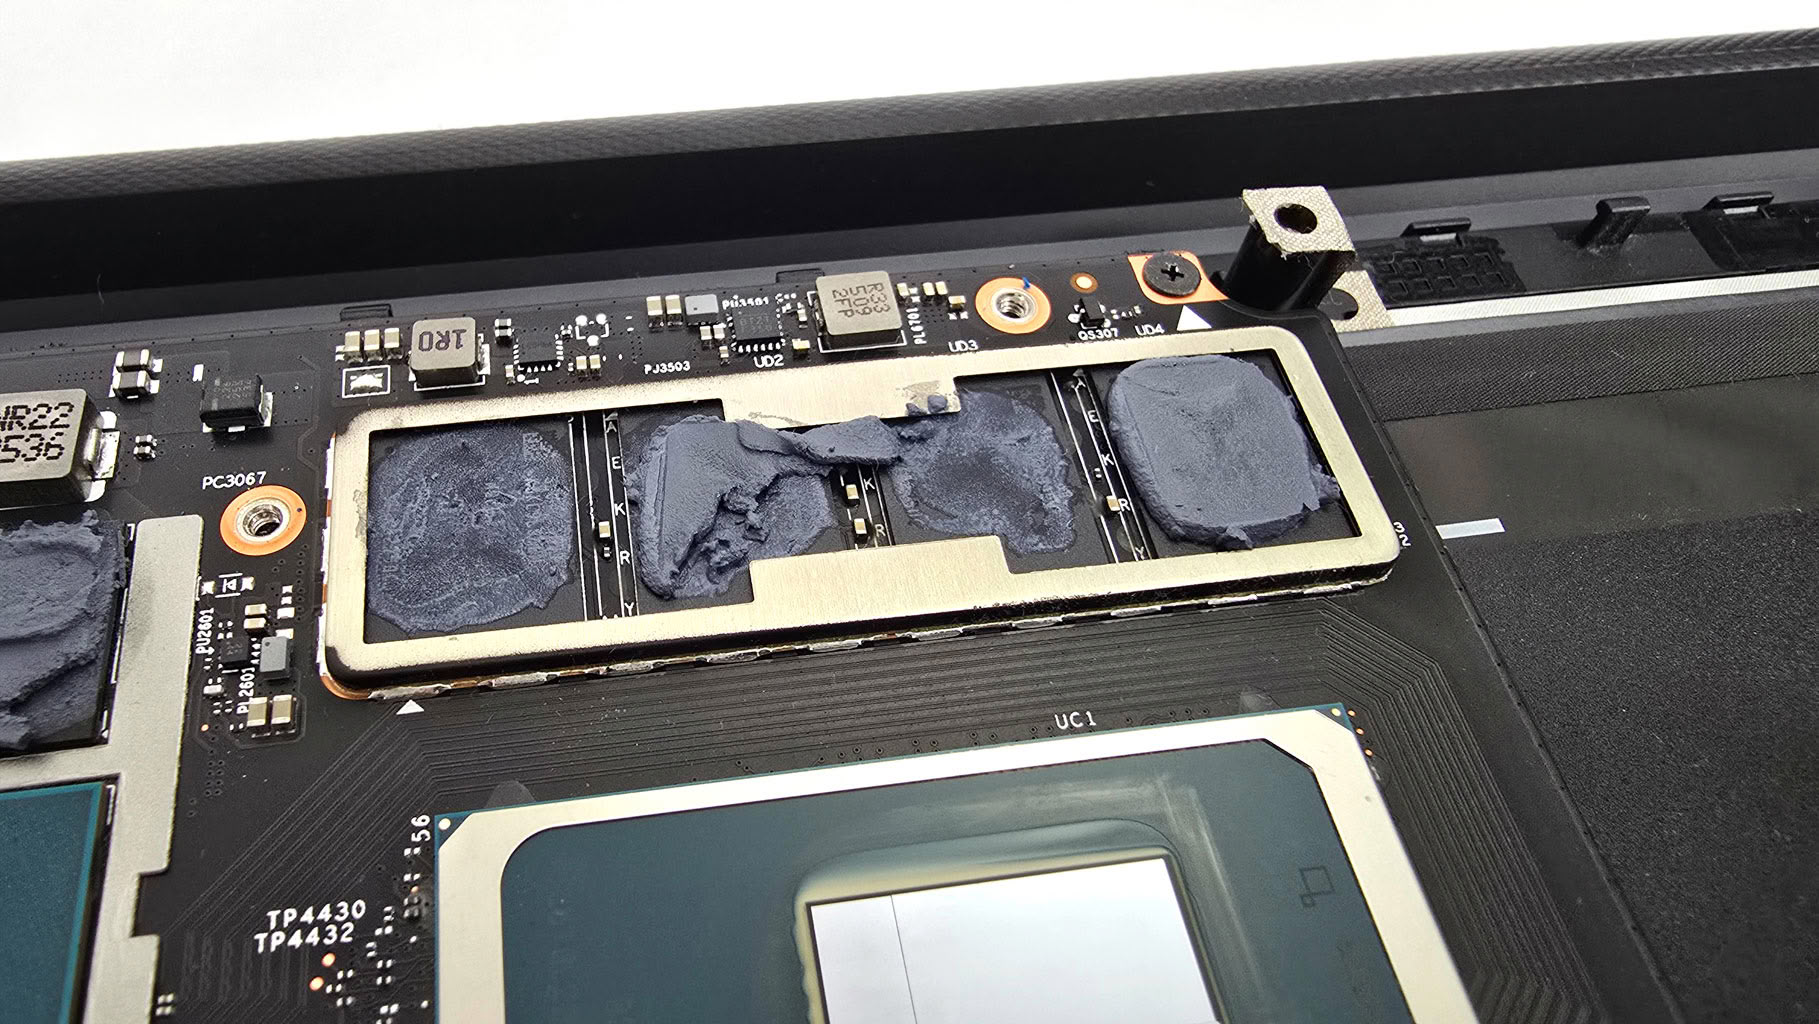
I hinted at the RAM situation - the chips are soldered down. You can order this laptop with either 32 or 64 GB of LPDDR5X-7467 memory.
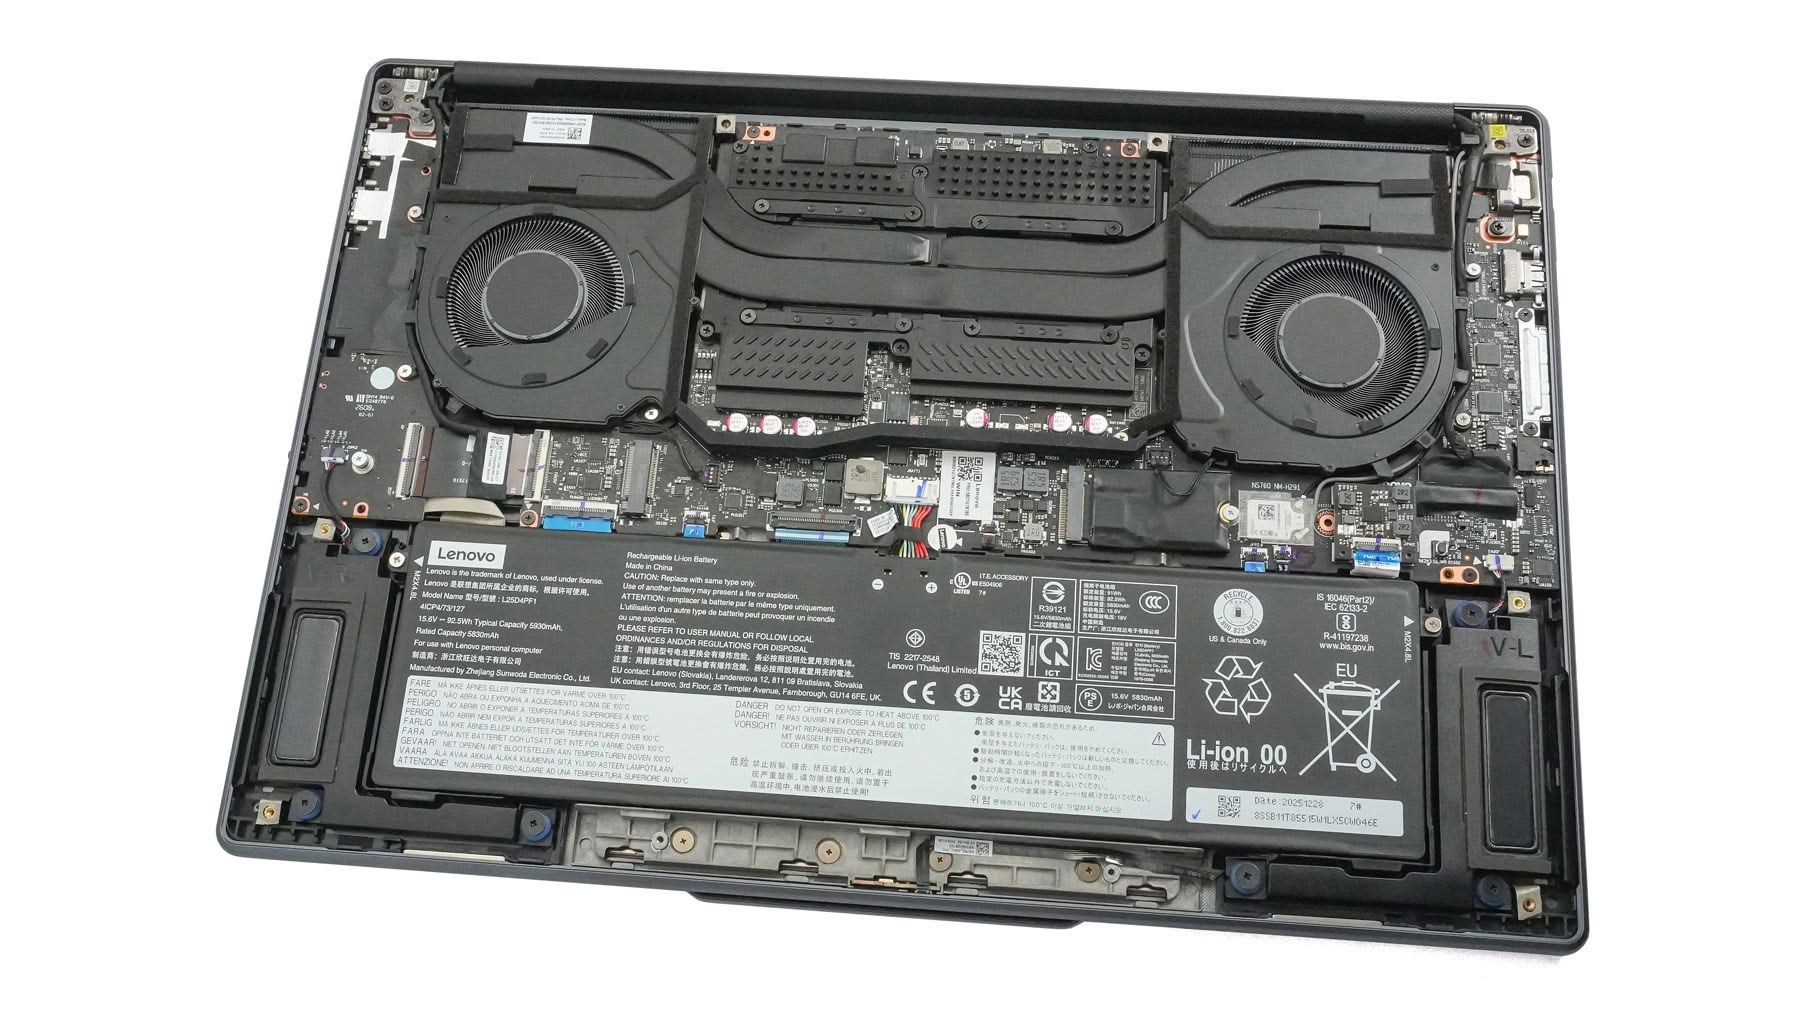
Let's take a look at the cooling. It features two large fans, one long heatpipe shared between the CPU and the GPU, and one dedicated to each chip. The massive central section cools the VRM zones for both processors, the system RAM, and the GPU memory. This plate also houses a small, dedicated heat pipe for the graphics VRAM, which I'll show you once we flip the assembly. Let's not forget the two heatsinks at the top.
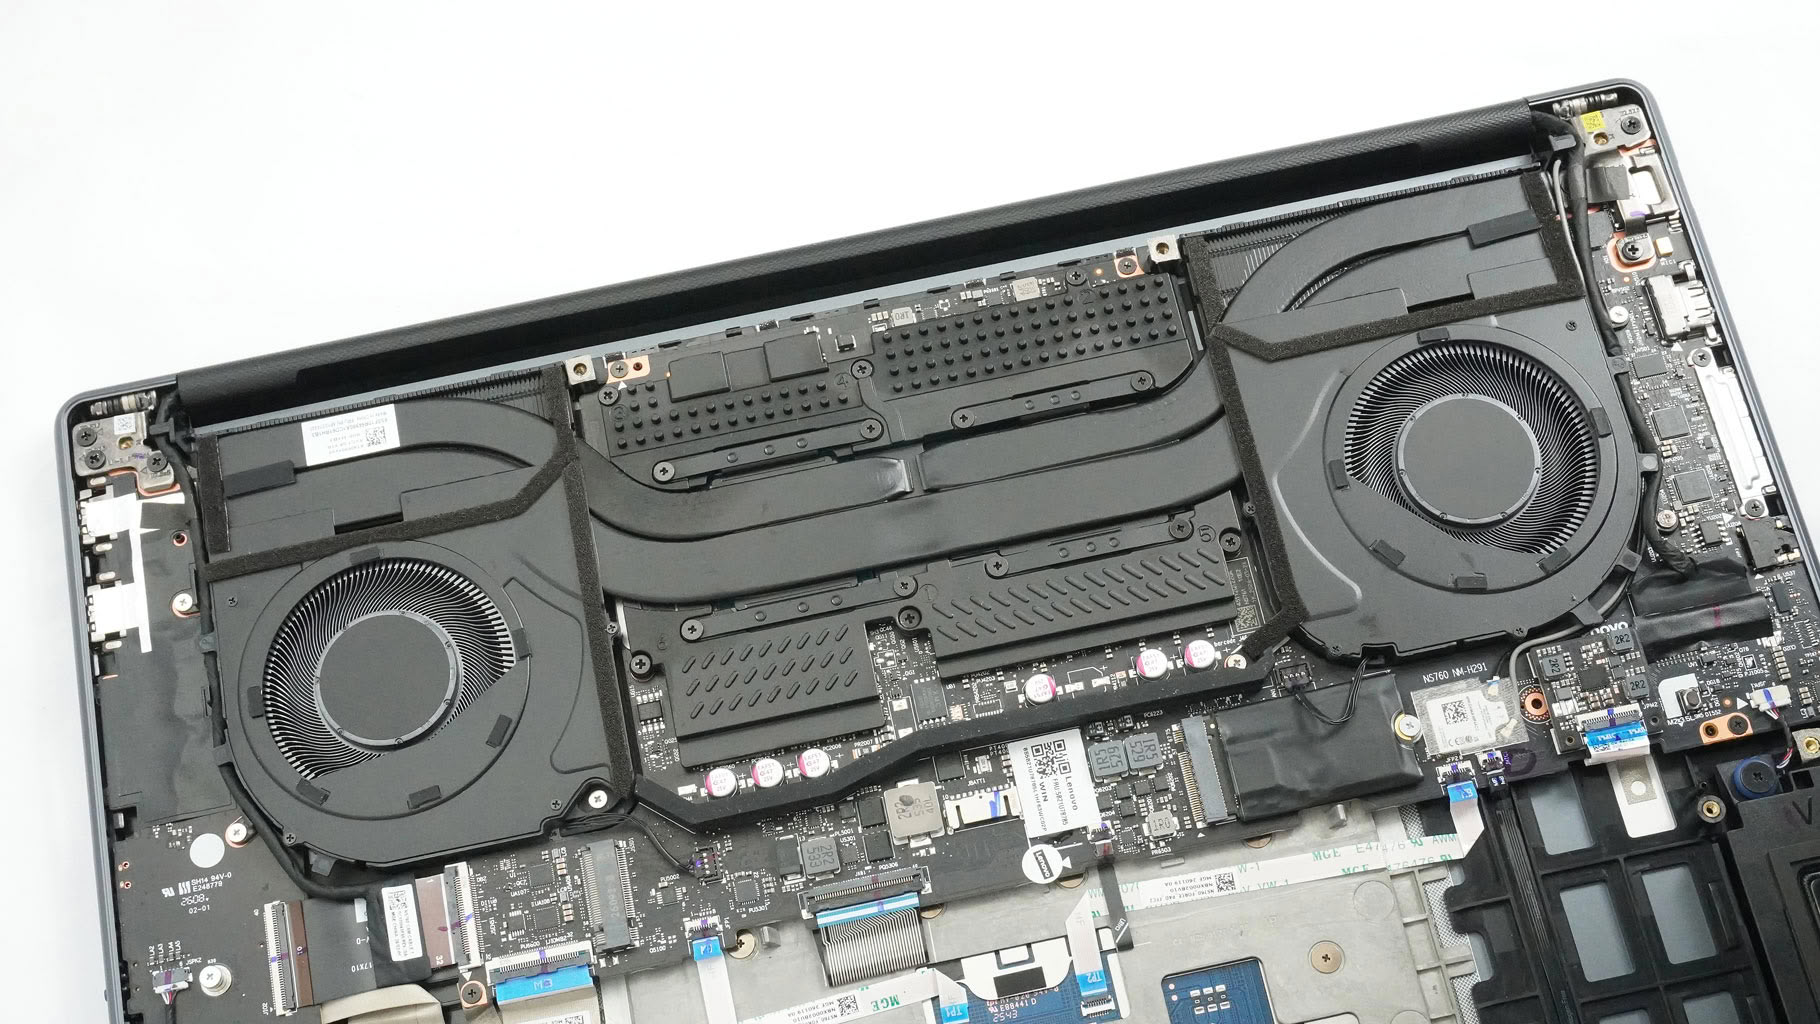
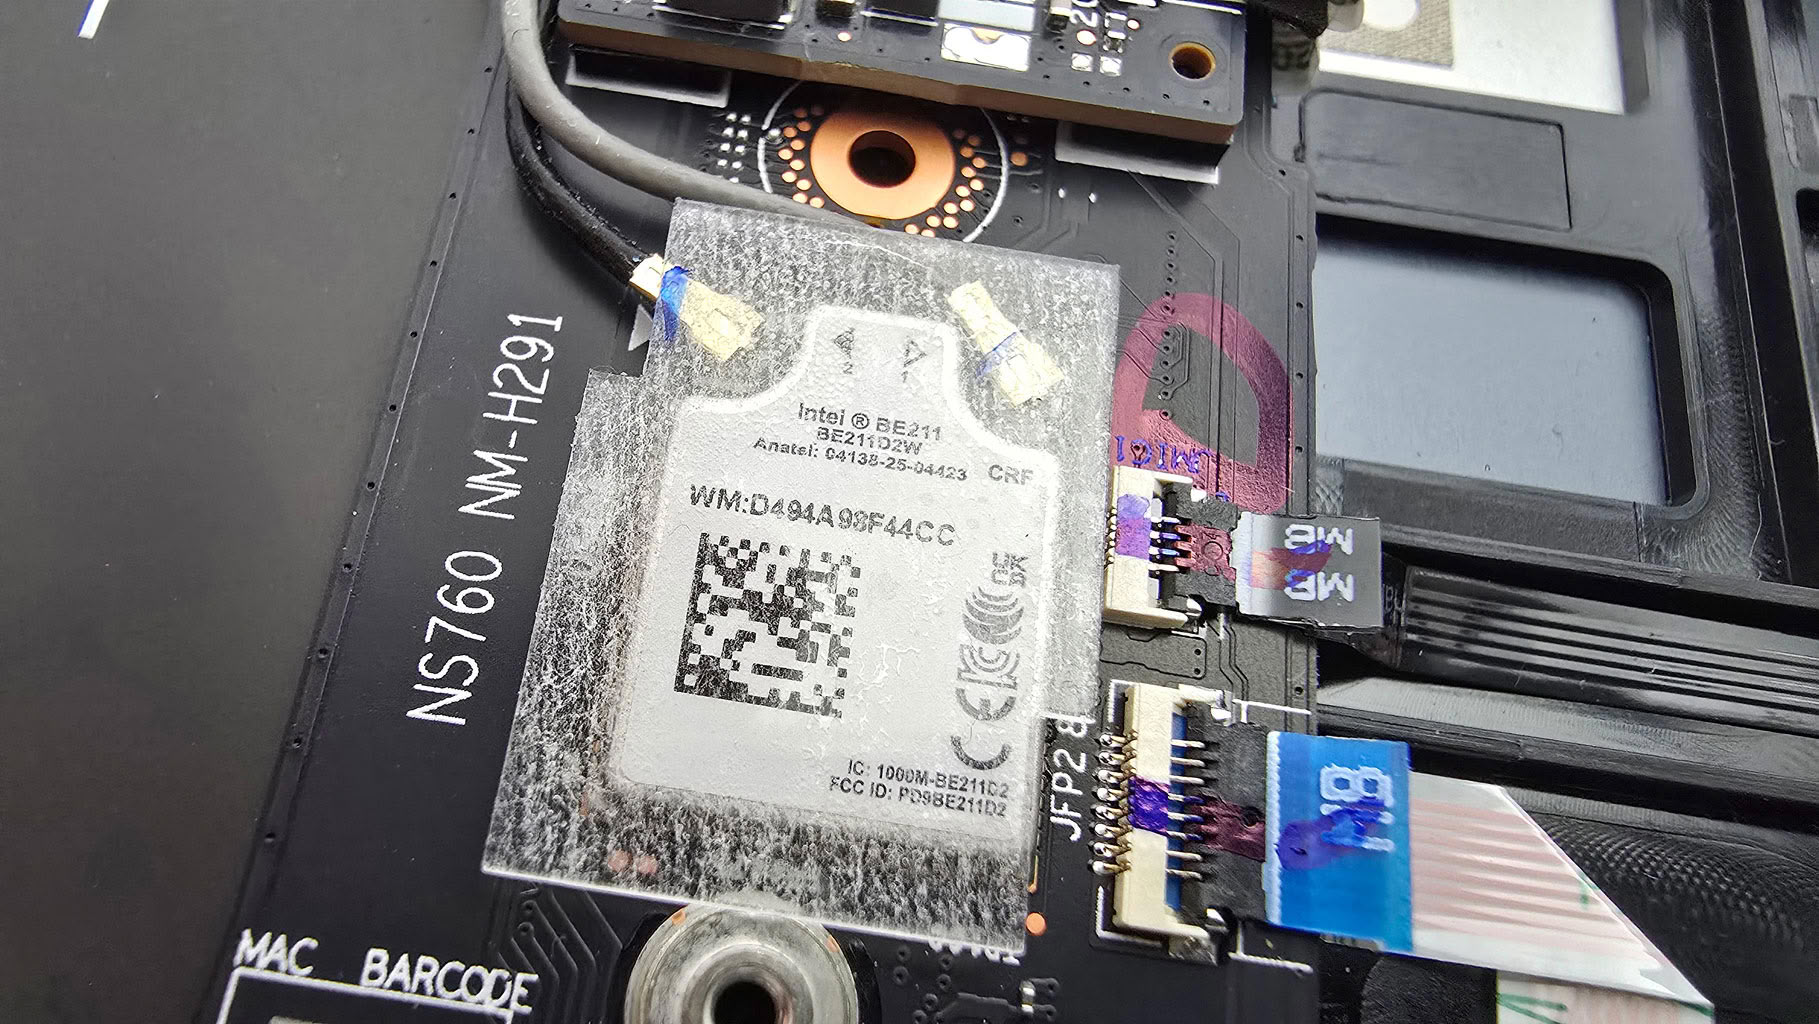
As always, let's remove the whole thermal assembly. First, pull up the fan connectors and undo the three screws on each fan housing. Move on to the four screws around the CPU and GPU clamps, followed by another six holding down the big plate. Carefully untangle the display and Wi-Fi 7 card cables routed around the housings.
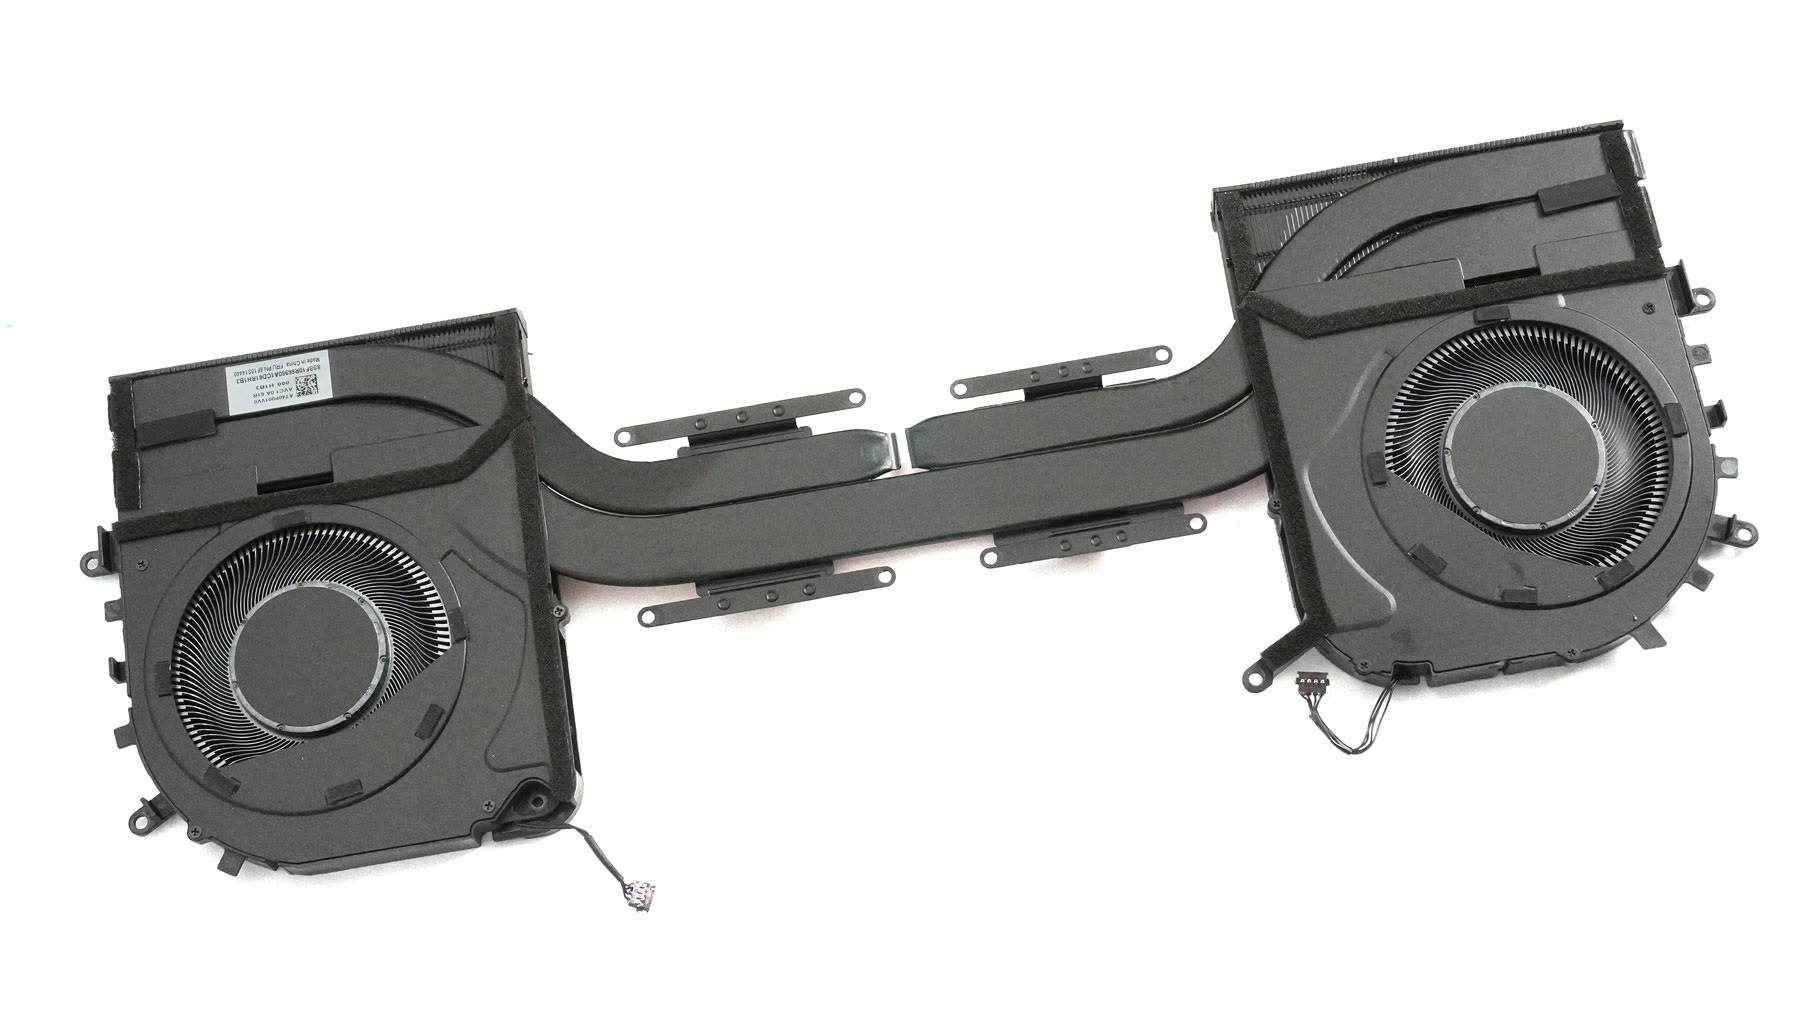
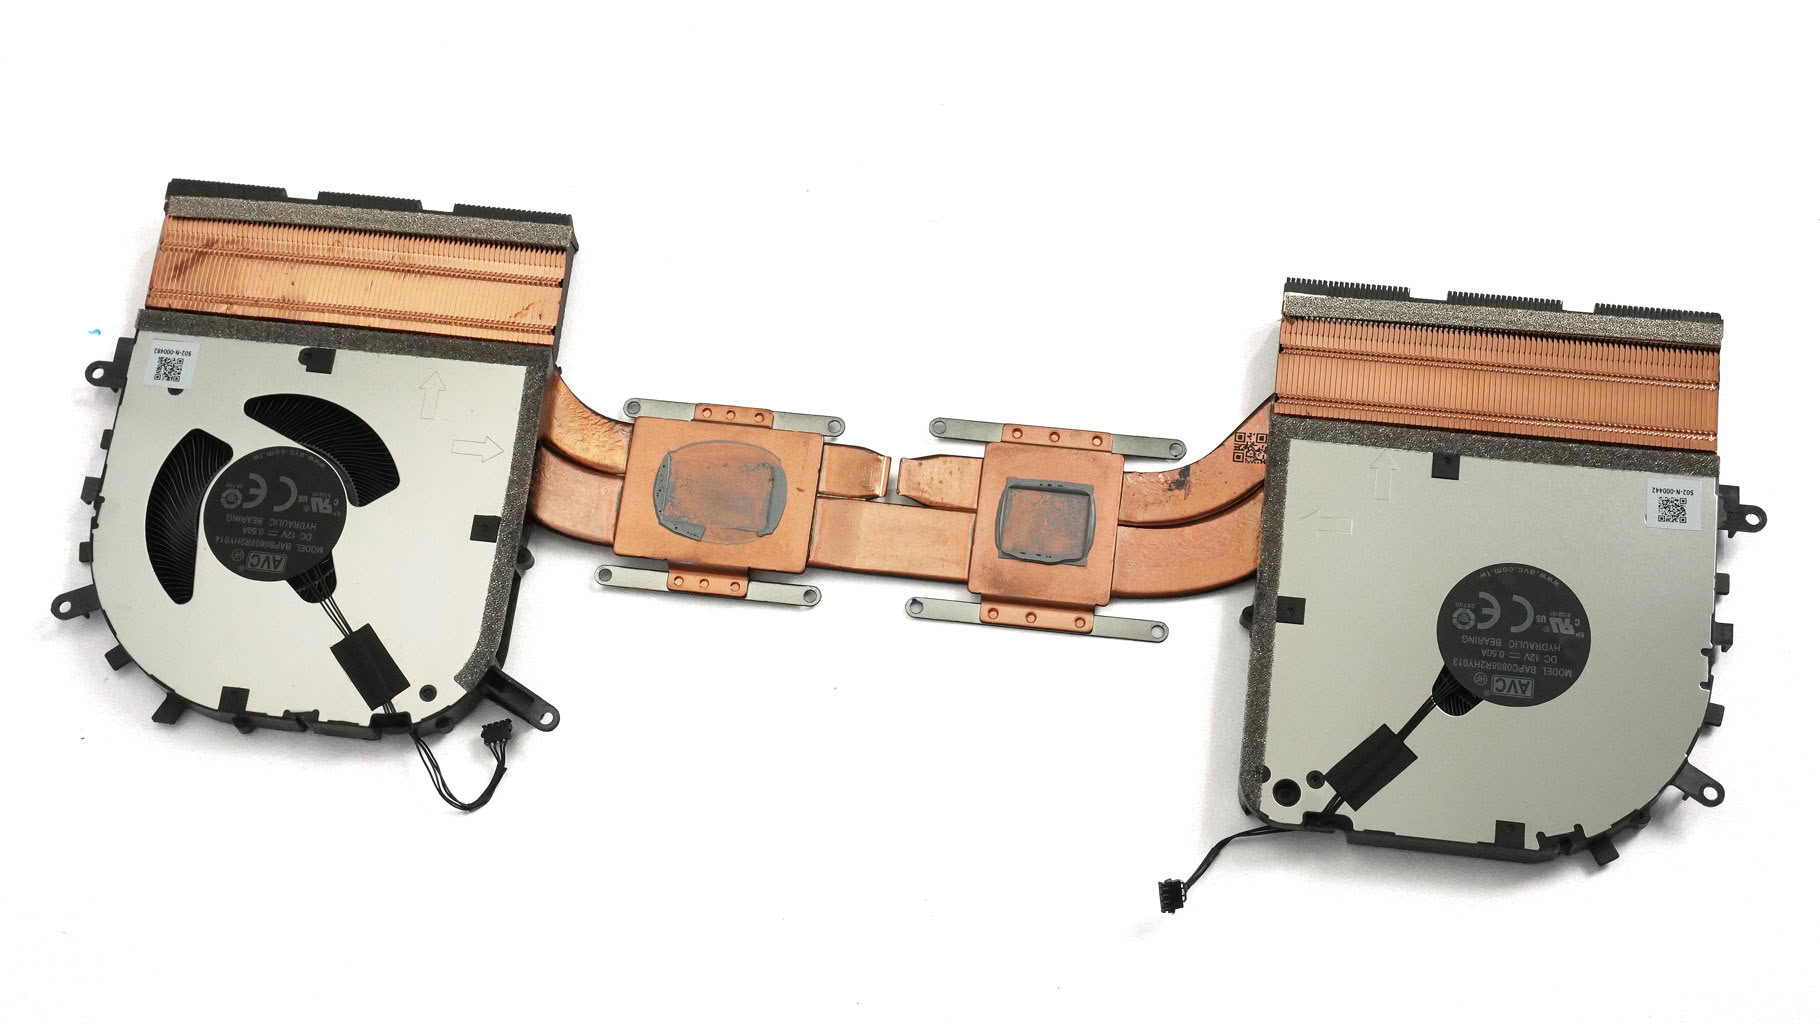
Just like on the 11th Gen Yoga Pro 7i, you can lift the main thermal assembly independently of the central metal plate.
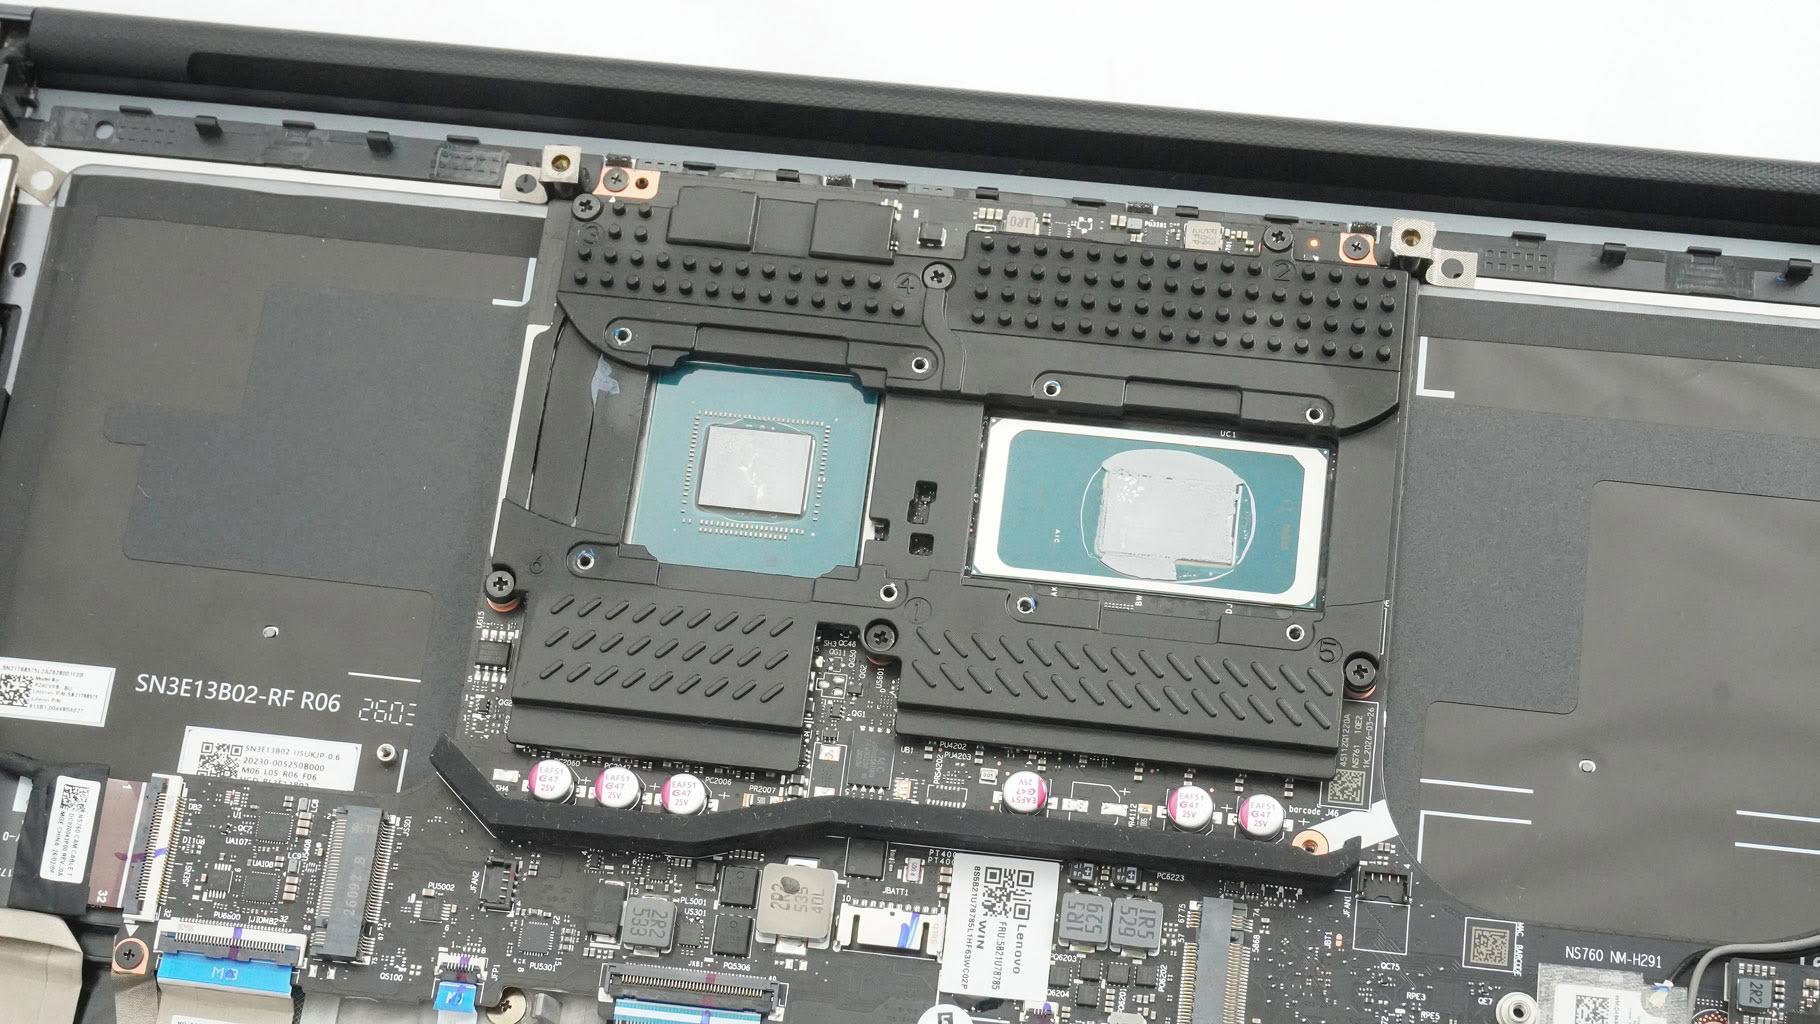
This gives you direct access to the CPU and GPU - meaning you don't have to tear down the entire cooling system just for a quick repaste.
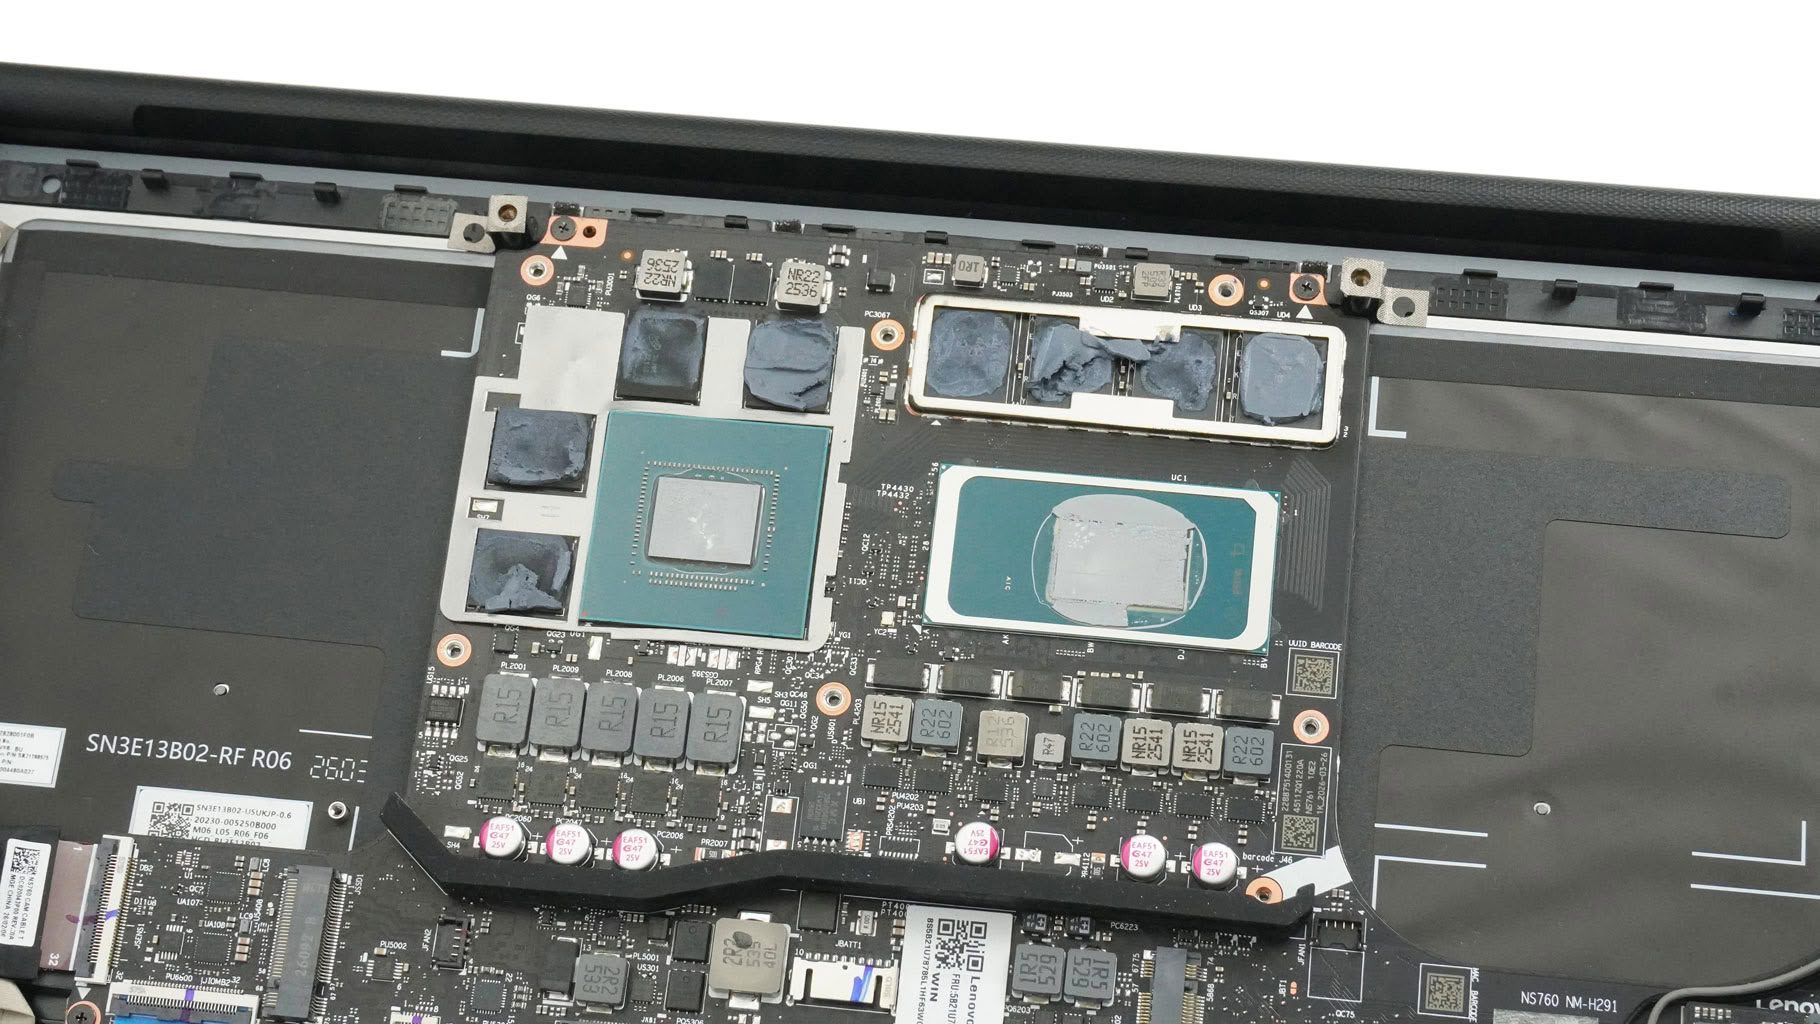
Of course, you can remove it if the thermal putty/paste needs replacement too.
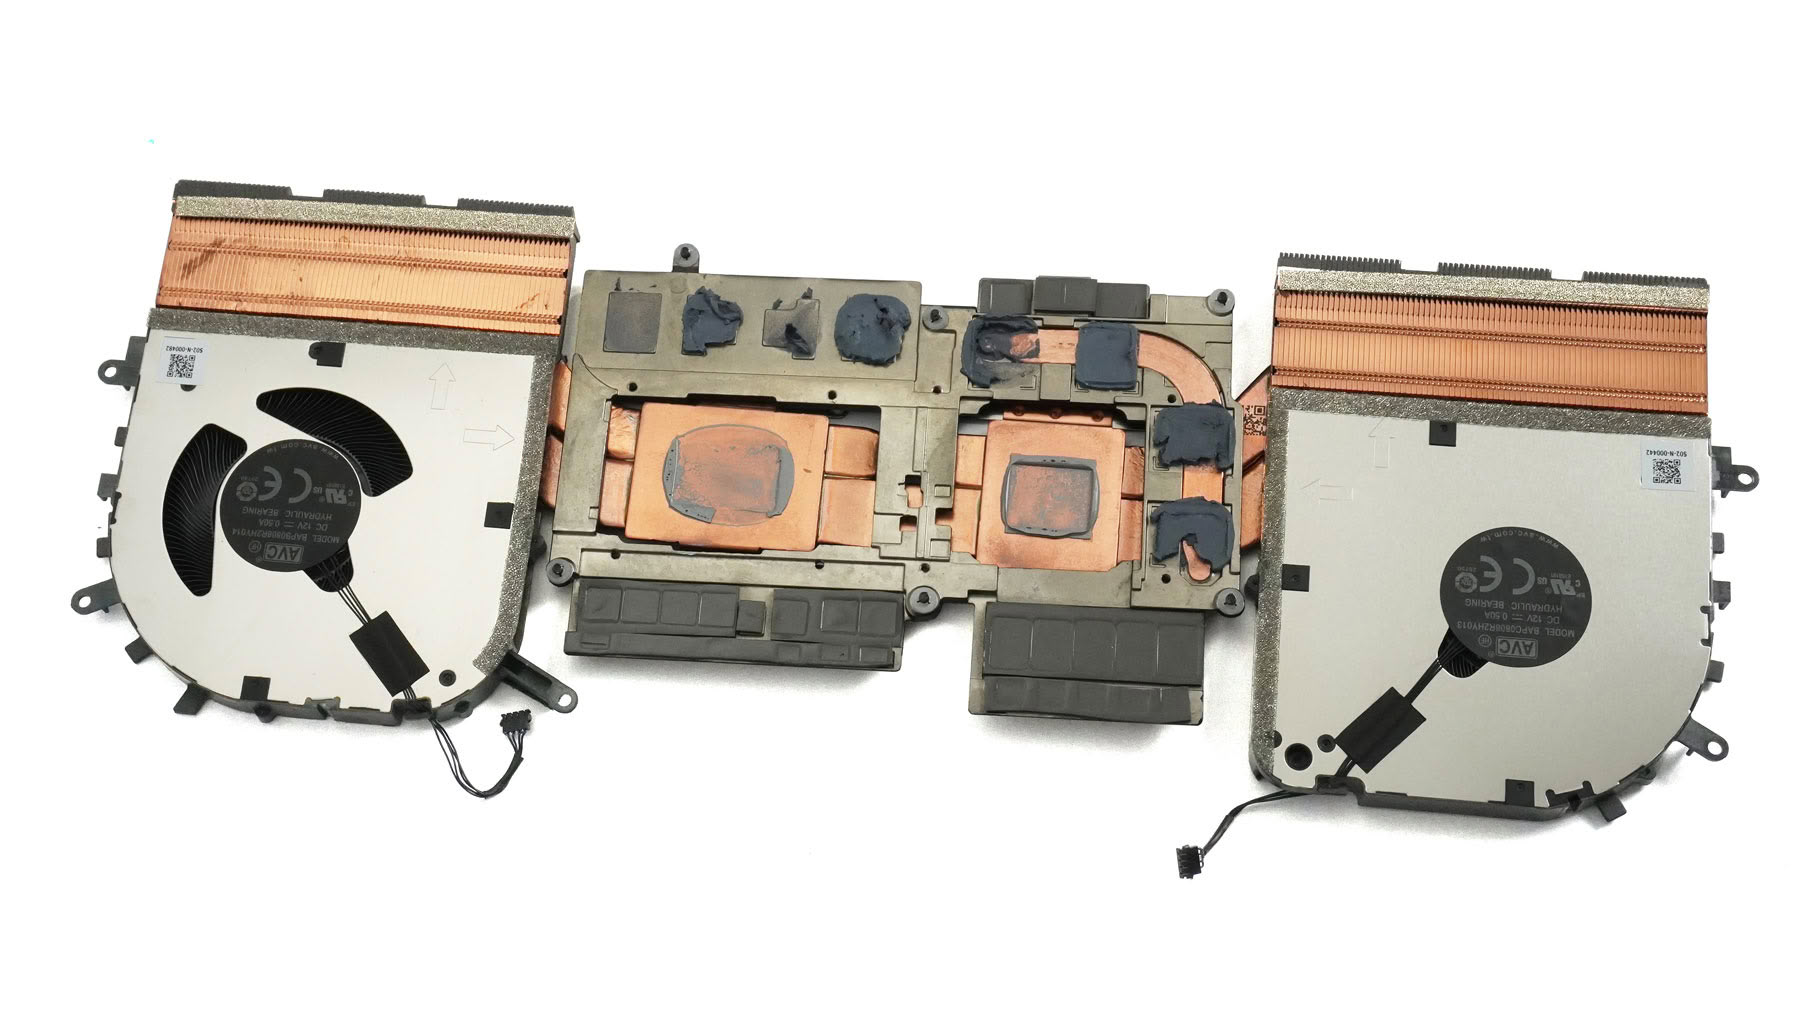
Here's the whole assembly flipped.
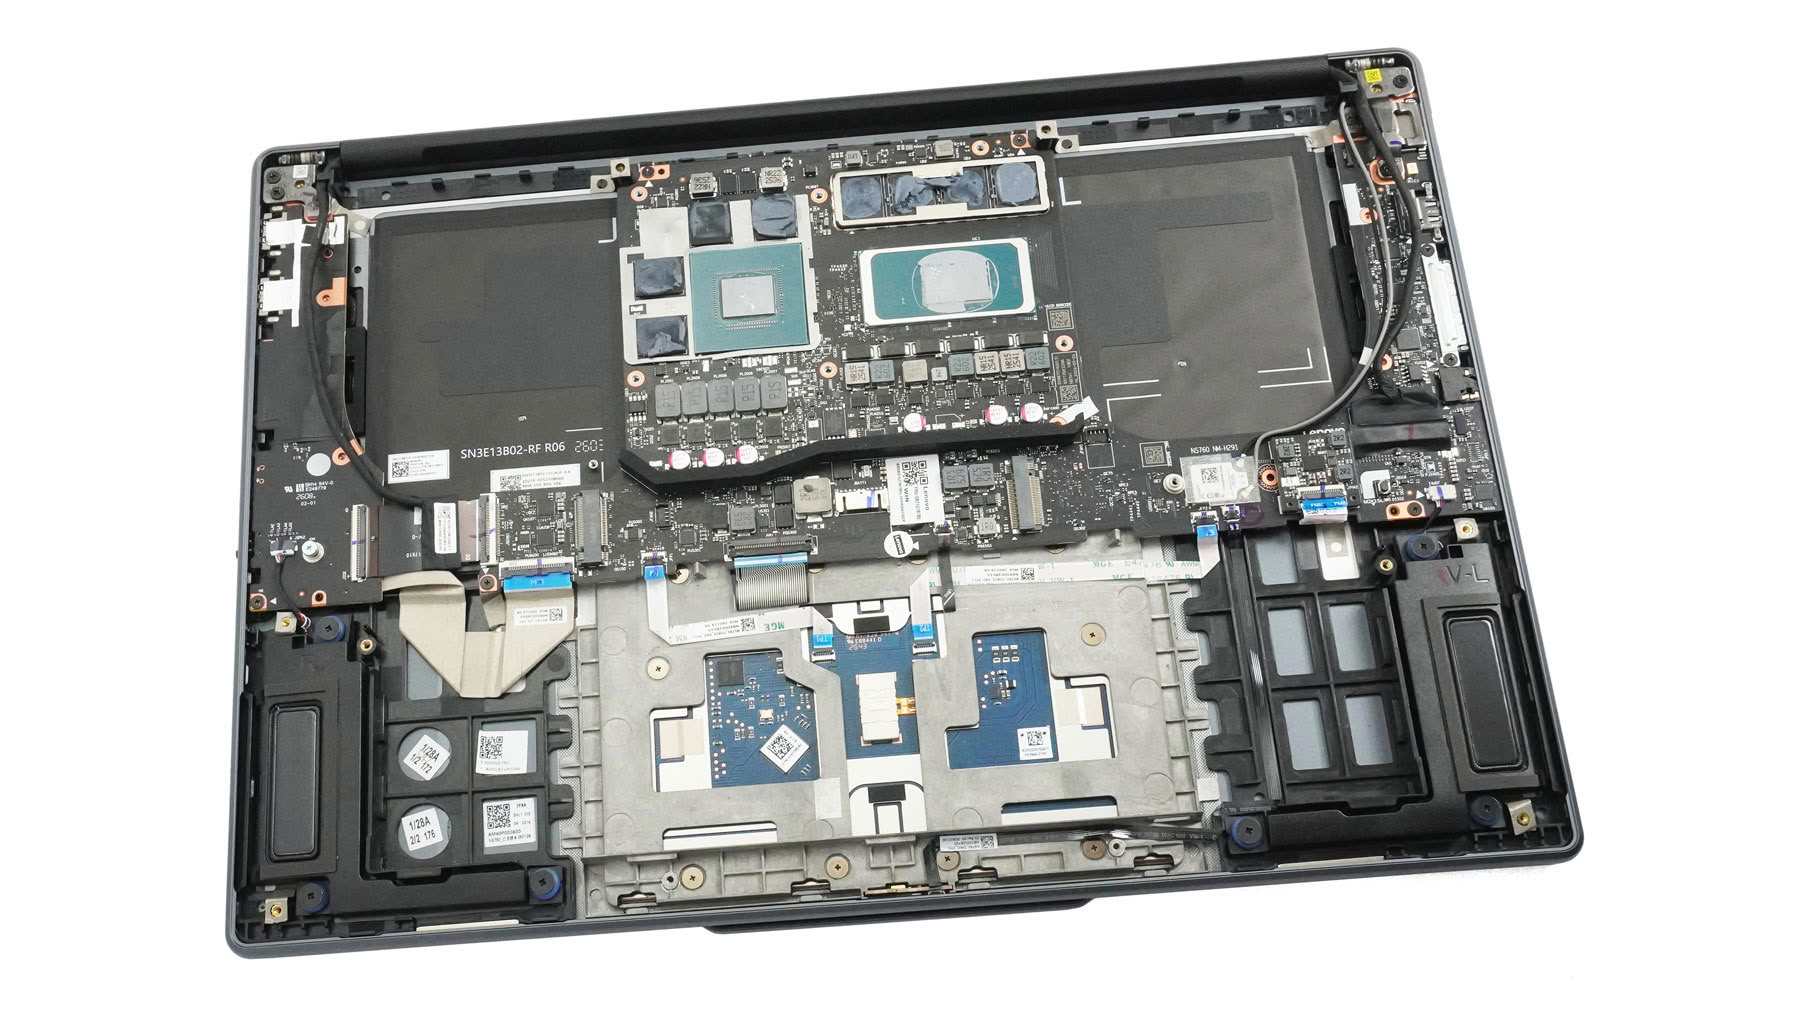
Now, the thermal system is completely removed.
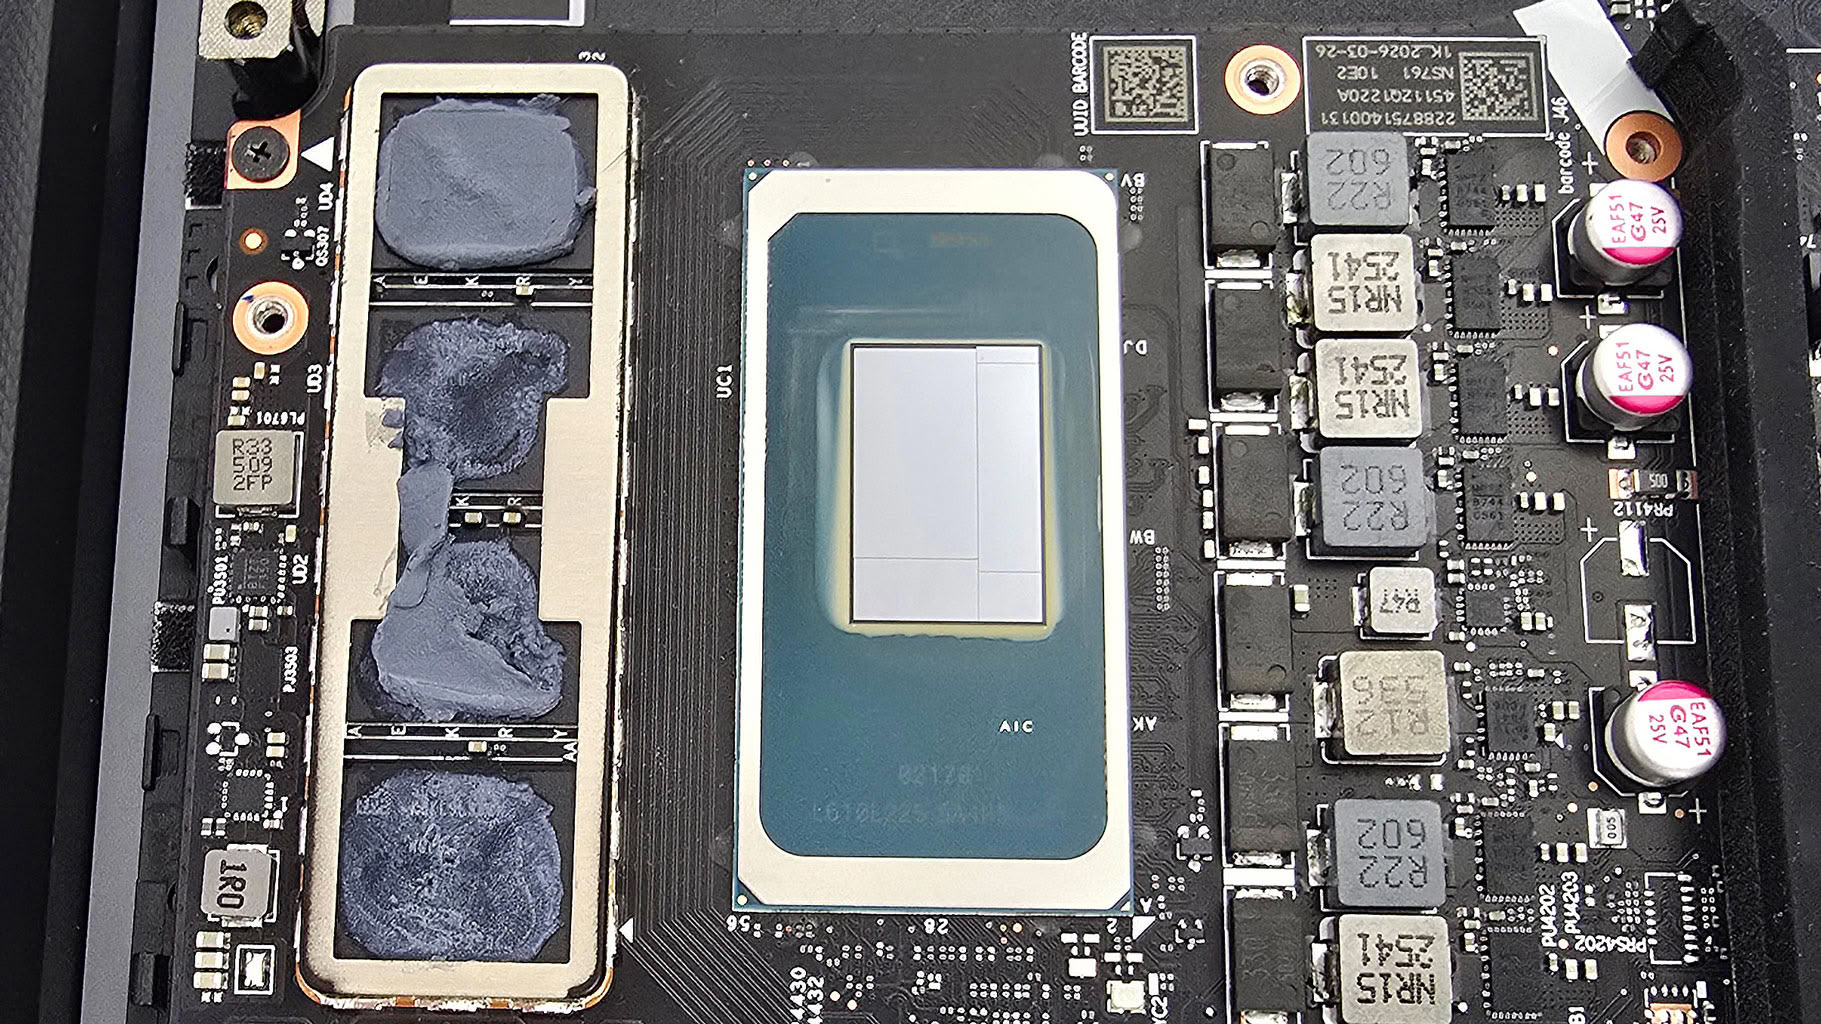
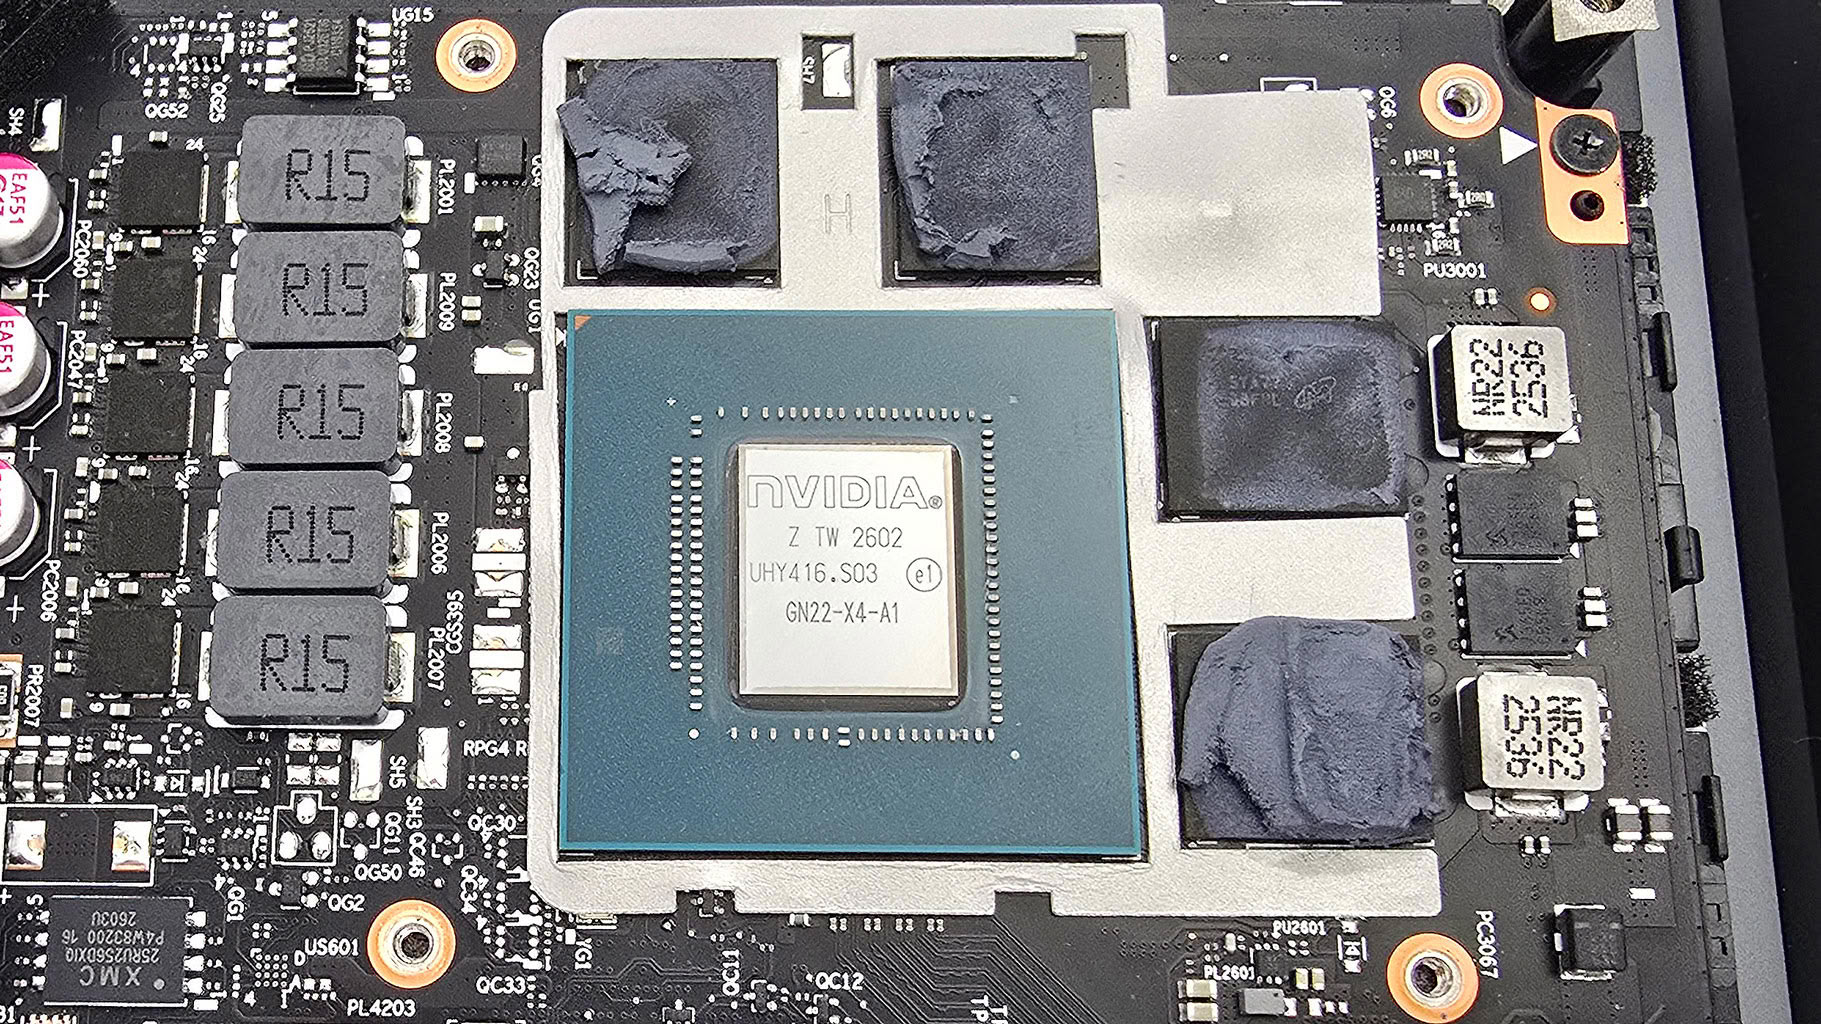
With everything out of the way, we get a clear view of the GPU, its memory, the CPU, and the soldered system RAM sitting right above them, with the VRM section resting underneath the silicon.
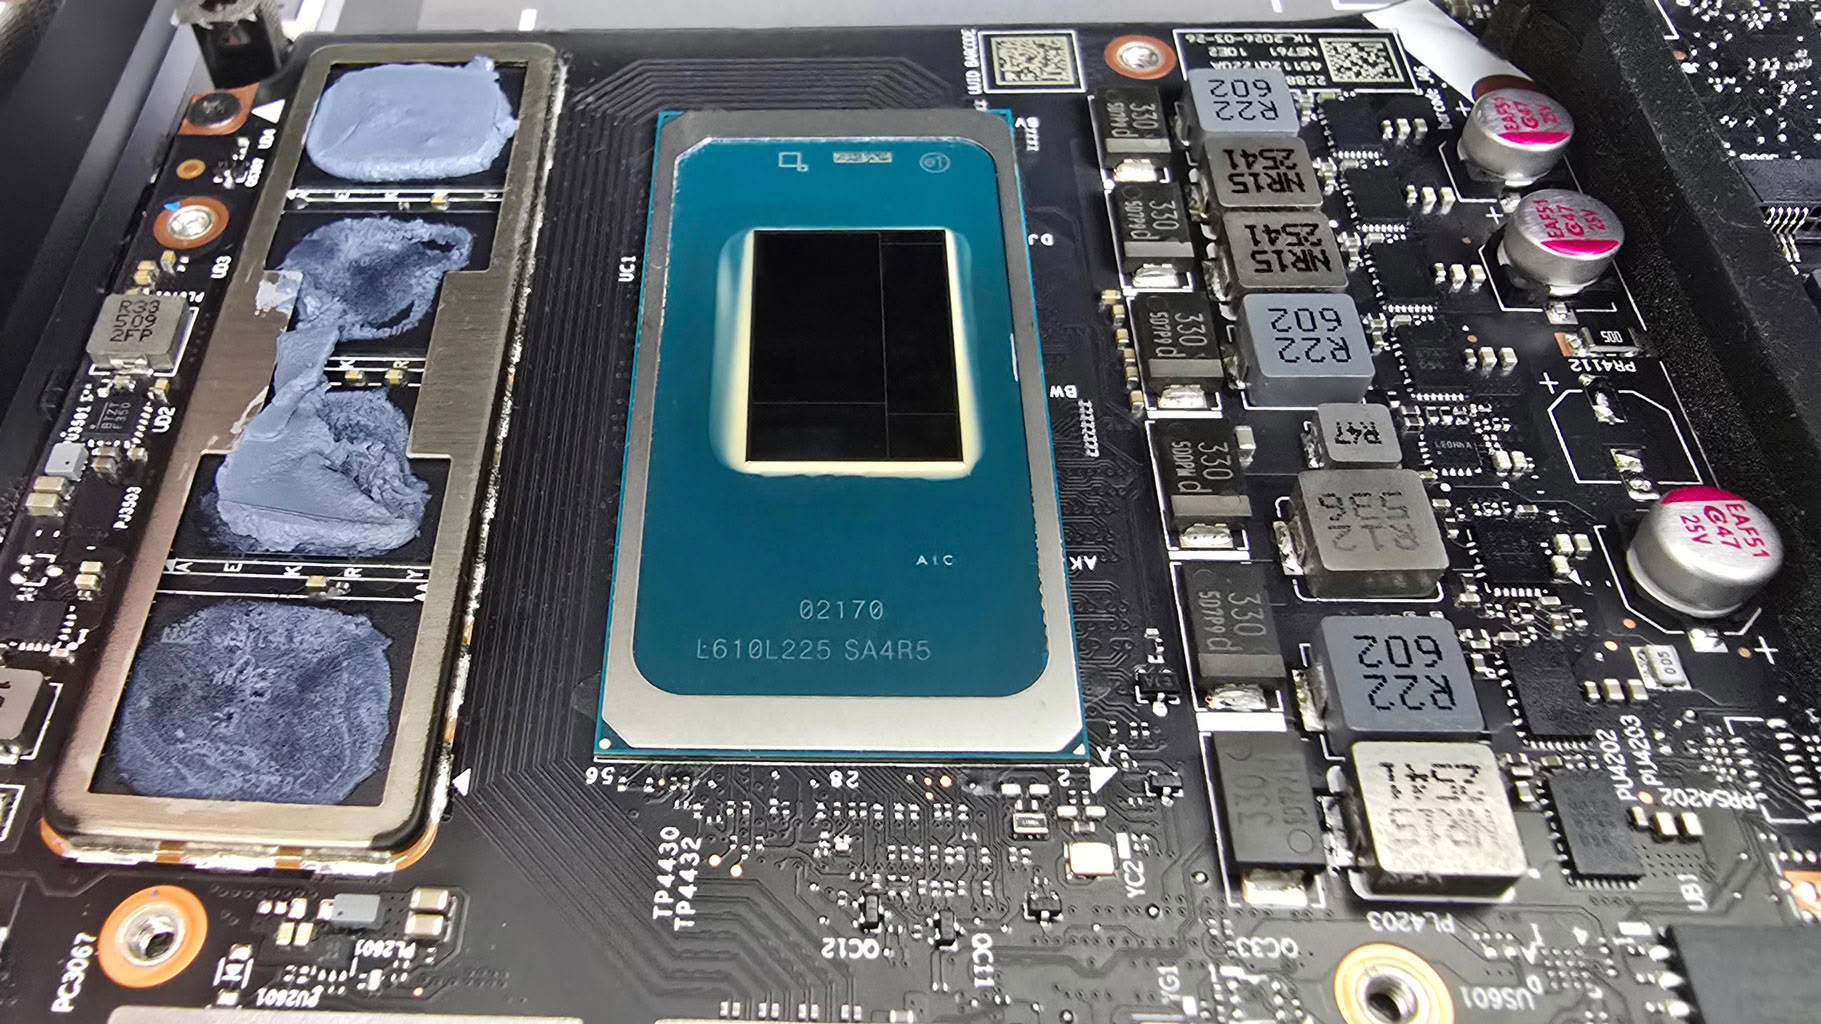
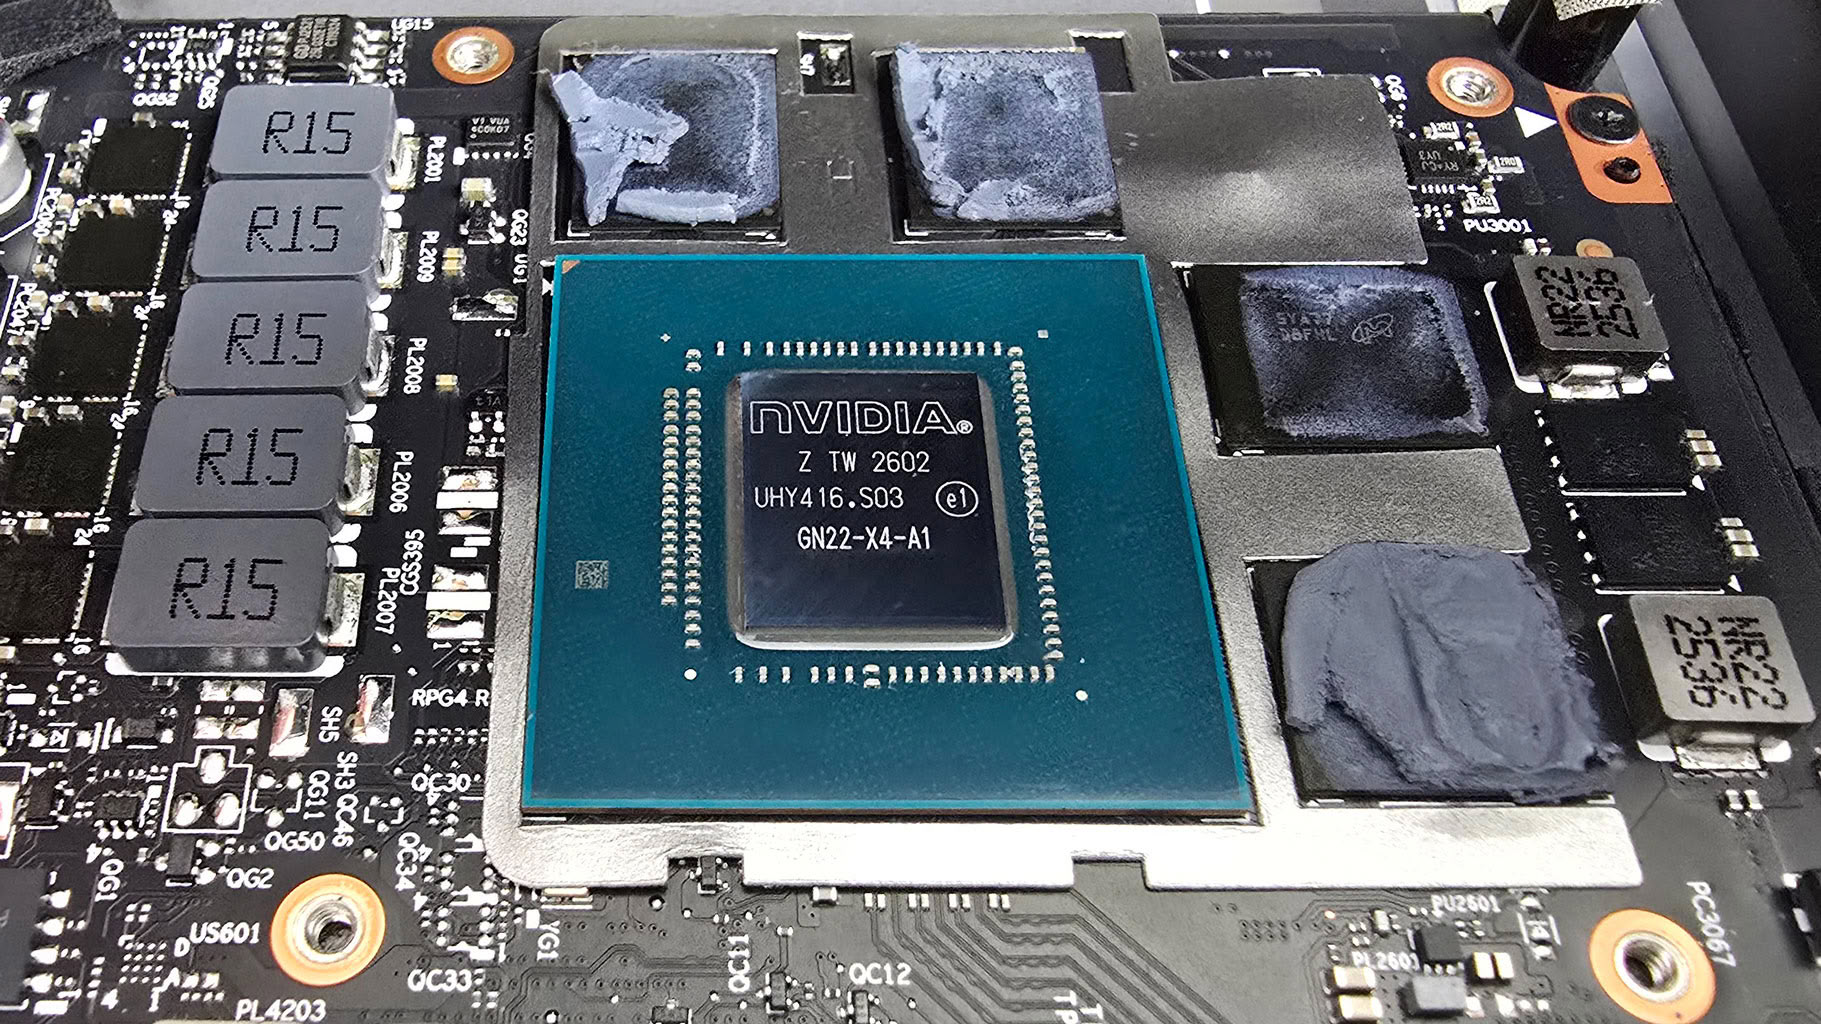
And some more stills of both chips.
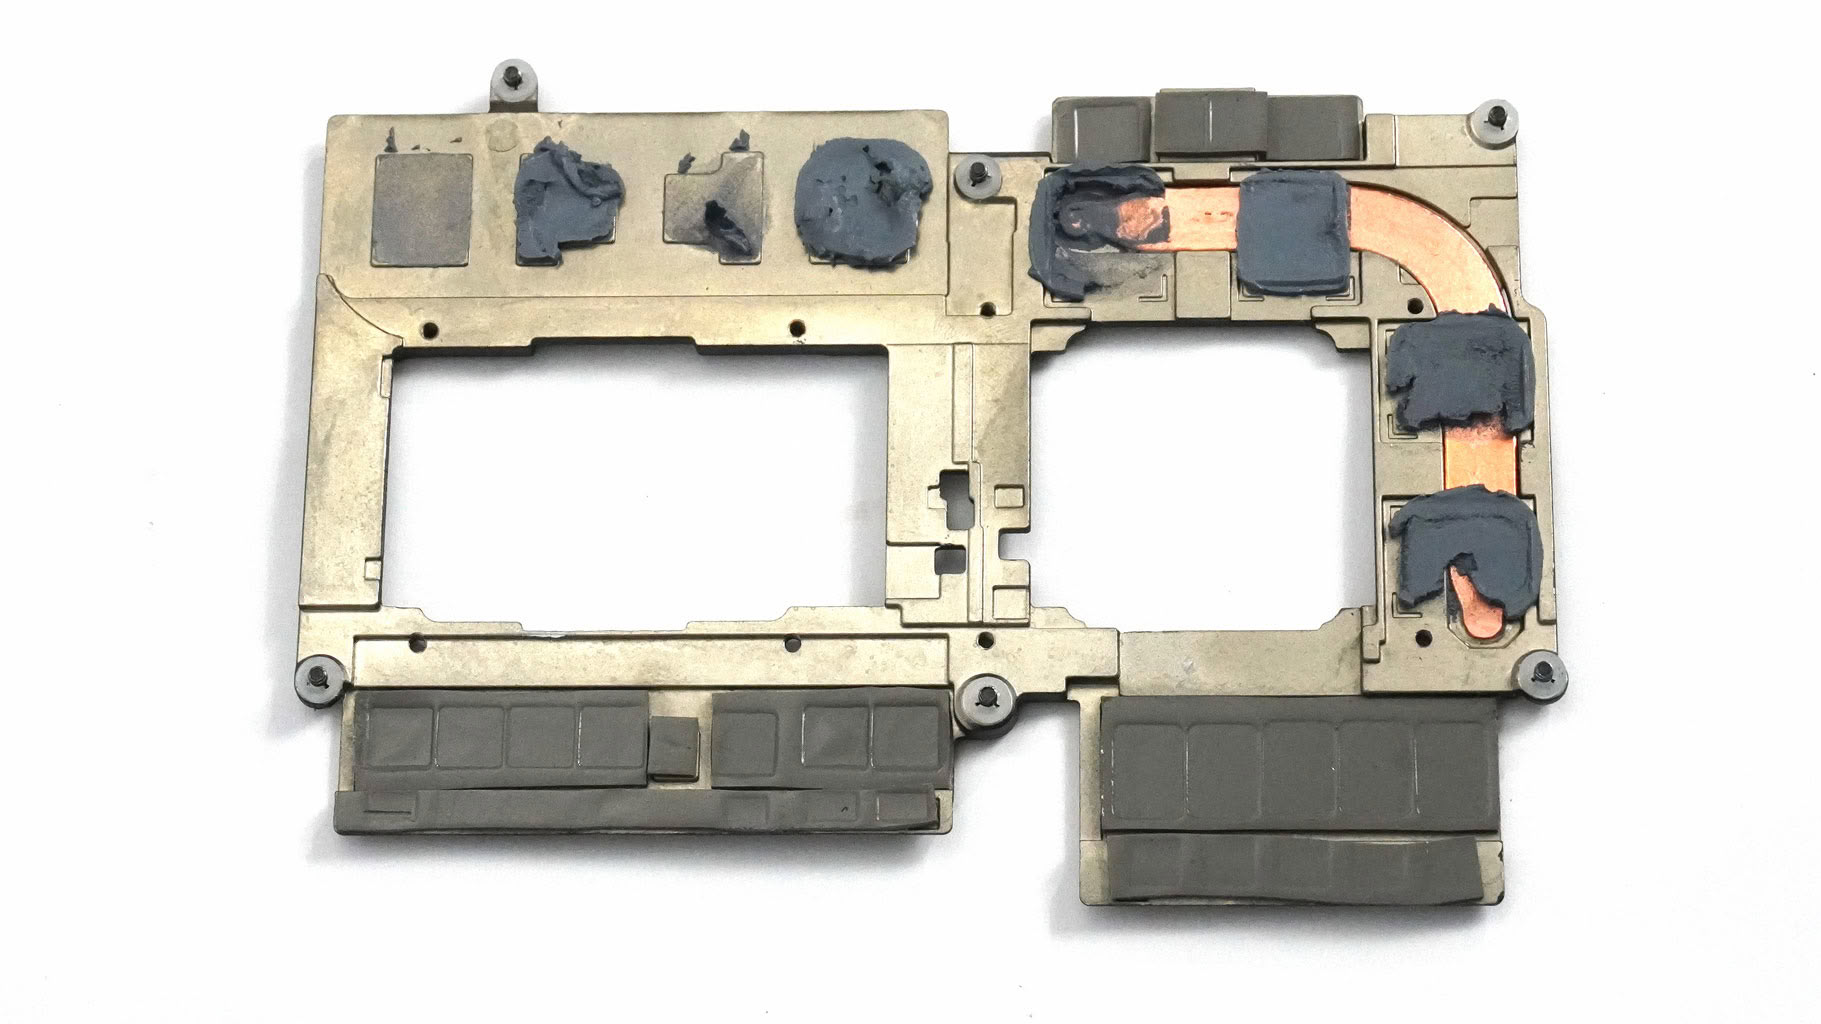
You can also get a good look at that tiny heat pipe built into the metal plate on the GPU side.
Nov 19th, 2026 16:08 CST
change timezone
Latest GPU Drivers
New Forum Posts
- Honestly, do you care about GTA VI? (164)
- Windows 11 General Discussion (7736)
- Current Sales, Bundles, Giveaways (10448)
- Last game you purchased? (1409)
- WarpCoreBench scores! (76)
- Got the EOL 32GB TridentZ 6000 CL26 1.4V (12)
- Dell Workstation Owners Club (3516)
- Making a game in Godot engine (4)
- DTS DCH Driver for Realtek HDA [DTS:X APO4 + DTS Interactive] (2815)
- Security Apps (2)
Popular Reviews
- Acemagic Retro X3 Review
- Ugreen NASync DXP4800 GT Review
- Upcoming Hardware Launches 2027 (Updated Nov 2026)
- Pulsar Office Tour & First Look at P1 Dual-Sensor Mouse
- AMD Zen 6 Technical Deep Dive
- Biwin Black Opal NV7400 2 TB Review
- Sapphire Radeon RX 7700 XT Pure Review
- Sapphire Radeon RX 7700 XT Pulse Review
- AMD Ryzen 7 9800X3D Review - The Best Gaming Processor
- Chieftec Iceberg PRO 360 DARK Review
TPU on YouTube
Controversial News Posts
- NVIDIA Co-Founder and CEO Jensen Huang Officially Resigns (489)
- Report: Jensen Huang Eyes NVIDIA Comeback (223)
- Open Letter Asking NVIDIA to Reinstate Jensen Huang Passes 115,000 Signatures (184)
- OpenAI CEO Argues Home PCs Waste the World's Limited DRAM Supply (152)
- NVIDIA Launches Investigation Into Jensen Huang's Relationship With Suspected Chinese Spy (136)
- Intel "Raptor Lake Next" 16-Core and 20-Core CPUs Surface (130)
- Legendary Game Studio BioWare Shuts Down Following EA Layoffs (104)
- Dell CEO Says the Memory Shortage Will Get Worse in 2027 (95)