 16
Lian Li B4-mATX Review
Thermal Stress Test »Assembly
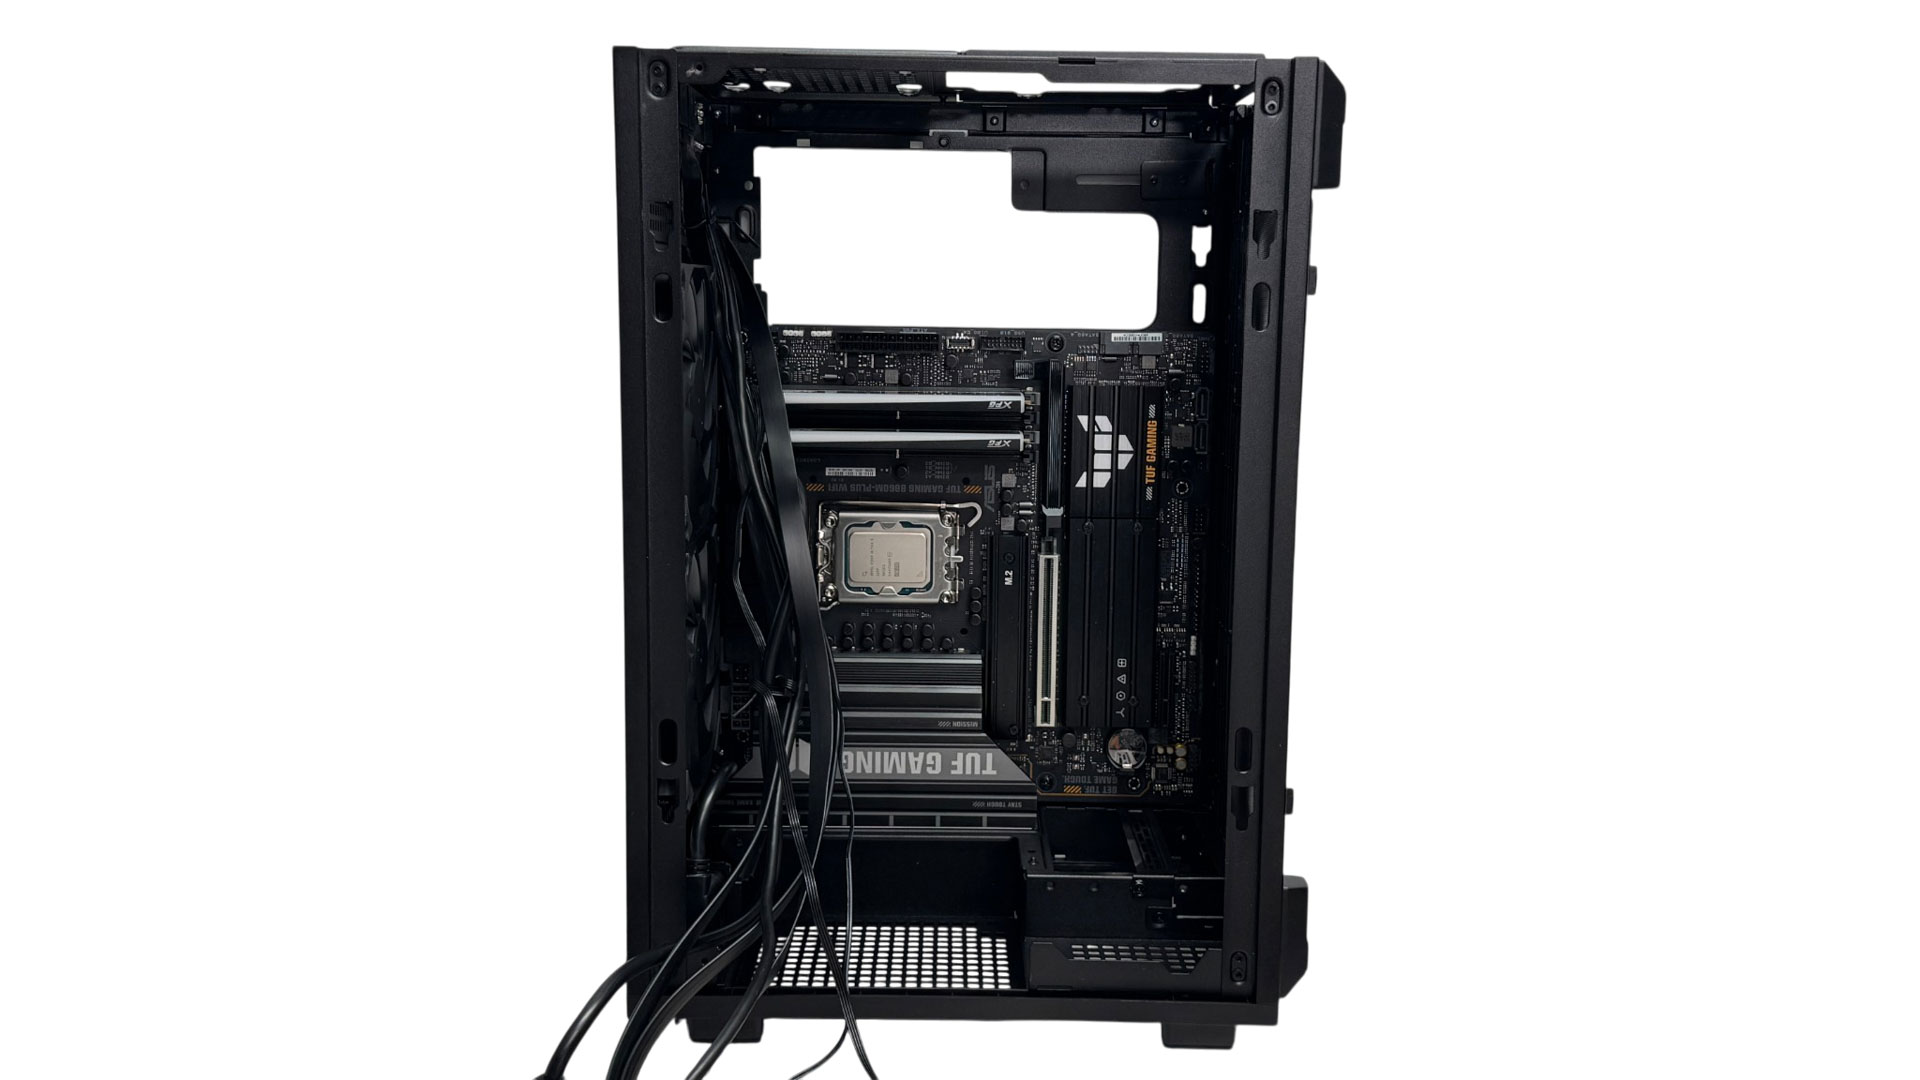
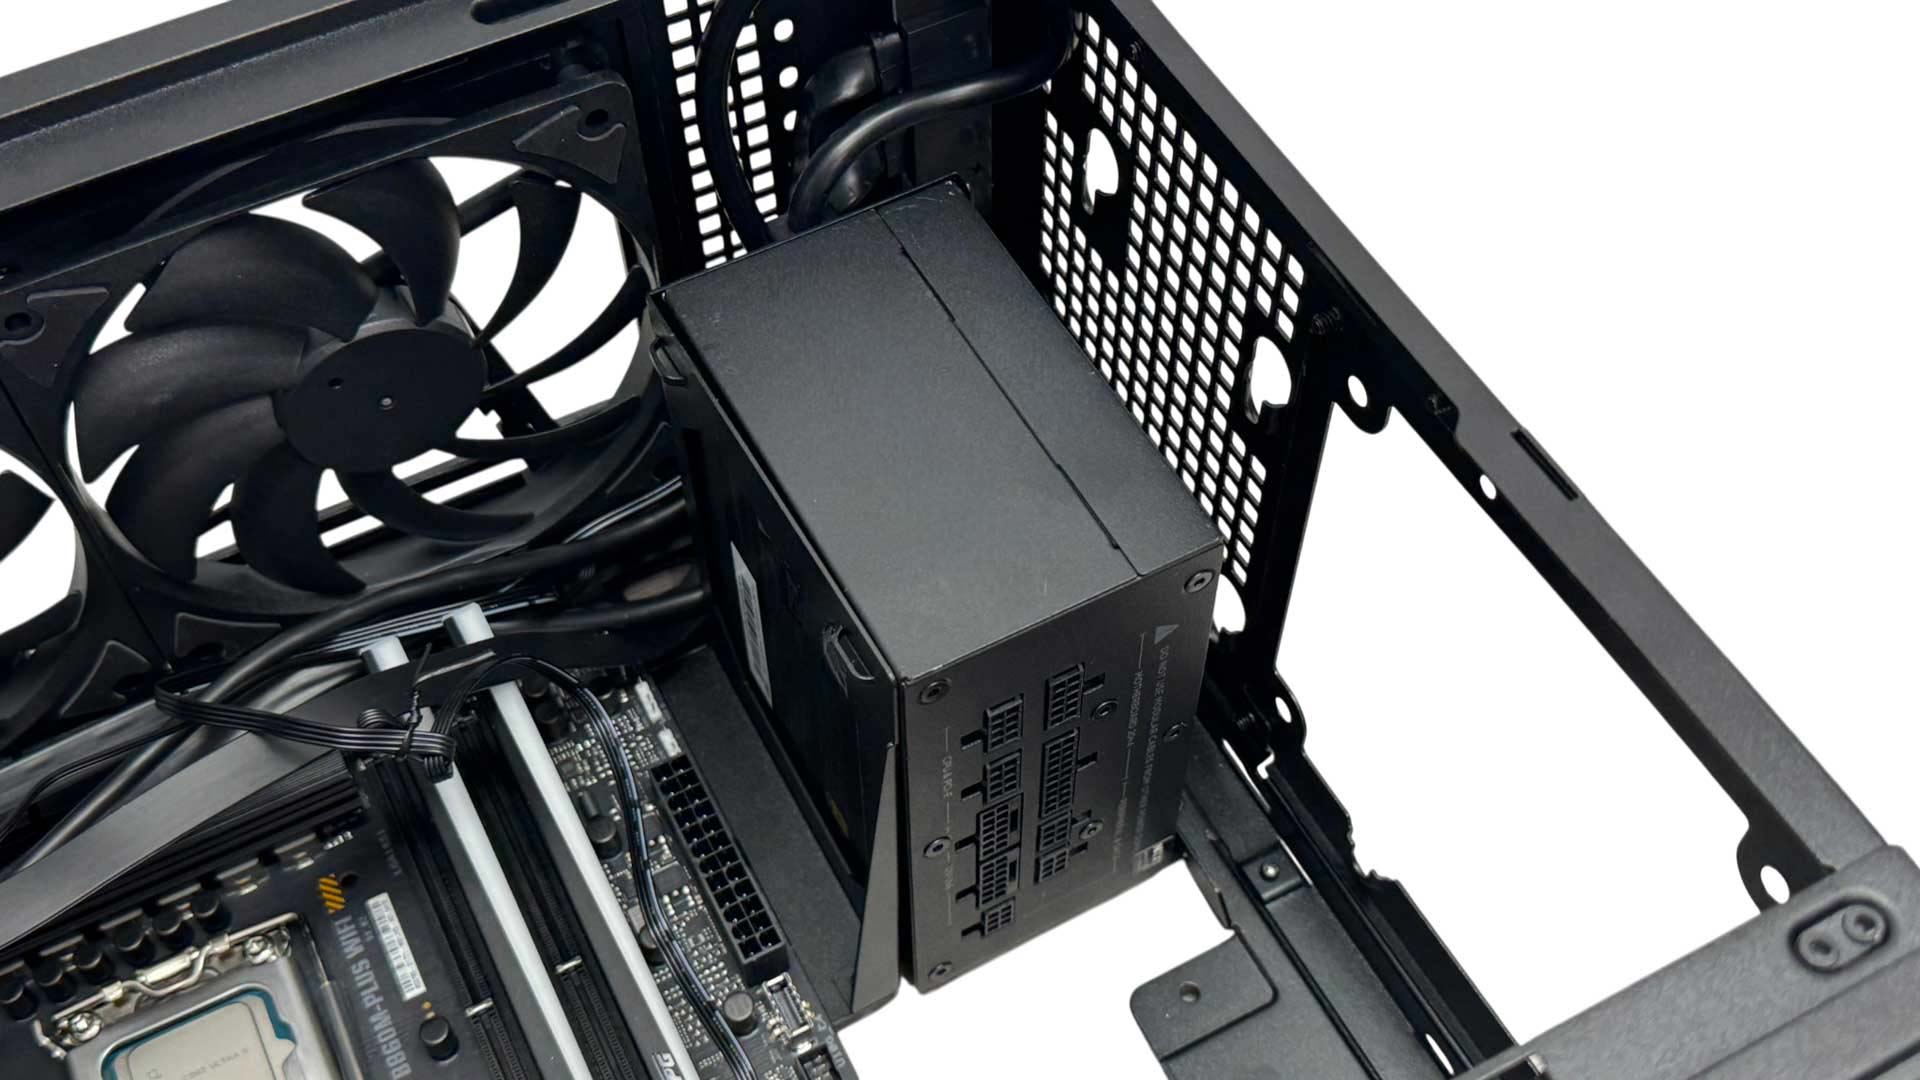
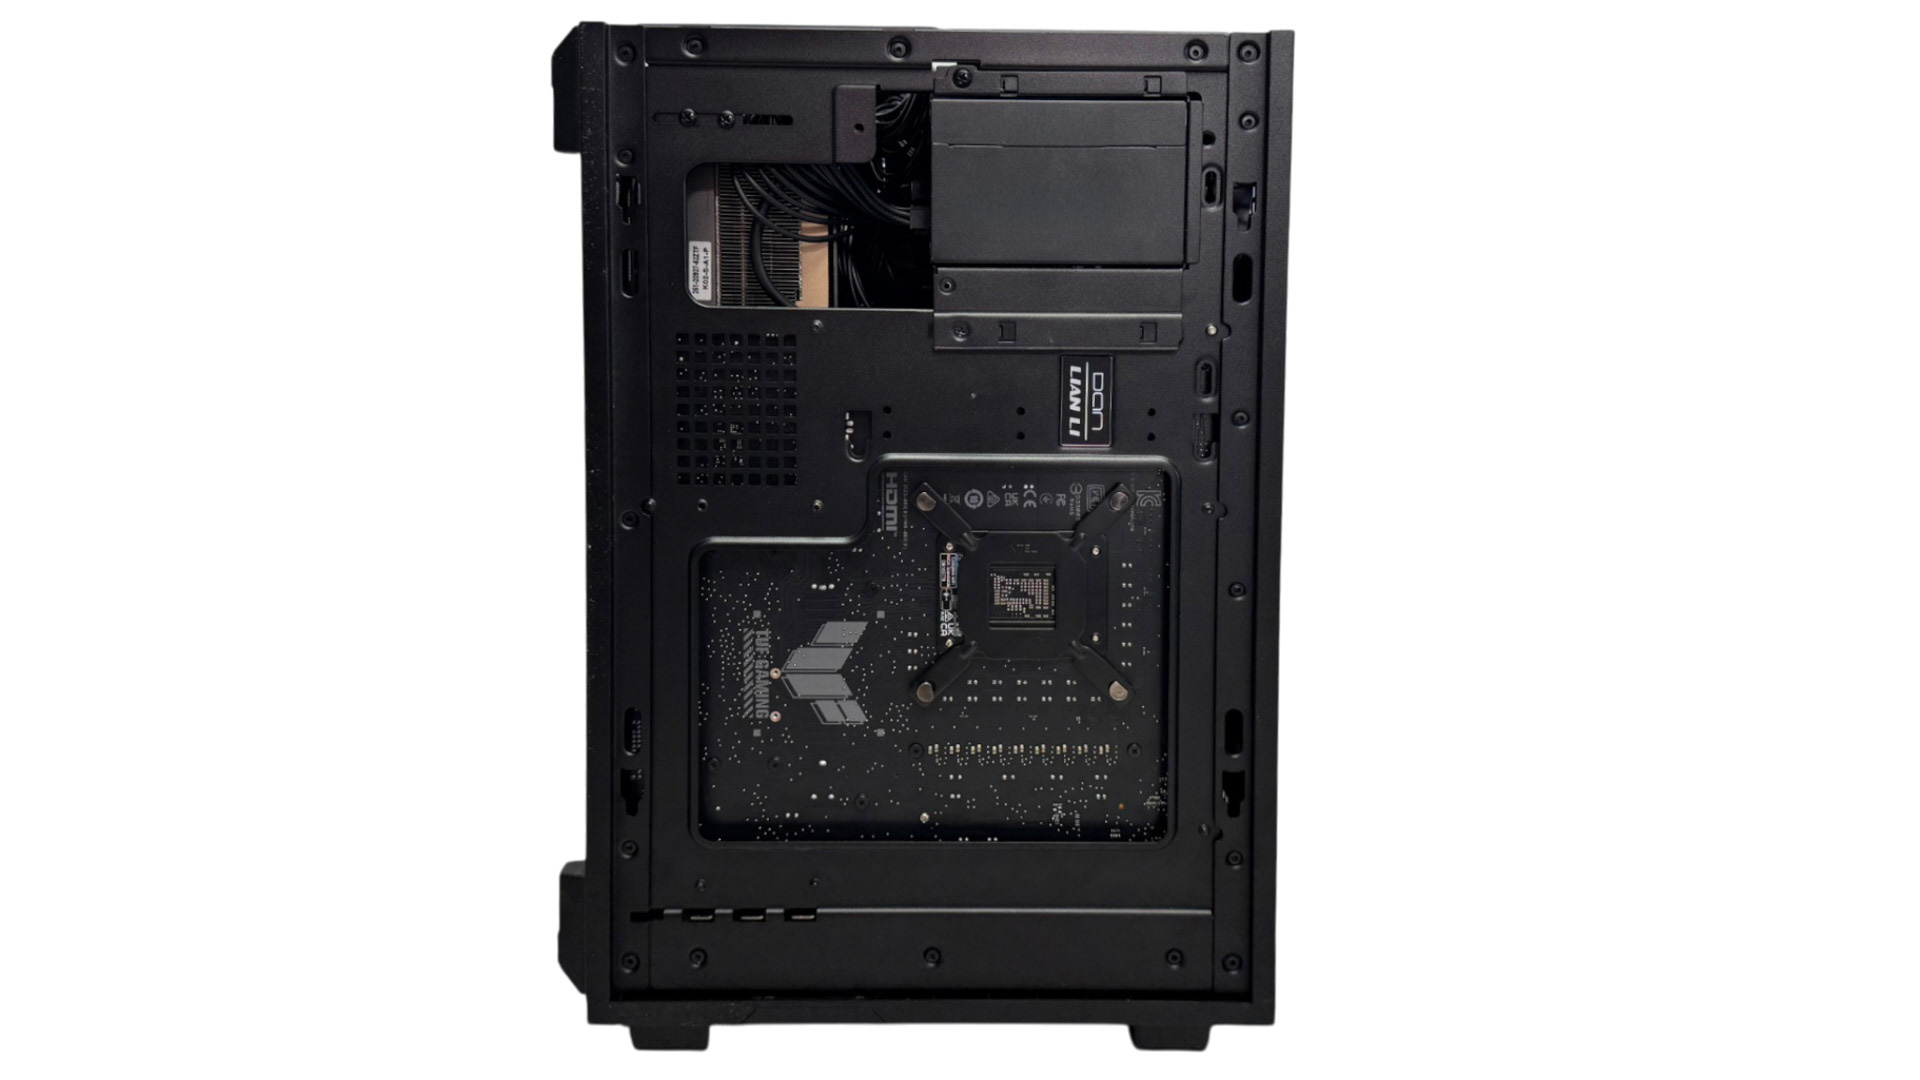
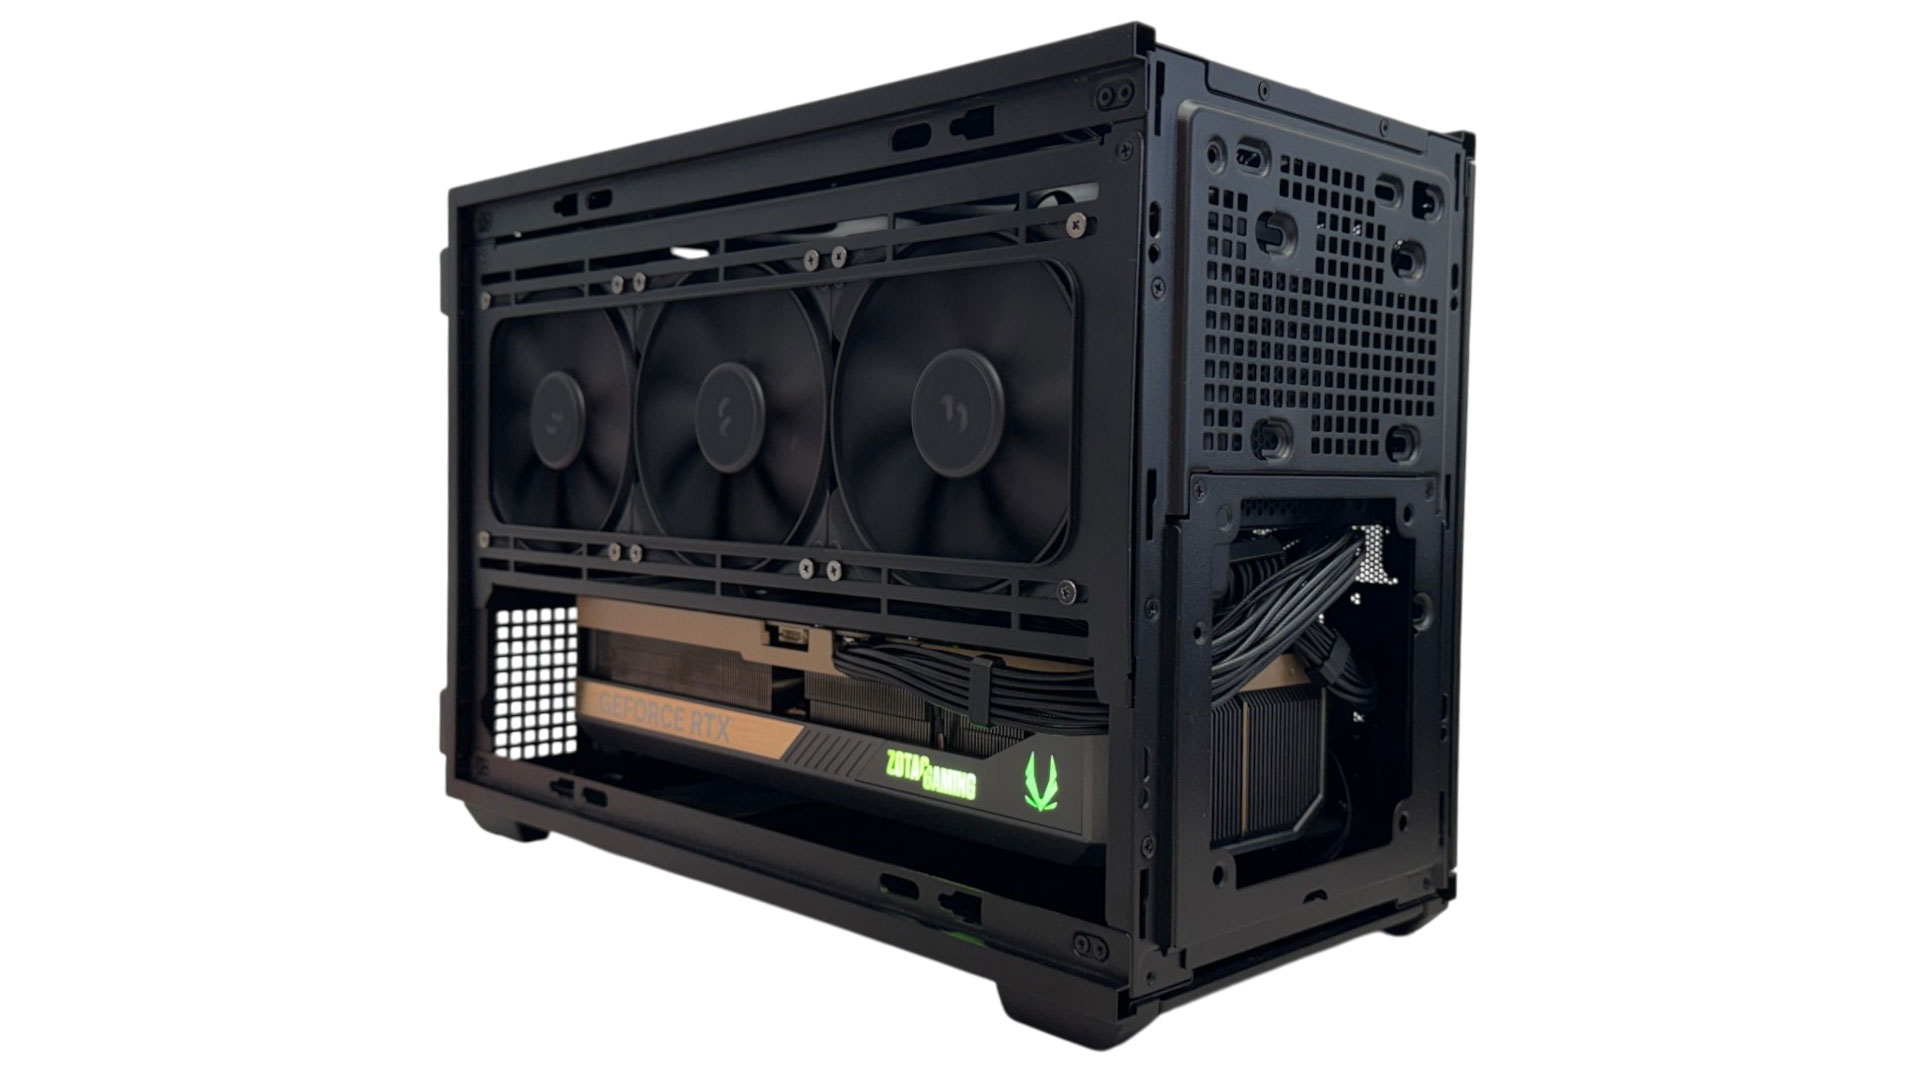
The motherboard installation is simple, but due to the tight confines of the case, it's worth installing items such as the 8-pin CPU connector and I/O headers first as they can be hard to reach afterward. It's also a good idea to route the cable for the CPU connector in the gap behind the fans above the motherboard so it's not at risk of finding its way into the top fans. Due to the various disadvantages of using an ATX PSU here, we'd strongly suggest using an SFX model. Even here, installation can be a little tricky as you need to fix the PSU to the mounting bracket first then thread the PSU through the back of the case before connecting the power extension cable.
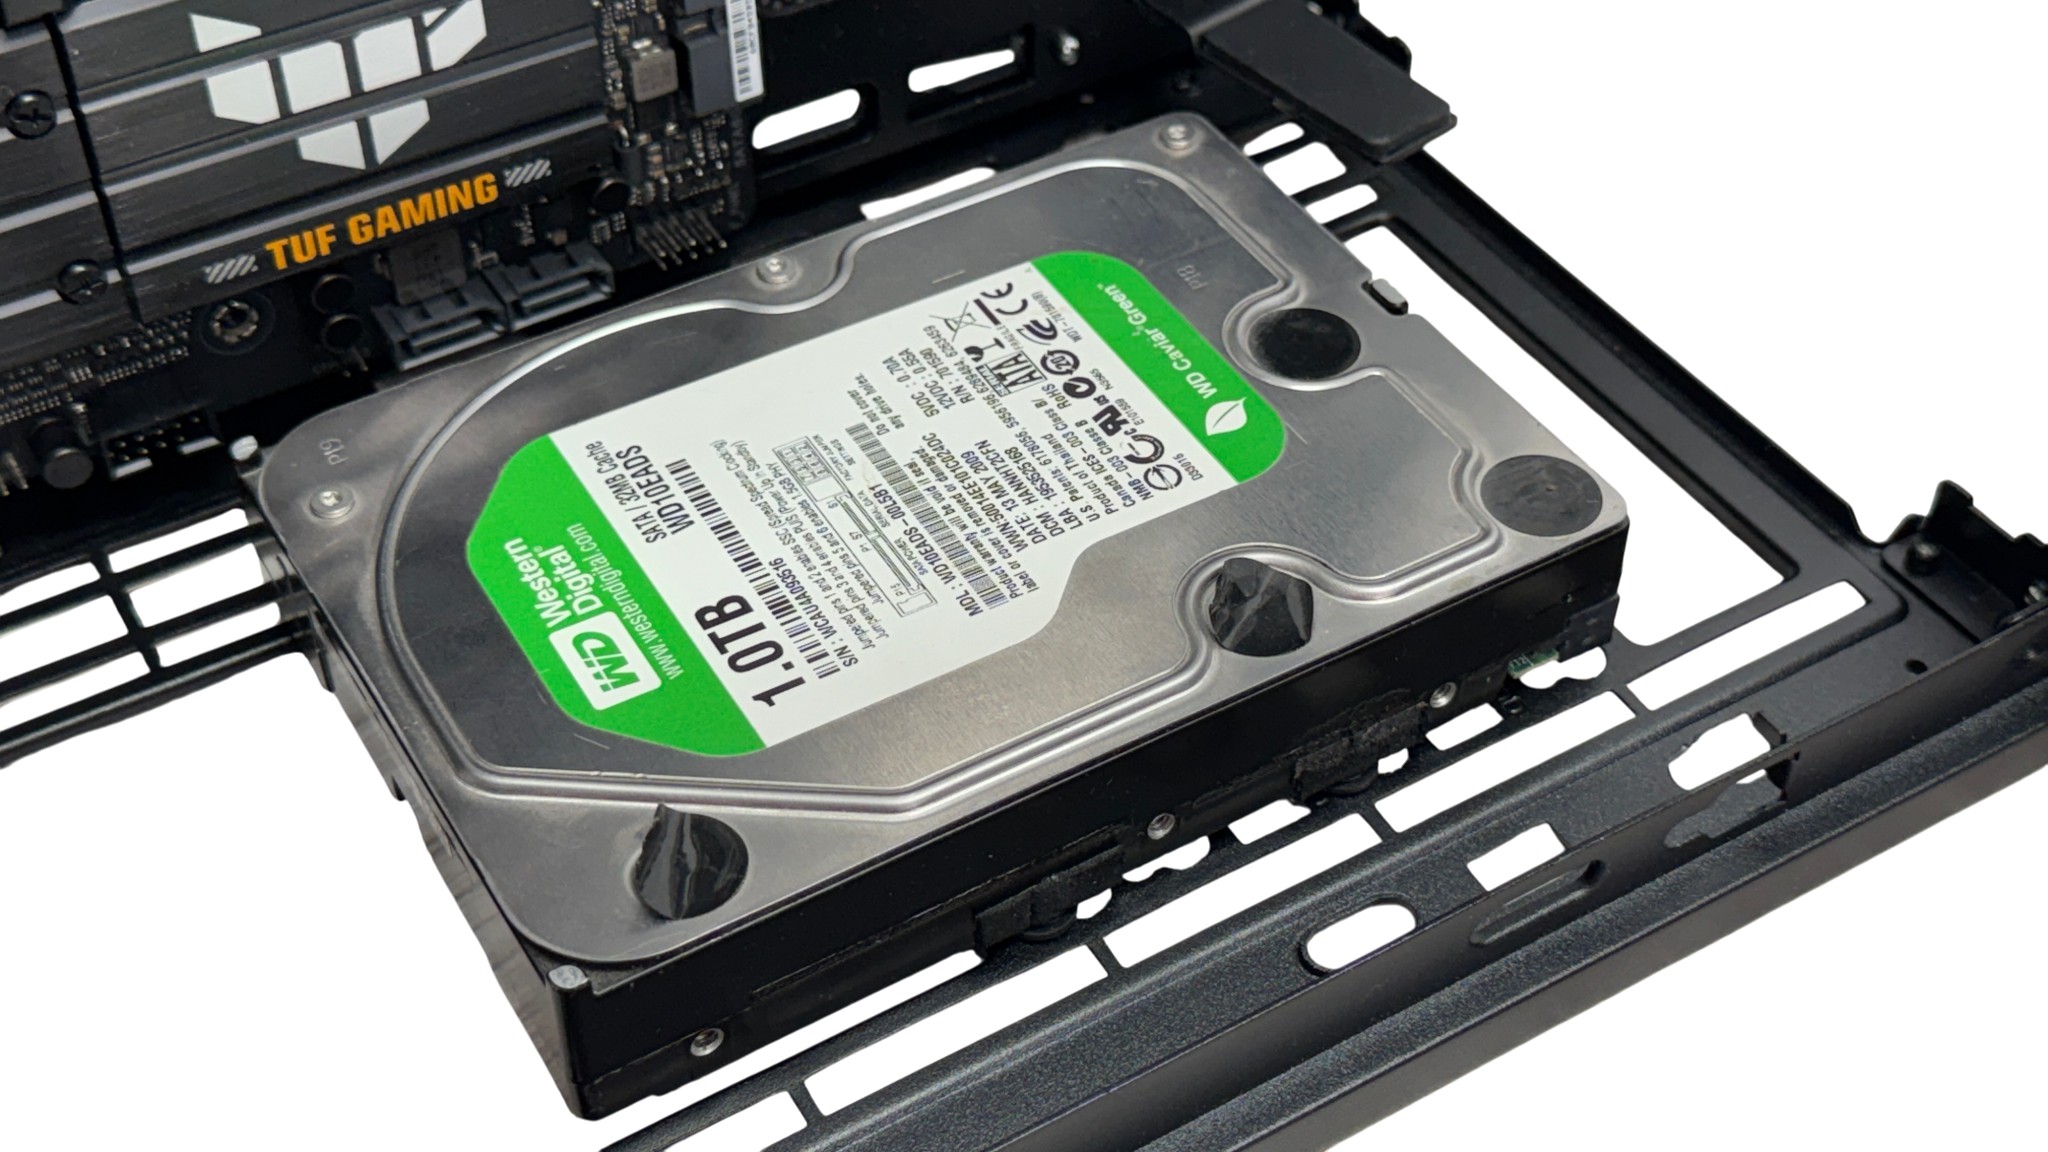
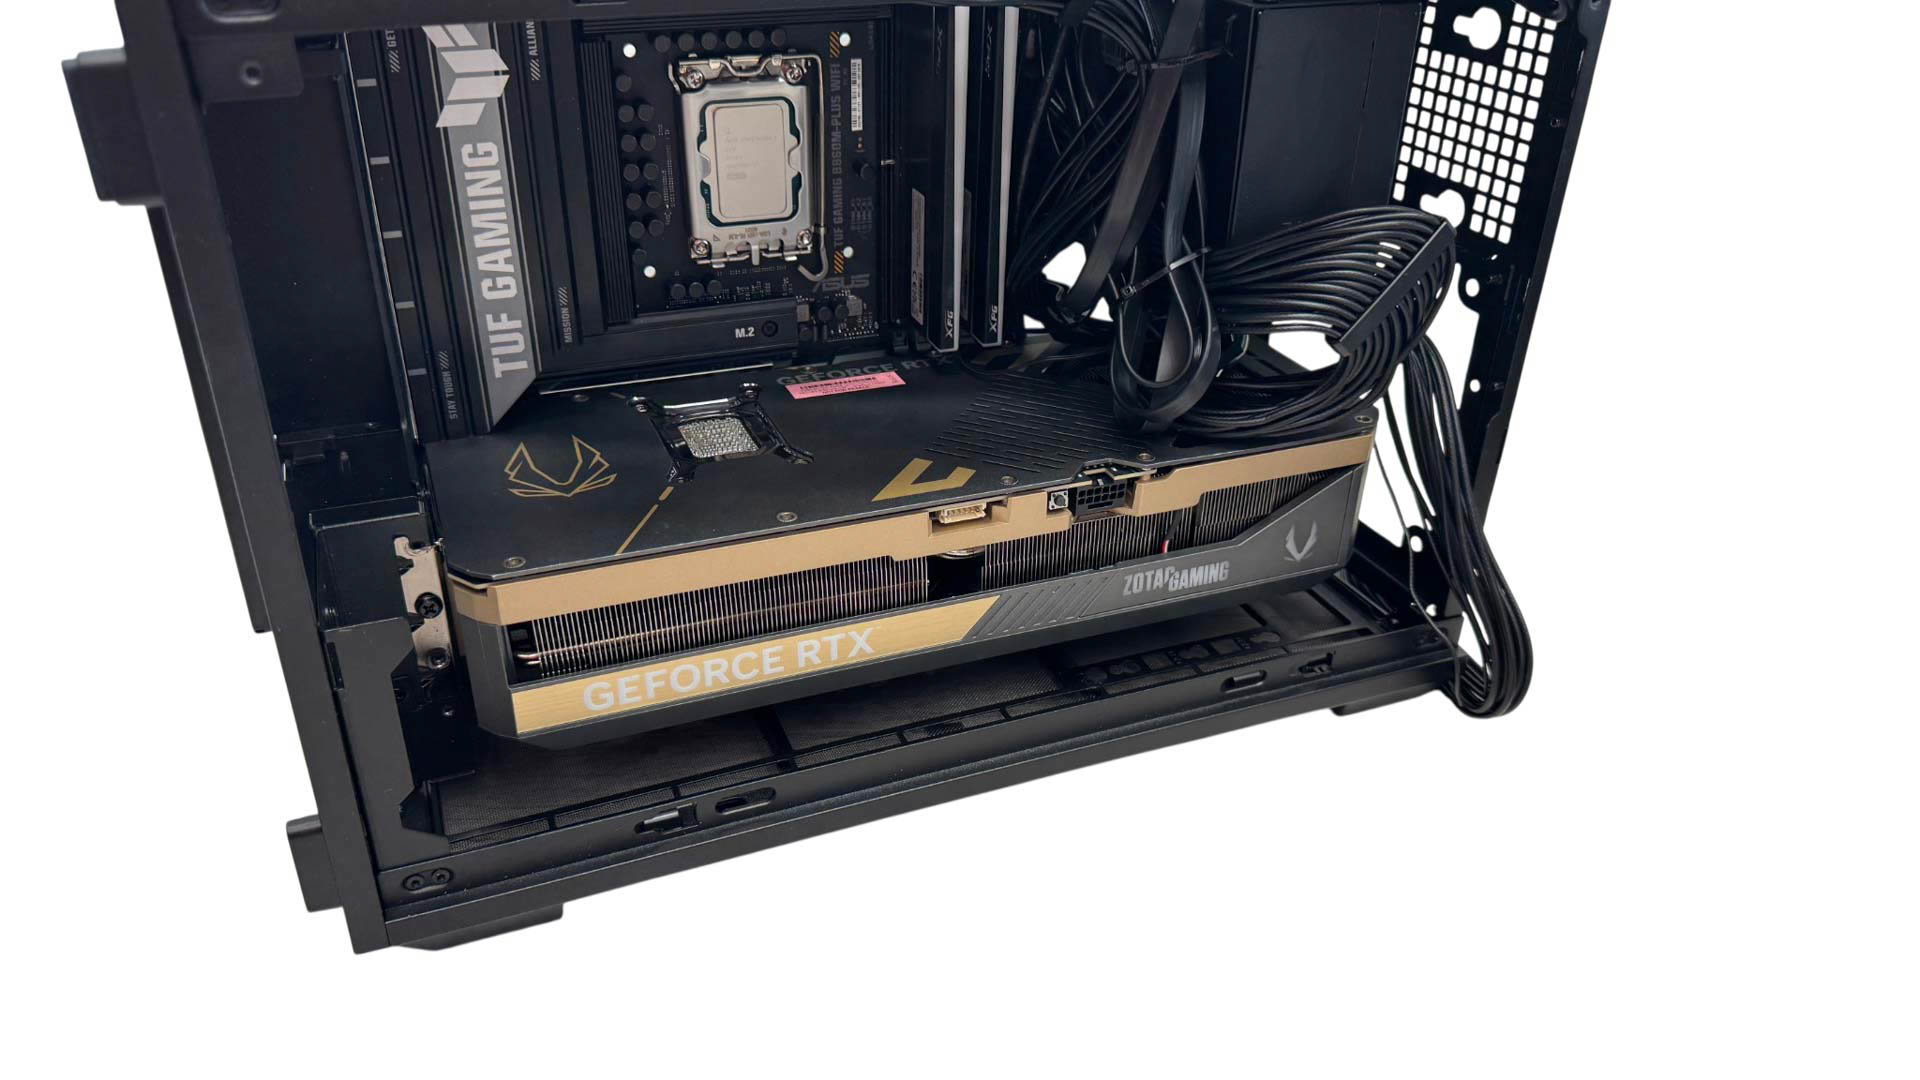
Hard disks and SSDs are installed using screw pins equipped with anti-vibration rubber pads that slot into notches in the case frame. The bottom storage location should be utilized before installing the graphics card as this will be difficult or impossible with the GPU installed first, depending on how deep it is. Larger models are certainly a squeeze, but our 3.5 slot 330 mm-long ZOTAC GAMING GeForce RTX 5070 Ti SOLID fitted with room to spare.
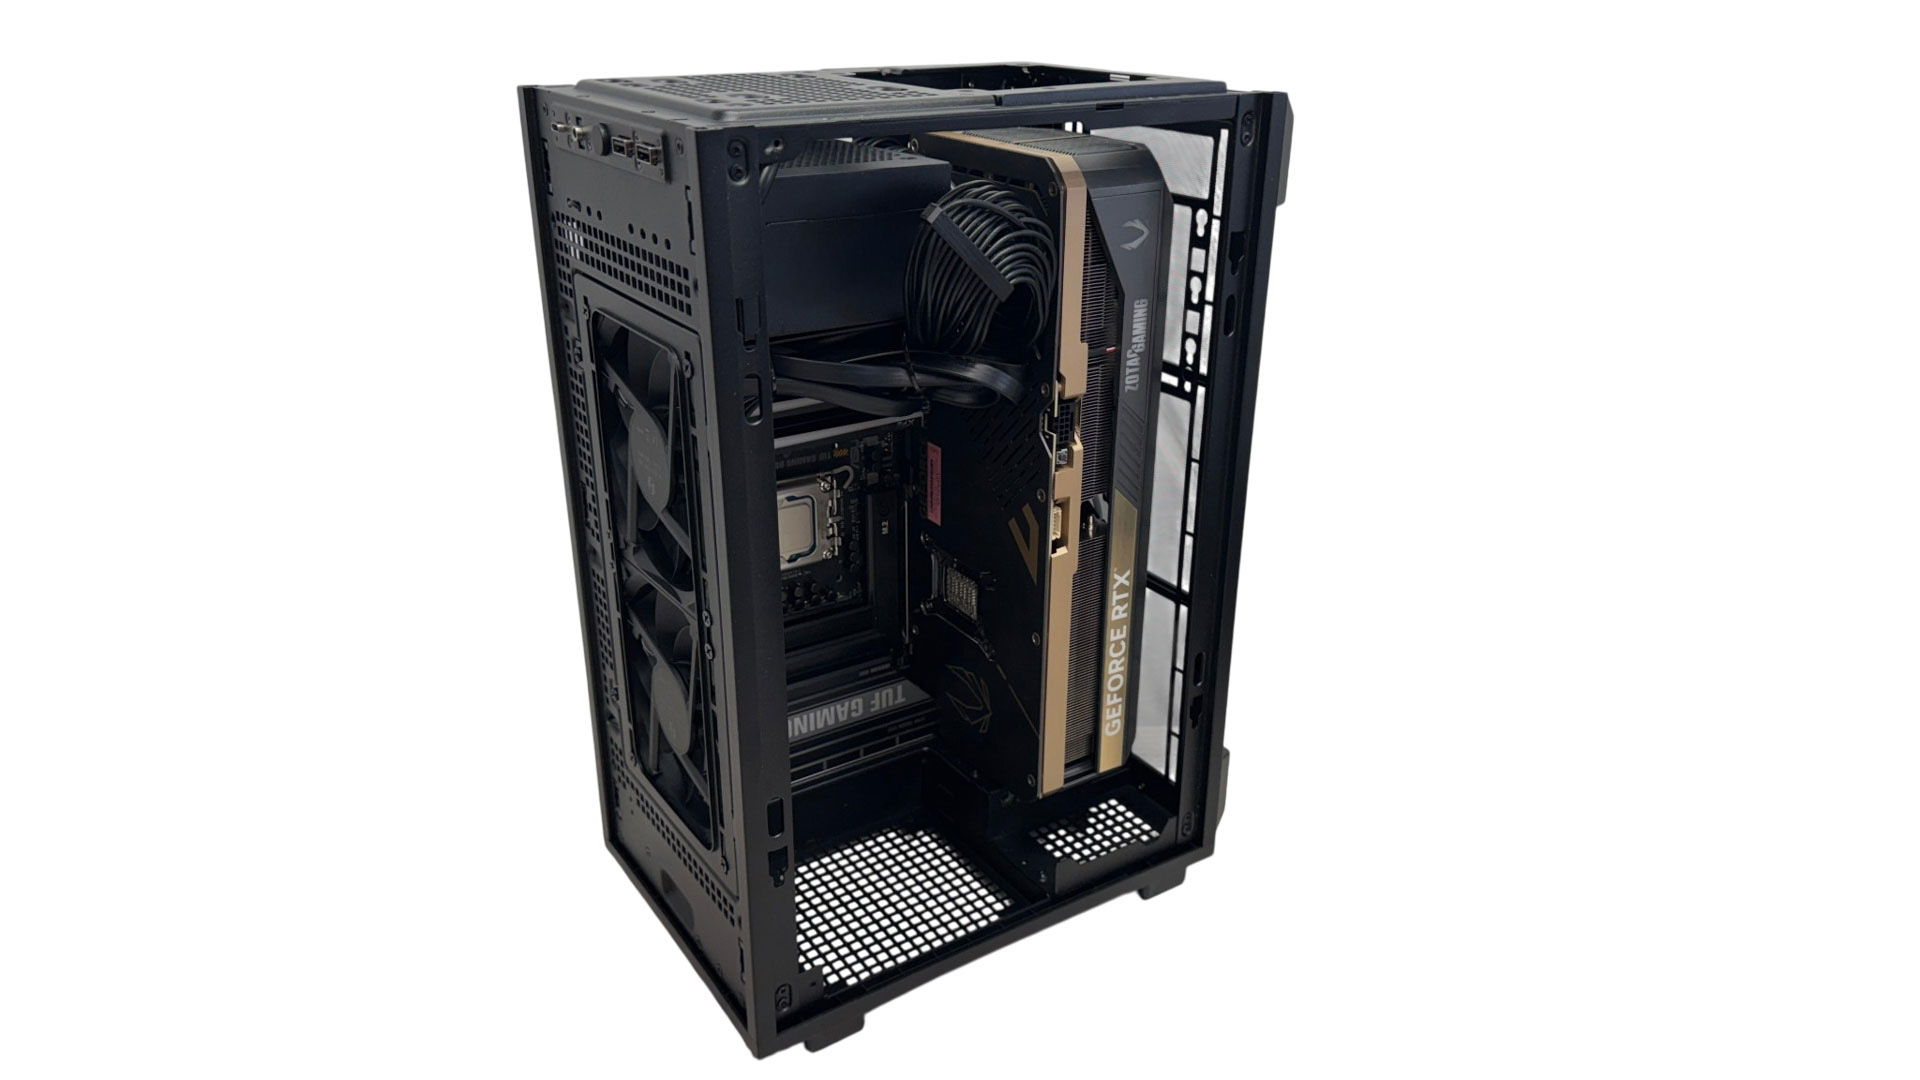
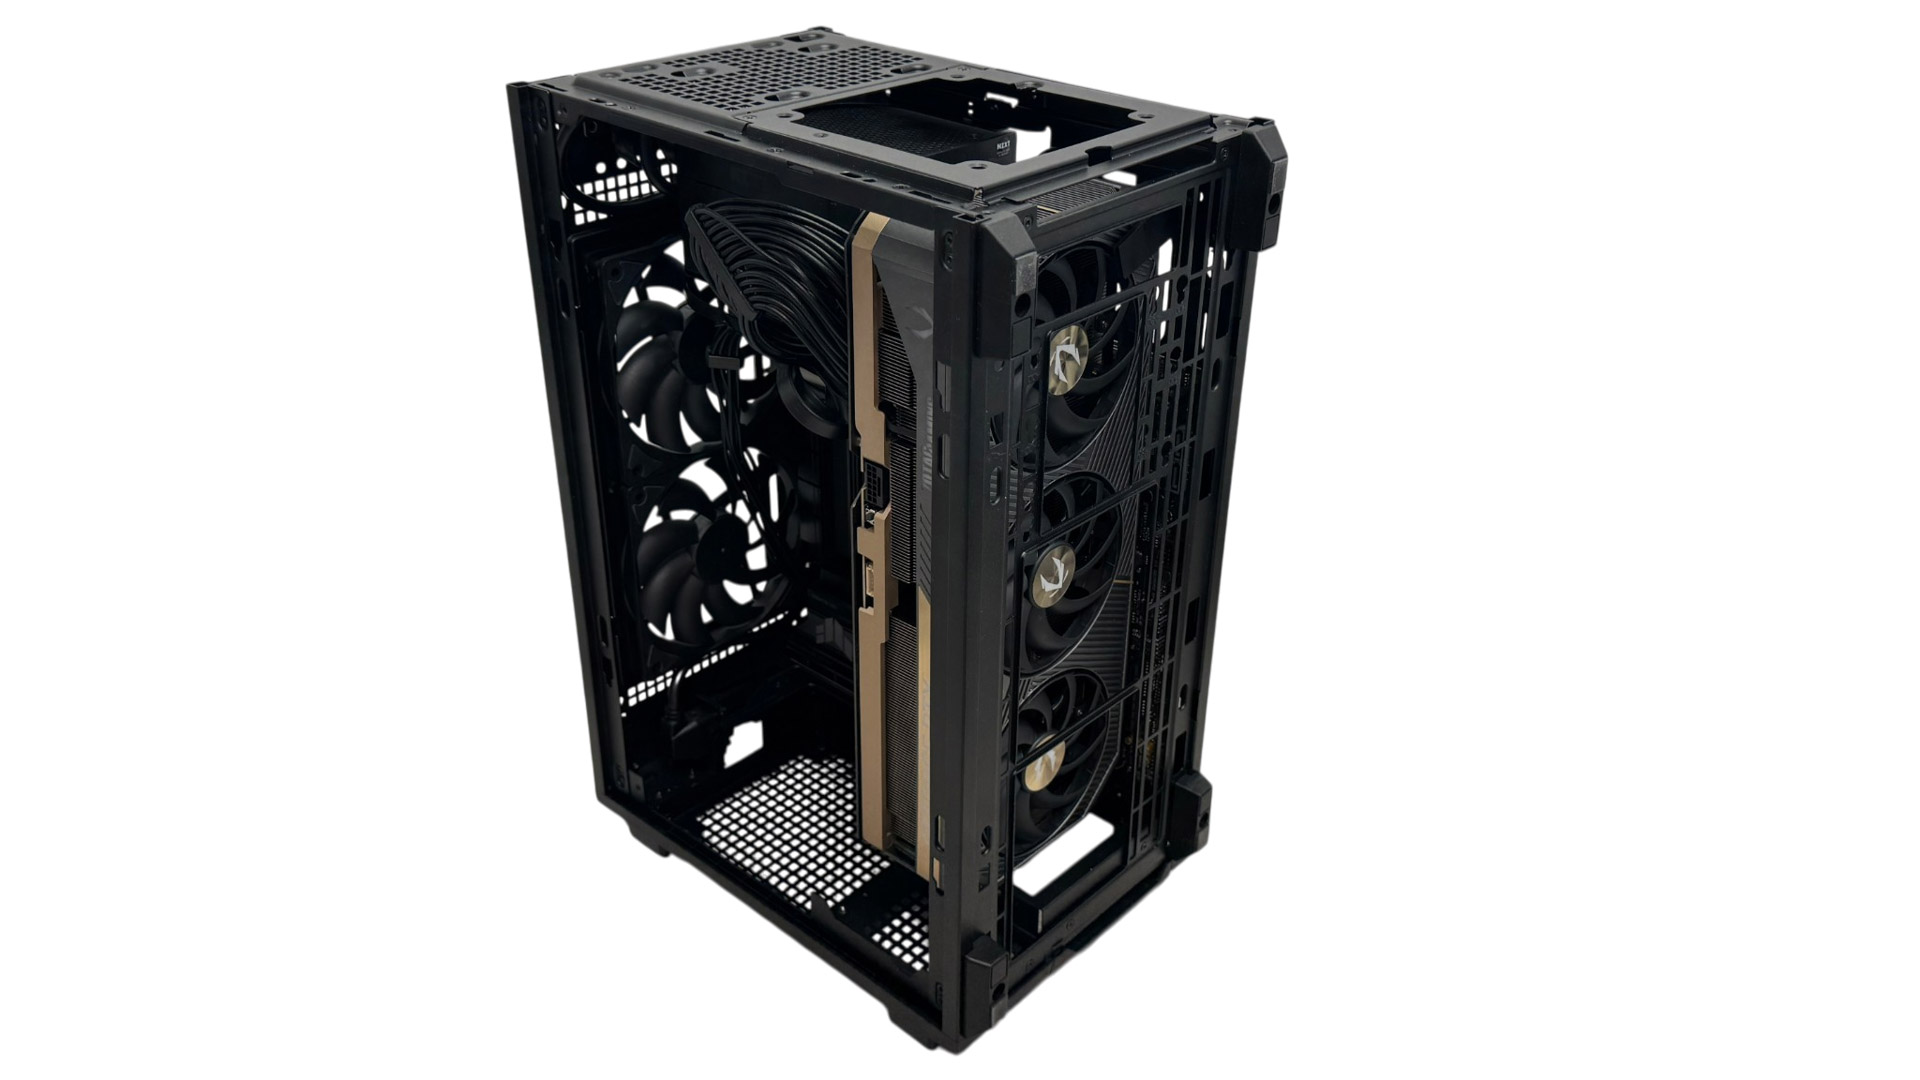
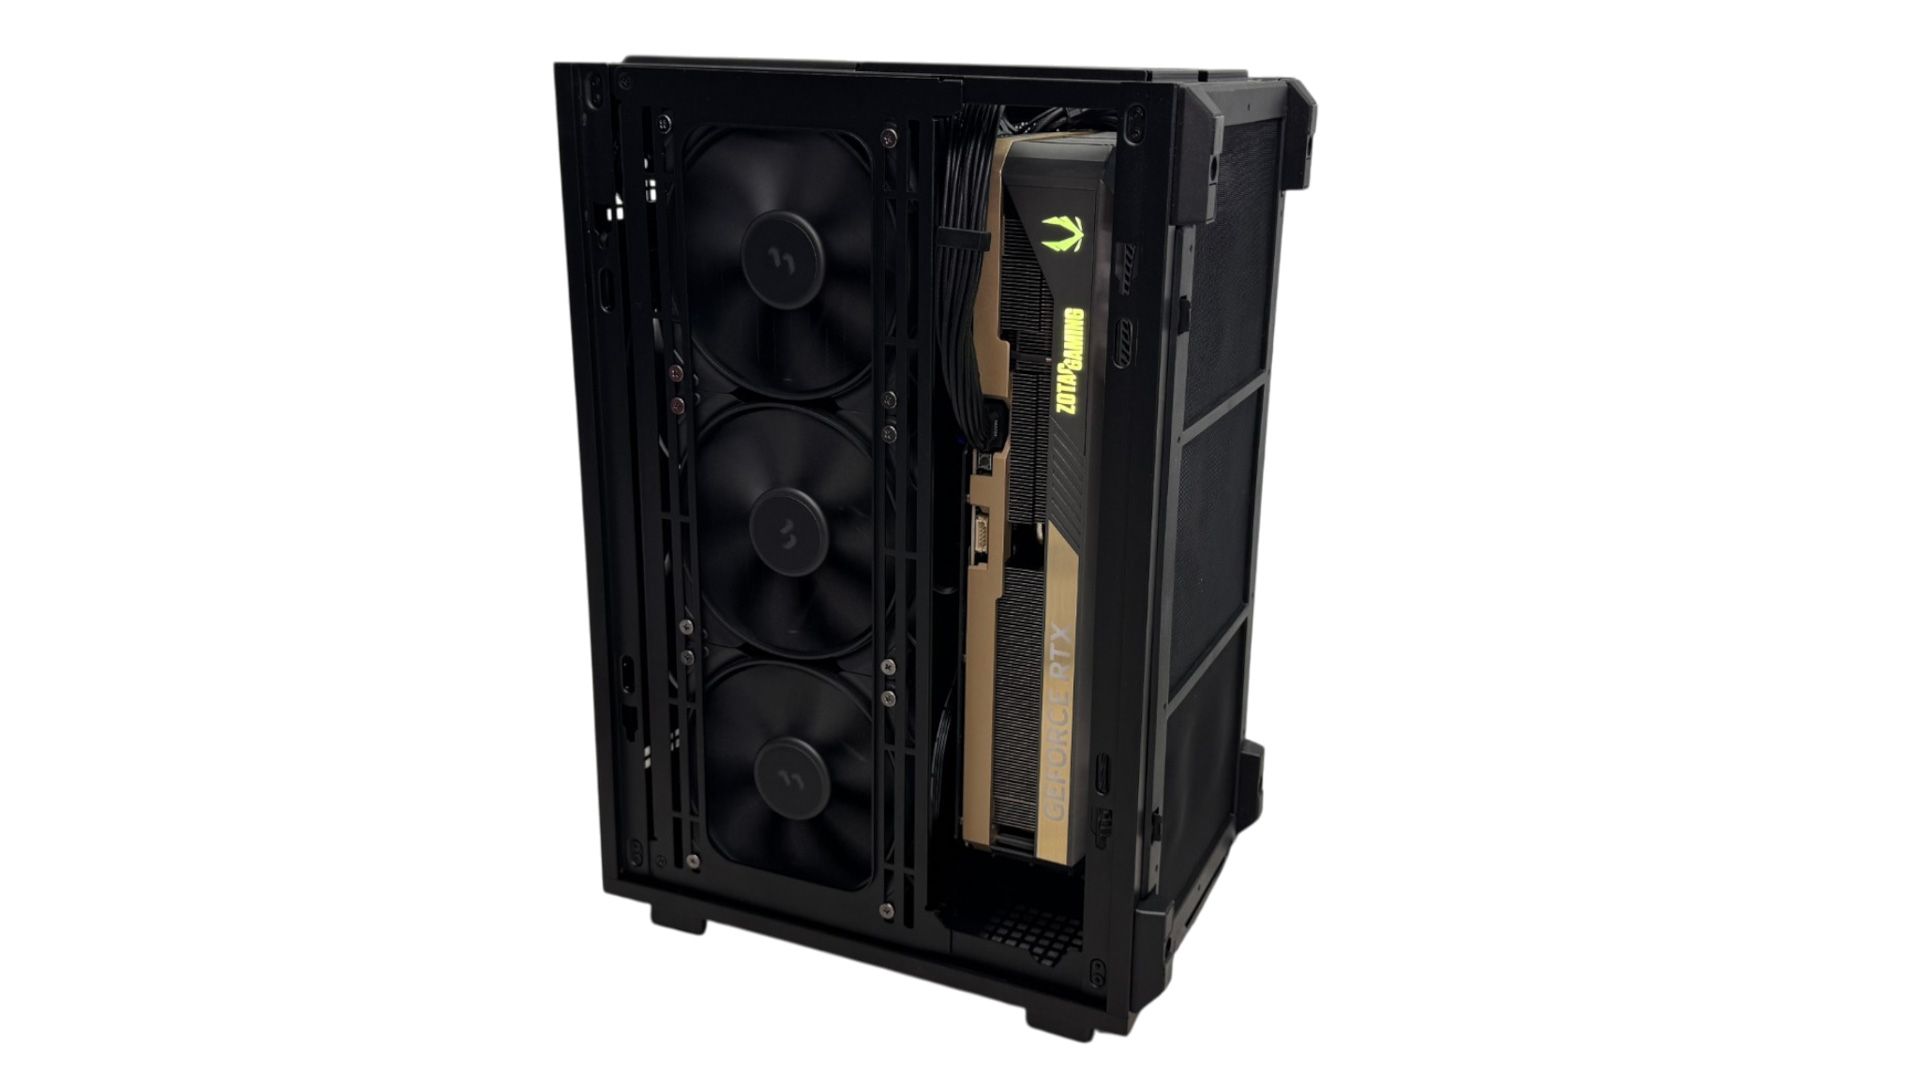
Vertical mode really does allow the case to take on a whole new role visually, and with the panels removed, the potential benefits of additional fans can be best seen here, with the potential for slim fans in front of the GPU, another above it if you use an SFX PSU and a full size fan in the reversible rear bracket, which in vertical mode now sits at the bottom of the case.
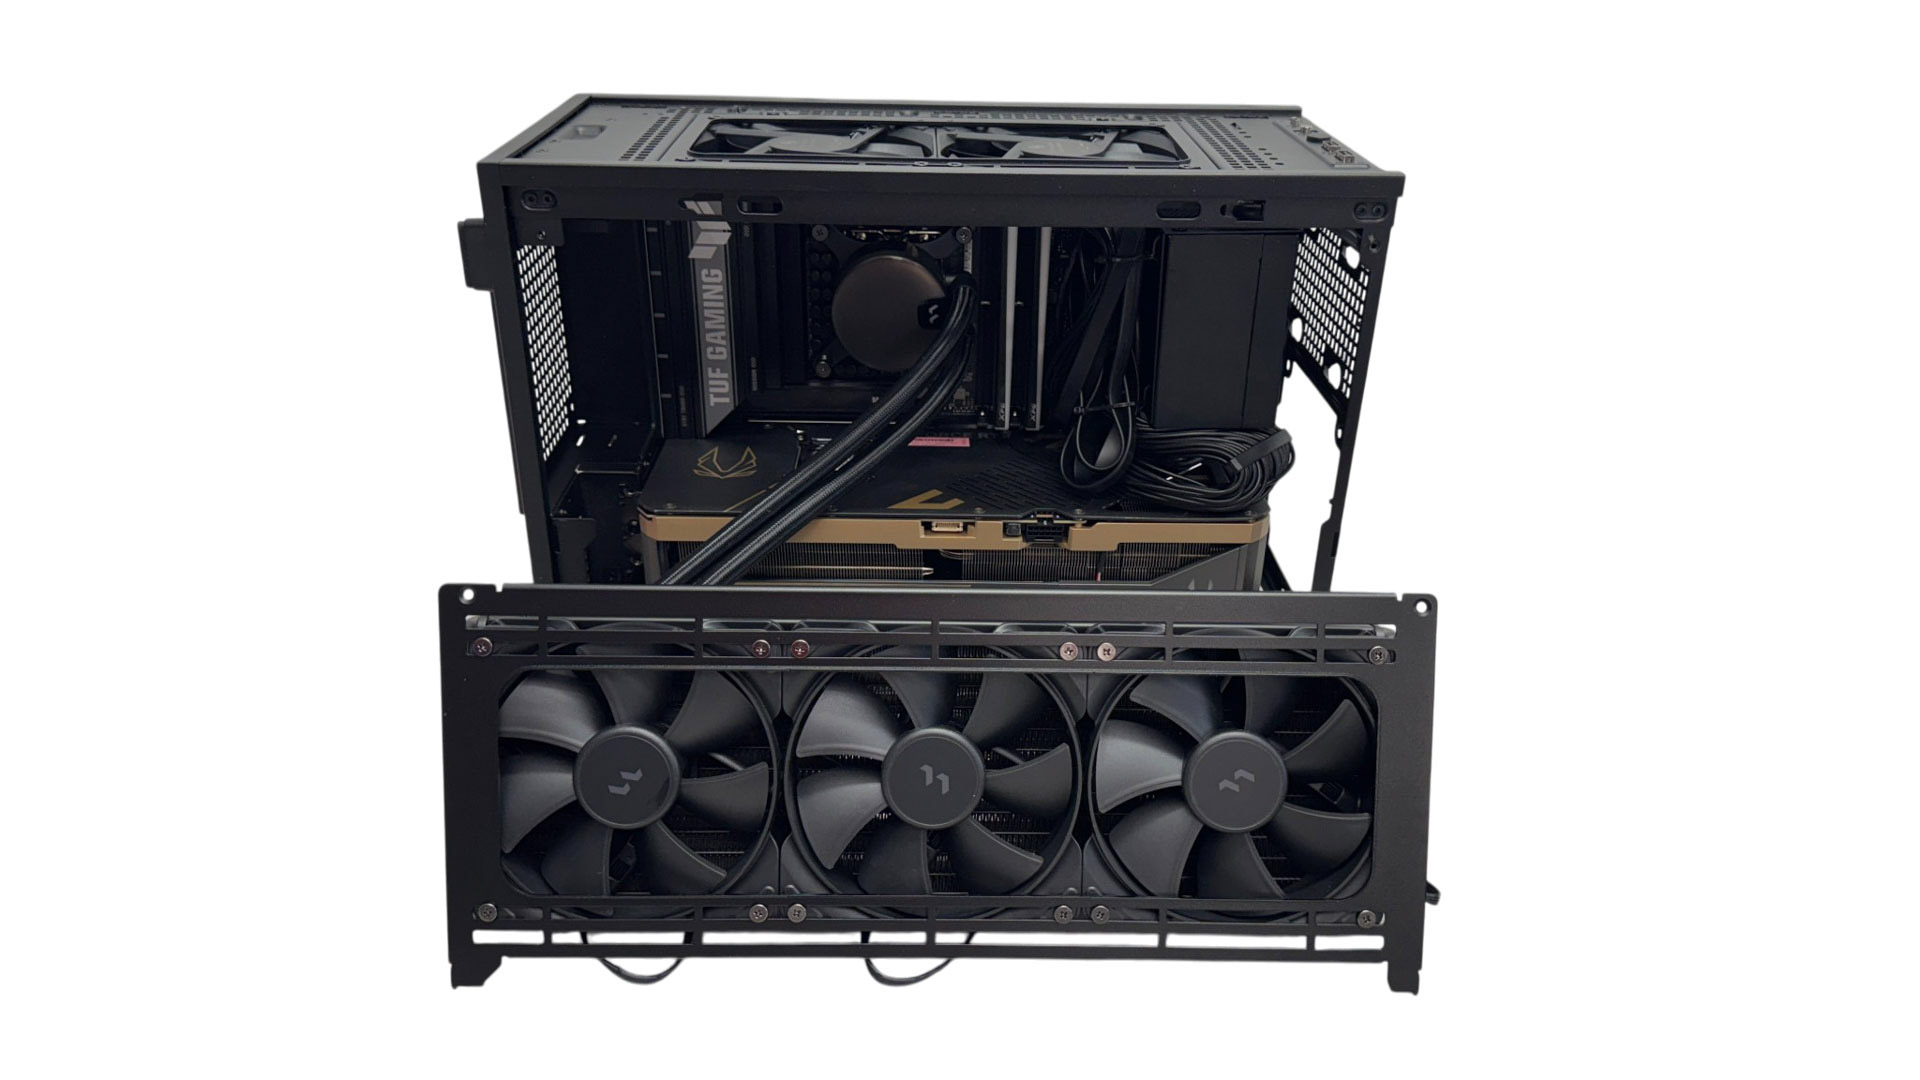
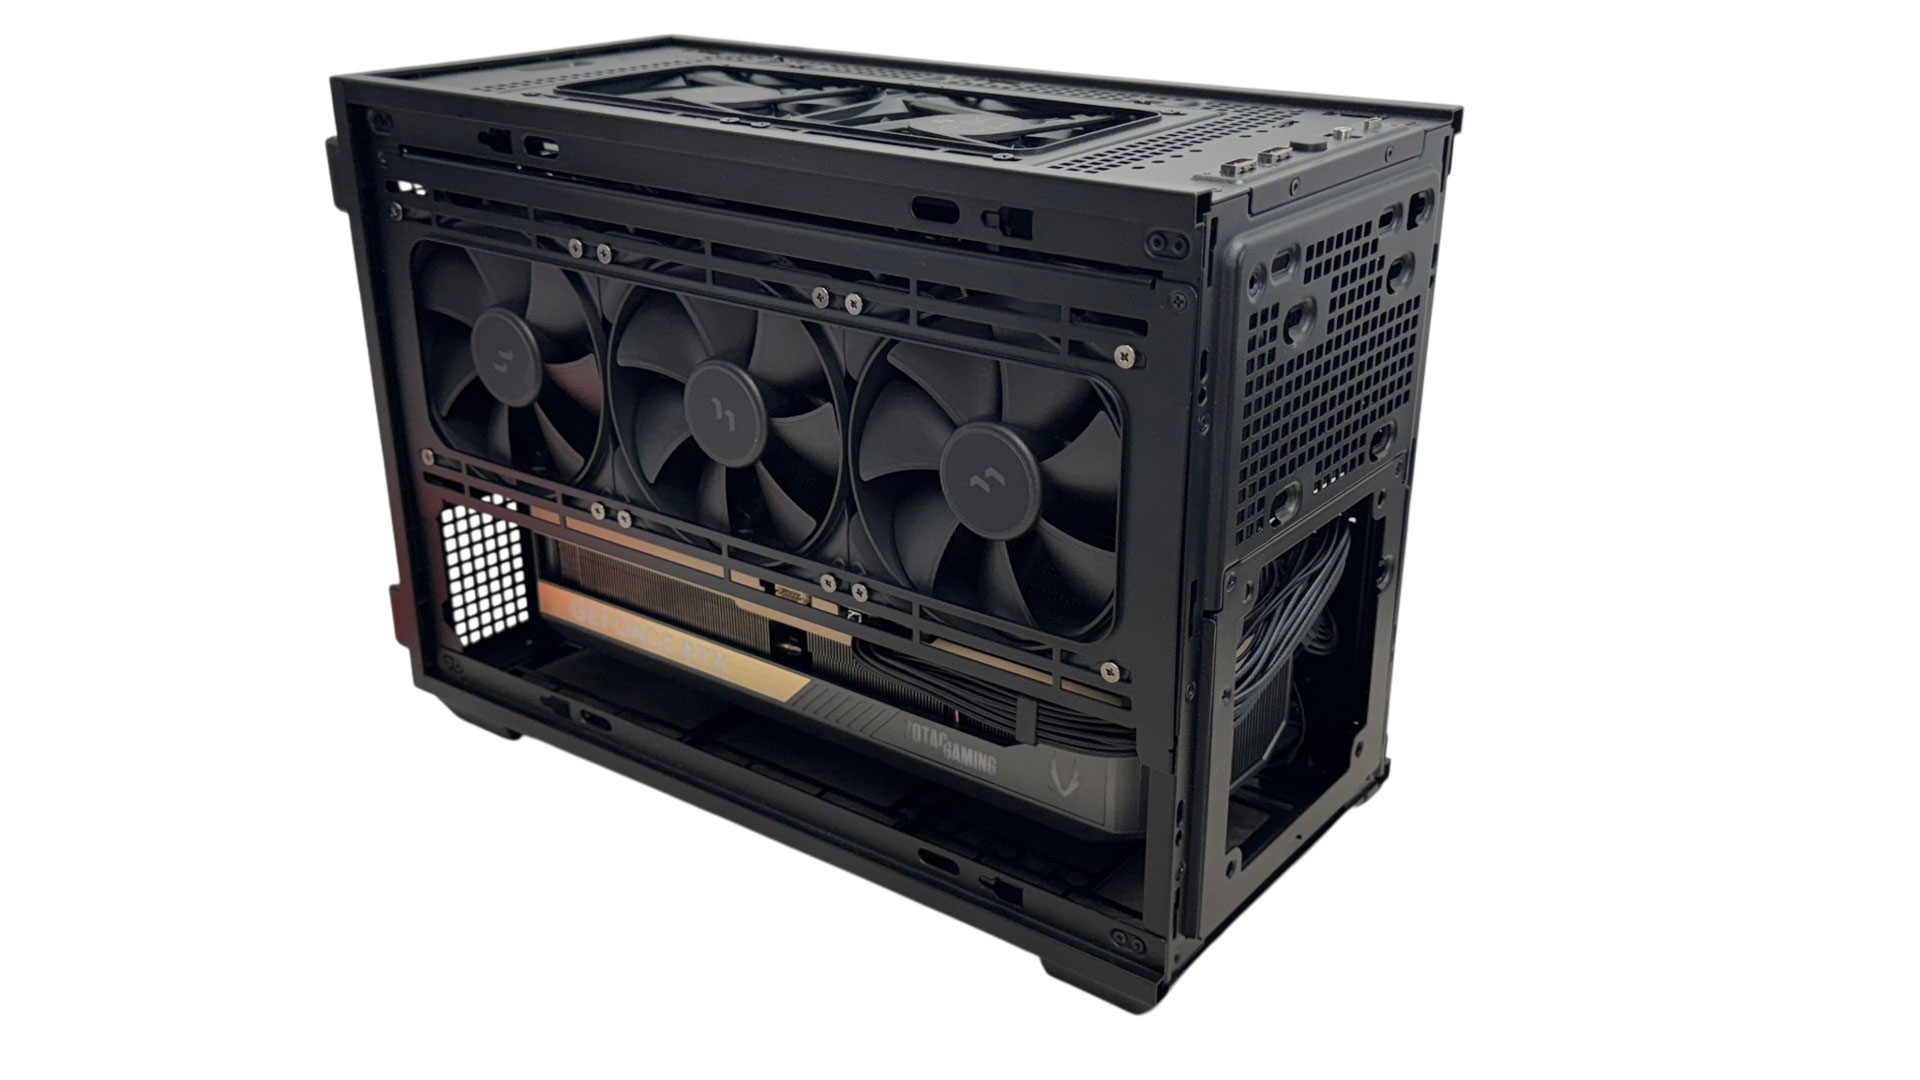
Needless to say, installing the radiator and fans to the side fan bracket prior to installing it is essential and can be a little fiddly as the fans and radiator are loose till you secure everything. This is best done on a flat surface to prevent the fans or radiator falling out of alignment while you screw them in place. The easiest route for tubing on AIO liquid coolers is to have the pump inlet and outlet facing towards the memory modules. This allows the tubing to bend down and around back towards the rear of the case, here in horizontal mode again.
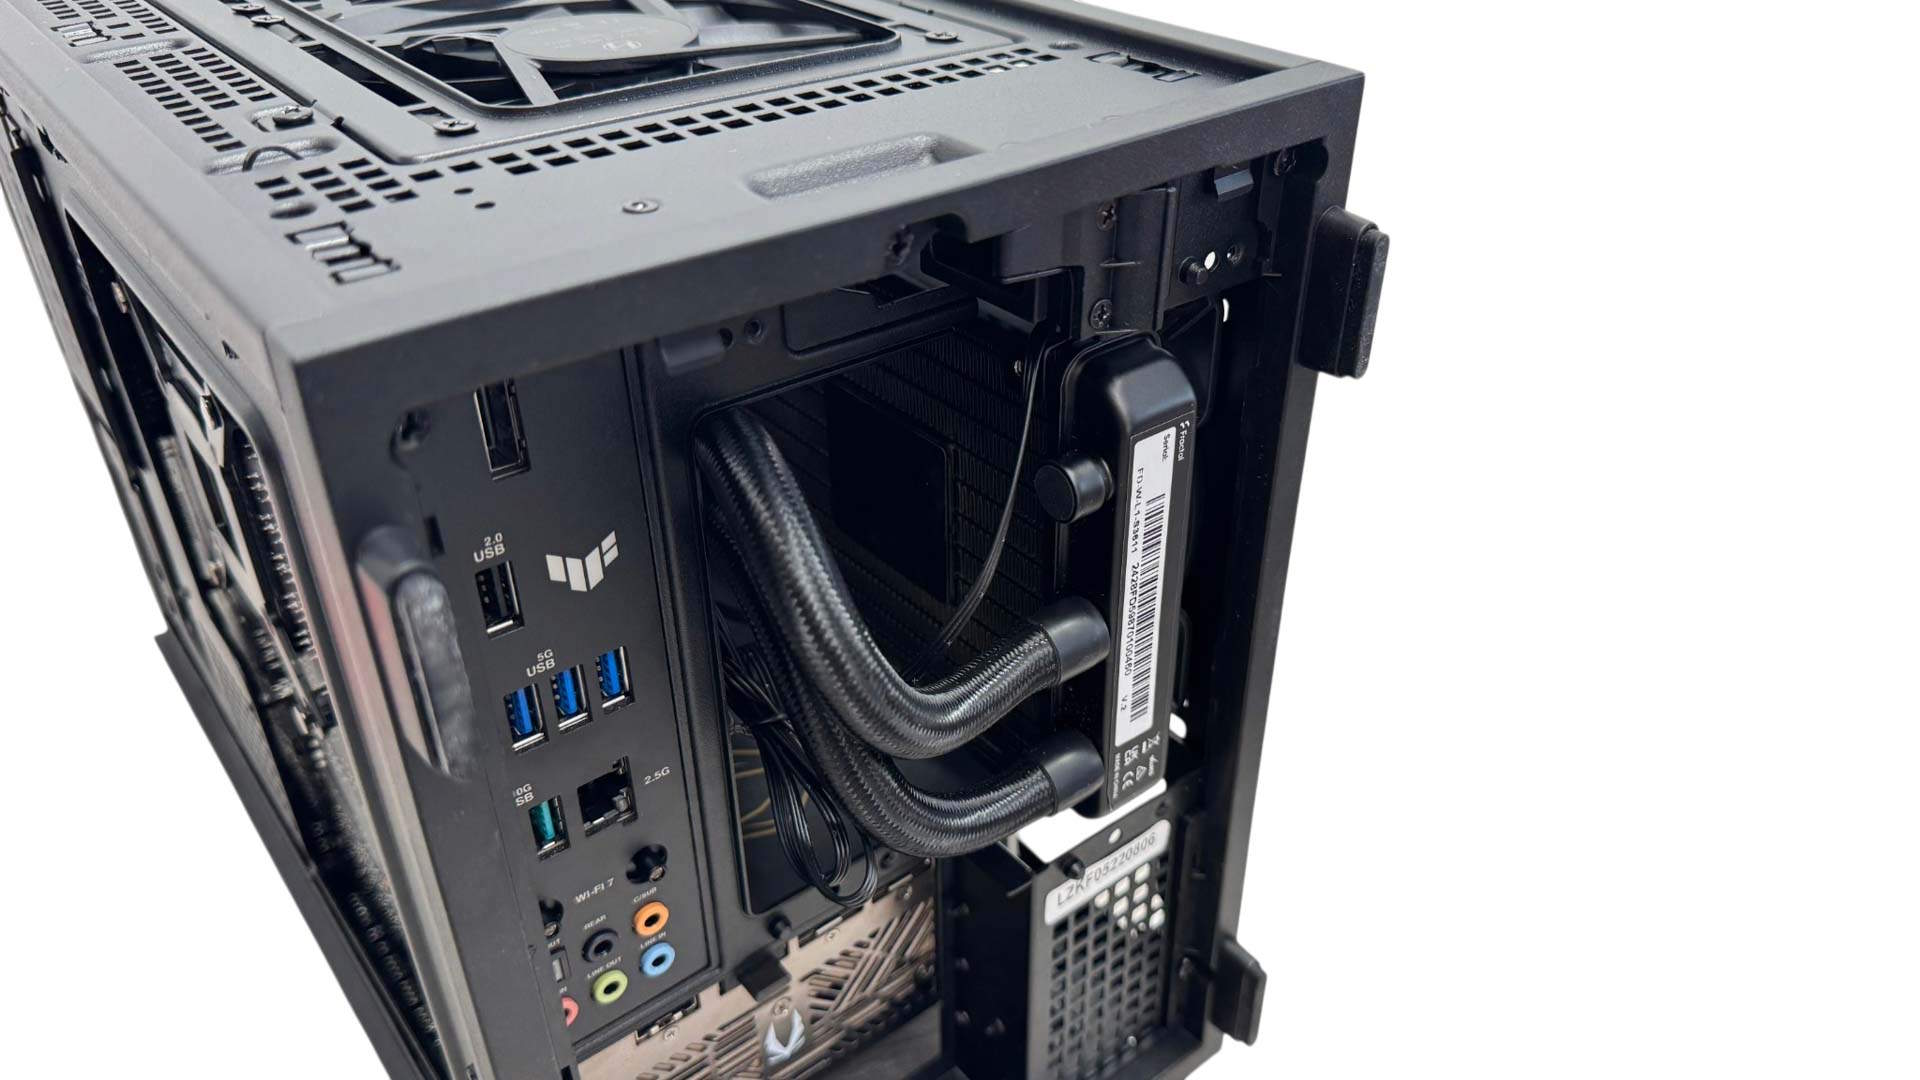
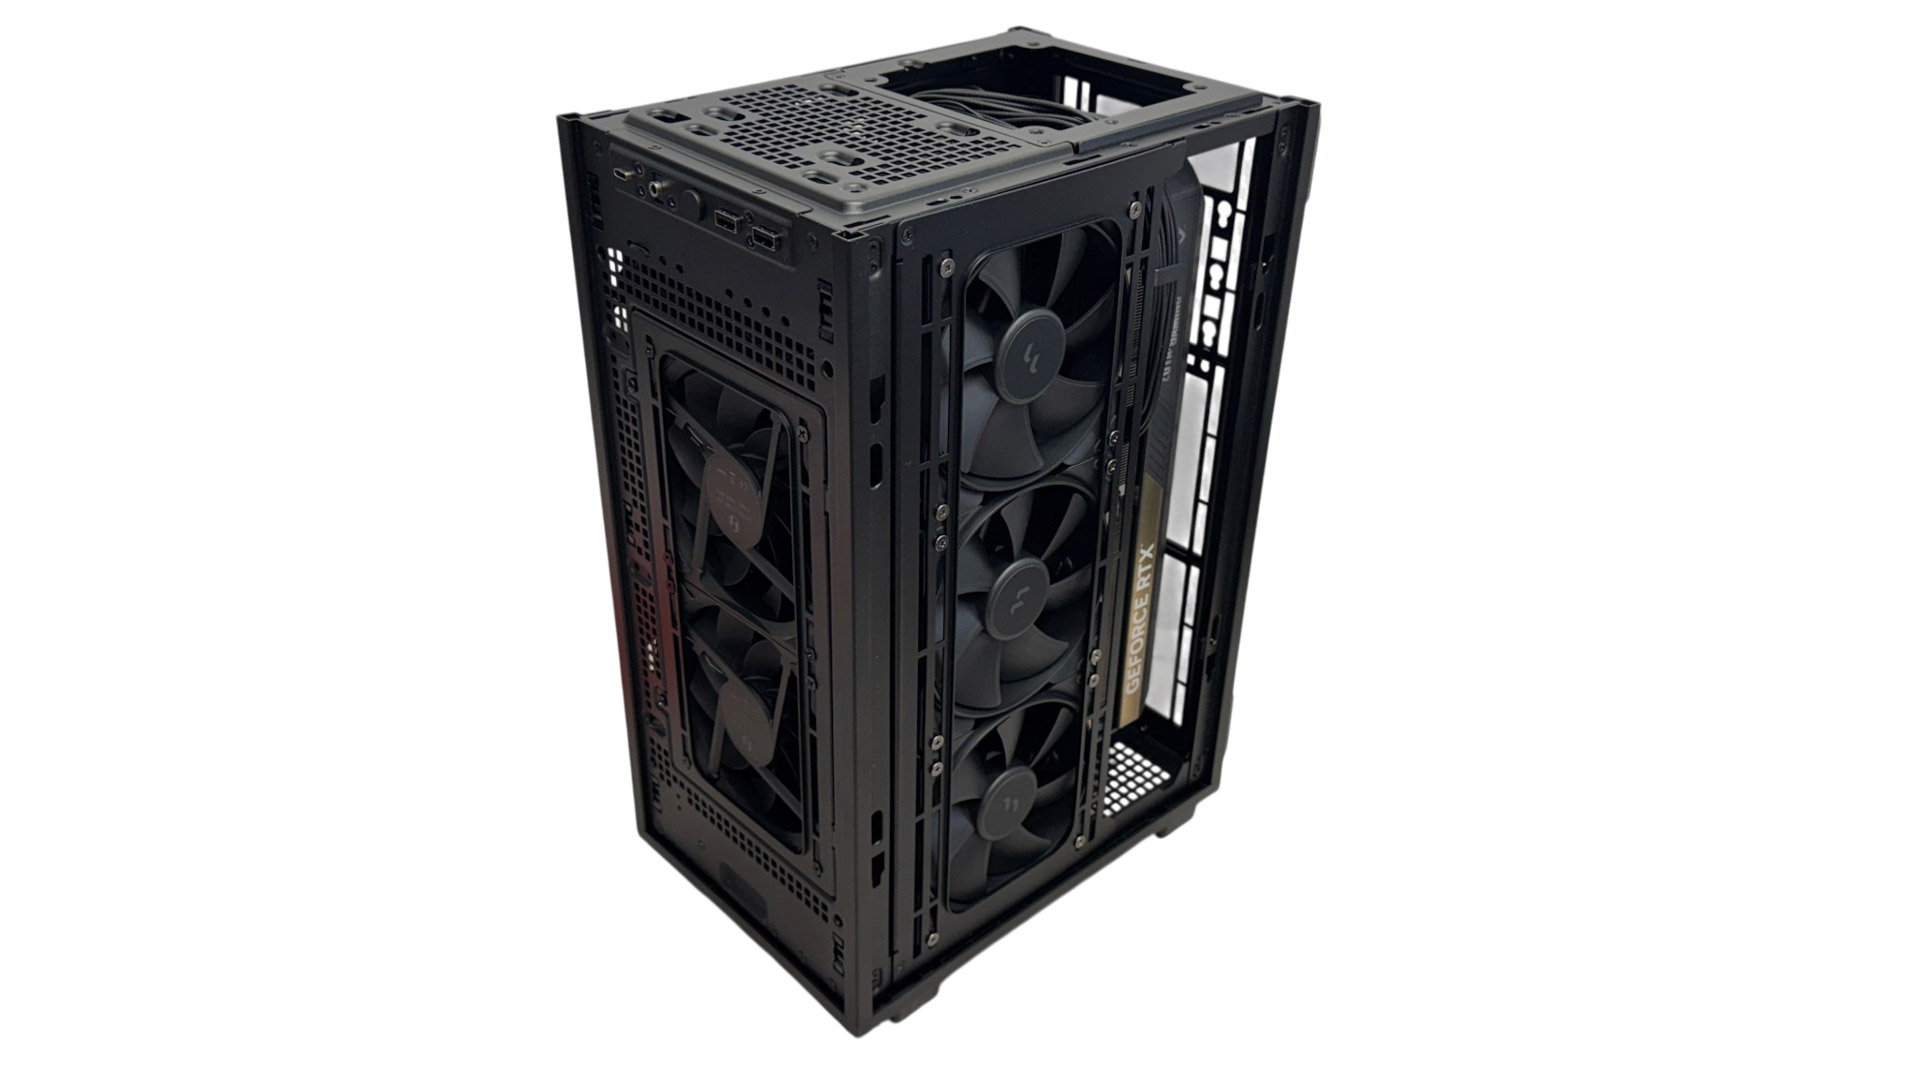
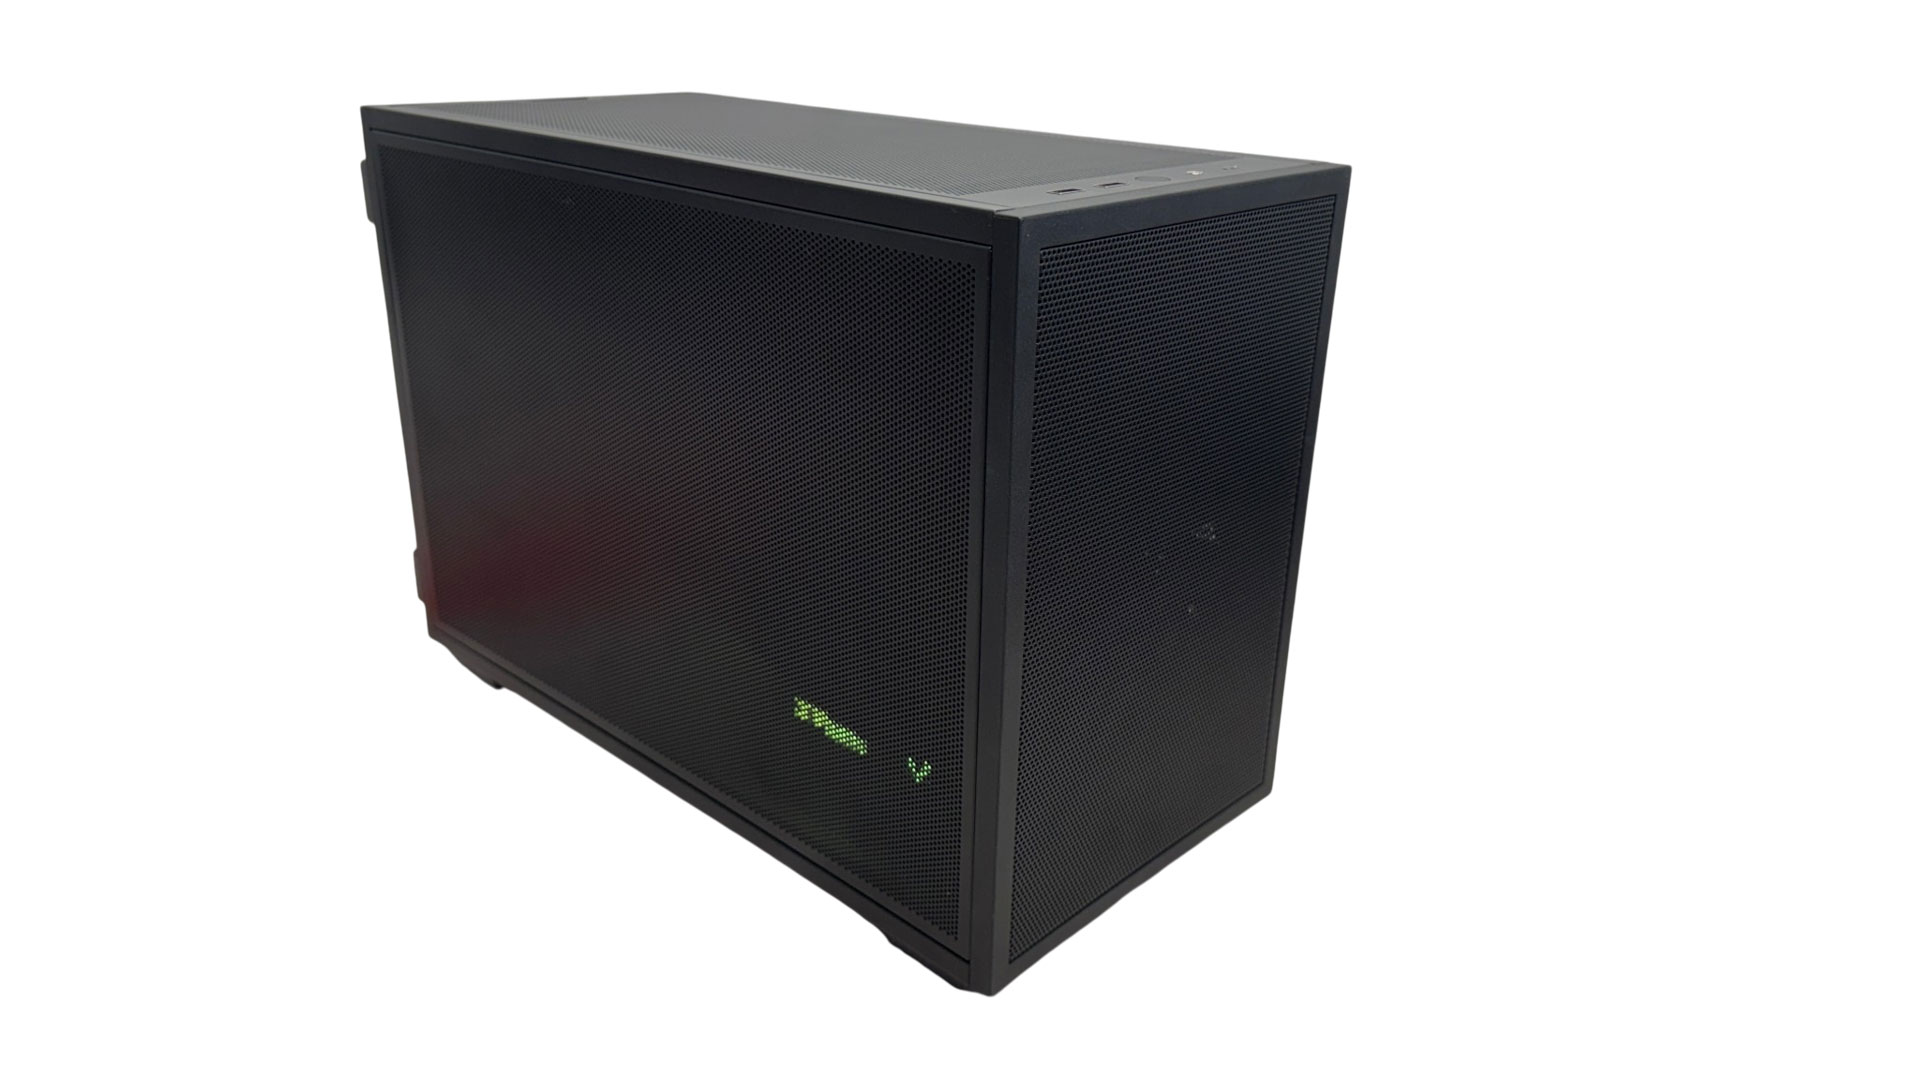
Above is a great example of why the rear fan shroud is needed as we can clearly see the radiator protruding out the back of the case with the shroud removed. Were this area flush with the motherboard rear I/O panel as usual, the case would be limited to smaller radiators. With the AIO liquid cooler installed, but the case in vertical mode, the cooling arrangement is much the same except it's now fully horizontal in direction with no roof vent. If we were to add fans with the case in vertical mode, we'd start with a slim fan in the roof. As we can see below, with all the panels installed, any RGB lighting is almost completely hidden with only the GPU able to shine through a little and the ram completely obscured so in a few shots we've removed some of the panels to avoid staring at a black box.
Finished Looks
Nov 20th, 2026 12:25 PST
change timezone
Latest GPU Drivers
New Forum Posts
- Honestly, do you care about GTA VI? (197)
- Zen 3 IF/IMC degradation (239)
- Anthrophics IPO (17)
- The Final Upgrade for Legacy AiO's (10)
- Very unusual two gaming-pc scenarios. (34)
- How to prevent OLED burn damage due to PC freezes or power outtages? (46)
- GeekMagic Ultra Smart WiFi Weather Station (6)
- Can i play GTA 6 now? (Joke) (10)
- Last game you purchased? (1410)
- TechPowerUp Screenshot Thread (MASSIVE 56K WARNING) (4387)
Popular Reviews
- AMD Zen 6 Technical Deep Dive
- Ugreen NASync DXP4800 GT Review
- Corsair RM1200e (Second Generation) Review
- Microsoft Surface Laptop Ultra Review - The Next-gen Arm Laptop
- Acemagic Retro X3 Review
- Upcoming Hardware Launches 2027 (Updated Nov 2026)
- Pulsar Office Tour & First Look at P1 Dual-Sensor Mouse
- Biwin Black Opal NV7400 2 TB Review
- AMD Ryzen 7 9800X3D Memory Performance Scaling
- AMD Ryzen 7 9800X3D Review - The Best Gaming Processor
TPU on YouTube
Controversial News Posts
- NVIDIA Co-Founder and CEO Jensen Huang Officially Resigns (490)
- Report: Jensen Huang Eyes NVIDIA Comeback (253)
- Open Letter Asking NVIDIA to Reinstate Jensen Huang Passes 115,000 Signatures (184)
- OpenAI CEO Argues Home PCs Waste the World's Limited DRAM Supply (152)
- NVIDIA Launches Investigation Into Jensen Huang's Relationship With Suspected Chinese Spy (136)
- Intel "Raptor Lake Next" 16-Core and 20-Core CPUs Surface (130)
- Legendary Game Studio BioWare Shuts Down Following EA Layoffs (104)
- Dell CEO Says the Memory Shortage Will Get Worse in 2027 (95)