 22
22
Lian Li Lancool 3 Review
Thermal Stress Test »Review System
| System Parts for Case Reviews | |
|---|---|
| Processor: | Intel Core i5-12600K Provided by: Intel |
| Motherboards: | ATX: ASUS ROG Strix Z690-E Gaming WiFi mATX: ASUS TUF Gaming B660M-PLUS WiFi D4 ITX: ASUS ROG STRIX Z690-I Gaming WiFi Provided by: ASUS |
| Graphics Card: | Gigabyte Radeon RX 6600 Eagle Provided by: Gigabyte ZOTAC GAMING GeForce RTX 3060 Ti Twin Edge OC Provided by: Zotac |
| Memory: | 32 GB XPG LANCER RGB DDR5 6000 MHz 32 GB XPG CASTER DDR5 6400 MHz 32 GB XPG HUNTER DDR5 5200 MHz Provided by: ADATA |
| HDD: | Toshiba MG08ADA400E 7200 RPM SATA III Provided by: Toshiba |
| SSD: | ATX:XPG GAMMIX S70 BLADE 1 TB mATX: ADATA LEGEND 840 512 GB ITX: XPG SPECTRIX S20G 500 GB ADATA Ultimate SU800 512 GB ADATA Ultimate SU720 500 GB Provided by: ADATA |
| Power Supply: | ATX: Fractal Design ION+ 650W 80 Plus Gold SFX: Fractal Design ION SFX-L 650W 80 Plus Gold Provided by: Fractal Design |
| Cooling: | be quiet! Pure Loop 120/240/280/360 Provided by: be quiet! |
Assembly

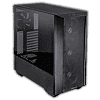
To install the motherboard, simply place it on the pre-installed spacers. The center spacer has a bit of a lip to align the board easily. As you can see, there is a ton of space towards the front and top. While the openings on the shroud line up well, these would really benefit from grommets to keep things super clean in the end. To put a GPU in place, remove the covers and secure it with a thumb screw. Once again, there is loads of room, so you should have no issues installing quite literally any GPU of your choosing.
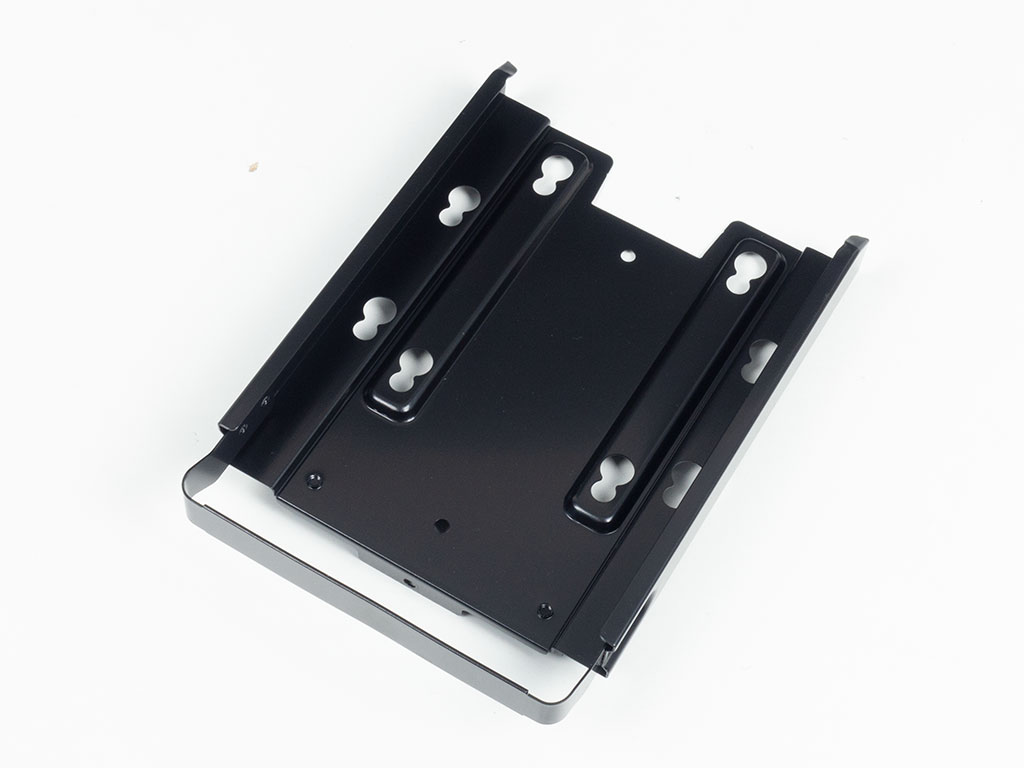


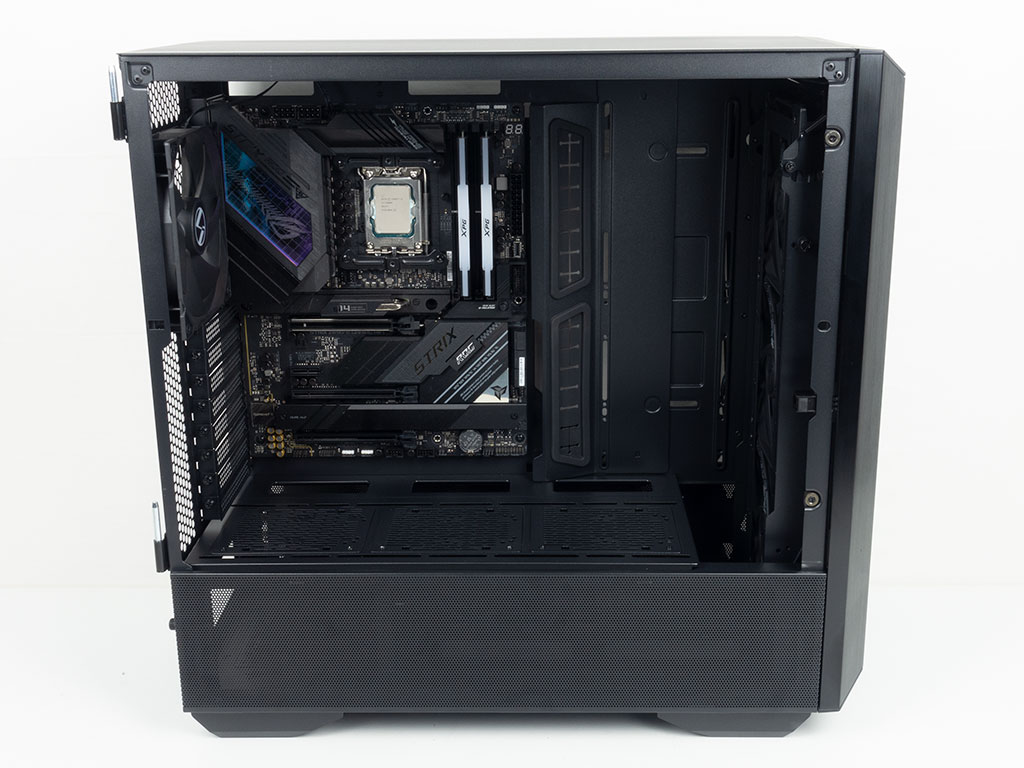
Adding a 3.5" drive to the metal tray means you have to put rubber grommets into place first and screw it into place. This is a bit of a departure from the tool-less or spring-loaded focus Lian Li has given to other aspects of the chassis. Adding to that inconsistency is that you still have to secure the tray with a small thumb screw once filled.
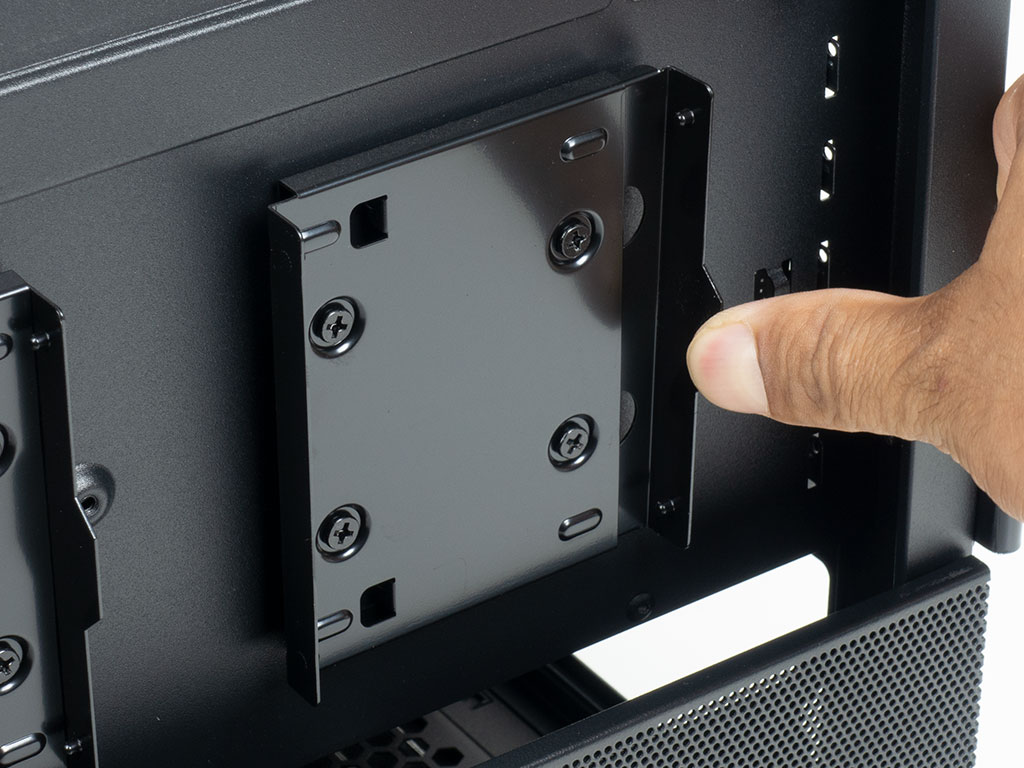

In stark contrast to this, the two visible 2.5" trays each have a spring mechanism. All you have to do is push it apart and snap in your drive—that's it!


To include an AIO for your build, simply mount it to the removable top plate. There is plenty of room, so you won't have to worry about it colliding with your motherboard. Even so, due to the massive heatsinks of today's modern boards, getting to the CPU power plugs, while possible, is a bit tricky, so you better connect things in that top-left corner first.
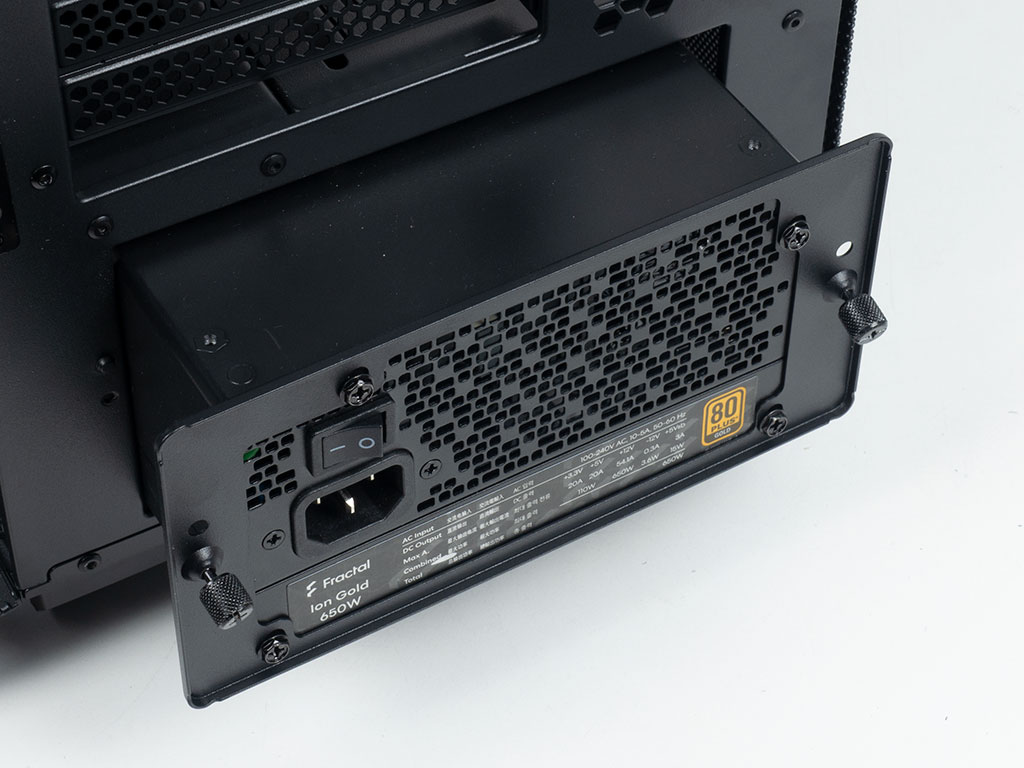
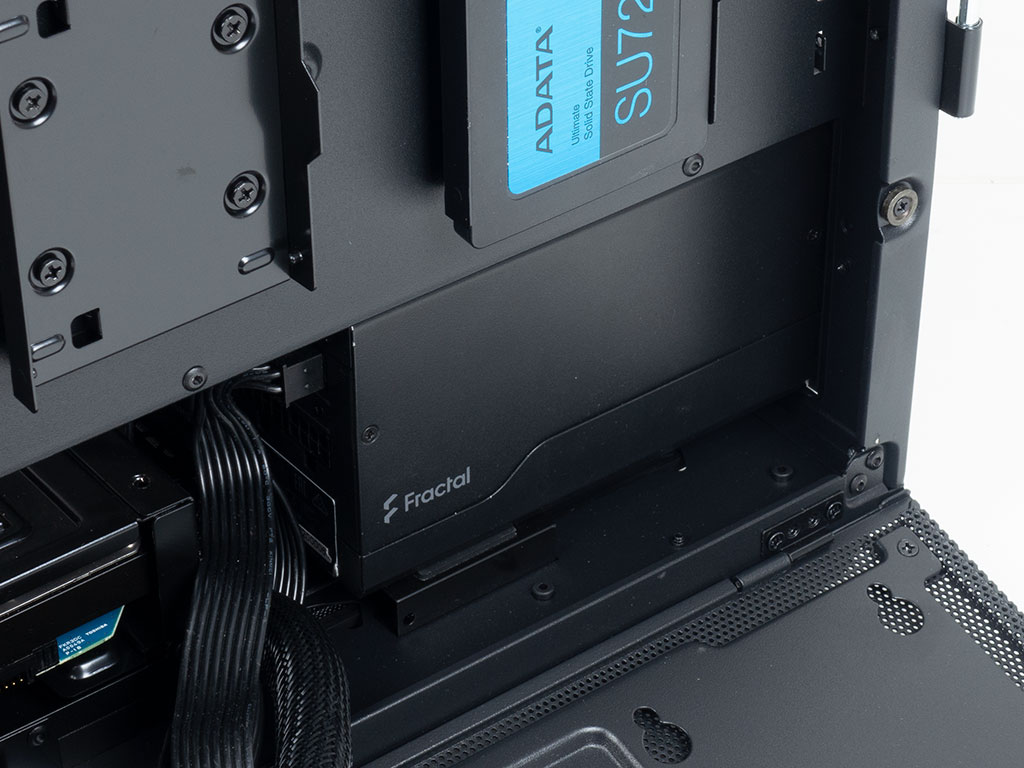
Adding the power supply requires mounting the frame first using classic screws and sliding it into the Lancool 3 from the back. In the default setup, you should be fine when using mainstream units, but those opting for long ones will clearly have to free up room by taking out the HDD tray.


With everything installed, the interior wiring is as short as it gets, and as the GPU power plug is on the middle of the card, that shortest route was through the floor. Not having grommets here does put a tiny dent in things, but only visually as those are the only visible cable-routing openings from these classic viewing angles. In the back, the unique Velcro-equipped cable-management system does an excellent job, so we only used two zip ties, which are actually optional as well. Once the two doors are closed, the Lancool 3 looks incredibly clean as only that CPU power wire running up the right edge is visible. Maybe in the Lancool 4, Lian Li could add a small, third cover to truly hide everything.
Finished Looks
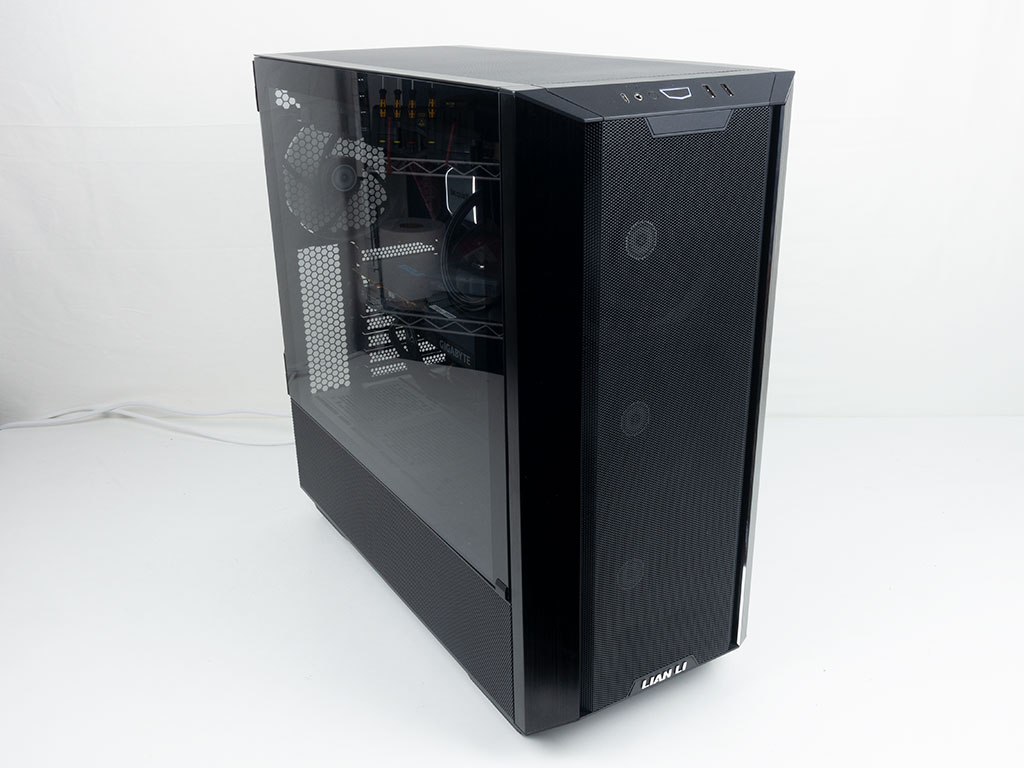

With everything put back together, the Lian Li Lancool 3 continues to look massive and hefty. As we are reviewing the non-ARGB variant, there are no distractions when turning the system on. There is only the soft white LED around the power button.


In the front, you can clearly see the three 140 mm fans doing their job by pulling cool air into the case. In the rear, that exhaust fans in the top and all the wiring is exactly what we would expect to have for a running system.


The sides of the Lancool 3 look gorgeous, allowing you to see all your hardware clearly thanks to the lack of tint. That glass panel on the backside of the motherboard tray also really drives home that sense of symmetry from the chassis.
May 9th, 2024 13:58 EDT
change timezone
Latest GPU Drivers
New Forum Posts
- Your way of cooling your PC? (88)
- Only some humans can see refresh rates faster than others, I am one of those humans. (234)
- TPU's Nostalgic Hardware Club (18504)
- Battery swap for cyberpower UPS (66)
- Last game you purchased? (275)
- Current Sales, Bundles, Giveaways (10231)
- What's a good option for a digital touchless thermometer? (17)
- Epic Games launcher's ridiculous CPU usage (33)
- AM5 boot times improve RADICALLY with memory context restore enabled (1)
- Microsoft butchering Xbox Studios (26)
Popular Reviews
- CHERRY XTRFY M64 Pro Review
- Corsair iCUE Link RX120 RGB 120 mm Fan Review
- Bykski CPU-XPR-C-I CPU Water Block Review - Amazing Value!
- Finalmouse UltralightX Review
- Upcoming Hardware Launches 2023 (Updated Feb 2024)
- Corsair MP700 Pro SE 4 TB Review
- AMD Ryzen 7 7800X3D Review - The Best Gaming CPU
- Cougar Hotrod Royal Gaming Chair Review
- ASUS Radeon RX 7900 GRE TUF OC Review
- Meze Audio LIRIC 2nd Generation Closed-Back Headphones Review
Controversial News Posts
- Intel Statement on Stability Issues: "Motherboard Makers to Blame" (262)
- AMD to Redesign Ray Tracing Hardware on RDNA 4 (206)
- Windows 11 Now Officially Adware as Microsoft Embeds Ads in the Start Menu (167)
- NVIDIA to Only Launch the Flagship GeForce RTX 5090 in 2024, Rest of the Series in 2025 (144)
- Sony PlayStation 5 Pro Specifications Confirmed, Console Arrives Before Holidays (119)
- AMD's RDNA 4 GPUs Could Stick with 18 Gbps GDDR6 Memory (114)
- NVIDIA Points Intel Raptor Lake CPU Users to Get Help from Intel Amid System Instability Issues (106)
- AMD Ryzen 9 7900X3D Now at a Mouth-watering $329 (104)