 20
Lian Li O11 Dynamic Mini V2 Review
Thermal Stress Test »Assembly


Before starting the assembly process, we went ahead and popped off the front glass panel as well, giving us another angle to reach into the chassis. Adding a full-size, BTF equipped motherboard into the O11 Dynamic Mini is certainly more spacious than with the original, mostly thanks to the additional height. While things will still be a bit harder to reach on the bottom edge with any kinds of fans installed, the top has a bit more clearance for routing cables and those going for an AIO no longer have to worry if tall memory modules will fit.
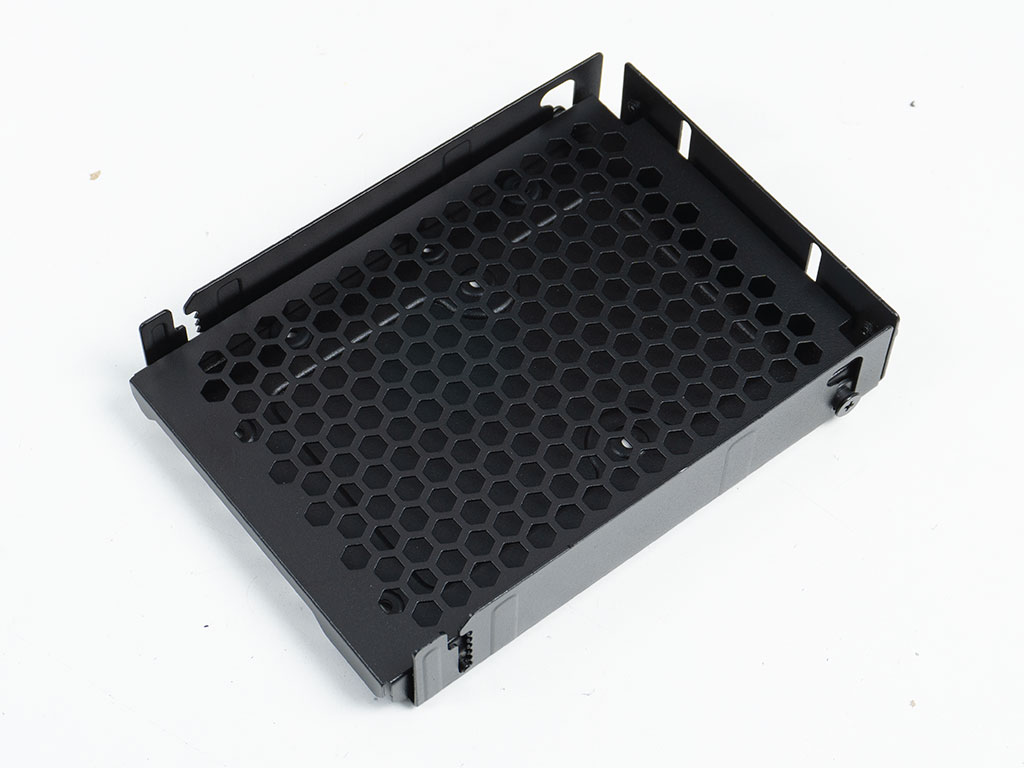
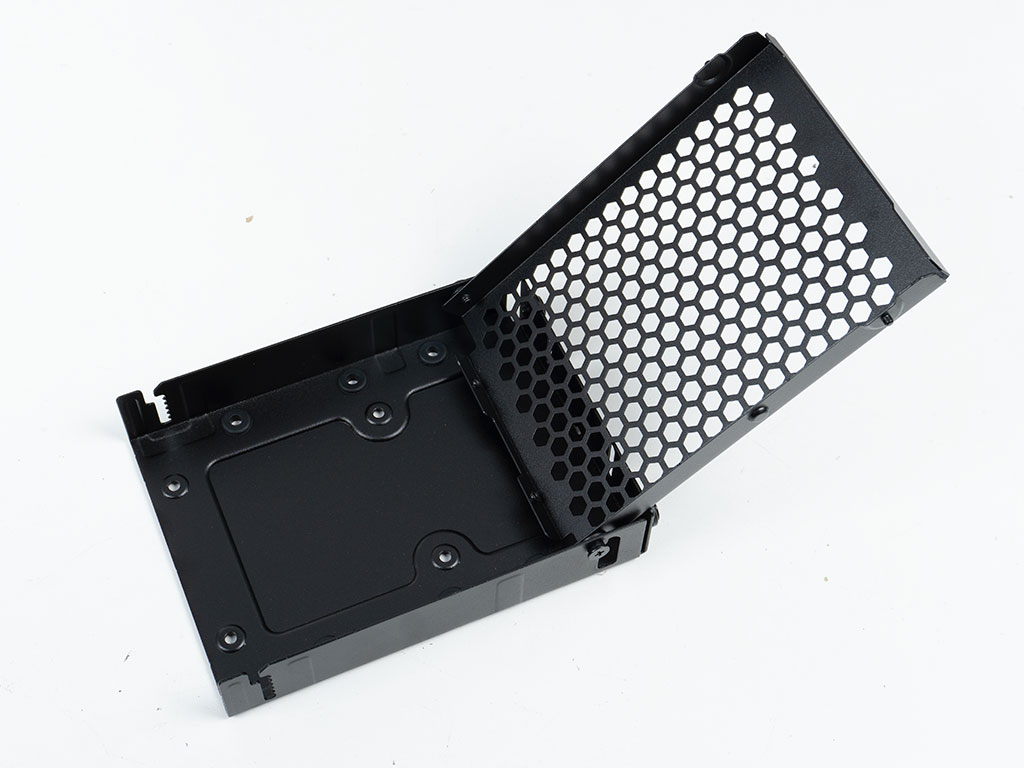
The individual HDD cages have a cover which you may flip open to install a 3.5" or 2.5" drive unto the floor. The mechanism is quite unique and while it does work, feels rather weird as the cover really serves no other purpose besides pinning down the cage as a whole once filled, unless you plan to stuff wires into it.
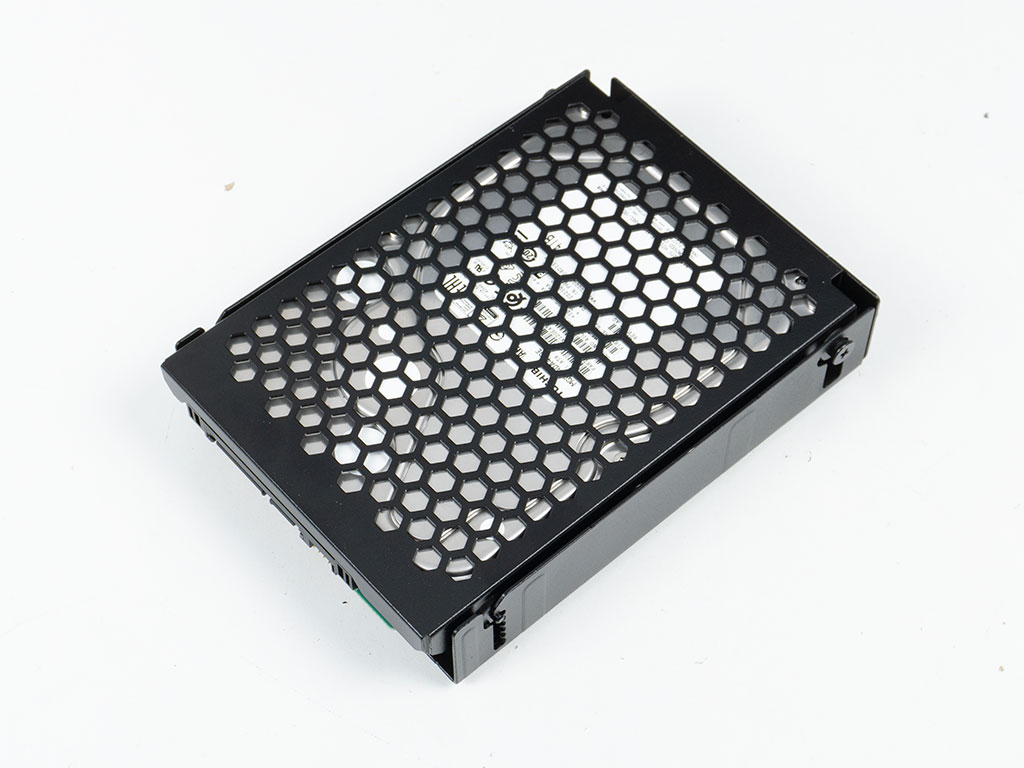
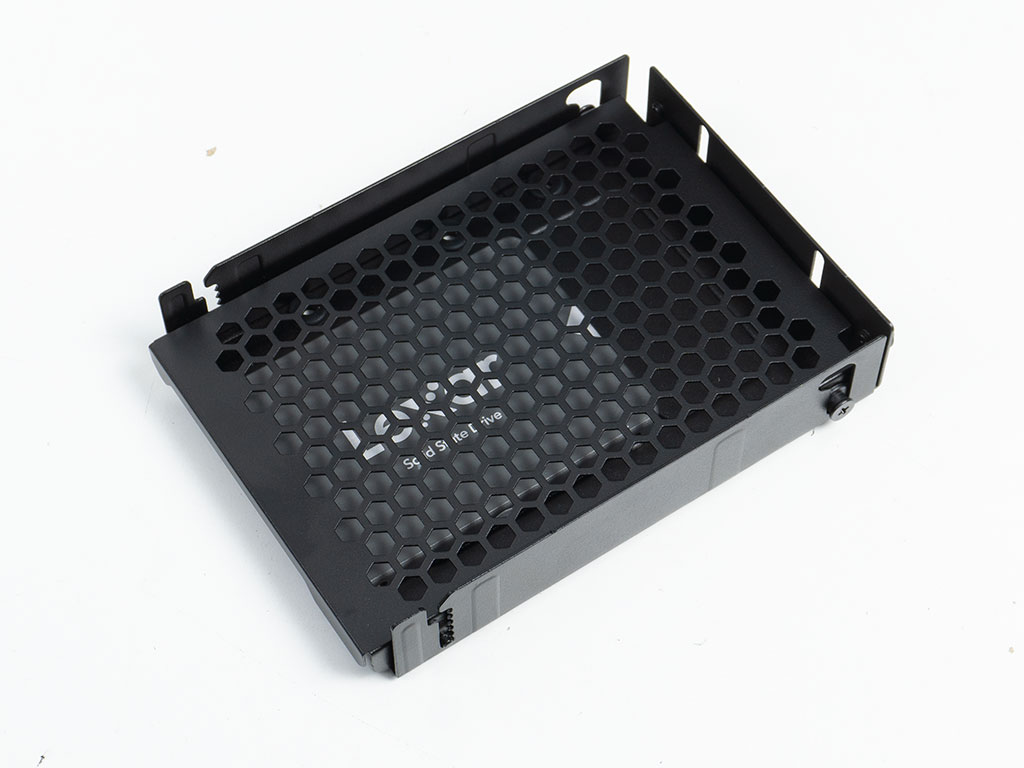
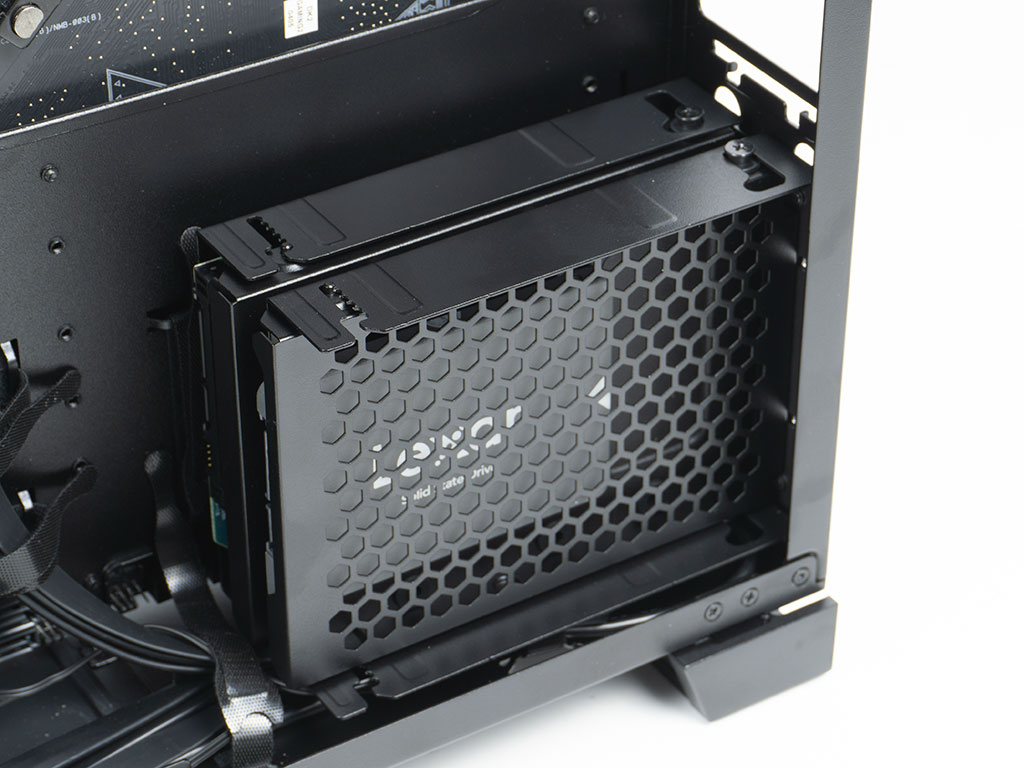
As you will have to use classic screws to secure any drive, the cover is really just a cosmetic element. It can be lowered into the tray, clearly as a wire clamping mechanism, and then secured there once it is back in position. As you can see in the final image above, we also pre-routed the IO wiring underneath this area to start. In the end, yes, one could absolutely use some zip ties and secure cables to the honeycomb structure, as such, that can be considered a feature even without a drive present.
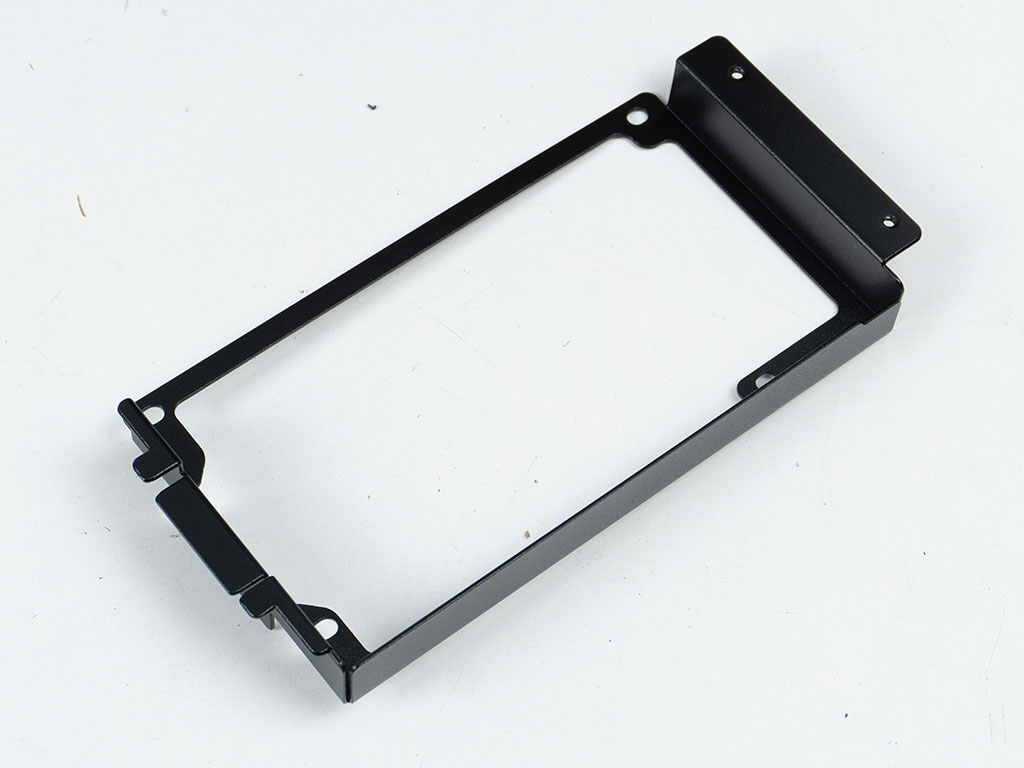
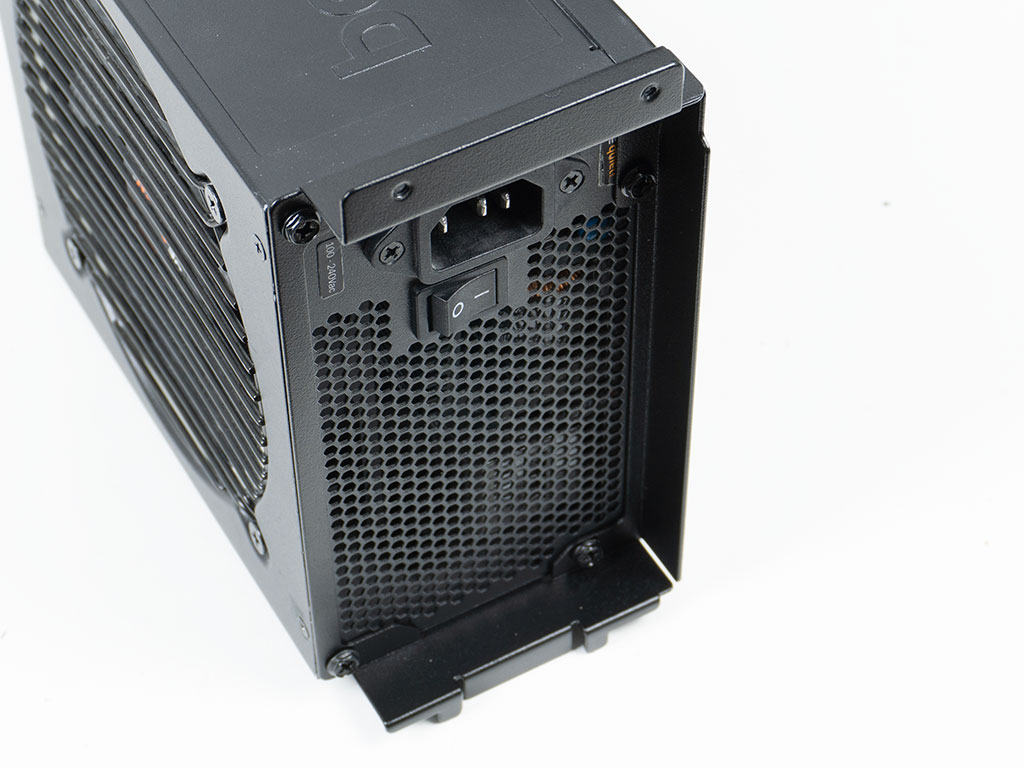
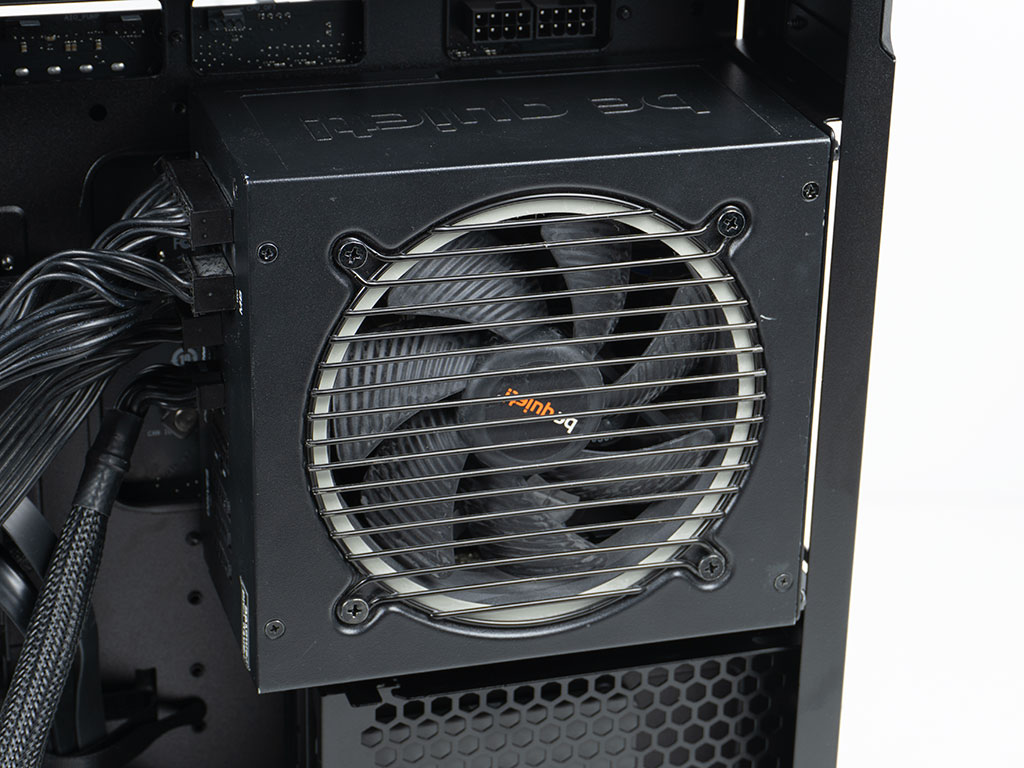
To add a full-size ATX power supply you do have to take off the mounting frame first. It attached to the power supply with the usual screws, which in turn allows you to pin the whole thing onto the rear body panel of the case, with the fan facing outward.
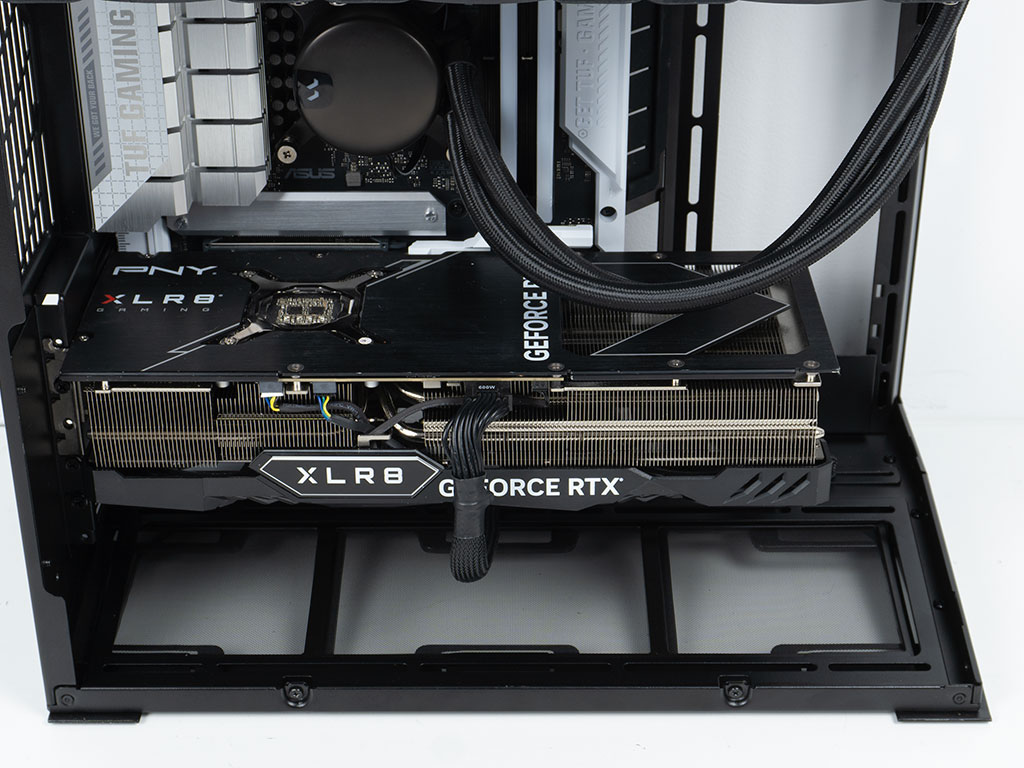
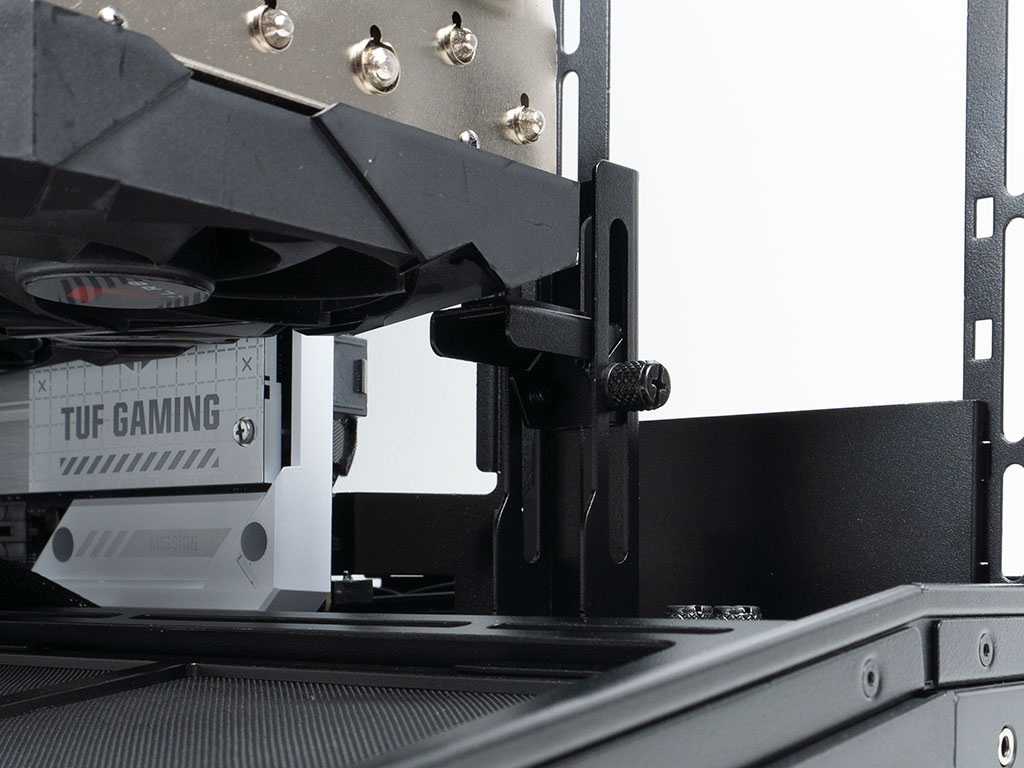
Installing any GPU of your choice should be possible as there is more than enough clearance for long and beefy units. You will have to secure it with classic screws and may then raise the GPU support into place. Here, having the ability to access the chassis interior from three sides really comes in handy to set the support bracket in place properly. The power cable is easily routed through the large grommet in the floor of the chassis and won't interfere with any cooling components you may install in the floor of the case.
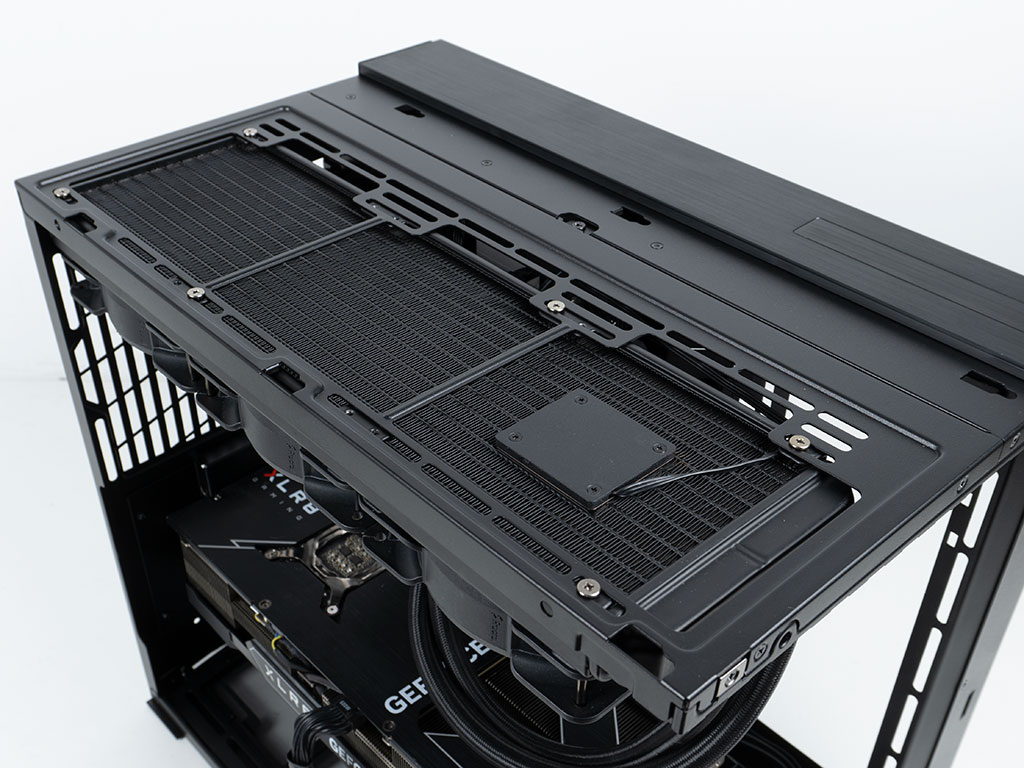
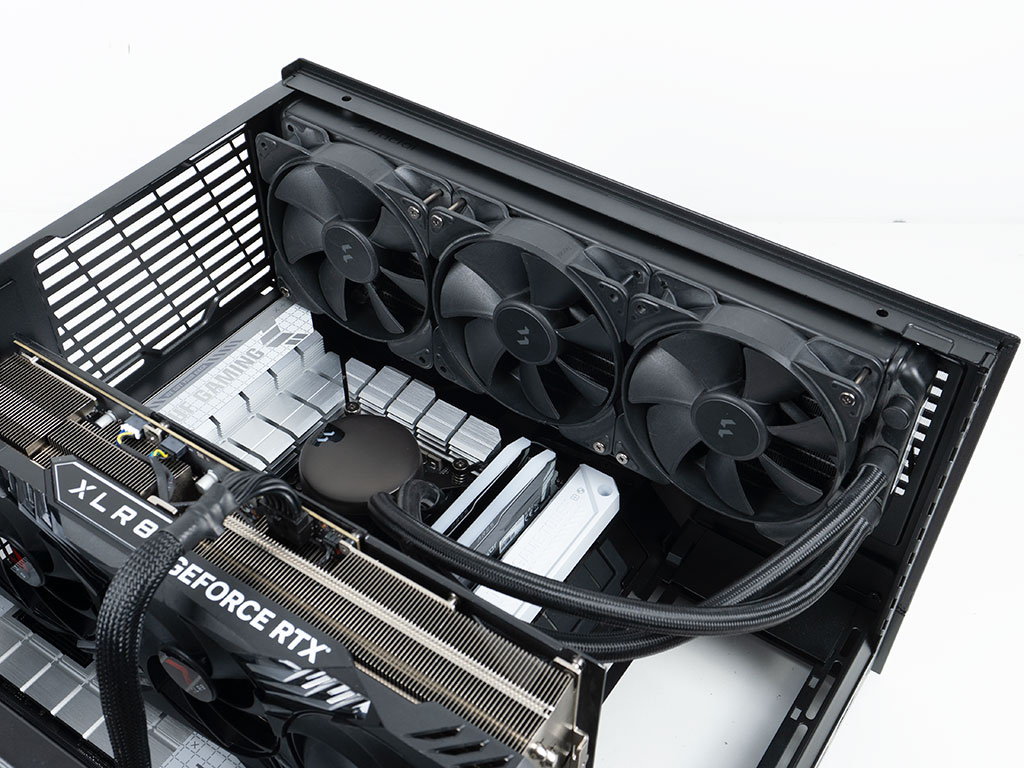
As a last component, the Lian Li O11 Dynamic Mini V2 has room for a 360 mm AIO in the ceiling, just like its predecessor. While the unit goes past the motherboard heatsinks a bit, those never tend to be high enough to get in the way of things. The memory is far enough away from the liquid cooler fans as well. But, the remaining gap between cooler and board is not big enough to allow you to wire up anything at the top edge of the board after assembly. As mentioned at the beginning of the review, it now also becomes apparent why you have to move your board down if you opt for a 280 mm unit instead.


With almost everything installed, the interior of the Lian Li O11 Dynamic Mini V2 makes a very clean impression based on the thick GPU and AIO in the ceiling. Those components could help hide some of the cables from view if you were to use a motherboard that does not have BTF connectors. Looking at the backside of the motherboard tray, there is still plenty of room for a longer PSU, and we managed to utilize the Velcro strips exclusively to keep cables in check. The large opening underneath the main cable management hole is a big visual issue though, unfortunately.
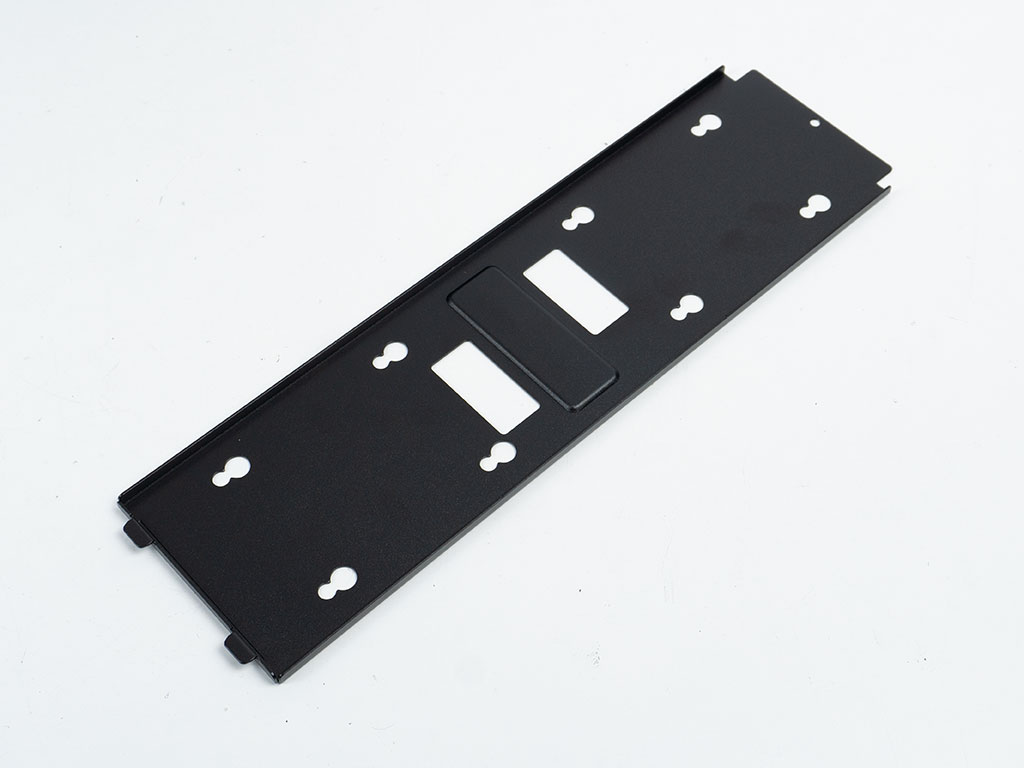
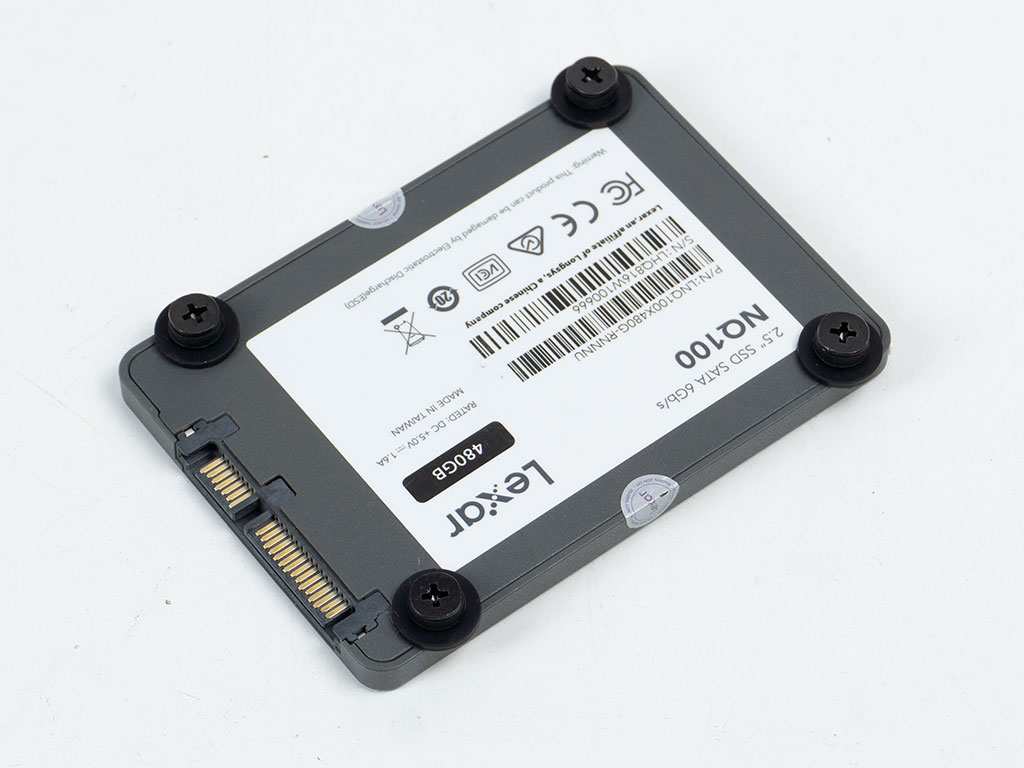
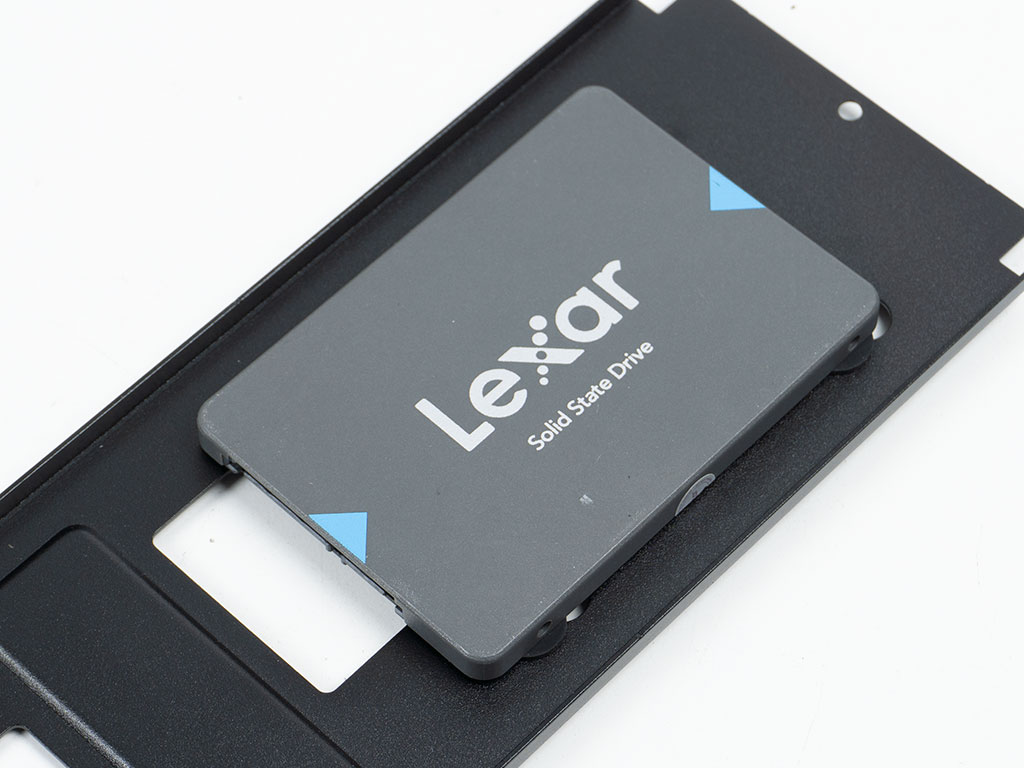

Before closing up the chassis, there is still that storage plate. You may add up to two 2.5" drives here using rubber rings and raised screws. Once they are secured to the drive, you can push it onto the plate, where it will hold securely in place. The openings for cable routing are not really useful as you will likely connect these up as you lift the plate into place anyway. It does act as a nice cable cover overall, so that you won't have any issues putting the side panel in place in the end.
Finished Looks

Turning the Lian Li O11 Dynamic Mini V2 on, due to the lack of a power button LED, there is no case specific indicator anywhere that the system is up and running. Obviously if you buy the O11D Mini V2 Flow, you will see the case fans spinning up, and in our scenario all the main system components are indication enough of the power state of the system.


As we have the black variant of the chassis, the open hole in the motherboard tray blends into the all black background a bit in the images, while the human eye will still see it in person. This will naturally be far more noticeable in the white version of the chassis. The tint of the glass is a bit much too by today's standards for a fish tank style case which is meant for showing everything off, as it dims the RGB brightness of the components noticeably. In the rear, everything is exactly where you would expect it to be, with the one noteworthy mention being the power cable still easily aligning with the plug on the PSU, even though it is a smaller opening. Things like on/off switches and fan control buttons should also be reachable regardless of where they are located on the backside of the power supply.
Nov 21st, 2026 19:15 PST
change timezone
Latest GPU Drivers
New Forum Posts
- WarpCoreBench scores! (89)
- Your PC ATM (36444)
- Ryzen or Intel system (9)
- Honestly, do you care about GTA VI? (233)
- TPU's Nostalgic Hardware Club (22187)
- DTS DCH Driver for Realtek HDA [DTS:X APO4 + DTS Interactive] (2817)
- repair an NVIDIA Quadro M4000 (0)
- 1 - 5 person file storage server equivalent accasible from anywhere + general VM server. (4)
- Windows 11 General Discussion (7748)
- RX 580 2048SP 8GB - SK Hynix - Ardiyes - BIOS Needed (2)
Popular Reviews
- Microsoft Surface Laptop Ultra Review - The Next-gen Arm Laptop
- Corsair RM1200e (Second Generation) Review
- Pulsar Office Tour & First Look at P1 Dual-Sensor Mouse
- Upcoming Hardware Launches 2027 (Updated Nov 2026)
- Ugreen NASync DXP4800 GT Review
- AMD Ryzen 7 9800X3D Review - The Best Gaming Processor
- Biwin Black Opal NV7400 2 TB Review
- AMD Zen 6 Technical Deep Dive
- Phantom Blade Zero Performance Benchmark Review - 35 GPUs Tested
- Acemagic Retro X3 Review
TPU on YouTube
Controversial News Posts
- NVIDIA Co-Founder and CEO Jensen Huang Officially Resigns (492)
- Report: Jensen Huang Eyes NVIDIA Comeback (262)
- Open Letter Asking NVIDIA to Reinstate Jensen Huang Passes 115,000 Signatures (184)
- OpenAI CEO Argues Home PCs Waste the World's Limited DRAM Supply (152)
- NVIDIA Launches Investigation Into Jensen Huang's Relationship With Suspected Chinese Spy (136)
- Intel "Raptor Lake Next" 16-Core and 20-Core CPUs Surface (130)
- NVIDIA GeForce RTX 50-Series Scheduled for up to $500 Price Hike This Week (89)
- Intel Razor Lake Gets a 12 P-Core bLLC Chip With No E-Cores, Per Leak (86)