 7
7
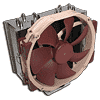
Noctua NH-U14S Review
Finished Looks »Installation
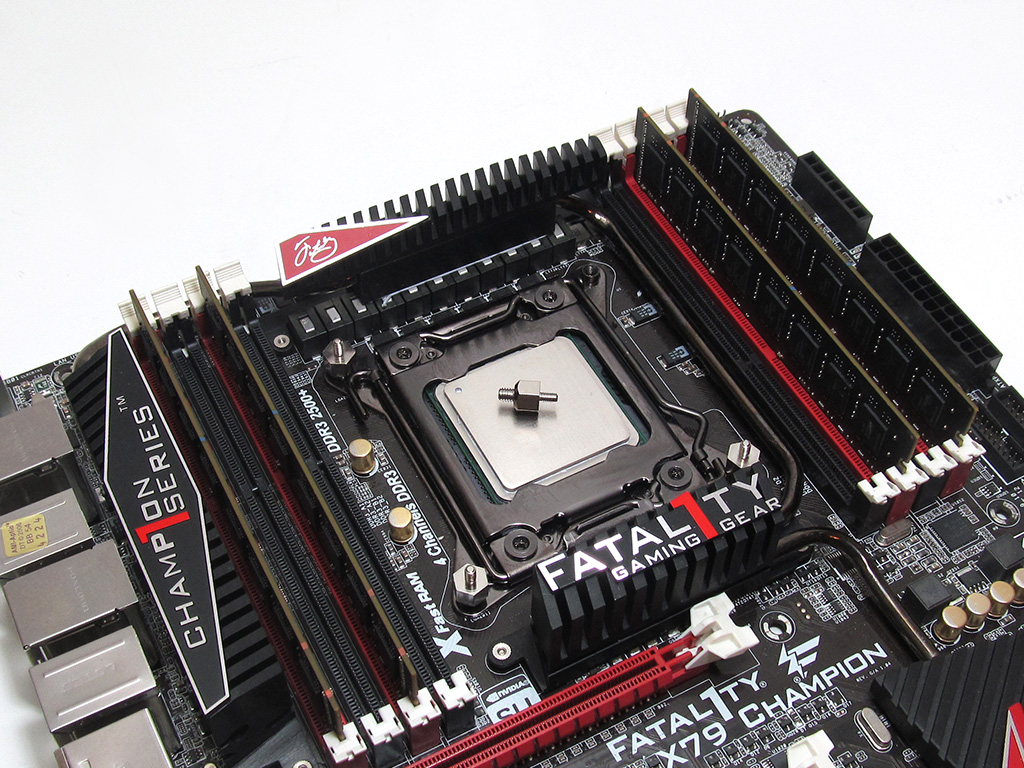

The first step in installing the Noctua NH-U14S is to screw the LGA2011 posts from the SecuFirm 2 mounting kit in.


At this stage, we slide the mounting arms down over the posts.


Screw down the mounting arms and apply the thermal paste after deciding upon the final orientation of the cooler.


With the SecuFirm 2 kit firmly attached to the motherboard and the thermal paste applied, it is time to mount the Noctua NH-U14S. Simply line the crossbar on the heatsink up with the posts on the mounting arms before tightening the heatsink down. Make sure to alternate as it becomes impossible to screw down the opposite side if you over tighten one side at the start. All that is left to do then is to attach the fan to the heatsink before plugging the fan power header into the CPU fan header on the motherboard.
Calling the installation of the Nocuta U14S on Intel's LGA2011 platform easy would be an understatement. Its single-tower design along with no need to get a screw driver down between the aluminum cooling fins makes this cooler extremely easy to install. I would rate it a 10 on a scale of 1 (hardest) to 10 (easiest).
May 5th, 2024 14:50 EDT
change timezone
Latest GPU Drivers
New Forum Posts
- Envinda RX 580 2048SP 8GB no image (1)
- What are you playing? (20573)
- Ghetto Mods (4334)
- im new to throttelstop and i think i messed it up by copying others any hints would be very much aprreciated (12)
- not impressed - nvme vs ssd (2)
- The Official Thermal Interface Material thread (1150)
- Modified driver for X-Fi Titanium series sound cards XFTI_PCDRV_L11_2_40_0019 (1)
- Blender 3.3.0 Benchmark (12)
- Arctic MX-6 shelf life is just a couple months? (91)
- Alphacool CORE 1 CPU block - bulging with danger of splitting? (99)
Popular Reviews
- Finalmouse UltralightX Review
- Meze Audio LIRIC 2nd Generation Closed-Back Headphones Review
- ASRock NUC BOX-155H (Intel Core Ultra 7 155H) Review
- Montech Sky Two GX Review
- Cougar Hotrod Royal Gaming Chair Review
- Upcoming Hardware Launches 2023 (Updated Feb 2024)
- AMD Ryzen 7 7800X3D Review - The Best Gaming CPU
- Alienware Pro Wireless Gaming Keyboard Review
- HYTE THICC Q60 240 mm AIO Review
- Logitech G Pro X Superlight 2 Review - Updated with 4000 Hz Tested
Controversial News Posts
- Intel Statement on Stability Issues: "Motherboard Makers to Blame" (240)
- Windows 11 Now Officially Adware as Microsoft Embeds Ads in the Start Menu (167)
- AMD to Redesign Ray Tracing Hardware on RDNA 4 (149)
- Sony PlayStation 5 Pro Specifications Confirmed, Console Arrives Before Holidays (117)
- AMD's RDNA 4 GPUs Could Stick with 18 Gbps GDDR6 Memory (114)
- NVIDIA Points Intel Raptor Lake CPU Users to Get Help from Intel Amid System Instability Issues (106)
- AMD Ryzen 9 7900X3D Now at a Mouth-watering $329 (104)
- AMD "Strix Halo" Zen 5 Mobile Processor Pictured: Chiplet-based, Uses 256-bit LPDDR5X (103)