 14
14
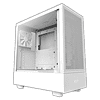
NZXT H5 Flow Review
Thermal Stress Test »Review System
| System Parts for Case Reviews | |
|---|---|
| Processor: | Intel Core i5-12600K Provided by: Intel |
| Motherboards: | ATX: ASUS ROG Strix Z690-E Gaming WiFi mATX: ASUS TUF Gaming B660M-PLUS WiFi D4 ITX: ASUS ROG STRIX Z690-I Gaming WiFi Provided by: ASUS |
| Graphics Card: | Gigabyte Radeon RX 6600 Eagle Provided by: Gigabyte ZOTAC GAMING GeForce RTX 3060 Ti Twin Edge OC Provided by: Zotac |
| Memory: | 32 GB XPG LANCER RGB DDR5 6000 MHz 32 GB XPG CASTER DDR5 6400 MHz 32 GB XPG HUNTER DDR5 5200 MHz Provided by: ADATA |
| HDD: | Toshiba MG08ADA400E 7200 RPM SATA III Provided by: Toshiba |
| SSD: | ATX:XPG GAMMIX S70 BLADE 1 TB mATX: ADATA LEGEND 840 512 GB ITX: XPG SPECTRIX S20G 500 GB ADATA Ultimate SU800 512 GB ADATA Ultimate SU720 500 GB Provided by: ADATA |
| Power Supply: | ATX: Fractal Design ION+ 650W 80 Plus Gold SFX: Fractal Design ION SFX-L 650W 80 Plus Gold Provided by: Fractal Design |
| Cooling: | be quiet! Pure Loop 120/240/280/360 Provided by: be quiet! |
Assembly
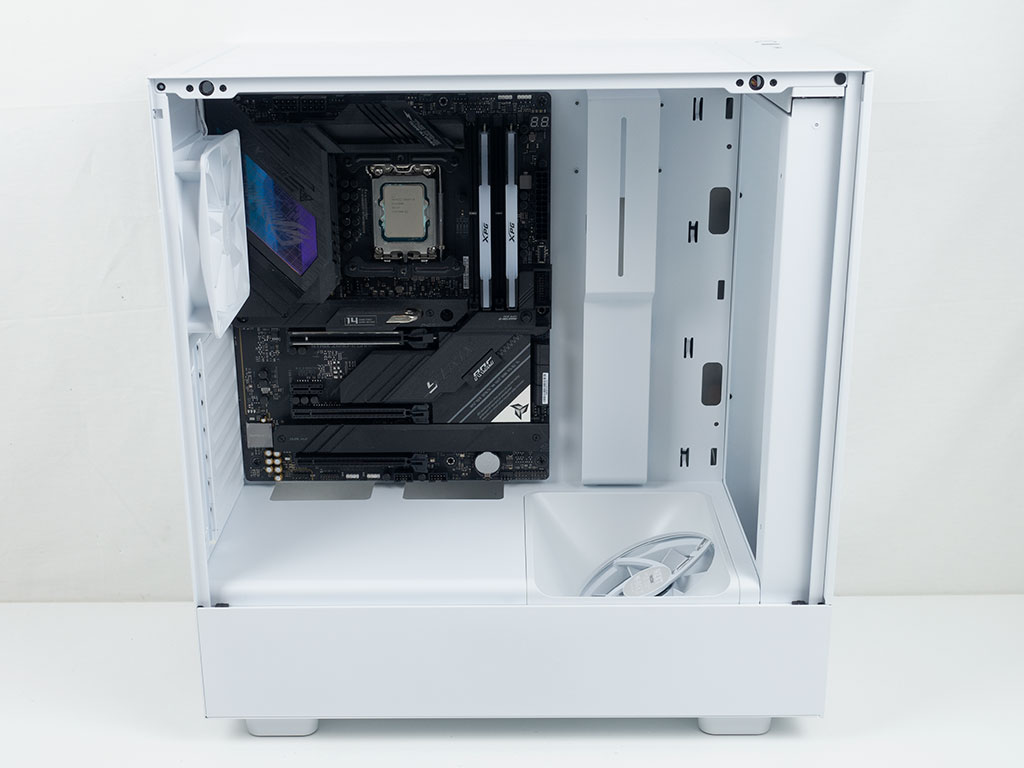

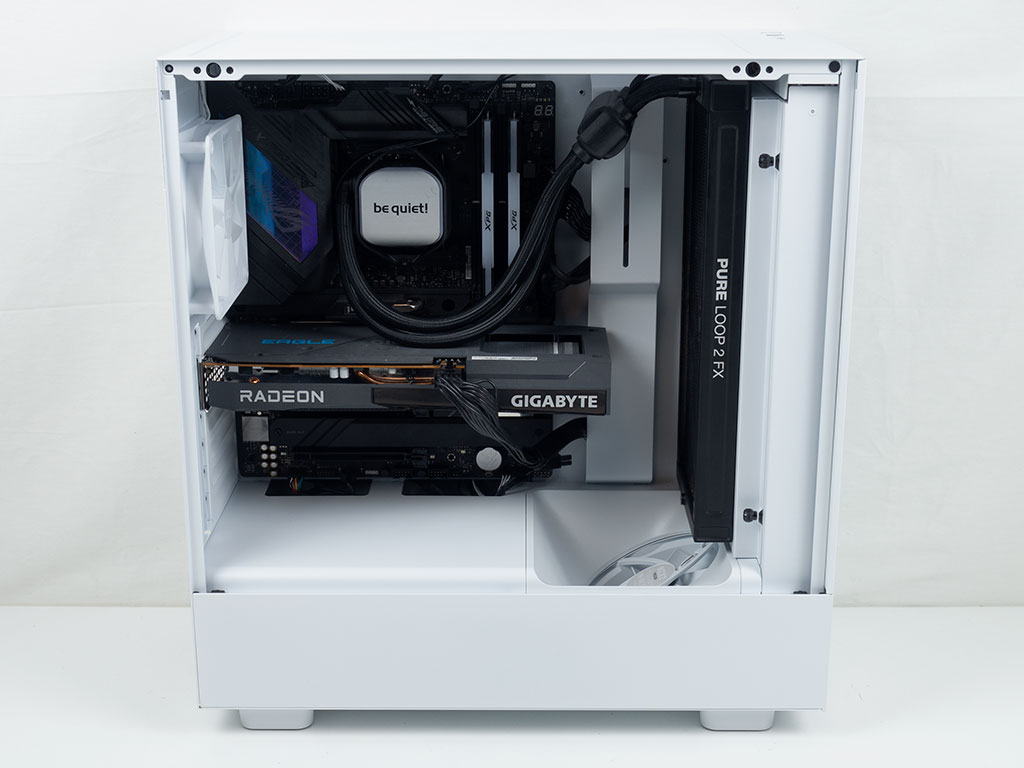
Adding a motherboard is done by traditional means, with screws and spacers. Thankfully, NZXT has pre-installed the latter, so you simply put the board in place and screw it down. There is very little space above and below it, reducing accessibility to connectors along the motherboard's top edge when cooling or AIOs are used in the ceiling. That said, thanks to the offset mounting position, you won't have to worry about such a cooling setup colliding with your motherboard or memory.


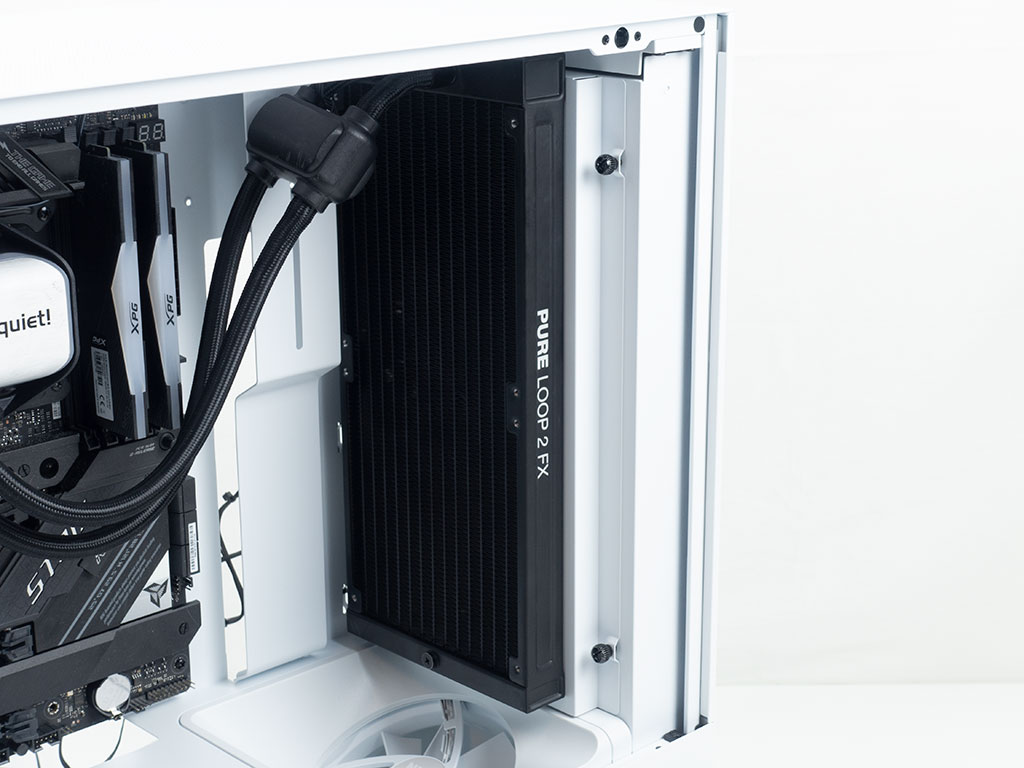
Installing an AIO in the front is probably the better location anyways, as you have loads of room to place the fans in the front and the radiator behind the frame. Those using 240 mm radiators may even be able to do a sandwich setup by moving the rad towards the front as well, with the interior layer of fans on the inside of the bracket. However with 280 mm rads, that is not a possibility, so you would be forced to remove the cable routing cover to make a push/pull configuration fit. This is unfortunate, as the previous H510 provided the needed room.


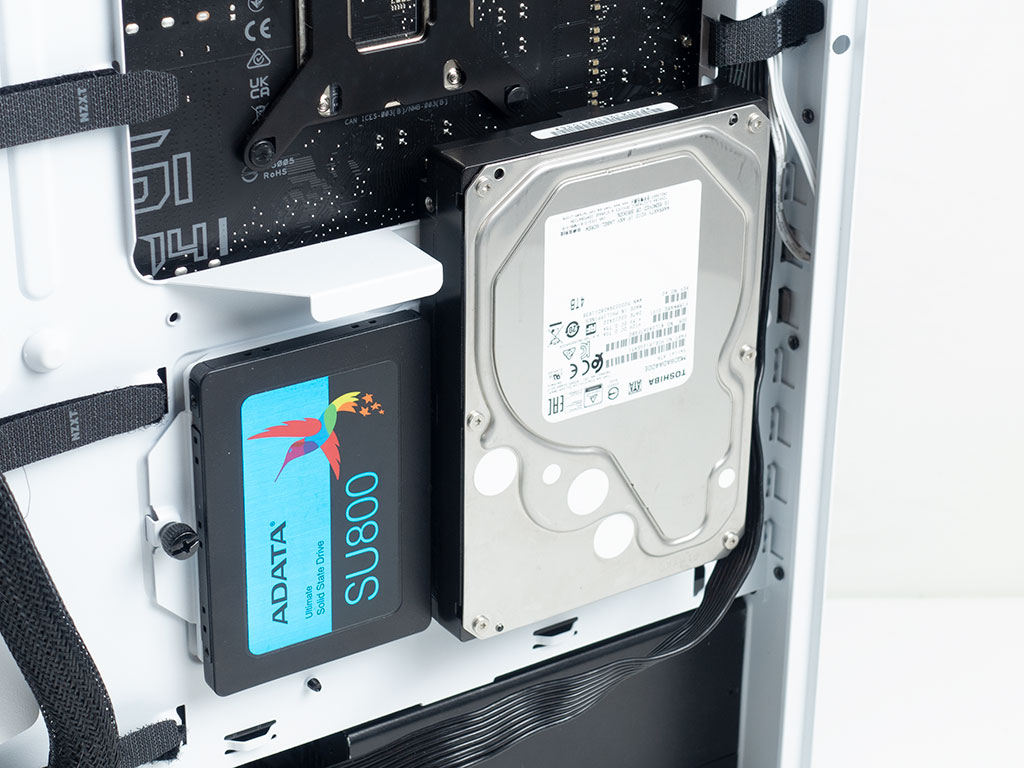
Adding drives to the combo bracket is straight forward and utilizes screws. Thanks to the metal bracket and thumb screw, you now won't have to worry about breaking anything or the element popping off the chassis for some reason, which is a nice step up from the H510.

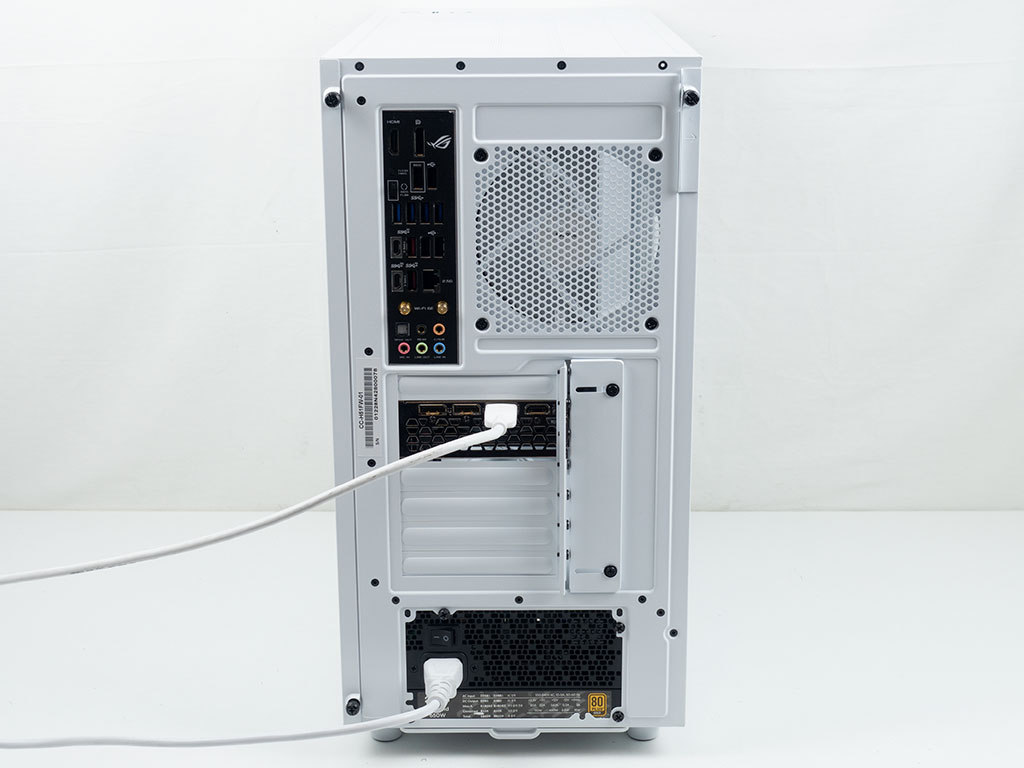
Adding a PSU is pretty unspectacular. Simply slide it in, screw it down, and connect all the components. There is plenty of room, so you should be able to use any unit regardless of size.
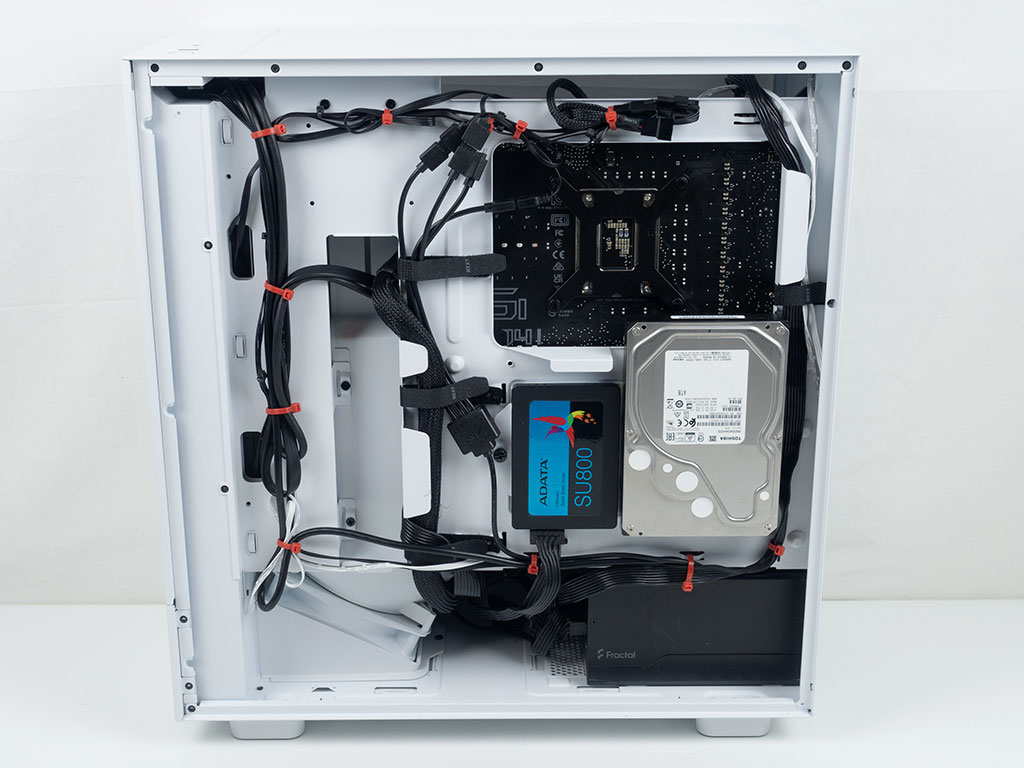
With everything in place, the NZXT H5 Flow makes a solid impression in terms of clean cable management. The case could have looked cleaner if NZXT had opted to make the openings in the shroud slightly smaller and added white grommets to them. Secondly, that opening for the GPU power cable is also sorely missed. In the back, thanks to the now plentiful number of zip ties you can easily secure all your wiring very nicely, and the simpler Velcro equipped channels actually work quite well.
Finished Looks


Turning the NZXT H5 Flow on, it does look very nice in all white. The use of clear vs. tinted glass also really allows you to feast your eyes on the internal components. A white LED lights up around the power button to let you know your system is turned on.


In the front, you can clearly see the ARGB elements of the AIO, which also hints at how the NZXT H5 Flow Elite could look as that variant sports ARGB fans for example.
Jun 16th, 2024 09:06 EDT
change timezone
Latest GPU Drivers
New Forum Posts
- Help - Monitor loses signal randomly while gaming (computer still keeps running) (1)
- First Build. PC not booting from USB (3)
- Should i upgrade my cpu (rtx 4070) ? (48)
- FINAL FANTASY XIV: Dawntrail Official Benchmark (100)
- GeForce RTX 5000 gaming "Blackwell" power efficiency improvement (1)
- 1000Watt power limit on 4070??? (2)
- Insyde software announces AI BIOS! (44)
- The Official Thermal Interface Material thread (1245)
- Alphacool - problem with radiators - bad fin soldering? (28)
- Rare GPUs / Unreleased GPUs (1905)
Popular Reviews
- Pulsar Xlite V3 eS Review
- Aune AR5000 Headphones + S17 Pro Headphones Amplifier Review
- VAXEE Outset AX Wireless (4K) Review
- Upcoming Hardware Launches 2024 (Updated May 2024)
- Team Group T-Force G70 Pro 2 TB Review
- AMD Ryzen 7 7800X3D Review - The Best Gaming CPU
- Intel Lunar Lake Technical Deep Dive - So many Revolutions in One Chip
- NZXT H6 Flow RGB Review
- ASUS Radeon RX 7900 GRE TUF OC Review
- Thermal Grizzly KryoSheet Review - Tested on RX 7900 XTX with 475 W
Controversial News Posts
- Possible Specs of NVIDIA GeForce "Blackwell" GPU Lineup Leaked (132)
- NVIDIA RTX 5090 "Blackwell" Founders Edition to Implement the "RTX 4090 Ti" Cinderblock Design (118)
- AMD Ryzen 9000 Zen 5 Single Thread Performance at 5.80 GHz Found 19% Over Zen 4 (114)
- AMD Outs Ryzen 5000XT Processors for Socket AM4, an 8-year Old Socket (105)
- Nightmare Fuel for Intel: Arm CEO Predicts Arm will Take Over 50% Windows PC Market-share by 2029 (105)
- AMD Says Ryzen 9000 Series Won't Beat 7000X3D Series at Gaming (102)
- AMD Zen 5 Storms into Gaming Desktops with Ryzen 9000 "Granite Ridge" Processors (100)
- Biden Administration to Revive Trump-Era Tariffs on China-made GPUs and Motherboards (95)