 0
0
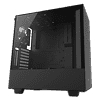
NZXT H500i Review
Assembly & Finished Looks »A Closer Look - Inside
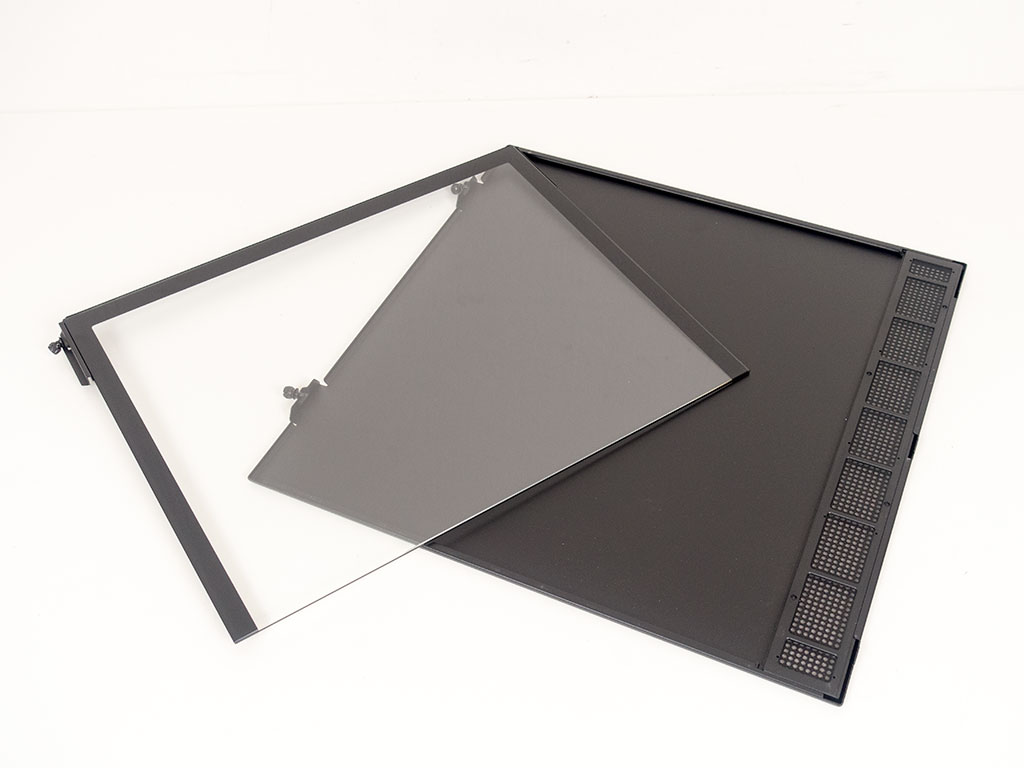
To gain access to the interior, simply loosen three thumb screws. NZXT has designed both panels in a way that ensures no other mounting elements are visible. As you can see, the windowed side panel is framed black on three of its four edges and has no tint at all. A fine dust filter ensures the air vent on the solid panel won't allow for any dirt to enter the case either.


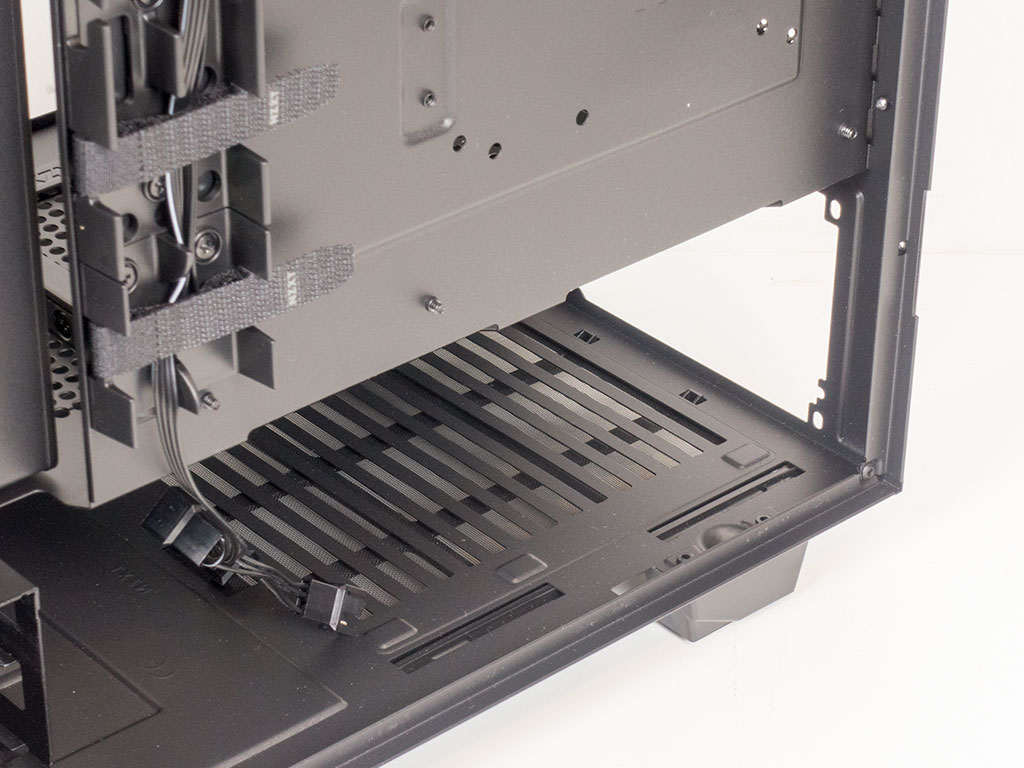
The interior of the NZXT H500i looks very much like that of other H-Series enclosures from the brand. The layout is pretty traditional by today's standards, but the devil is in the details, as we will see later on. Turning the bare case around, you will be greeted by a quite elaborate motherboard backside.


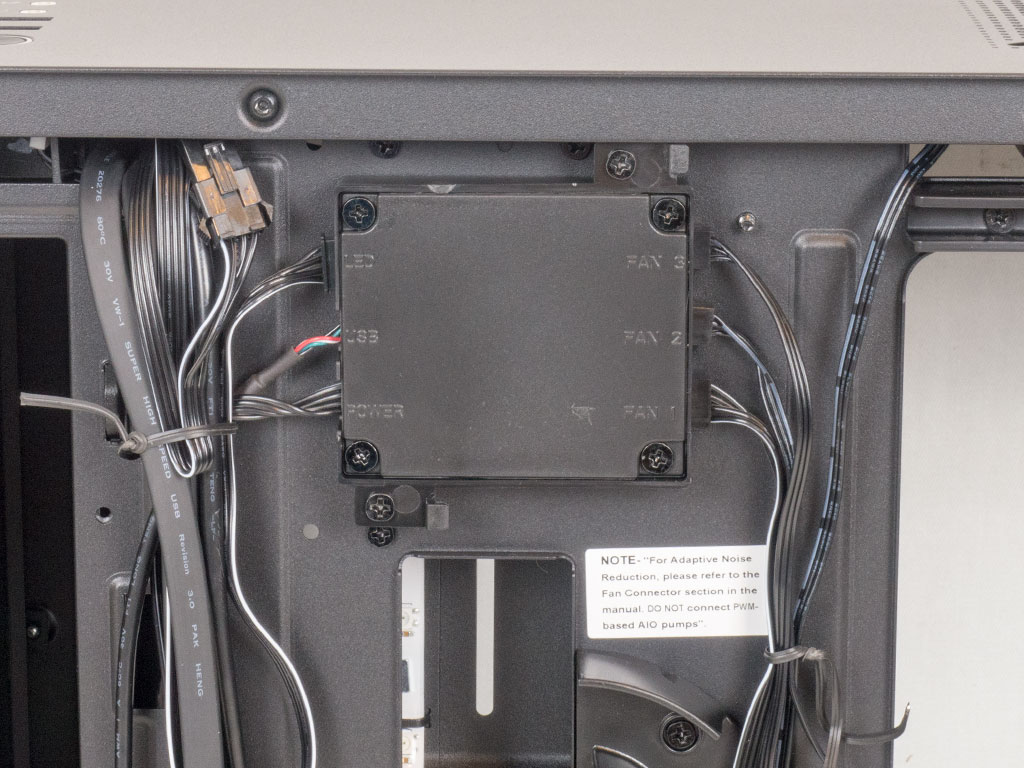
It comes with two cable trenches to aid with a clean assembly, but as we are reviewing the "i" variant of the case, you will also find the NZXT Cam module here. This smart device does not only allow you to adjust fan speeds and change the hue of any RGB elements within the case, but also offers overclocking tools as well as automatic fan-tuning, which ensures that your system runs as quietly as possible based on its specific temperature range between idle and load.
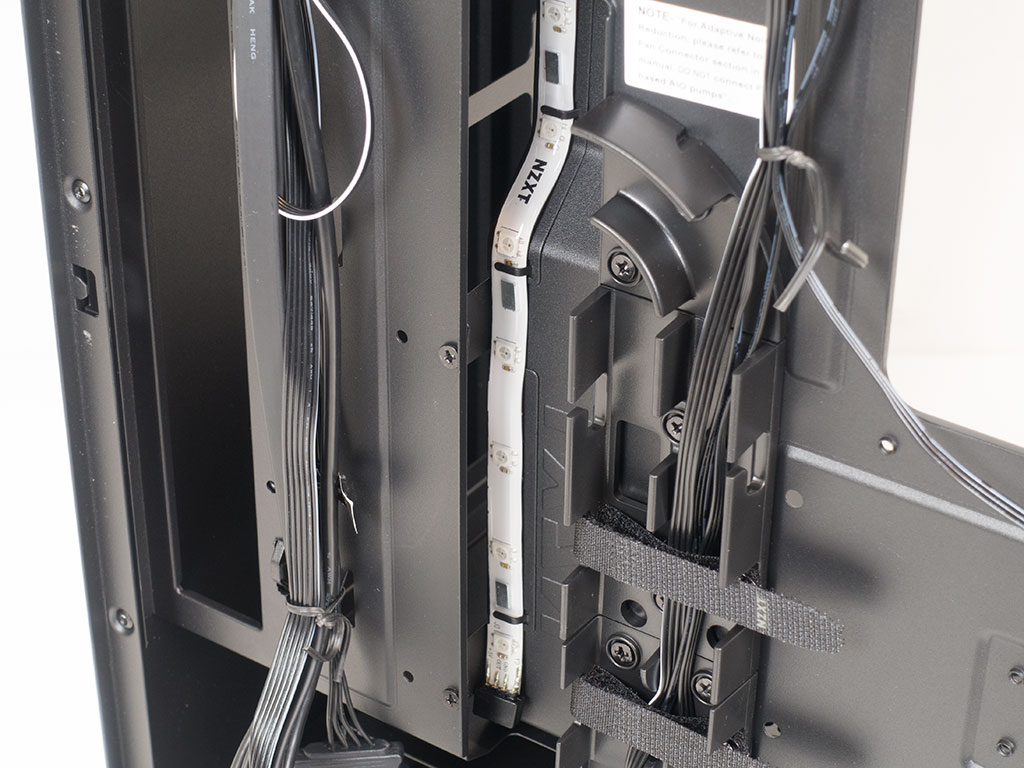
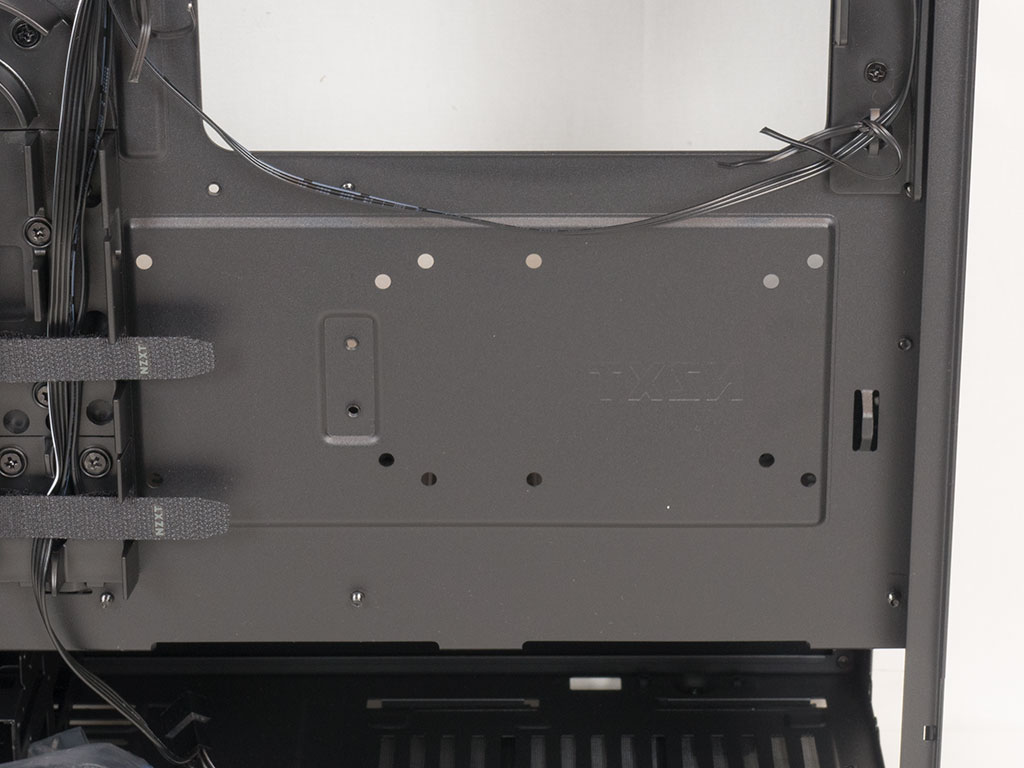
Taking a closer look, you will find an LED strip on the backside of the metal cover that hovers above the opening of the motherboard tray. Then, there are several mounting holes just below the CPU cooler's backplate opening. These allow you to simply snap the SSD trays from inside the case into place here instead, without the use of any tools or screws.
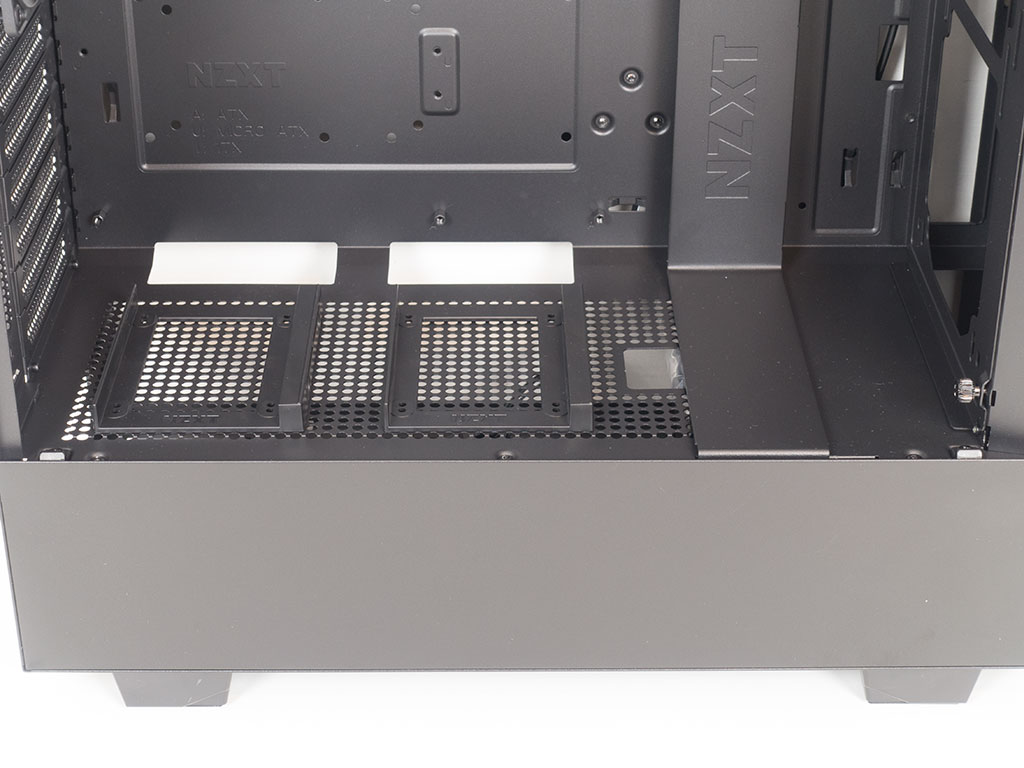

By default, these trays can be found on the metal shroud, which also acts as a partial side to the chassis. The cover in the H series is made out of metal as well and matches whatever external color choice the case has. Thus, if you buy a white version of the H500i, this metal bit will be white as well.
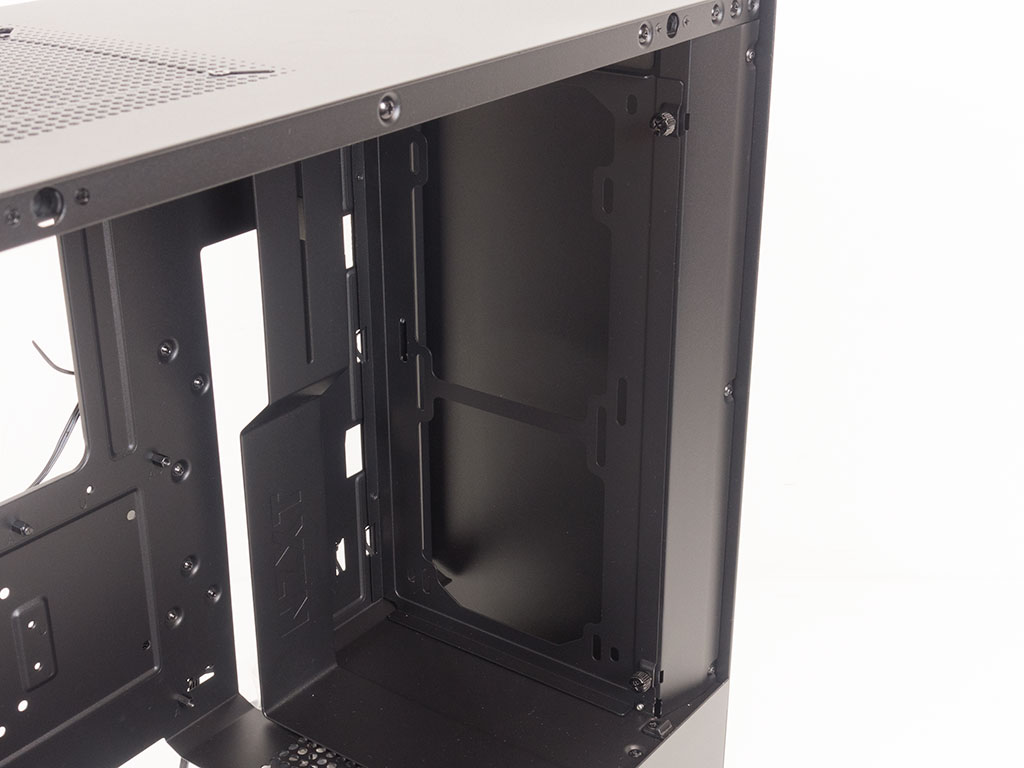
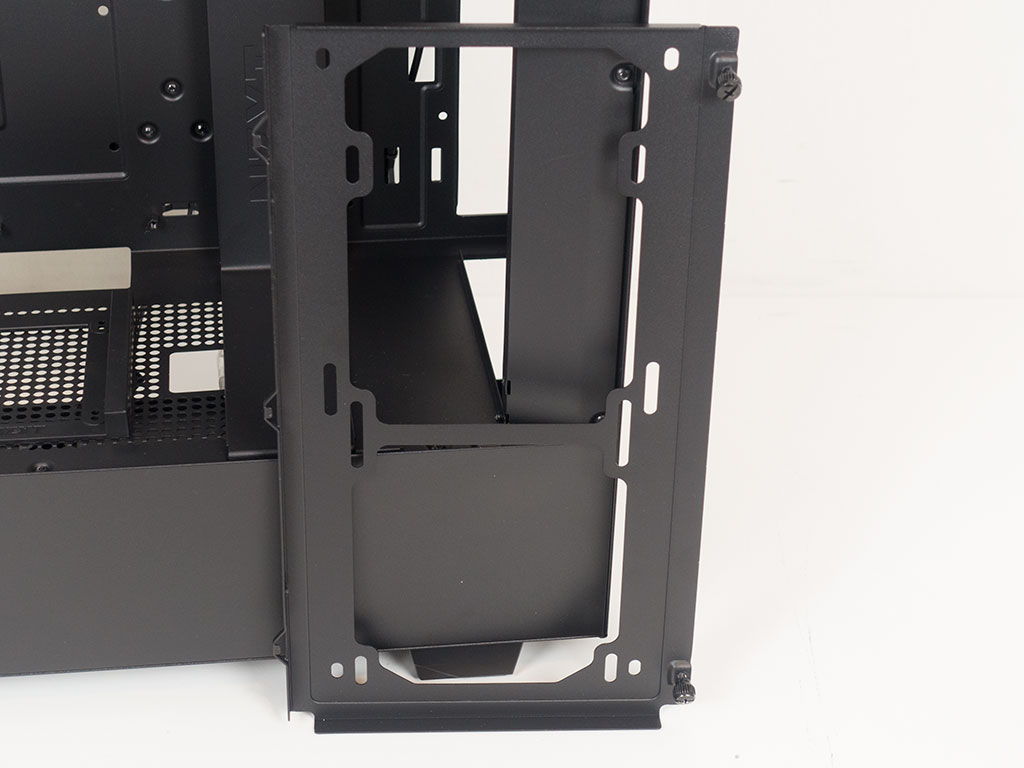

In the front, the area above the shroud is intended for cooling purposes. As the entire front and top of the NZXT H500i is made out of a solid piece of steel, their engineers have built a removable frame into the front for up two 120/140 mm cooling units or a 280 mm liquid cooling setup you can simply place back into the chassis. Below the shroud, in front, is a 3.5" hard-drive cage that may hold up to three such storage units. Interestingly enough, NZXT has chosen to stay clear of any drive trays, which means you will have to take the whole cage out of the system to then attach your drives with traditional screws instead.


In the rear, starting from the bottom, the PSU bay is pretty standard, with loads of space for even the longest units. Above that, the nine expansion slots are protected by individually reusable covers which are held in place by traditional screws. While you are able to install a GPU vertically, NZXT—like most brands—does not include the required accessory with the chassis. Instead, you will have to buy it separately. In the very top, the 120 mm exhaust fan is not only of retail quality, but also with blades at pretty flat angles.
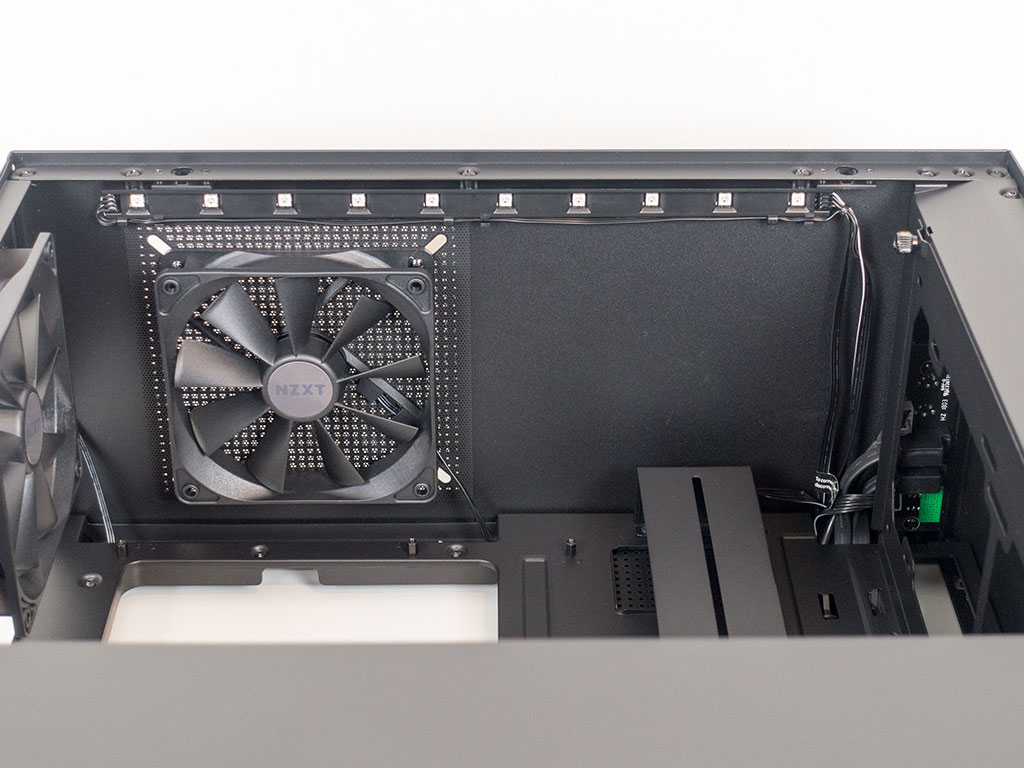
That same unit can be found in the ceiling as well. Looking at this part of the NZXT H500i, you can see the second RGB LED strip in the ceiling. It is nice to see such a clean wiring job within the case since it means that you essentially will just have to install your parts and plug the NZXT CAM module in.


All the cables within the chassis are of the default variety, with the exception of the one for case power/reset/LEDs. Unlike the vast majority of brands which make you connect four tiny leads, NZXT offers them up in a simple header. This is certainly something system integrators will love. There is also a SATA power cable, which provides the CAM module with the juice it needs to work its magic.
Apr 28th, 2024 16:53 EDT
change timezone
Latest GPU Drivers
New Forum Posts
- Does charging protection matter? (15)
- Help me identify rx 580 card ? (5)
- Ghetto Mods (4324)
- EK seems to be having major issues (49)
- DeepCool factory tour - very interesting (10)
- What's your latest tech purchase? (20359)
- What's an inexpensive AIO product line with a strong pump and low price? (83)
- Z790 ACE MAX? (0)
- What are you playing? (20554)
- Would I be able to put that rx 6600 in my build? (2)
Popular Reviews
- Ugreen NASync DXP4800 Plus Review
- HYTE THICC Q60 240 mm AIO Review
- Upcoming Hardware Launches 2023 (Updated Feb 2024)
- MOONDROP x Crinacle DUSK In-Ear Monitors Review - The Last 5%
- Thermalright Phantom Spirit 120 EVO Review
- AMD Ryzen 7 7800X3D Review - The Best Gaming CPU
- FiiO K19 Desktop DAC/Headphone Amplifier Review
- ASUS Radeon RX 7900 GRE TUF OC Review
- Alienware Pro Wireless Gaming Keyboard Review
- Intel Core i9-14900KS Review - The Last of its Kind
Controversial News Posts
- Windows 11 Now Officially Adware as Microsoft Embeds Ads in the Start Menu (139)
- Sony PlayStation 5 Pro Specifications Confirmed, Console Arrives Before Holidays (117)
- NVIDIA Points Intel Raptor Lake CPU Users to Get Help from Intel Amid System Instability Issues (106)
- AMD "Strix Halo" Zen 5 Mobile Processor Pictured: Chiplet-based, Uses 256-bit LPDDR5X (103)
- US Government Wants Nuclear Plants to Offload AI Data Center Expansion (98)
- AMD's RDNA 4 GPUs Could Stick with 18 Gbps GDDR6 Memory (95)
- Developers of Outpost Infinity Siege Recommend Underclocking i9-13900K and i9-14900K for Stability on Machines with RTX 4090 (85)
- Windows 10 Security Updates to Cost $61 After 2025, $427 by 2028 (84)