 18
18
NZXT H510i Review
Value & Conclusion »Test System
| System Parts for Case Reviews | |
|---|---|
| Processor: | Intel Core i7-8600K |
| Motherboards: | ATX: MSI Z370 GAMING PRO CARBON AC MATX: Z370M GAMING PRO CARBON Mini-ITX: MSI Z370i GAMING PRO CARBON Provided by: MSI |
| Graphics Card: | Long: ASUS Radeon RX580 Short: HIS Radeon 5350 HD |
| Memory: | 16 GB XPG Dazzle DDR4 2800 MHz CL17-17-17 1.25 V 32 GB GB XPG SPECTRIX D40 3000 MHz. CL16-18-18 1.35 V 16 GB XPG GAMMIX D10 DDR4 2400 MHz CL16-16-16 1.20 V Provided by: ADATA |
| HDD: | Western Digital 320 GB 7200 RPM |
| SSD: | ADATA XPG SX850 256 GB ADATA Ultimate SU800 3D 256 GB ADATA Ultimate SU700 240 GB Provided by: ADATA |
| Power Supply: | Antec HCG High Current Gamer 650 W 80Plus Gold Antec HCG High Current Gamer 850 W 80Plus Bronze Provided by: Antec |
| Cooling: | be quiet! Dark Rock 4 be quiet! Dark Rock Slim be quiet! Shadow Rock LP Provided by: be quiet! |
Assembly

Adding a motherboard is done by traditional means, with screws and spacers. Thankfully, NZXT has pre-installed the latter, so you simply put the board in place and screw it down. There is very little space above and below it, which reduces accessibility to any connectors along the motherboard's edges. This is especially true for the CPU power plug, which is traditionally in the top-left corner. While the H510i can hold a CPU cooler of up to 165 mm, I used a slightly more compact unit to make the assembly process a little simpler.


Adding an SSD now requires the use of screws to hold down, which was simpler in the previous generation. While a small annoyance, I don't really see this as a deal breaker. In fact, I rather be sure my drives are secure with a few screws than have the convenience and some uncertainty. Once filled, simply screw the tray back into place on the back of the motherboard tray.


However, the 3.5" drives are quite the contrast as you will be forced to lay the chassis on its side first to then remove the four screws holding the cage in place before pulling it out of the system. While this is a minor hassle when initially assembling things, those wanting to expand their running system will be forced to detach everything and pull the whole unit out as well. NZXT should have gone with trays for at least two of the three drive placements.

Adding a PSU is pretty unspectacular. Simply slide it in, screw it down, and connect all the components. There is plenty of room, so you should be able to use any unit regardless of size.


Once everything is assembled, the NZXT H510i makes a very clean impression because of metal cover within the case. Even the backside is pretty tidy due to the cable trenches and plenty of mounting possibilities for cable ties in combination with the excellent wiring of existing leads out of the box.
Finished Looks


Once turned on, the lighting within the system turns on in white by default. The power supply LED is also white, which works quite well for this case.
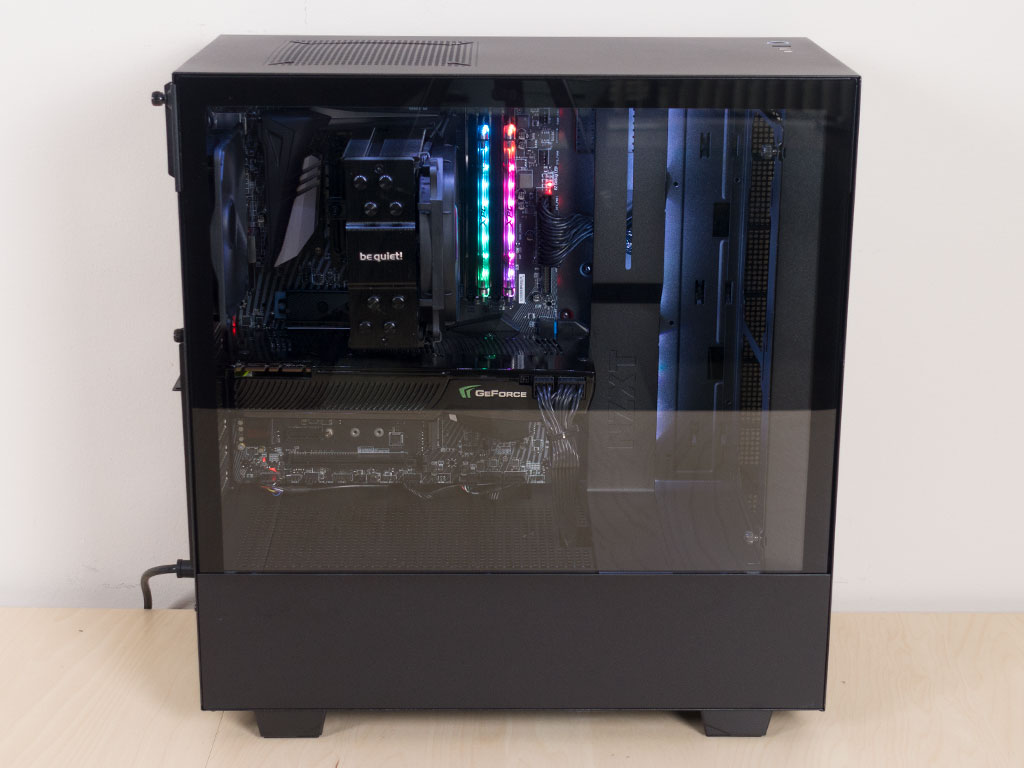


Looking at the side, you can indirectly see the hue of the RGB strip behind the cable opening cover. In the rear, everything is where you would expect it, with the PSU on the bottom, the expansion cards all horizontal by default, and the exhaust fan pushing air out the back. On a side note: the fan in my case sample had some sort of loose contact, so I had to wiggle things around a bit to get it up and running.
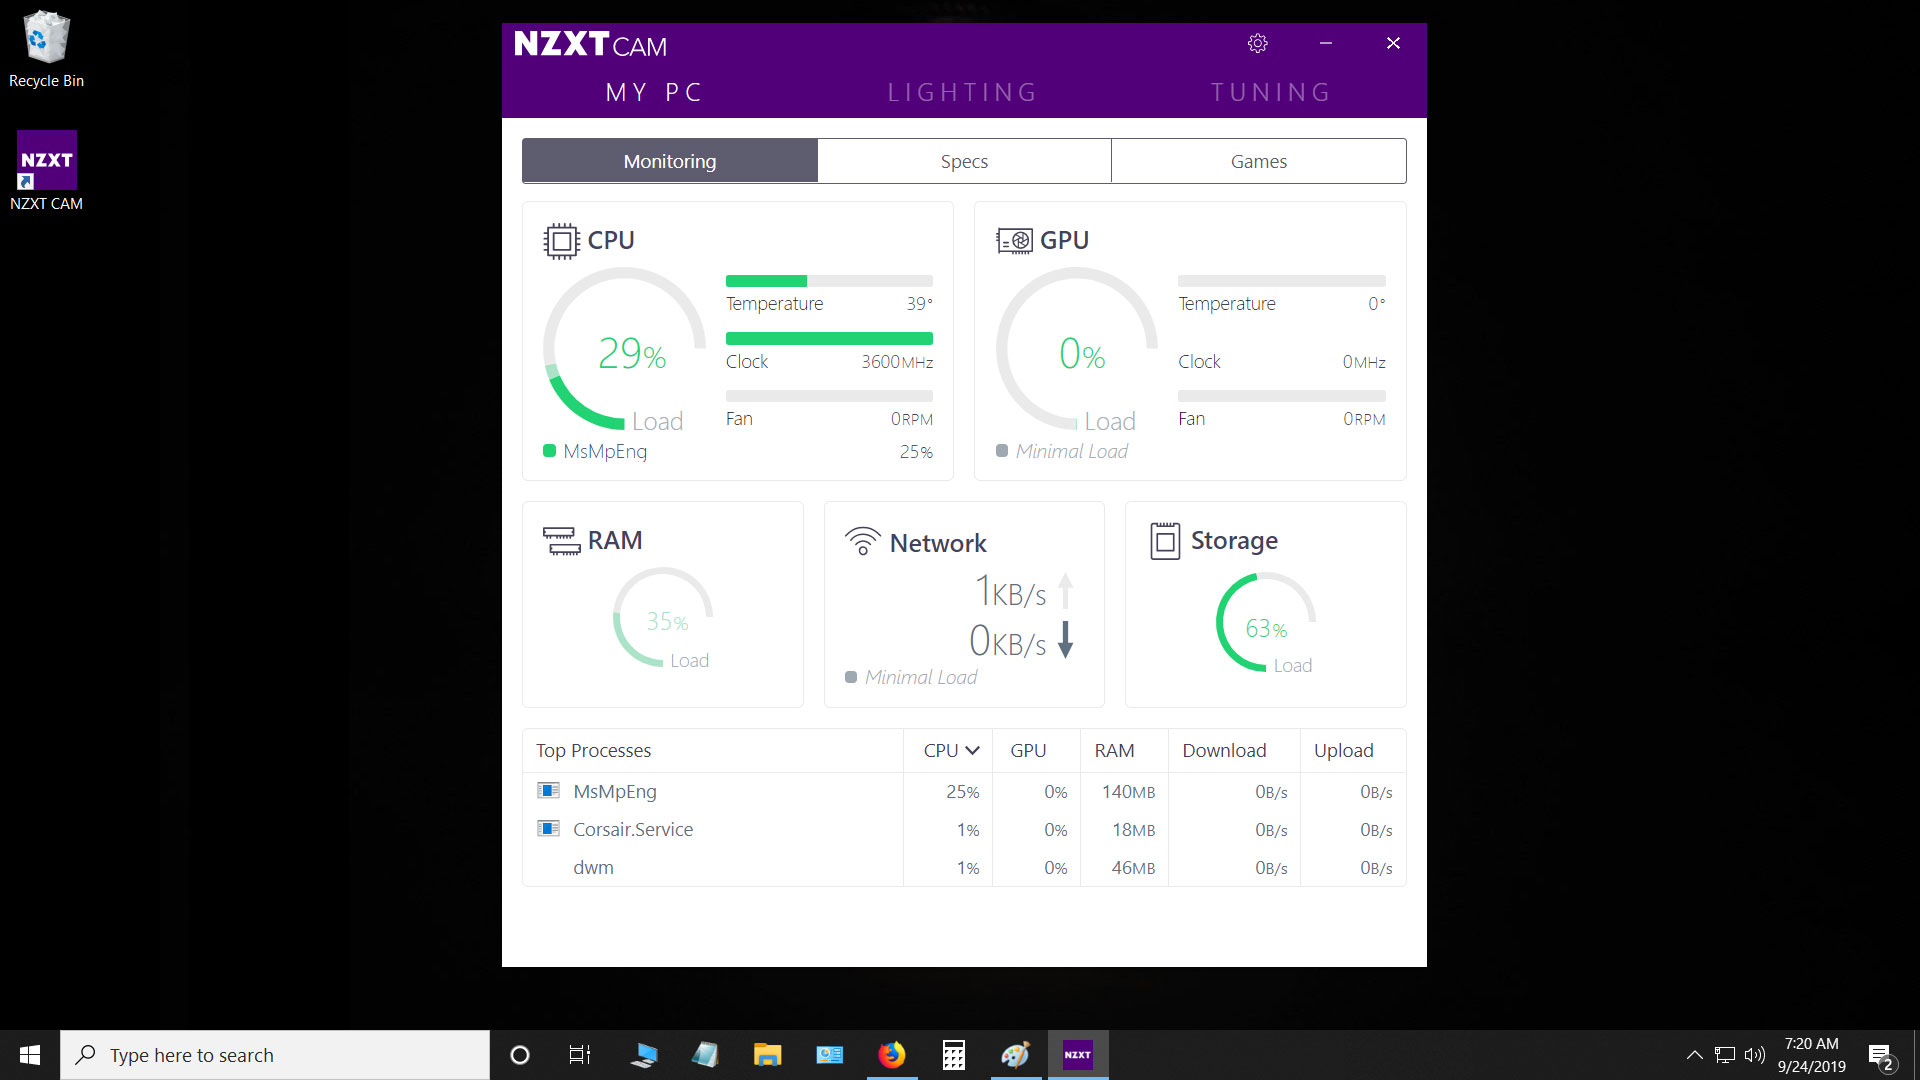
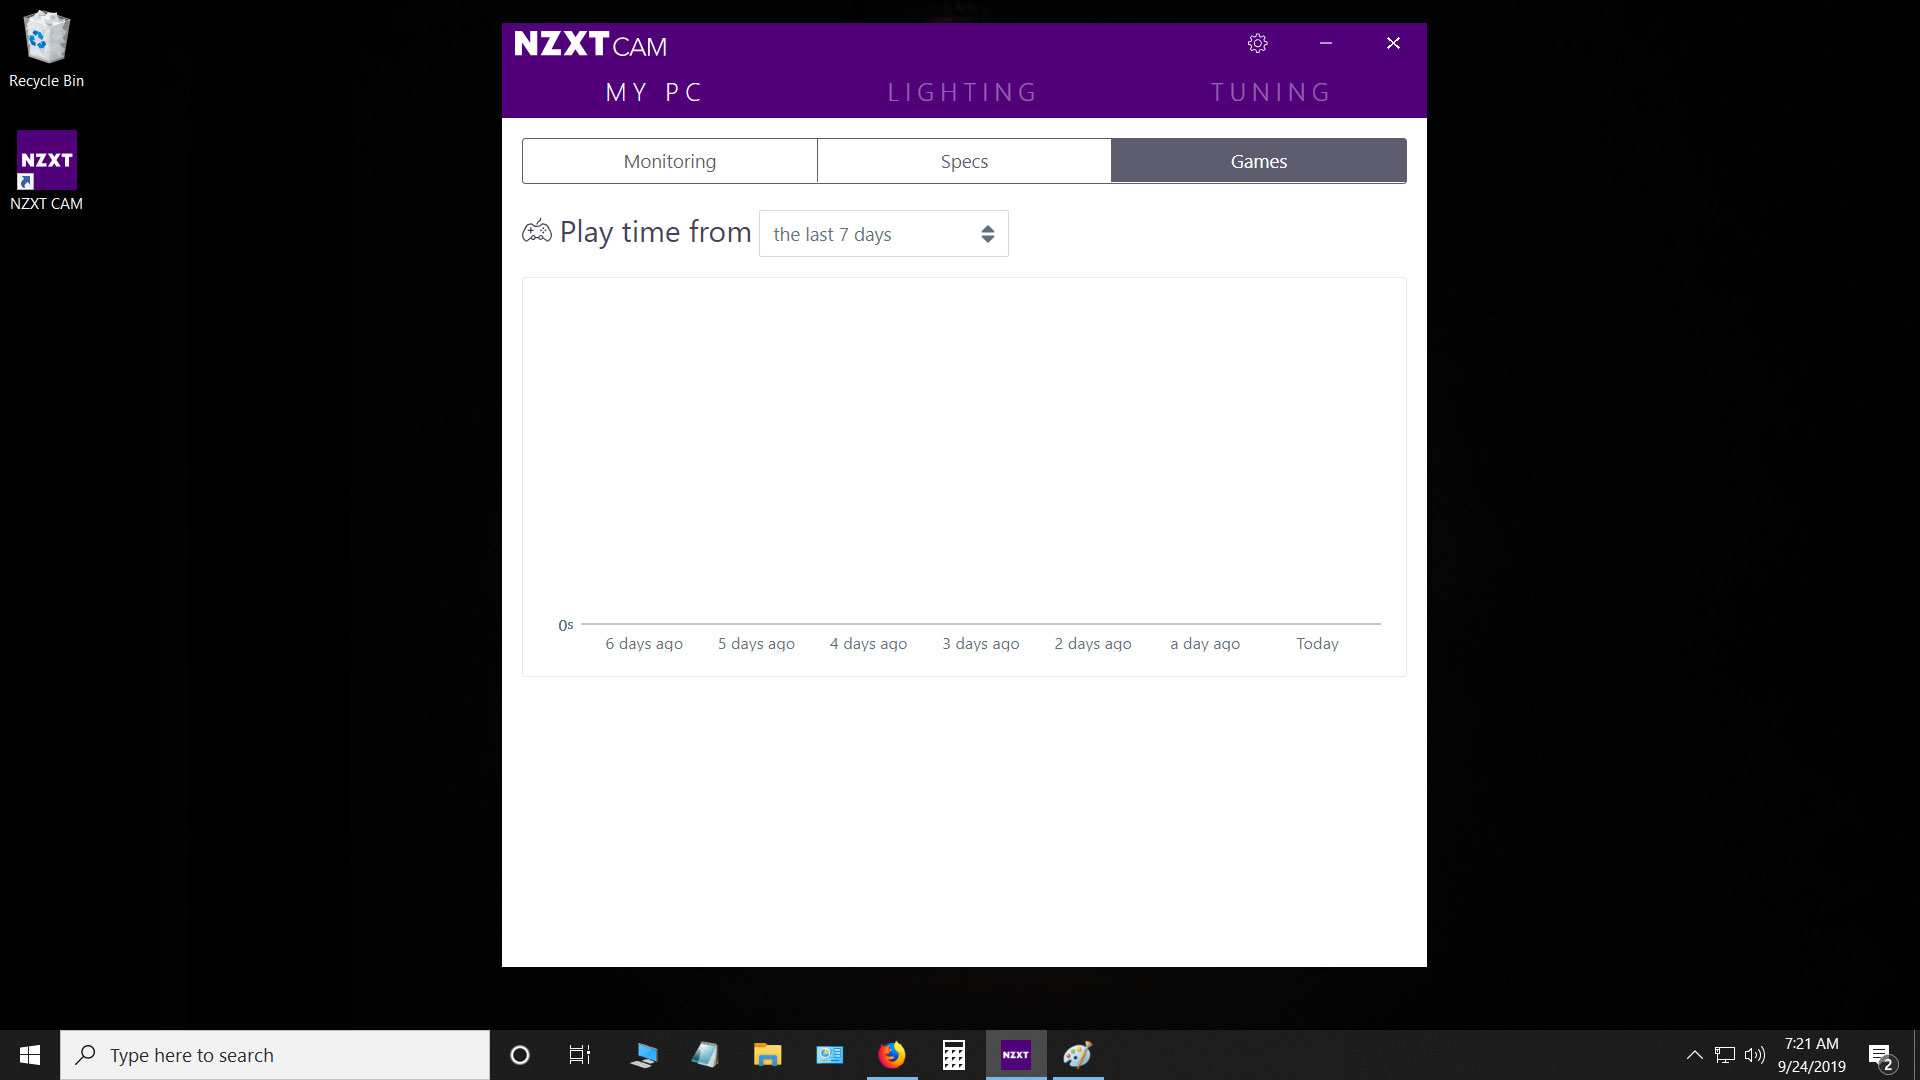
CAM Software
The software you may download directly from the NZXT website gives you access to the integrated Smart Device V2 module that is built-into the "i" variants of the H-Series. It provides information about your system, the games you play, and the color setup of any integrated lighting modules, like the two RGB strips—you can even tune fan speeds and overclock your system if you have the right parts installed.

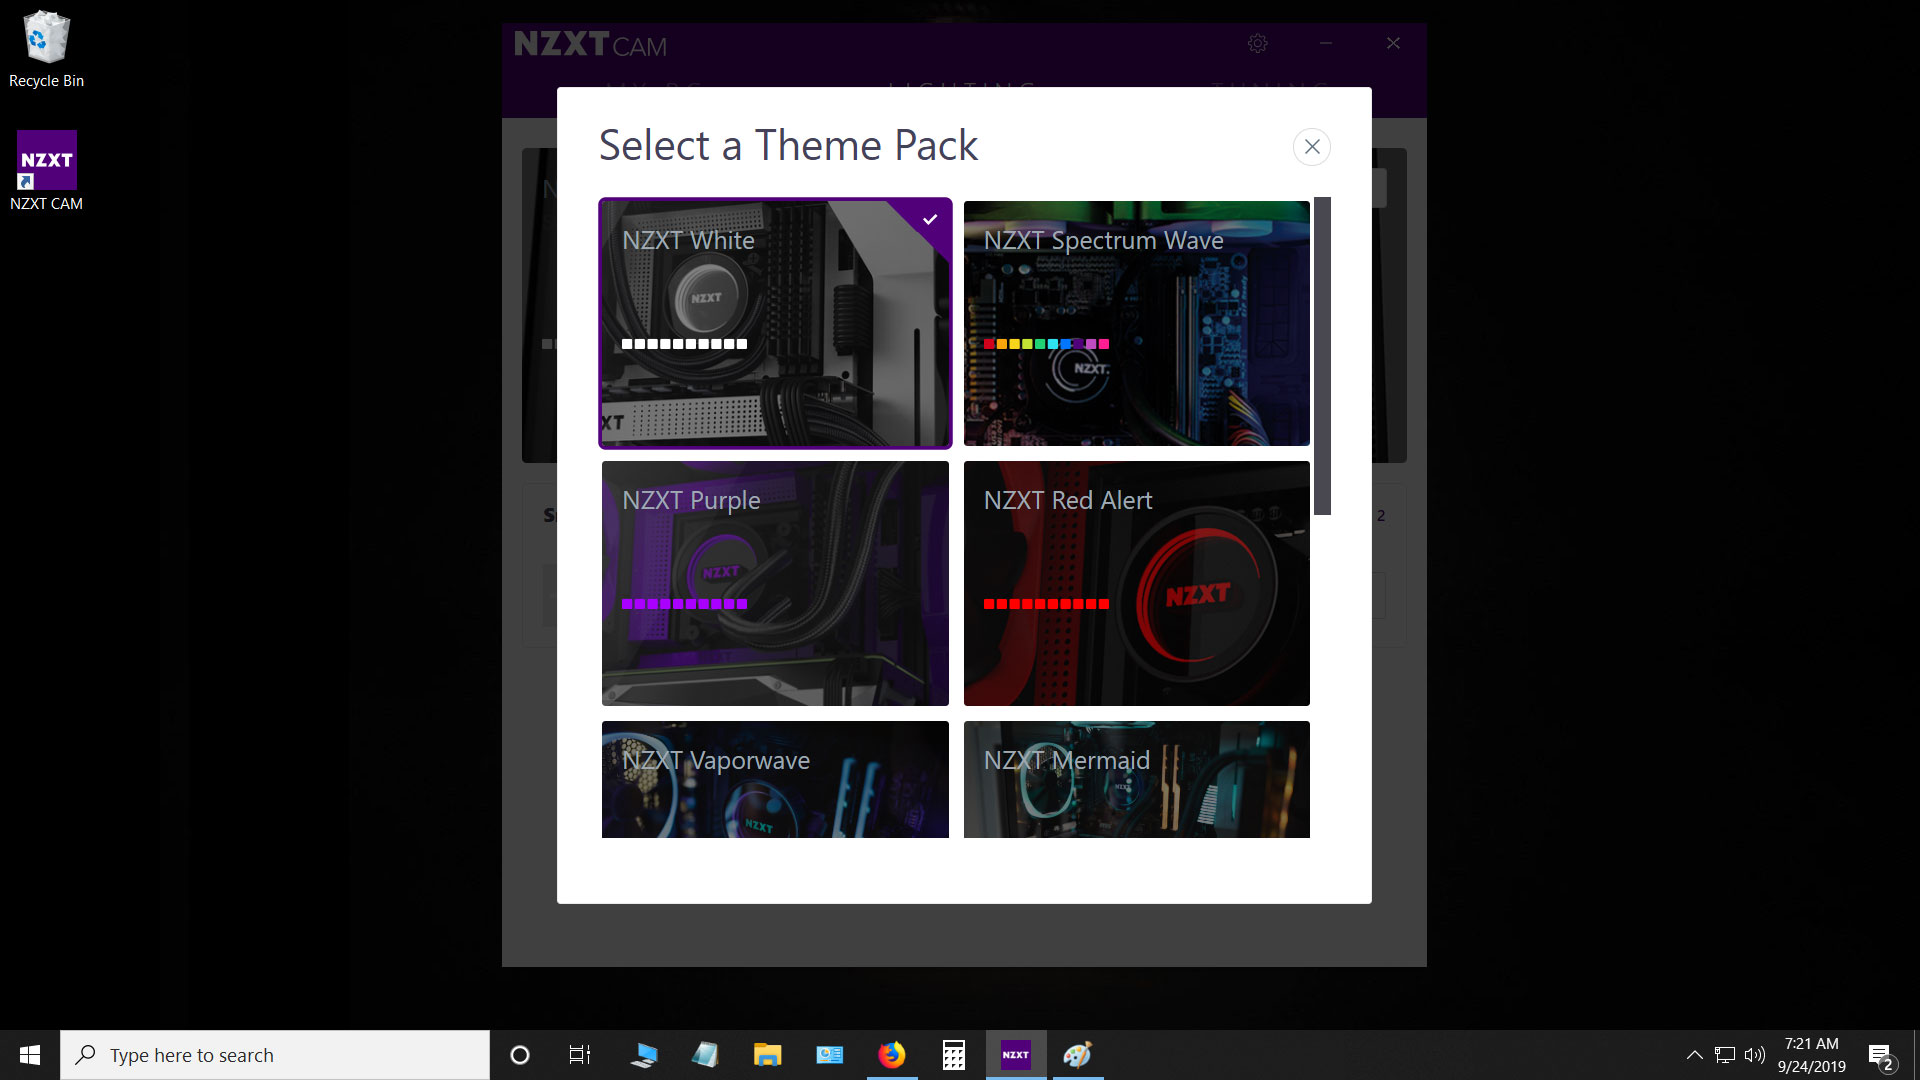


Once you change your color settings, they show up immediately, and I personally like the oh so colorful rainbow hues as it nicely visible for the review picture.
Jun 3rd, 2024 01:47 EDT
change timezone
Latest GPU Drivers
New Forum Posts
- RX 580 8GB 2048SP problem, I need help, please. (1)
- 4 errors after memtest, should I replace? (0)
- PNY RTX 4070 Ti XLR8 OC - New worse BIOS/version? (113)
- Anyone born in the 70s? Remember how good the 90s games were? (61)
- seeking advice about a new build (19)
- i9-14900k Cooling With AIO? (22)
- MSI RX 580 8g used for mining (2)
- Flash original BIOS - Asrock RX570 (3)
- can a damaged motherboard onboard audio cause randomly audio popping / crackling? (27)
- What's your latest tech purchase? (20719)
Popular Reviews
- SilverStone KL07E Review
- NuPhy Air96 V2 Low Profile Wireless Mechanical Keyboard Review
- Upcoming Hardware Launches 2024 (Updated May 2024)
- Elysian Acoustic Labs Pilgrim In-Ear Monitors Review
- ID-Cooling FX360 PRO Review - Shots Fired @ Arctic
- Ghost of Tsushima Performance Benchmark Review - 35 GPUs Tested
- AMD Ryzen 7 7800X3D Review - The Best Gaming CPU
- Senua’s Saga: Hellblade II: DLSS vs. FSR vs. XeSS Comparison Review
- Senua's Saga: Hellblade II Performance Benchmark Review
- Montech Titan Gold 1000 W Review
Controversial News Posts
- AMD to Redesign Ray Tracing Hardware on RDNA 4 (227)
- NVIDIA to Only Launch the Flagship GeForce RTX 5090 in 2024, Rest of the Series in 2025 (154)
- AMD Hits Highest-Ever x86 CPU Market Share in Q1 2024 Across Desktop and Server (140)
- AMD RDNA 5 a "Clean Sheet" Graphics Architecture, RDNA 4 Merely Corrects a Bug Over RDNA 3 (139)
- NVIDIA RTX 5090 "Blackwell" Founders Edition to Implement the "RTX 4090 Ti" Cinderblock Design (118)
- Core Configurations of Intel Core Ultra 200 "Arrow Lake-S" Desktop Processors Surface (101)
- Biden Administration to Revive Trump-Era Tariffs on China-made GPUs and Motherboards (95)
- AMD Ryzen 9000 Zen 5 Single Thread Performance at 5.80 GHz Found 19% Over Zen 4 (88)