 8
OWC Express 1M2 SSD Enclosure Review - Fast and Fanless
Performance »Package


The OWC Express 1M2 enclosure comes in a solid paperboard box that opens up similar to a motherboard box. Inside, there is an inner molded cardboard box.
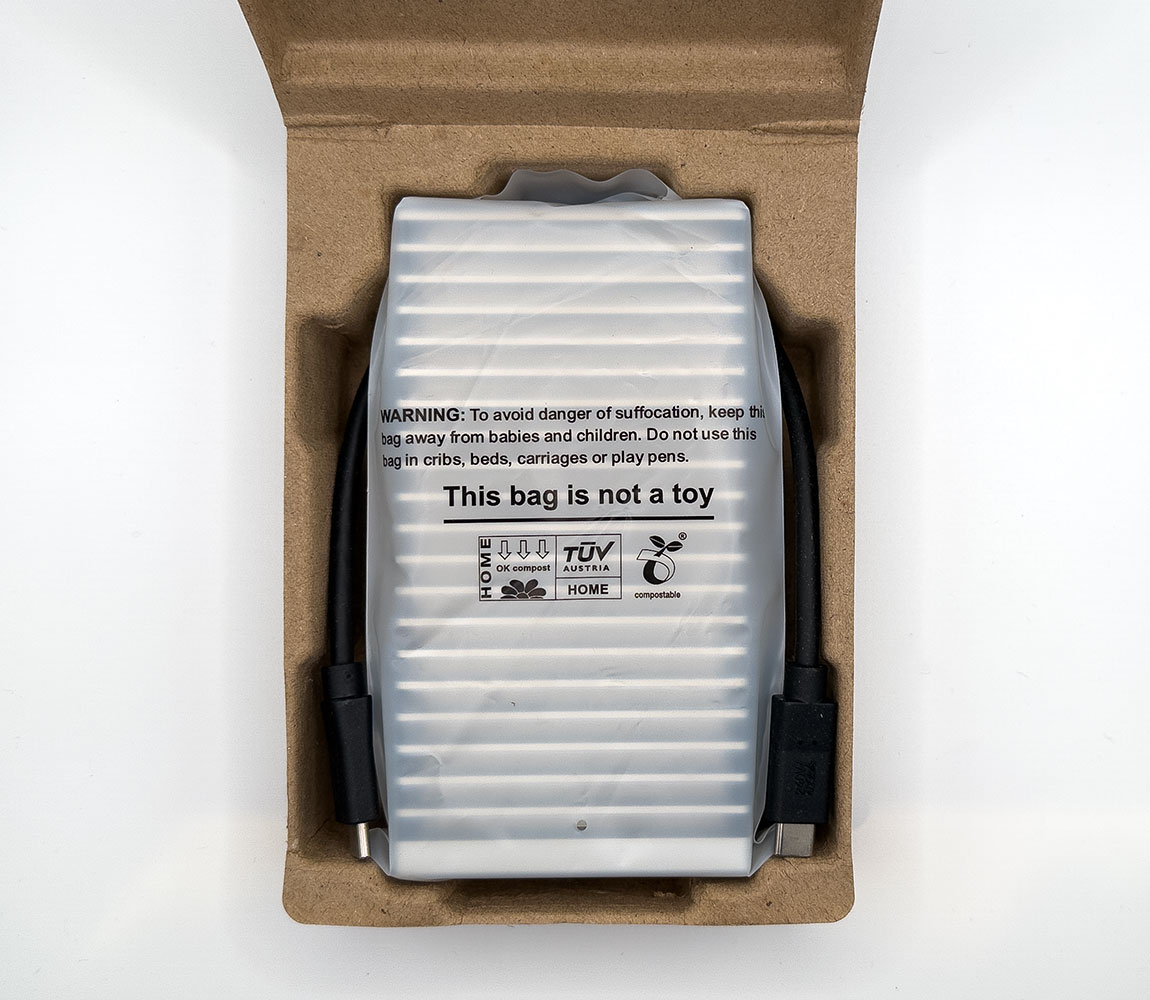
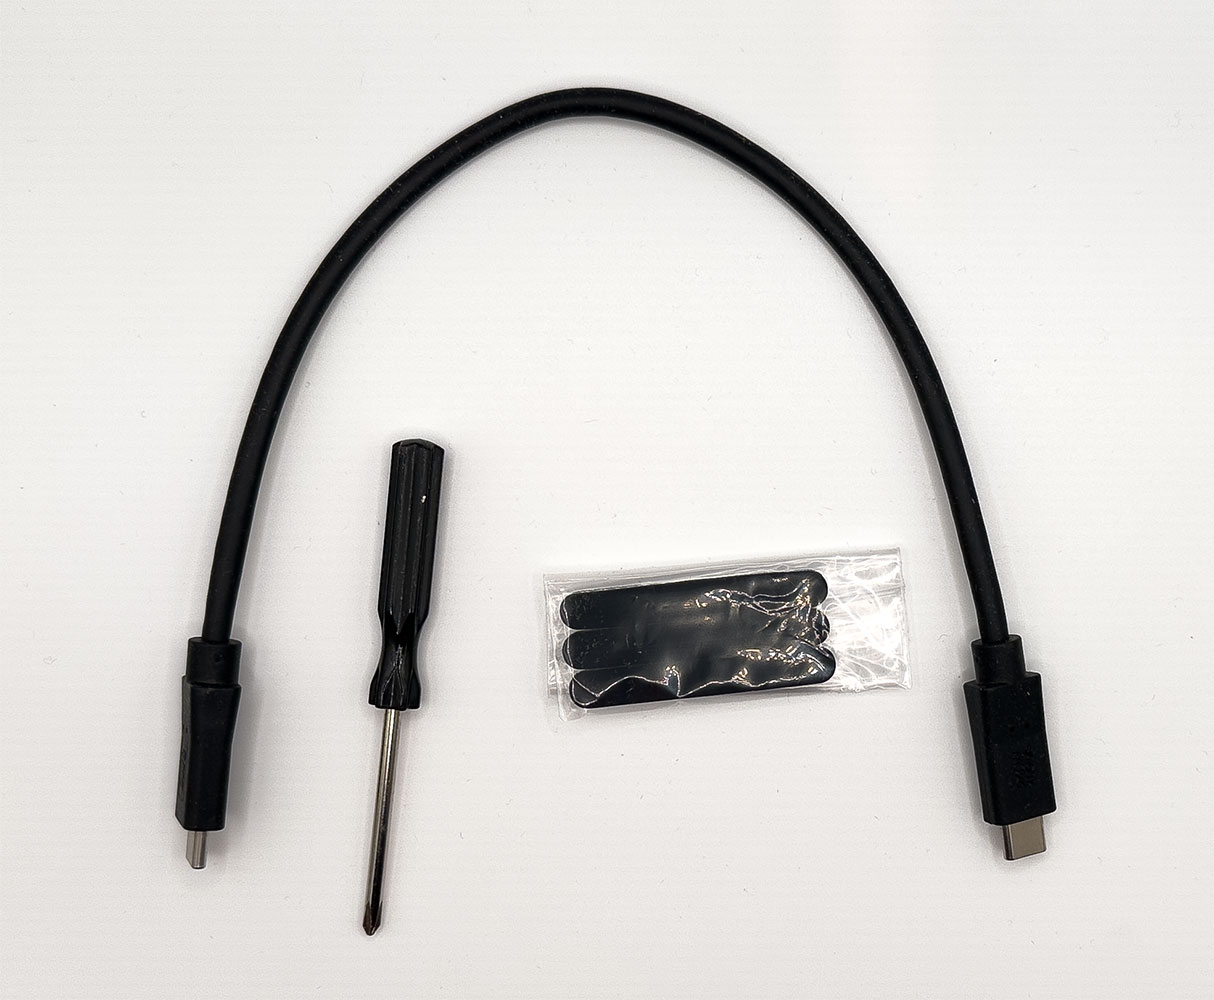
You open the cardboard box to reveal the enclosure and its cable. Underneath is a screwdriver. There is no printed documentation included with the product. There's a QR code sticker on the enclosure that points you to an online manual. Besides the enclosure, you get the small screwdriver, and three adhesive rubber feet.
This screwdriver is needed both to open the enclosure, and to mount the internal M.2 SSD, so try not to lose it. Even if you do, it's just a Philips head, nothing exotic.
The Enclosure
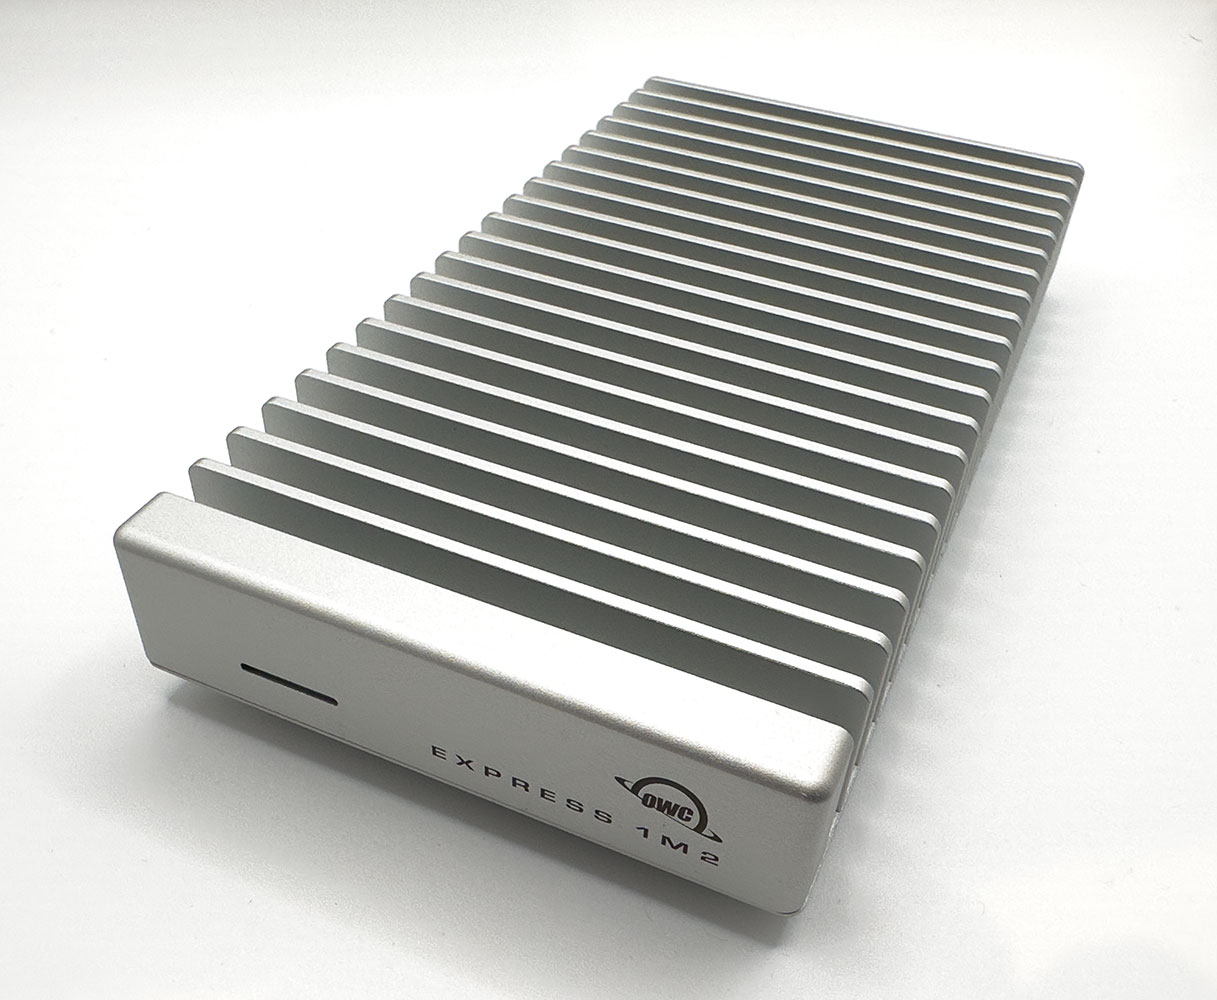

The OWC Express 1M2 feels solid to hold, it's designed with an aluminium unibody structure, and thematically matches Apple devices, such as MacBook Pro and Mac Pro desktops. It lies flat on your desk, with its ridged topside serving as a heatsink. There is a bright white LED on the front, and a USB-C port on the back.
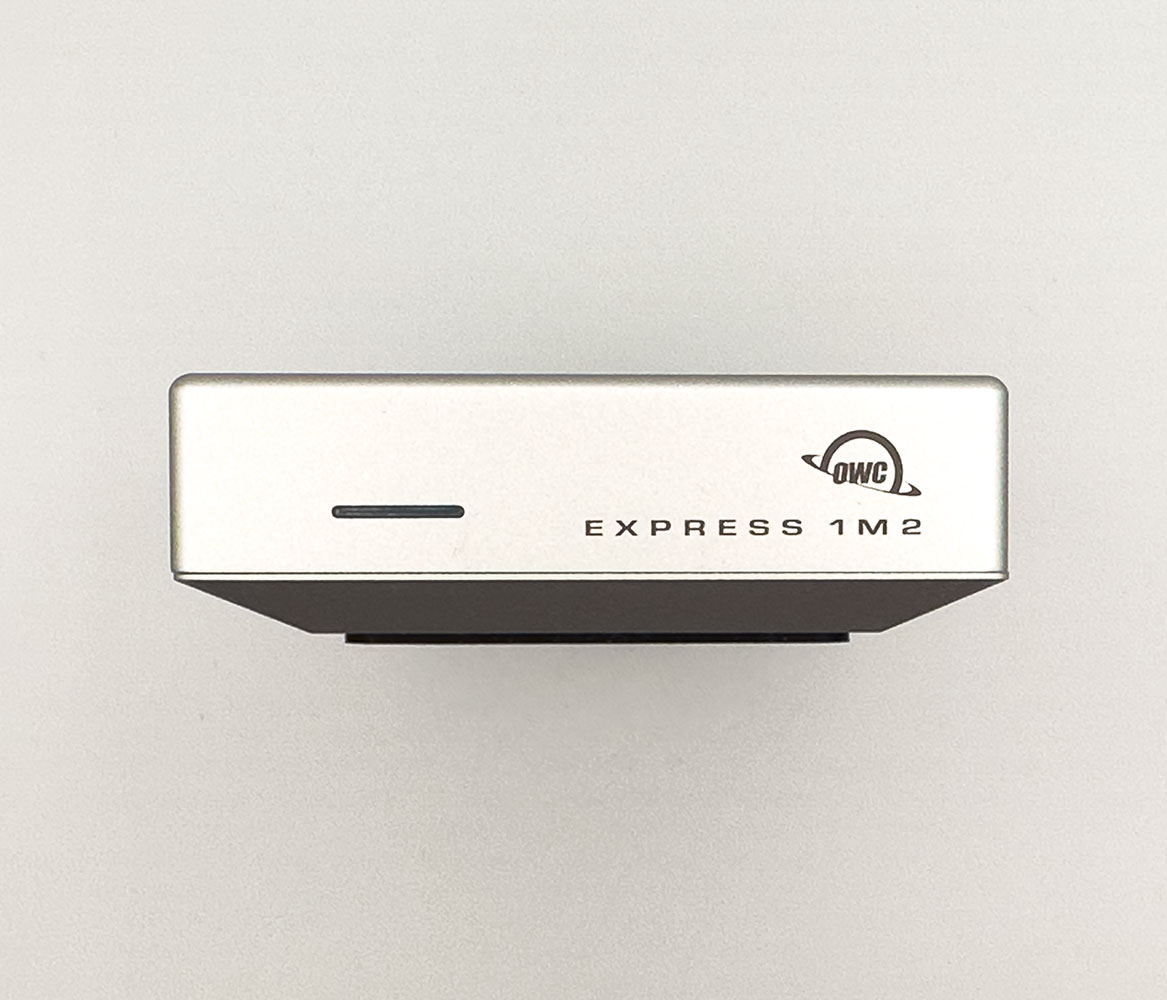
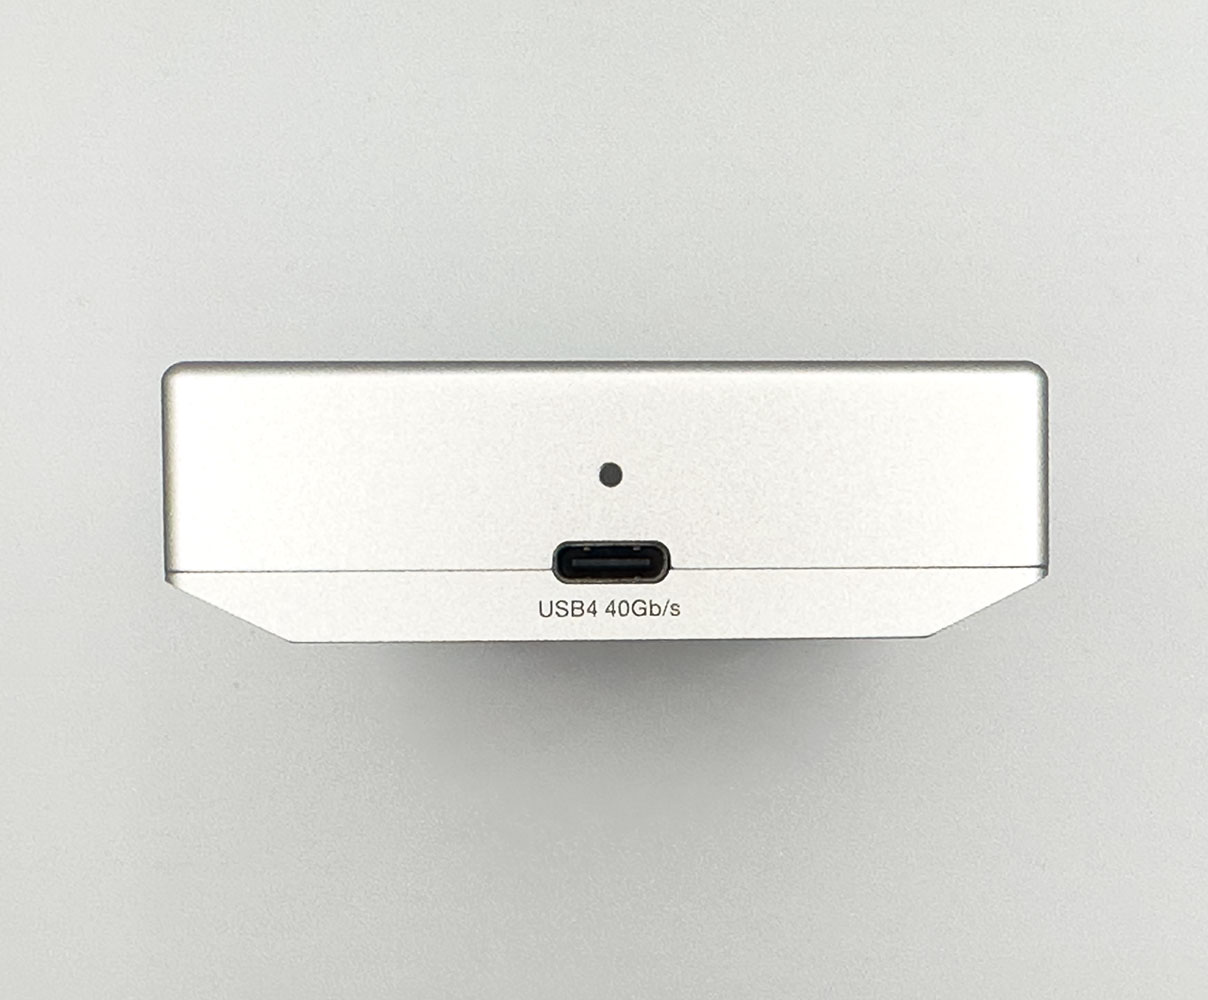
The front face with the logo has a sleek white LED. It glows when correctly installed with an internal SSD, and blinks to indicate activity. The backside has a USB-C port with markings to show that the enclosure is capable of 40 Gbps transfer speeds.
Disassembly and Installation
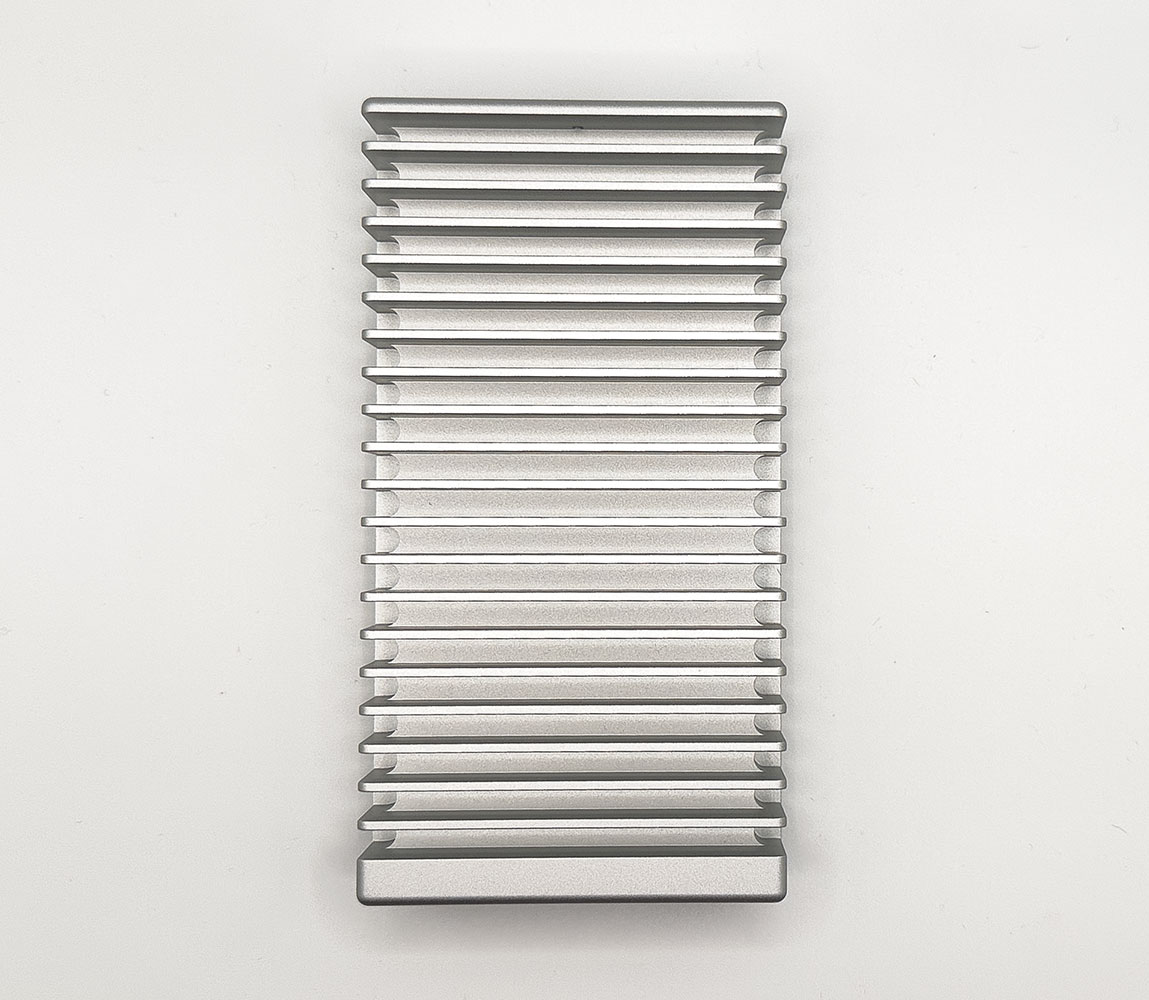
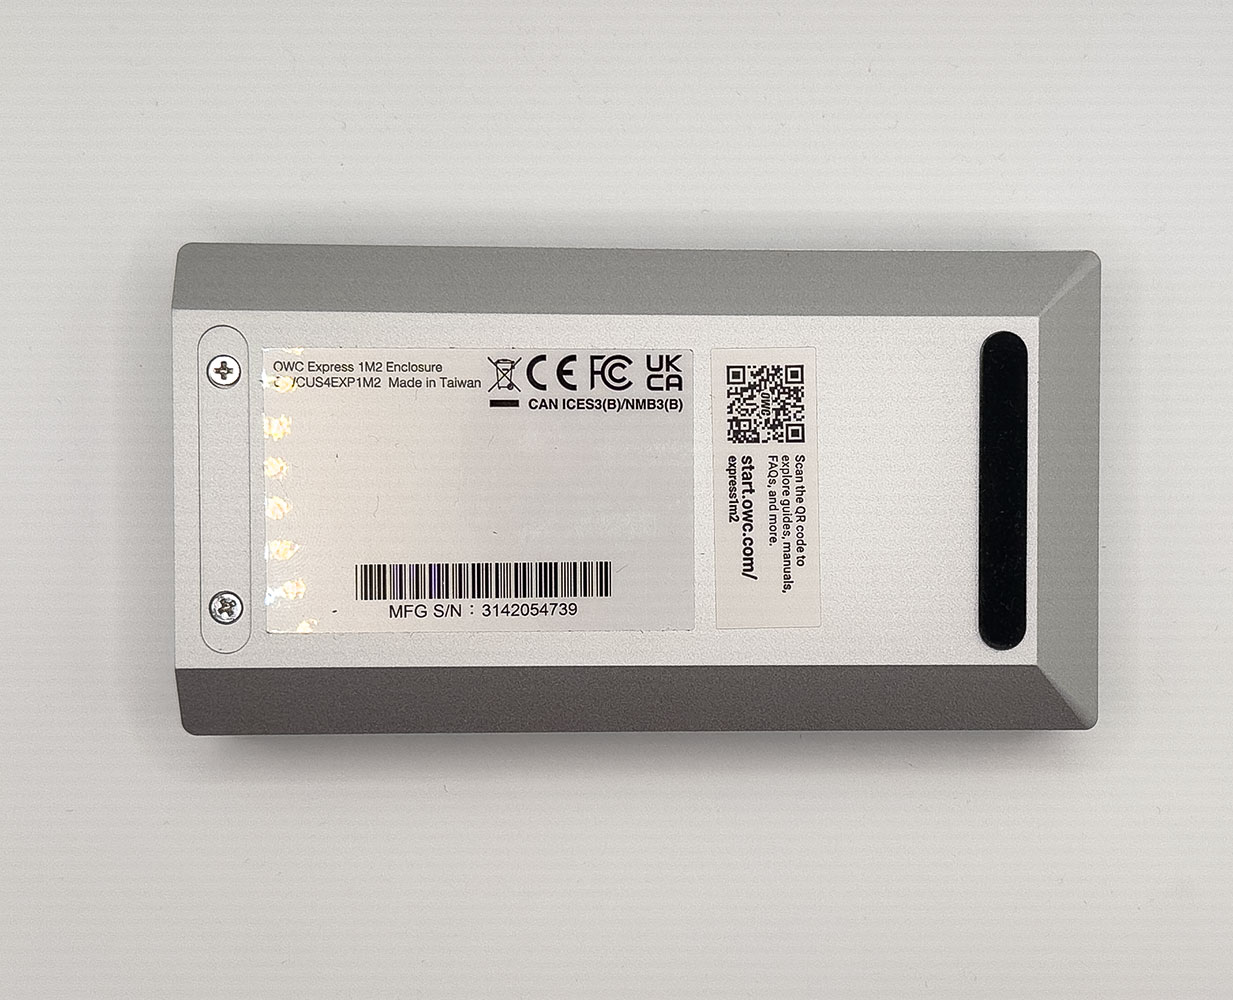
There are no screws hidden between the ridges on the topside. To open the drive, you have to locate two Philips screws on the bottom side, beneath the rubber foot near the end with the USB-C port. Out of the box, there is no rubber foot installed here, the screws are exposed. Once installed, you're expected to use one of the three included adhesive rubber feet included with the enclosure.

Once you undo these two screws, you simply shear the two halves apart, and the bottom half slides out. The bottom half has the PCB with an M.2 slot, the top half has a preinstalled thermal pad for the M.2 drive, and an additional fiberglass pad for the controller. All hot components of the PCB are located on the top side, there's nothing on the reverse side. There's a silicone-based LED diffuser that carries light from an SMD LED to the front of the enclosure.
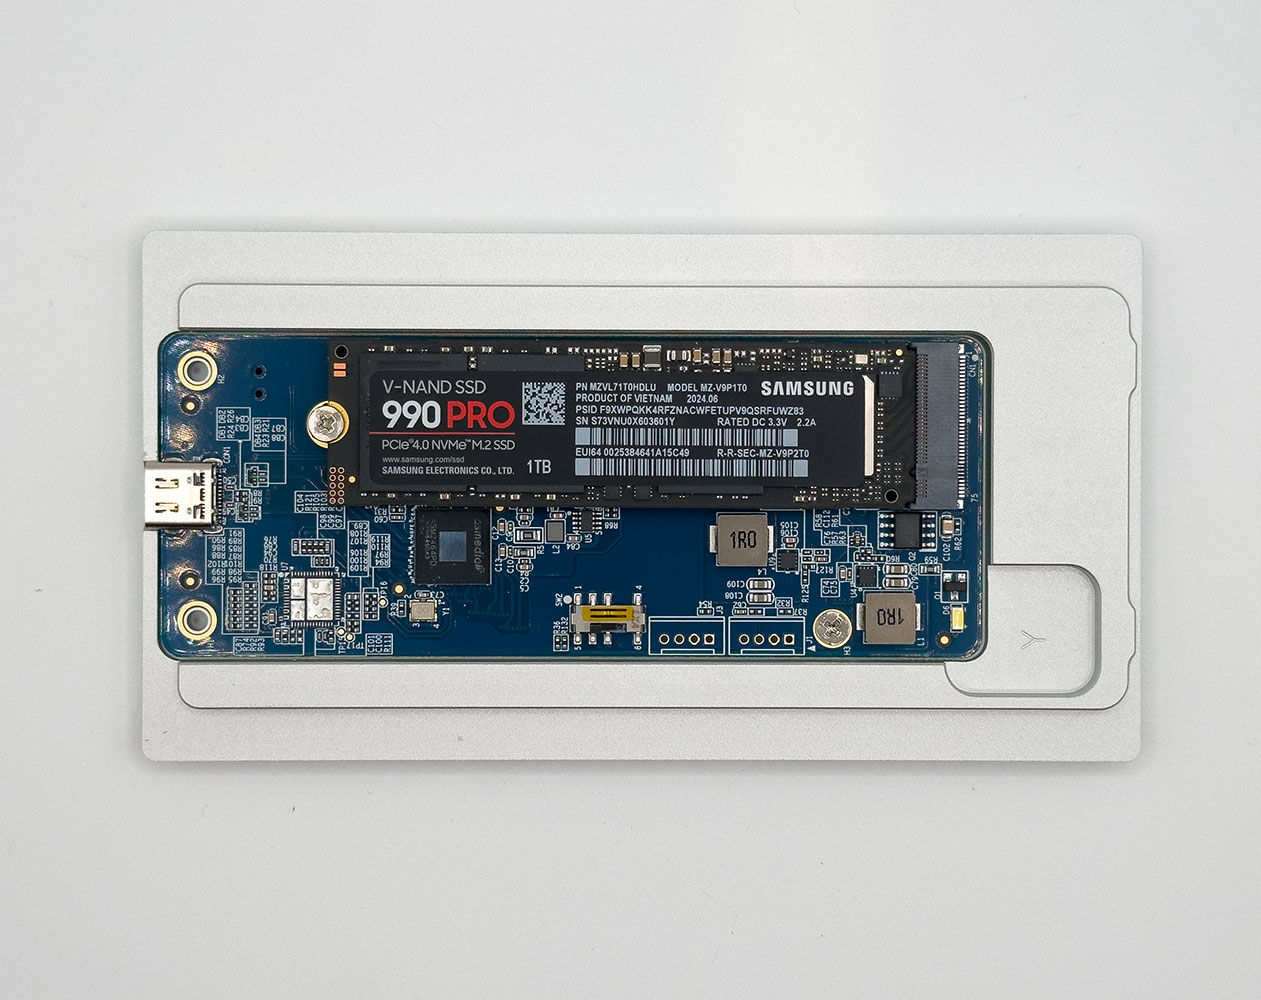

Installation is straightforward. You use the included screwdriver to undo a short screw that's in the M.2-2280 position, and use it to hold the drive in place. If you have a smaller M.2-2242 or M.2-2230 drive, you have to undo the PCB, unfasten the standoff, and move it to the 2242 or 2230 hole.
Components
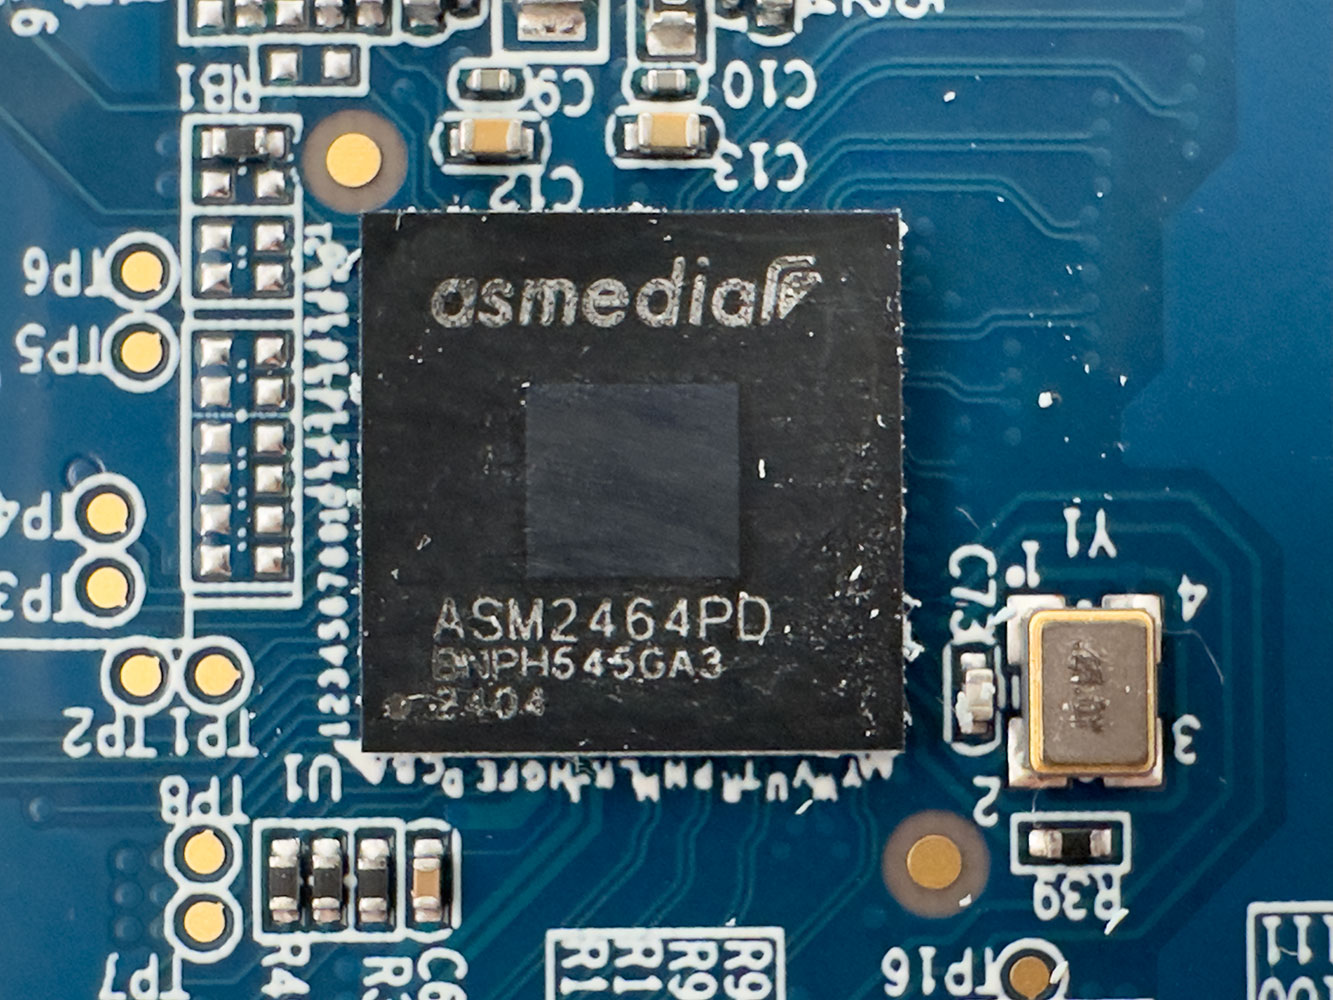
OWC uses a single chip solution, with an ASMedia ASM2464PD controller in charge. This controller offers a 40 Gbps uplink over USB4 and Thunderbolt 4, which it wires out as PCI-Express 4.0 x4. Although our Samsung 990 PRO has a Gen 4 x4 connection, it is still limited by the 40 Gbps upstream connection.
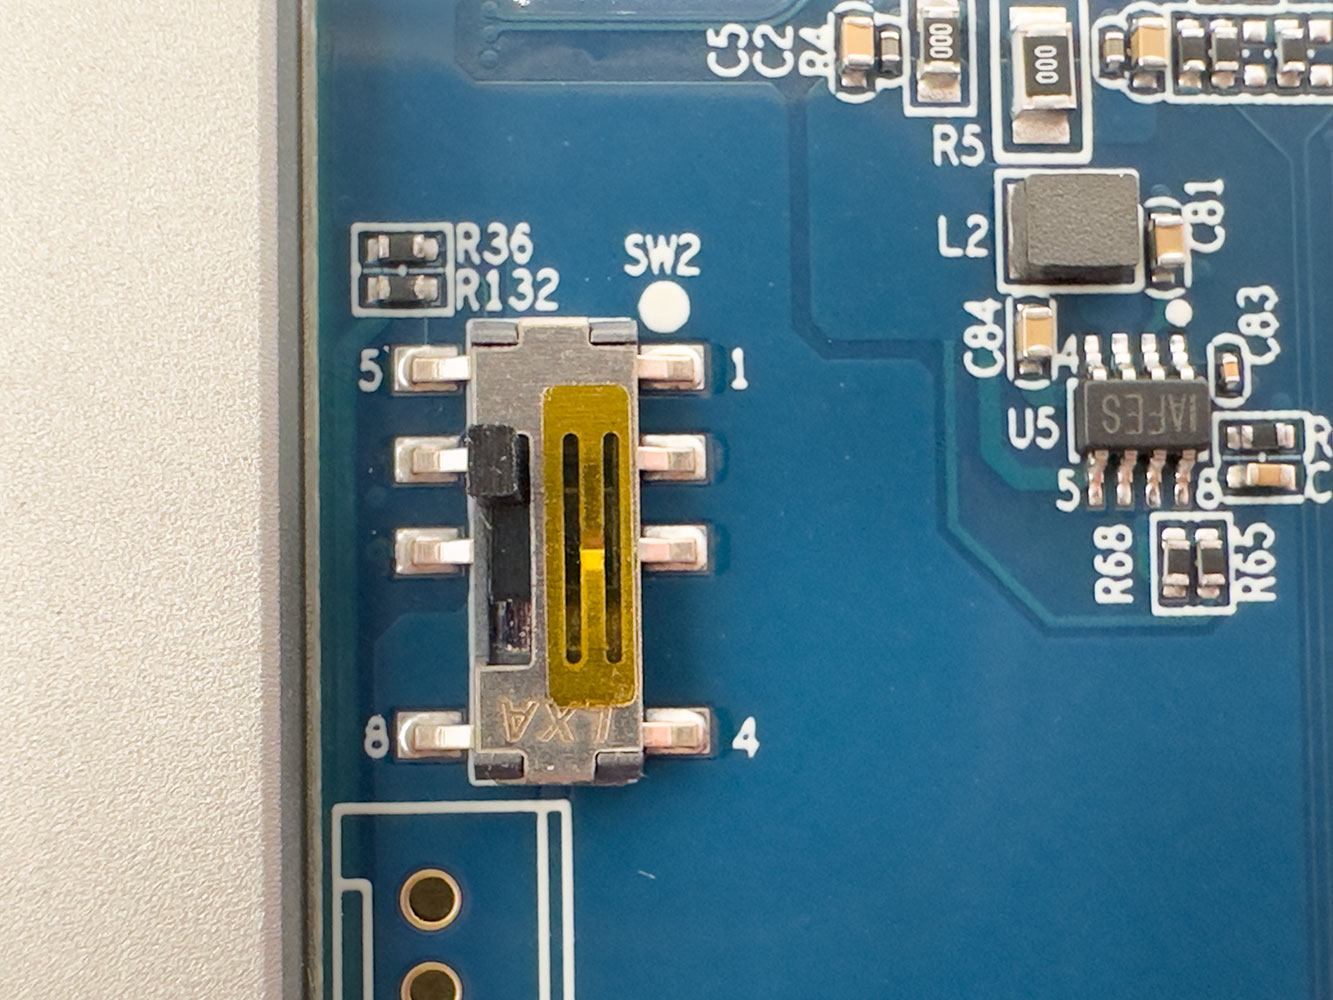
This unmarked switch on the PCB lets you control the LED. In its default position out of the box, the switch runs the LED at maximum brightness. In its middle position, the brightness is reduced by half. In its bottom position, the LED is disabled. Some creators may find this switch useful, because they might not like a blinking LED on their desk.
Nov 21st, 2026 23:58 PST
change timezone
Latest GPU Drivers
New Forum Posts
- How to prevent OLED burn damage due to PC freezes or power outtages? (53)
- Your PC ATM (36447)
- Honestly, do you care about GTA VI? (238)
- SATA drive 1.4 GBps with Intel X25-E on Windows 98! (41)
- TPU's Nostalgic Hardware Club (22191)
- Ryzen or Intel system (11)
- AI generated images... (231)
- RX 9000 series GPU Owners Club (2252)
- Introducing DST Bench : one of the most advanced disk benchmark and storage analyzer real-time software (7)
- UPS what one to get? (26)
Popular Reviews
- Microsoft Surface Laptop Ultra Review - The Next-gen Arm Laptop
- Corsair RM1200e (Second Generation) Review
- Pulsar Office Tour & First Look at P1 Dual-Sensor Mouse
- Upcoming Hardware Launches 2027 (Updated Nov 2026)
- Ugreen NASync DXP4800 GT Review
- AMD Ryzen 7 9800X3D Review - The Best Gaming Processor
- Biwin Black Opal NV7400 2 TB Review
- AMD Zen 6 Technical Deep Dive
- Phantom Blade Zero Performance Benchmark Review - 35 GPUs Tested
- AMD Ryzen 7 5800X3D 10th Anniversary Review
TPU on YouTube
Controversial News Posts
- NVIDIA Co-Founder and CEO Jensen Huang Officially Resigns (492)
- Report: Jensen Huang Eyes NVIDIA Comeback (262)
- Open Letter Asking NVIDIA to Reinstate Jensen Huang Passes 115,000 Signatures (184)
- OpenAI CEO Argues Home PCs Waste the World's Limited DRAM Supply (152)
- NVIDIA Launches Investigation Into Jensen Huang's Relationship With Suspected Chinese Spy (136)
- Intel "Raptor Lake Next" 16-Core and 20-Core CPUs Surface (130)
- NVIDIA GeForce RTX 50-Series Scheduled for up to $500 Price Hike This Week (89)
- Intel Razor Lake Gets a 12 P-Core bLLC Chip With No E-Cores, Per Leak (86)