 19
Razer Blade 16 (2025) Review - Thin, Light, Punchy, and Efficient
Display Testing »Disassembly and Teardown

Let's see how to open the 2025 version of the Razer Blade 16. Your first task is to undo the ten T5 Torx-head screws which secure the bottom. Gently pry one of the top edges and lift the bottom plate. Yes, that's all. It's easier than expected.

You get two thermal pads on the inside of the bottom panel, one for each SSD slot. There are also dust filters for the speaker cutouts.

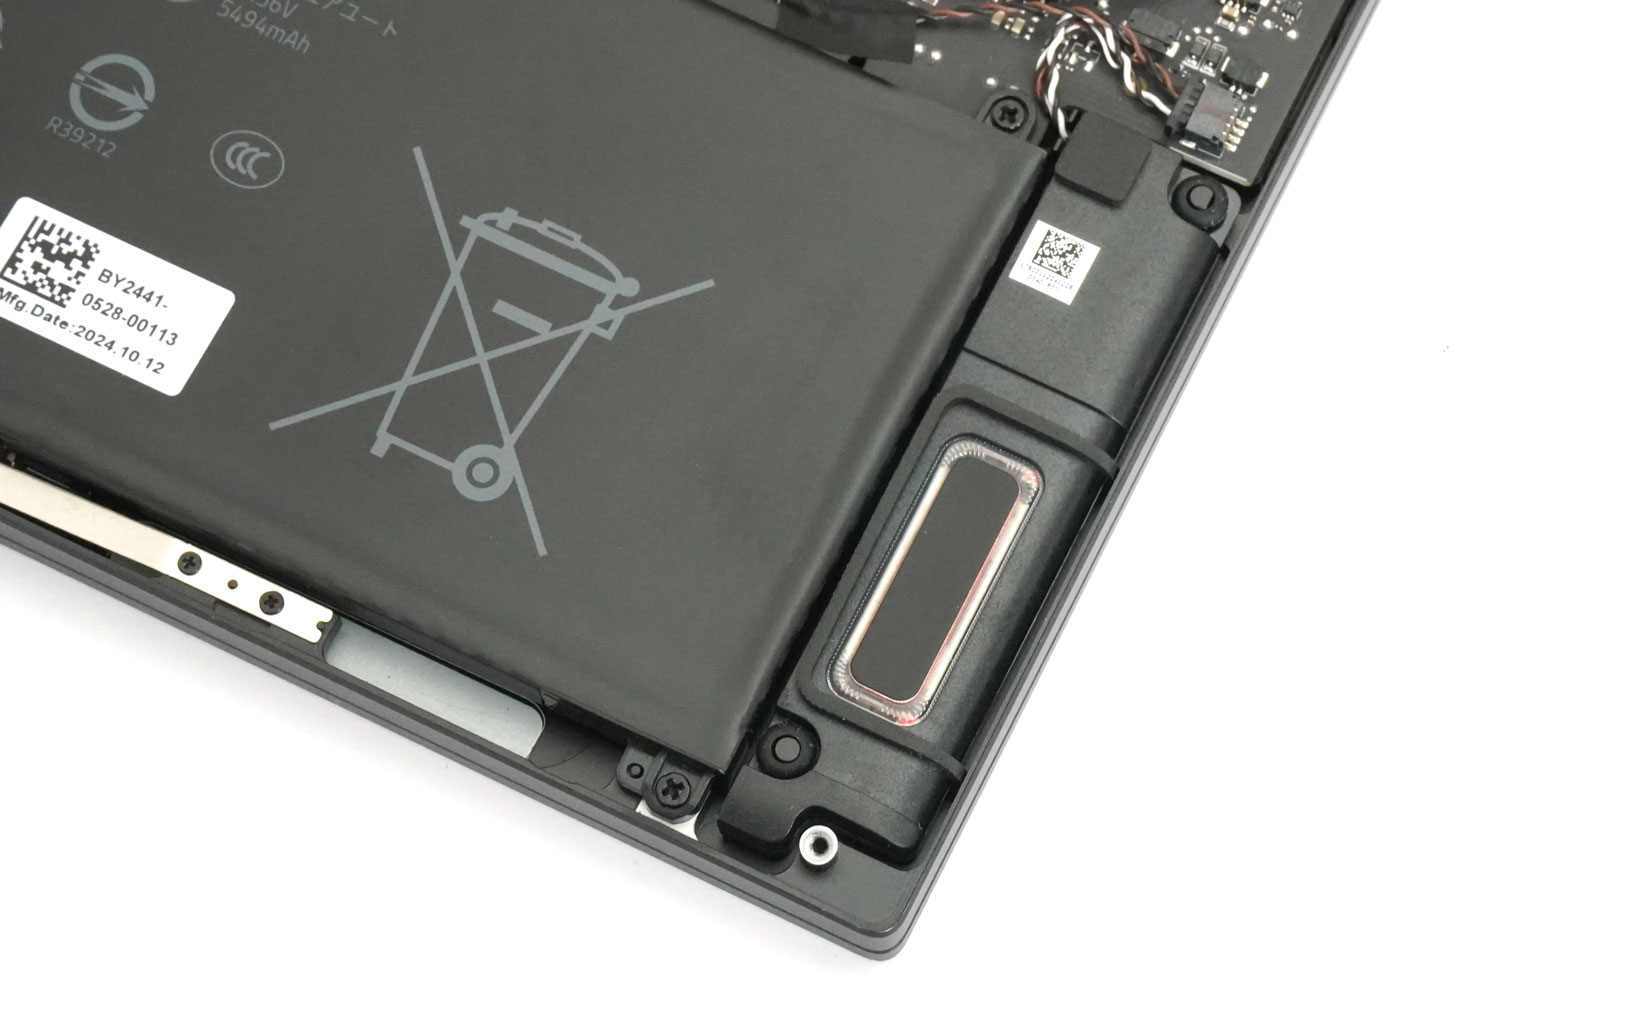
The speakers come with 'Smart Amp' tech.

Despite the thin profile, the battery is a large 90 Wh unit, just under the max capacity allowed on planes.

Before removing it, don't forget to take out the connector by sliding it to the left, and put on some gloves when handling the battery. Six small screws are waiting to get undone, two at the top and four at the bottom. Note that the upper left one has a sticker on it. Once the screws are out, peel off the two small pieces of tape around the connector and ensure the speaker cable is clear of the battery connector. Finally, lift the lower side of the battery, push it towards the front of the laptop, and then lift it away.
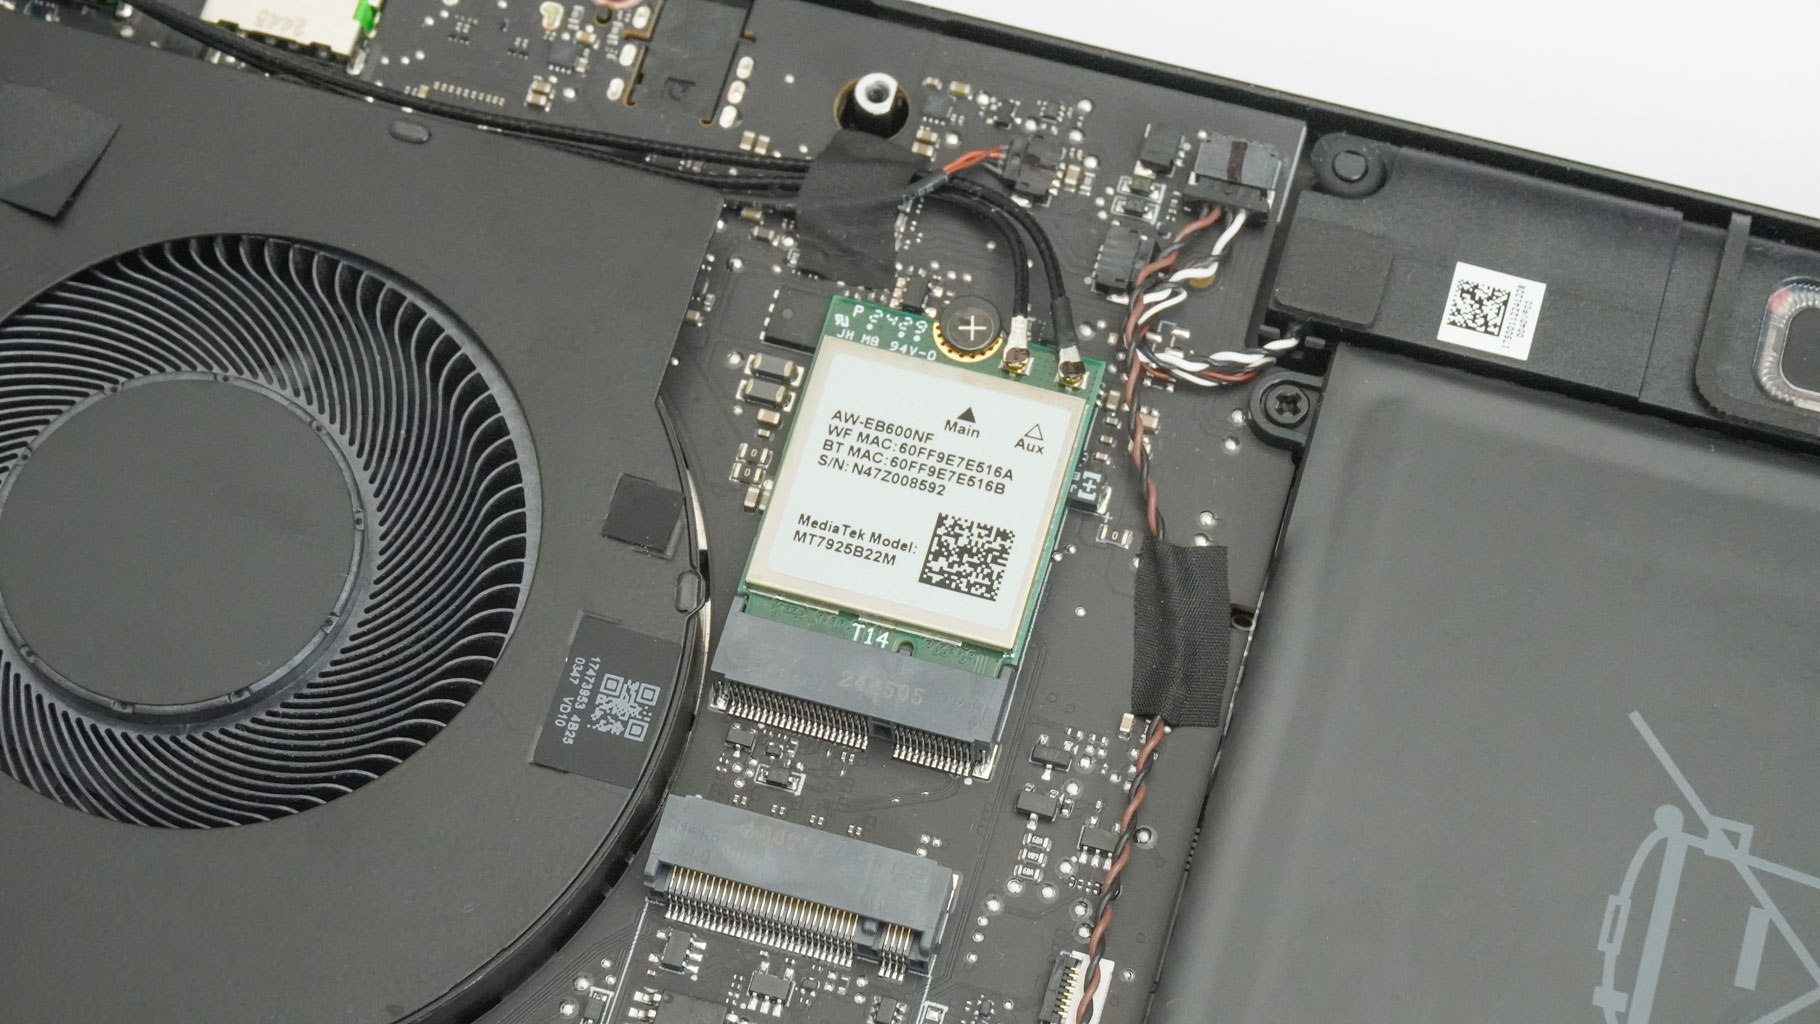
The Wi-Fi 7 module isn't soldered, which is nice. Thumbs up for that!
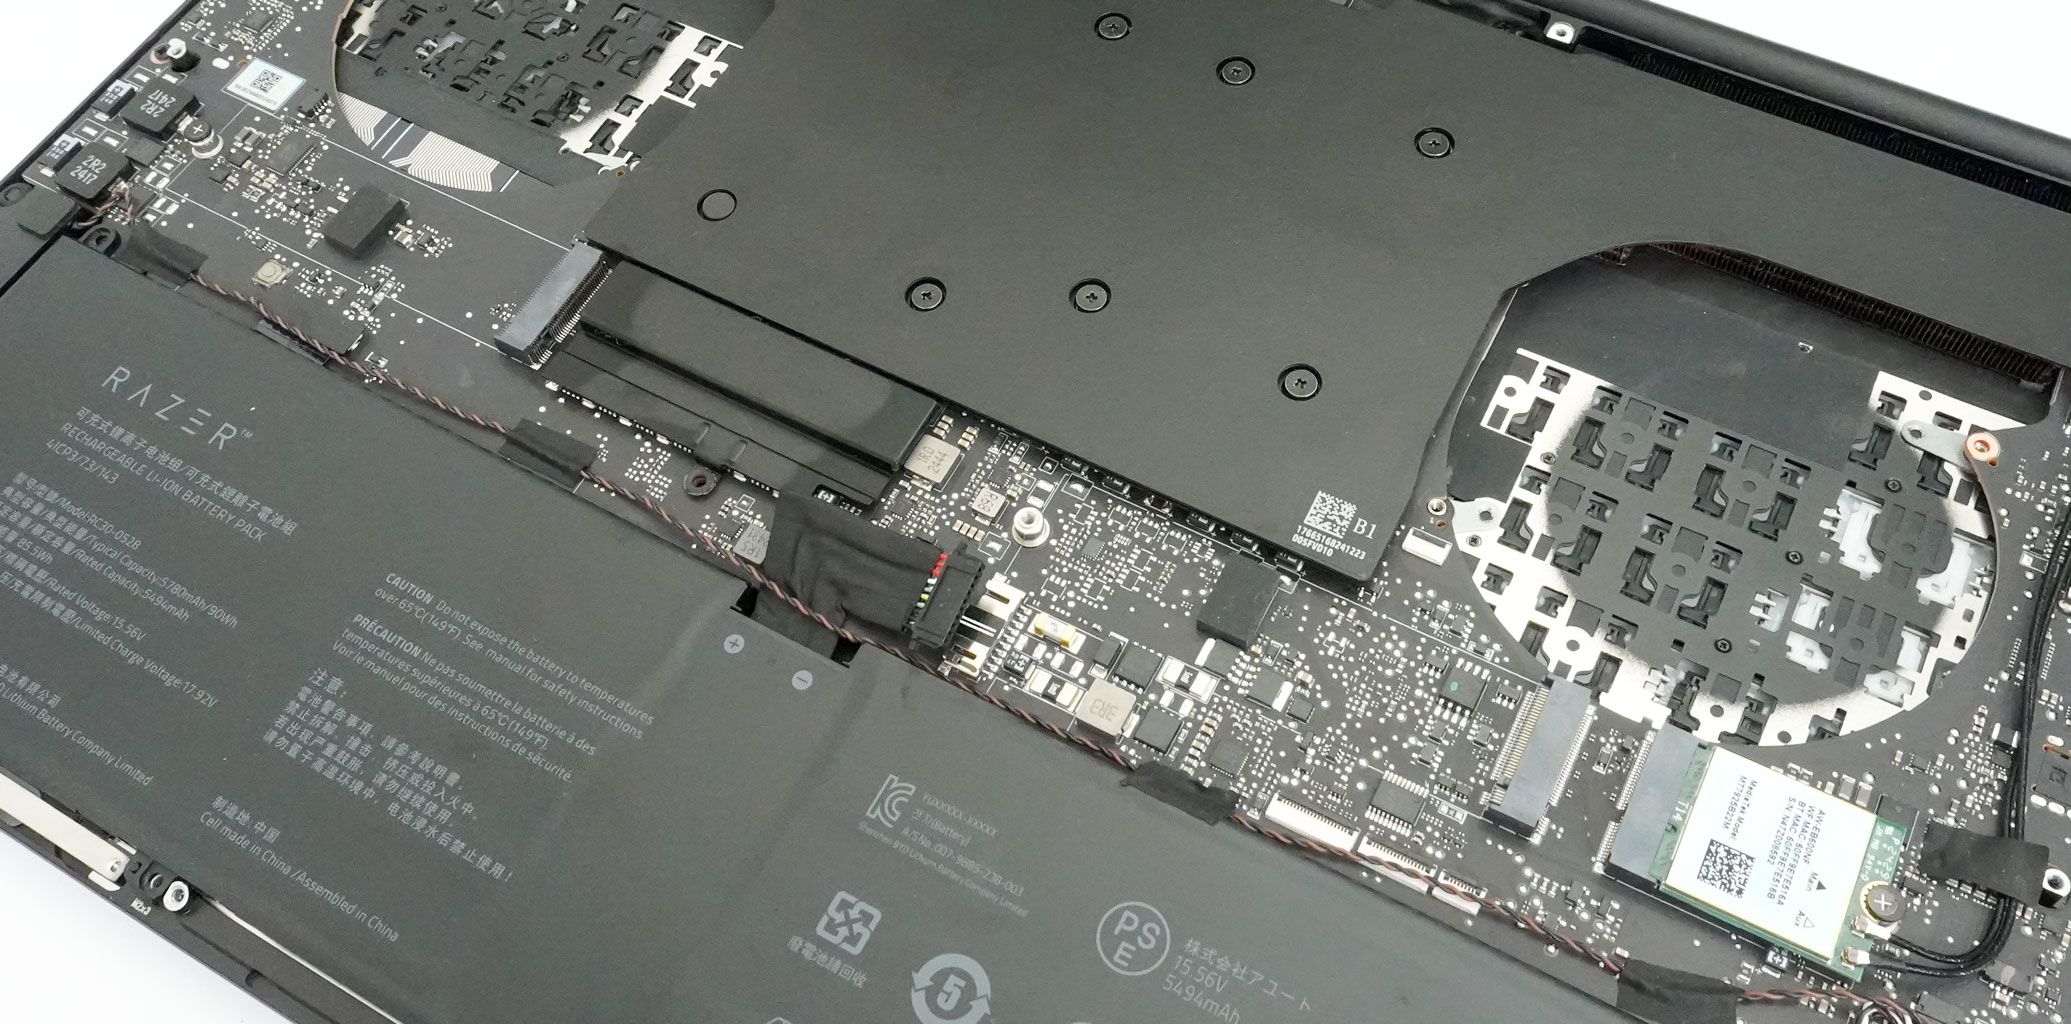
The storage upgradability is represented by two slots supporting up to M.2 2280 Gen 4 NVMe drives. The lack of Gen 5 support isn't significant as those drives are not notably faster in most real world scenarios, and often require active cooling.


The system drive is a 2 TB Kioxia CA6-8D2048.

The 8000 MT LPDDR5X memory is soldered, a common trade-off for a slim laptop design focused on efficiency. That's why it's crucial to keep an eye on the specs before buying. The RTX 5060 machines are only available with 16 GB of RAM, while 32 GB configurations are exclusive to RTX 5070 and 5070 Ti iterations. For RTX 5080 models, 64 GB is optional, and it's standard for the top-tier RTX 5090 models.


The fans can be removed separately, which is useful if you want to clean or replace them. The lower screws have stickers, while the upper ones are hidden under plastic caps. Disconnect the fan connectors and take out the two units.

Here's the bottom view of the fans.

As you can see, the keyboard keycaps are visible around the fan sockets. That's because the fans draw air through the keyboard deck, which reduces the external chassis temperatures during gaming.

Now, it's time to remove the vapor chamber cooling. Let's begin with the two side-mounted screws and the bottom one with the sticker. After that, we'll continue with the eight central screws, two of which also have stickers. When the vapor chamber thermal system isn't secured to the chassis, gently lift it on at least one of its sides with a lever tool until you feel that the thermal interface on the chips is unglued. Lift the cooling from the bottom.


We have a clear view of the CPU alongside the GPU and its memory chips. Razer uses the excellent Honeywell® PTM7958 phase change TIM, ensuring good thermal transfer and longevity.


Yes, the cooling has a pair of heatsinks.
Nov 15th, 2026 09:57 CST
change timezone
Latest GPU Drivers
New Forum Posts
- Power supply noise stops when I move the mouse (2)
- Recommendations Wanted - Affordable Enterprise SSD for Boot (5)
- budget home NAS – X79, X99 or another platform? (149)
- WireView Pro II GPU Alignment: Wired | Variant: Black (1)
- Planning for Prolonged High Prices and Maintaining What You Already Have (74)
- Technical Issues - TPU Main Site & Forum (2026) (409)
- What generation of Wi-Fi do you use at home (98)
- I'll flash a ASUS ROG Strix RX480 O8G in Cause of Code 43, as a Newbie (5)
- Honestly, do you care about GTA VI? (58)
- Is this anyhow possible, that a GPU (ROG Strix RX480 O8G) can crash the whole PC after "ReFlash" in normal Mode? (2)
Popular Reviews
- AMD Zen 6 Technical Deep Dive
- ASUS ROG Strix B850-I Gaming Wi-Fi7 W Review
- Corsair HX1000i Shift Crystal Review
- Upcoming Hardware Launches 2027 (Updated Nov 2026)
- Montech King 95 3D PRO Review
- NZXT C1200 Platinum Review
- NZXT H7 RGB+ Review
- NZXT H5 Review
- Phantom Blade Zero Performance Benchmark Review - 35 GPUs Tested
- AMD Ryzen 7 9800X3D Review - The Best Gaming Processor
TPU on YouTube
Controversial News Posts
- NVIDIA Co-Founder and CEO Jensen Huang Officially Resigns (413)
- OpenAI CEO Argues Home PCs Waste the World's Limited DRAM Supply (152)
- NVIDIA Launches Investigation Into Jensen Huang's Relationship With Suspected Chinese Spy (136)
- Intel "Raptor Lake Next" 16-Core and 20-Core CPUs Surface (130)
- Open Letter Asking NVIDIA to Reinstate Jensen Huang Passes 115,000 Signatures (123)
- Legendary Game Studio BioWare Shuts Down Following EA Layoffs (104)
- Dell CEO Says the Memory Shortage Will Get Worse in 2027 (95)
- NVIDIA GeForce RTX 50-Series Scheduled for up to $500 Price Hike This Week (89)