 1
1
Redragon K596 Vishnu Wireless Keyboard Review
Software »Disassembly
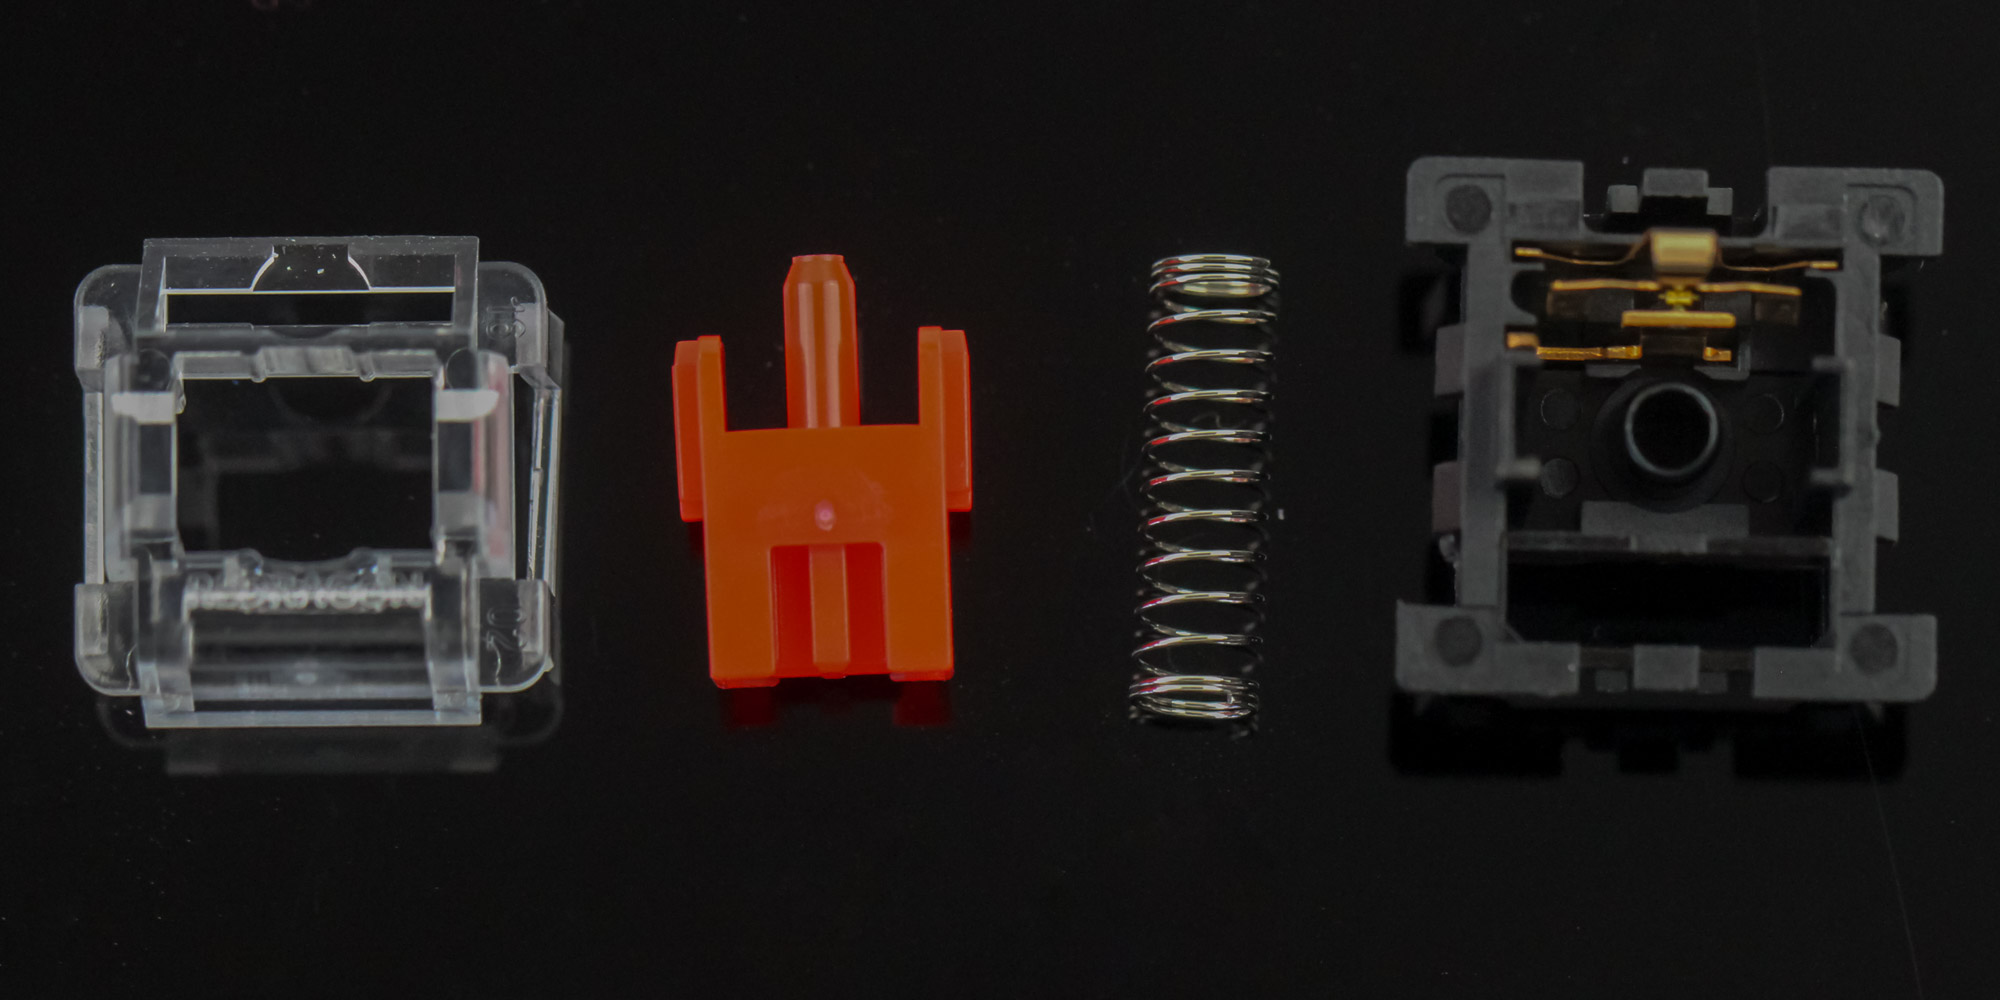
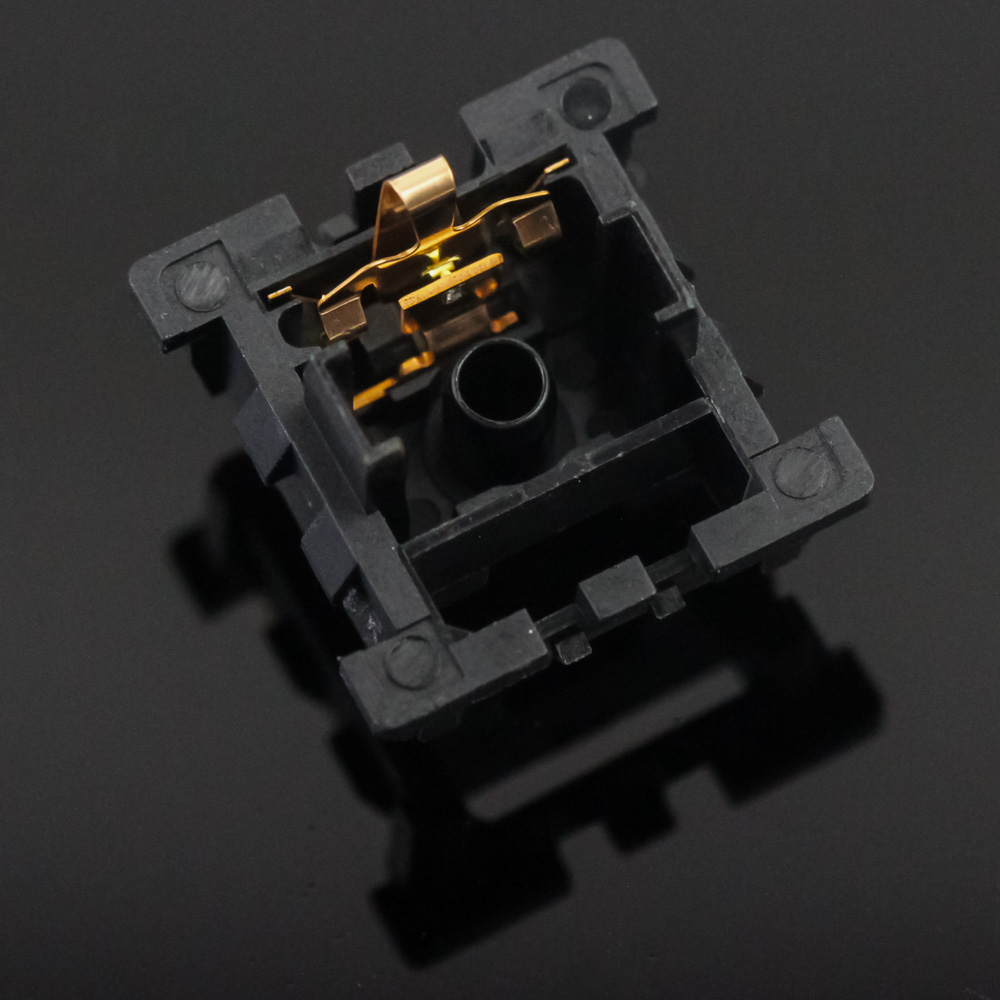

Given Redragon threw in extra switches and we have removable switches here, I wanted to take one apart to show you what is inside. Choosing which one was easy enough since the keyboard only comes with the Red switches out of the box. This is a linear switch adopting the Cherry MX design with a clear top, red stem, metal spring, and base housing that also houses the metal leaf contact. As the stem travels down, it touches one side of the metal leaf, which in turn is pushed towards the other side. This metal contact then triggers the actuation of the keystroke on the PCB itself, and off it goes to your computer to be reflected as an action.

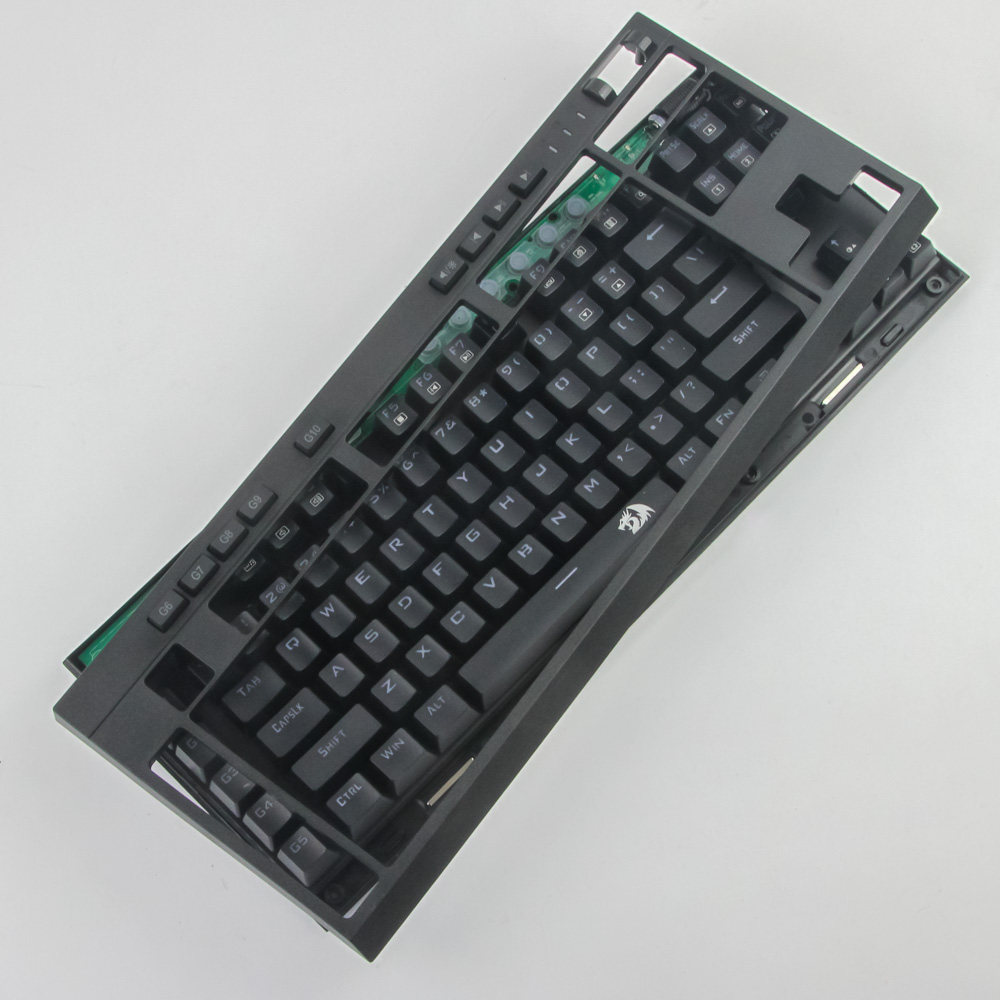

As far as plastic case keyboards go, disassembly of the Redragon K596 is among the easiest. Eight Phillips head screws on the back keep the top plastic panel screwed in place, and removing these makes removing the top easy. This gives us a closer look at the ABS plastic construction with cutouts for the smaller plunger keys above and the volume wheel as well as the rubber layer on the PCB for part of the tactile feedback.


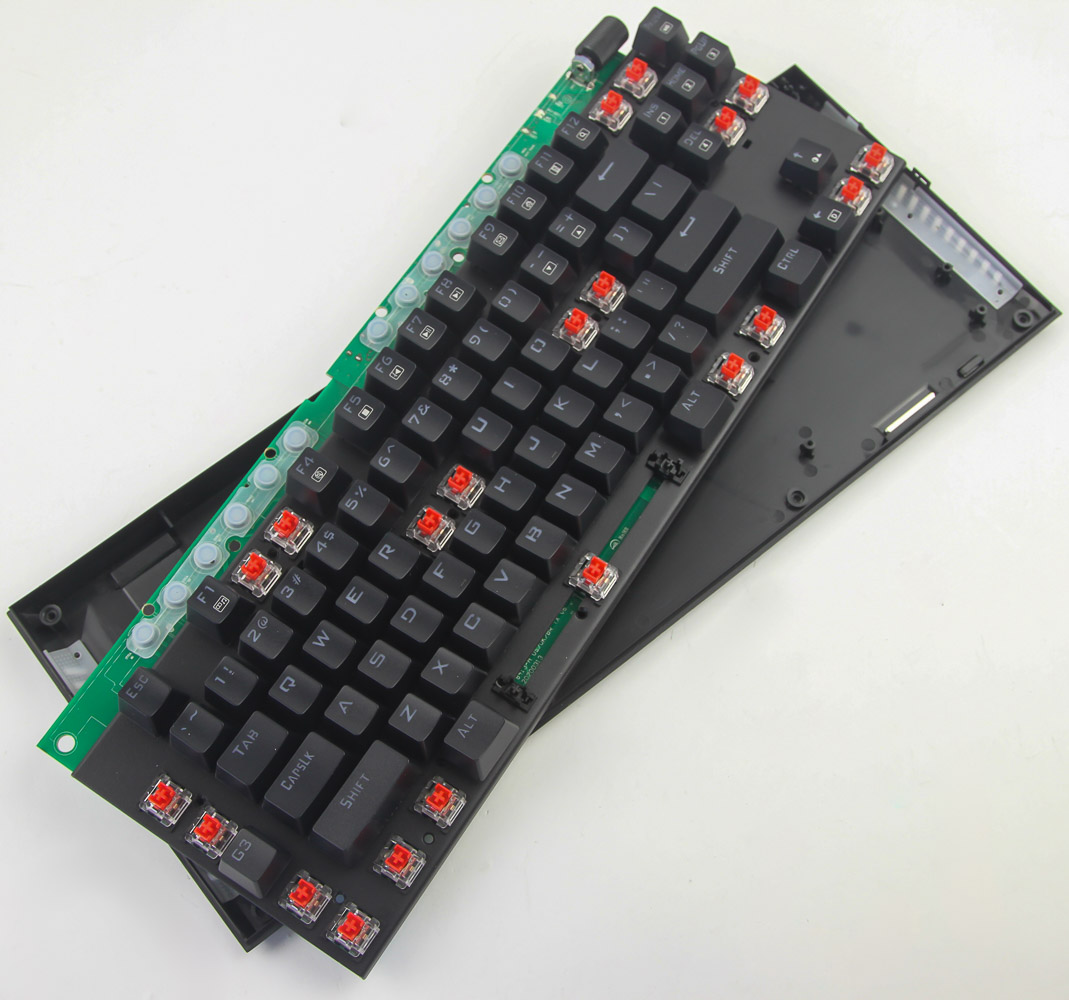

Further disassembly requires separating the plate/PCB piece from the bottom plastic panel, and there are more screws to remove. Access to these can be had after removing specific keycaps as seen above, and a total of 12 screws need to be taken off before carefully lifting the plate/PCB upwards to where the internal cable connecting these two pieces can be unplugged.
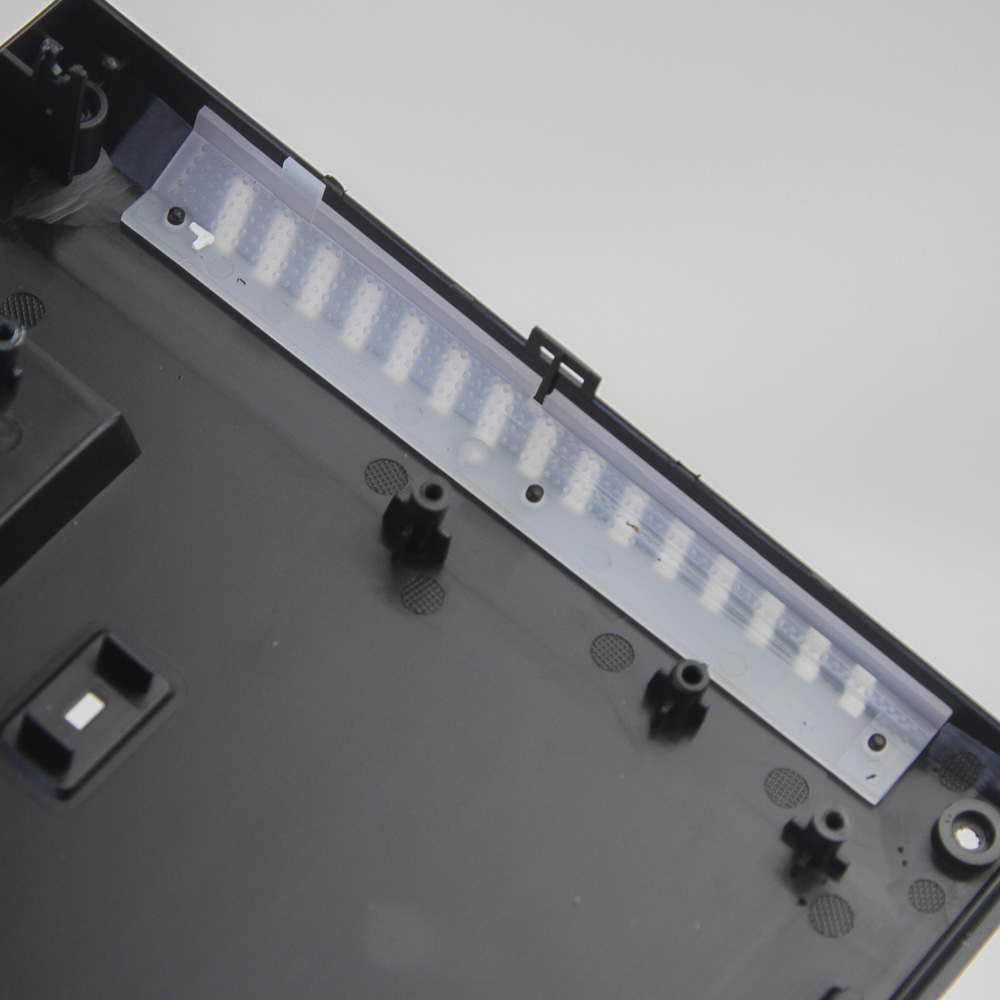

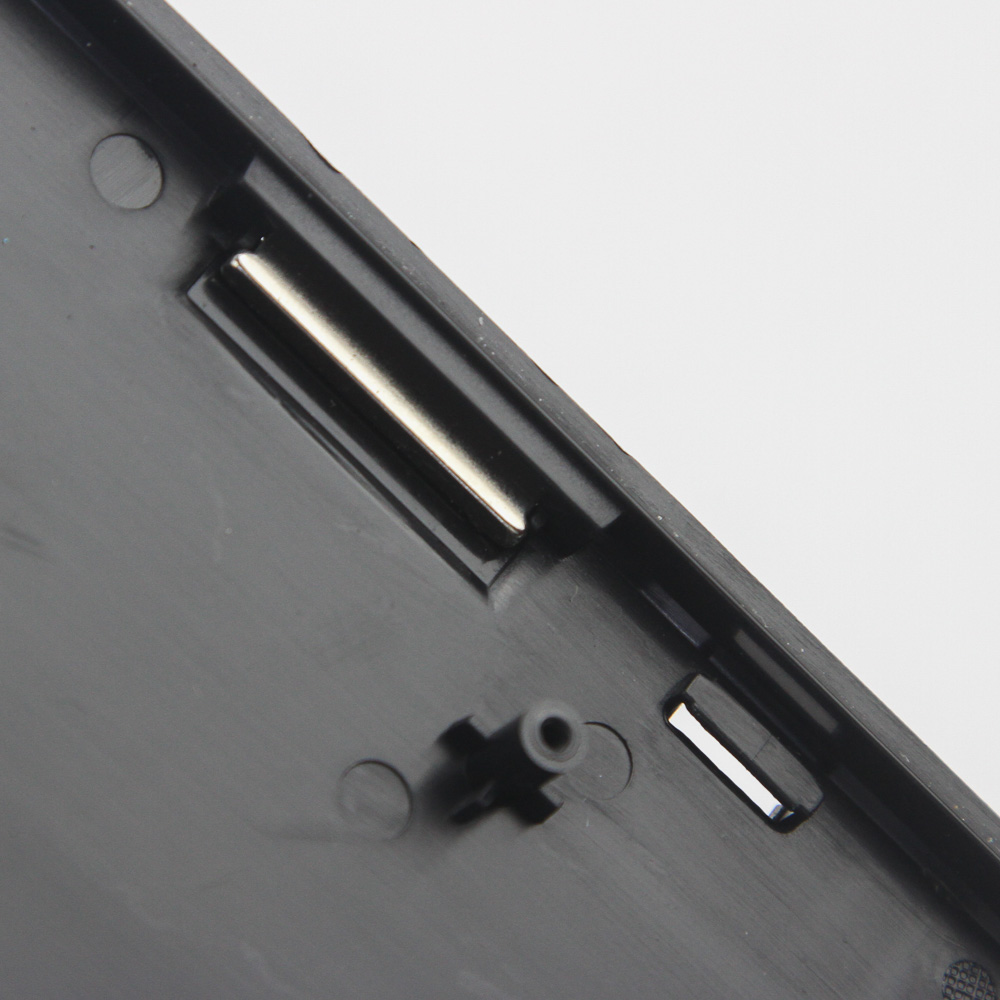
Once the cable is dislodged, we can get a better look at the ABS plastic bottom panel and the light diffuser pieces on the sides for the side lighting. We also get a 3000 mAh battery, which is where that cable came from, and there is a foam piece over the battery for electrical isolation. Finally, we also see the embedded magnets for the wrist rest.
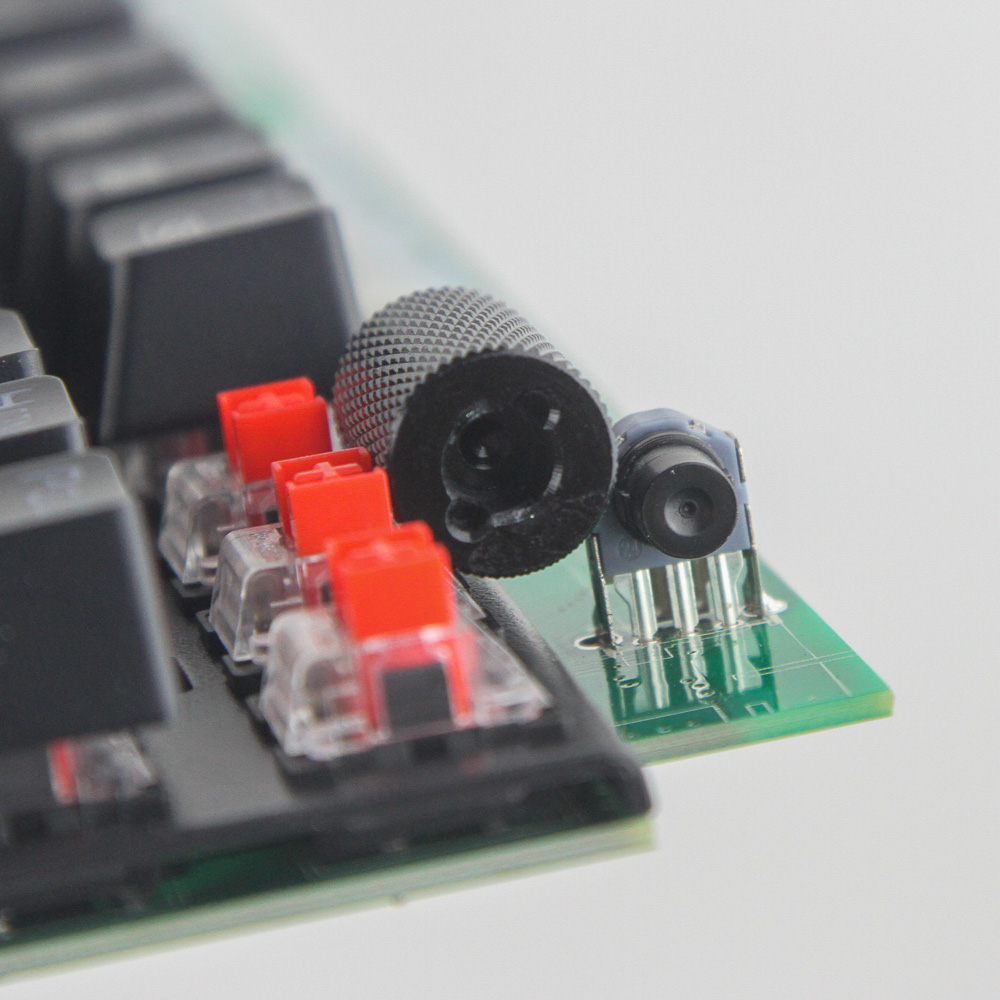
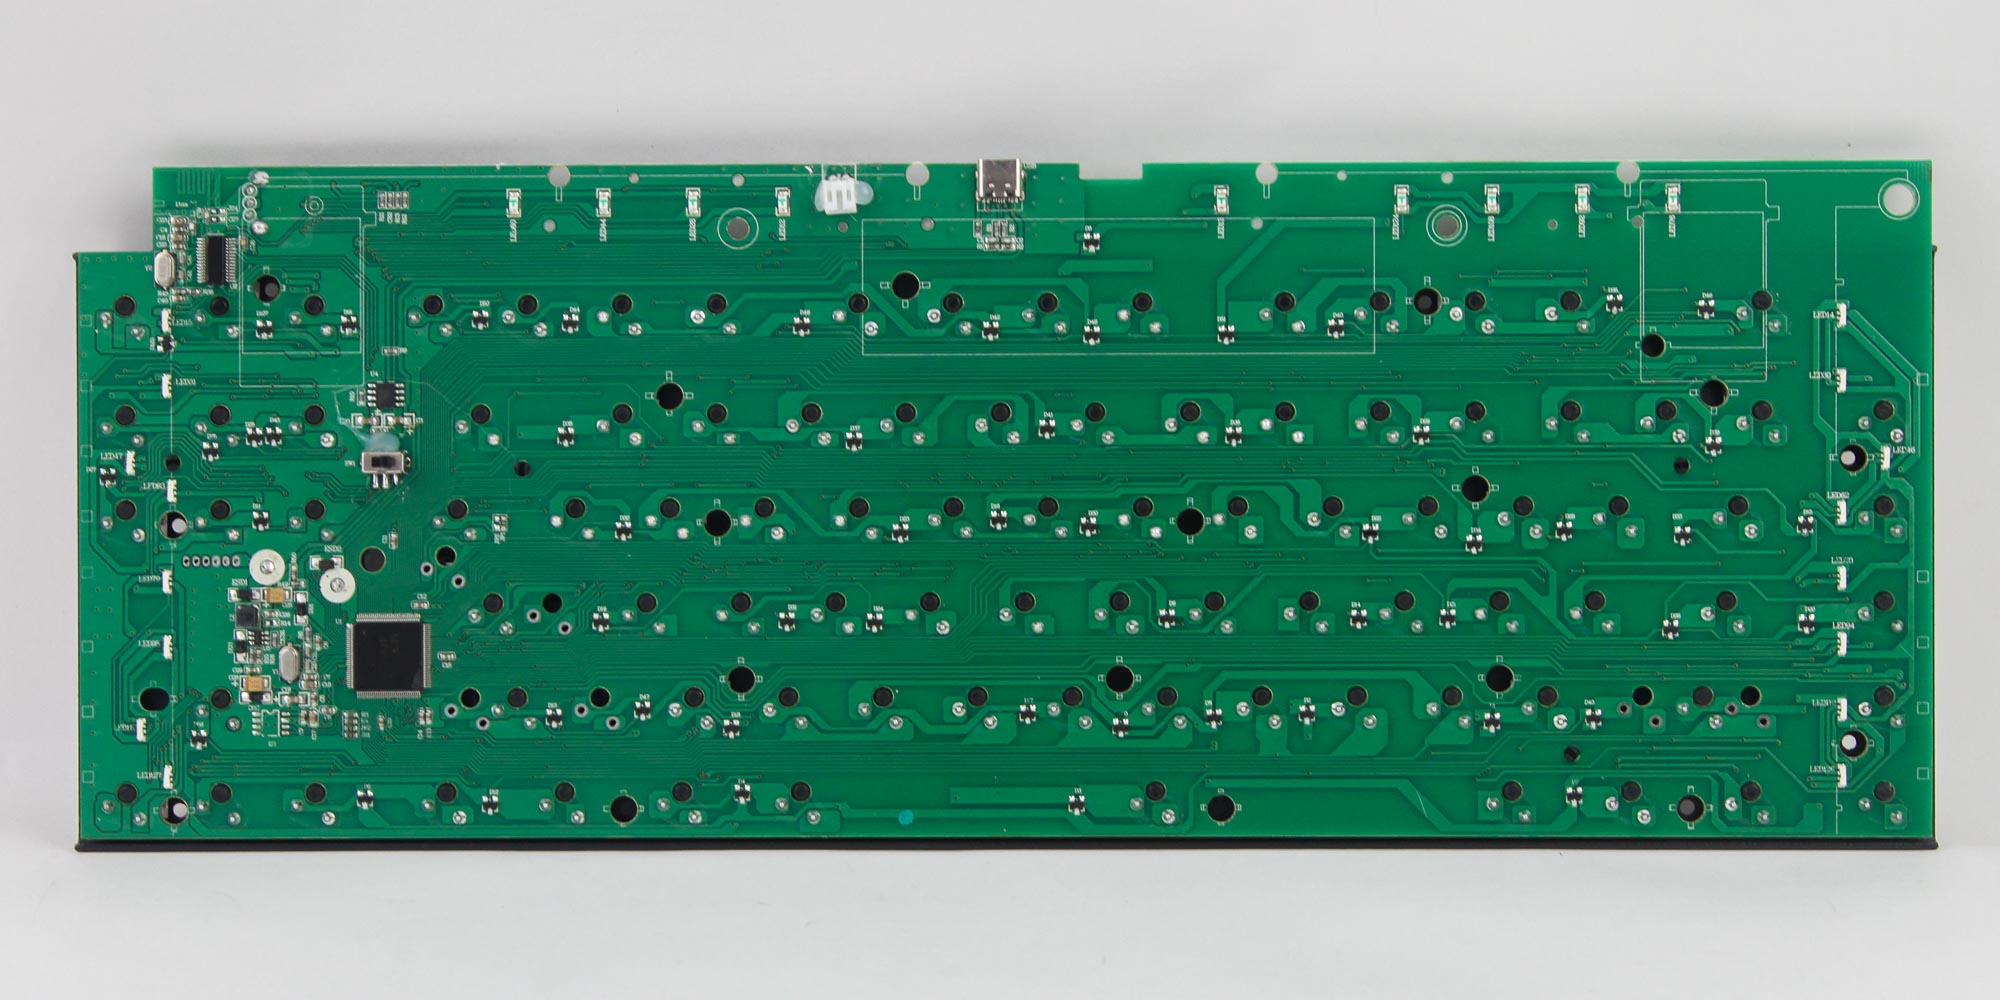

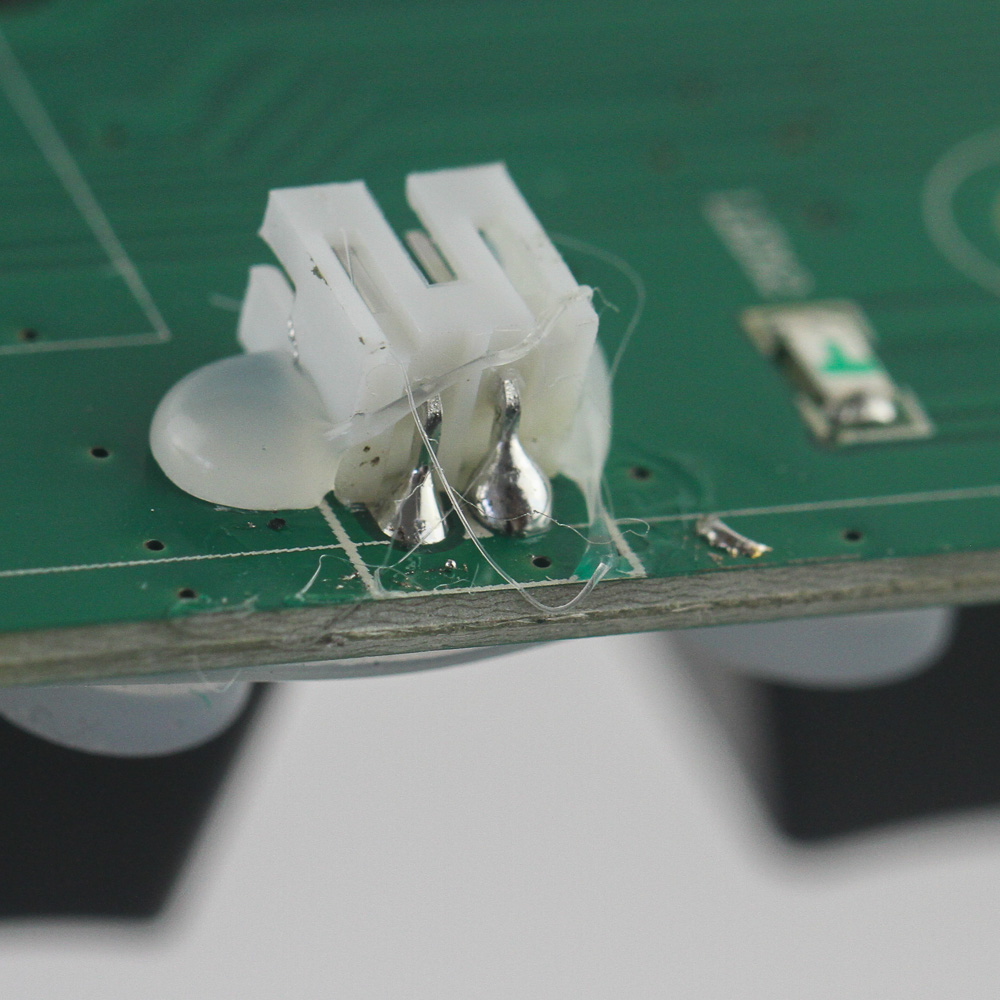
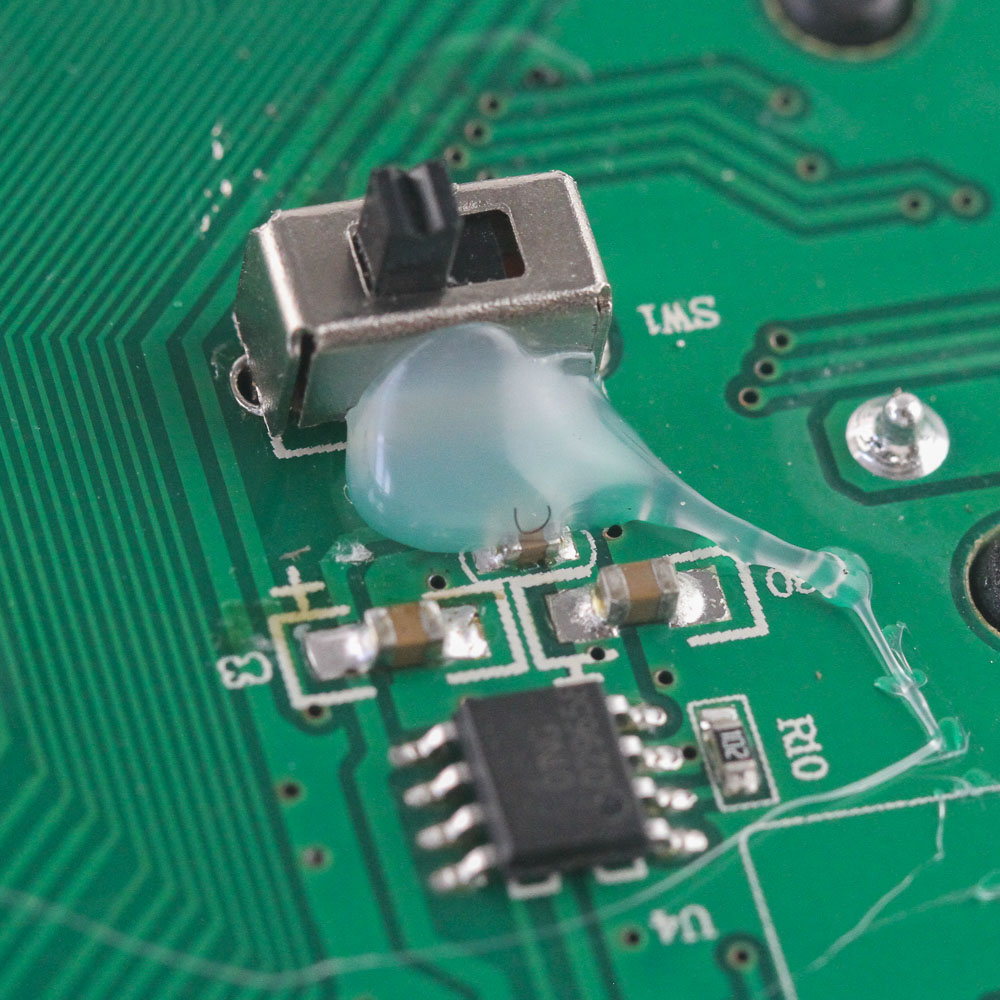


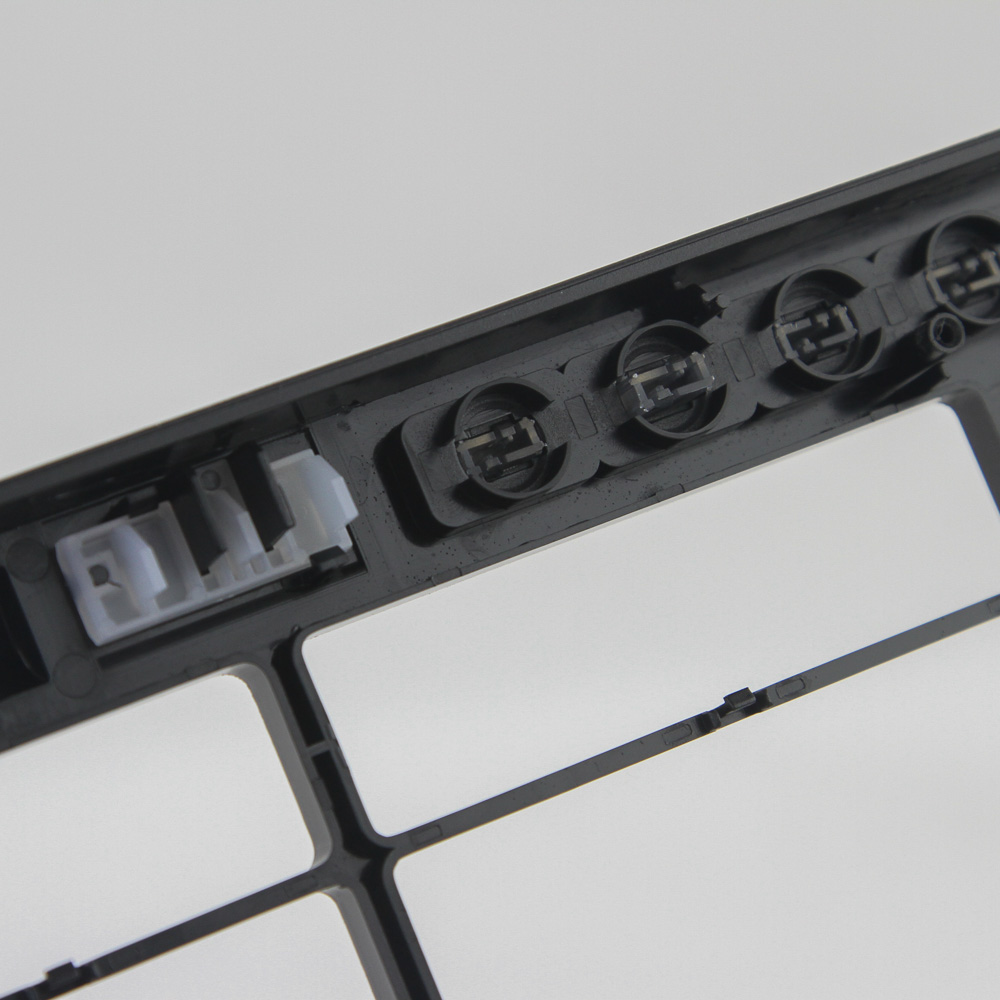
The top of the PCB houses the other keys we saw before and the volume wheel going to the programmed encoder. The wheel is knurled and fits into the housing in a specific manner only. The PCB itself is green and solder quality is alright. A lot more hot glue than necessary is used on some of the larger components, and we don't see any of the fancier hot-swap sockets from Kailh or Gateron that some others have used to good effect. There is lacquer on the MCU and what looks to be a dedicated hardware LED driver, so identifying these is not easy. As is the norm, all the components are soldered onto a multi-layer PCB.
Before we move on, be advised that disassembly may void the warranty and that TechPowerUp is not liable for any damages incurred if you decide to go ahead and do so anyway.
May 12th, 2024 00:15 EDT
change timezone
Latest GPU Drivers
New Forum Posts
- Does the "Gen" number on Corsair PSU cables matter? (0)
- LOL ASUS says this is $200 in repair, Steve from gamers Nexus smokes ASUS, Steam Deck til I die boys!!!! (66)
- monitor w good contrast and viewing angle for my sister with eye problems (13)
- Ghost of Tsushima PC Port !!!! (32)
- I don't think Ryzen 9900x3d is just being announced next month, I think it's launching next month. (51)
- Ryzen 7 5800X is it worthed upgrade from Ryzen 7 5700X ? (6)
- Undervolt Protection on ASUS with i9 13980HX (49)
- Ryzen Owners Zen Garden (7303)
- 2024 and STILL no dark mode? (32)
- LOWER SSD PRICES (11)
Popular Reviews
- ZMF Caldera Closed Planar Magnetic Headphones Review
- ThundeRobot ML903 NearLink Review
- Corsair MP700 Pro SE 4 TB Review
- Bykski CPU-XPR-C-I CPU Water Block Review - Amazing Value!
- CHERRY XTRFY M64 Pro Review
- Upcoming Hardware Launches 2023 (Updated Feb 2024)
- ASRock NUC BOX-155H (Intel Core Ultra 7 155H) Review
- Corsair iCUE Link RX120 RGB 120 mm Fan Review
- AMD Ryzen 7 7800X3D Review - The Best Gaming CPU
- ASUS Radeon RX 7900 GRE TUF OC Review
Controversial News Posts
- Intel Statement on Stability Issues: "Motherboard Makers to Blame" (266)
- AMD to Redesign Ray Tracing Hardware on RDNA 4 (206)
- Windows 11 Now Officially Adware as Microsoft Embeds Ads in the Start Menu (171)
- NVIDIA to Only Launch the Flagship GeForce RTX 5090 in 2024, Rest of the Series in 2025 (147)
- Sony PlayStation 5 Pro Specifications Confirmed, Console Arrives Before Holidays (119)
- AMD's RDNA 4 GPUs Could Stick with 18 Gbps GDDR6 Memory (114)
- NVIDIA Points Intel Raptor Lake CPU Users to Get Help from Intel Amid System Instability Issues (106)
- AMD Ryzen 9 7900X3D Now at a Mouth-watering $329 (104)