 11
11
Rosewill Cullinan Review
Assembly & Finished Looks »A Closer Look - Inside
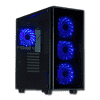
To gain access to the interior, simply remove the four large thumbscrews holding each glass panel in place. The inside of the Cullinan is actually quite simple, with a shroud to cover up the boring bits of hardware taking up some room.
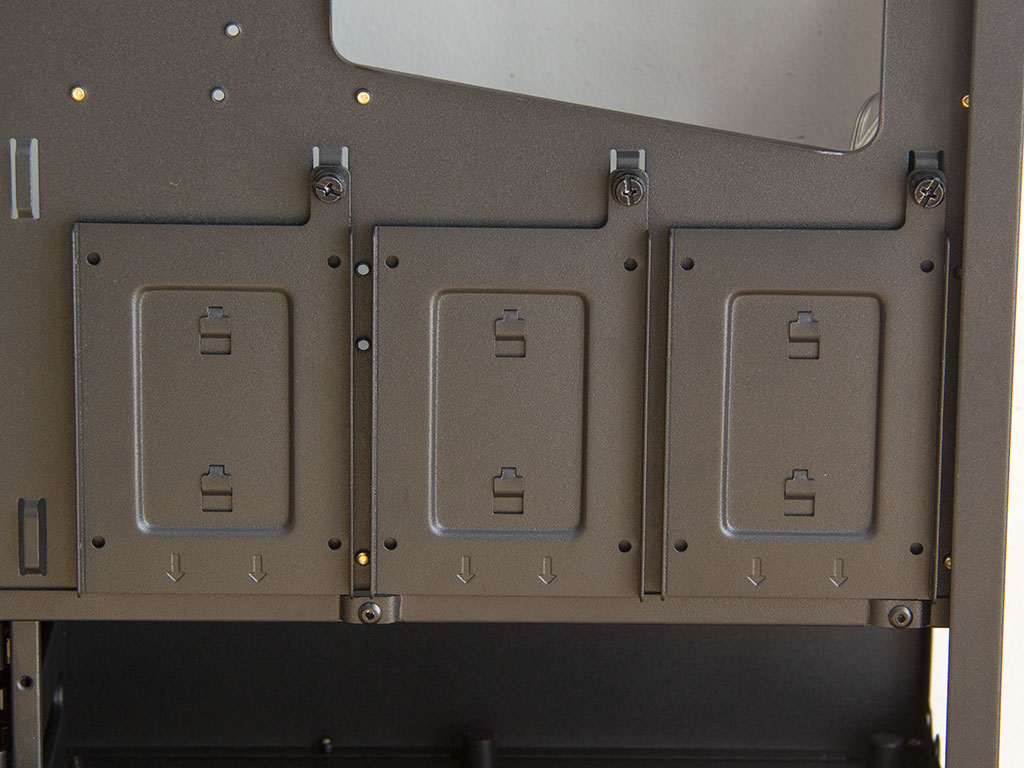
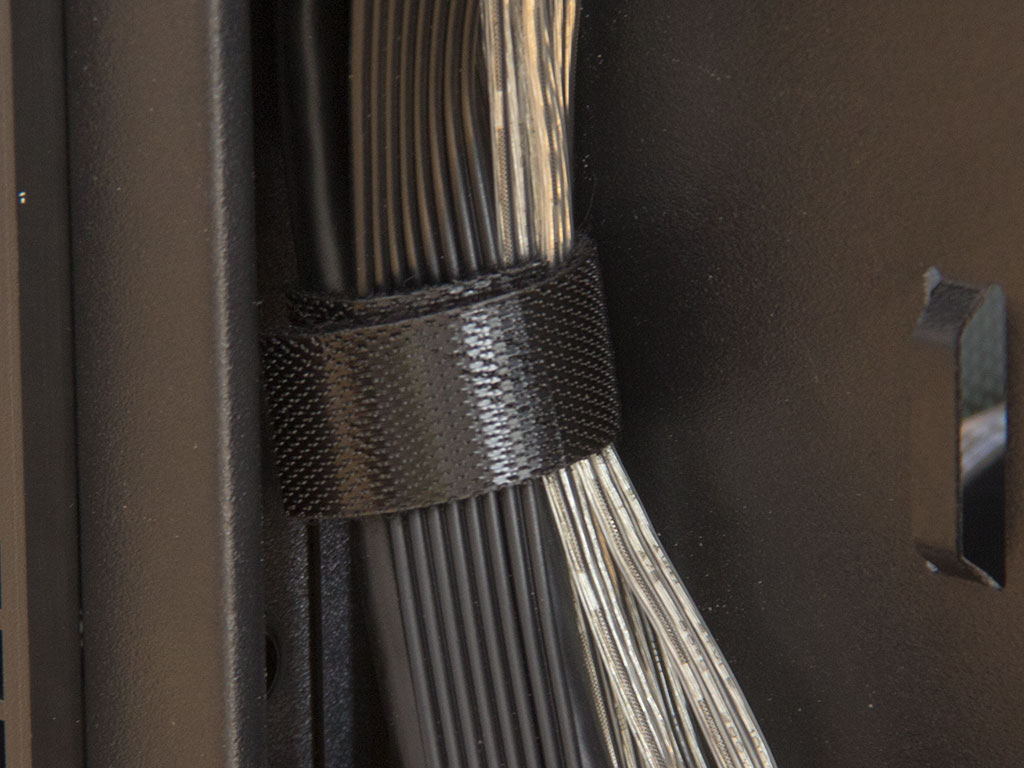
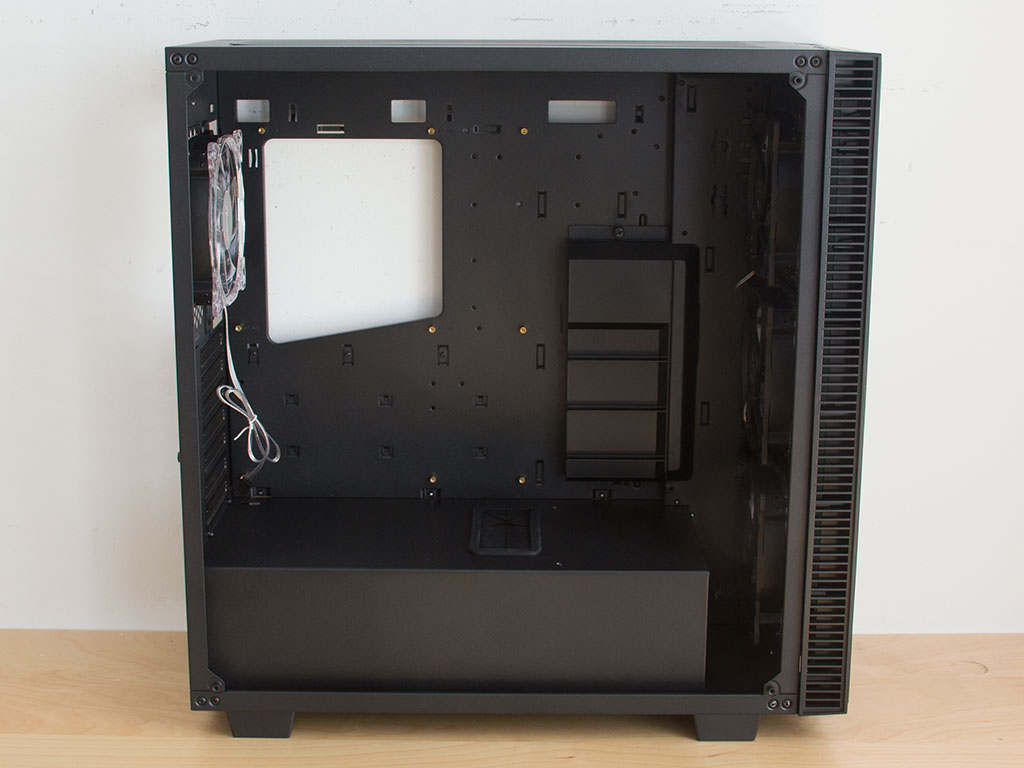
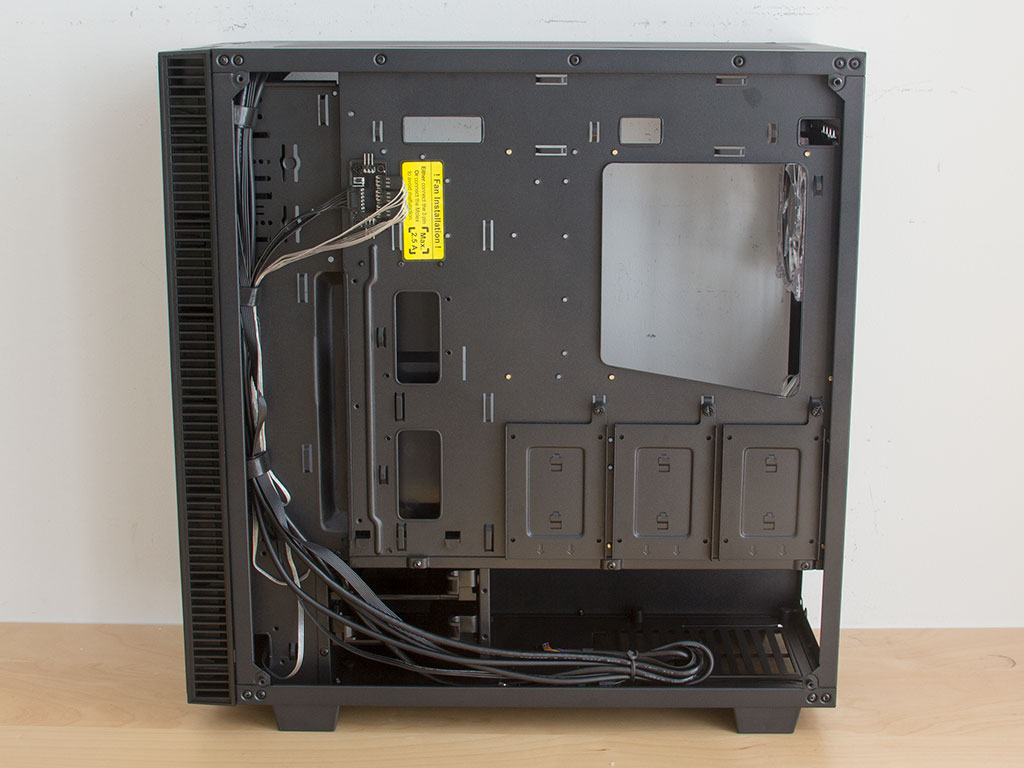
You will find a PCB to consolidate and feed all the fan connectors with a single Molex connector. Interestingly enough, Rosewill has placed a rather large yellow sticker there to tell users not to use both the 3-pin header of a motherboard and the Molex plug to power the fans at the same time. In addition to this, there are three 2.5" drive trays below the large opening for the CPU cooler's backplate, and you will find all major cables to have been pre-routed quite nicely with some Velcro strips, which is certainly a nice touch.
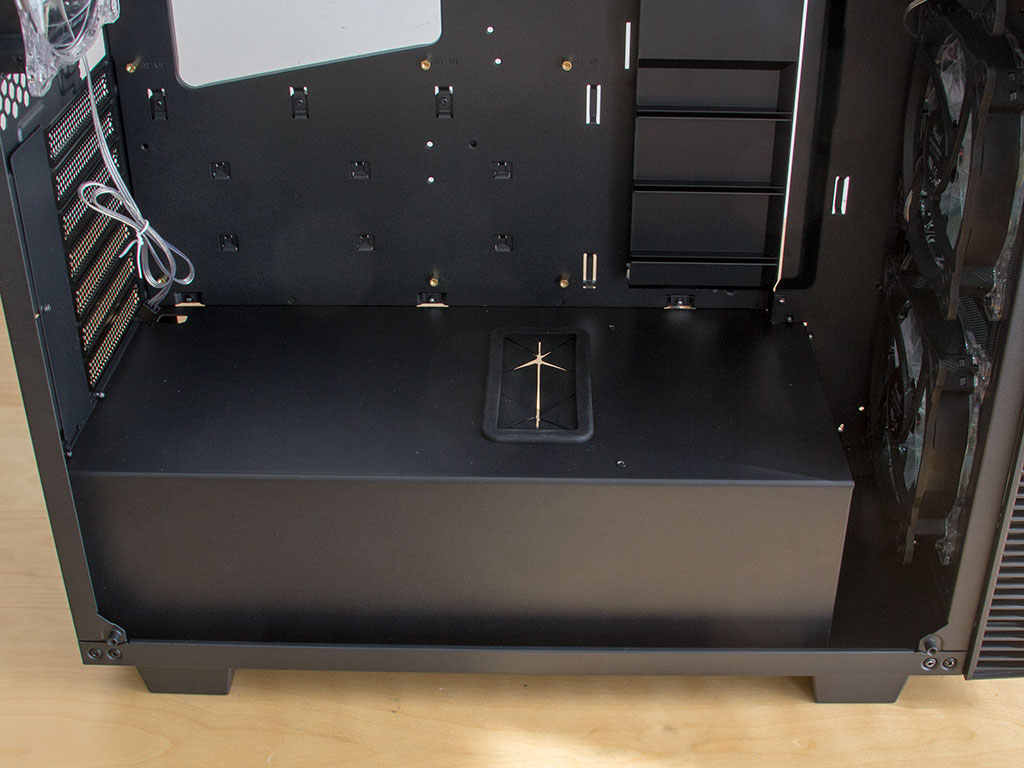
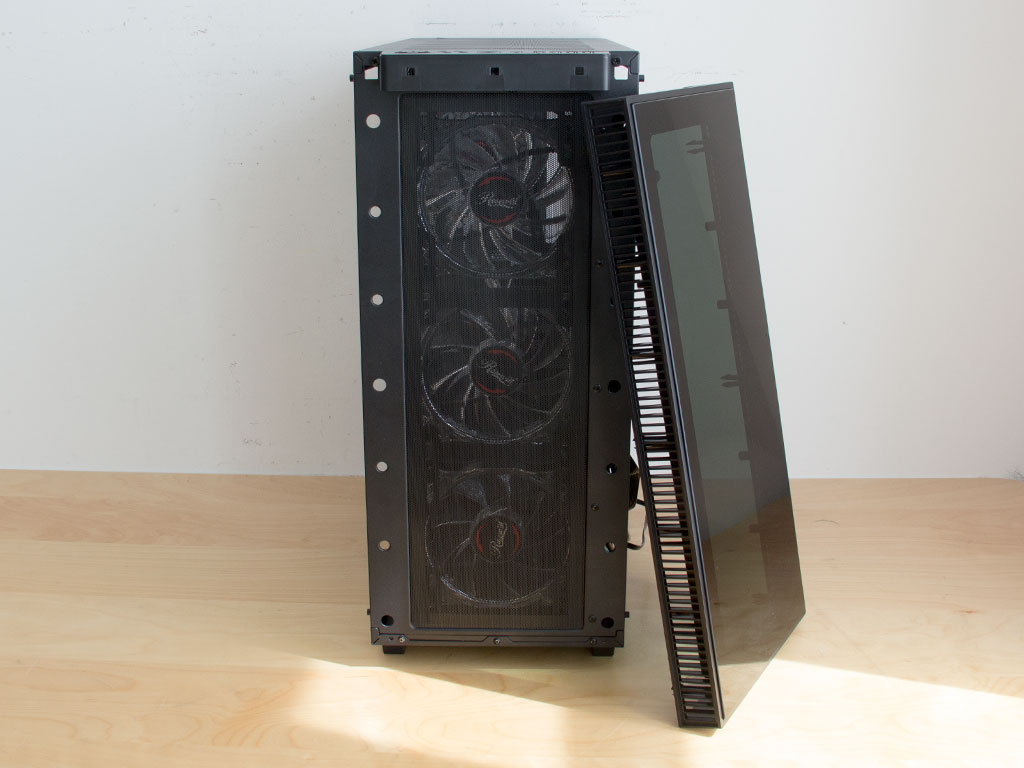
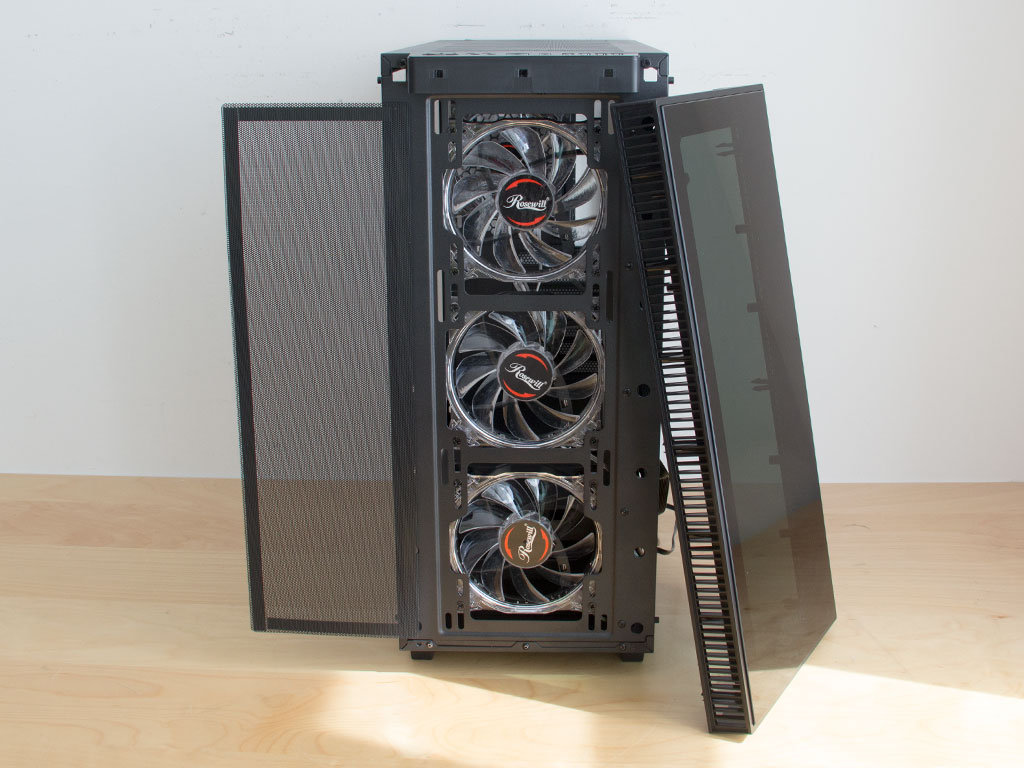
The shroud covering the PSU and 3.5" hard-drive bays is really simple, featuring only a grommet-equipped opening. It does not extend all the way to the front so that you may install a thin 360 mm radiator there if you like. Speaking of the front, you may pull the whole glass panel off to reveal another magnetic dust filter which covers the three 120 mm, LED-equipped intake fans there.
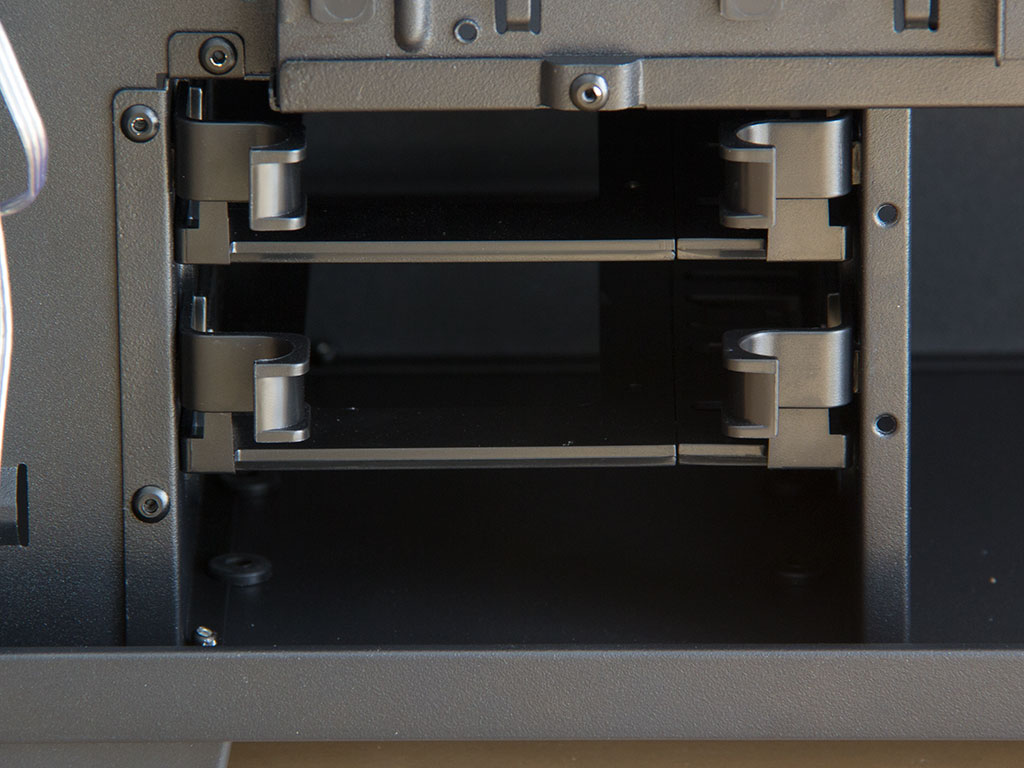
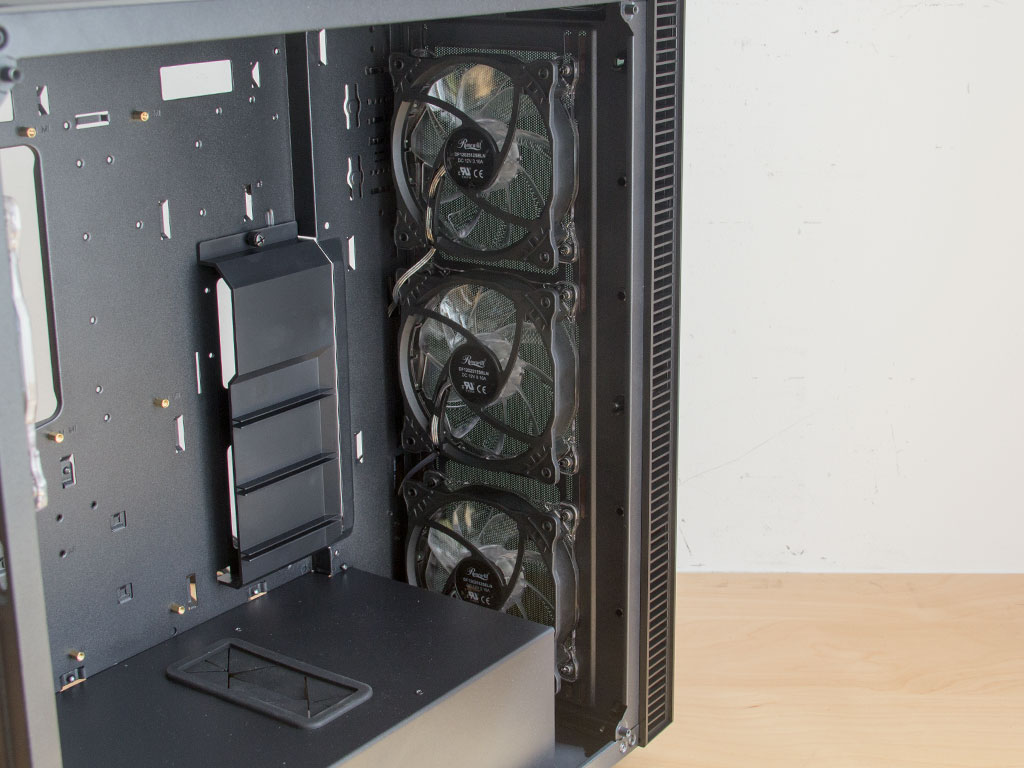
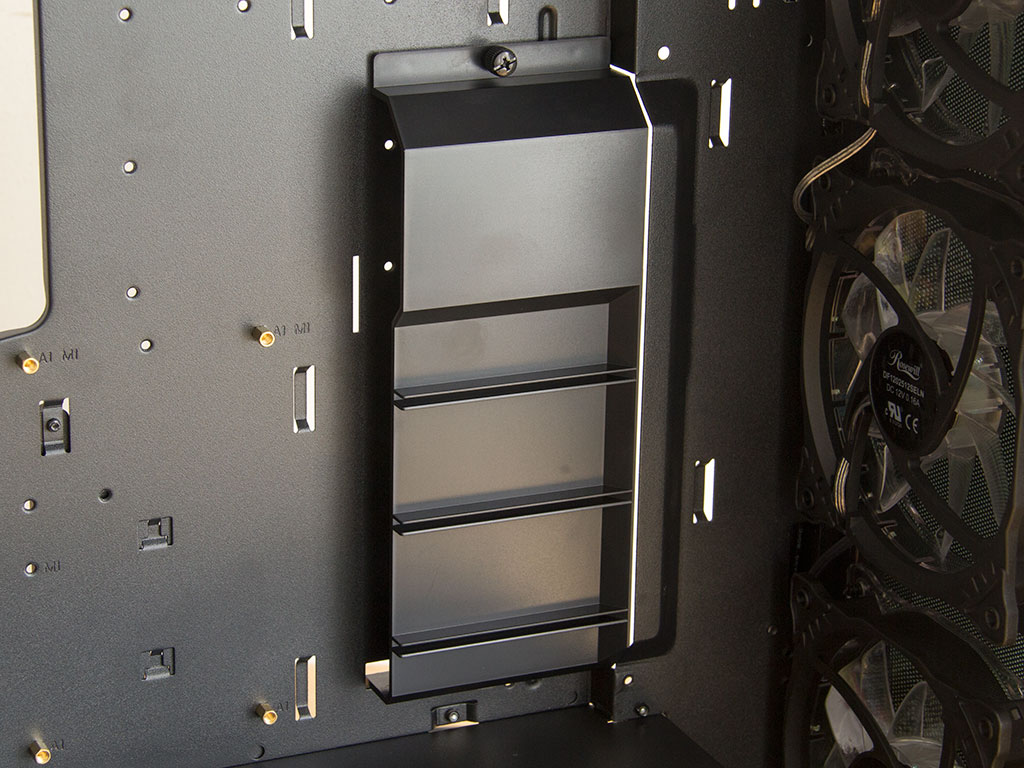
The Cullinan includes two 3.5" hard-drive trays underneath the shroud. These may also be used for SSDs instead. This brings the total drive-bay count to five, which should be enough for most. Above that, in the front, are the intake fans that are otherwise completely unobstructed. Each of these comes with a 3-pin connector that has been routed to the PCB behind the motherboard tray. A plastic cover has been placed over the cable-routing holes next to the motherboard's area, which should add to the chassis' overall look in terms of cleanliness with the system fully assembled.
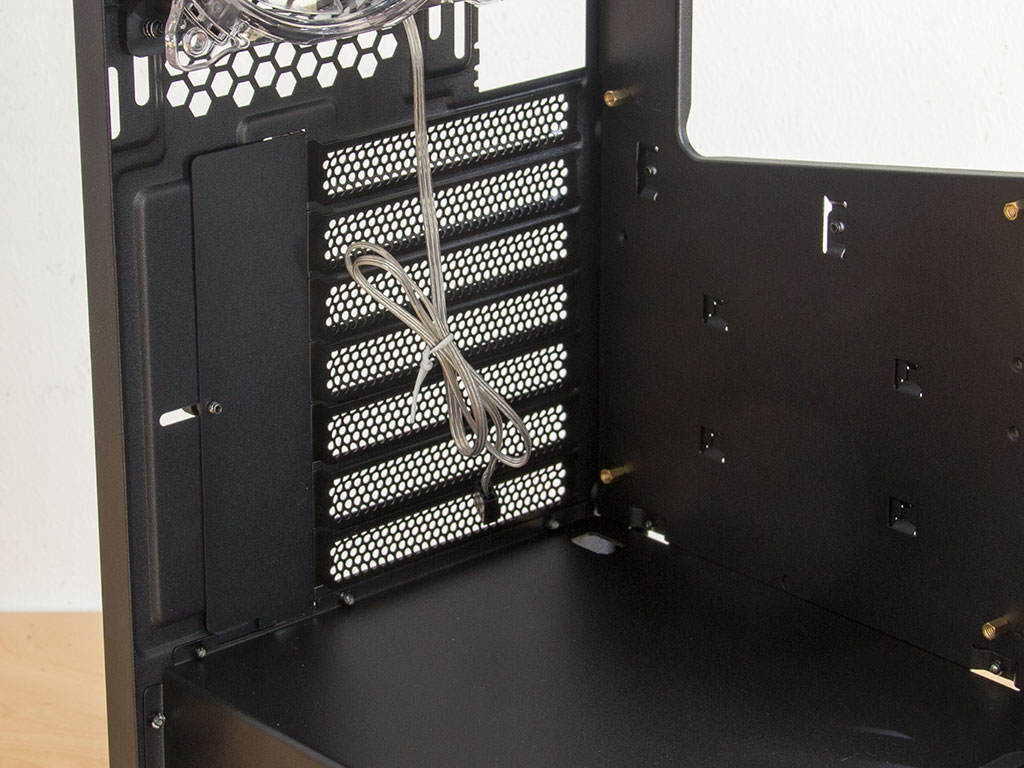
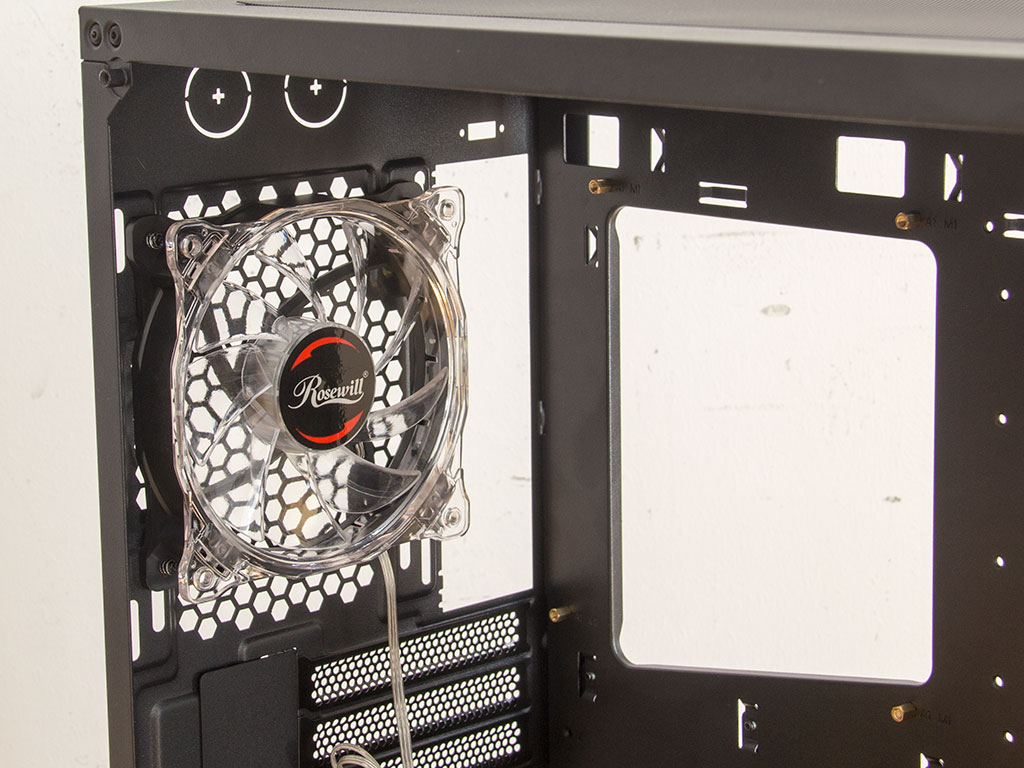
The PSU bay in the rear is the second element hidden by the solid shroud cover. Any such unit needs to be pushed in through the side and is supposed to rest on sturdy rubber mounts. You should run into no issues while installing longer units as there is plenty of space to do so. Above that are the seven aforementioned expansion slots. The screw mounds are on the exterior to cut down on overall size and make the rear panel flat, which requires less cutting and folding and is, as such, more cost effective. The fourth LED-equipped fan with a 3-pin header is in the top - set to push hot air out the back of the chassis.
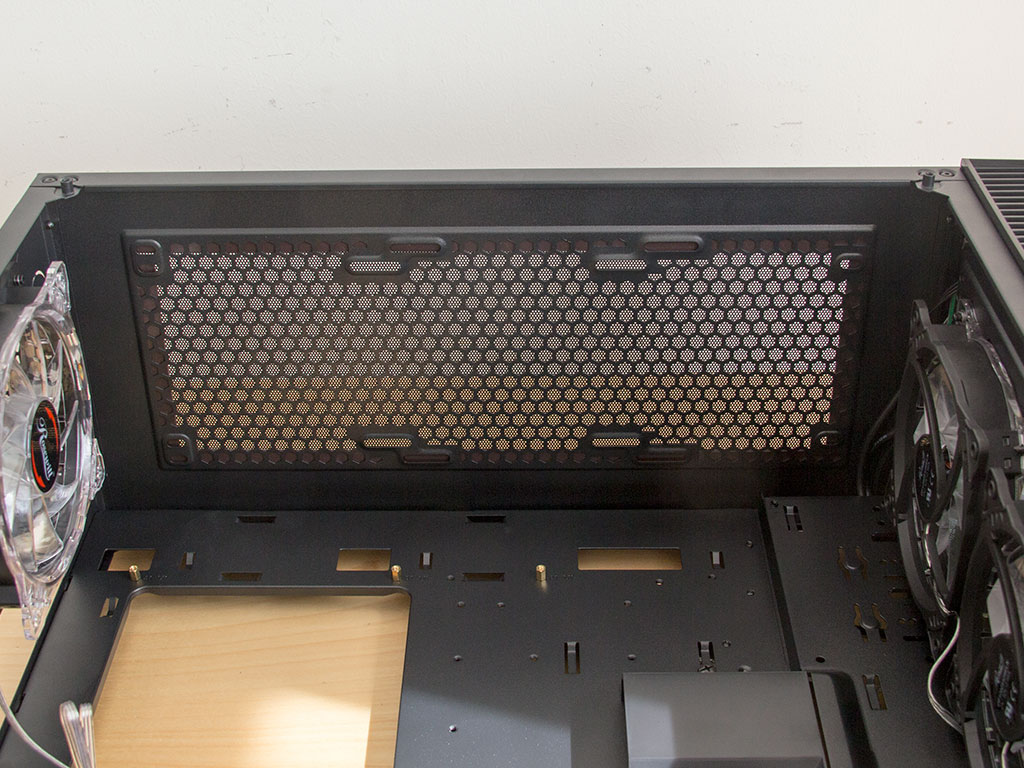
Taking a quick peek at the ceiling of the Cullinan, it becomes apparent that the mounting holes are not offset to be as far away from the motherboard as possible. Instead, Rosewill has left enough space above the board to allow for a thin radiator to be employed without it ever reaching the motherboard's PCB.
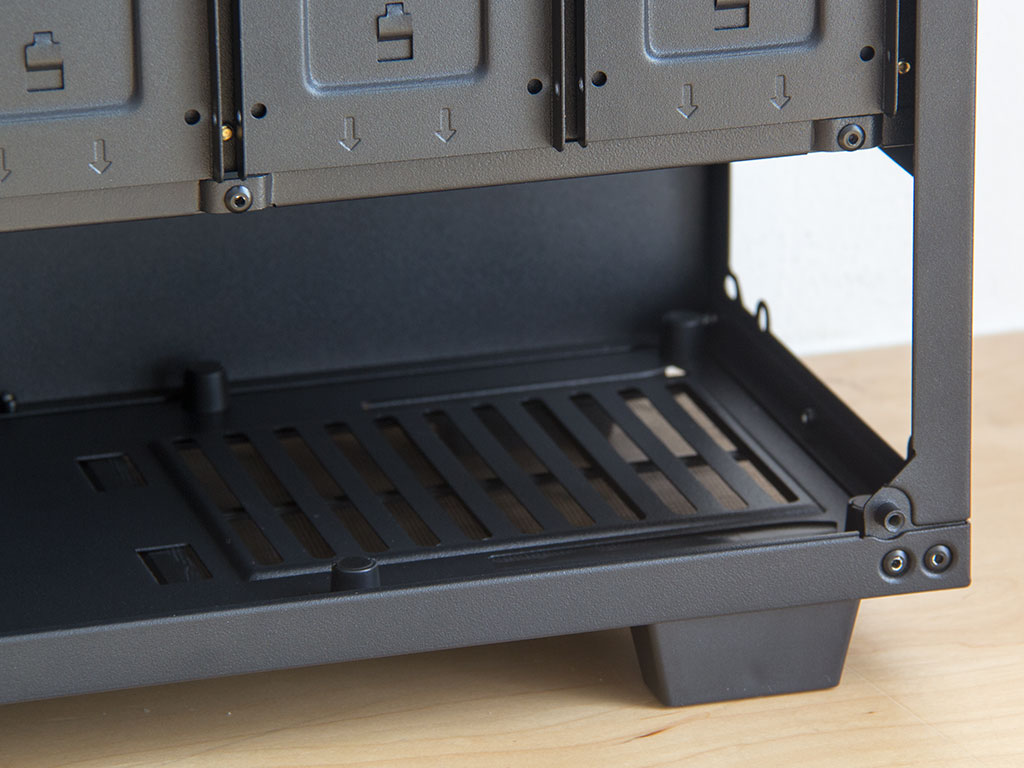
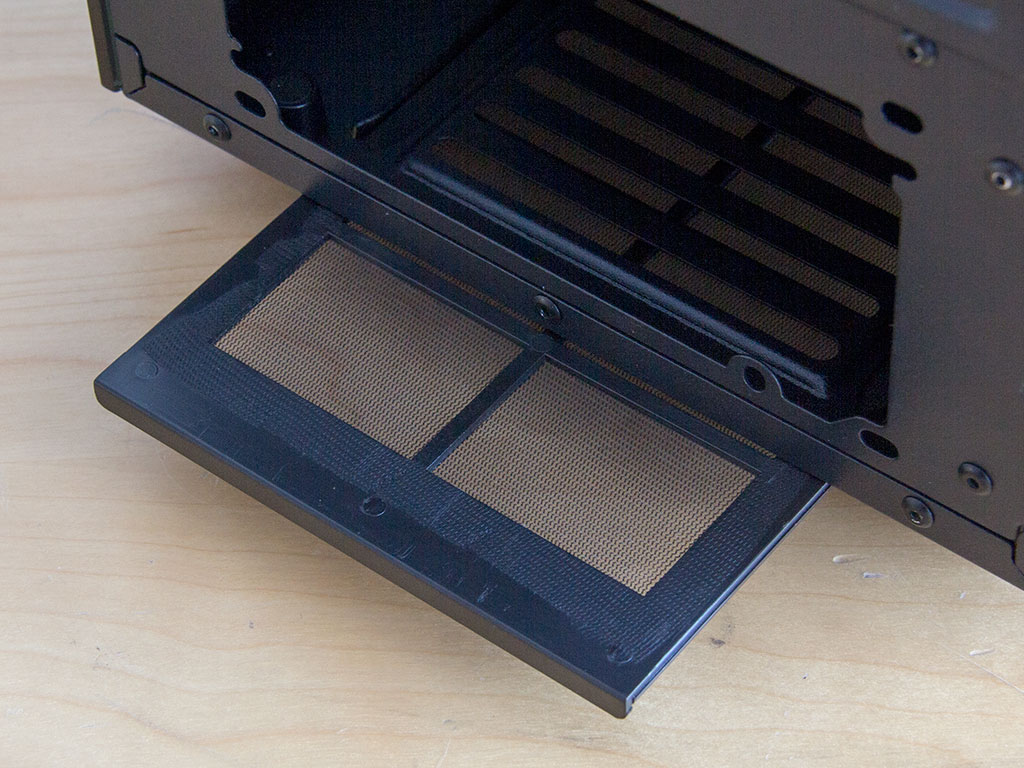
Also worth mentioning at this point is the dust filter below the chassis, which protects the PSU from dirt and grime. It can be pulled out through the back for easy cleaning without having to tip the chassis over.
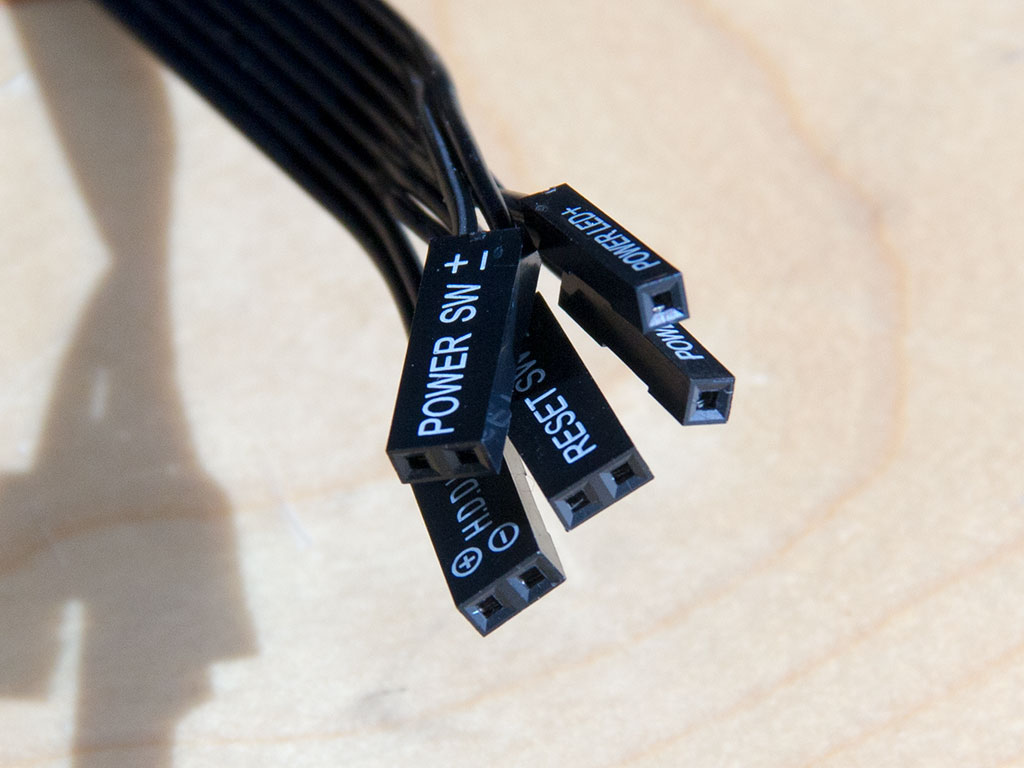
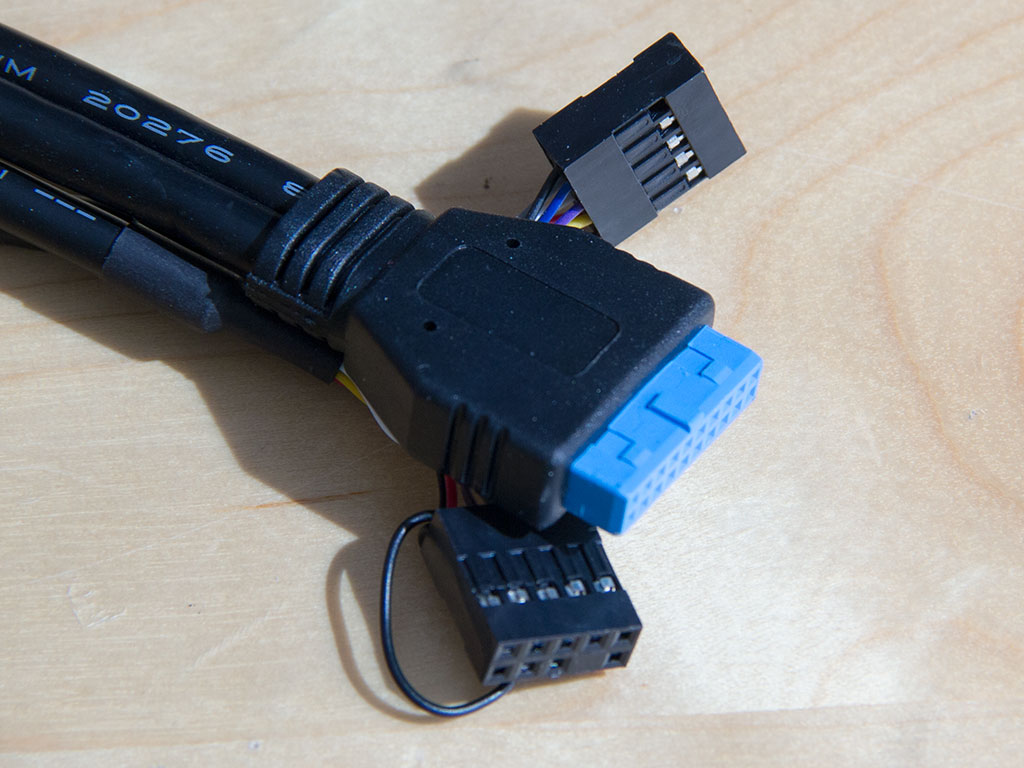
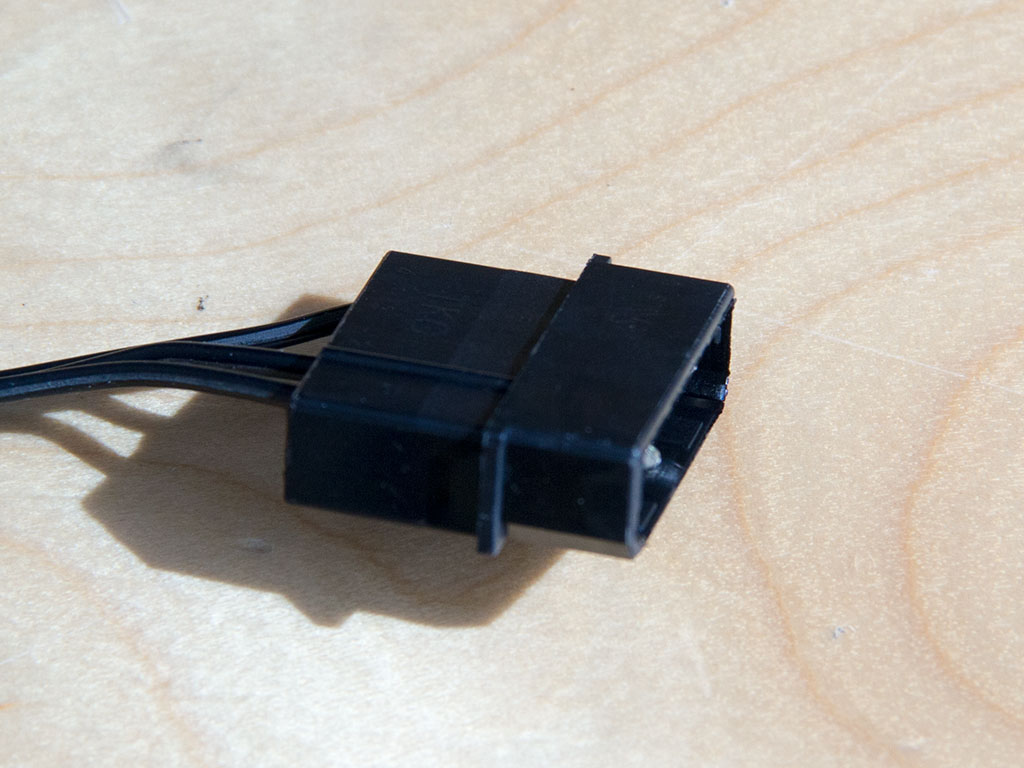
All the cables within the chassis are of the traditional variety and come with black sleeving. In addition to the usual ones, there is a Molex plug with two leads to supply 12V to the fan PCB.
Apr 30th, 2024 19:43 EDT
change timezone
Latest GPU Drivers
New Forum Posts
- Milestones (13876)
- WCG Daily Numbers (12502)
- 7900 XTX Seriously lacking (82)
- Arctic MX-6 shelf life is just a couple months? (40)
- Is there a formula to help normalize temperature testing when ambient is variable? (18)
- RTX 4090? (32)
- TPU's Rosetta Milestones and Daily Pie Thread (1864)
- Folding Pie and Milestones!! (9013)
- What's an inexpensive AIO product line with a strong pump and low price? (87)
- Your PC ATM (34534)
Popular Reviews
- Ugreen NASync DXP4800 Plus Review
- HYTE THICC Q60 240 mm AIO Review
- Team Group T-Force Vulcan ECO DDR5-6000 32 GB CL38 Review
- MOONDROP x Crinacle DUSK In-Ear Monitors Review - The Last 5%
- Upcoming Hardware Launches 2023 (Updated Feb 2024)
- Thermalright Phantom Spirit 120 EVO Review
- AMD Ryzen 7 7800X3D Review - The Best Gaming CPU
- AMD Ryzen 9 7950X3D Review - Best of Both Worlds
- FiiO K19 Desktop DAC/Headphone Amplifier Review
- ASUS Radeon RX 7900 GRE TUF OC Review
Controversial News Posts
- Intel Statement on Stability Issues: "Motherboard Makers to Blame" (192)
- Windows 11 Now Officially Adware as Microsoft Embeds Ads in the Start Menu (156)
- Sony PlayStation 5 Pro Specifications Confirmed, Console Arrives Before Holidays (117)
- AMD's RDNA 4 GPUs Could Stick with 18 Gbps GDDR6 Memory (109)
- NVIDIA Points Intel Raptor Lake CPU Users to Get Help from Intel Amid System Instability Issues (106)
- AMD "Strix Halo" Zen 5 Mobile Processor Pictured: Chiplet-based, Uses 256-bit LPDDR5X (103)
- US Government Wants Nuclear Plants to Offload AI Data Center Expansion (98)
- TechPowerUp Hiring: Reviewers Wanted for Motherboards, Laptops, Gaming Handhelds and Prebuilt Desktops (90)