 3
3
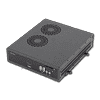
Shuttle Slim-PC DS61 Review
BIOS Walkthrough, Performance & Noise Output »A Closer Look - Inside
It is now time to strip down the small DS61 and see what is hiding inside. You thankfully only have to remove two screws to lift off the top cover for internal access.


The mainboard is really small and looks well-constructed, but it mostly uses CapXon polymer caps—not one of our favorite cap choices.
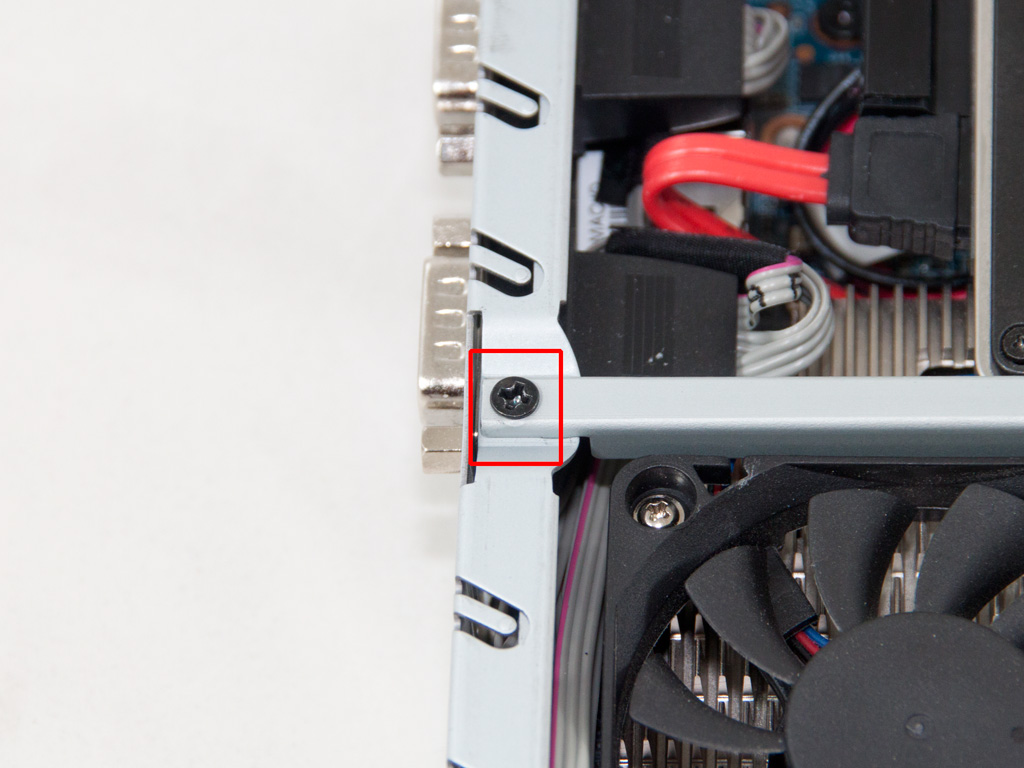

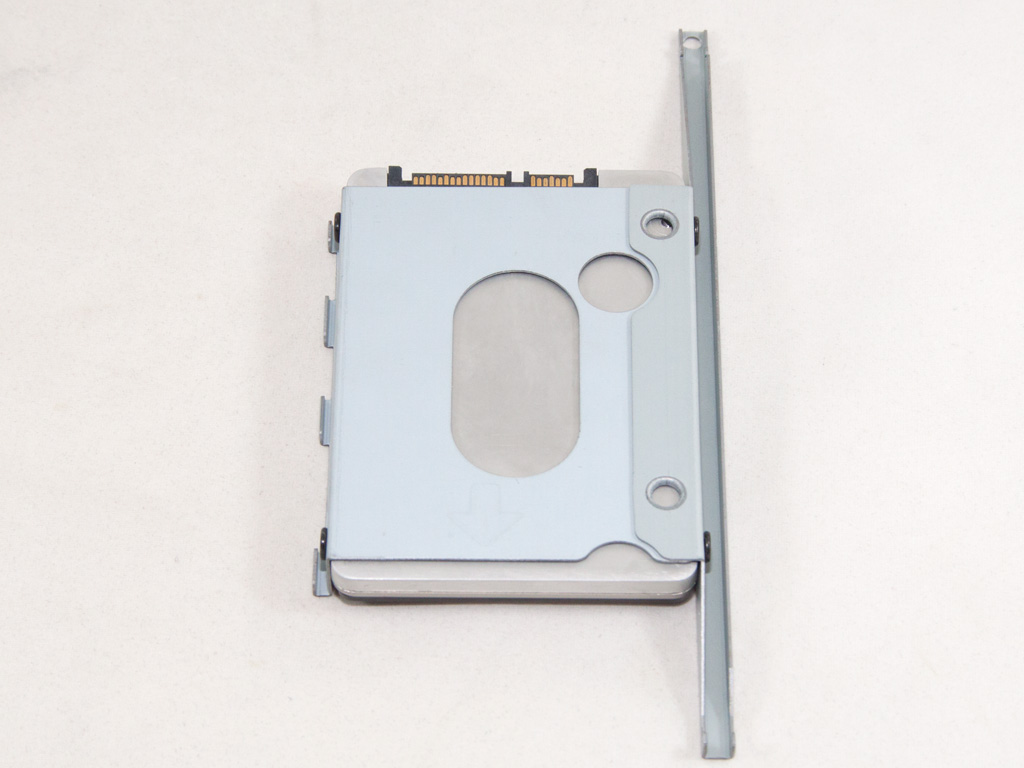
To access the case that holds the 2.5" drive, you only have to remove one screw. This is really convenient!

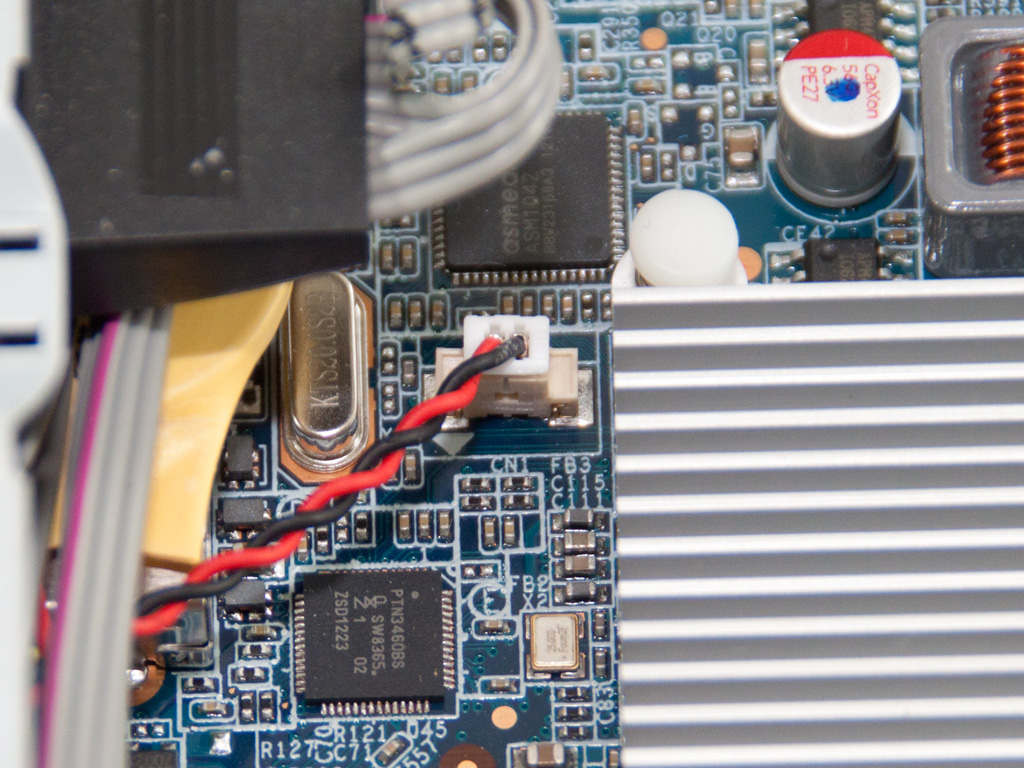
There are two SATA ports, but only one propriety power connector (the white socket located next to the SATA ports).
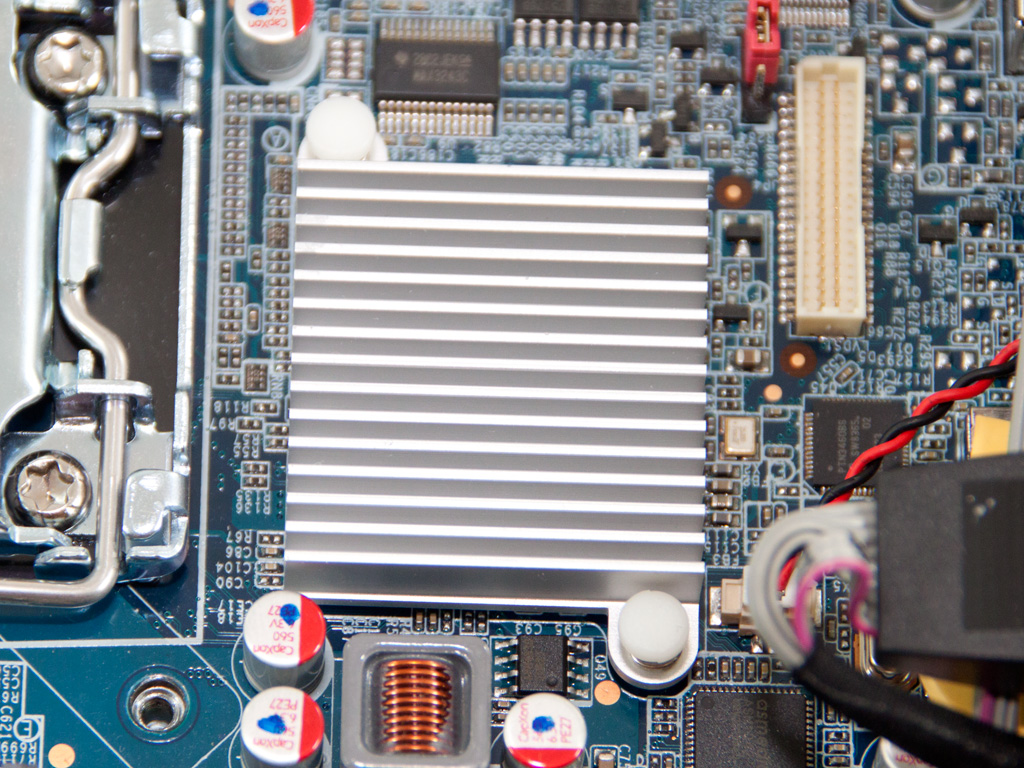
The H61 chipset is passively cooled.


To install the CPU and the RAM modules, you must first remove the heatpipe-cooling system (called ICE module); an easy procedure since you only have to deal with four screws and a power connector for the fans.


Four voltage regulators provide power to the CPU. We also spotted a single voltage regulator a little further from the aforementioned ones. It probably provides power to the memory modules.

Here is a PTN3460 IC that is an embedded DisplayPort to LVDS bridge. Next to it resides an ASMedia ASM1042 Universal Serial Bus 3.0 extended host controller.

In the bottom-left corner is an AS324M IC that is a Quad Operational Amplifier, and two MagnaChip MDU1512 mosfets are in the middle of the right area.

This is the mini-PCIe slot. The second photo shows its battery connector.

Two MAX3243s for the equal number of RS232 ports and a Realtek ALC662 5.1 Channel High Definition Audio Codec.

A general scheme of the mainboard.
May 7th, 2024 03:56 EDT
change timezone
Latest GPU Drivers
New Forum Posts
- What are you playing? (20591)
- Intel Core "Special Edition" Owners' Club (31)
- What's your latest tech purchase? (20452)
- Only some humans can see refresh rates faster than others, I am one of those humans. (204)
- Overheating/undervolt/setup issues (9)
- Gigabyte Aorus Elite AX V2 rev 1.1 BIOS update "AMD AGESA V2 1.2.0.B" (6)
- The Official Thermal Interface Material thread (1169)
- GPU Hot Spot Temperature 105 Celsius, fans at 3000 RPM, while GPU Temperature is max 70 Celsius (40)
- Cybersecurity - OSINT Software for Linux (3)
- nvflashk - Flash any BIOS to NVIDIA GPUs - Safe board ID bypass up to 4xxx series (241)
Popular Reviews
- Finalmouse UltralightX Review
- Corsair iCUE Link RX120 RGB 120 mm Fan Review
- Cougar Hotrod Royal Gaming Chair Review
- Meze Audio LIRIC 2nd Generation Closed-Back Headphones Review
- Upcoming Hardware Launches 2023 (Updated Feb 2024)
- ASRock NUC BOX-155H (Intel Core Ultra 7 155H) Review
- AMD Ryzen 7 7800X3D Review - The Best Gaming CPU
- ASUS Radeon RX 7900 GRE TUF OC Review
- Montech Sky Two GX Review
- HYTE THICC Q60 240 mm AIO Review
Controversial News Posts
- Intel Statement on Stability Issues: "Motherboard Makers to Blame" (249)
- AMD to Redesign Ray Tracing Hardware on RDNA 4 (169)
- Windows 11 Now Officially Adware as Microsoft Embeds Ads in the Start Menu (167)
- Sony PlayStation 5 Pro Specifications Confirmed, Console Arrives Before Holidays (118)
- AMD's RDNA 4 GPUs Could Stick with 18 Gbps GDDR6 Memory (114)
- NVIDIA to Only Launch the Flagship GeForce RTX 5090 in 2024, Rest of the Series in 2025 (110)
- NVIDIA Points Intel Raptor Lake CPU Users to Get Help from Intel Amid System Instability Issues (106)
- AMD Ryzen 9 7900X3D Now at a Mouth-watering $329 (104)