 0
SilverStone Lucid 05 Review
Thermal Stress Test »Assembly
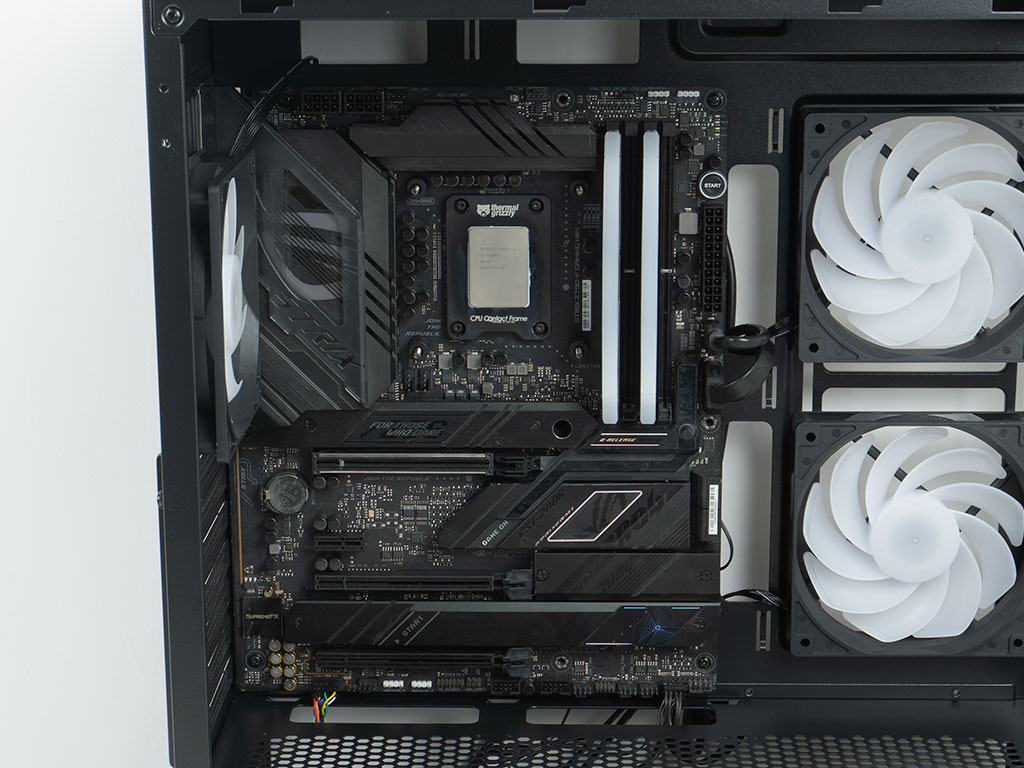
Securing the motherboard inside the case is straightforward, using the spacers and screws. Unlike the Lucid 04, the cable routing on the larger Lucid 05 is much better, with the openings lining up well around the board area.
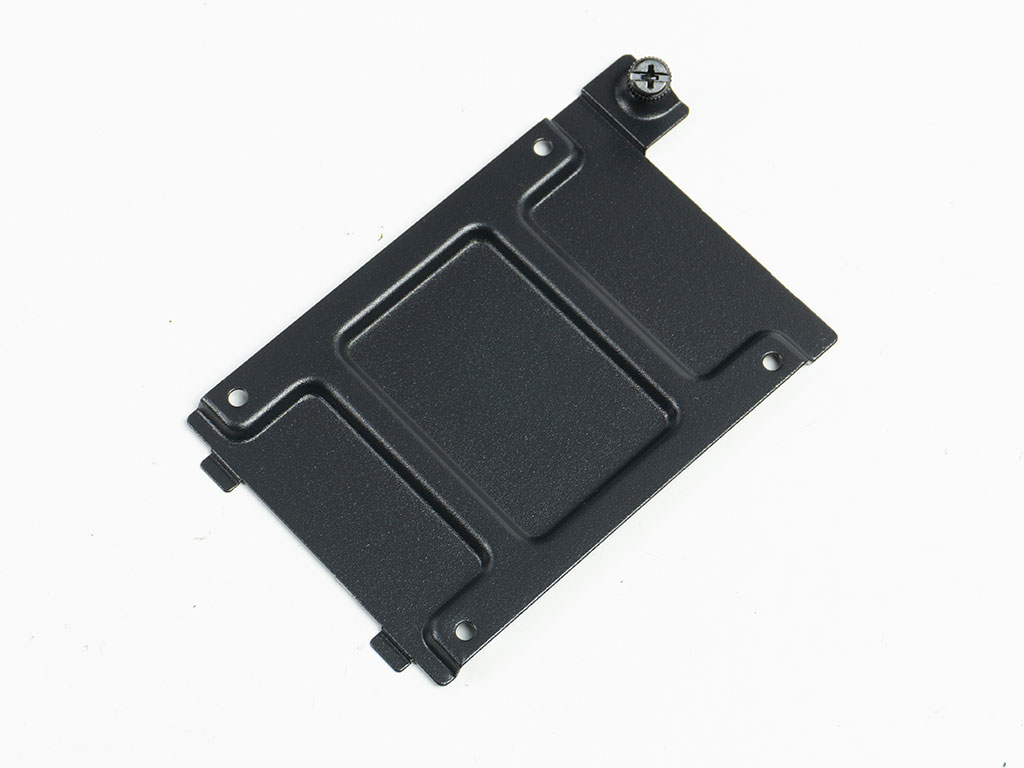
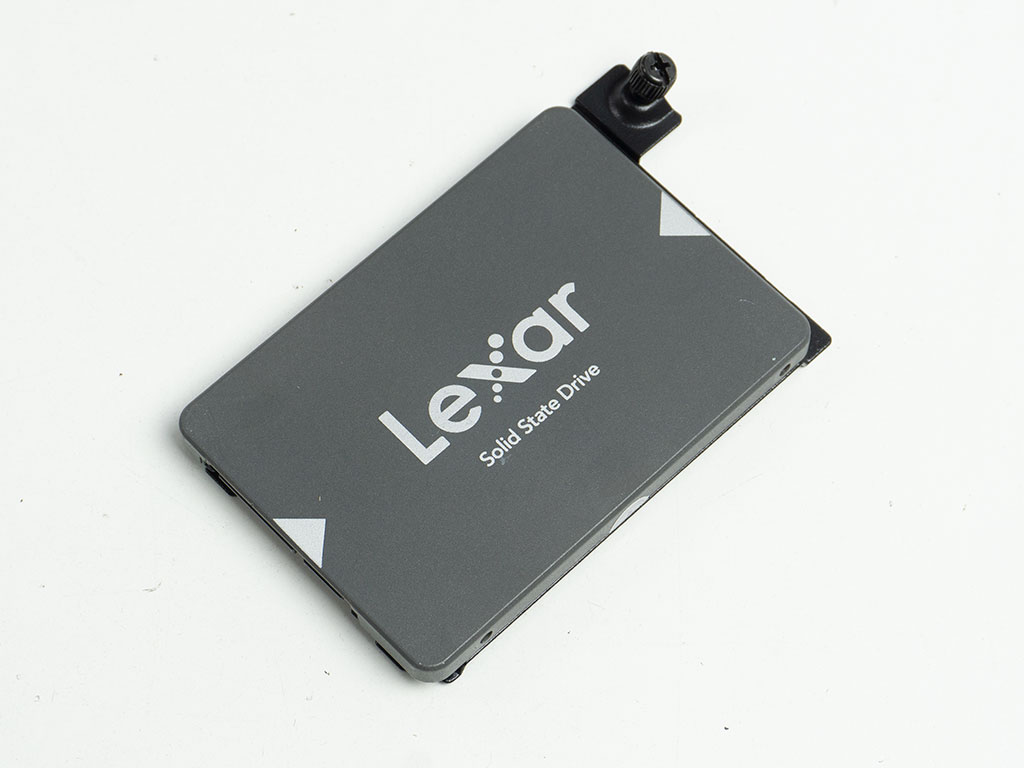
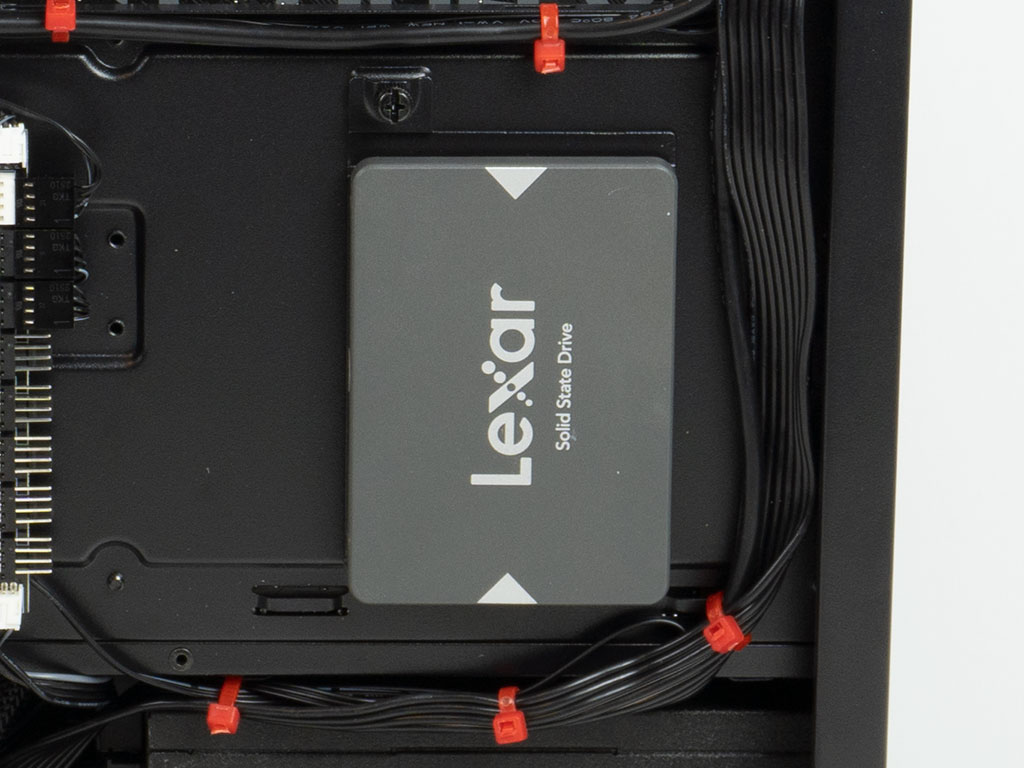
The metal 2.5" drive tray may be lifted out of the case by removing the single captive thumb screw holding each of them in place. Adding an SSD requires the use of the included screws. Once filled, you can put it back unto the backside of the motherboard tray.
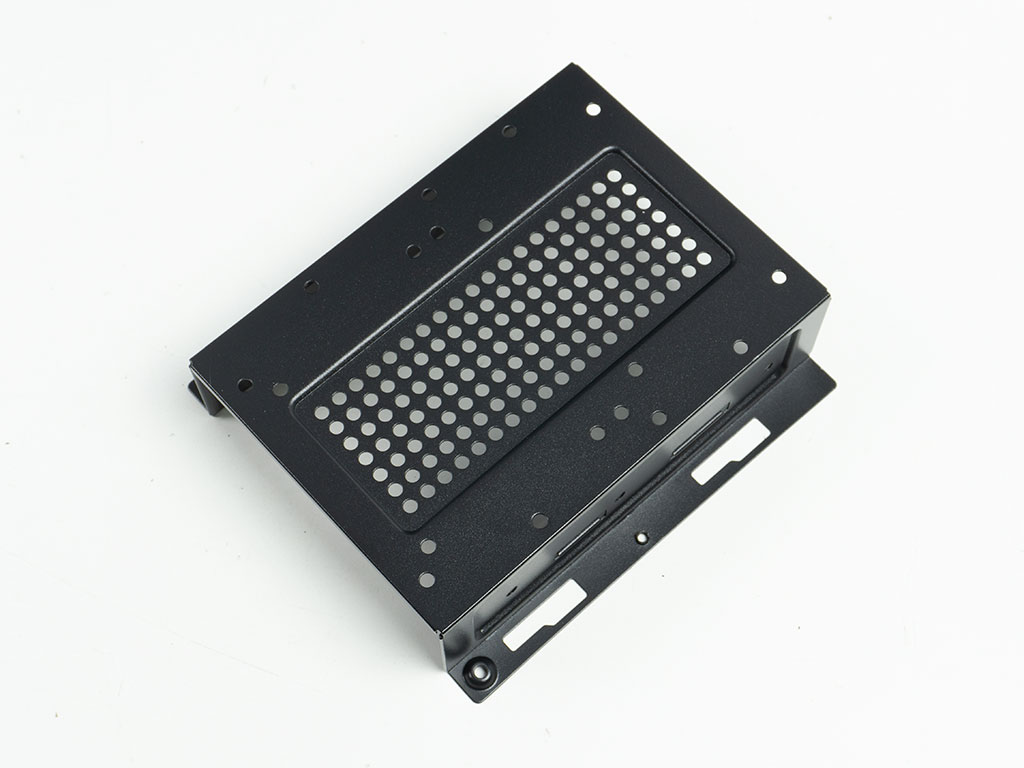
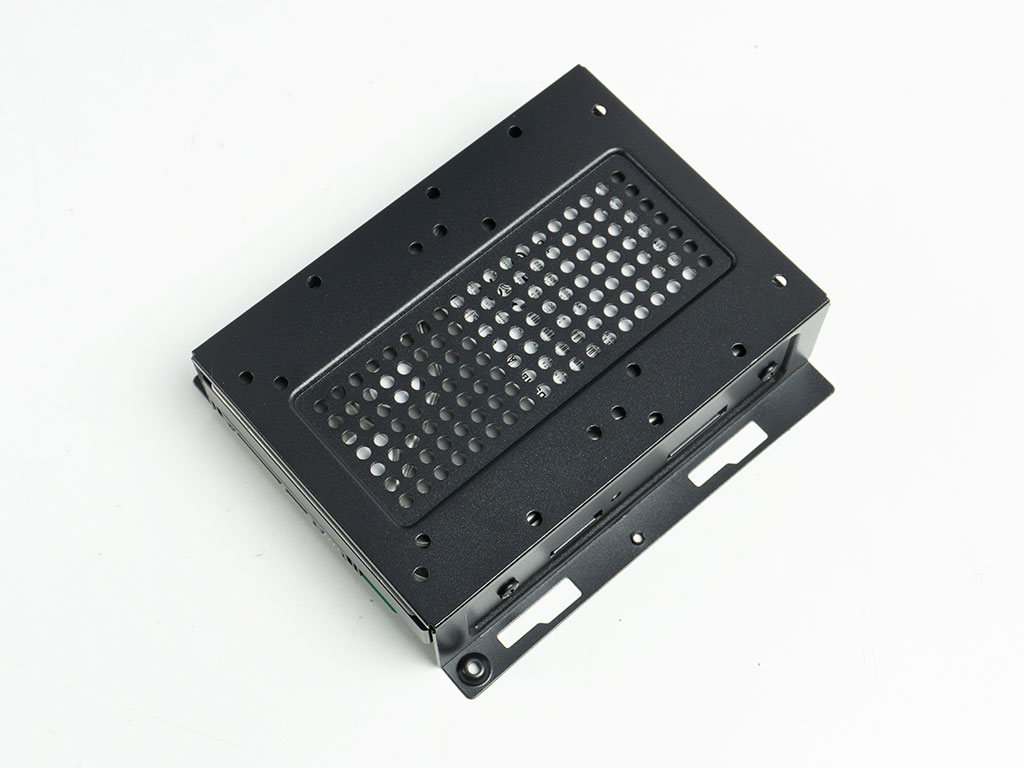
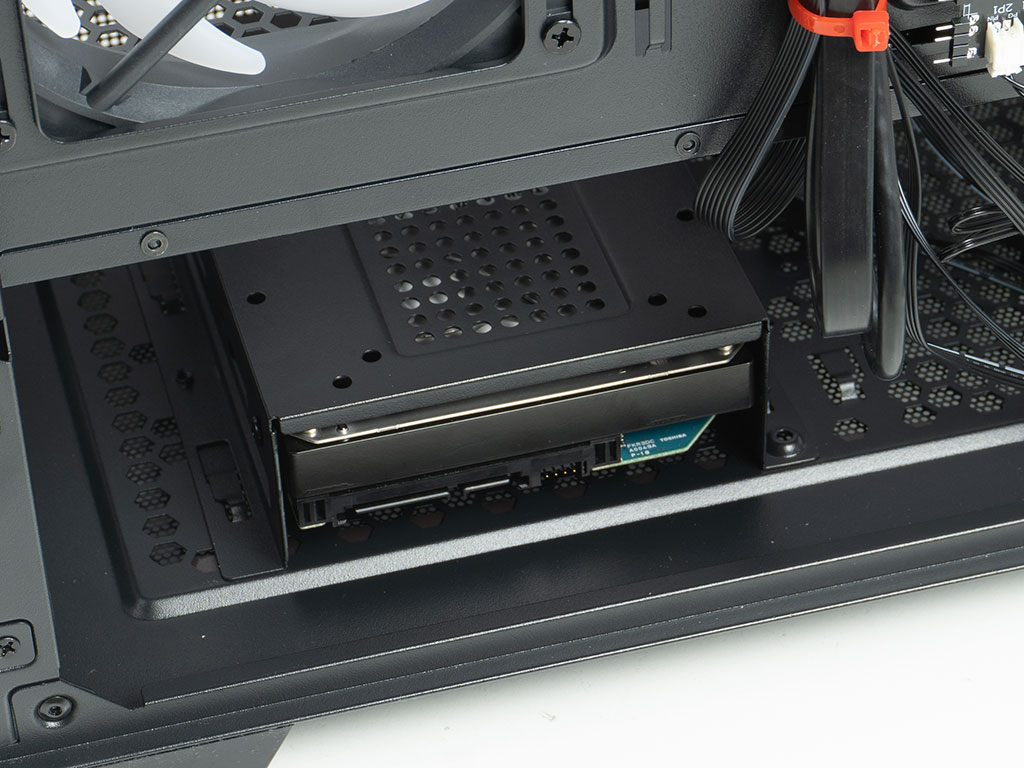
To add a 3.5" drive to the cage, you will have to take it out of the case first. Unfortunately, that means you will have to tip over the case, take off the magnetic dust filter and then unscrew the pair of screws holding the cage down. Once filled you have to repeat those steps in reverse of course.
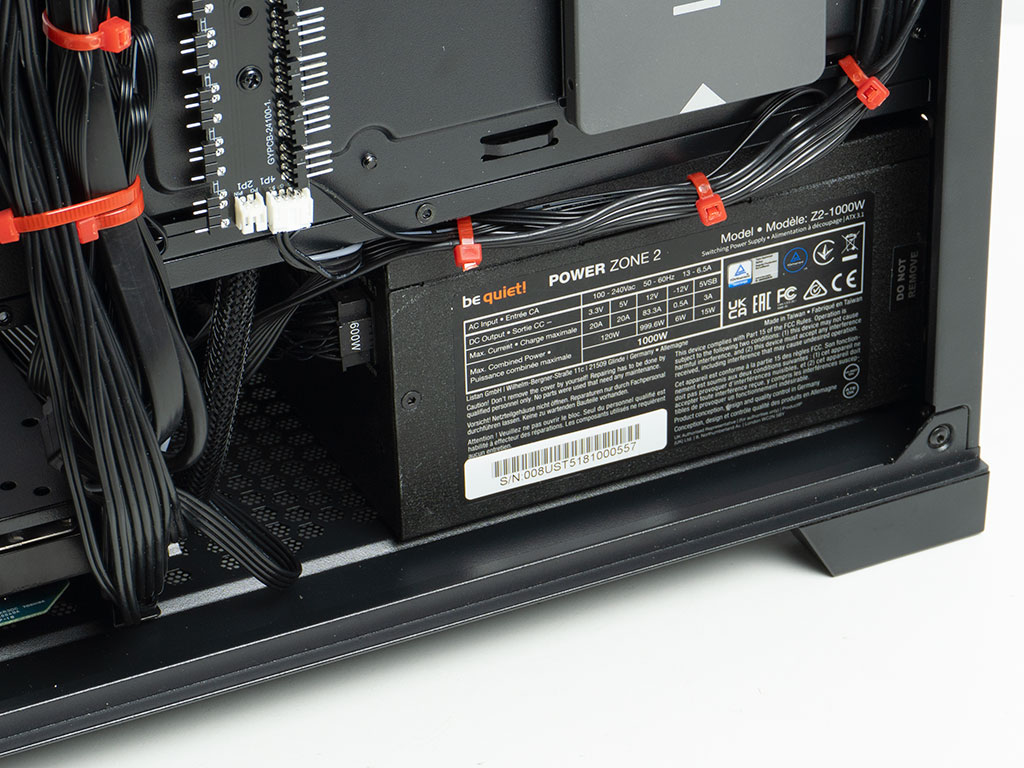
Sliding in our 160 mm long 1000 W power supply was quite easy, there is plenty of space for even longer variants. As there is no liquid cooling going into the front of the SilverStone Lucid 05, you can put the HDD in the most forward position and permanently have more room to work with for your wiring.
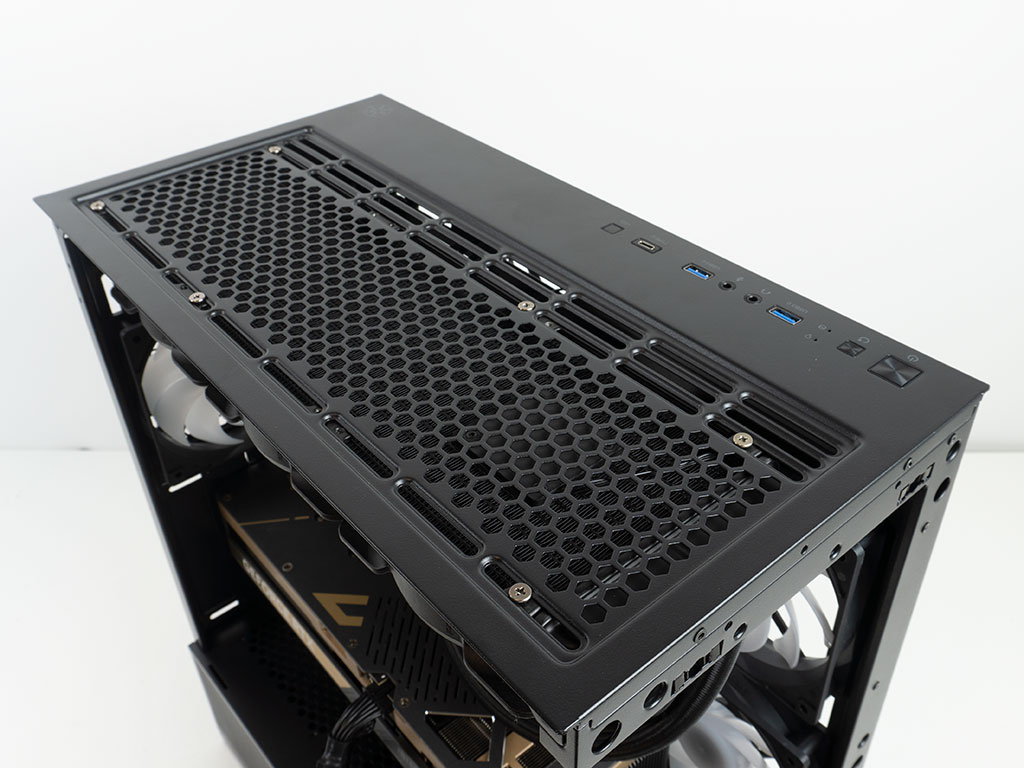
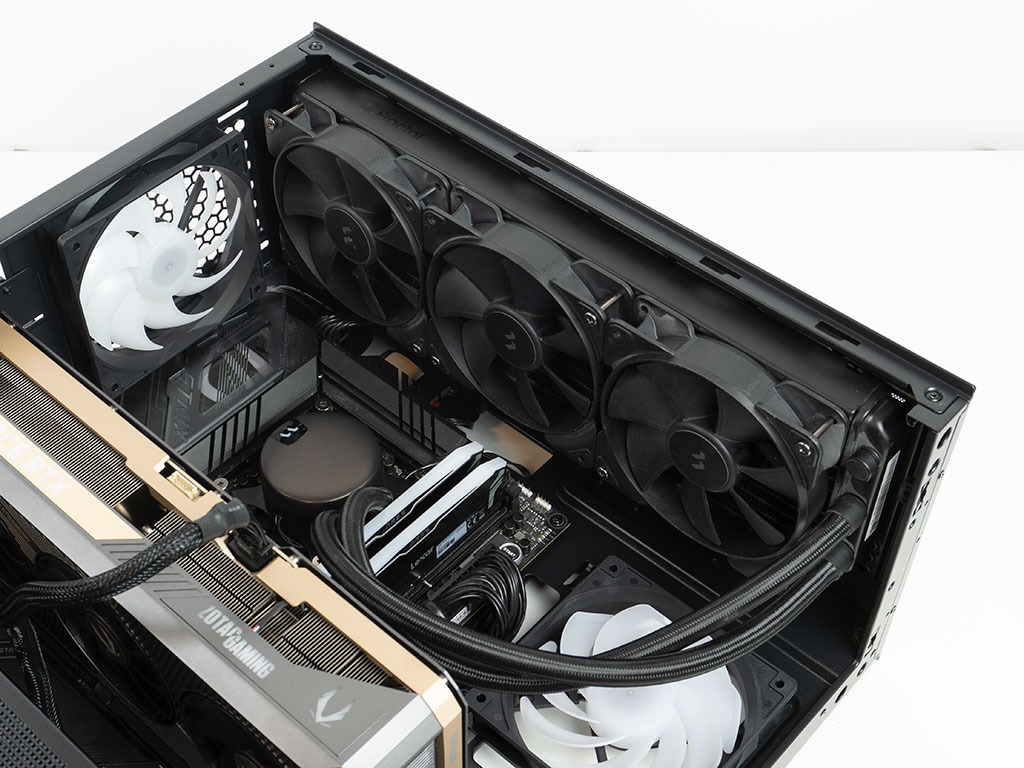
Adding the 360 mm AIO in the ceiling is not hard either. Thanks to very good clearances, the motherboard headers at the top edge are still accessible if you stick to cooling setups of classic thickness. There is enough room to comfortably opt for thicker variants like the ones from Arctic or HYTE as well.
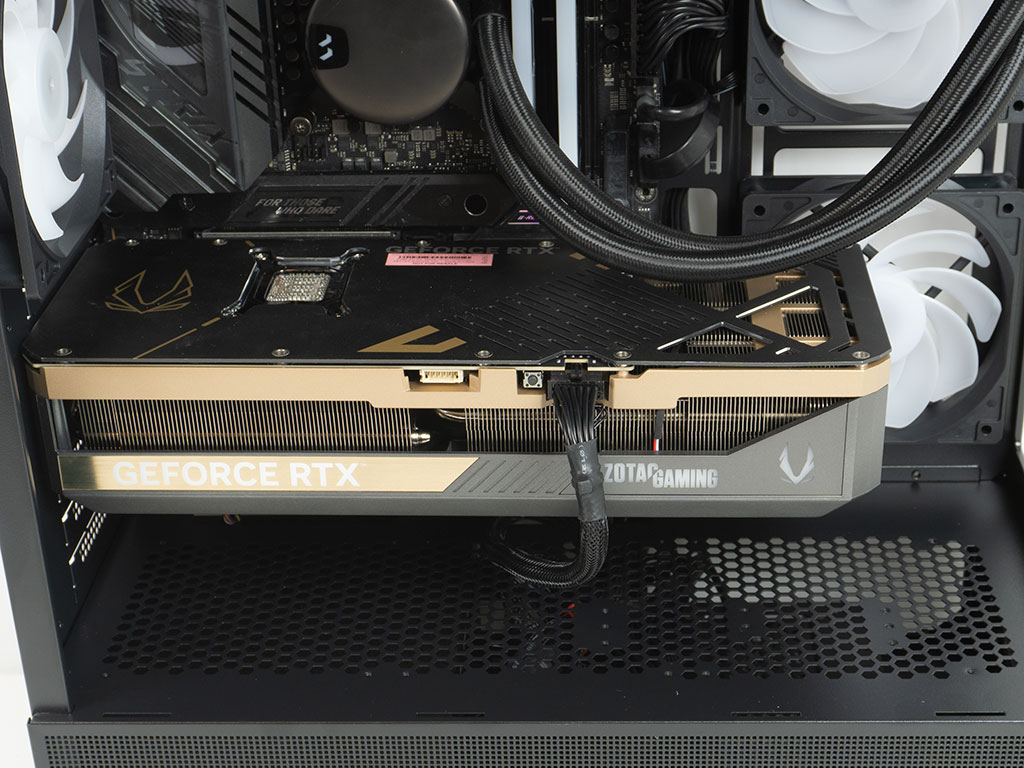
You not only get to install longer AIOs than the Lucid 04 in the ceiling, but also can fit longer GPUs of up to 410 mm in length. Our Zotac GeForce RTX 5070 Ti has plenty of room to breathe while clearing the side intake fans without issue. While a basic GPU bracket is always welcome, there is really no place to sensibly put it inside the Lucid 05.
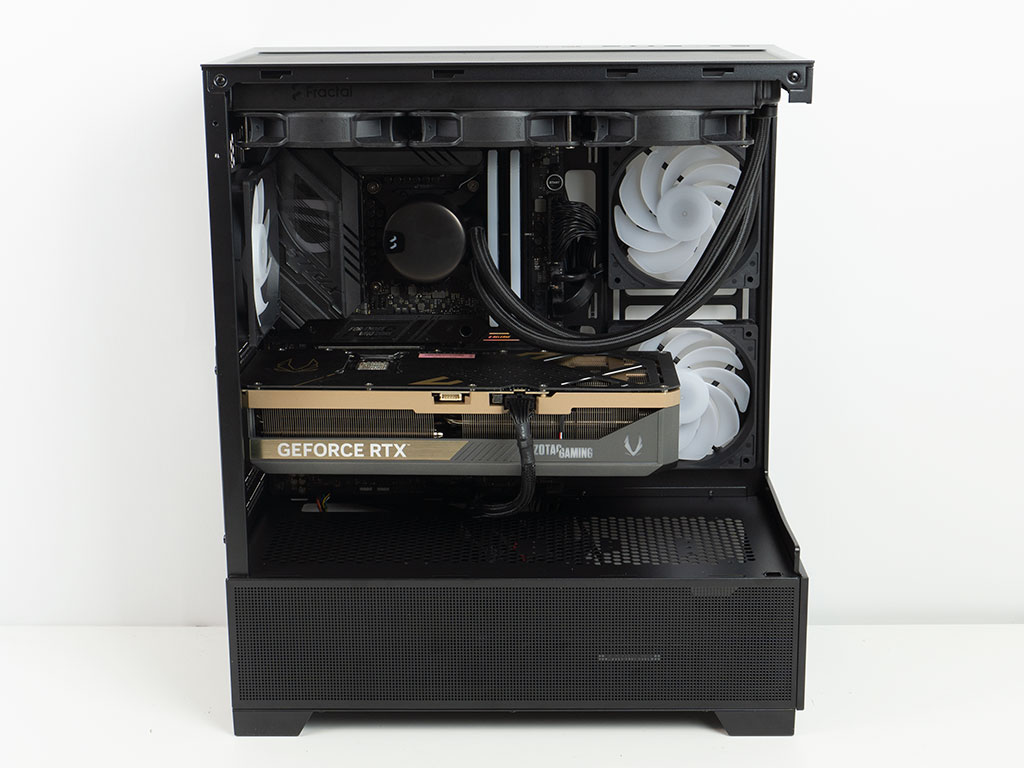
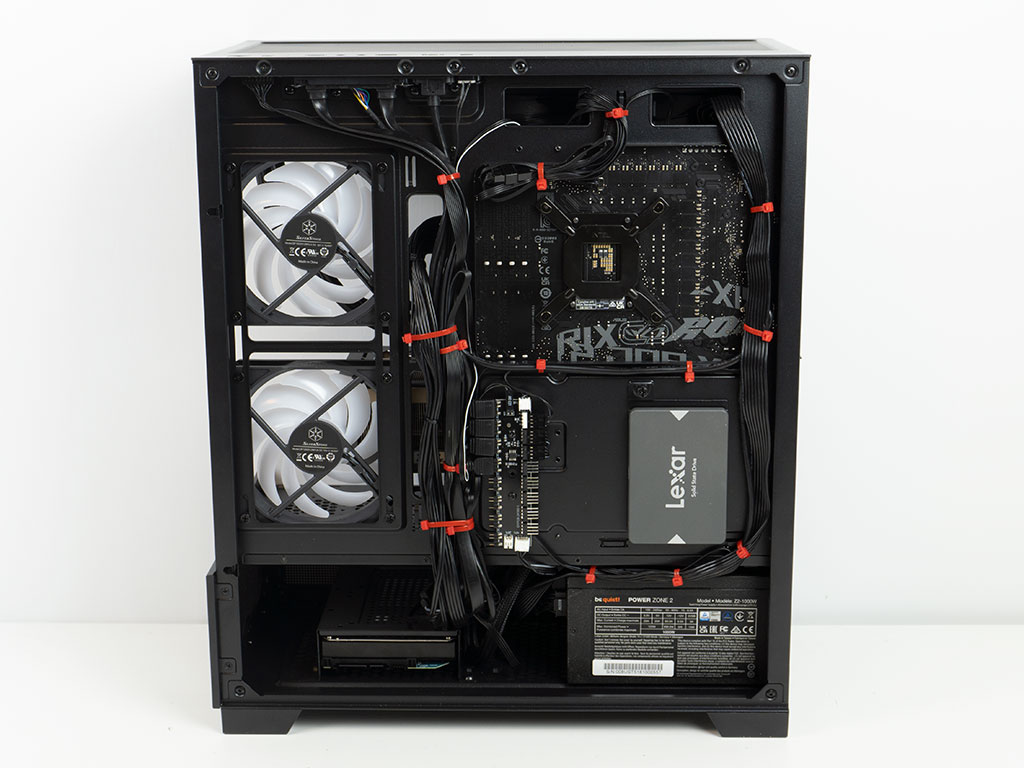
With everything installed and wired up, we managed to route the cables fairly well, even though you will see a lot more than you would have if there were grommets. This is a classic scenario of tidy but not as clean as it could be. We had to use pretty much every hook for zip ties and spent some time rewiring the ARGB fans as well so that the wiring is spread out in a functional way, allowing you to adjust individual areas as needed without having to undo all of your work.
Finished Looks
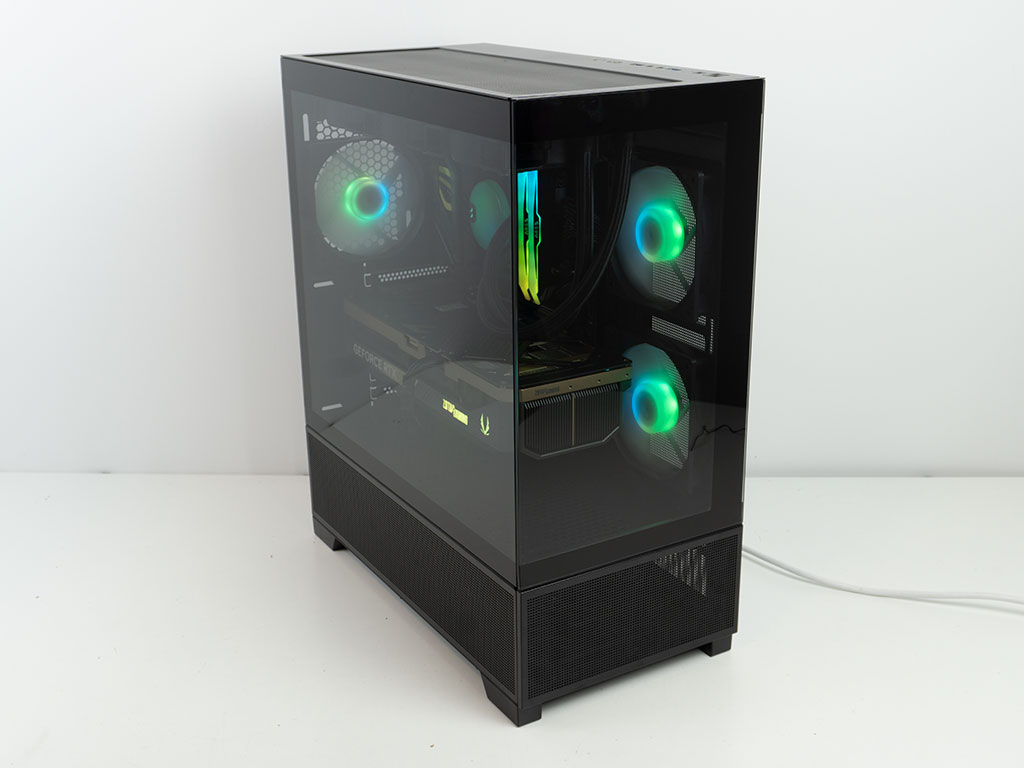
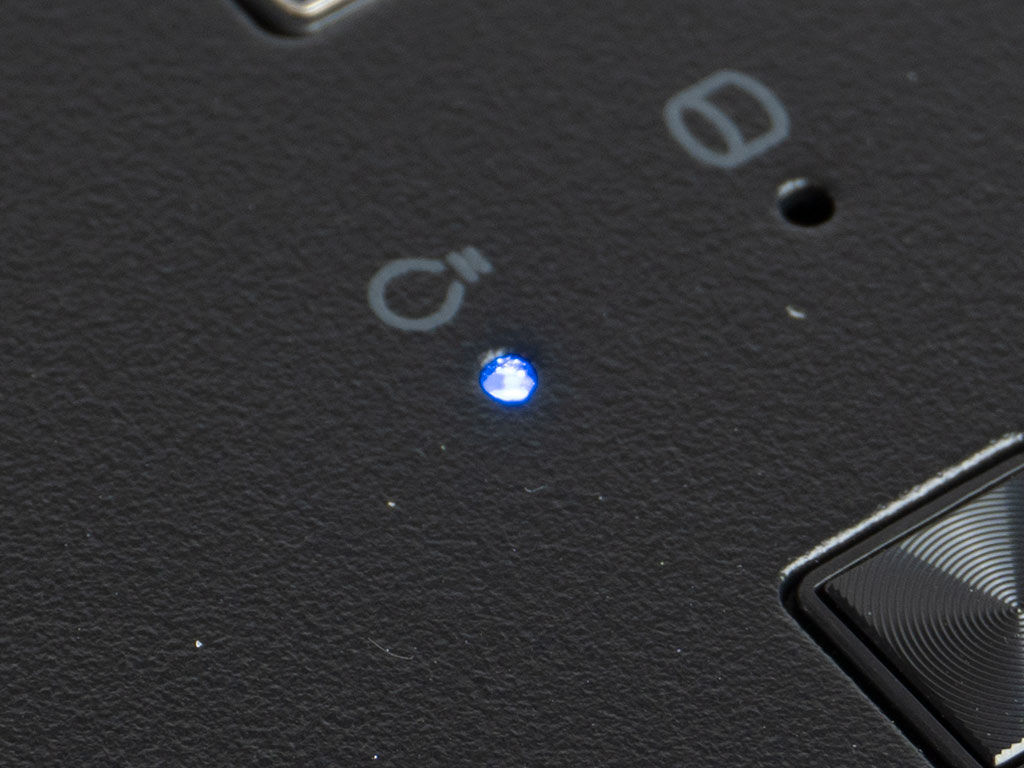
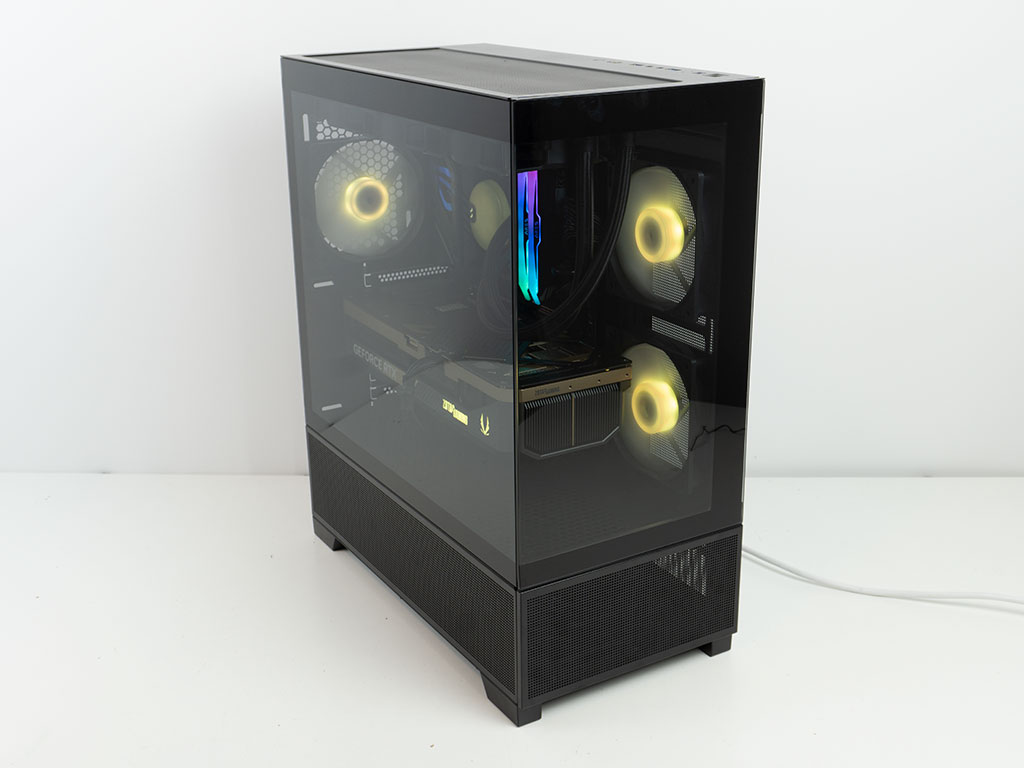
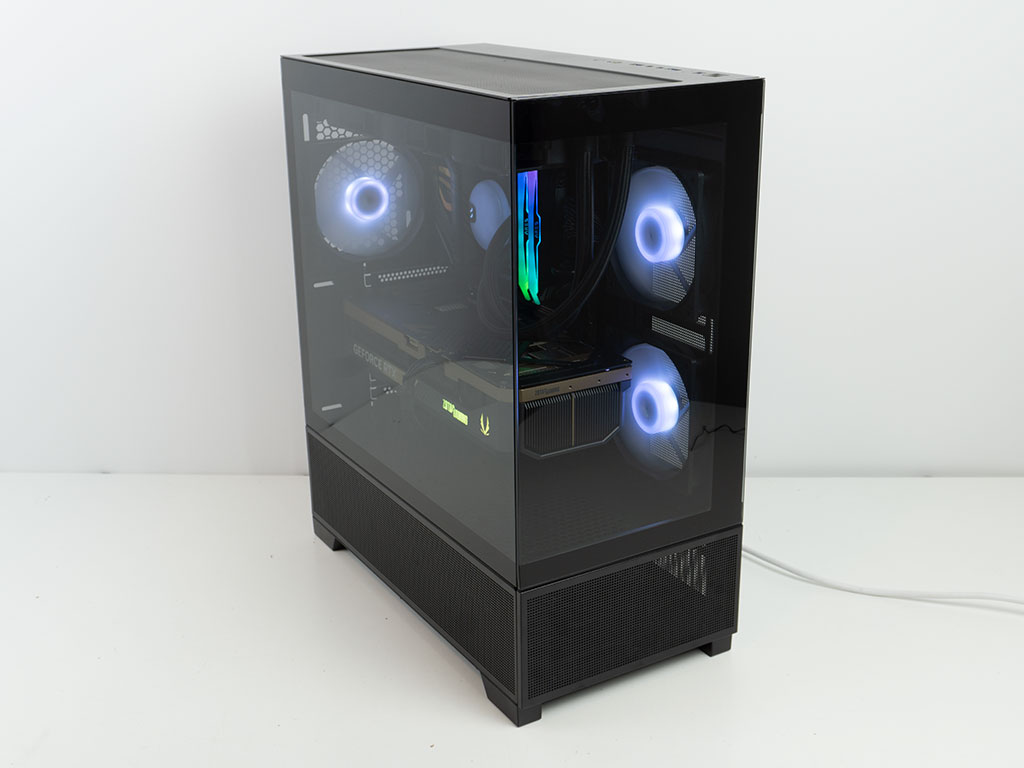
Turning on the SilverStone Lucid 05 also lights up a blue power LED on the top of the case. Thanks to the clear glass panels, you can see the glow of the ARGB LEDs in the fan hubs as well as those from the components. The SilverStone Lucid 05 is clearly geared towards System Integrators with its lack of apparent branding.
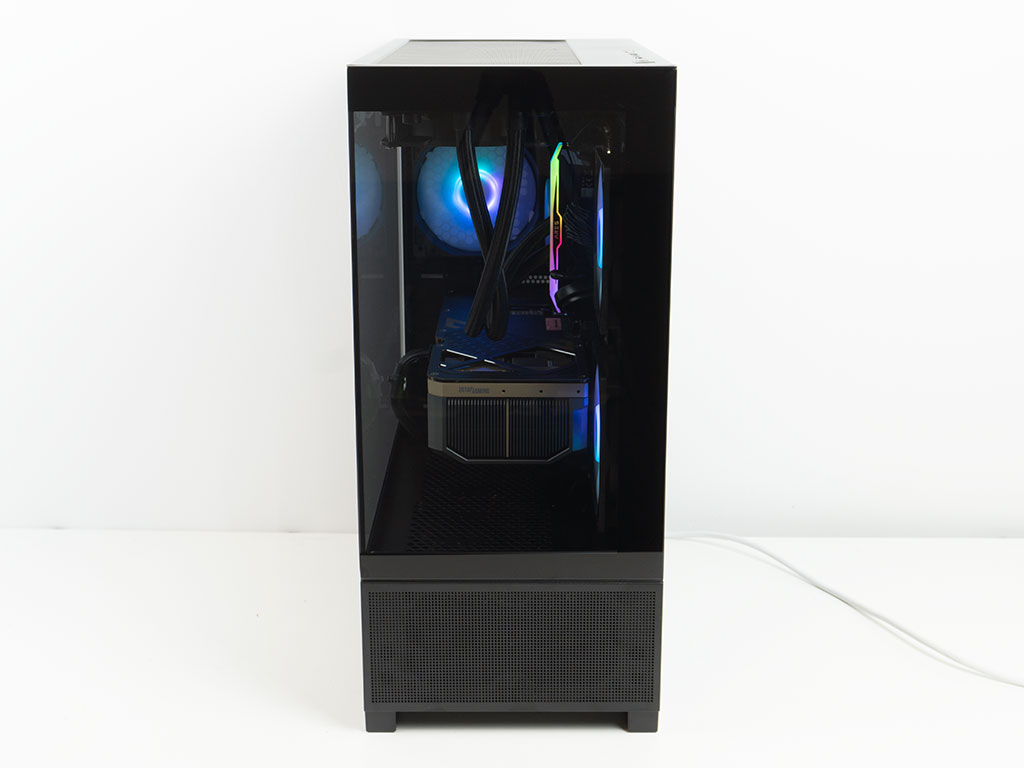
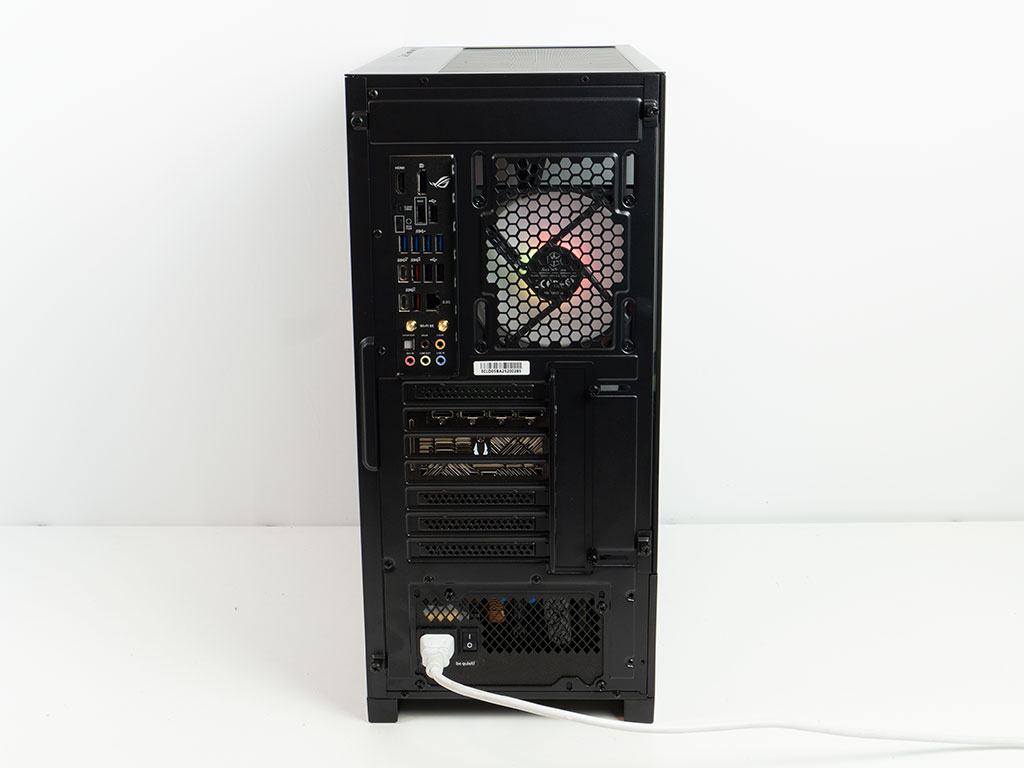
When viewed from the front, you can see across the GPU all the way to the fan in the back clearly thanks to the gentle tint and in the rear everything is where you would expect to see it.
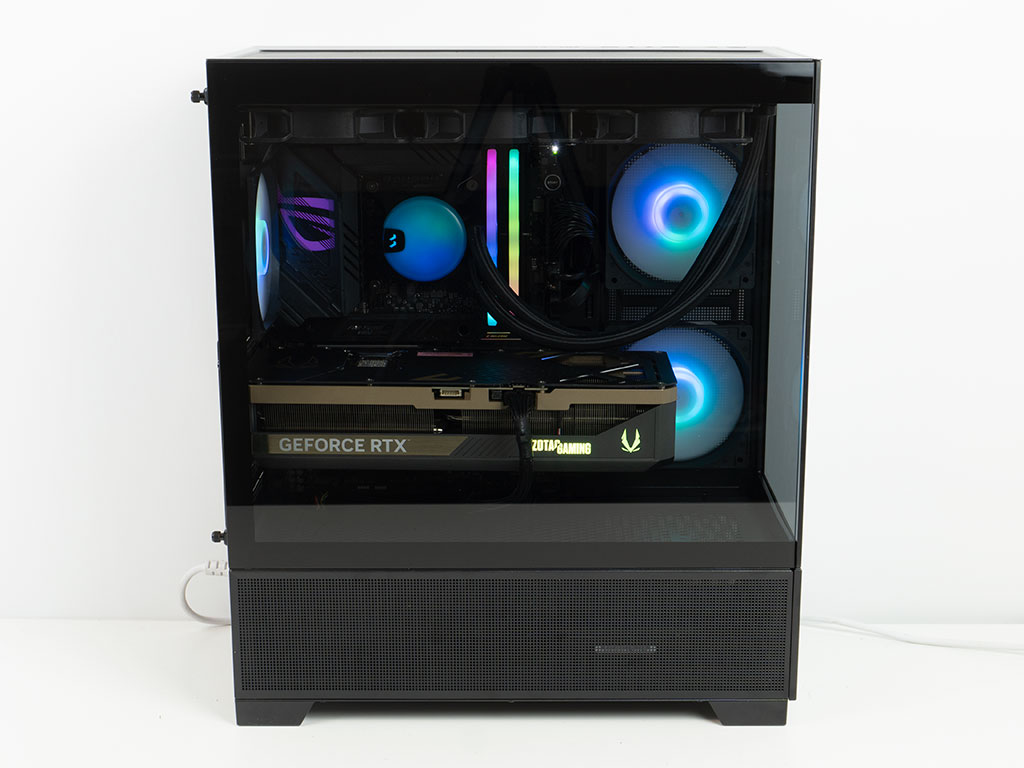
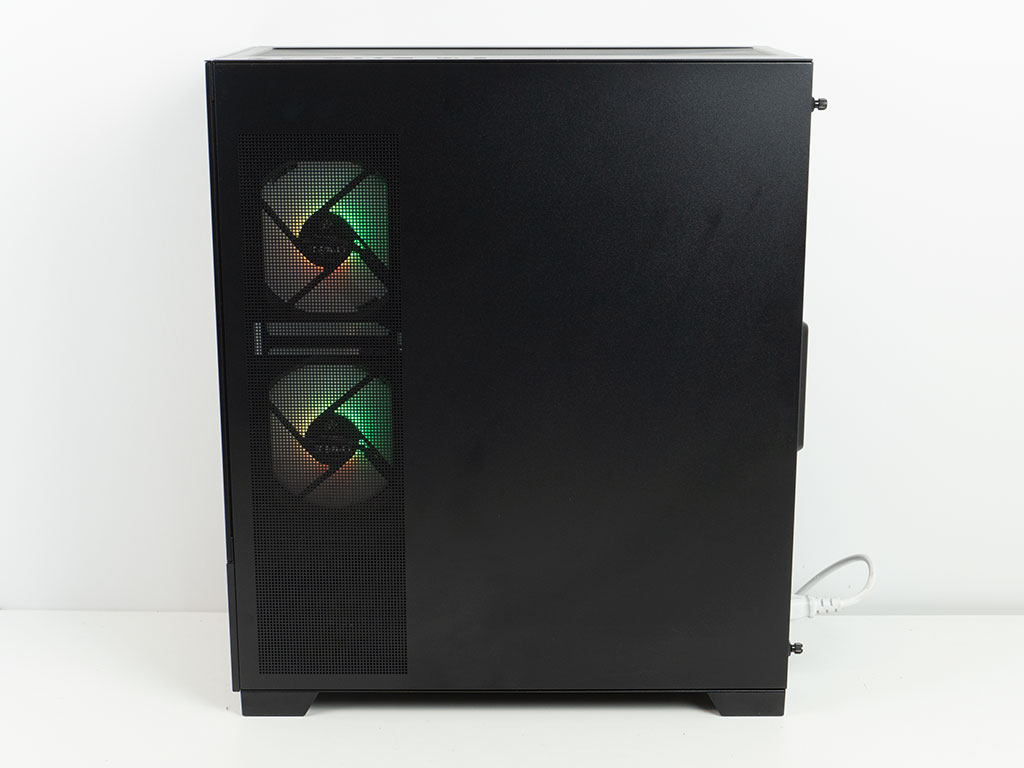
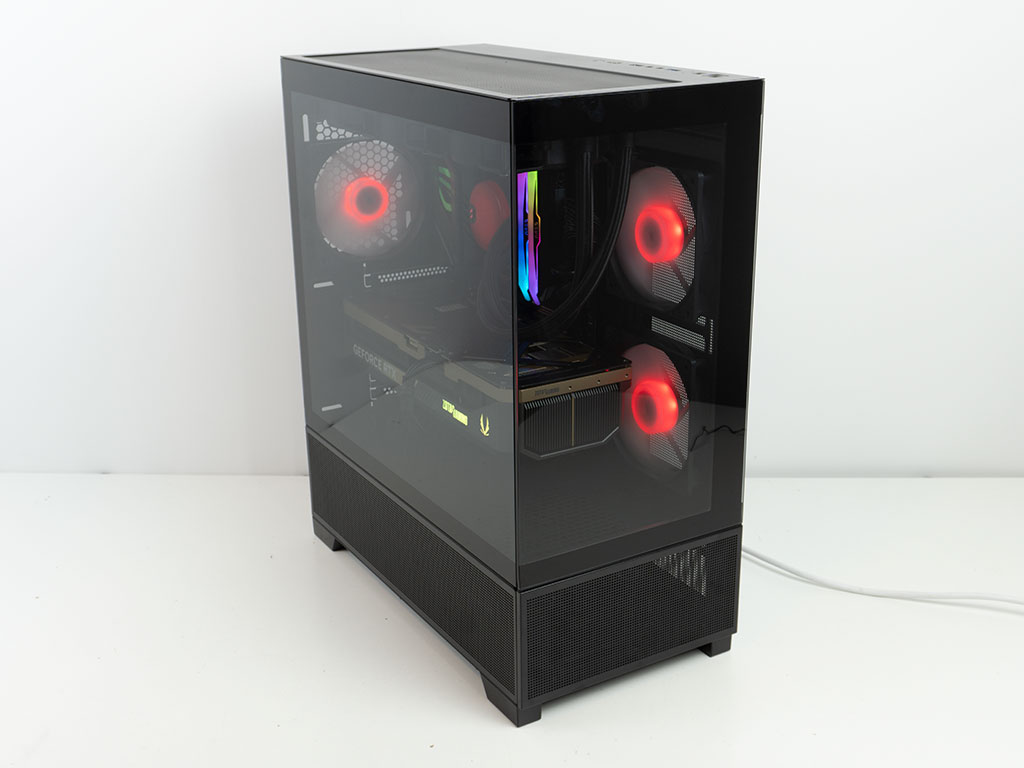
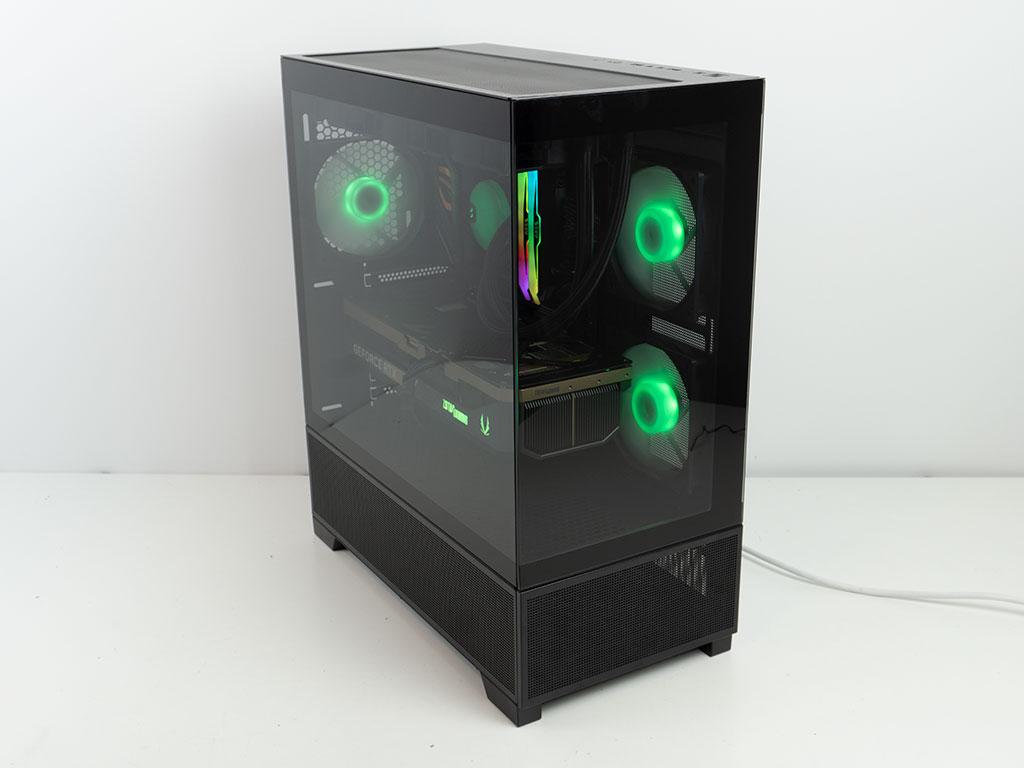
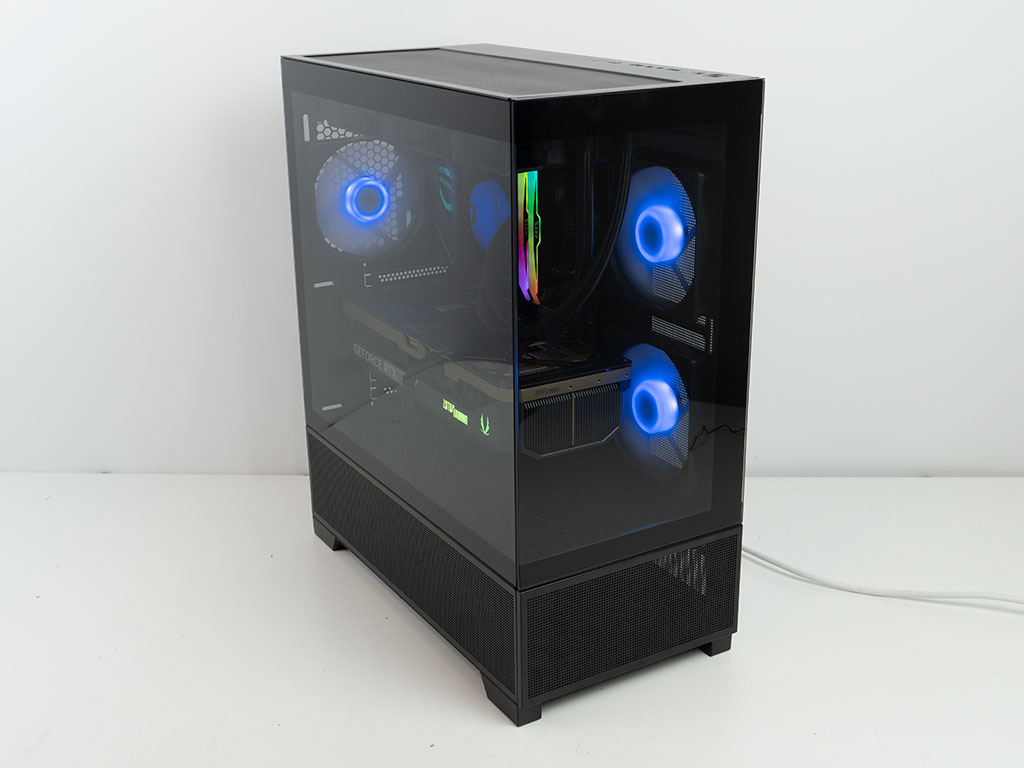
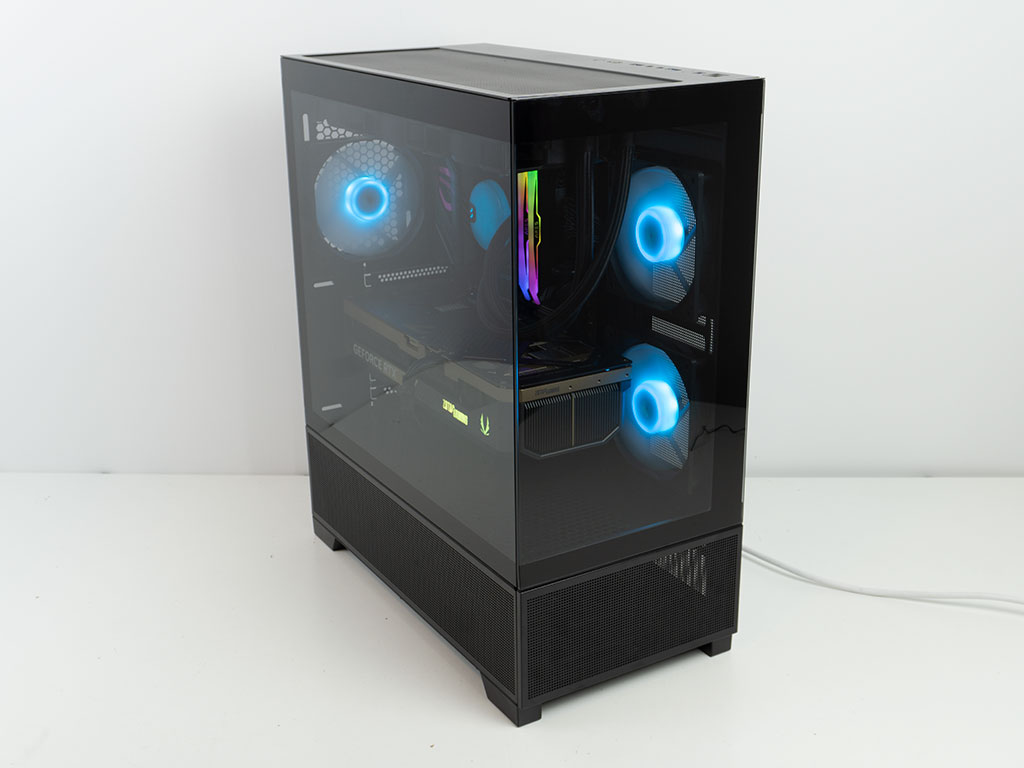
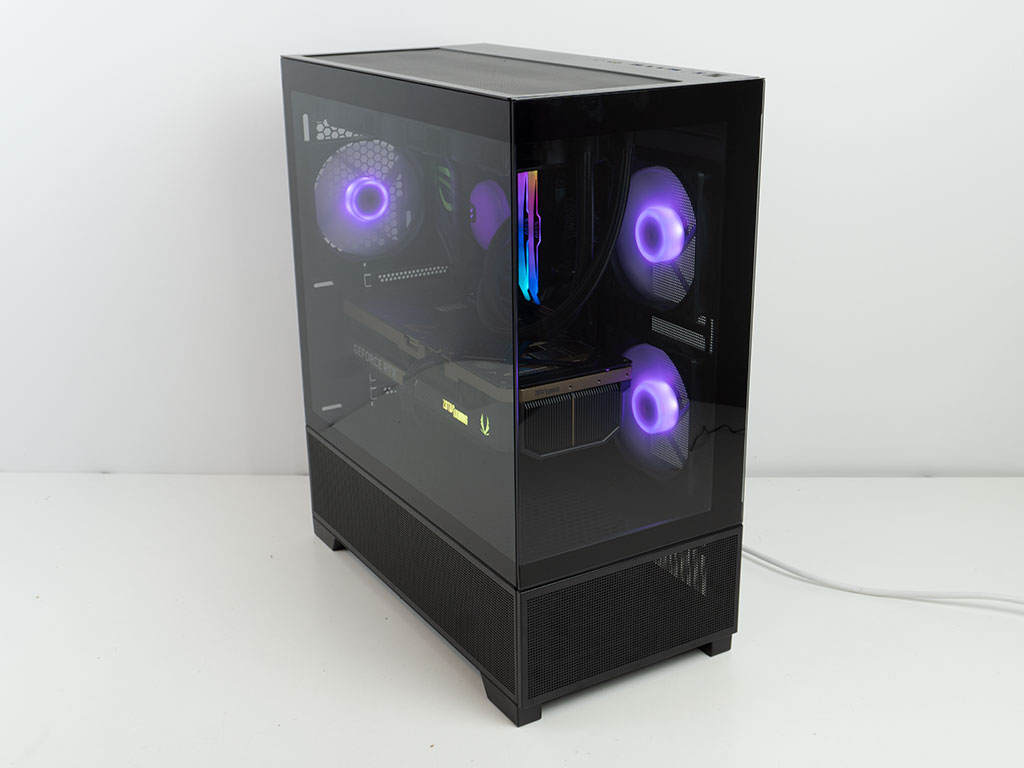
Similarly, from the side, your hardware will be on full display, while the glow of the fans can be seen from the side with the vented metal panel. As the SilverStone Lucid 05 comes with an ARGB controller, you may cycle through various single- and multicolored animations by pressing the dedicated button at the top of the chassis. In addition to those, you also get to set several solid colors as shown below.
Nov 20th, 2026 14:47 PST
change timezone
Latest GPU Drivers
New Forum Posts
- Logitech Headsets Modded Driver — Unlock Dolby in G HUB (23)
- 1 - 5 person file storage server equivalent accasible from anywhere + general VM server. (1)
- WarpCoreBench scores! (81)
- How to prevent OLED burn damage due to PC freezes or power outtages? (48)
- RX 9000 series GPU Owners Club (2247)
- Honestly, do you care about GTA VI? (208)
- When you could finally run Crysis maxed out? (63)
- GTA VI (20)
- Anthrophics IPO (25)
- GeekMagic Ultra Smart WiFi Weather Station (8)
Popular Reviews
- AMD Zen 6 Technical Deep Dive
- Microsoft Surface Laptop Ultra Review - The Next-gen Arm Laptop
- Ugreen NASync DXP4800 GT Review
- Corsair RM1200e (Second Generation) Review
- Acemagic Retro X3 Review
- Upcoming Hardware Launches 2027 (Updated Nov 2026)
- Pulsar Office Tour & First Look at P1 Dual-Sensor Mouse
- Biwin Black Opal NV7400 2 TB Review
- AMD Ryzen 7 9800X3D Memory Performance Scaling
- AMD Ryzen 7 9800X3D Review - The Best Gaming Processor
TPU on YouTube
Controversial News Posts
- NVIDIA Co-Founder and CEO Jensen Huang Officially Resigns (490)
- Report: Jensen Huang Eyes NVIDIA Comeback (256)
- Open Letter Asking NVIDIA to Reinstate Jensen Huang Passes 115,000 Signatures (184)
- OpenAI CEO Argues Home PCs Waste the World's Limited DRAM Supply (152)
- NVIDIA Launches Investigation Into Jensen Huang's Relationship With Suspected Chinese Spy (136)
- Intel "Raptor Lake Next" 16-Core and 20-Core CPUs Surface (130)
- Legendary Game Studio BioWare Shuts Down Following EA Layoffs (104)
- Dell CEO Says the Memory Shortage Will Get Worse in 2027 (95)