 10
10
Silverstone Milo ML08 Review
Assembly & Finished Looks »A Closer Look - Inside
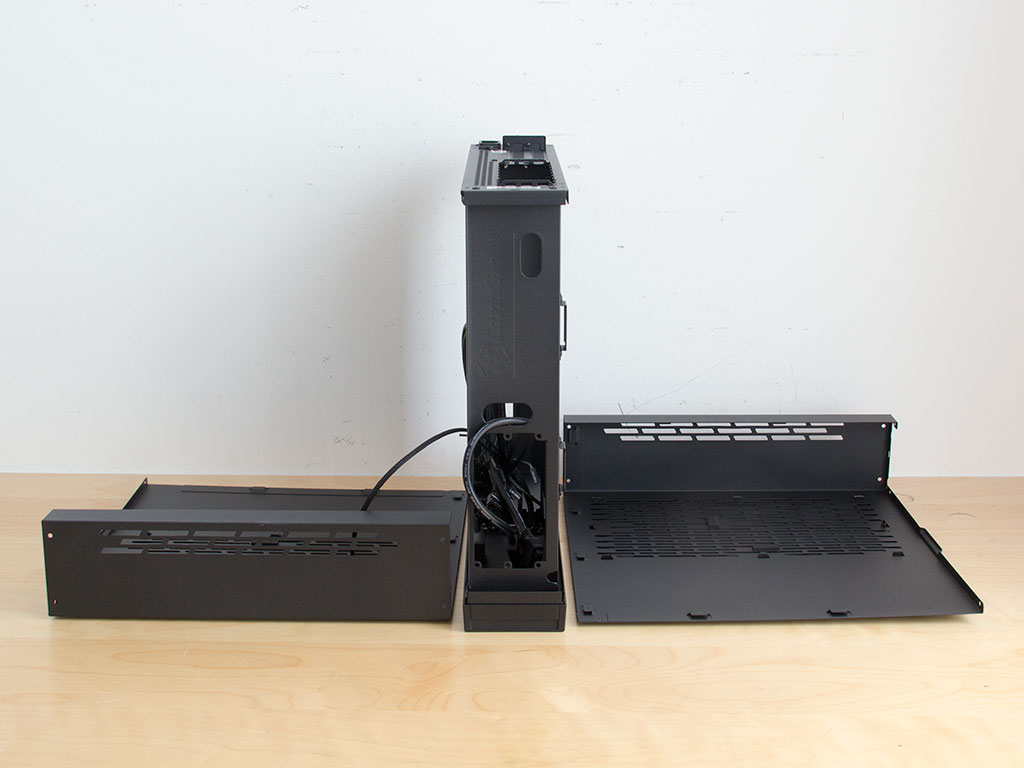
To gain access to the interior, you have to remove three screws from each panel. The easiest way to do so is to place the chassis on its front panel first.

The interior is divided into two compartments of which one is for the GPU while the other is for the rest of the system. Due to its compact dimensions, you get clear and easy access to all areas, which is quite important and unusual for a case of this size.
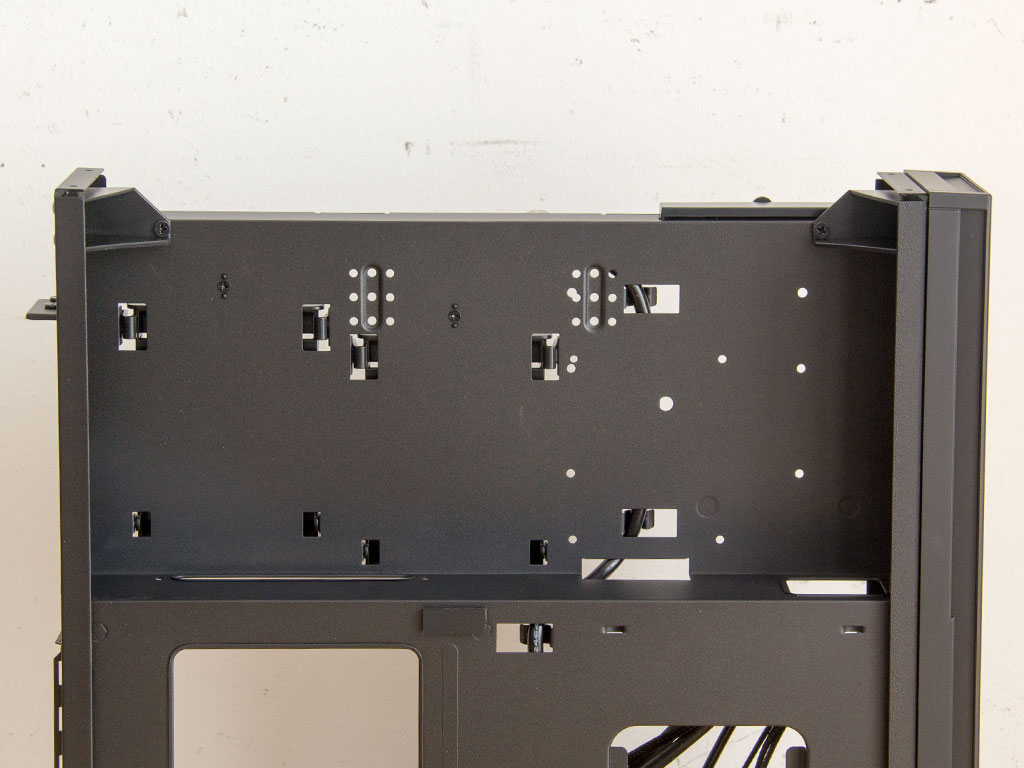
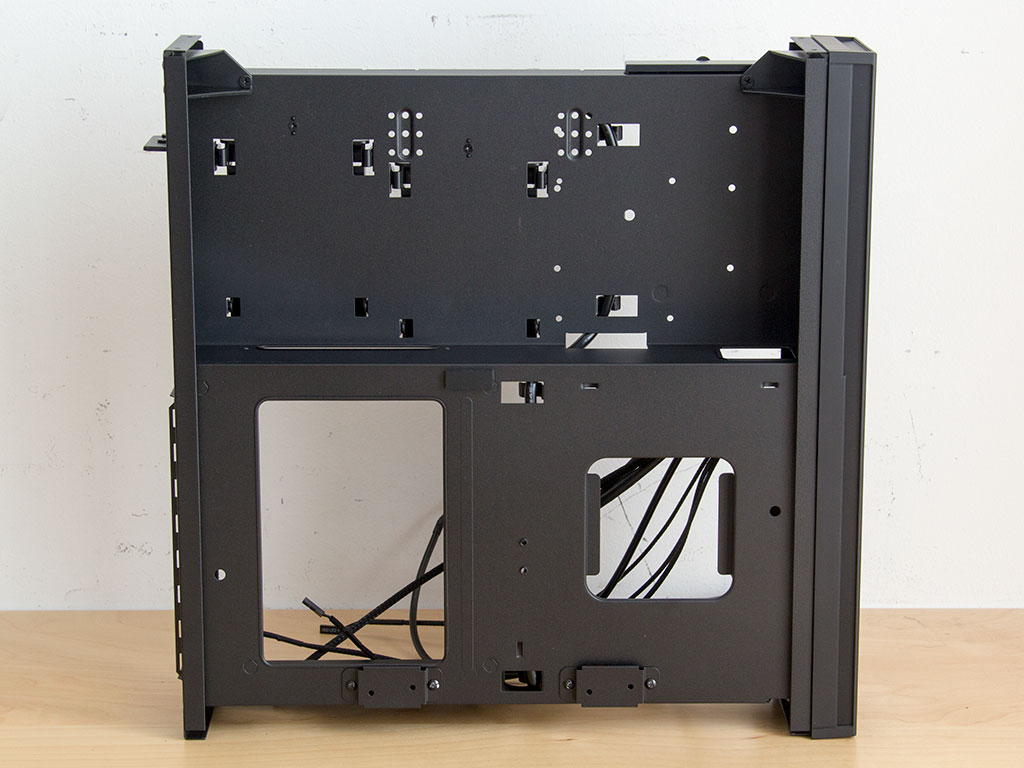
The GPU area looks quite simple since there is only a cutout for the PCIe bridge. But Silverstone has added two sets of mounting holes here for either a 2.5'' or 3.5" hard drive should you want to use a short ITX edition GPU or no dedicated graphics card at all.
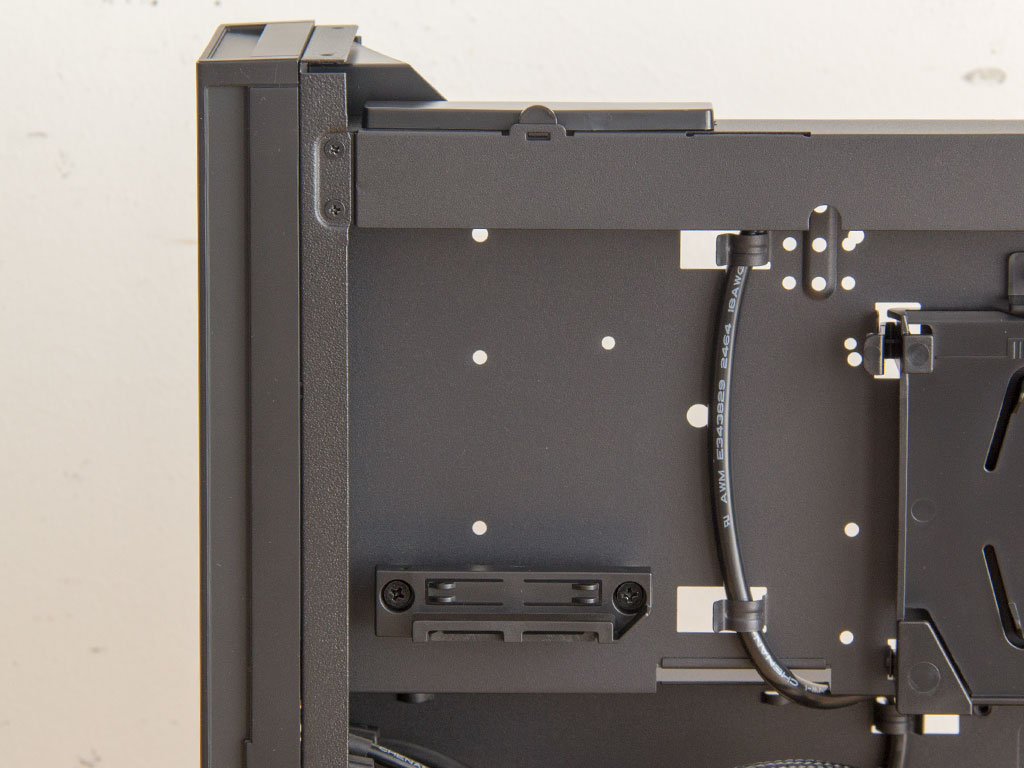

On the other side is the Slimline bay, which actually requires no screws or tools to fill. This is a nice touch as fiddling with the tiny screws can be a real pain. Next to it are the two SSD bays, which are tool-less as well.


Below those is the motherboard area, which comes with a large cutout for unobstructed access to the underside of the CPU area and the cooler's backplate. Silverstone has pre-routed the PSU power extension cable at the rear through the middle of the chassis and down to the power supply bay, which is in the front. Here, you may install SFX or SFX-L units, which will easily power anything you can throw at the chassis.


All the cables within the Silverstone Milo ML08 are of the default variety. The leads are actually rather long to accommodate unique board layouts, so you will end up wrapping a bit of these up during assembly.
May 3rd, 2024 05:31 EDT
change timezone
Latest GPU Drivers
New Forum Posts
- fastest usb cable /transfer (0)
- Announcement: VPN's no longer work right in Windows 10 or 11 or Servers (7)
- Is this Sapphire PULSE RX 5600 XT legit or fake? (28)
- Just for lolz, Post your 3DMark2001SE Benchmark scores! (83)
- Which PSU to take? (41)
- Old high quality PSU, or semi-old mid-quality PSU? (48)
- Arctic MX-6 shelf life is just a couple months? (79)
- 7800x3d $216 in bundle at Microcenter (36)
- What are the consequences of genetically altering ticks, fleas, and mosquitoes to control their populations? (194)
- Why does my PC shut down even though it's connected to a UPS? (75)
Popular Reviews
- HYTE THICC Q60 240 mm AIO Review
- ASRock NUC BOX-155H (Intel Core Ultra 7 155H) Review
- Montech Sky Two GX Review
- Meze Audio LIRIC 2nd Generation Closed-Back Headphones Review
- Ugreen NASync DXP4800 Plus Review
- Upcoming Hardware Launches 2023 (Updated Feb 2024)
- Team Group T-Force Vulcan ECO DDR5-6000 32 GB CL38 Review
- MOONDROP x Crinacle DUSK In-Ear Monitors Review - The Last 5%
- AMD Ryzen 7 7800X3D Review - The Best Gaming CPU
- Logitech G Pro X Superlight 2 Review - Updated with 4000 Hz Tested
Controversial News Posts
- Intel Statement on Stability Issues: "Motherboard Makers to Blame" (231)
- Windows 11 Now Officially Adware as Microsoft Embeds Ads in the Start Menu (167)
- Sony PlayStation 5 Pro Specifications Confirmed, Console Arrives Before Holidays (117)
- AMD's RDNA 4 GPUs Could Stick with 18 Gbps GDDR6 Memory (114)
- NVIDIA Points Intel Raptor Lake CPU Users to Get Help from Intel Amid System Instability Issues (106)
- AMD "Strix Halo" Zen 5 Mobile Processor Pictured: Chiplet-based, Uses 256-bit LPDDR5X (103)
- AMD Ryzen 9 7900X3D Now at a Mouth-watering $329 (103)
- TechPowerUp Hiring: Reviewers Wanted for Motherboards, Laptops, Gaming Handhelds and Prebuilt Desktops (93)