 11
SilverStone MS12-40G SSD Enclosure Review
Performance »Package
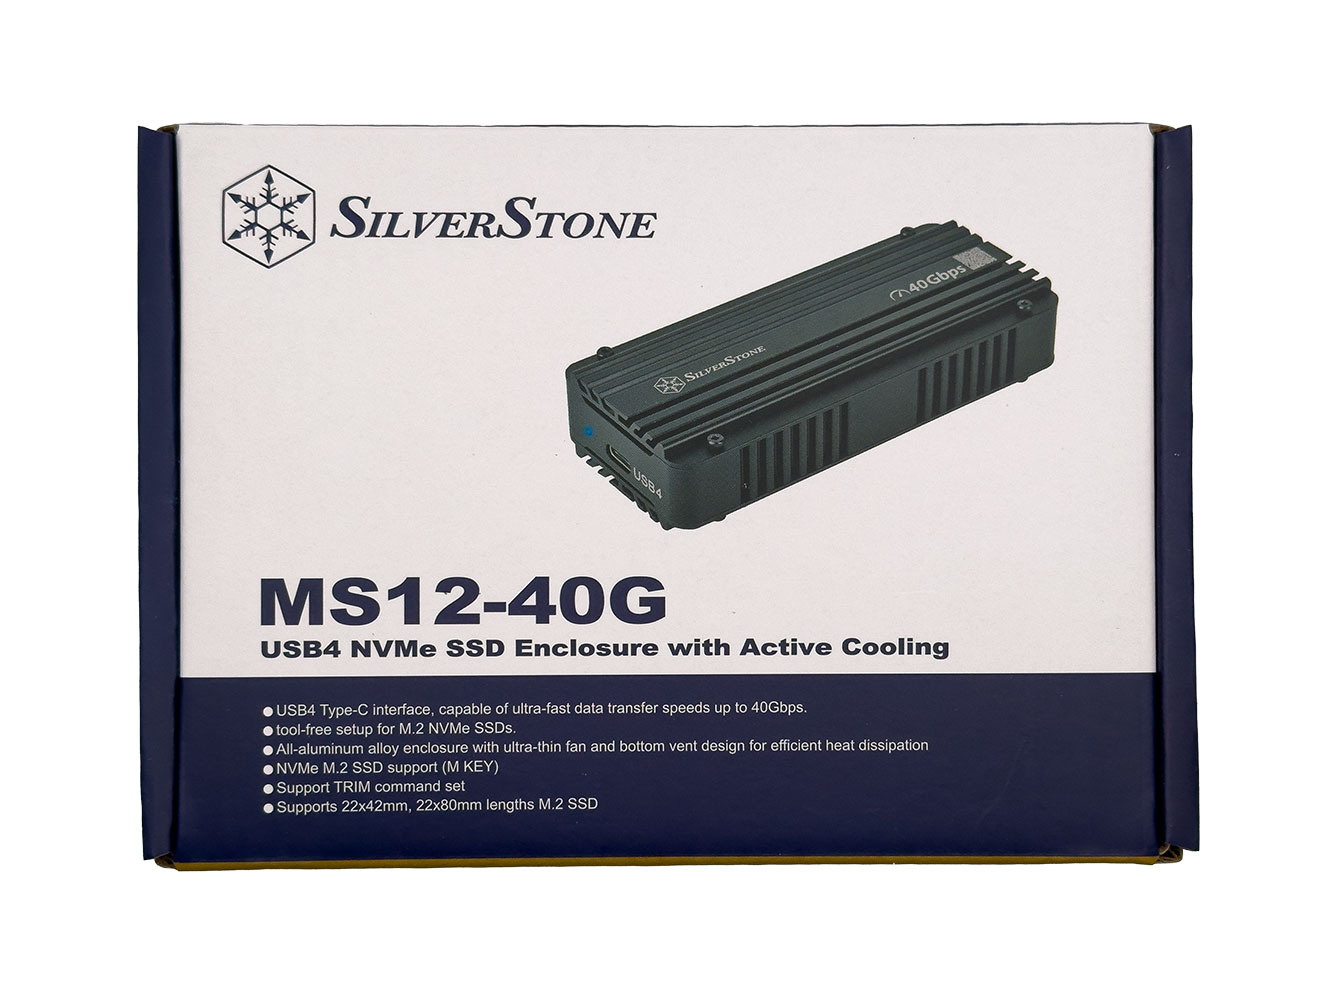
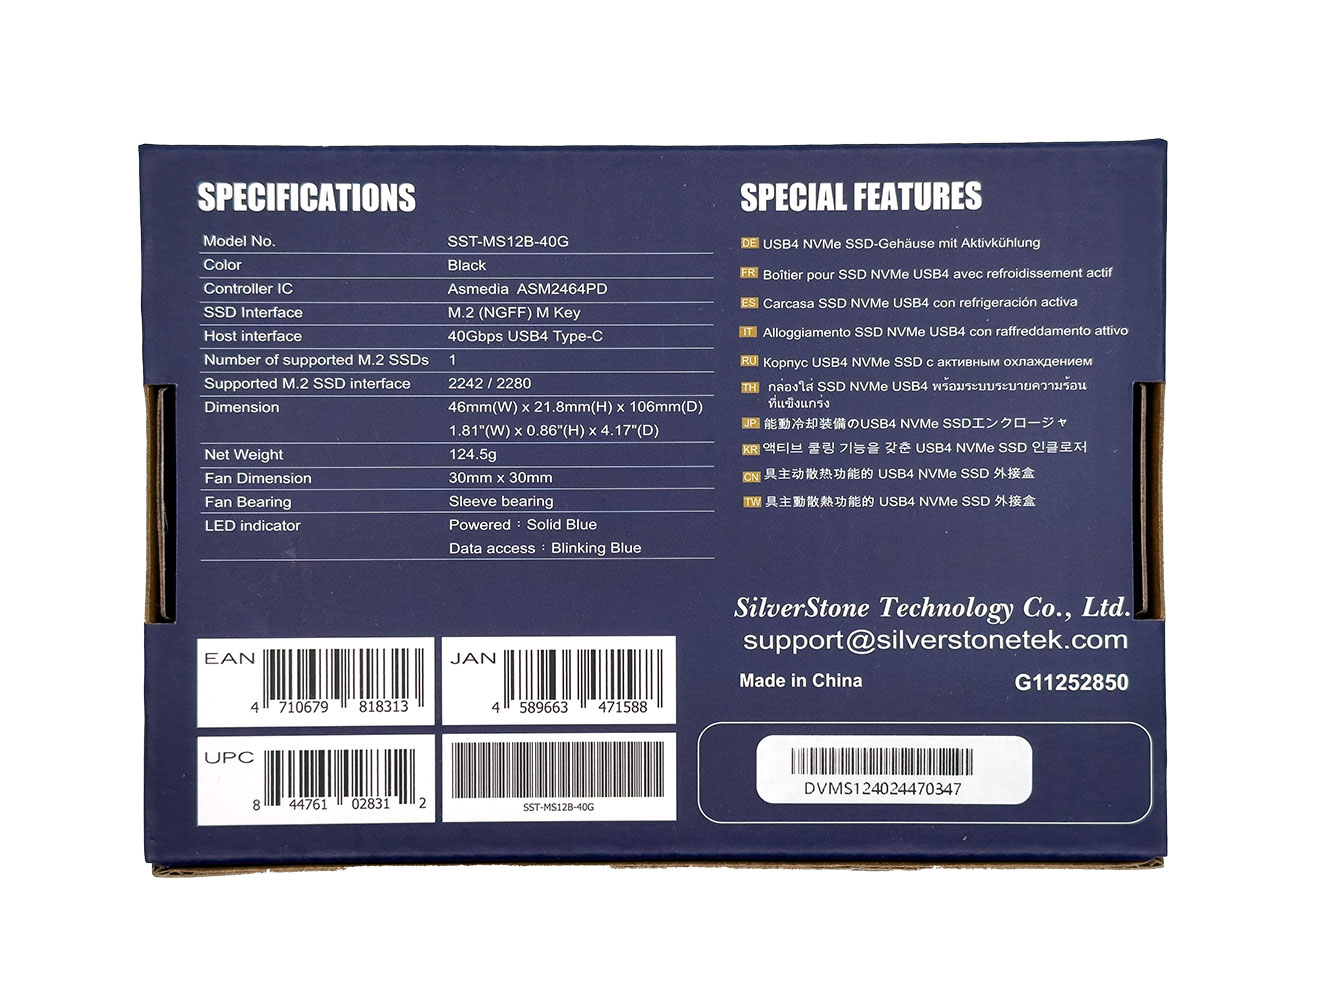
SilverStone MS12-40G comes in a compact cardboard box. The back side has plenty of technical details printed on it.
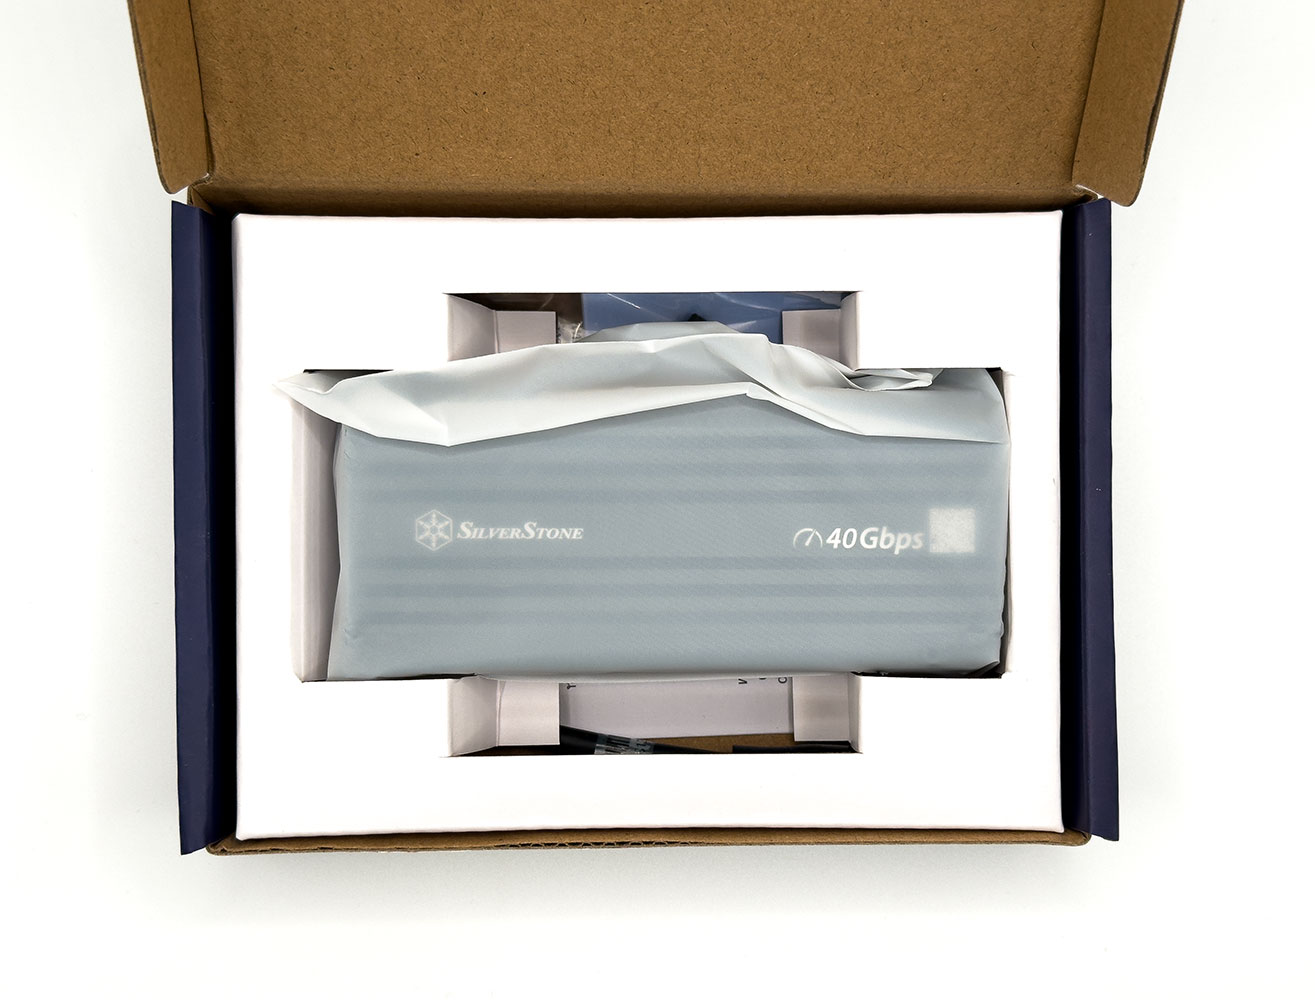
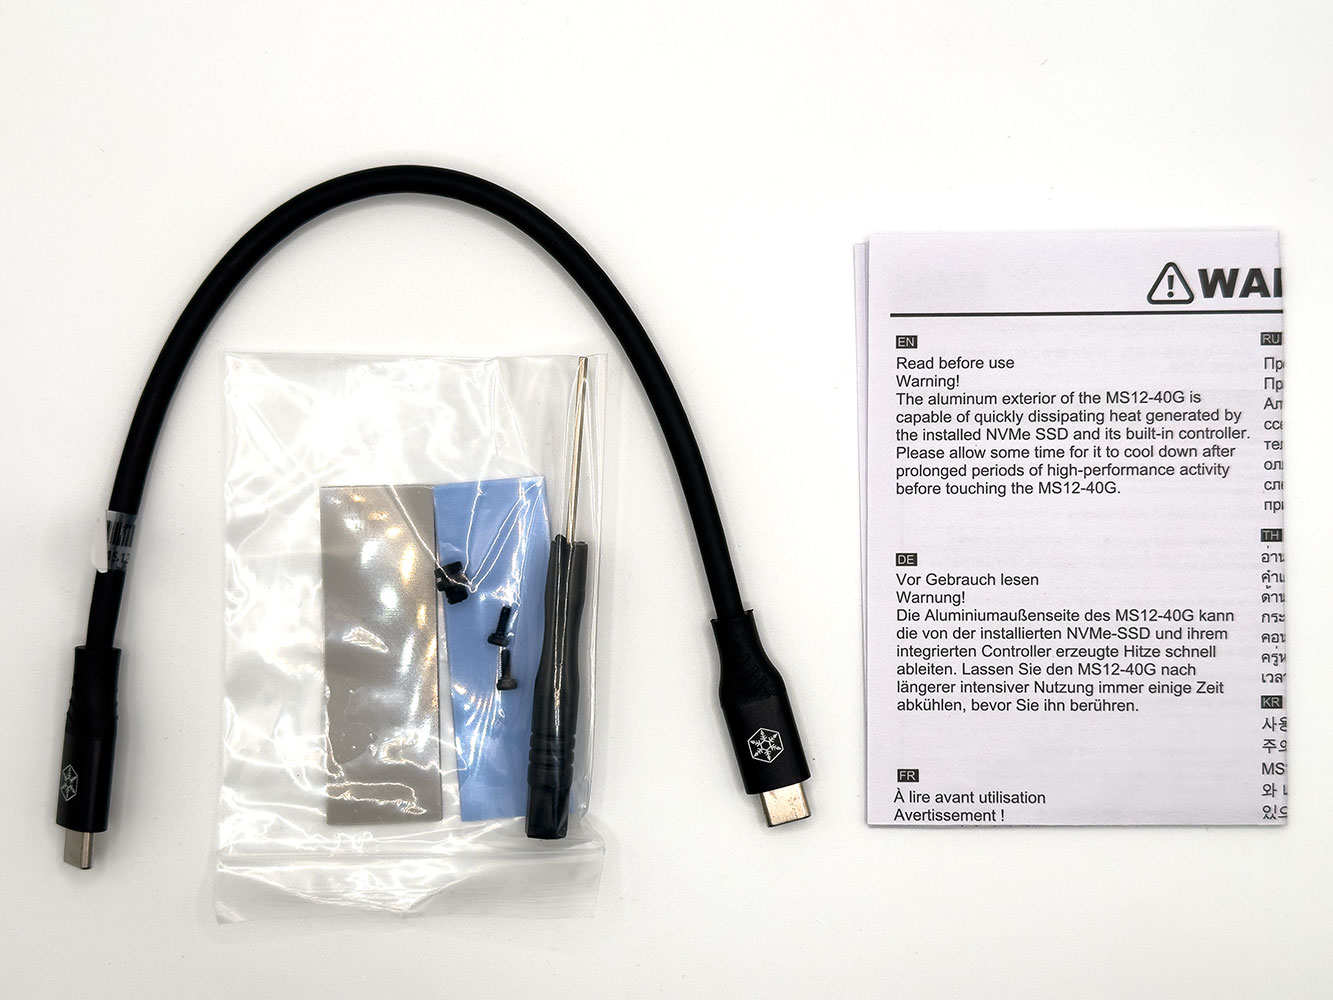
You open the cardboard box to reveal the enclosure inside. Once you pull this and its paperboard tray out, you get the other accessories, which include the 40 Gbps USB4 cable, and a packet containing two thermal pads, two spare screws, a spare rubber drive standoff, and a screwdriver. The printed paper only warns you about touching the enclosure when hot, and some regulatory warnings, there's no step-by-step installation guide. You have to download it from the company website.
The Enclosure
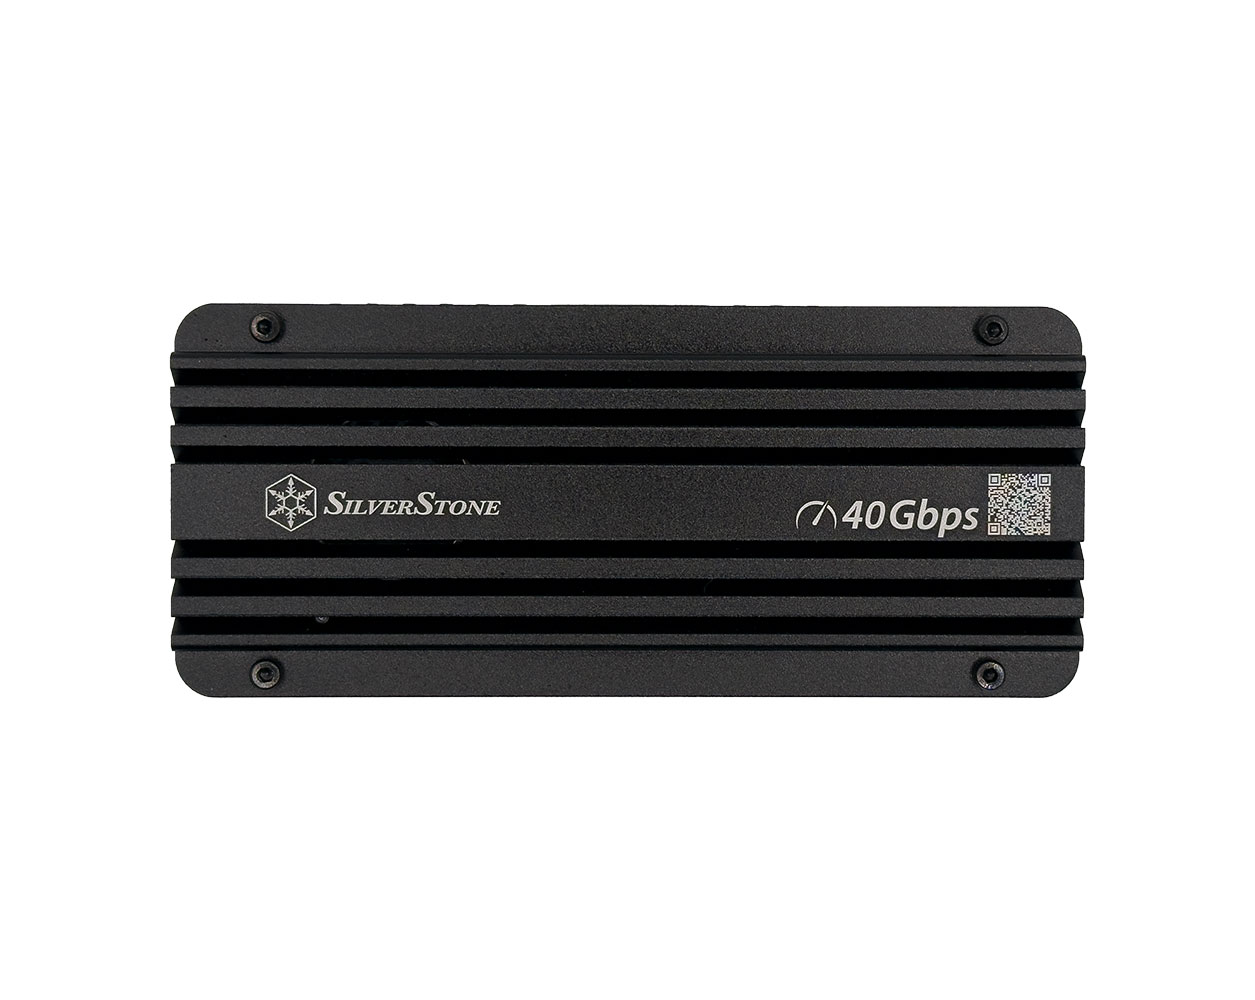
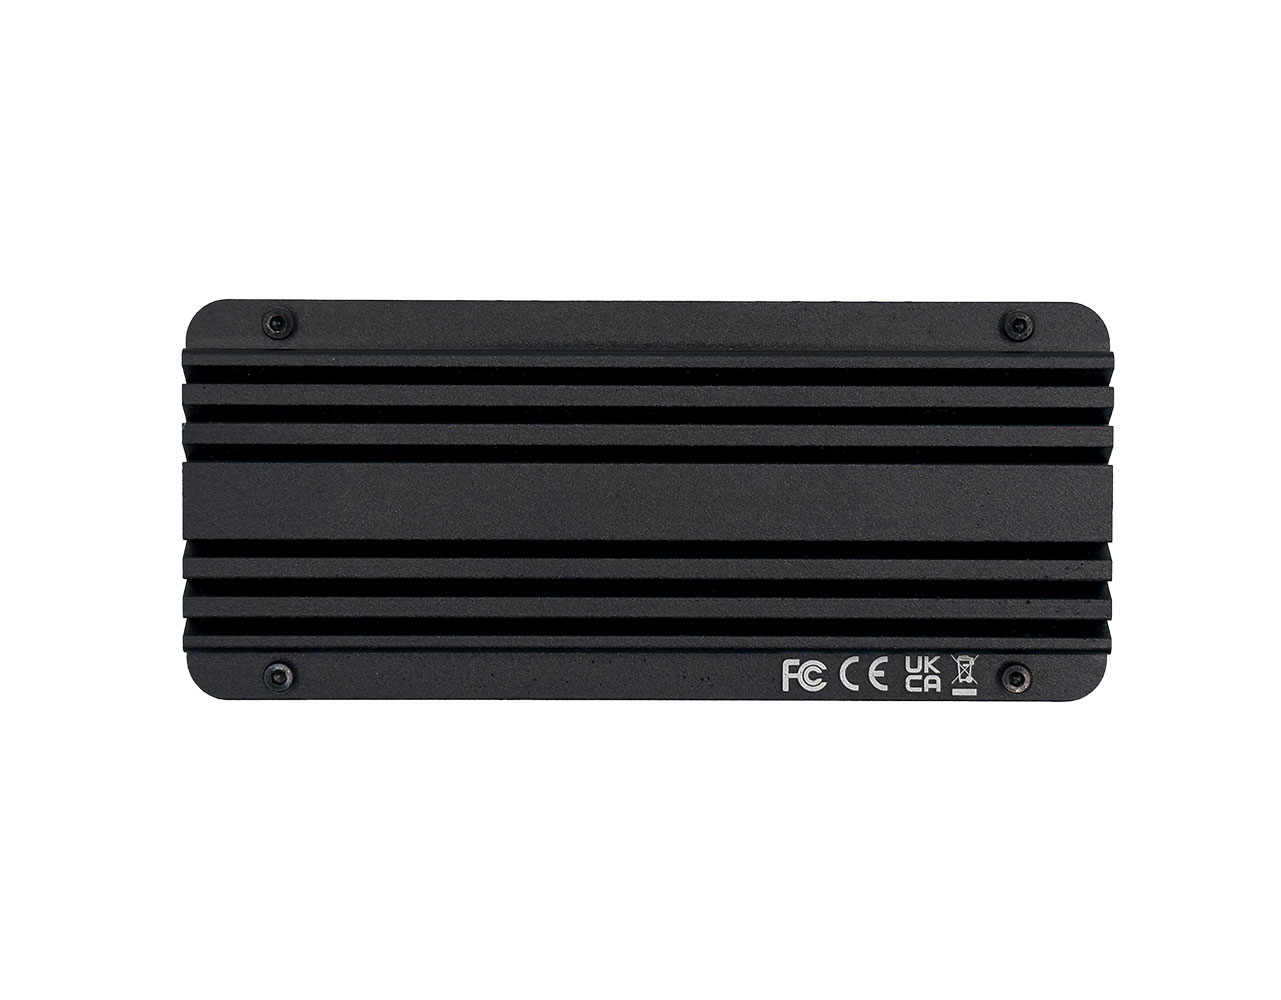
The MS12-40G has a very simple construction: a central frame of aluminium that makes up the sidewalls of the enclosure, is sandwiched between two halves that are each bolted onto the frame using four screws. These screws have a hexagonal head that corresponds with the included screwdriver. Try not to lose the screwdriver.
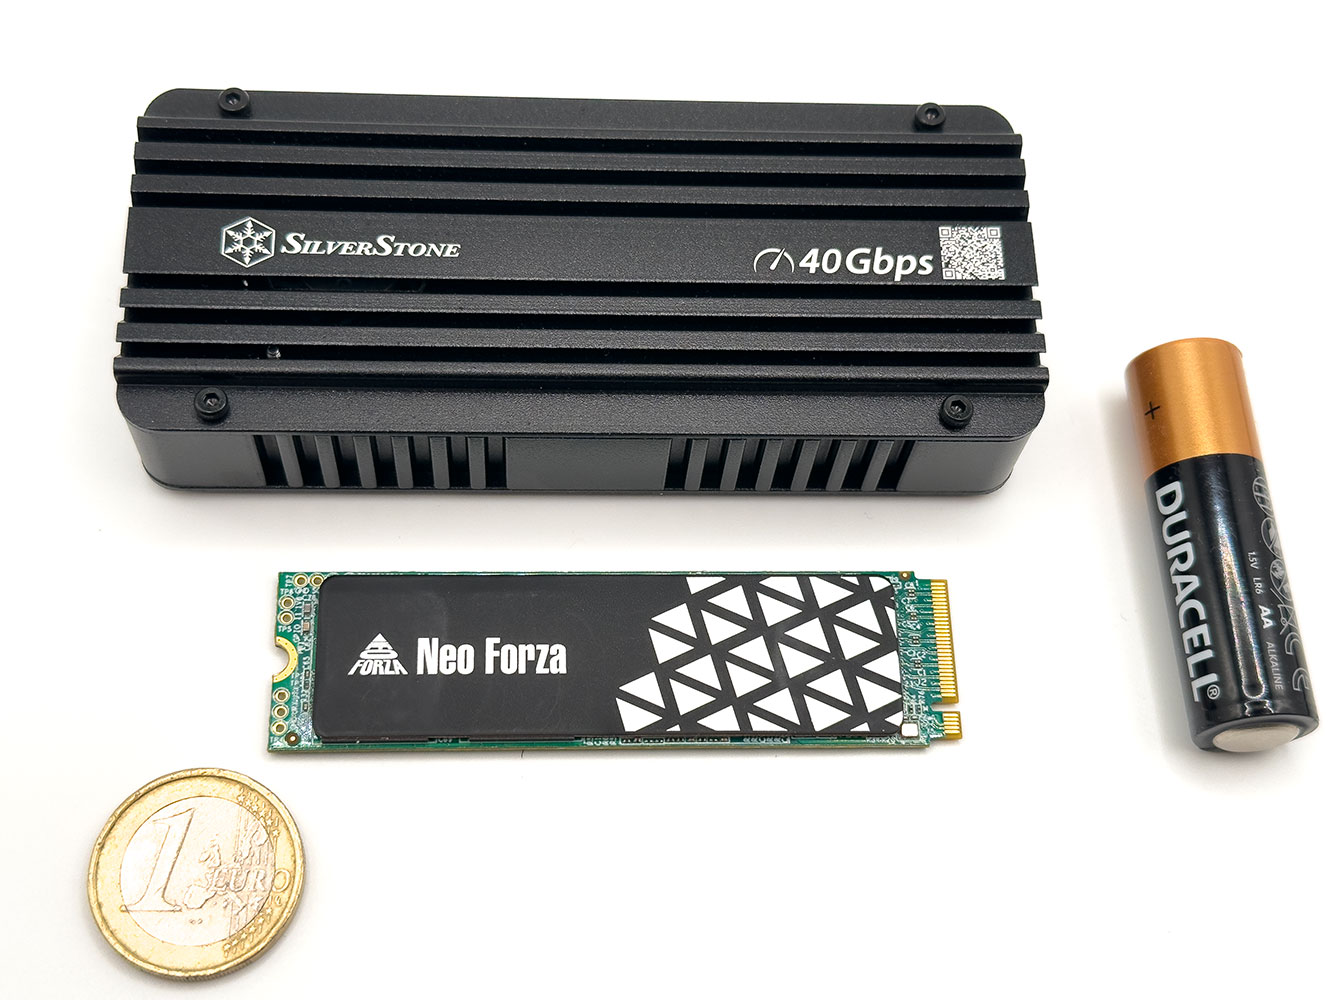
Here's the drive next to some common objects, such as an AA battery, an M.2-2280 SSD, and a €1 coin.
Disassembly and Installation
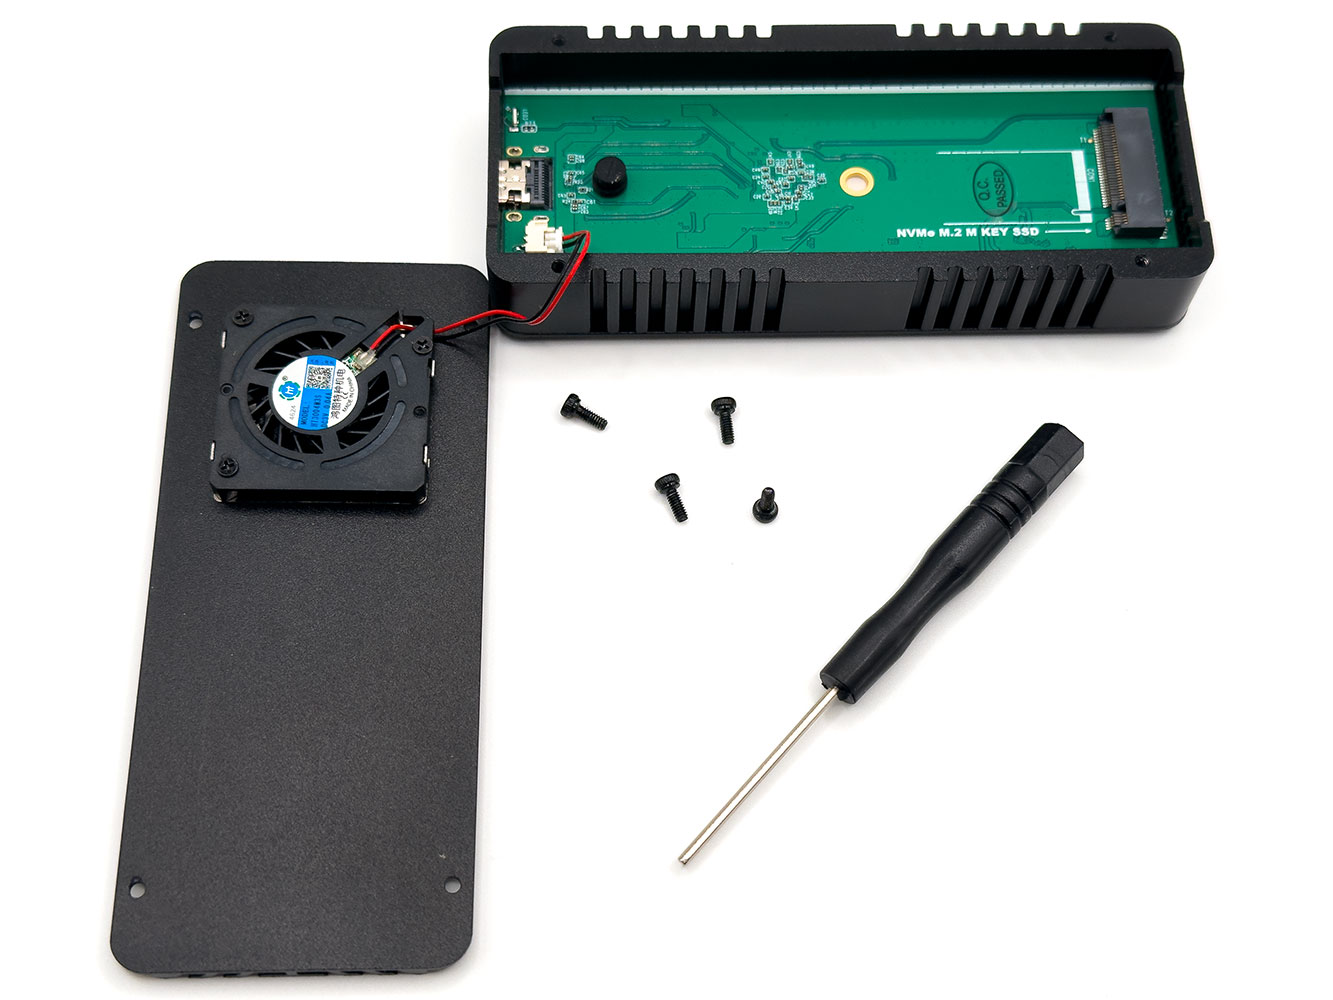
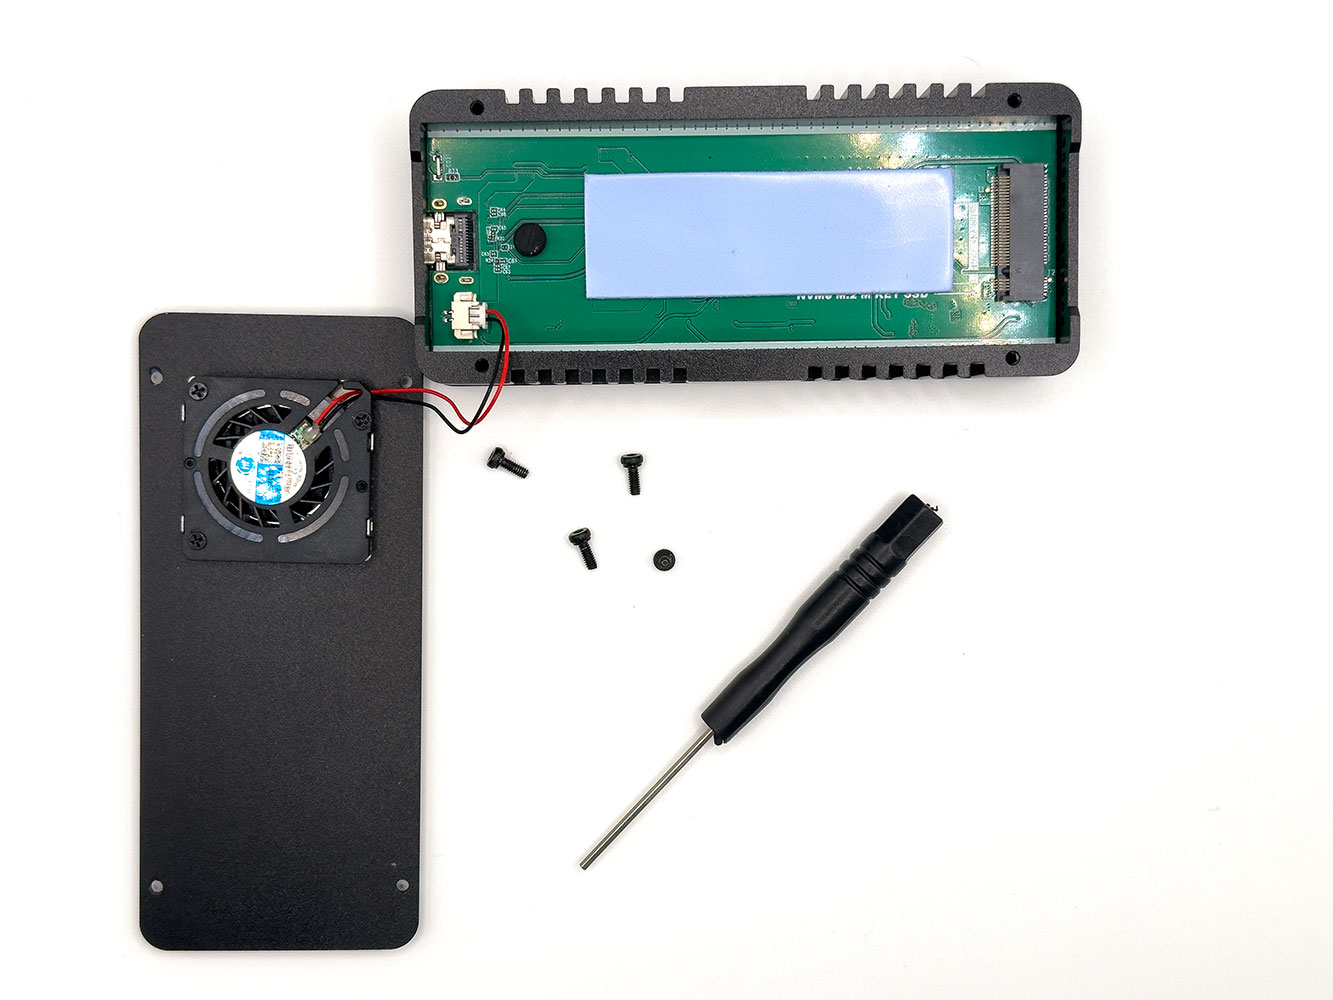
To get started, you simply unfasten the four screws holding the top half. This half holds the enclosure's 30 mm fan, which is plugged into the PCB below, so be careful when pulling this apart from the frame. Here you can see the M.2 slot, and a rubber squeeze-through standoff in the 2280 position out of the box. The accessory packet has two thermal pads, the thinner (blue) one is meant for SSDs with chips on both sides of the PCB, and a thicker (white) one is meant for drives with chips on only one side. You place the thermal pad suitable to your SSD on this PCB as shown in the picture. You need this pad because it's non-conductive, and there are some exposed SMD components on the enclosure's PCB. Although we pictured the blue pad, we ended up using the white one, because our 1 TB Samsung 990 PRO is single-sided.
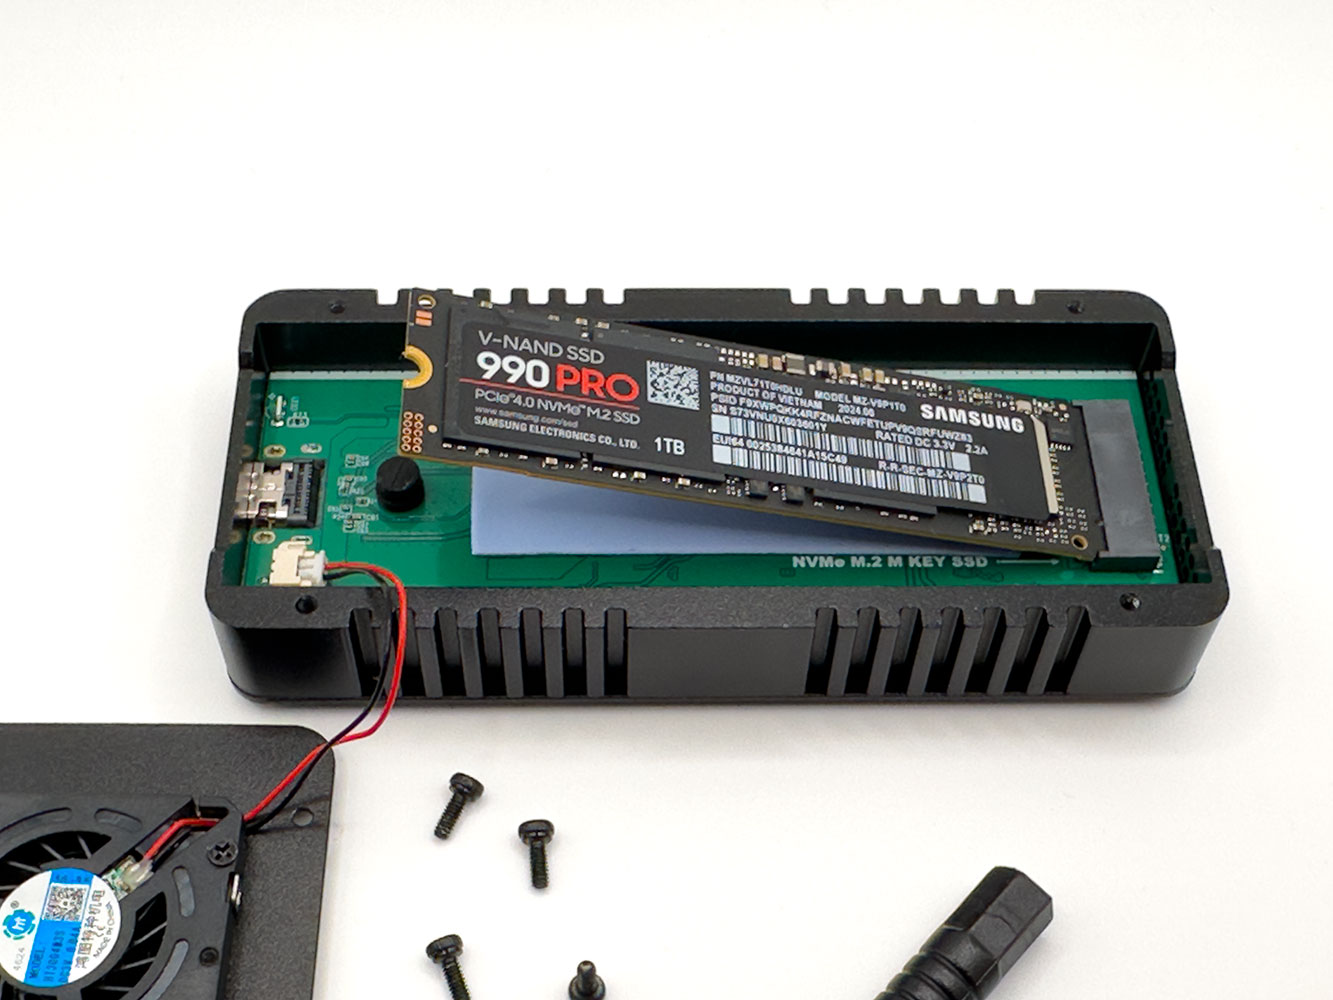
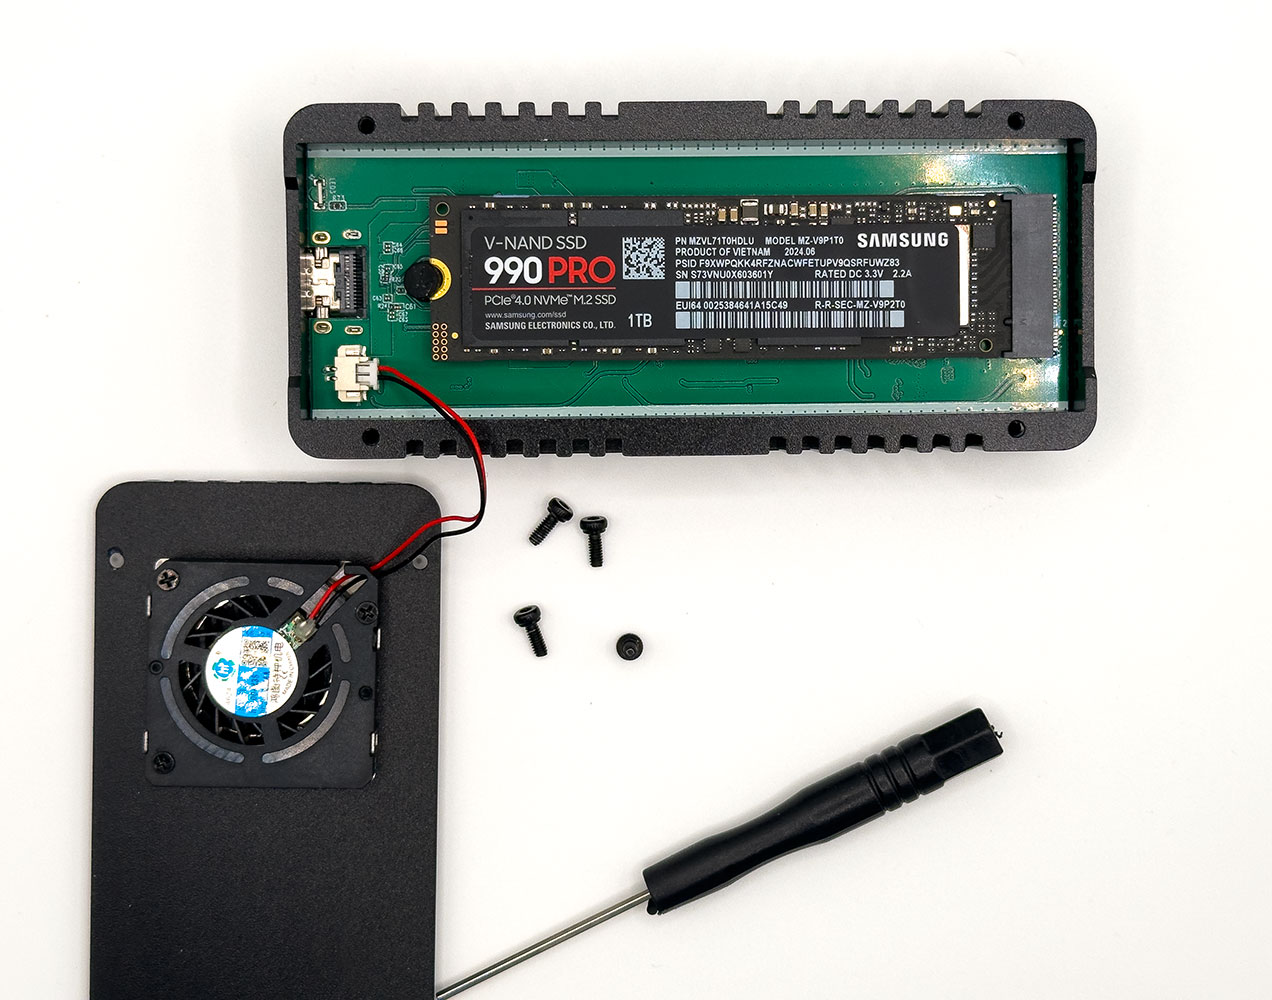
You simply insert your SSD into the M.2 slot at a 20-degree angle, and gently push its end down into the standoff. Use your left thumb to ease a notch in the standoff into the drive's cutout. That's it, the drive is installed. You simply replace the cover and fasten its screws. We double-checked with the online manual, there's no thermal pad meant to be installed on the topside of the drive to enable its contact with the top plate.
The enclosure is now ready for use.
Teardown and Components
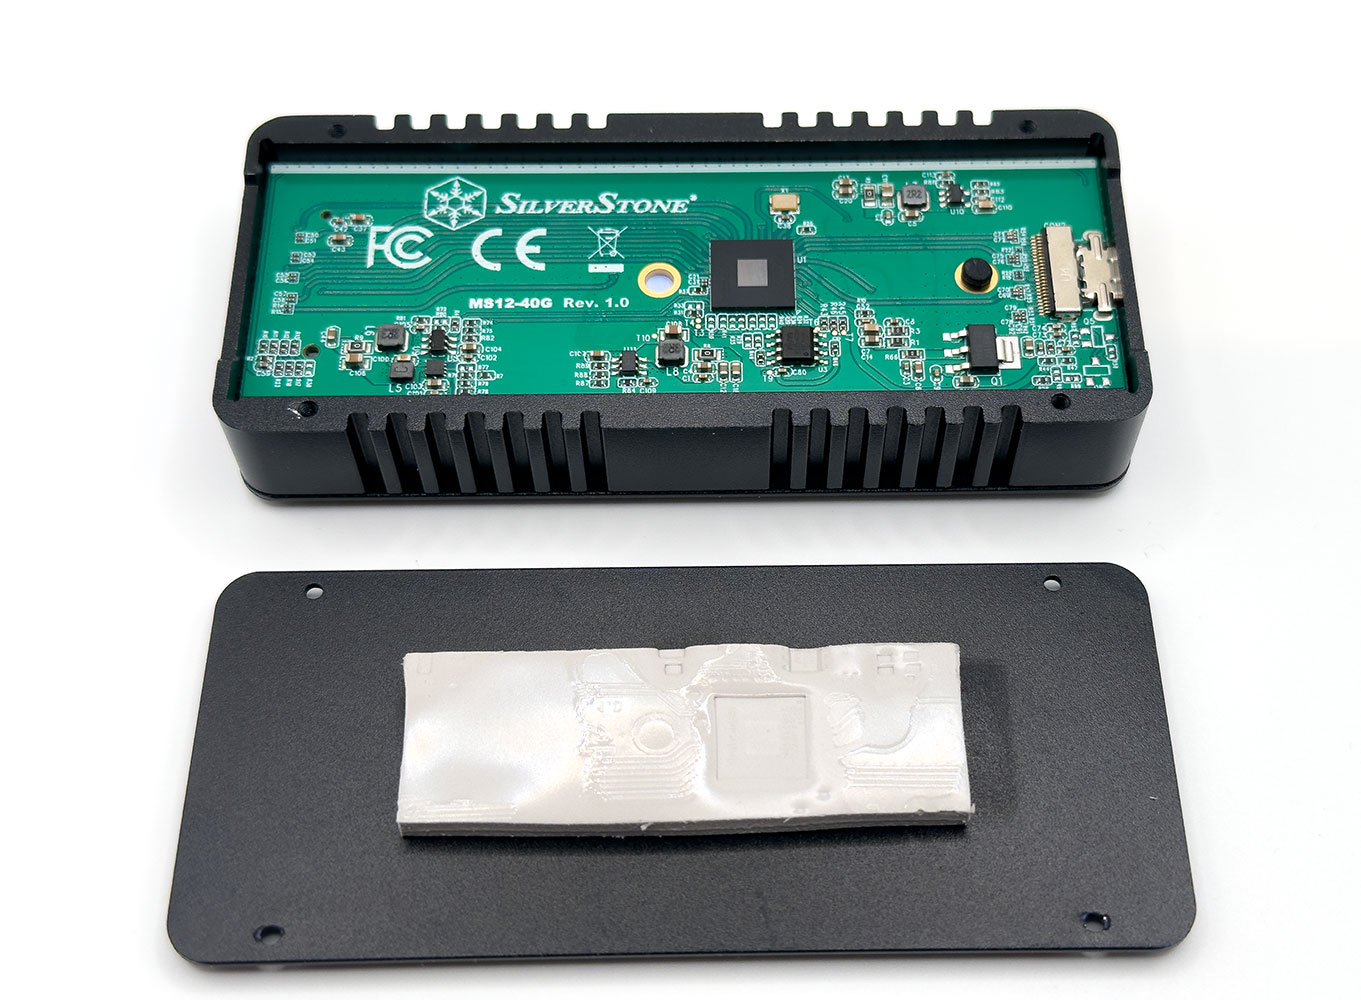
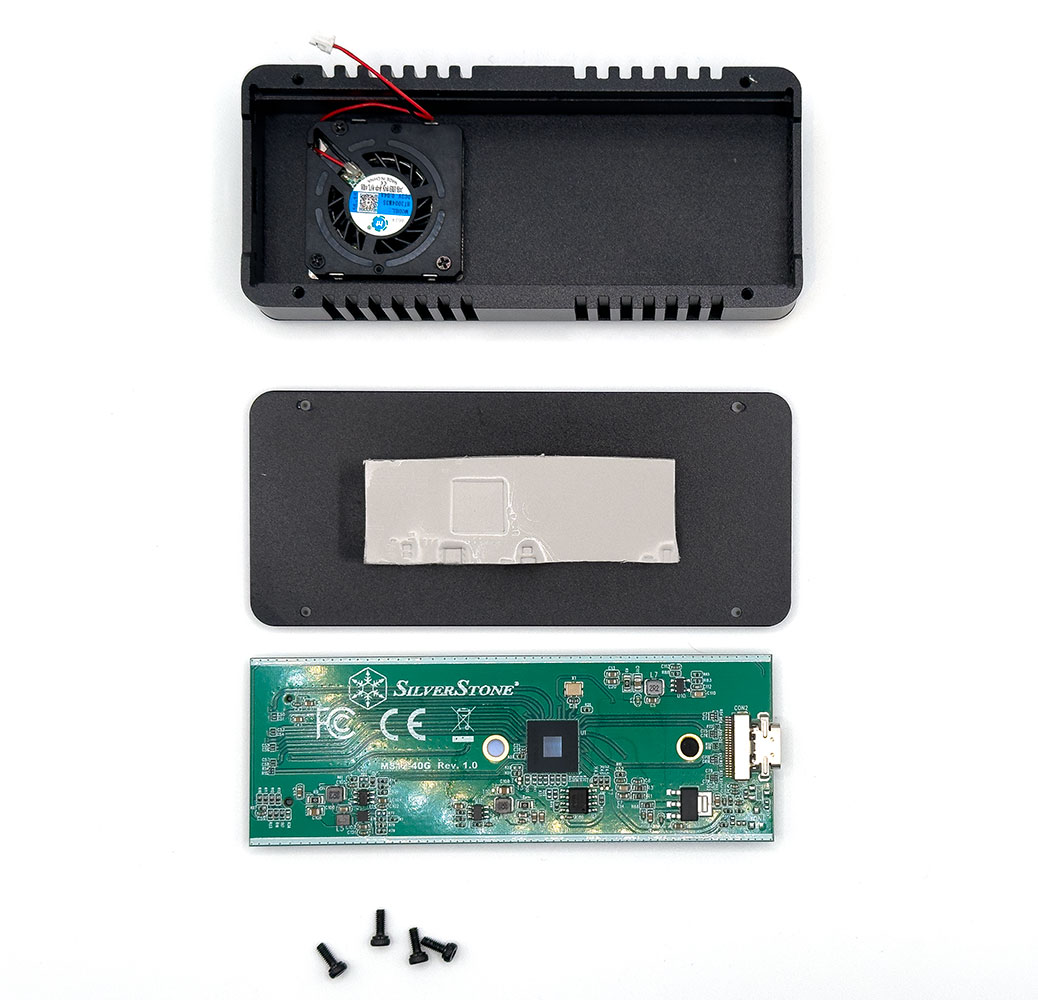
You simply remove four screws holding the bottom half onto the frame. There is a thick, slightly adhesive thermal pad holding this half onto the PCB, so gently twist the unfastened half sideways to open it. Don't lose this thermal pad.
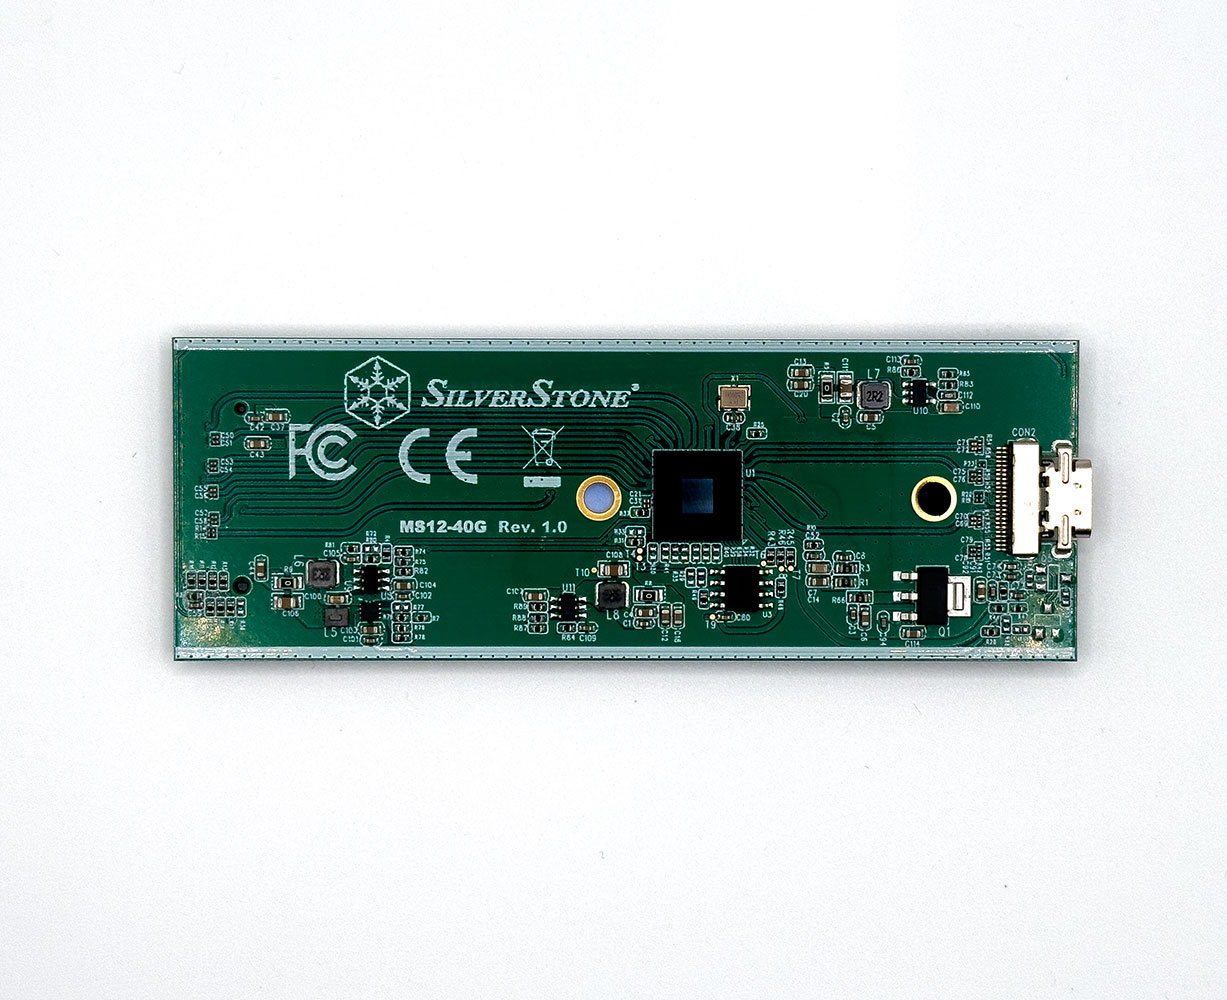
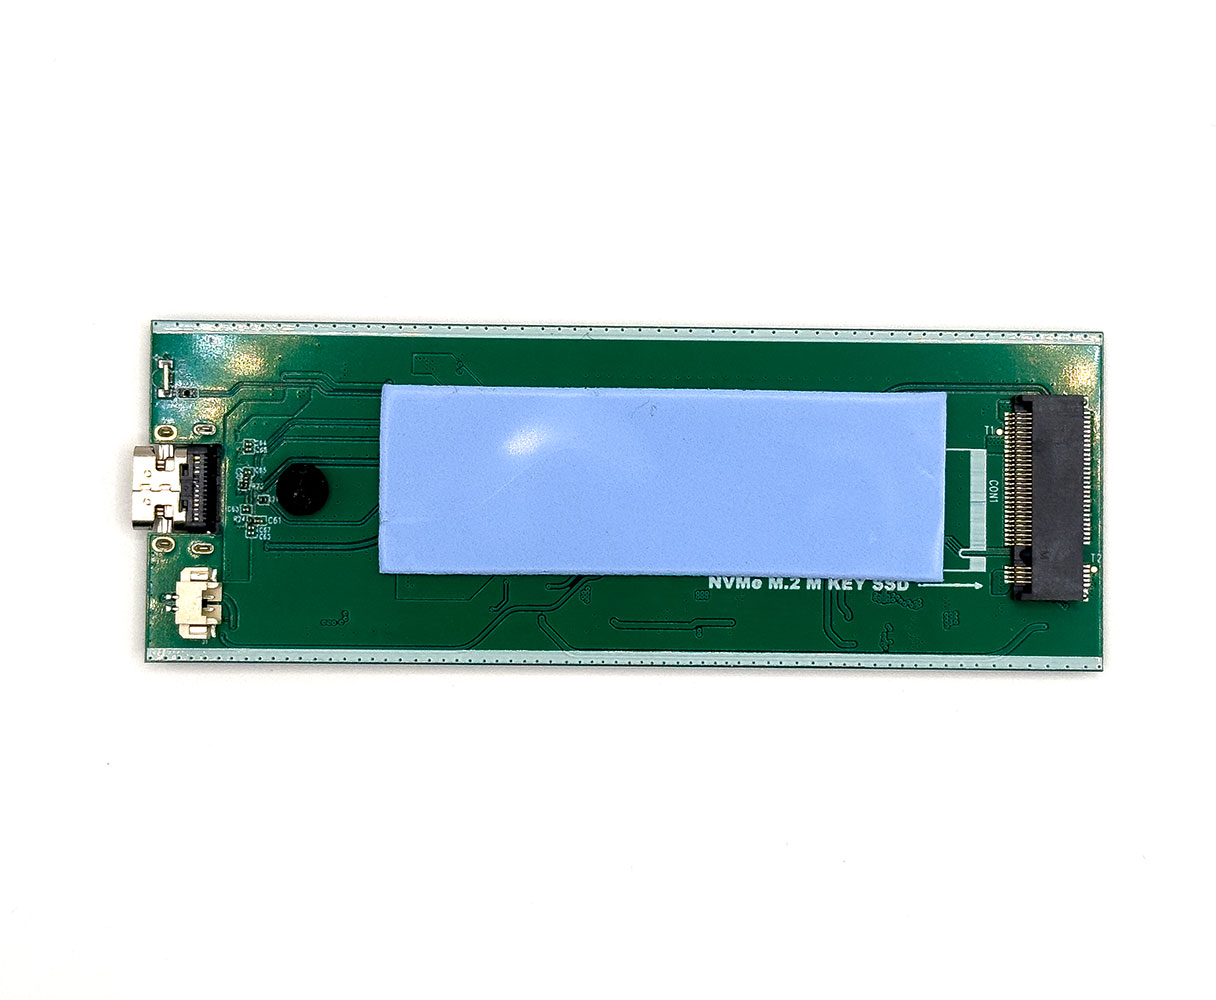
On the PCB, you can see the controller, and next to it two holes. One of the rubber standoffs comes pre-installed on the 2280 hole. If you have a smaller M.2-2242 drive, simply use the other standoff from the accessory packet with the vacant 2242 hole.
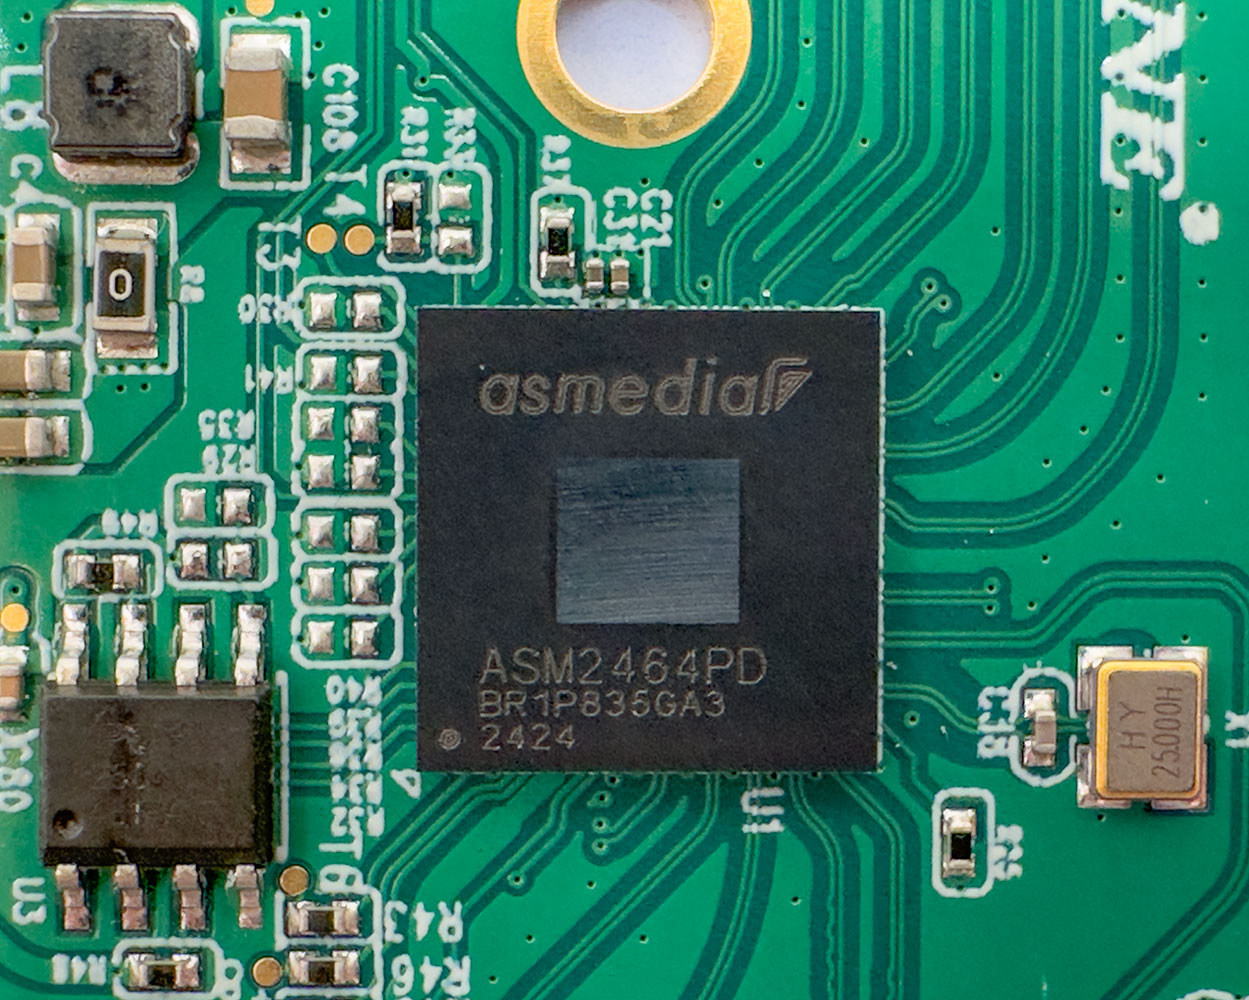
SilverStone uses a single-chip solution, the ASMedia ASM2464PD. This chip features a 40 Gbps USB4 uplink that's compatible with Thunderbolt 4, and puts out a PCI-Express 4.0 x4 downlink. The enclosure hence runs PCIe Gen 4 SSDs like our Samsung 990 PRO in their native mode, however, the drive is bottlenecked by the 40 Gbps uplink. It still runs faster than it would on an M.2 Gen 3 x4 slot.
Nov 21st, 2026 04:15 PST
change timezone
Latest GPU Drivers
New Forum Posts
- What's your latest tech Freebie? (86)
- TPU's Nostalgic Hardware Club (22179)
- [Poll] 12V-2x6 Connector Protection: What Are You Using? (WireView / Ampinel / Equalizer / Other / Nothing) (50)
- UPS what one to get? (1)
- Anthrophics IPO (28)
- RX 9000 series GPU Owners Club (2252)
- Windows 11 General Discussion (7743)
- Without Jensen, PC gaming will be (52)
- Zen 3 IF/IMC degradation (242)
- AI generated images... (230)
Popular Reviews
- Microsoft Surface Laptop Ultra Review - The Next-gen Arm Laptop
- Ugreen NASync DXP4800 GT Review
- Corsair RM1200e (Second Generation) Review
- Pulsar Office Tour & First Look at P1 Dual-Sensor Mouse
- Upcoming Hardware Launches 2027 (Updated Nov 2026)
- Acemagic Retro X3 Review
- Biwin Black Opal NV7400 2 TB Review
- AMD Ryzen 7 9800X3D Review - The Best Gaming Processor
- AMD Zen 6 Technical Deep Dive
- Chieftec Iceberg PRO 360 DARK Review
TPU on YouTube
Controversial News Posts
- NVIDIA Co-Founder and CEO Jensen Huang Officially Resigns (491)
- Report: Jensen Huang Eyes NVIDIA Comeback (257)
- Open Letter Asking NVIDIA to Reinstate Jensen Huang Passes 115,000 Signatures (184)
- OpenAI CEO Argues Home PCs Waste the World's Limited DRAM Supply (152)
- NVIDIA Launches Investigation Into Jensen Huang's Relationship With Suspected Chinese Spy (136)
- Intel "Raptor Lake Next" 16-Core and 20-Core CPUs Surface (130)
- Legendary Game Studio BioWare Shuts Down Following EA Layoffs (104)
- NVIDIA GeForce RTX 50-Series Scheduled for up to $500 Price Hike This Week (89)