 51
51
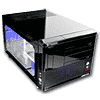
Thermaltake LANBOX Lite Review
Installation & Finished Look »A Closer Look

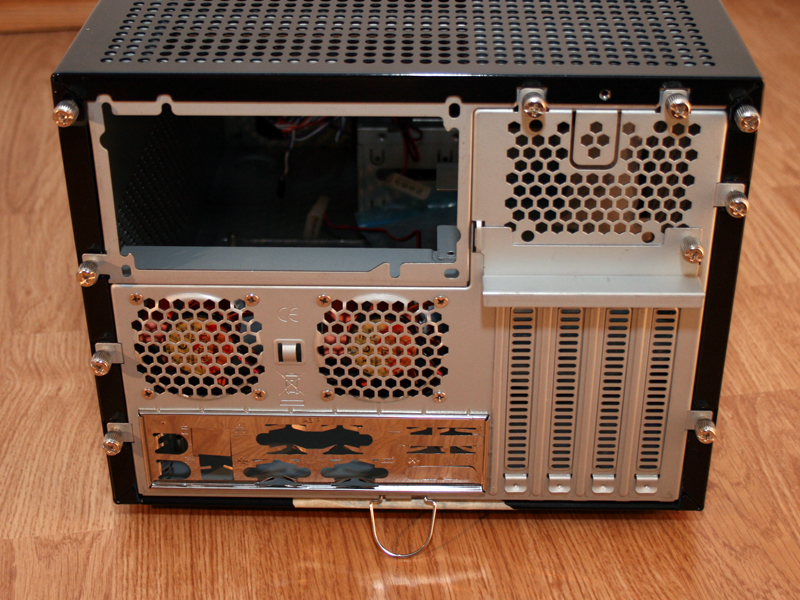
The front of the Lanbox Lite does have the same configuration as the Lanbox we tested previously. The only thing missing from the front are the I/O connections. The back looks just like the Lanbox, but as you can see, it is made out of steel instead of aluminum. There are three spots for fans and Thermaltake has decided to include two at the most important locations just above the mainboard. The third can be installed above the expansion cards and Thermaltake includes screws to mount such a fan.


The side of the case does not feature the air grills as the Lanbox, but actually uses air holes. This does look a bit nicer and you will not notice dust accumulation as much as with the vertical air grills. Thermaltake has decided to use them on the VF6000BWS, which is the Lanbox Lite with two such windows. The I/O is located on the side, this differs from the Lanbox as well, on which these can be found up front.

The first thing to be removed, is the top cover. It is secured by three thumb screws and slides out with a bit of gentle force.


Another two thumb screws later, the drive cage can be removed completely. Thermaltake has also decided to make the power supply cage removable. It is secured by thumb screws as well as six traditional, but tiny screws.


Once the two items are removed, you have access to the HDD cage. As you can see, it is placed right in front of the front intake fan. All the sharp edges of the HDD cage are folded, so there is no possibility of getting cut while installing a drive.

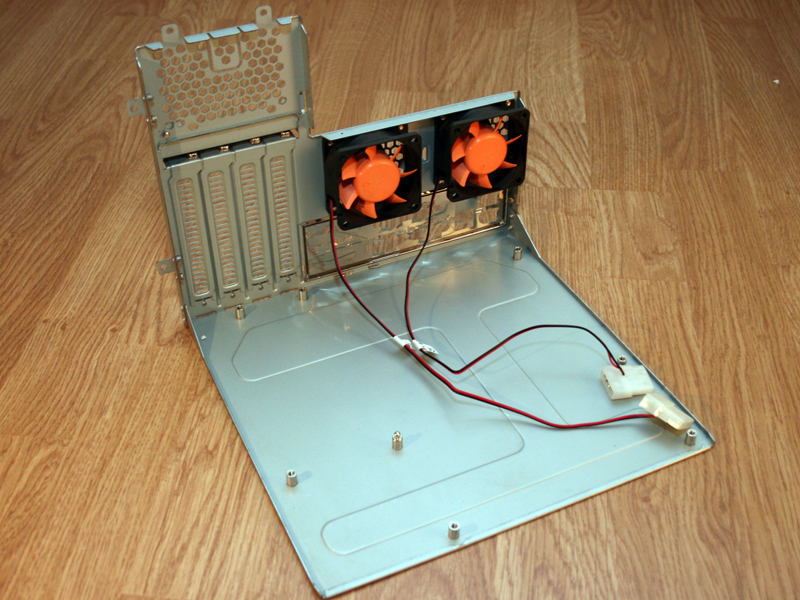
The last item which can be removed from the case, is the mainboard tray. It is secured by thumb screws as well and slides out easily once these are removed. As is the case with the Lanbox, the Lanbox Lite mainboard tray features two 6 cm fans which blow hot air out of the system.


Once all the parts are removed, the three holes for two optical and one floppy drive can easily be seen. The cables for the power and reset button, as well as the front LEDs are located toward the left of the front fan, while the front I/O cables come out to the right side. The case is rather fragile when completely bare, but Thermaltake has designed the entire case, so that all the different, removable parts add to the overall strength of the case. This means, as soon as you install everything, it will be rock solid.
May 8th, 2024 11:30 EDT
change timezone
Latest GPU Drivers
New Forum Posts
- Your way of cooling your PC? (20)
- not impressed - nvme vs ssd (58)
- Free Games Thread (3789)
- vega 64 gpu frequency problem (7)
- Urgent: PC wont turn on with PSU connected to MOBO (22)
- POLL: Can you see the difference past 60fps (gaming/other) (47)
- Does anyone here overclock their video cards? Is it really worth it? (58)
- PSU making a clicking sound, PC wont turn on (15)
- Arc OC'ing, anyone? (9)
- Last game you purchased? (261)
Popular Reviews
- CHERRY XTRFY M64 Pro Review
- Corsair iCUE Link RX120 RGB 120 mm Fan Review
- Finalmouse UltralightX Review
- Upcoming Hardware Launches 2023 (Updated Feb 2024)
- Cougar Hotrod Royal Gaming Chair Review
- Meze Audio LIRIC 2nd Generation Closed-Back Headphones Review
- AMD Ryzen 7 7800X3D Review - The Best Gaming CPU
- ASRock NUC BOX-155H (Intel Core Ultra 7 155H) Review
- ASUS Radeon RX 7900 GRE TUF OC Review
- Sapphire Radeon RX 7900 GRE Pulse Review
Controversial News Posts
- Intel Statement on Stability Issues: "Motherboard Makers to Blame" (261)
- AMD to Redesign Ray Tracing Hardware on RDNA 4 (205)
- Windows 11 Now Officially Adware as Microsoft Embeds Ads in the Start Menu (167)
- NVIDIA to Only Launch the Flagship GeForce RTX 5090 in 2024, Rest of the Series in 2025 (141)
- Sony PlayStation 5 Pro Specifications Confirmed, Console Arrives Before Holidays (119)
- AMD's RDNA 4 GPUs Could Stick with 18 Gbps GDDR6 Memory (114)
- NVIDIA Points Intel Raptor Lake CPU Users to Get Help from Intel Amid System Instability Issues (106)
- AMD Ryzen 9 7900X3D Now at a Mouth-watering $329 (104)