 0
0
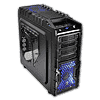
Thermaltake Overseer RX-I Review
Value & Conclusion »Assembly
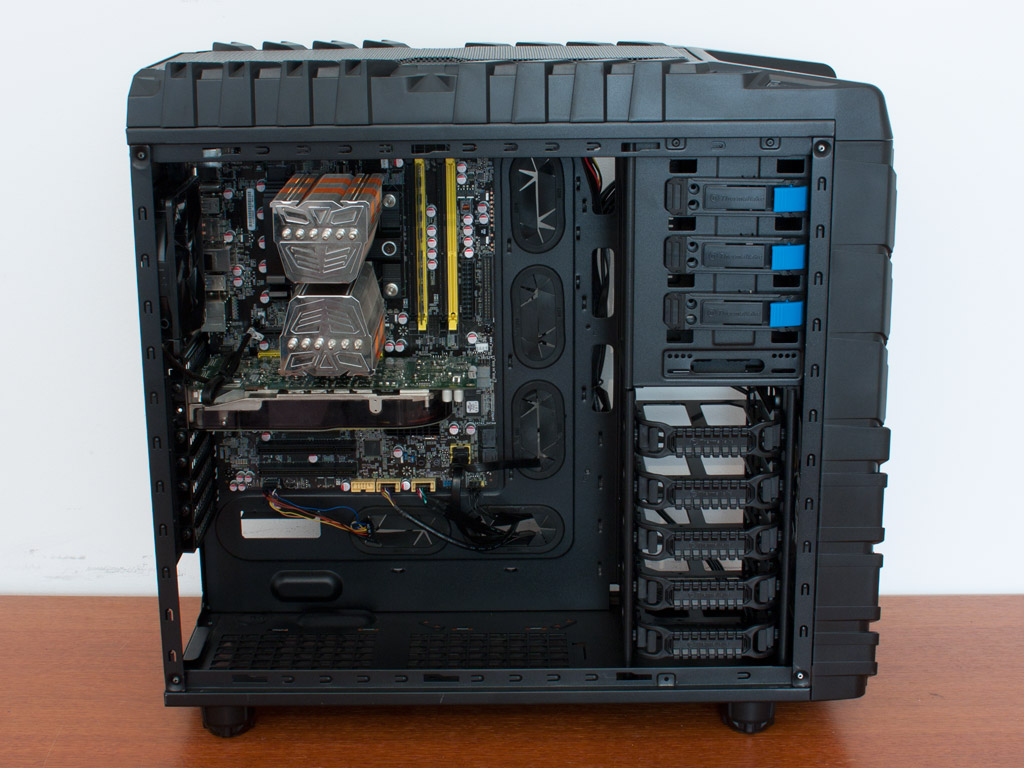
Installing the mainboard is done by traditional means using the included mainboard spacers and screws. There is plenty of space around the CPU cooler and long graphics cards should easily fit.
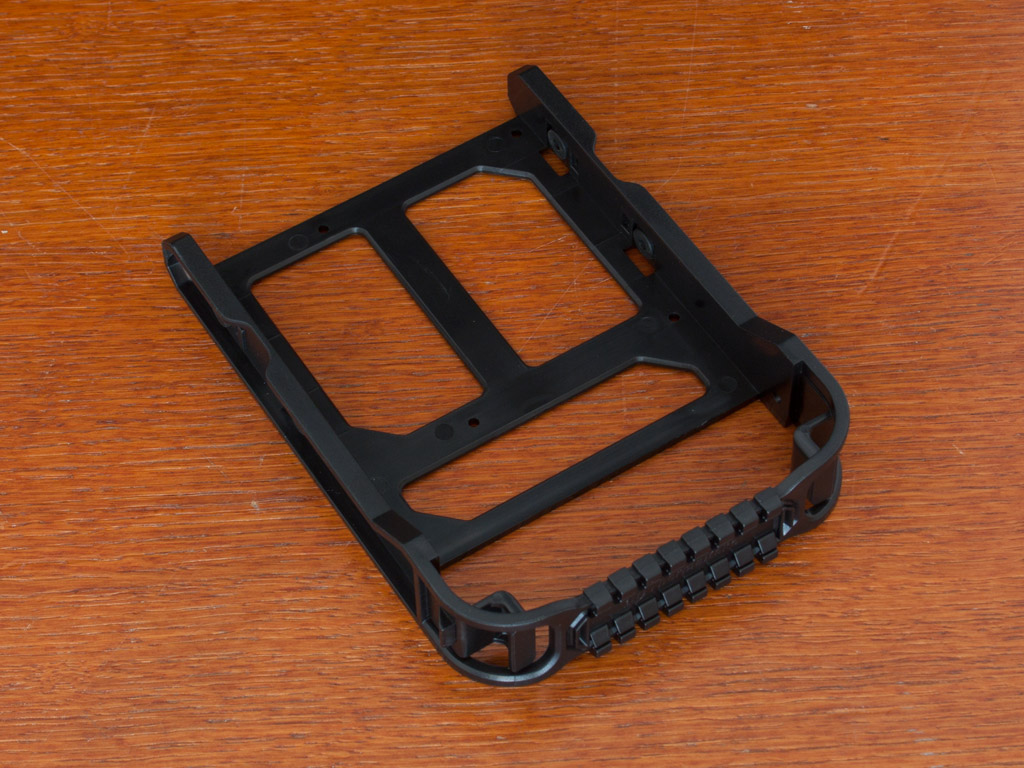
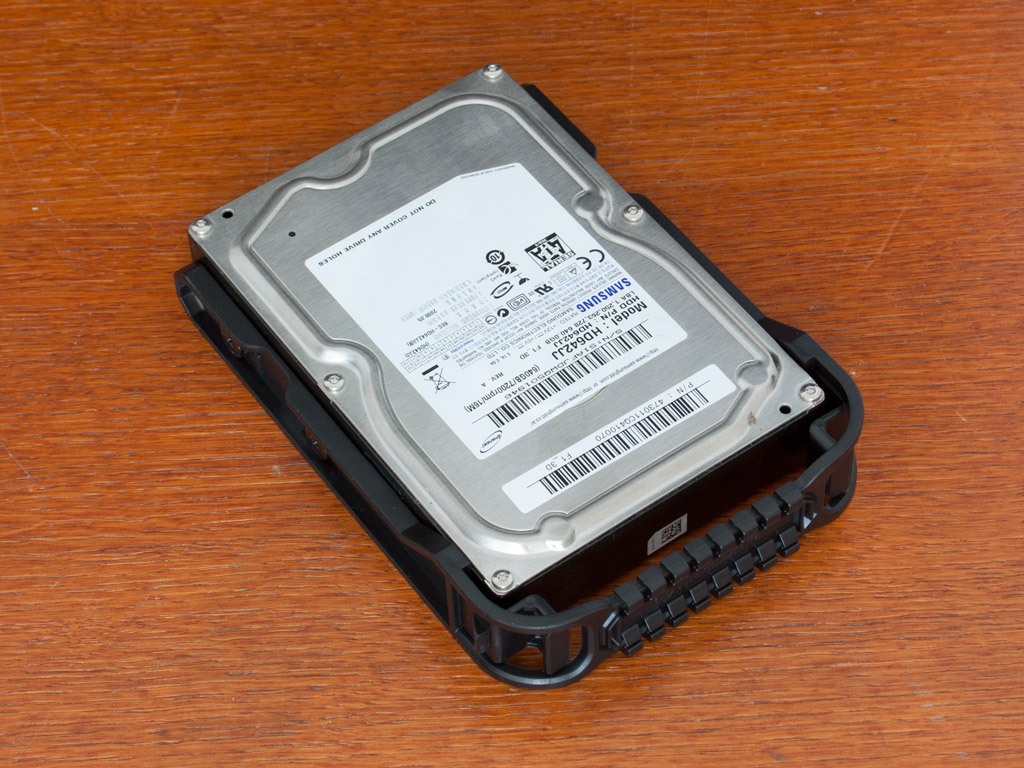

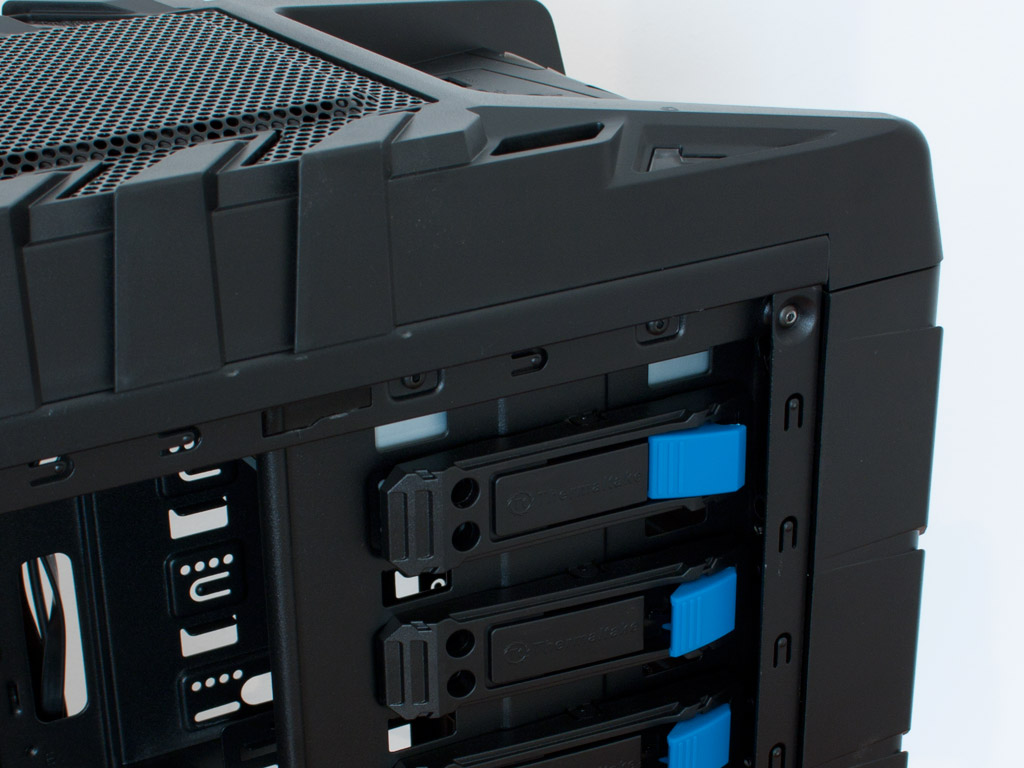
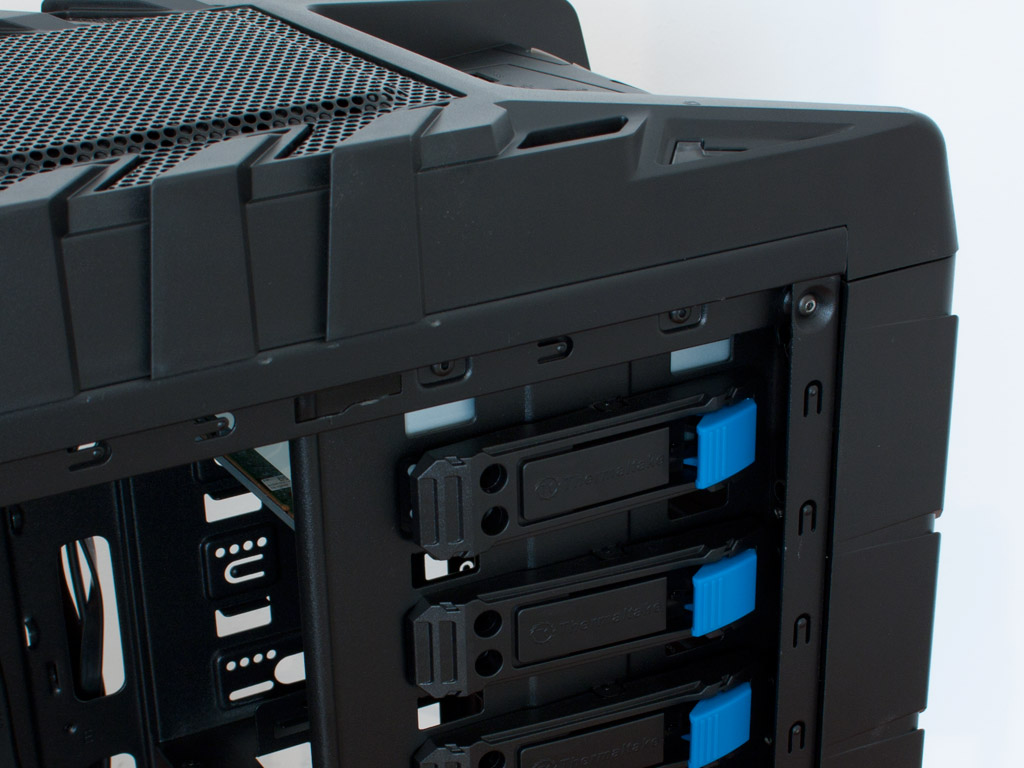
You may install either 3.5 or 2.5 inch drives unto these trays. These are not screw-less, but a 3.5 inch drive is attached through rubber rings as an anti-vibration measure. 2.5 inch ones - like an SSD on the other hand, rest directly on the tray itself.
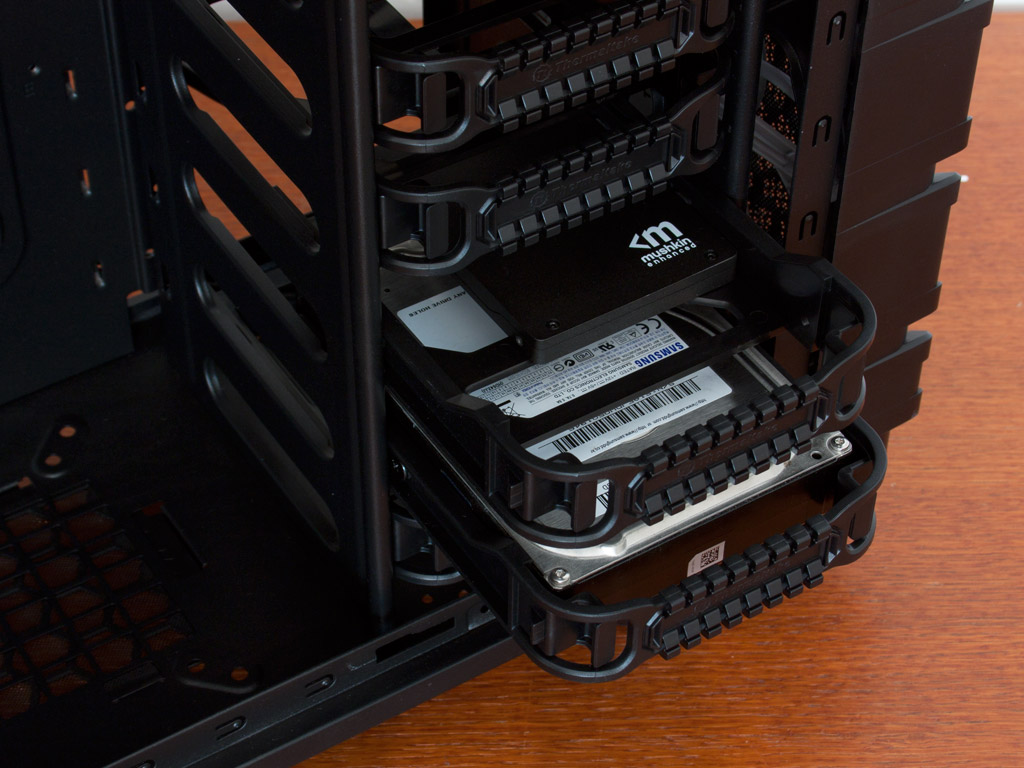
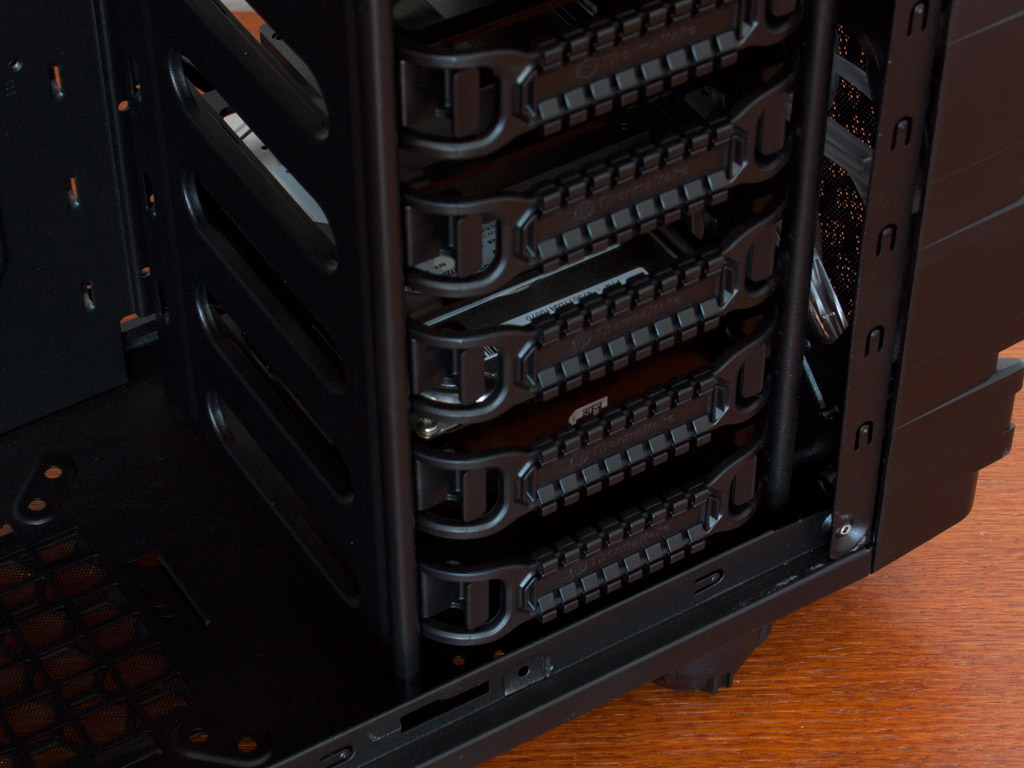
Once on the tray, simply slide them into the bays of your choice until they snap into place. The connectors face toward the mainboard to keep the interior of the chassis as clean as possible.
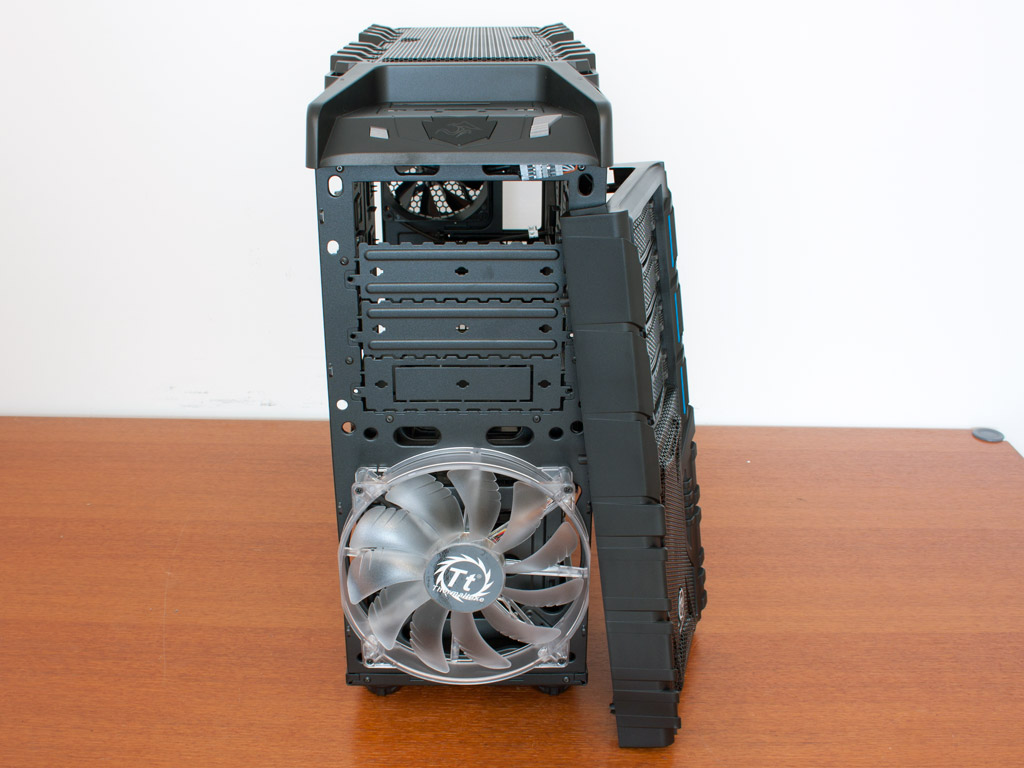
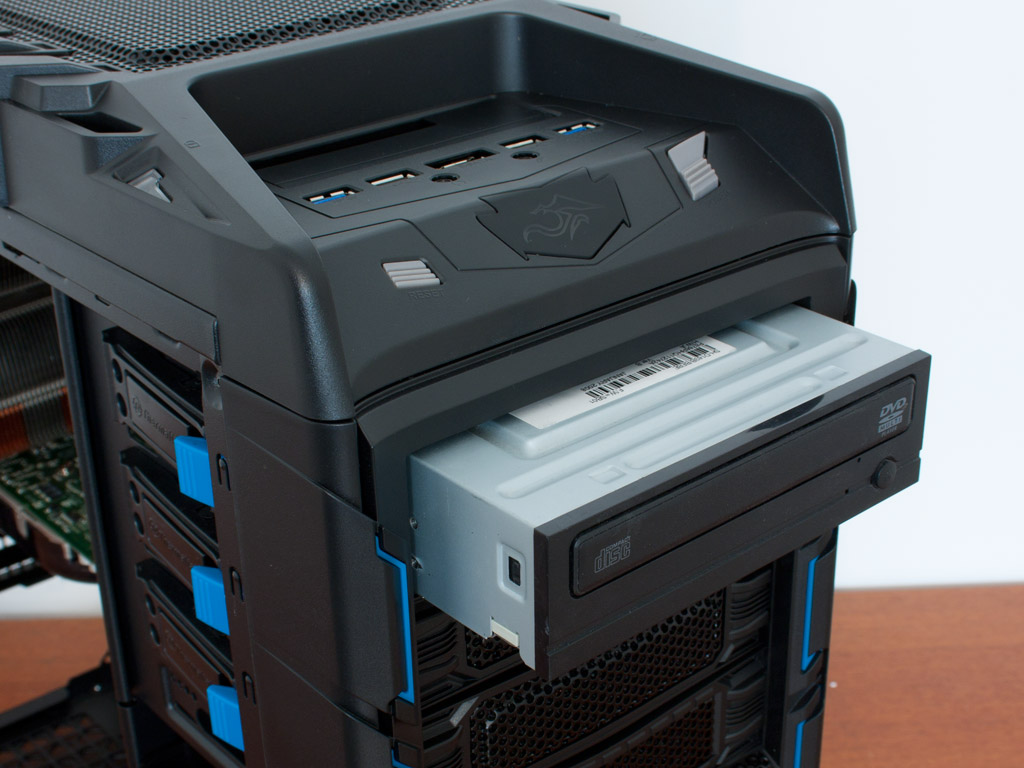
To install an optical drive bay one has to pull off the entire front to remove the drive bay cover. Once free, simply push the drive into place and let the locks snap into place. It works like a lever and works well in holding the drive in place.
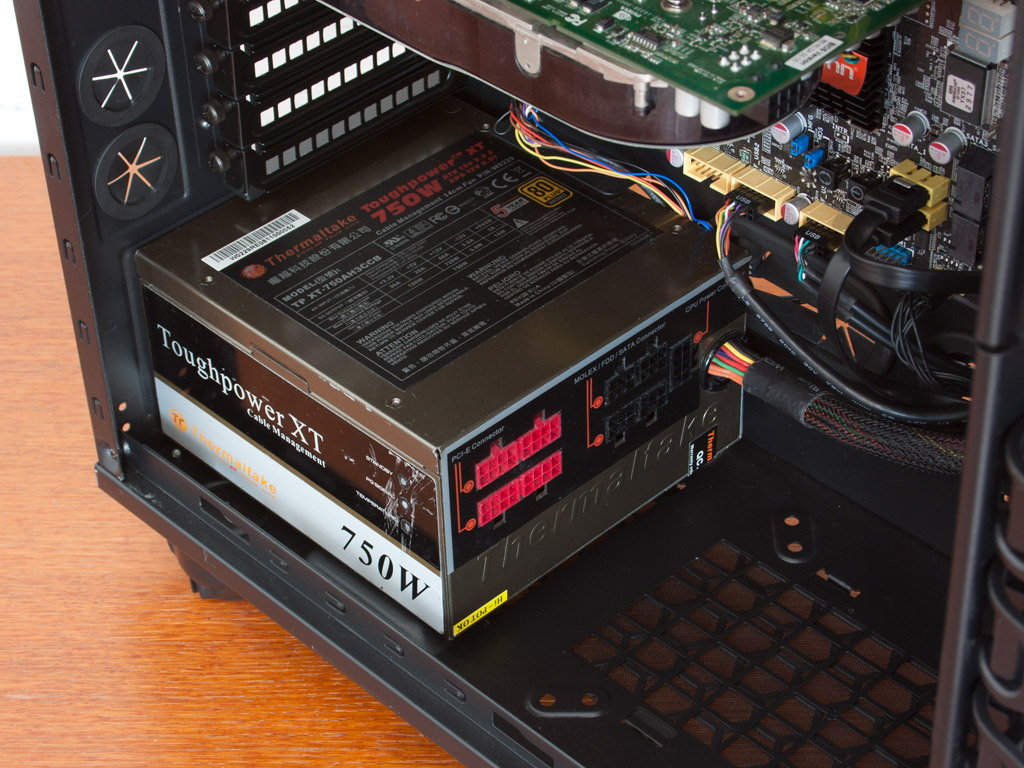
Inserting the PSU into the chassis requires the use of the included screws. There is plenty of space so that even the longest units will fit, but you may loose access to the bottom fan slot in the process.

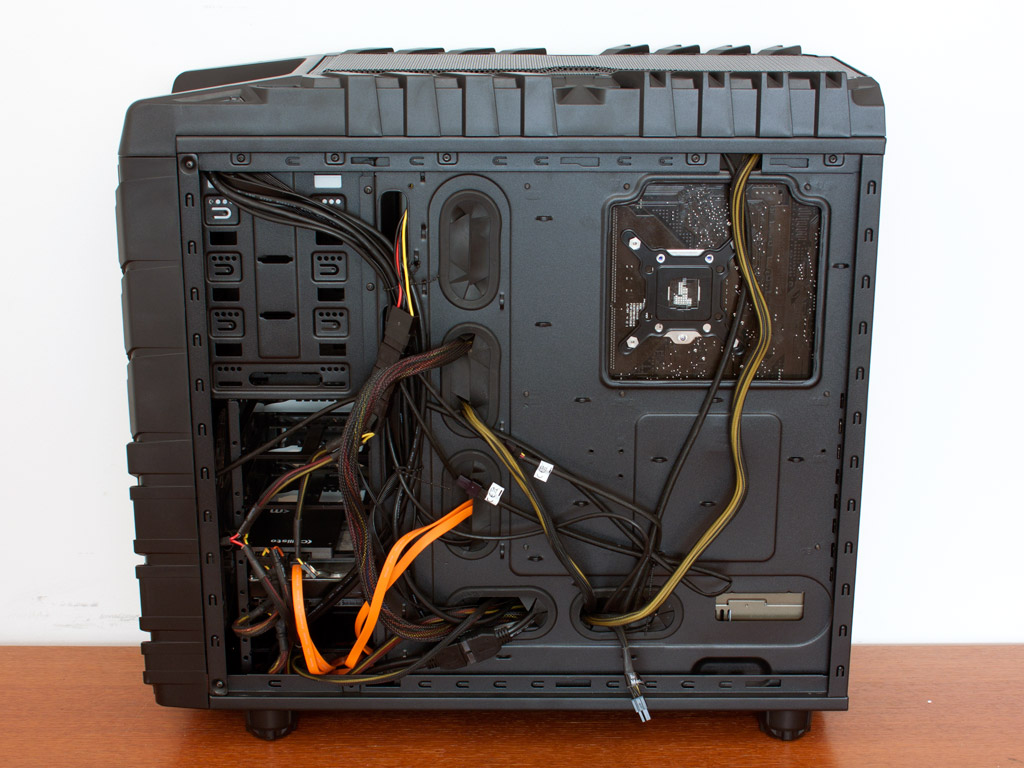
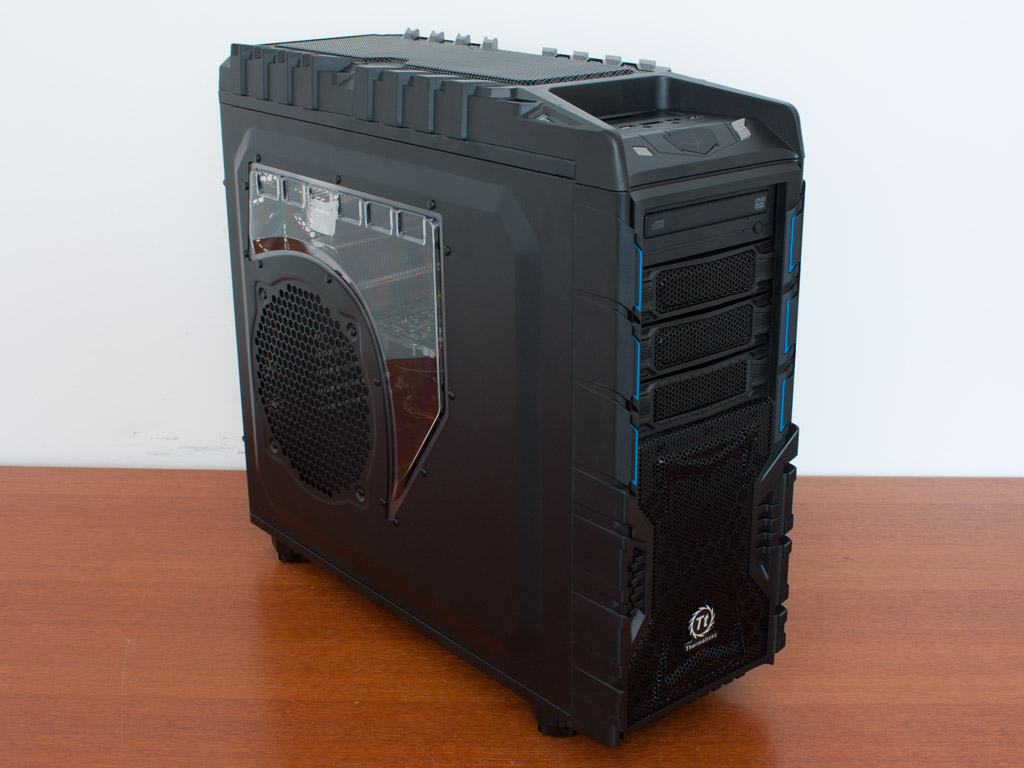
Once everything is installed, the chassis makes a good impression. Cable management is excellent as you can see. Thanks to plenty of openings, I was able to route all of them to their location, mostly hiding them from view.
Finished Looks

Placing the side panel behind the motherboard tray back unto the chassis requires quite a bit of force, but it all works out in the end. Thanks to the blue LEDs in the fans the chassis makes an excellent impression.
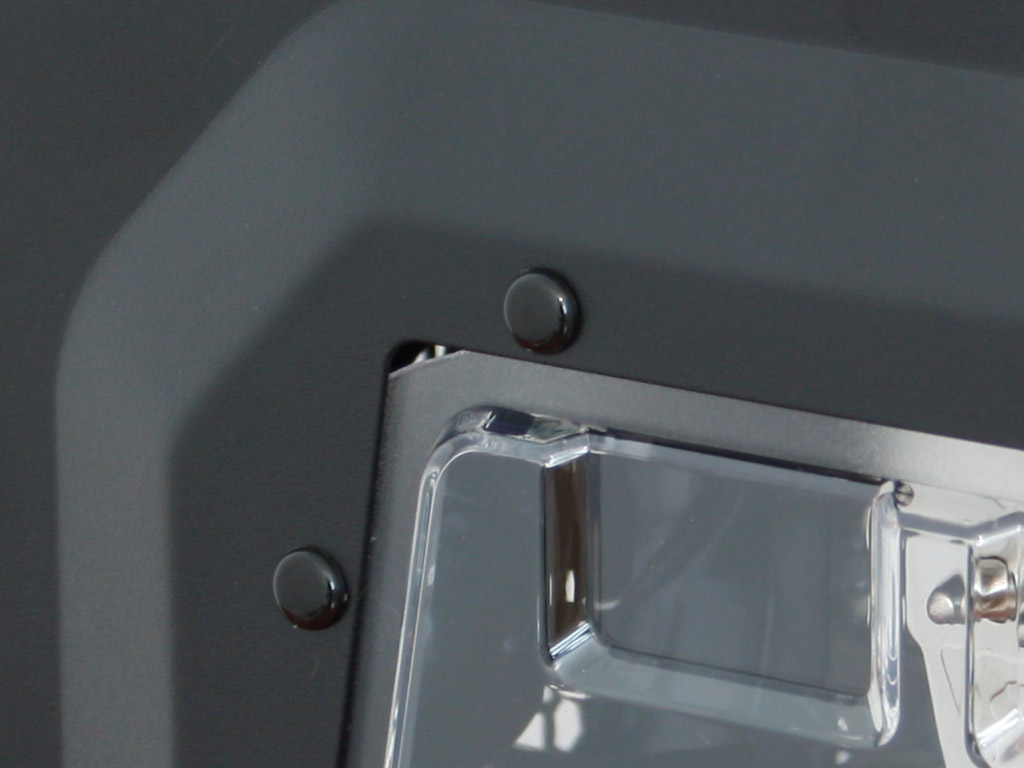
Even though the side panel in my chassis was damaged, only a little corner tells the tale when viewed from the exterior.
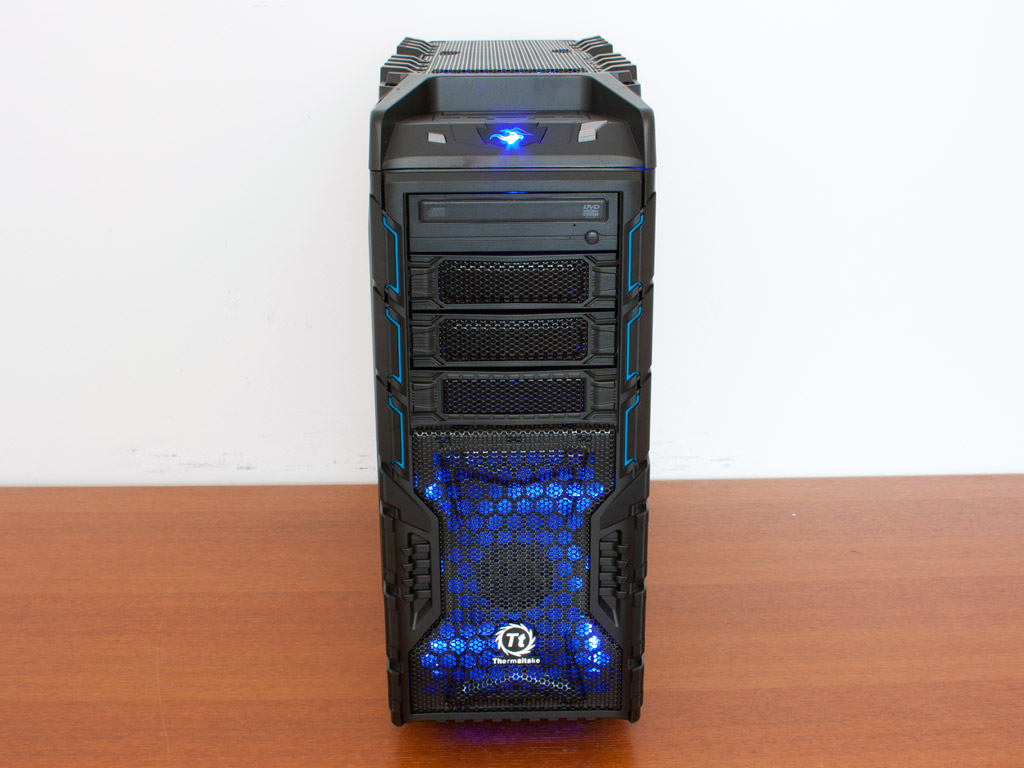
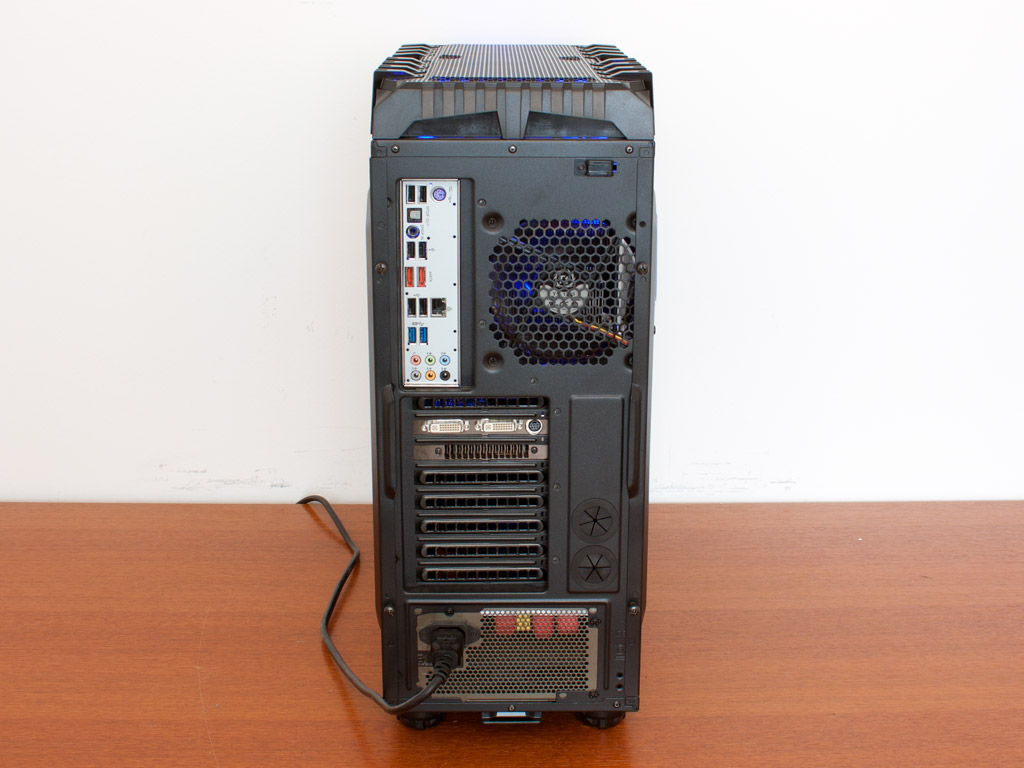
Due to the elaborate design, the simple optical drive sticks out a bit, but still looks fine in my humble opinion. All the connectors in the rear are easily accessible and the fan is nice and quiet. It does not have any LEDs, which is perfectly fine in this location.
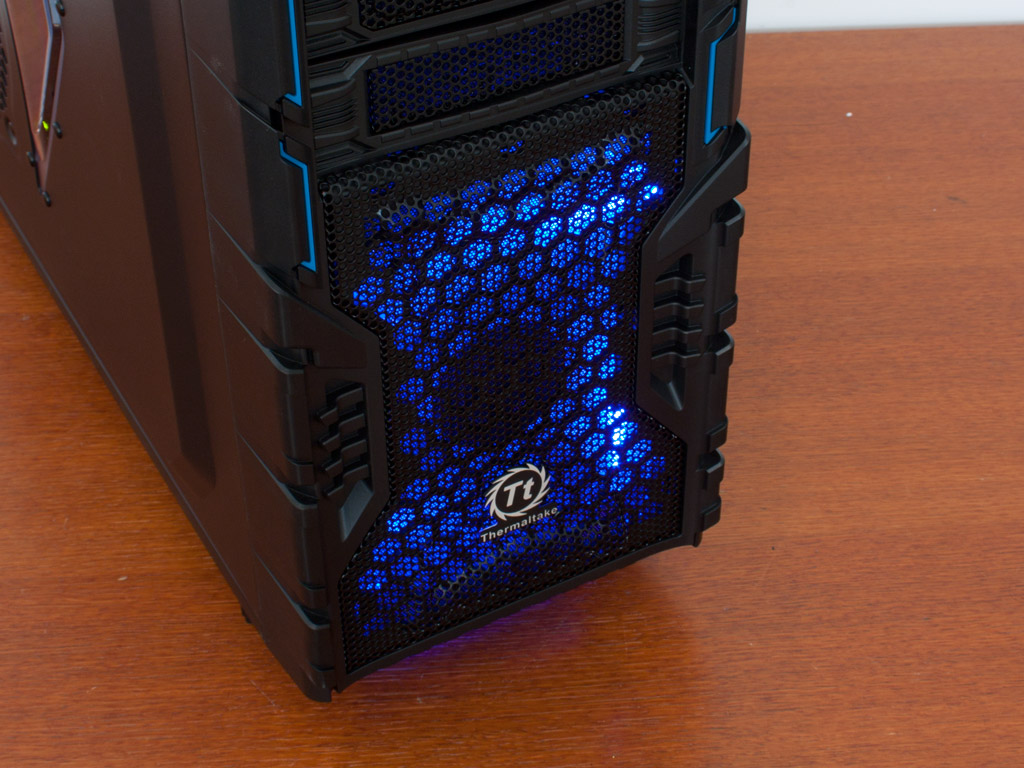
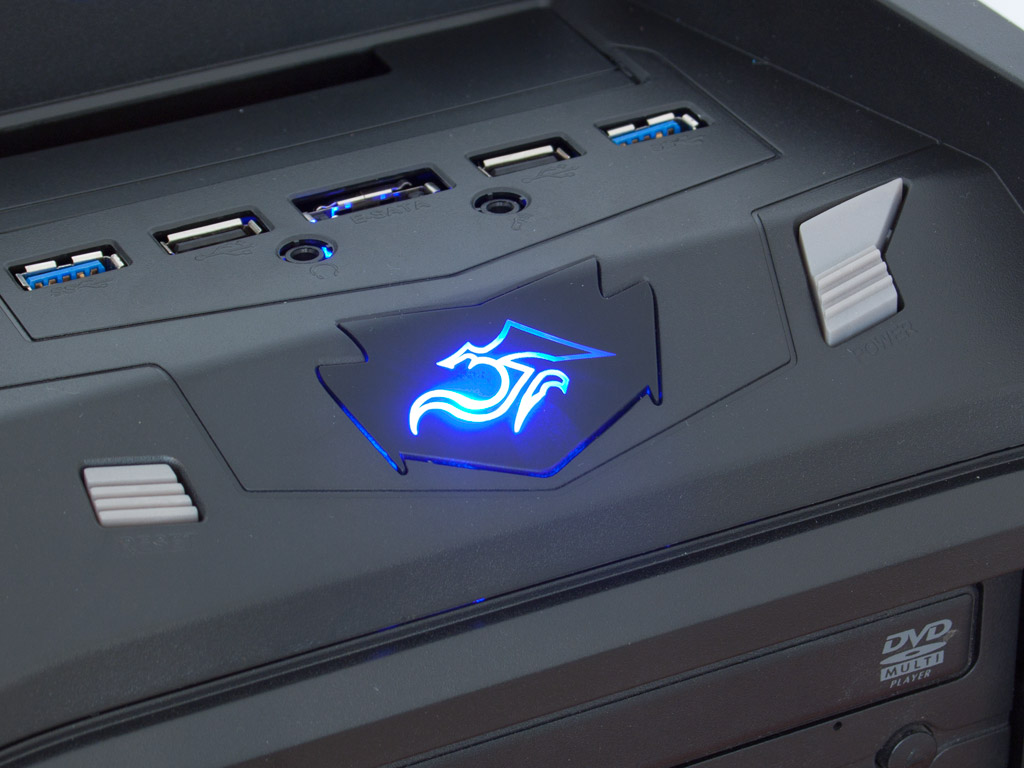
The 200 mm fan in front is equipped with blue LEDs while the one in the Chaser comes with multiple colors. Even so, the blue fits perfectly with the light blue accents of the chassis and the large pulsating icon on the top of the chassis.

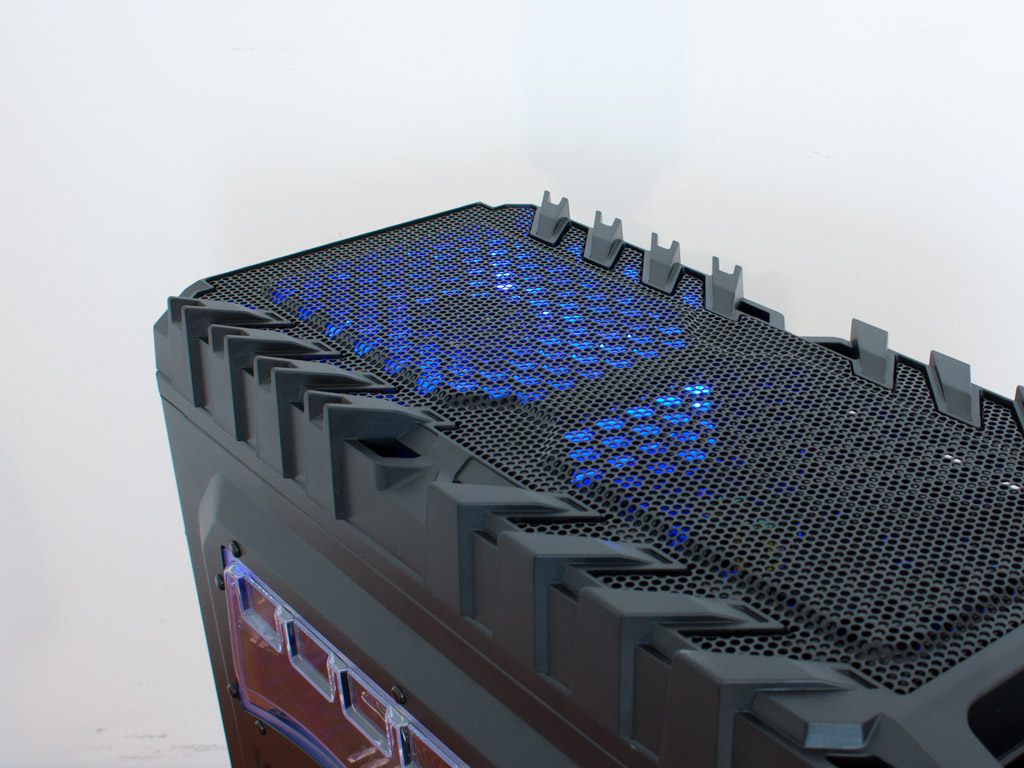
Placing a hard drive in the top HDD bay is quite easy. There is no eject button, so you just have to pull it out once you are done with it. Behind this is the other 200 mm, blue LED equipped fan.
Apr 29th, 2024 13:32 EDT
change timezone
Latest GPU Drivers
New Forum Posts
- EK seems to be having major issues (54)
- Why MS buying all of these Studios is bad for Gaming (51)
- What's your latest tech purchase? (20392)
- Is this Sapphire PULSE RX 5600 XT legit or fake? (0)
- Arctic MX-6 shelf life is just a couple months? (14)
- New High Performance, x86 Compatible Microprocessors from Centaur / VIA (146)
- PL1 | OMEN 17-cb0xxx / I7-9750H / RTX 2060 (4)
- Z790 ACE MAX? (5)
- Dialing in the overlock on my new 12600kf, matured silicon process showing great results... (17)
- Is it better for zero RPM PSUs to place the fan on top? (21)
Popular Reviews
- Ugreen NASync DXP4800 Plus Review
- HYTE THICC Q60 240 mm AIO Review
- Upcoming Hardware Launches 2023 (Updated Feb 2024)
- MOONDROP x Crinacle DUSK In-Ear Monitors Review - The Last 5%
- Sapphire Radeon RX 7900 XT Pulse Review
- FiiO K19 Desktop DAC/Headphone Amplifier Review
- Thermalright Phantom Spirit 120 EVO Review
- ASUS Radeon RX 7900 GRE TUF OC Review
- AMD Ryzen 7 7800X3D Review - The Best Gaming CPU
- Logitech G Pro X Superlight 2 Review - Updated with 4000 Hz Tested
Controversial News Posts
- Windows 11 Now Officially Adware as Microsoft Embeds Ads in the Start Menu (147)
- Intel Statement on Stability Issues: "Motherboard Makers to Blame" (140)
- Sony PlayStation 5 Pro Specifications Confirmed, Console Arrives Before Holidays (117)
- NVIDIA Points Intel Raptor Lake CPU Users to Get Help from Intel Amid System Instability Issues (106)
- AMD "Strix Halo" Zen 5 Mobile Processor Pictured: Chiplet-based, Uses 256-bit LPDDR5X (103)
- AMD's RDNA 4 GPUs Could Stick with 18 Gbps GDDR6 Memory (99)
- US Government Wants Nuclear Plants to Offload AI Data Center Expansion (98)
- TechPowerUp Hiring: Reviewers Wanted for Motherboards, Laptops, Gaming Handhelds and Prebuilt Desktops (89)