 23
Thermaltake View 600 TG Butter Caramel Review
Thermal Stress Test »Assembly
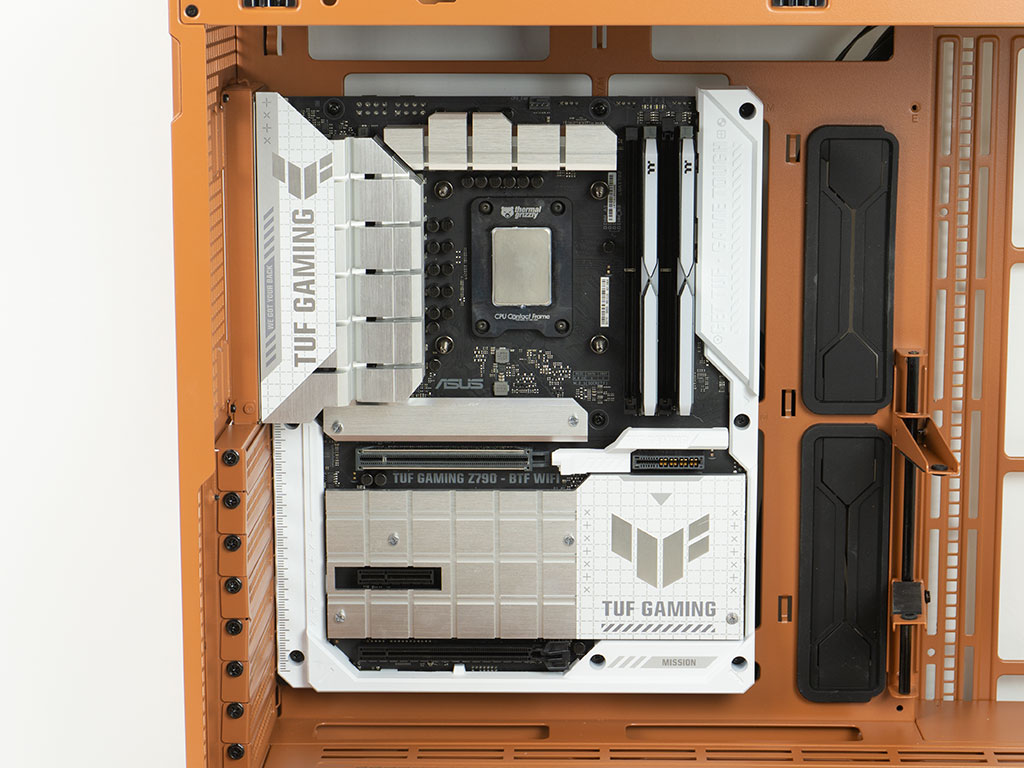
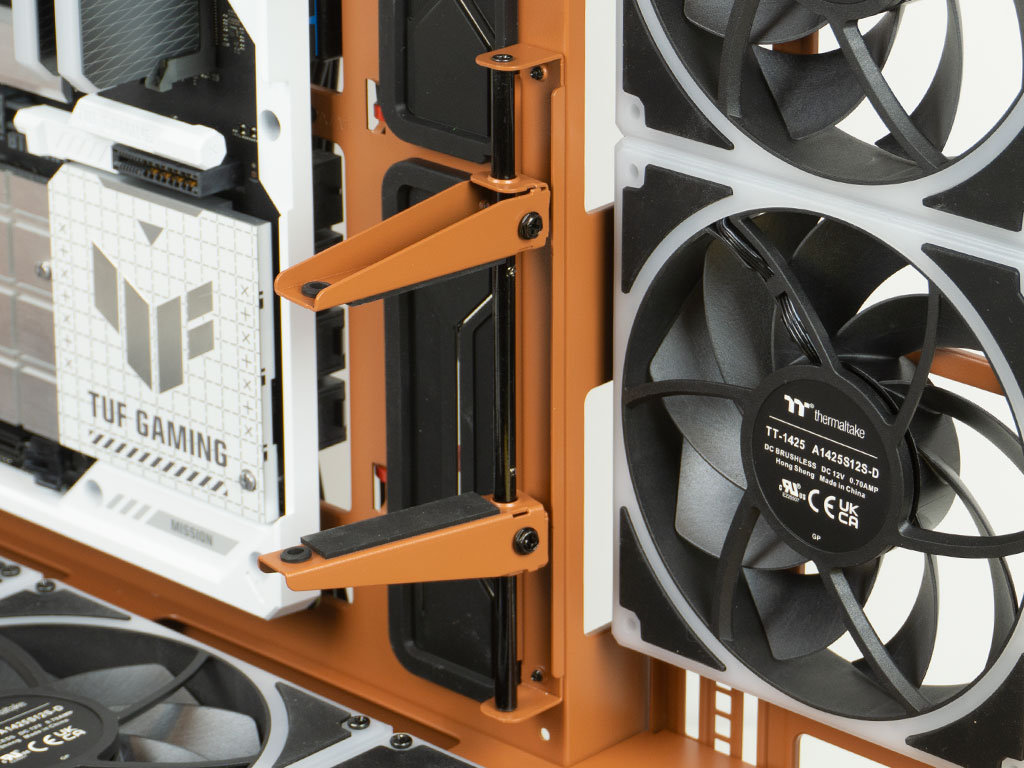
Installing a BTF equipped, full-size ATX board is a breeze thanks to the pre-installed stand-offs and the ample space provided by the chassis. We also went ahead and popped in the black grommets, followed by the GPU support bracket.
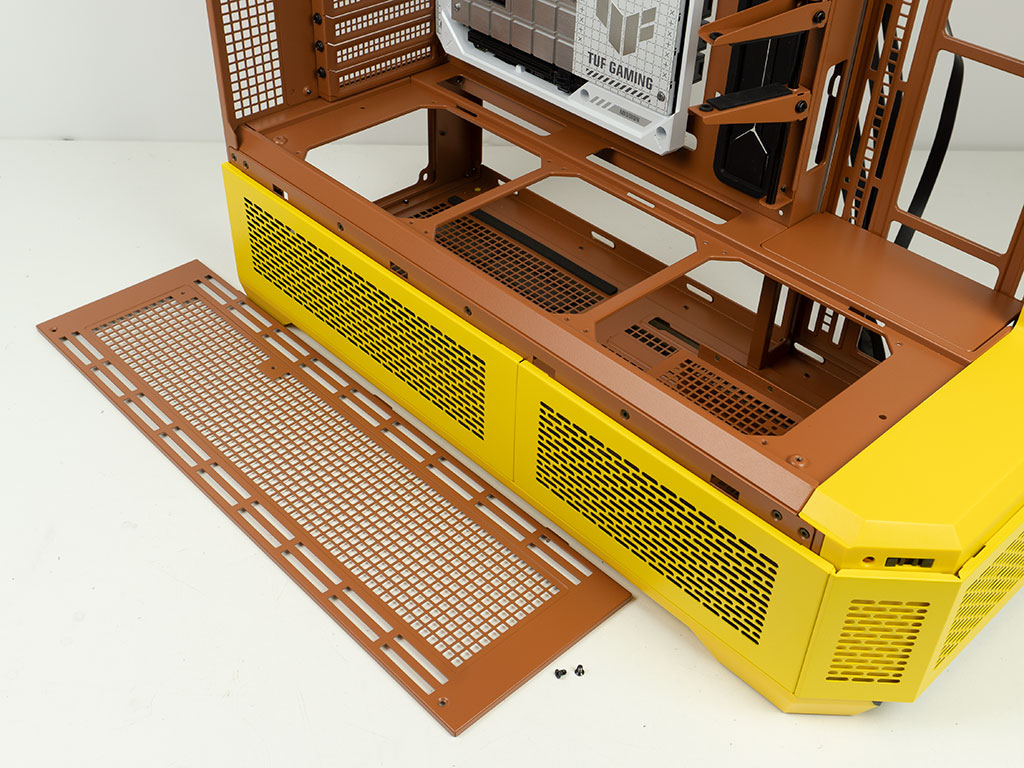
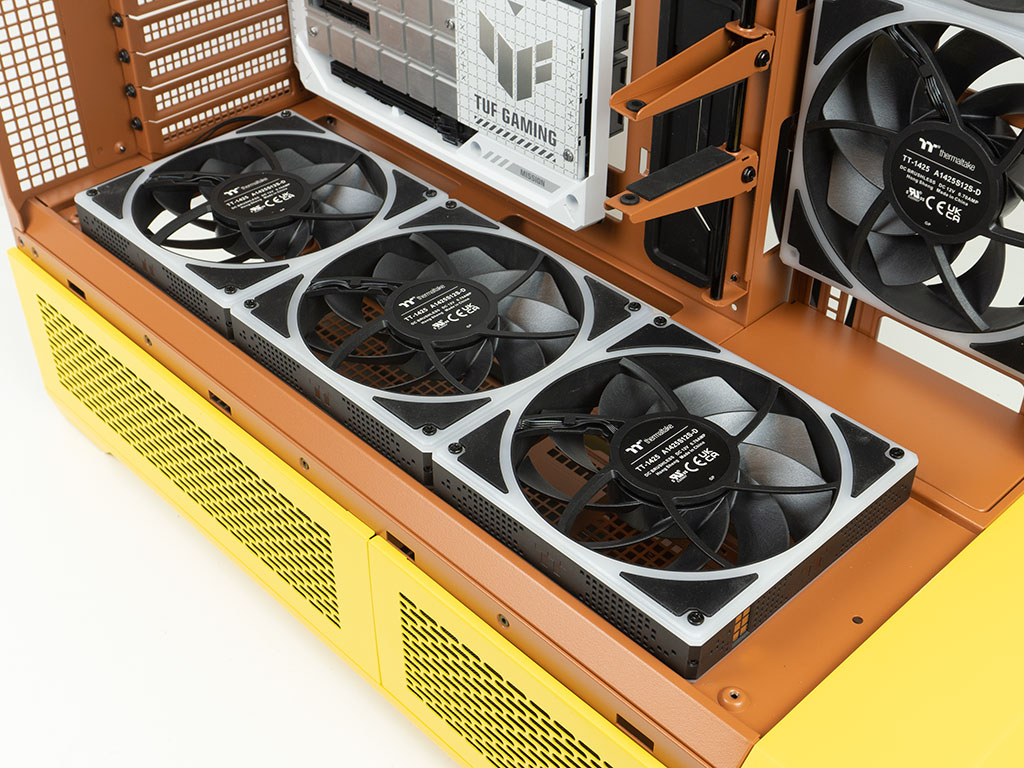
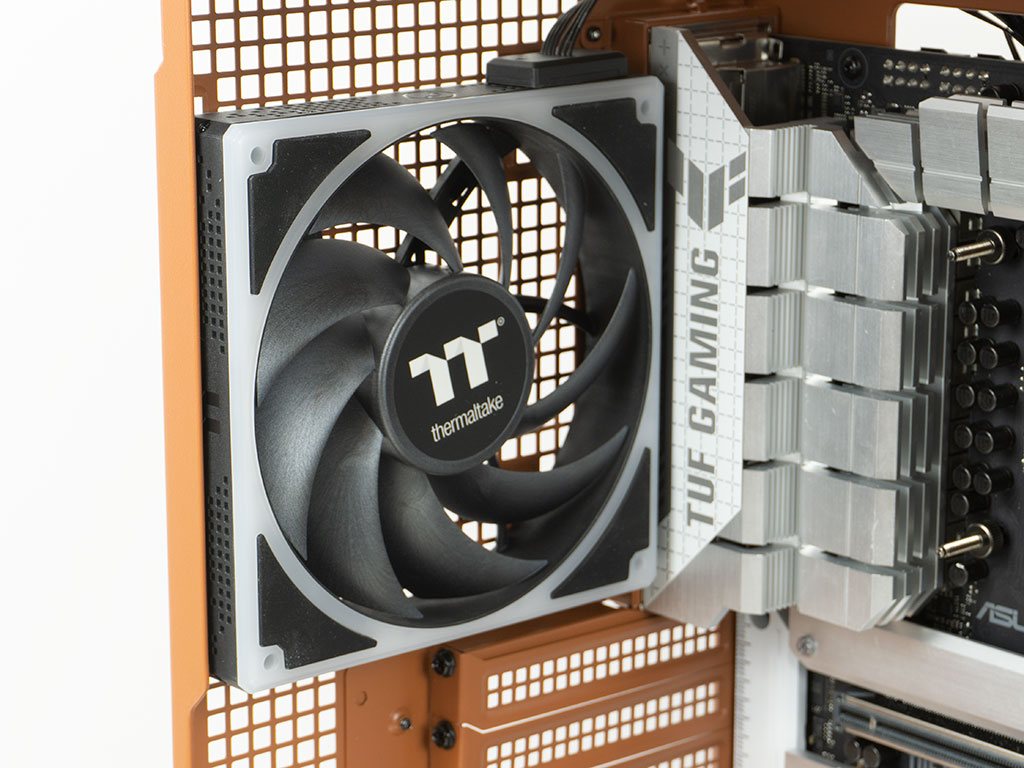
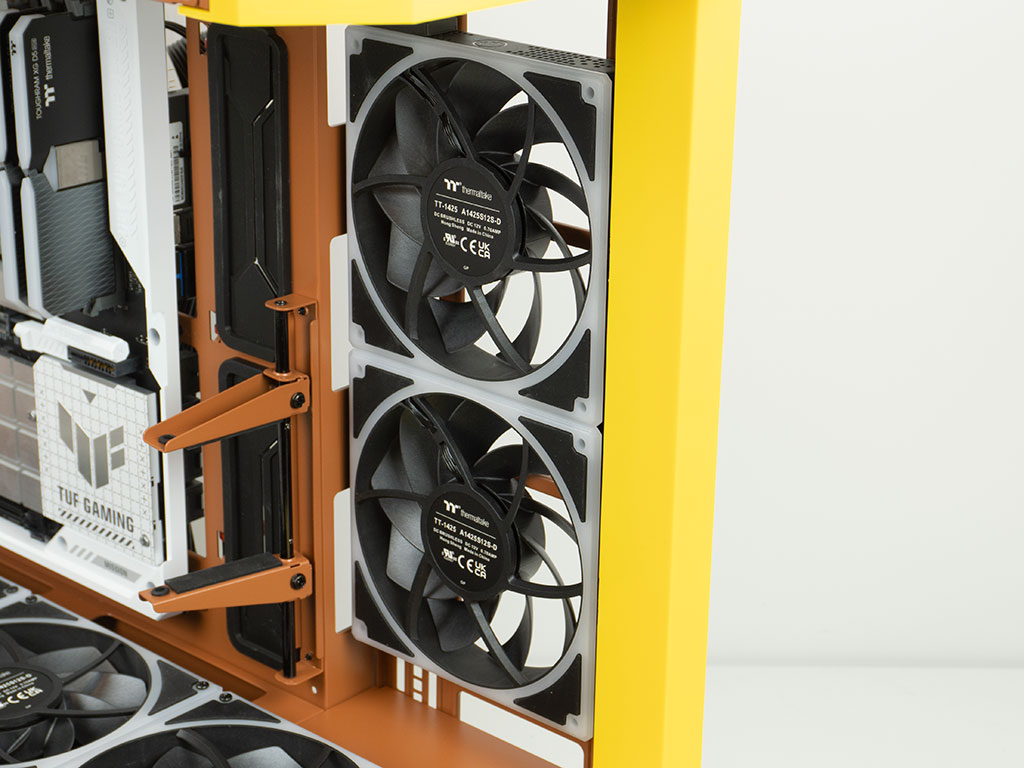
We decided to add a total of six fans 140 mm Toughfans inside the case for this build. Three on the floor, by first removing the cover plate for smaller units or radiators. This allows the fans to be recessed into the shroud slightly, which looks great. Then we placed one in the rear and two on the side. While the side could easily fit three, by using two we were able to keep the cover plate in place, which felt like a cleaner look.
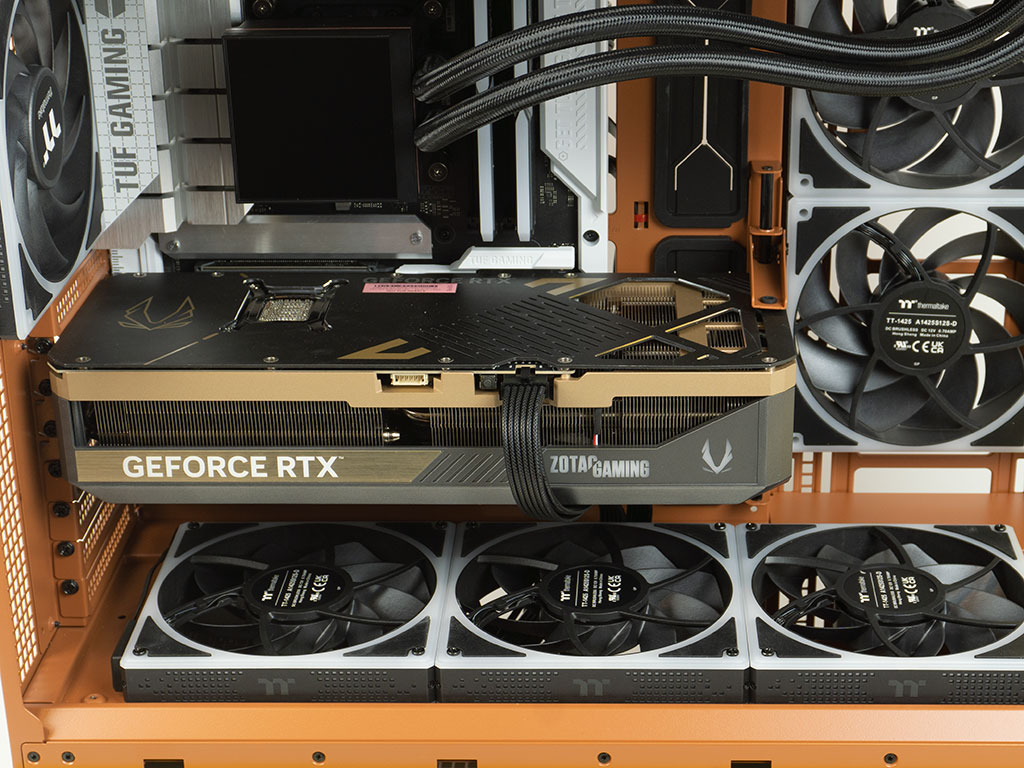
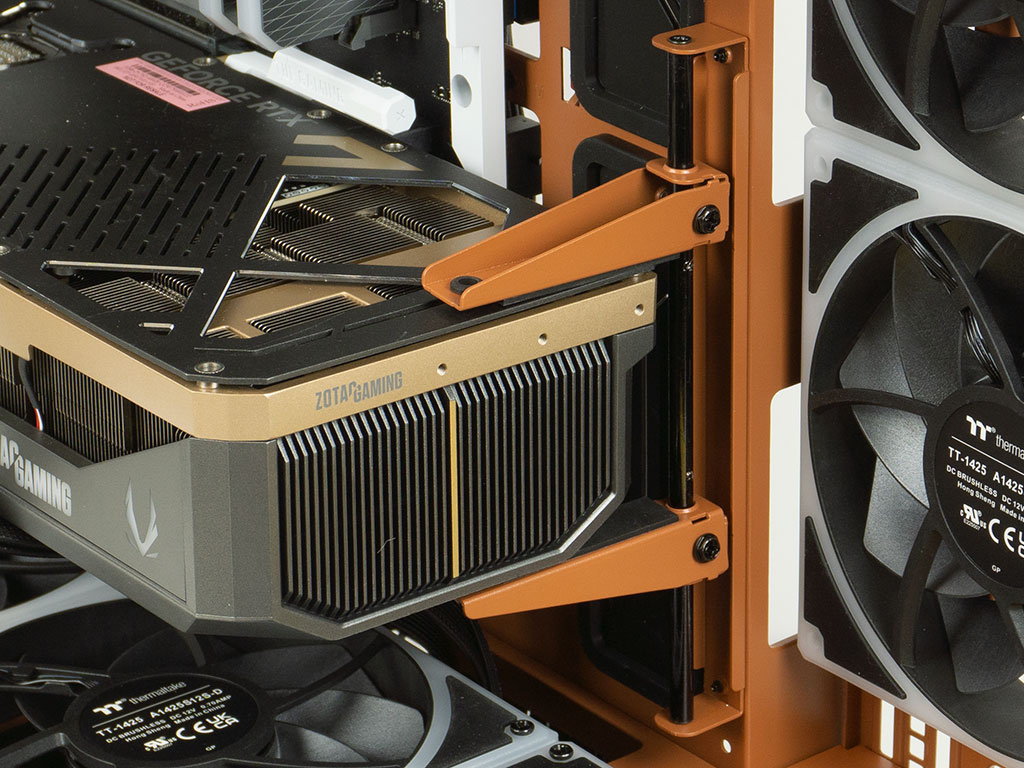
Adding the Zotac GPU is easily done as well, and the well-designed metal GPU bracket perfectly clamps down on into it from the top and bottom, with rubber pads helping to keep it in place.
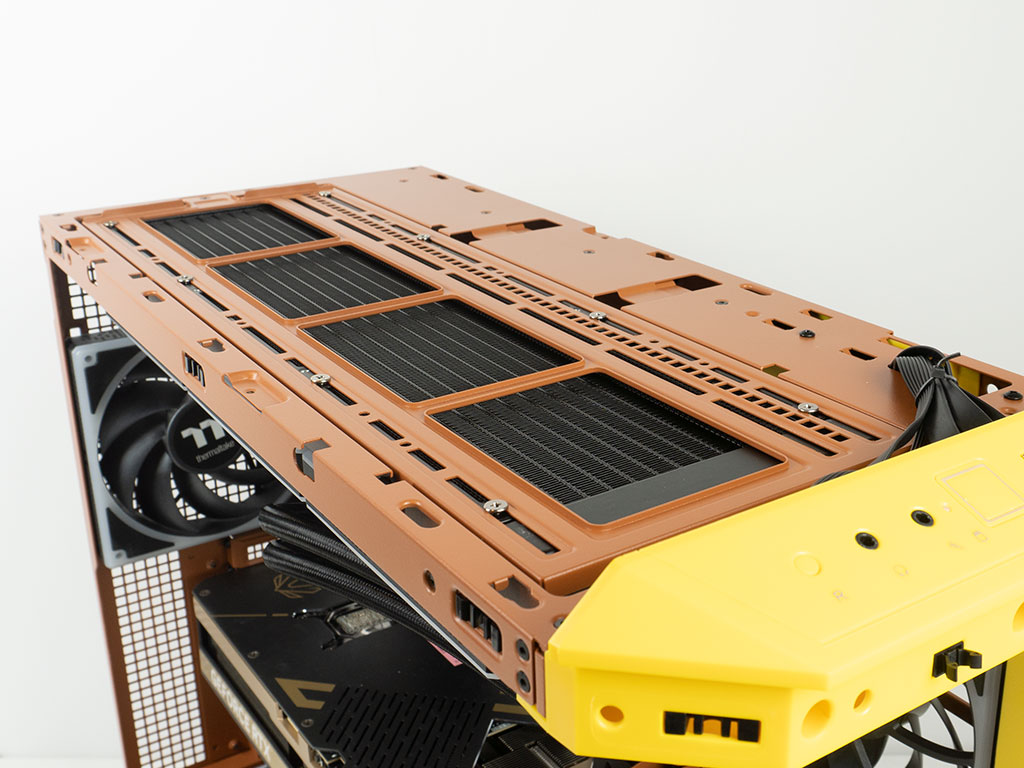
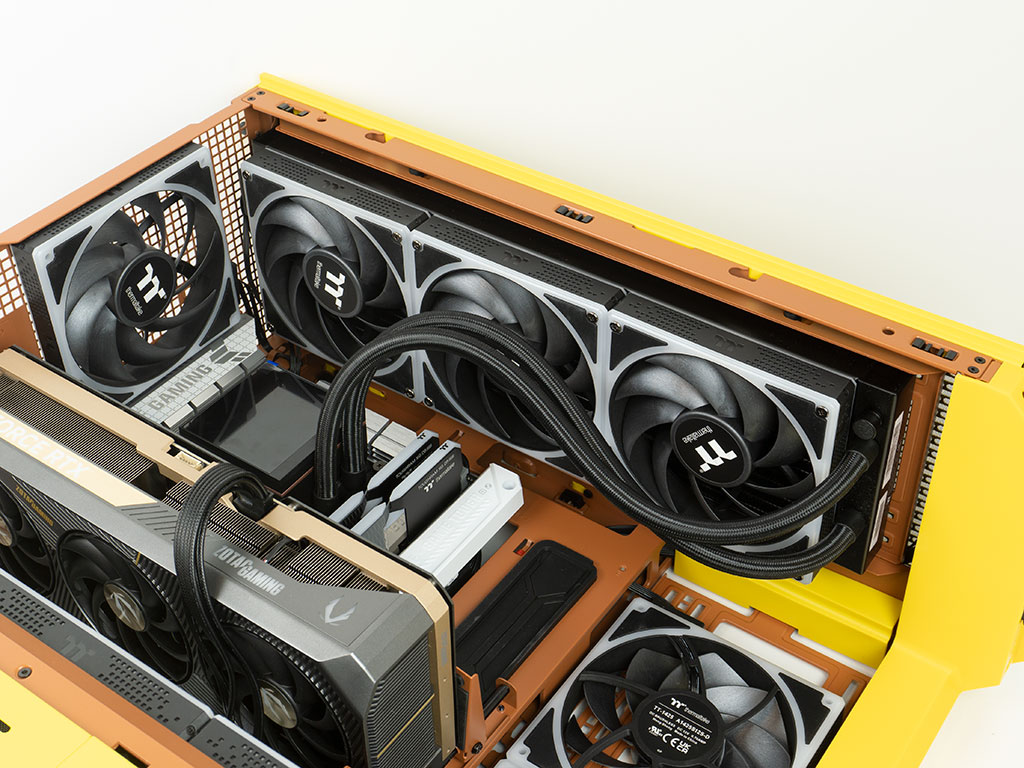
Instead of using the included fans of the AIO, we utilized that third pack of Toughfans to match the rest of the cooling units of the build. The 420 mm AIO fits in the ceiling effortlessly, with plenty of room to allow for any cable routing and easily clearing cooling components from the board or tall memory modules like the Toughram used in this scenario.
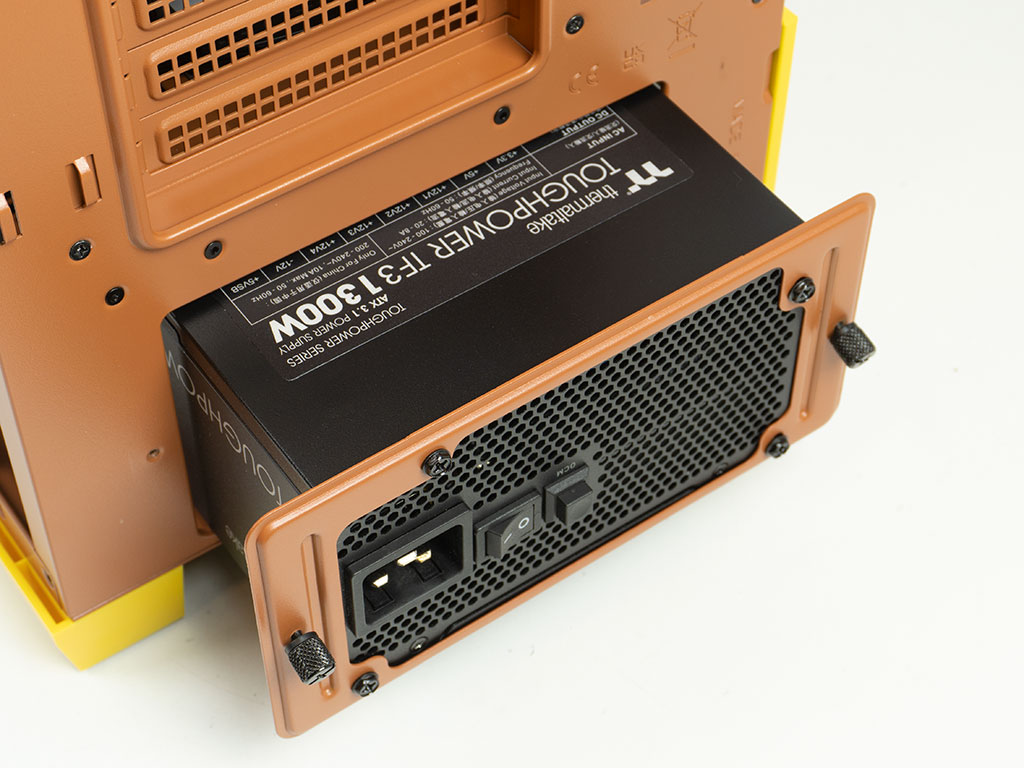
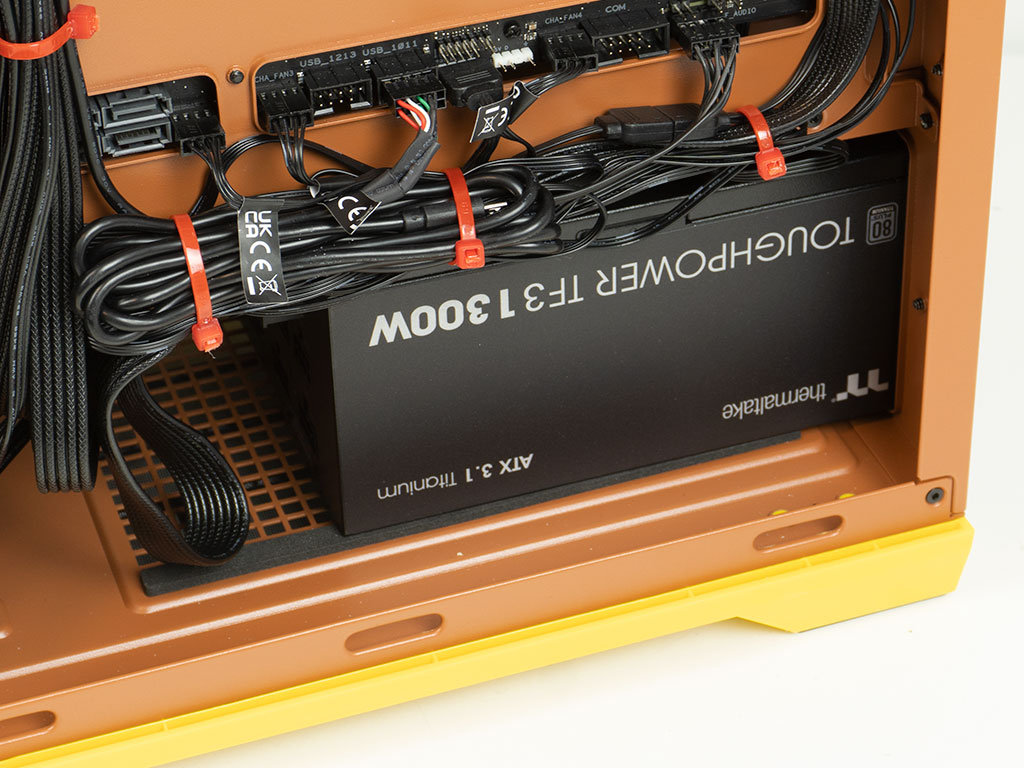
Sliding in the Toughpower TF3 1300 unit from the back took a bit of wiggling, but there is lots of depth inside the View 600 TG, so you should even be able to go for higher capacity units that may even require 230 V to provide all the power possible.
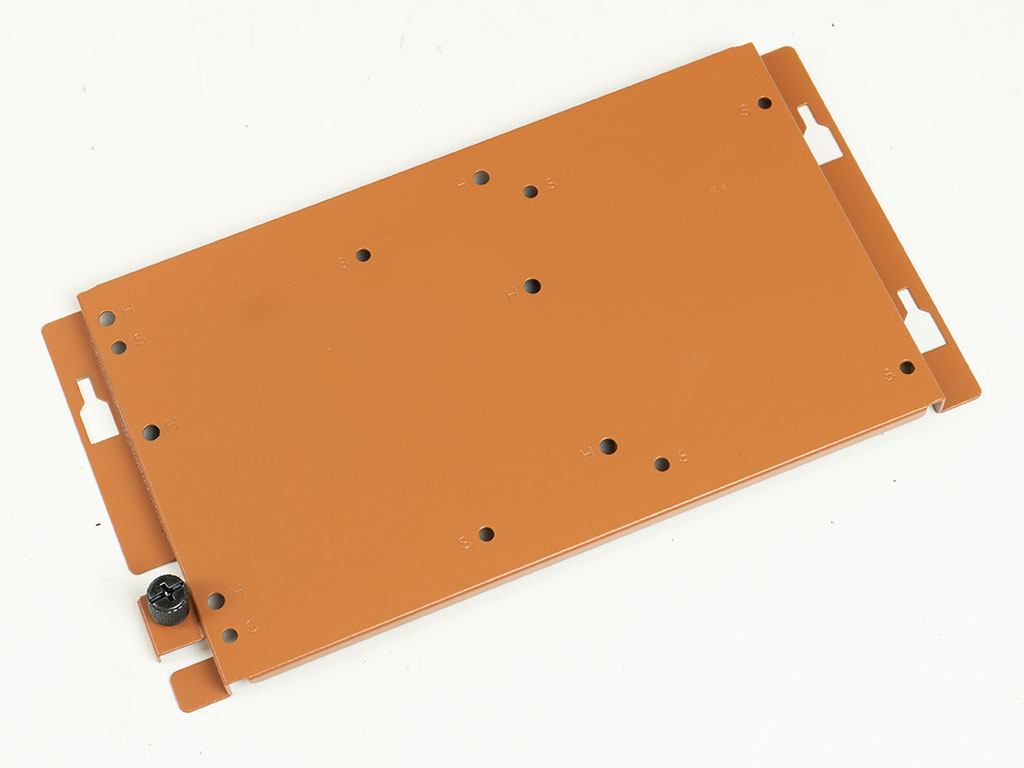
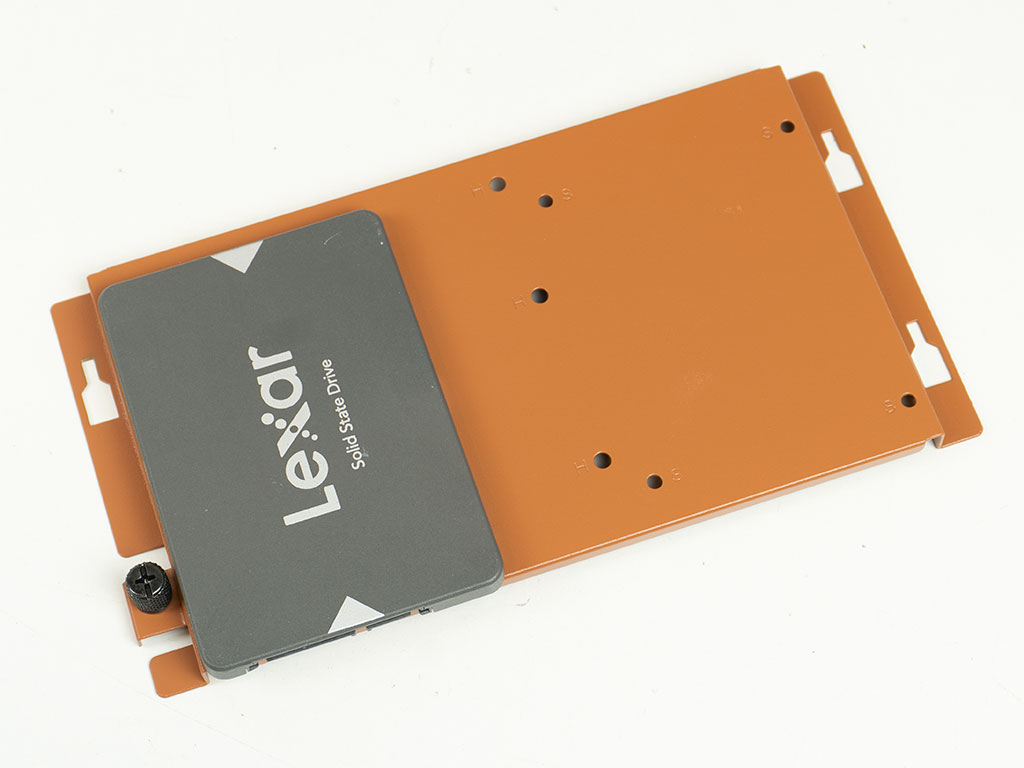
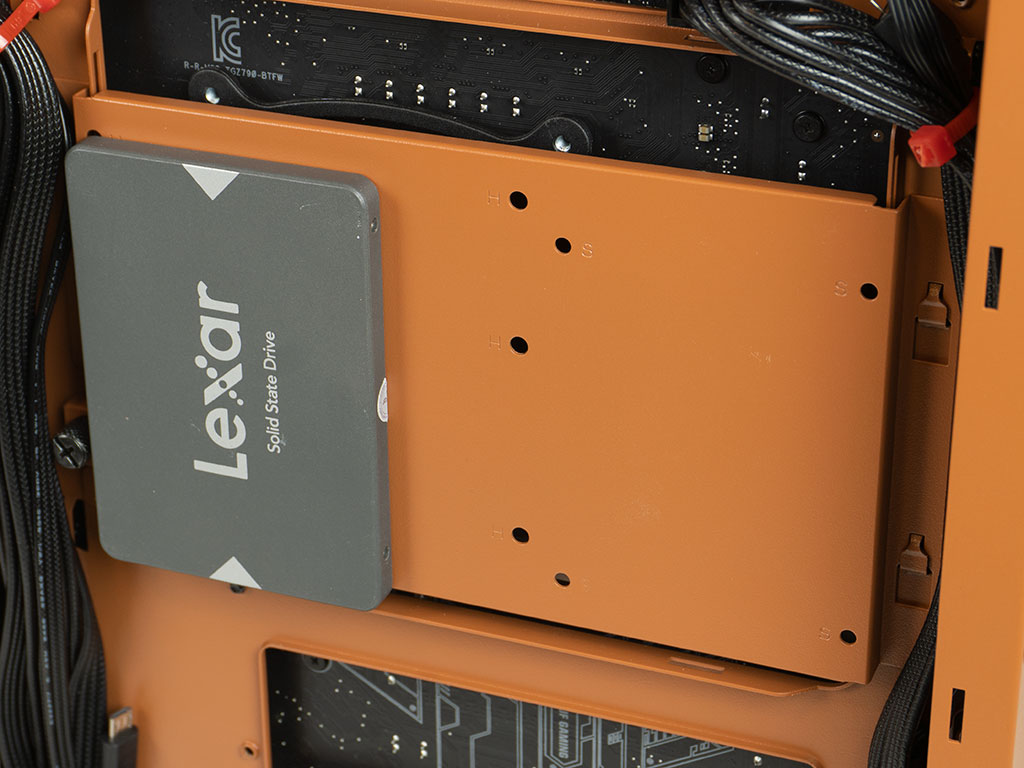
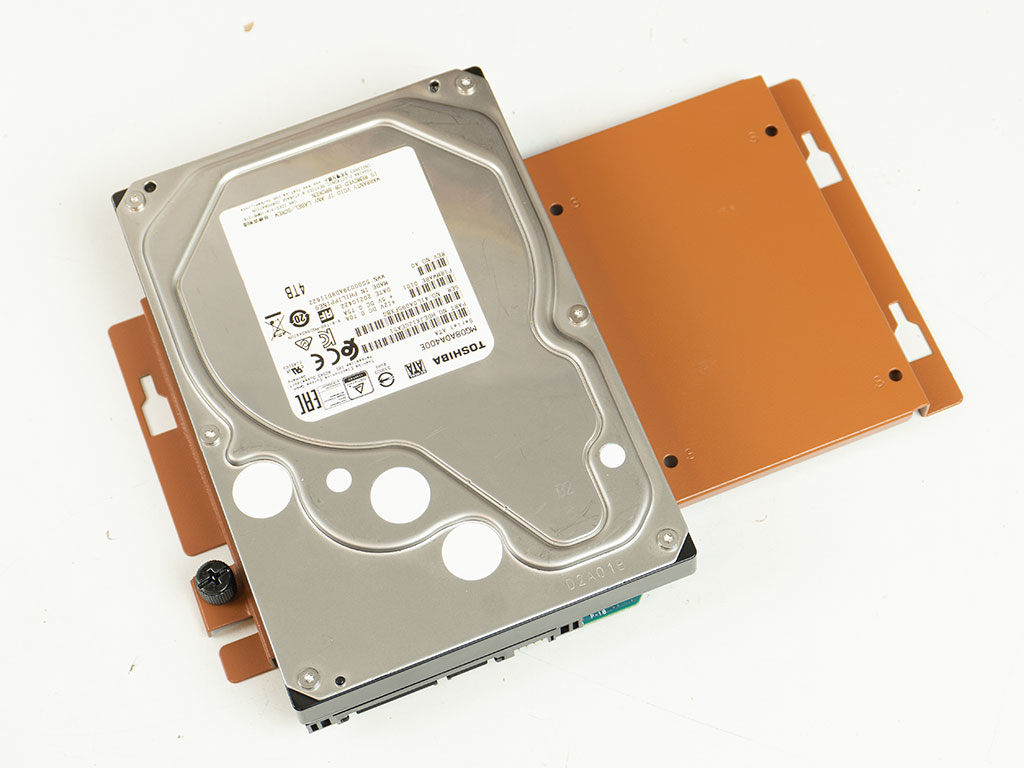
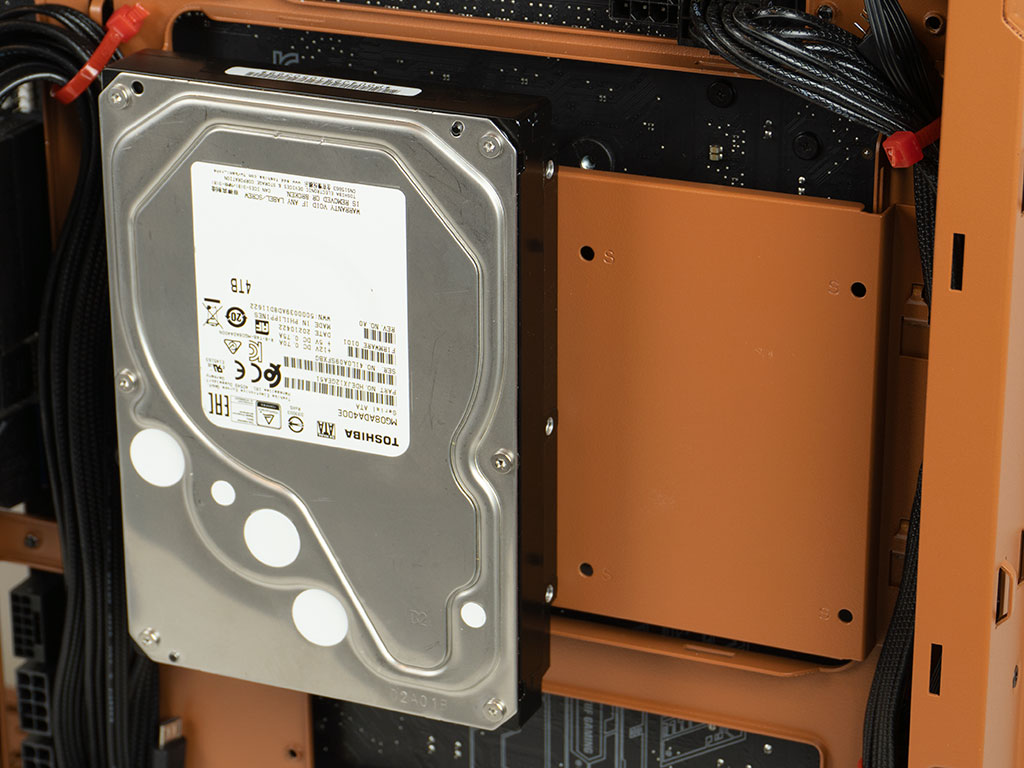
As you have to pick between installing two 2.5" drives or one 3.5" unit unto the storage plate behind the motherboard tray, we tried both. Doing so requires the use of the supplied screws, regardless of the type you are opting for. Once filled simply hook the plate back into place and secure it with the captive thumb screw.
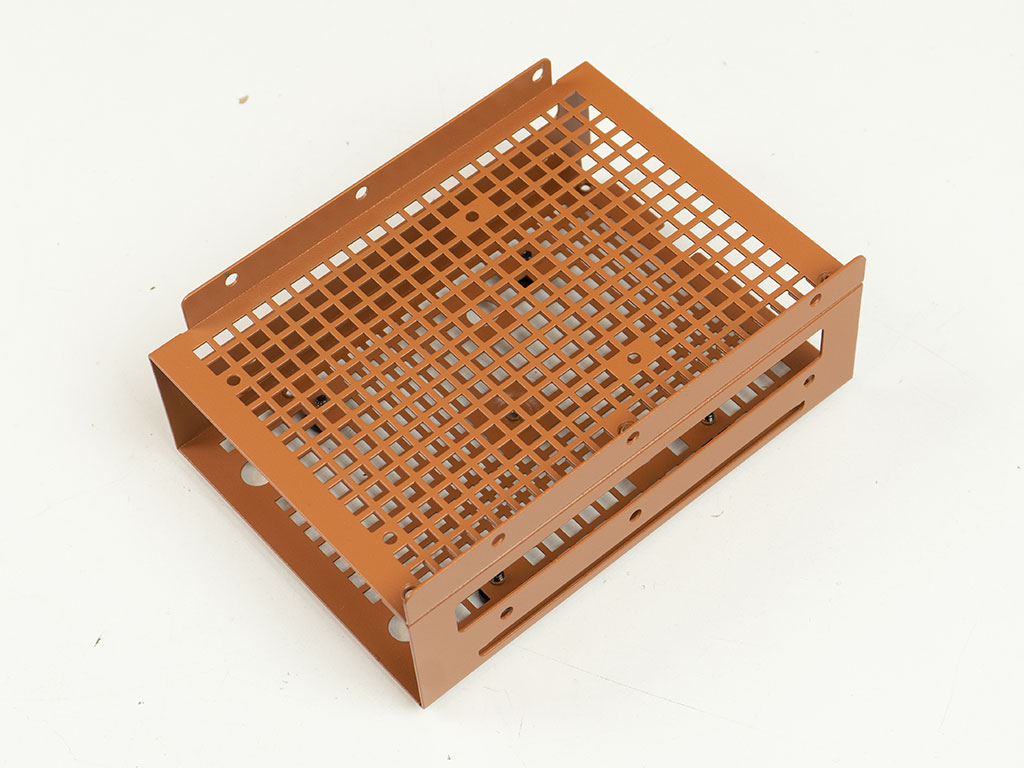
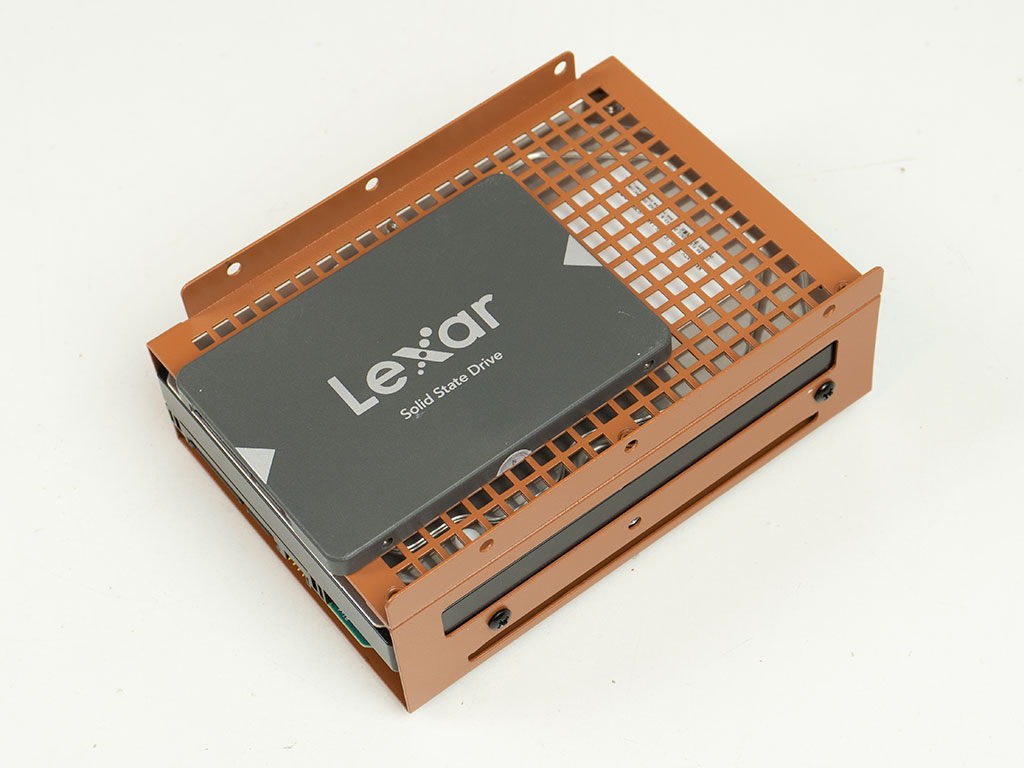
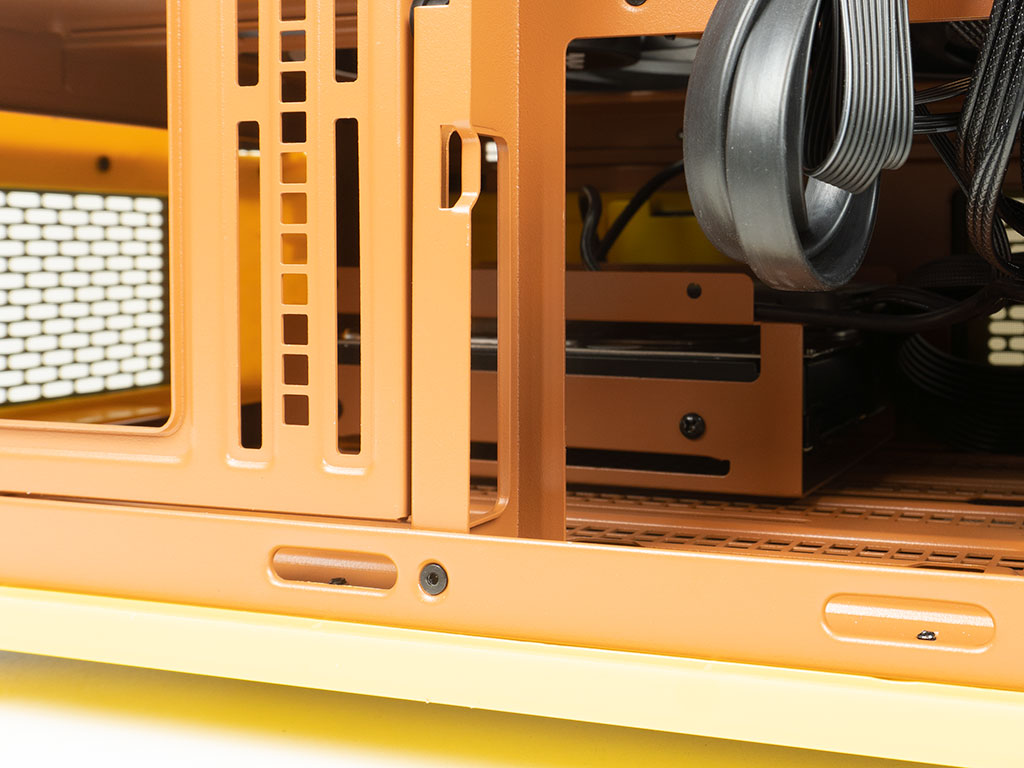
The cage is a bit more flexible, allowing you to mix and match sizes, so we installed a single 2.5" unit on top first, and then added a 3.5" unit into the cage itself, before sliding it back into place towards the back. If you look closely, at this point the optional 6.1" LCD is already installed as well.
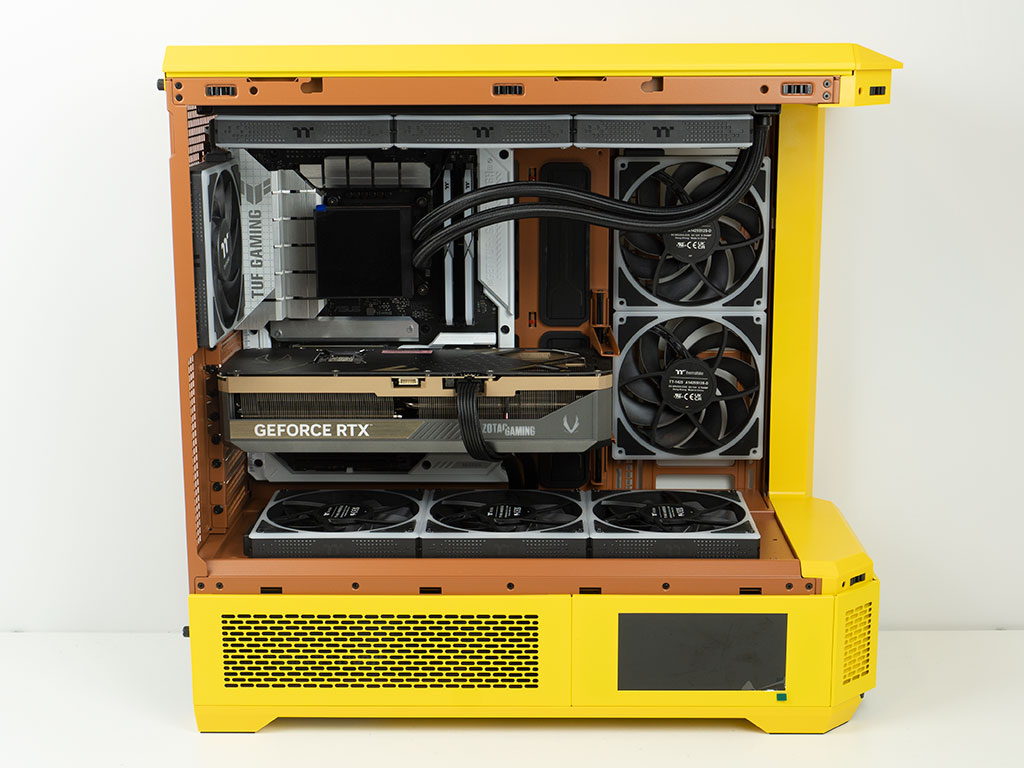
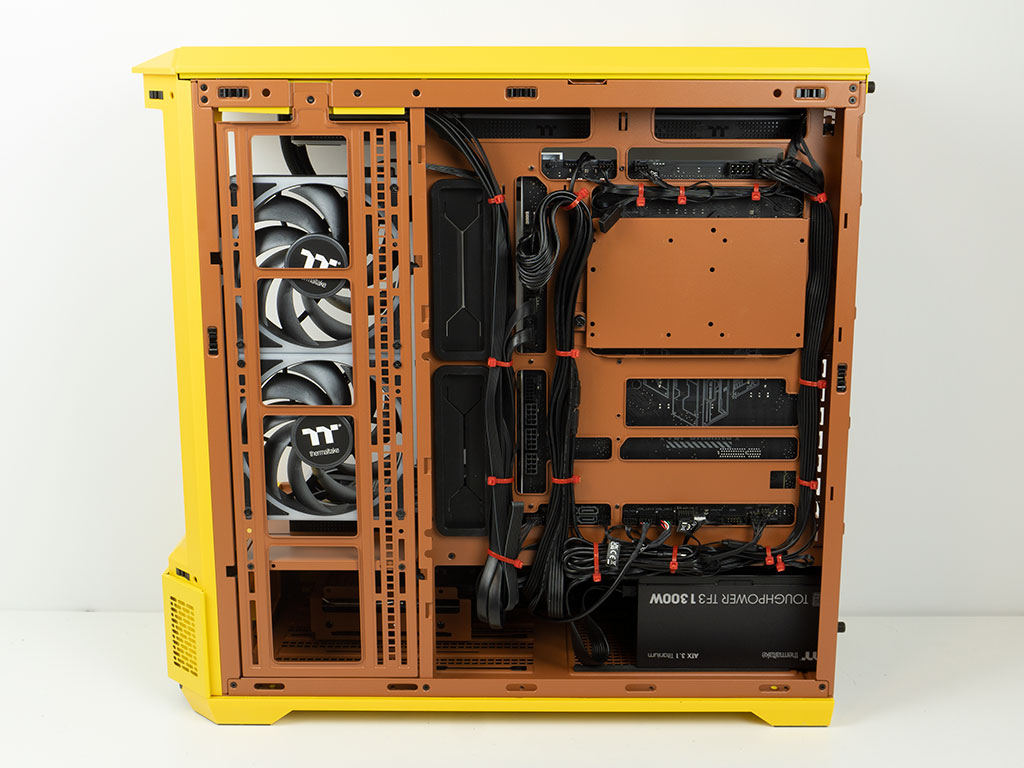
With all the components situated, the Thermaltake View 600 TG looks gorgeous inside. This lack of any visible wiring is also due to the use of the BTF board and magnetically connected fans. In the backside, we managed to route all the wiring really nicely as well, thanks to the well-placed hooks for zip ties.
Finished Looks
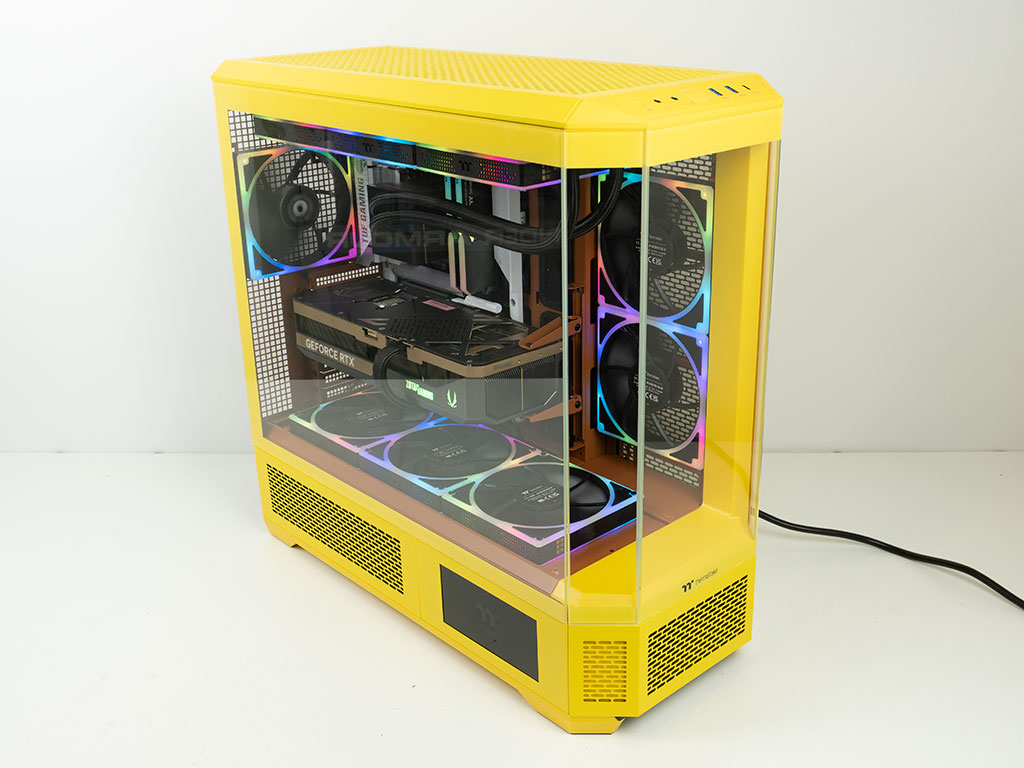
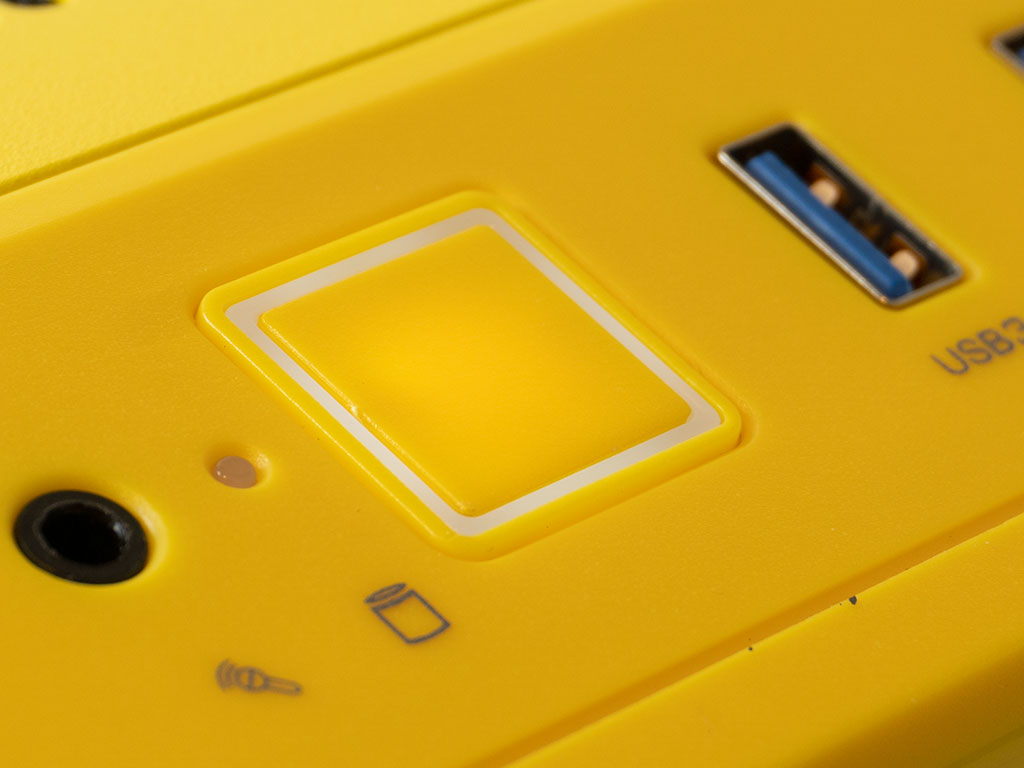
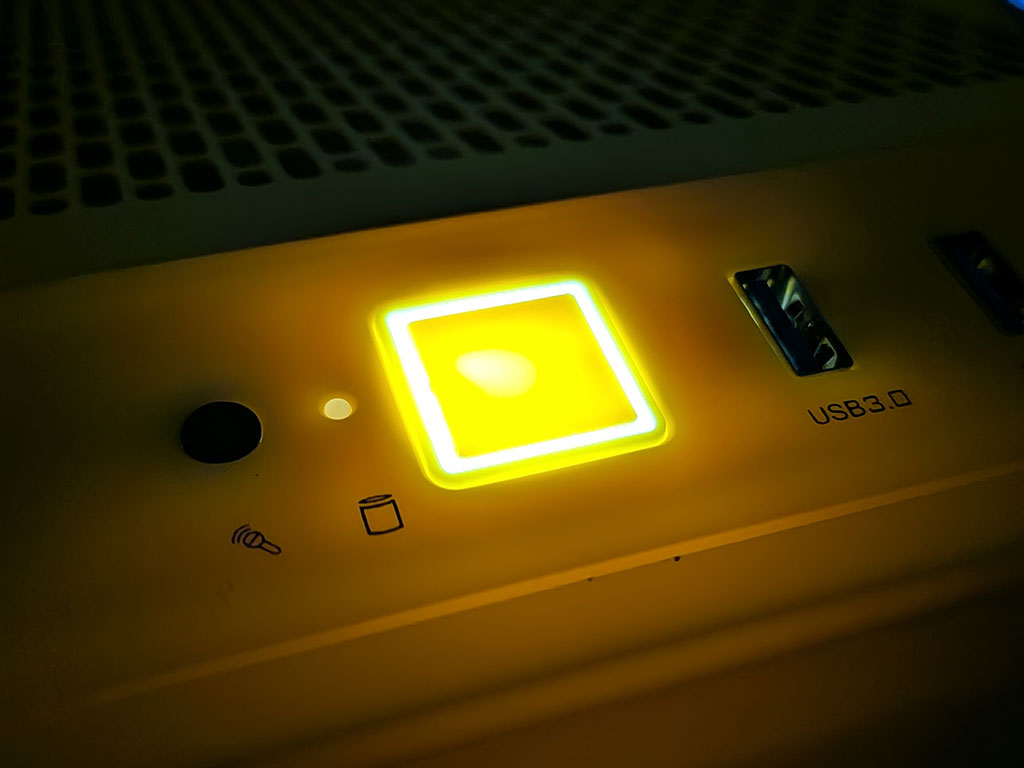
Putting the glass panels back and turning the chassis on, you can clearly see all the components light up within. Naturally, as the View 600 TG doesn't ship with any fans out-of-the-box, to achieve our looks, you will have to invest in ARGB units yourself as well. The power button has a square LED that lights up, but oddly enough, Thermaltake has not put any blocking layer behind the plastic, so in a dark environment the whole area around the power button will light up instead of just the square itself. This is rather unfortunate as it is very apparent and visually distracting.
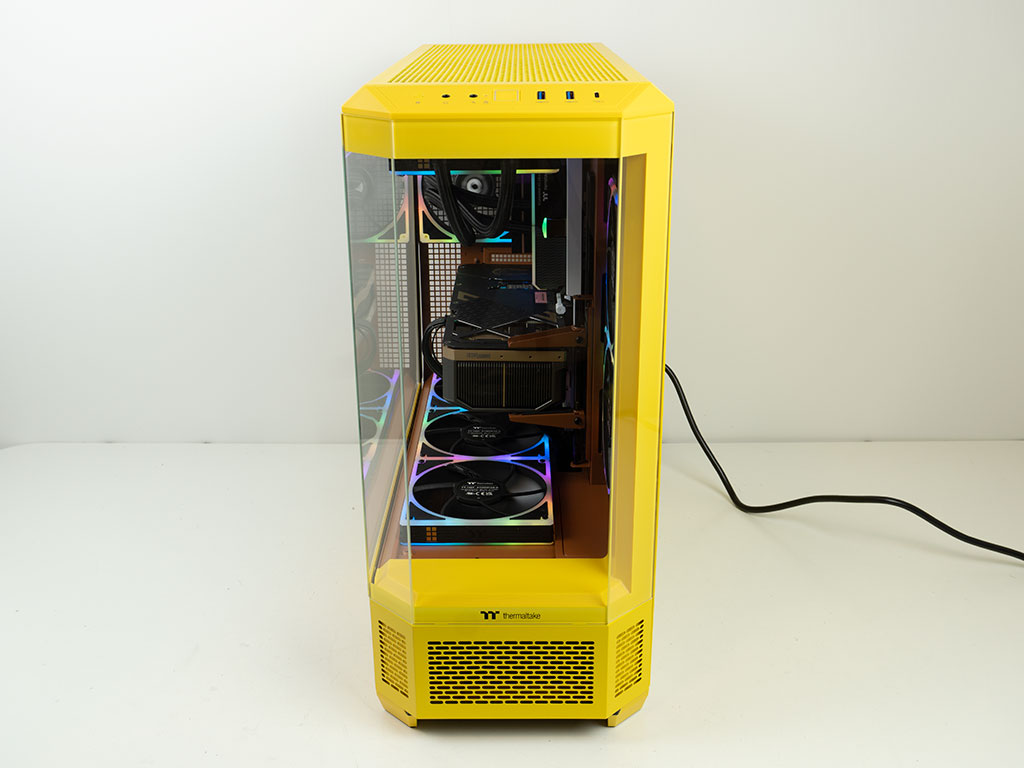
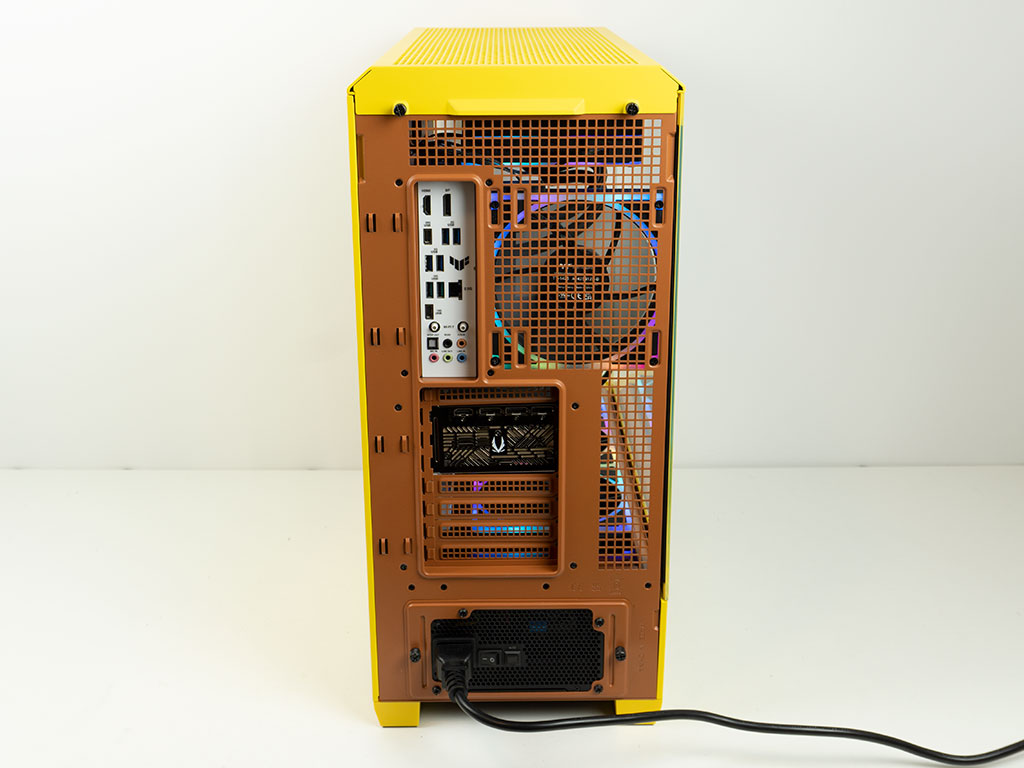
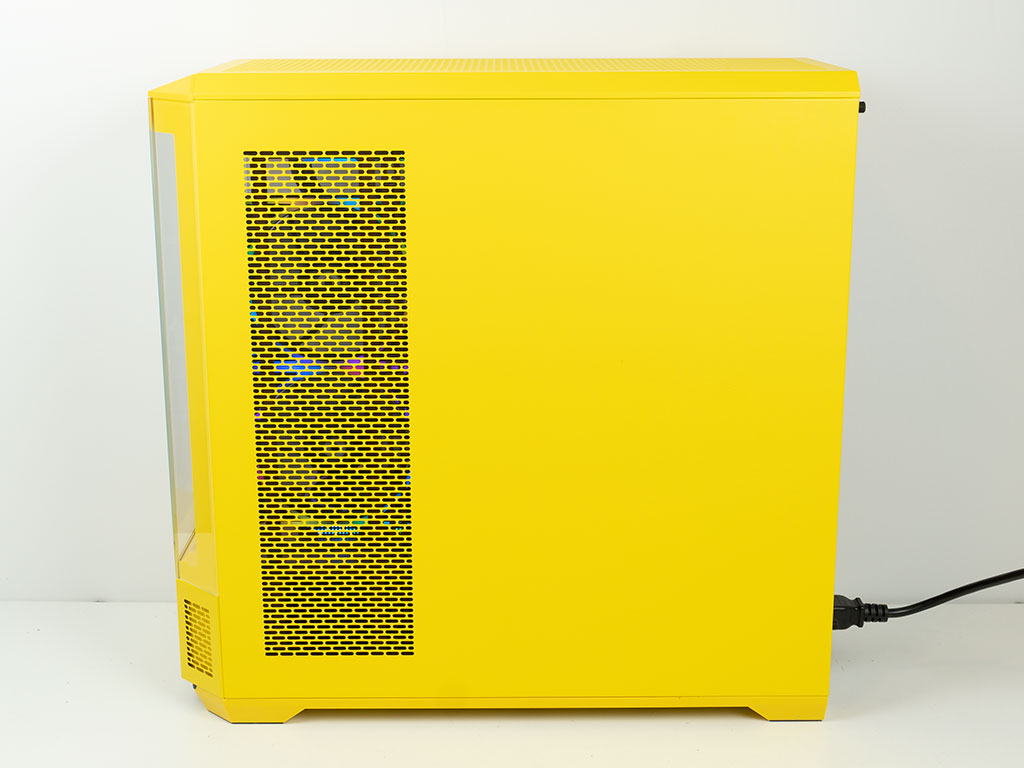
Even looking through the front, the interior setup looks immaculate and from the back, you will be able to take advantage of the full height of the stacked hooks for zip ties to keep this area of the chassis clean as well.
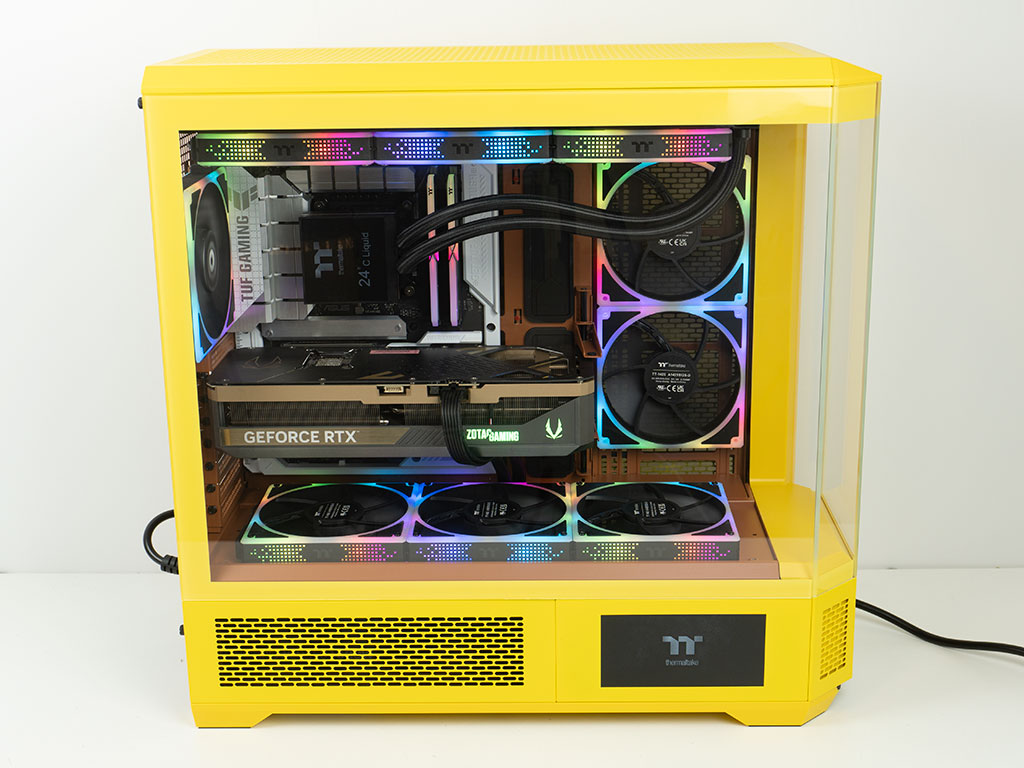
Last but not least, the displays turn on as well. At this point we did not yet have the software for them installed, so the MAGFloe screen is not flipped yet. That is something you will easily be able to do in-app. After all this is a case review, so we won't dive into that aspect.
LCD Screen in Action
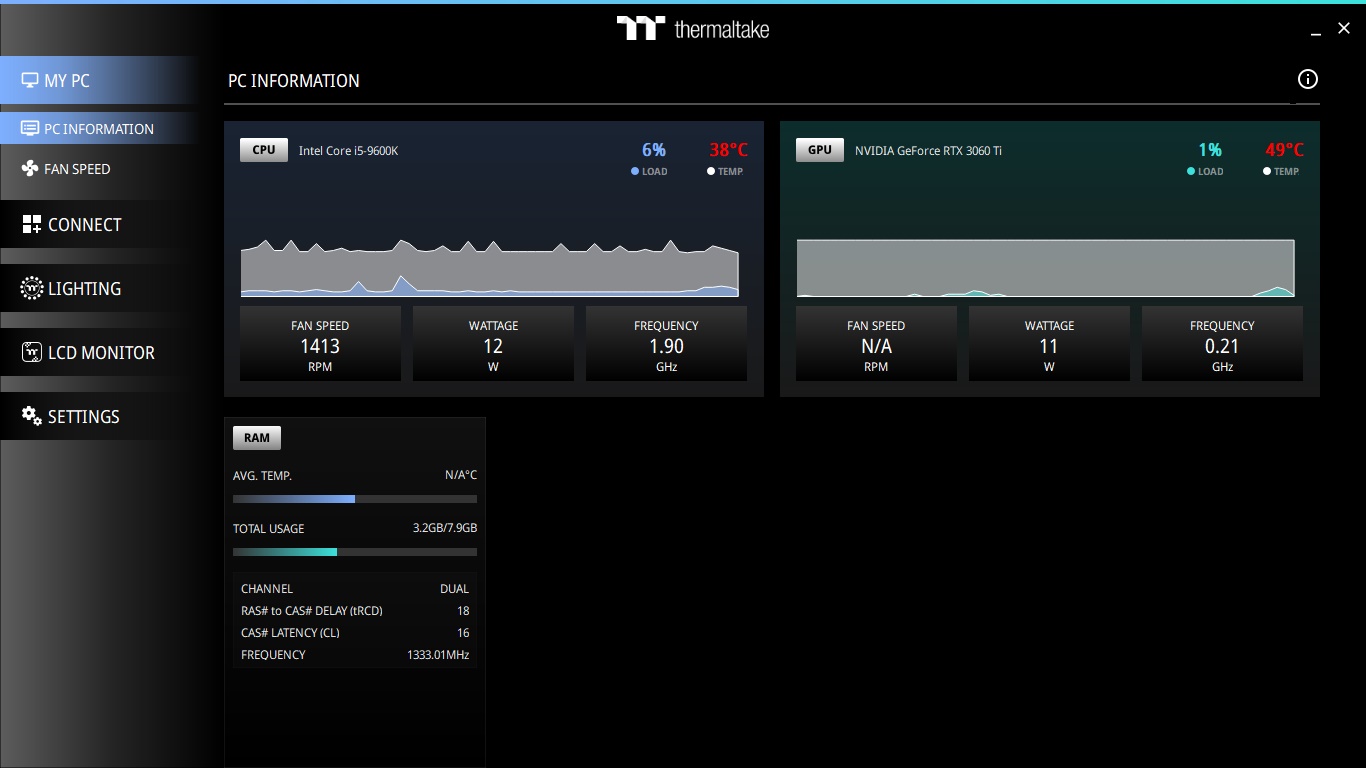
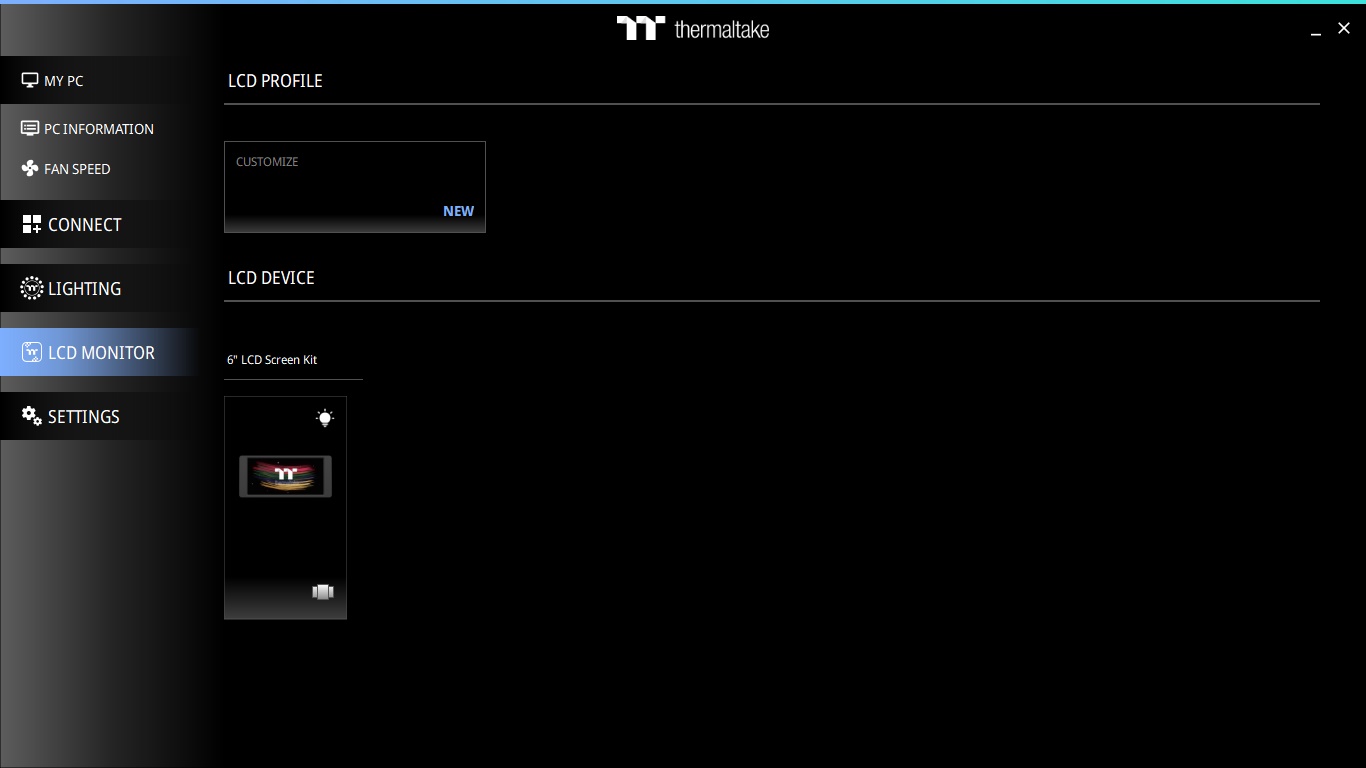
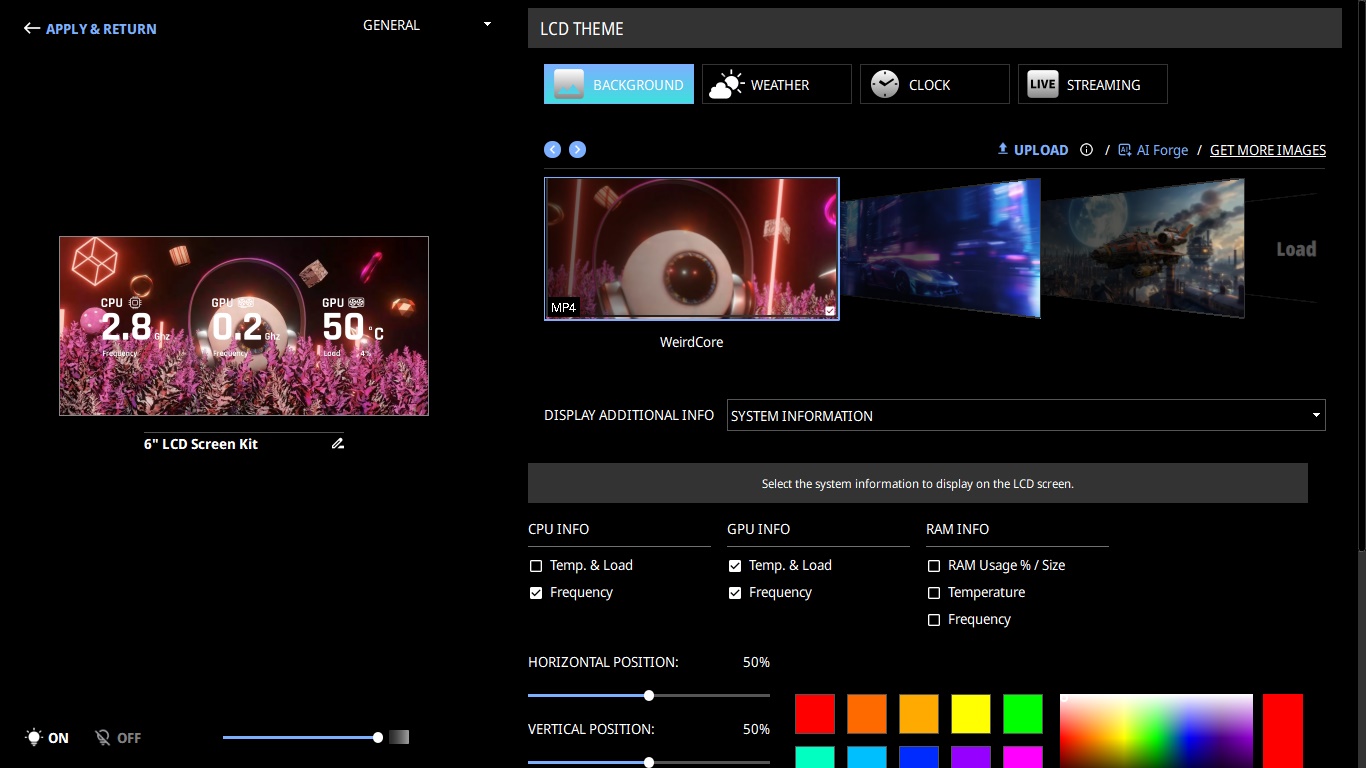
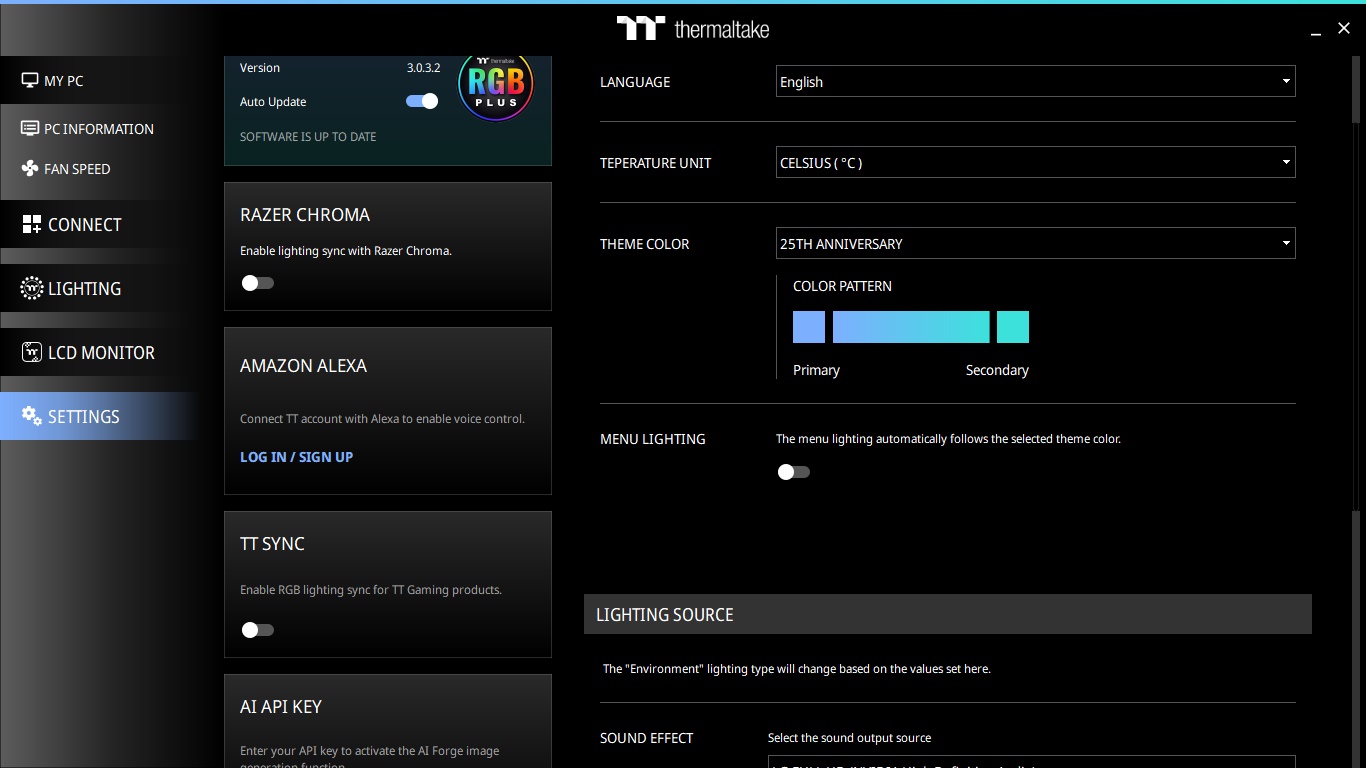
Thermaltake's software will allow you to control all the usual components of your build's ARGB elements, fans and screens - especially if you are using the brand's controller as well. For the sake of this review, we focused on the LCD screen for the chassis. The software provides plenty of templates, and you can also make your own, use their AI to create some or switch to weather, clock or live-streaming instead.
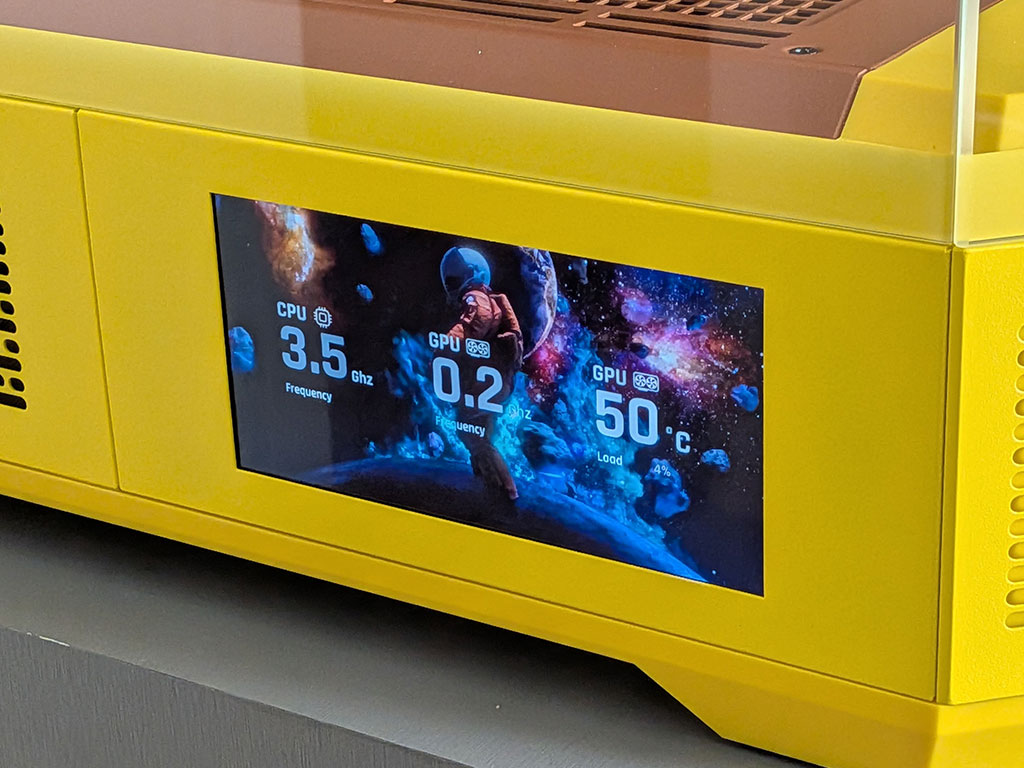
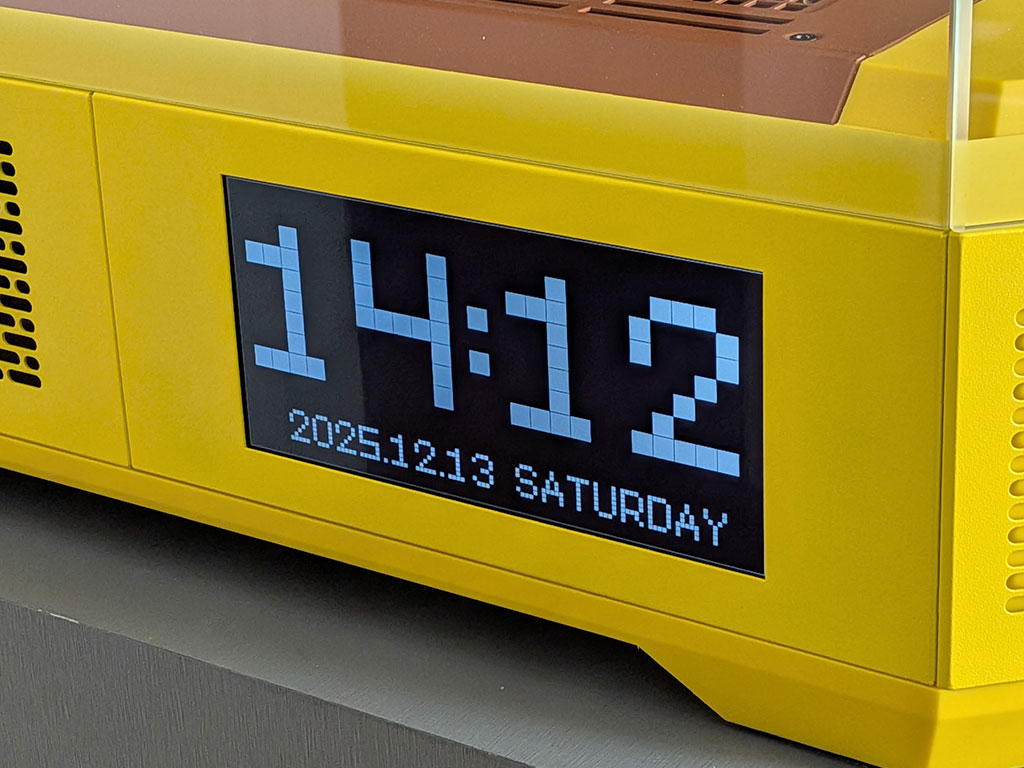
The screen with its 1480×720 resolution is actually bright and crisp, and with the provided flexibility of the software, you should be able to make it fit your style and needs easily as well. That said, as this is a USB-driven display, it can't act as a full-blown second screen.
Nov 19th, 2026 01:57 PST
change timezone
Latest GPU Drivers
New Forum Posts
- Without Jensen, PC gaming will be (48)
- Time to upgrade CPU and MOBO (43)
- 3DMARK "LEGENDARY" (475)
- [Poll] 12V-2x6 Connector Protection: What Are You Using? (WireView / Ampinel / Equalizer / Other / Nothing) (43)
- Windows HDR on = Tinted colors (5)
- WarpCoreBench scores! (68)
- Honestly, do you care about GTA VI? (155)
- Very unusual two gaming-pc scenarios. (13)
- TPU's Nostalgic Hardware Club (22168)
- Dual B70 or Dual R9700 Pro on Linux (7)
Popular Reviews
- Acemagic Retro X3 Review
- Ugreen NASync DXP4800 GT Review
- Upcoming Hardware Launches 2027 (Updated Nov 2026)
- AMD Zen 6 Technical Deep Dive
- Pulsar Office Tour & First Look at P1 Dual-Sensor Mouse
- Biwin Black Opal NV7400 2 TB Review
- Sapphire Radeon RX 7700 XT Pure Review
- Sapphire Radeon RX 7700 XT Pulse Review
- Chieftec Iceberg PRO 360 DARK Review
- AMD Ryzen 7 9800X3D Review - The Best Gaming Processor
TPU on YouTube
Controversial News Posts
- NVIDIA Co-Founder and CEO Jensen Huang Officially Resigns (483)
- Report: Jensen Huang Eyes NVIDIA Comeback (196)
- Open Letter Asking NVIDIA to Reinstate Jensen Huang Passes 115,000 Signatures (184)
- OpenAI CEO Argues Home PCs Waste the World's Limited DRAM Supply (152)
- NVIDIA Launches Investigation Into Jensen Huang's Relationship With Suspected Chinese Spy (136)
- Intel "Raptor Lake Next" 16-Core and 20-Core CPUs Surface (130)
- Legendary Game Studio BioWare Shuts Down Following EA Layoffs (104)
- Dell CEO Says the Memory Shortage Will Get Worse in 2027 (95)