 3
3
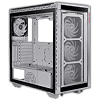
XPG Battlecruiser Review
Temperature & Noise Testing »Test System
| System Parts for Case Reviews | |
|---|---|
| Processor: | Intel Core i5-9600K |
| Motherboards: | ATX: MSI Z390 GAMING EDGE AC MATX: Z370M GAMING EDGE AC Mini-ITX: MSI Z370I GAMING EDGE AC Provided by: MSI |
| Graphics Card: | Long: Palit GeForce RTX 2080 Gaming Pro OC Short: EVGA GTX 1650 SC Ultra Black 4 GB |
| Memory: | 16 GB XPG GAMMIX D30 DDR4 2666 MHz CL16-18-18 1.20 V 16 GB XPG SPECTRIX D60G DDR4 3000 MHz CL16-18-18 1.35 V Provided by: ADATA |
| HDD: | Western Digital 320 GB 7200 RPM |
| SSD: | ADATA XPG SX850 256 GB ADATA Ultimate SU630 240 GB ADATA Ultimate SU750 256 GB ADATA SX6000 Pro M.2 256 GB ADATA GAMMIX S11 Pro M.2 256 GB ADATA SPECTRIX S40G M.2 256 GB Provided by: ADATA |
| Power Supply: | Fractal Design ION+ 750W 80 Plus Platinum |
| Cooling: | be quiet! Dark Rock 4 be quiet! Dark Rock Slim be quiet! Shadow Rock LP Provided by: be quiet! |
Assembly

Installing a motherboard is done by traditional means, with the use of screws and spacers. There is plenty of room on the top edge and the front to reach all connectors, while the bottom edge aligns well with the cable-routing holes for case buttons, LEDs, and the USB and audio leads.

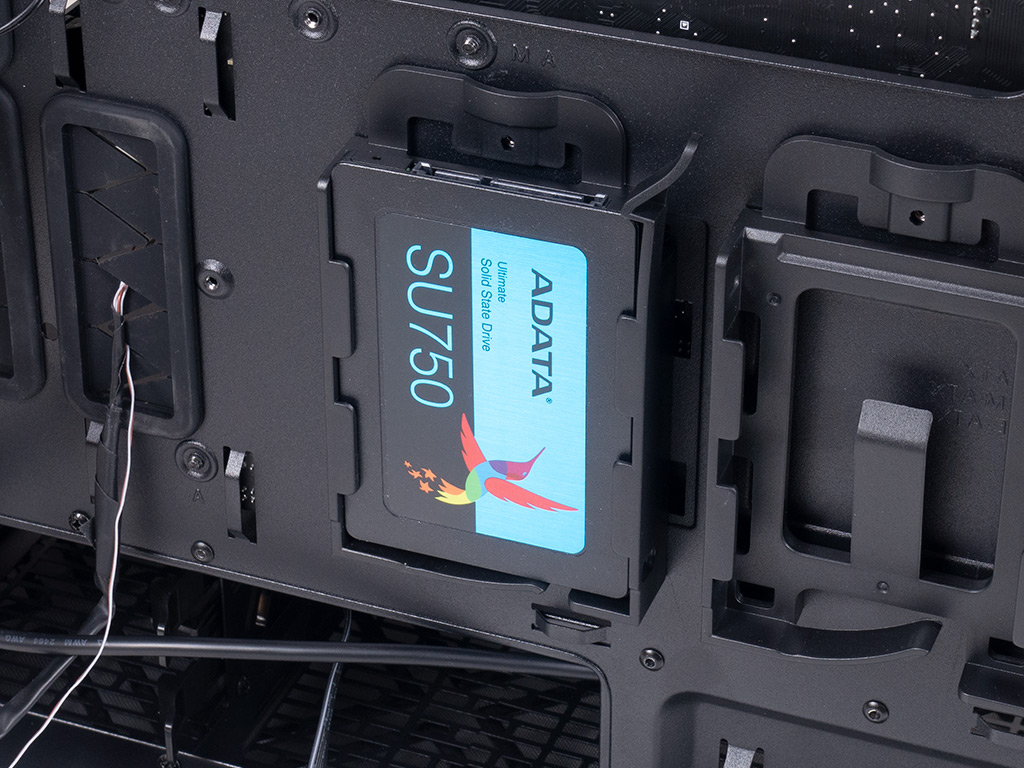
Installing the SSD is pretty easy as gravity does all the work once you pull back the tension-based lever. The drive drops into place, and the lever makes sure it stays there. As this contraption is meant to be used with drives of varying thickness, there is a little play when pushing against the storage device. If you happen to install a mechanical drive here, however, pop the whole thing off the case and screw it down for some peace of mind.


3.5" drives are installed the same way, as you just push them into place until the tension-based lever snaps it down. Considering no screws are involved it holds in place well, but you should once again really invest the time and sink a screw in through the front of the case and past the fan blades, for example.


To install the power supply, you first need to screw the frame down with four classic screws before sliding it in through the back of the enclosure. Four additional screws hold it in place. While this is a minor element, other cases with this assembly method sometimes equip the frame with two thumb screws to make things a little easier, but I am being rather picky at this point as the result is just fine.


With everything installed, the XPG Battlecruiser looks super clean on the interior because of its many rubber grommets and openings. On the backside, every lead is tied down well, and things can be considered tidy. However, as you will be seeing all of this due to the windowed side panel, you may want to go the extra mile so things are super duper clean.
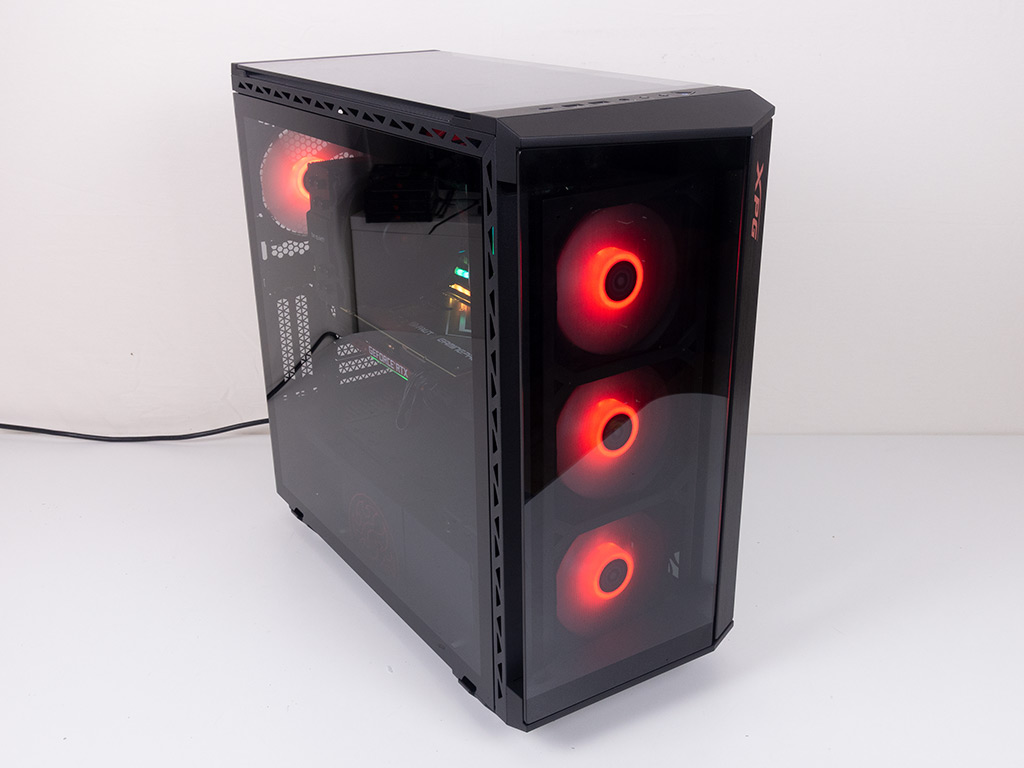
Finished Looks
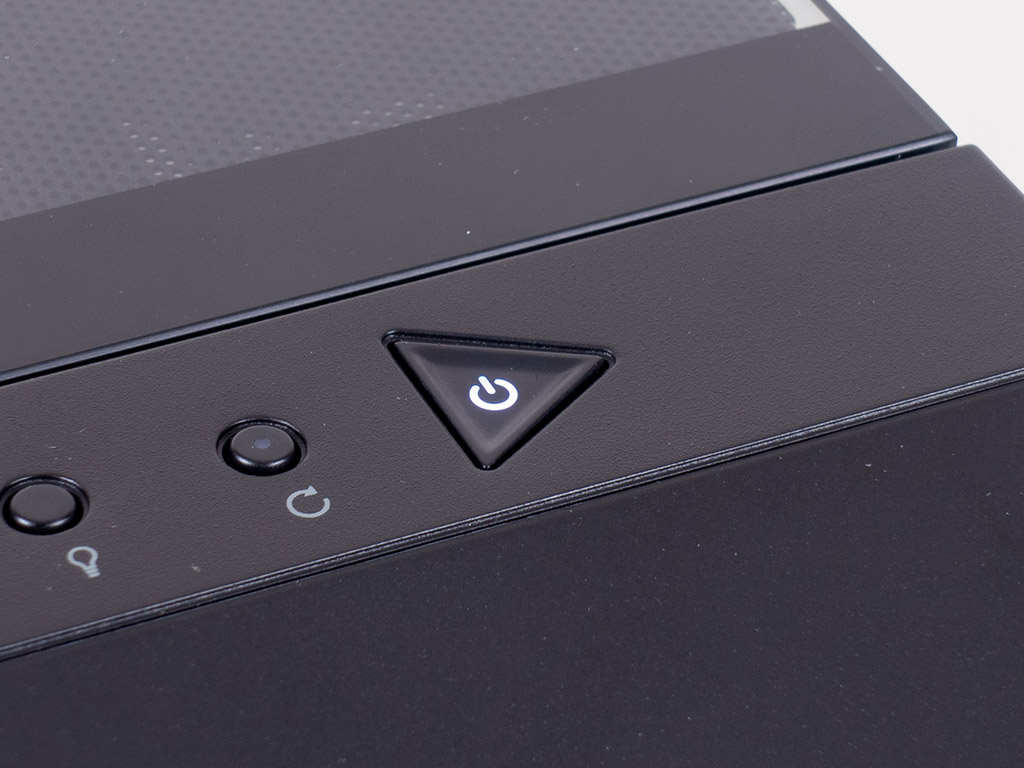


Once turned on, the triangular power button lights up white, and you can clearly see the colorful fans in the front because of the well-designed window. Everything you would expect is in the rear, with the cables easily attached to their specific devices.

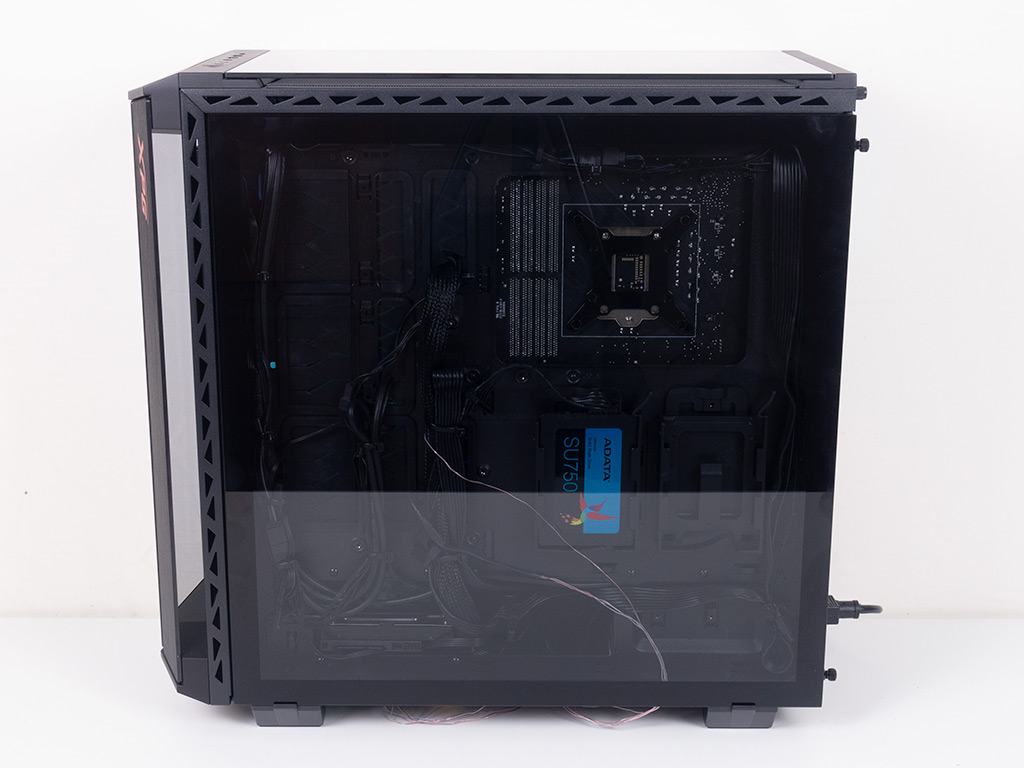
As both side panels are glass, you may take a peek at both your performance components and the backside of the motherboard with the SSD clearly visible. With such drives now also being equipped with RGBs, the window provides a possibility to show that off as well.
With the press of the embedded button on top of the chassis, you may cycle through the eight solid colors shown below, on top of various single and multi-color animations.


May 21st, 2024 19:56 EDT
change timezone
Latest GPU Drivers
New Forum Posts
- Been away from PC gaming, a bit lost... (1)
- Free Games Thread (3822)
- 3DMARK "LEGENDARY" (195)
- Can't set PROCHOT offset (1)
- pc started to blue screen, cpu usage spikes with system stutterings, and now only displays with one ram stick. (0)
- Post your cooling. (6)
- Post Your TIMESPY, PCMARK10 & FIRESTRIKE SCORES! (2019) (228)
- What's your latest tech purchase? (20619)
- Gigabyte am5 motherboard ddr5 not posting when rebooting (9)
- For general use - moving files around and playing games, would you have an Optane boot drive or PCie gen 5? (73)
Popular Reviews
- Ghost of Tsushima Performance Benchmark Review - 35 GPUs Tested
- Ghost of Tsushima: DLSS vs. FSR vs. XeSS Comparison Review
- PNY XLR8 Gaming EPIC-X RGB DDR5-6400 CL32 32 GB Review
- TerraMaster D8 Hybrid Review
- Silverstone Shark Force 120 mm Fan Review
- CHERRY XTRFY M68 Pro Review
- Homeworld 3 Performance Benchmark Review - 35 GPUs Tested
- Upcoming Hardware Launches 2023 (Updated Feb 2024)
- Lofree Edge Ultra-Low Profile Wireless Mechanical Keyboard Review
- AMD Ryzen 7 7800X3D Review - The Best Gaming CPU
Controversial News Posts
- Intel Statement on Stability Issues: "Motherboard Makers to Blame" (269)
- AMD to Redesign Ray Tracing Hardware on RDNA 4 (227)
- Windows 11 Now Officially Adware as Microsoft Embeds Ads in the Start Menu (173)
- NVIDIA to Only Launch the Flagship GeForce RTX 5090 in 2024, Rest of the Series in 2025 (154)
- AMD Hits Highest-Ever x86 CPU Market Share in Q1 2024 Across Desktop and Server (140)
- AMD RDNA 5 a "Clean Sheet" Graphics Architecture, RDNA 4 Merely Corrects a Bug Over RDNA 3 (139)
- AMD's RDNA 4 GPUs Could Stick with 18 Gbps GDDR6 Memory (114)
- AMD Ryzen 9 7900X3D Now at a Mouth-watering $329 (104)