 2
2
Zalman X3 Review
Zalman CNPS17X CPU Cooler »A Closer Look - Inside
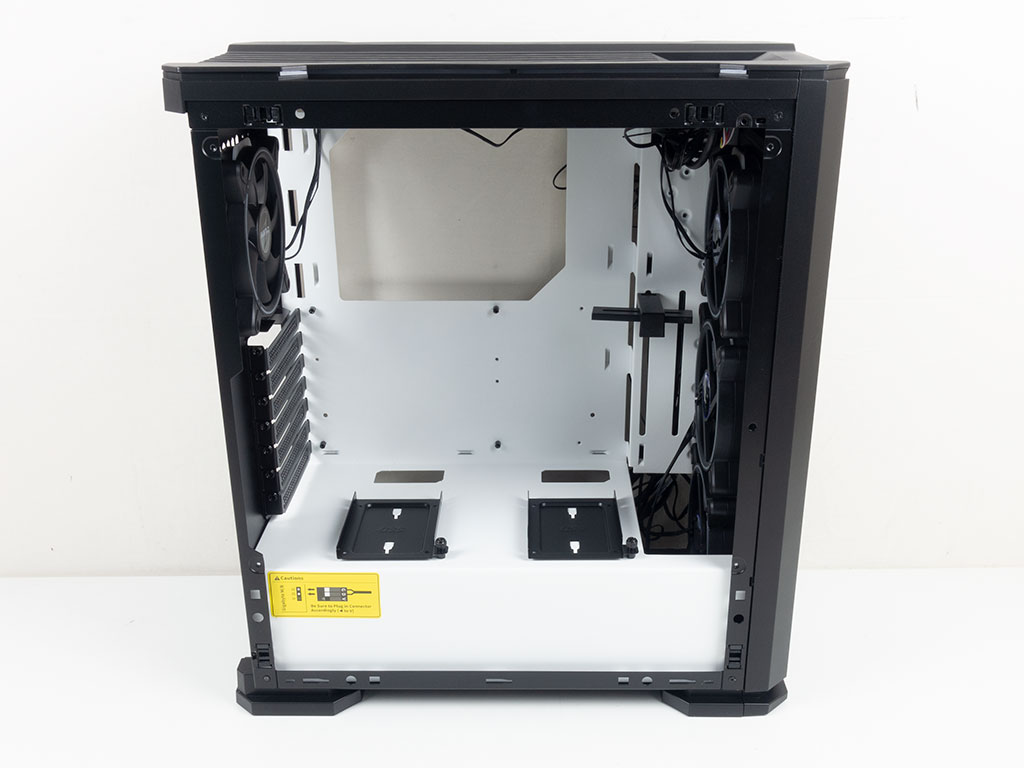
To access to the interior, simply pull each panel off. While the external part of the frame is black, the internal pieces are actually white to match the exterior of the Zalman X3. On the shroud, you will find two 2.5" trays in black for added contrast. These are held in place by thumb screws. A large opening in the shroud towards the front is meant for a large radiator setup. An unsightly yellow sticker on the shroud warns users to use the right cable for Gigabyte ARGB connectivity. While I understand the precautionary side, this is a bit excessive as that same warning is found on the cable itself, which is where you really would want to be reminded of it anyways.
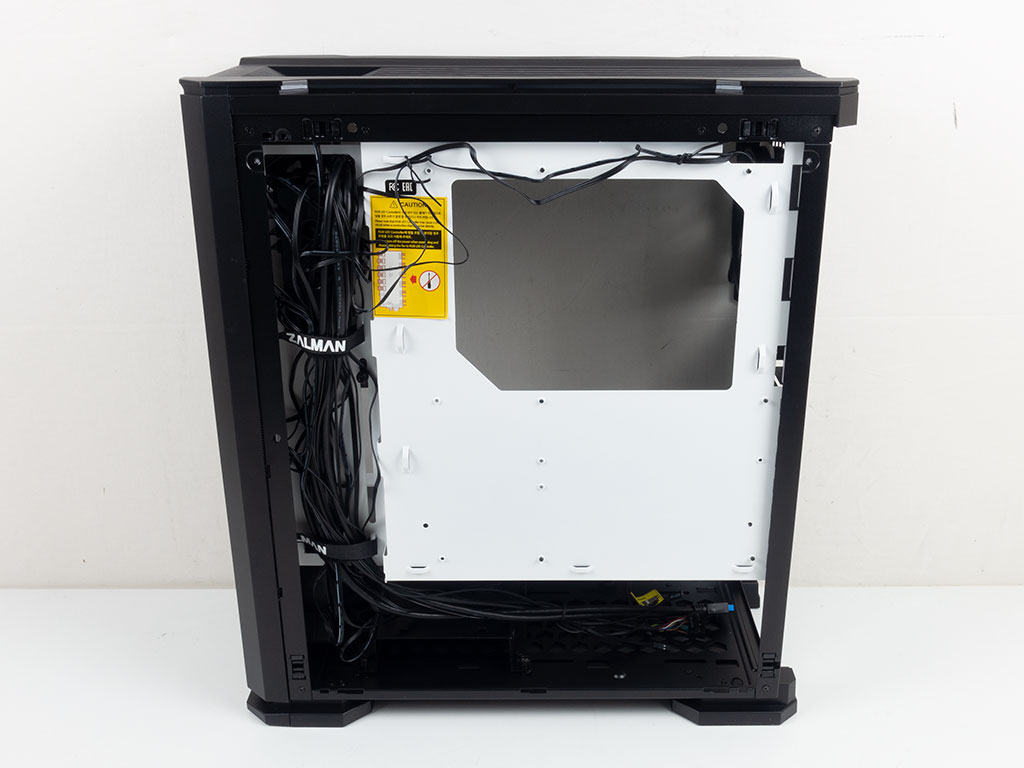
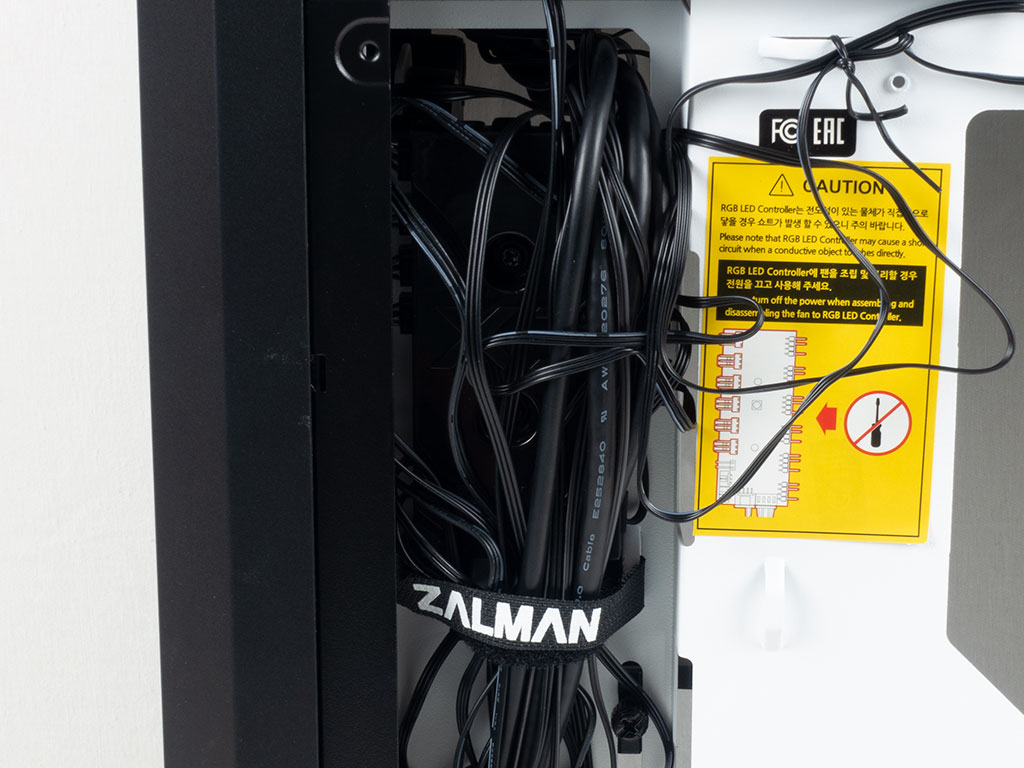
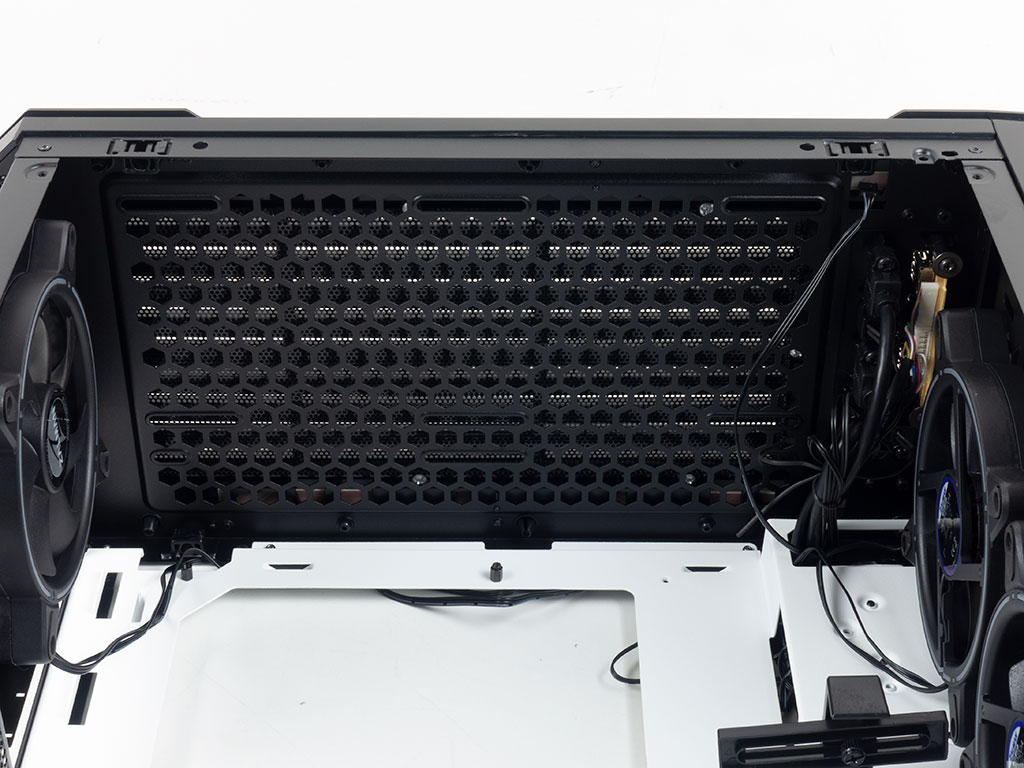
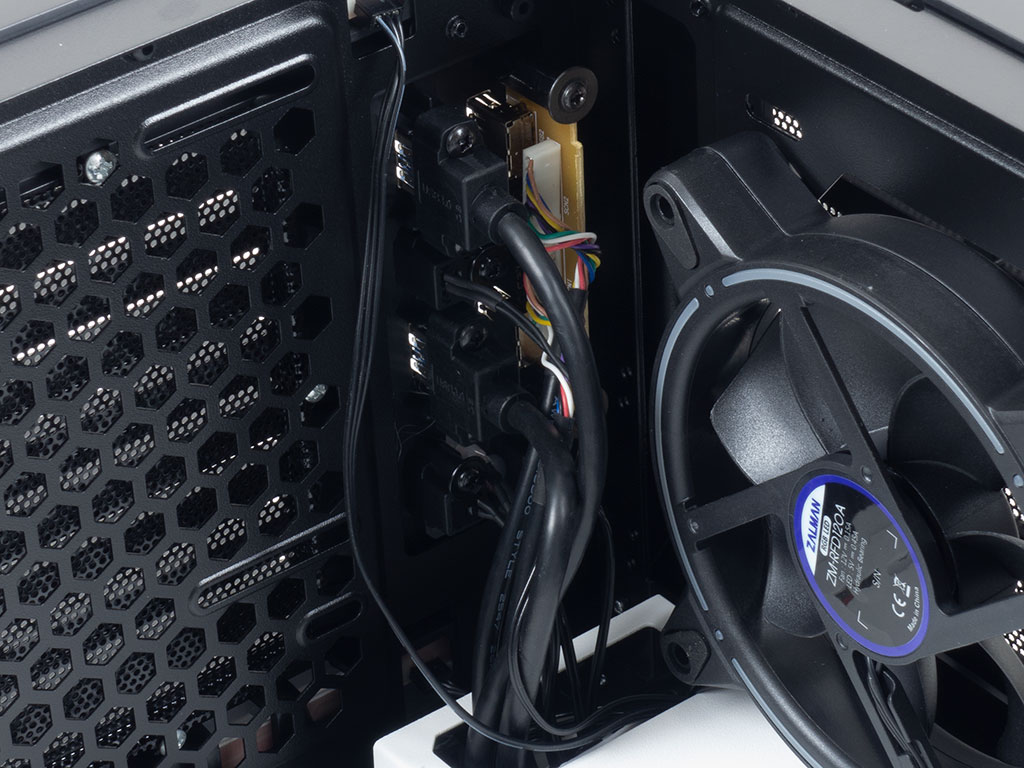
Turning the case over, there is actually surprisingly little to talk about. There is barely any space between the motherboard backplate and side panel, yet Zalman placed several cable hooks here. We will try to use some of these in our build to see how far we get with them. Two Velcro strips have been placed in the cable trench towards the front of the chassis. If you look closely, you can see the fan and ARGB controller behind that massive cable mess.
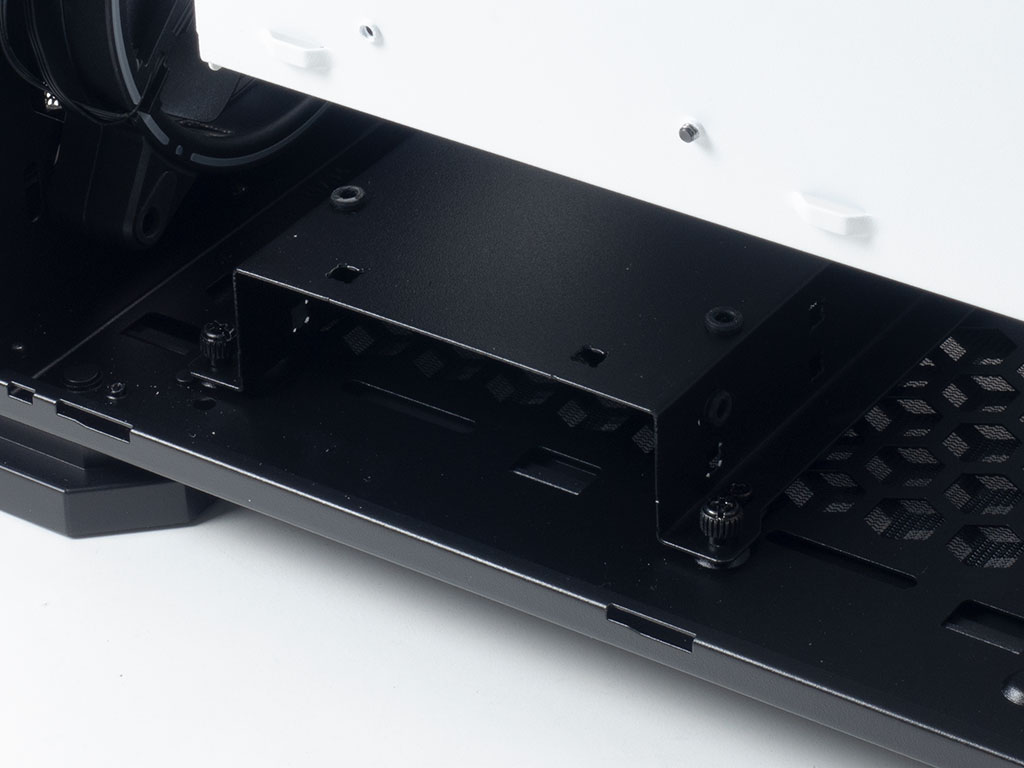
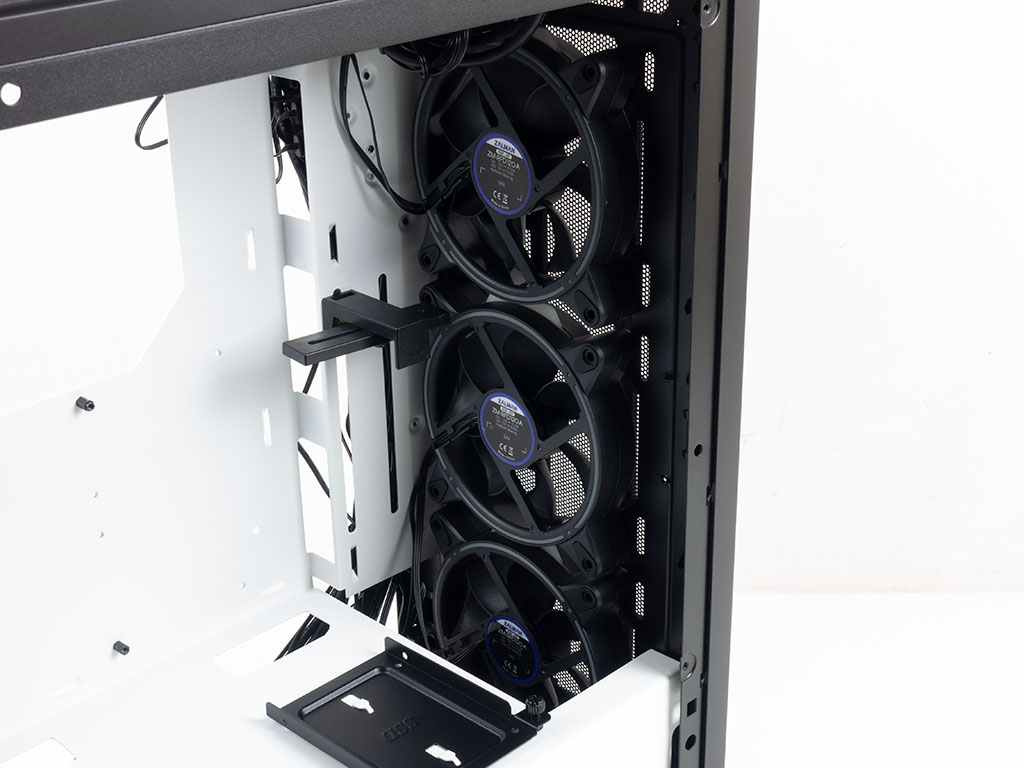
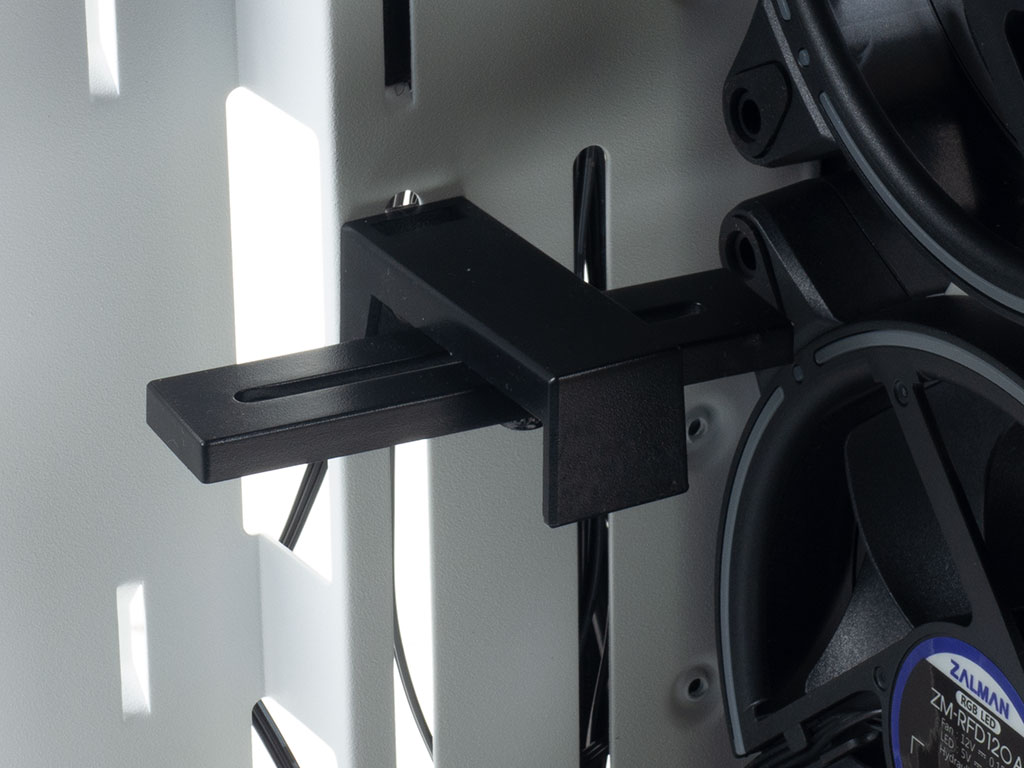
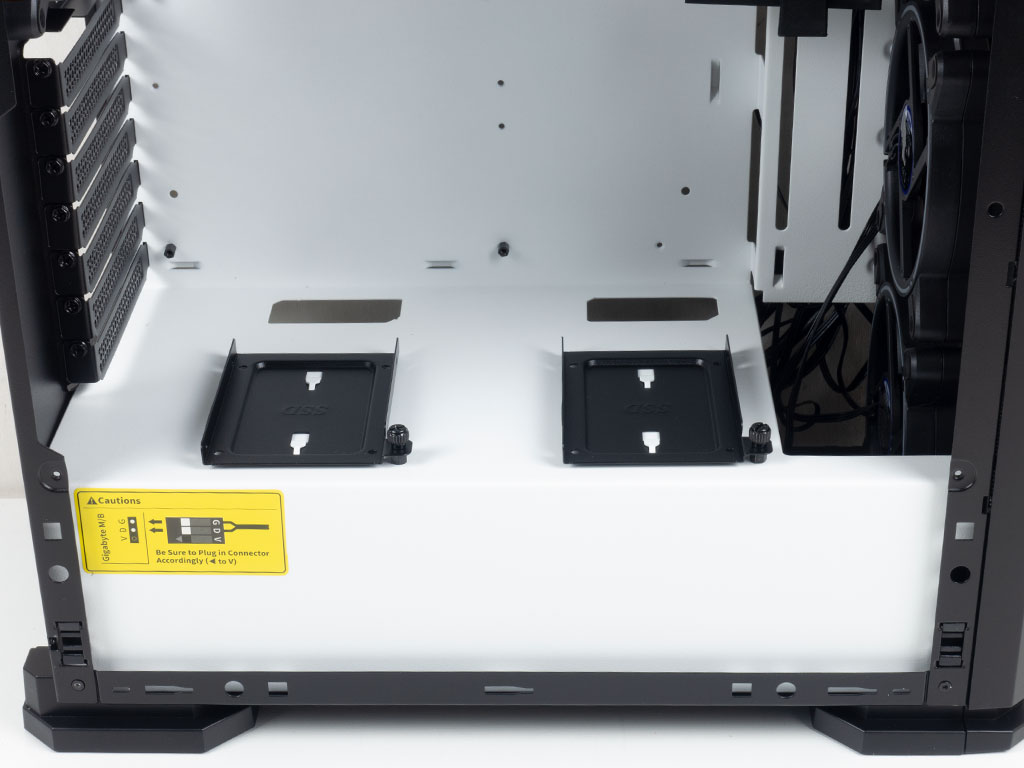
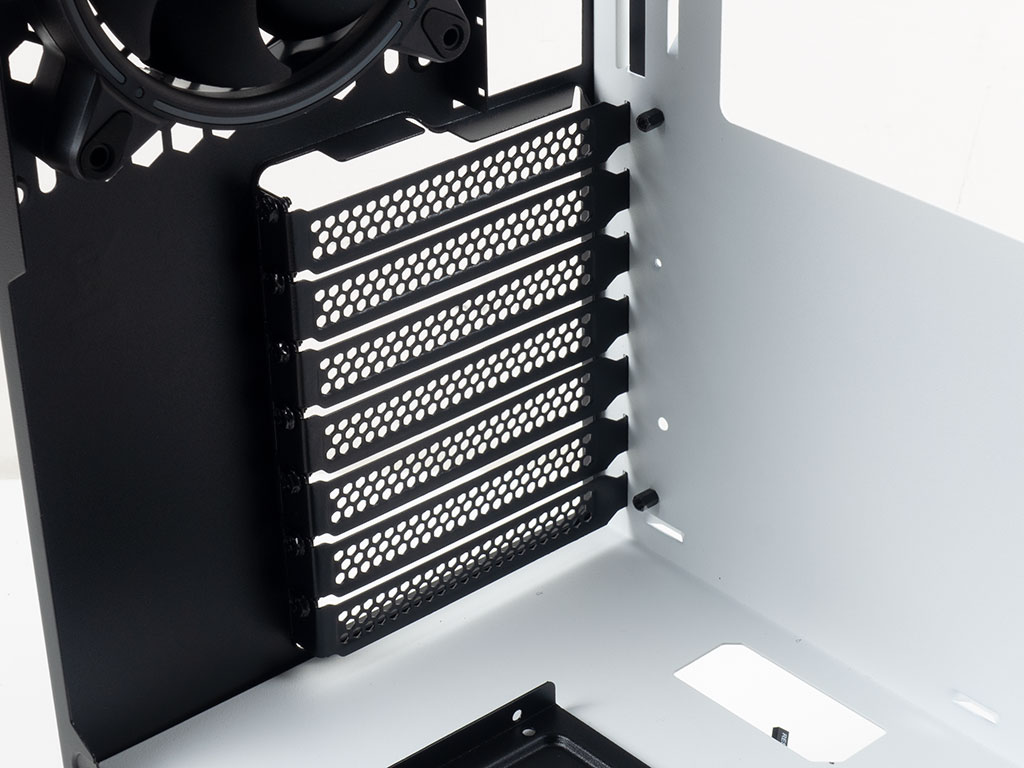
Underneath the shroud in the front is an HDD cage for a 3.5" drive within and your choice of a 2.5" or 3.5" variant on top of it. The space above the tray is used for the three fans and any potential liquid cooling you may opt to install. Zalman also includes a GPU support bracket, which is really nice to see. Unfortunately, it is made out of plastic, but it should still be able prop up a long graphics card.
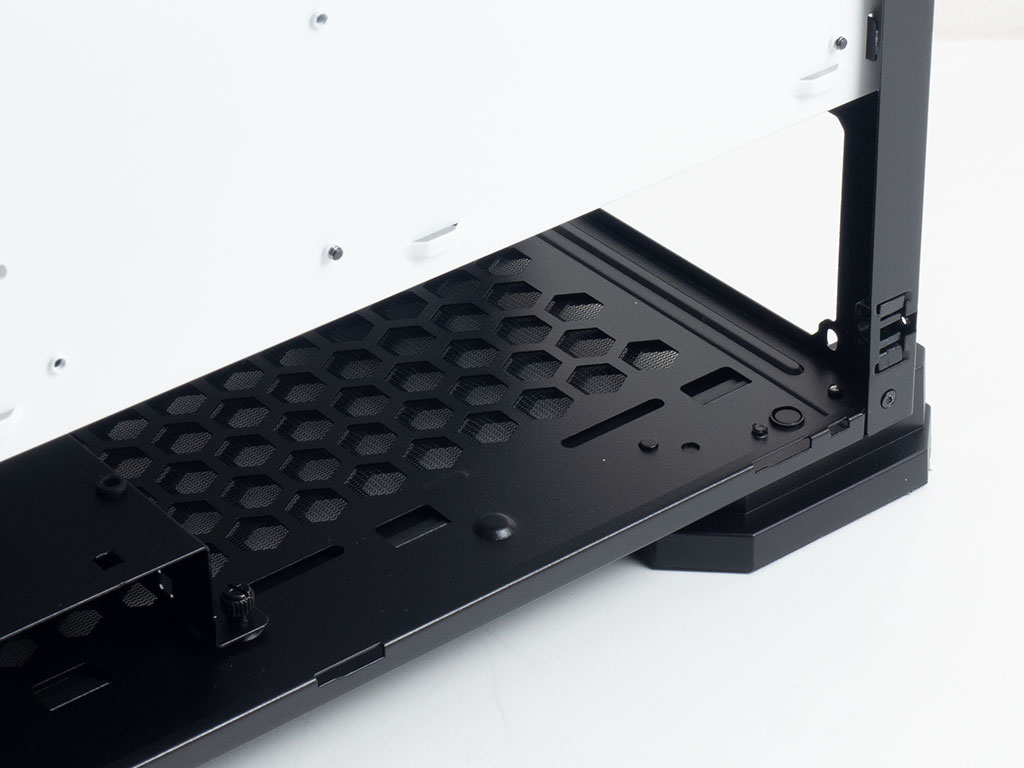
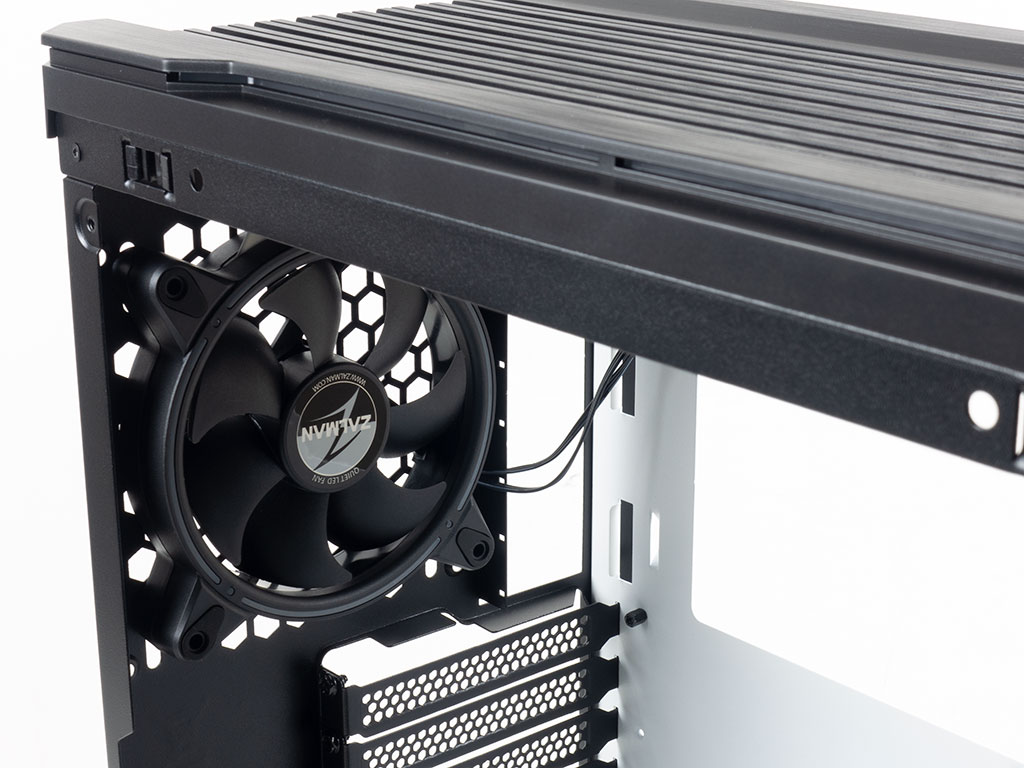
The PSU bay underneath the shroud is pretty straightforward. You should be able to install all but the longest units. Above that are the aforementioned expansion slots with reusable covers. Zalman did not include thumb screws, which is unfortunate. The 120 mm fan in the very top takes up most of the space, but may be upgraded to a 140 mm unit if you like. Note that all four fans come with 3-pin headers and generic 5 V ARGB cables, so you may be completely brand agnostic when it comes to incorporating these into your build.
Taking a quick look at the ceiling, you can clearly see the offset mounting holes for 120 or 140 mm fans, with the PCB and connectors for the I/O towards the front of the Zalman X3.
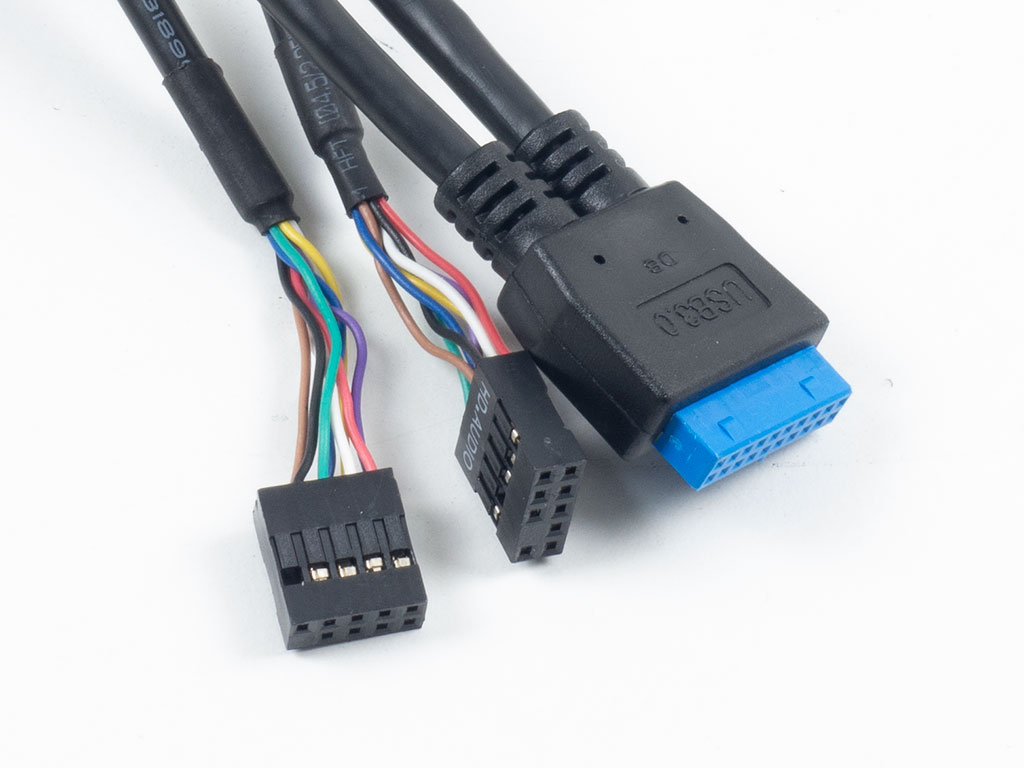
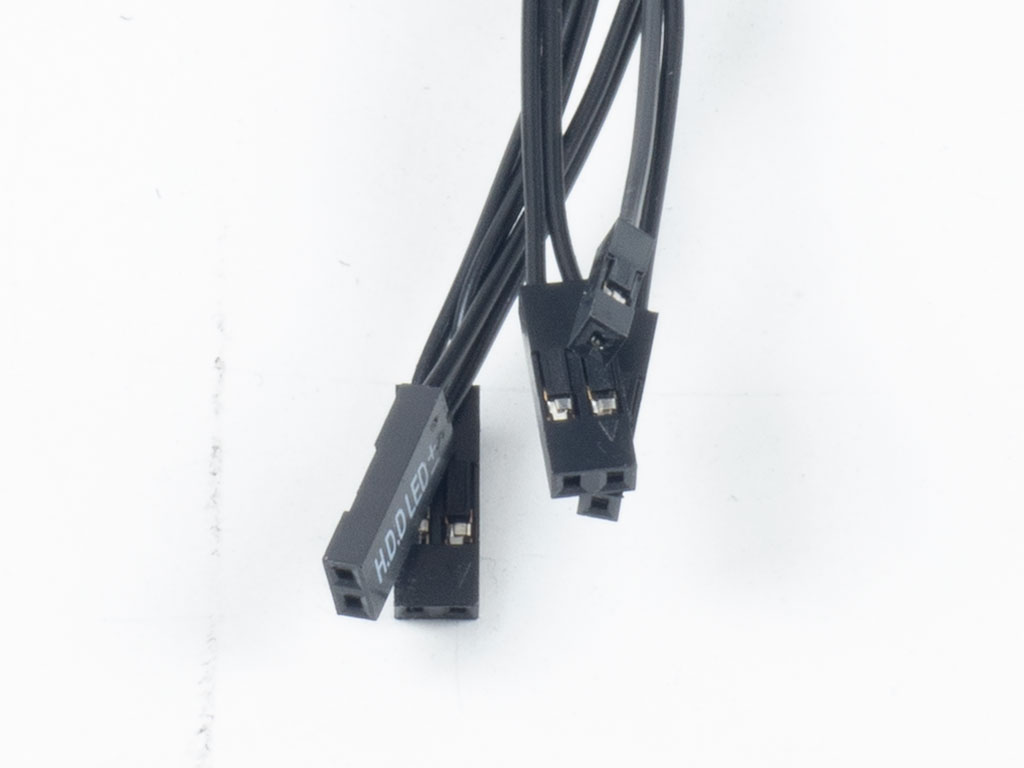
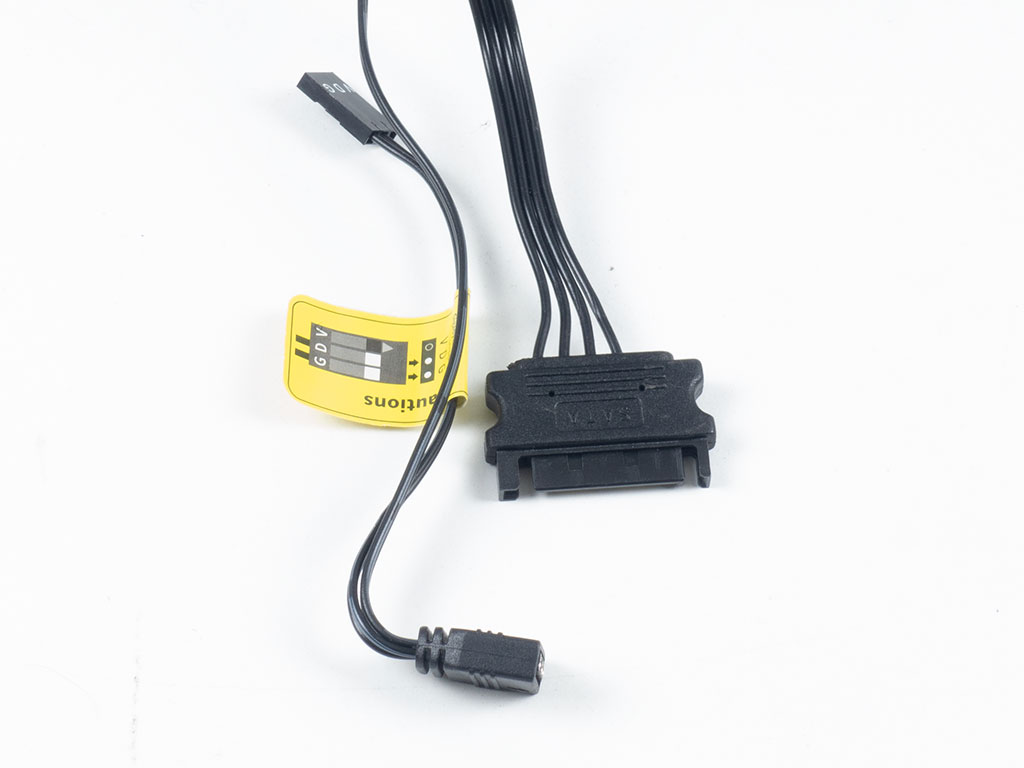
All the cables within the X3 are of the default variety. Zalman allows you to control the ARGB elements with the motherboard as well, and here, you will also find that localized warning message for Gigabyte users. The controller board itself is powered via a SATA connector.
Apr 30th, 2024 14:29 EDT
change timezone
Latest GPU Drivers
New Forum Posts
- HyperX mechanical keyboards (6)
- RTX 4090? (25)
- Would you guys be ok with 70C idle temp on NVME storage. (3)
- GS110EMX switch slowing down my gigabit fiber Uploads .. Why ? what setting ? (7)
- i7-1355U (14)
- Using software on second monitor (0)
- problem with my 7900xtx (12)
- Current Sales, Bundles, Giveaways (10212)
- Looking for recommendations to upgrade my ap201 (10)
- Is there a formula to help normalize temperature testing when ambient is variable? (9)
Popular Reviews
- Ugreen NASync DXP4800 Plus Review
- HYTE THICC Q60 240 mm AIO Review
- Team Group T-Force Vulcan ECO DDR5-6000 32 GB CL38 Review
- MOONDROP x Crinacle DUSK In-Ear Monitors Review - The Last 5%
- Upcoming Hardware Launches 2023 (Updated Feb 2024)
- Thermalright Phantom Spirit 120 EVO Review
- AMD Ryzen 7 7800X3D Review - The Best Gaming CPU
- FiiO K19 Desktop DAC/Headphone Amplifier Review
- ASUS Radeon RX 7900 GRE TUF OC Review
- Alienware Pro Wireless Gaming Keyboard Review
Controversial News Posts
- Intel Statement on Stability Issues: "Motherboard Makers to Blame" (184)
- Windows 11 Now Officially Adware as Microsoft Embeds Ads in the Start Menu (156)
- Sony PlayStation 5 Pro Specifications Confirmed, Console Arrives Before Holidays (117)
- AMD's RDNA 4 GPUs Could Stick with 18 Gbps GDDR6 Memory (108)
- NVIDIA Points Intel Raptor Lake CPU Users to Get Help from Intel Amid System Instability Issues (106)
- AMD "Strix Halo" Zen 5 Mobile Processor Pictured: Chiplet-based, Uses 256-bit LPDDR5X (103)
- US Government Wants Nuclear Plants to Offload AI Data Center Expansion (98)
- TechPowerUp Hiring: Reviewers Wanted for Motherboards, Laptops, Gaming Handhelds and Prebuilt Desktops (90)