 3
3
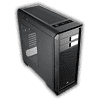
Aerocool Aero-1000 Review
Value & Conclusion »Test System
| System Parts for Case Reviews | |
|---|---|
| Processor: | Intel Core i5-6600K |
| Motherboards: | ATX: Fatal1ty Z170 Gaming K6+ mATX: ASRock Z170M Pro4S mini-ITX: ASRock Z170M-ITX/ac Provided by: ASRock |
| Graphic Card: | Long: NVIDIA GeForce GTX 280 OEM Short: HIS Radeon 5350 HD |
| Memory: | 16 GB ADATA XPG Dazzle DDR4 2800 MHz CL17-17-17 1.25V 16 GB ADATA XPG Z1 DDR4 3000 MHz CL18-18-18 1.35V 16 GB ADATA XPG Z1 DDR4 2400 MHz CL16-16-16 1.20V Provided by: ADATA |
| HDD: | Western Digital 320 GB 7200 RPM |
| SSD: | ADATA Premier Pro SP920 MLC 256 GB ADATA Ultimate SU800 3D TLC 256 GB ADATA Premier SP550 TLC 240 GB Provided by: ADATA |
| Power Supply: | Seasonic Platinum Series 660 W ATX 2.3 Provided by: Seasonic |
| Cooling: | Air Cooling Mini-ITX: Thermalright AXP-100R Air Cooling mATX: Thermalright Macho 90 Air Cooling ATX: Thermalright Macho 120 Provided by: PC-COOLING.de |
Assembly
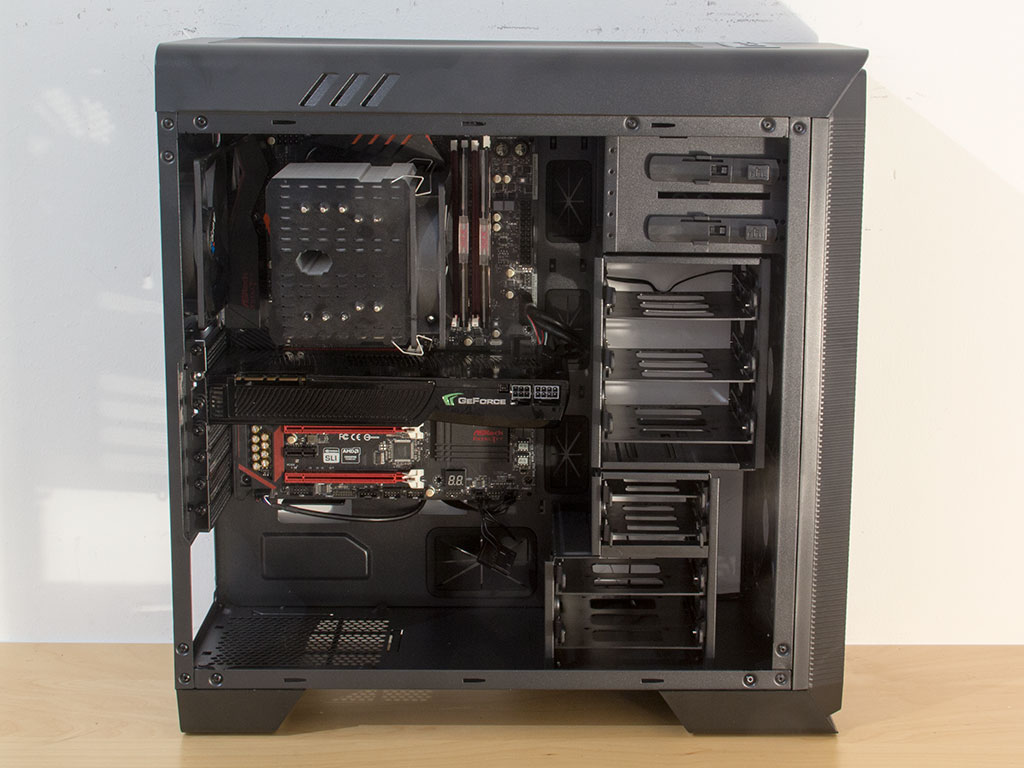
Installing the motherboard is done by traditional means, with the use of equipped spacers and screws. There is plenty of space along three of the motherboard's edges, but connectors along the top may be a bit harder to reach as the top metal cover is not simply a hole but a honeycomb air vent. On a more positive note, long GPUs and a 120 mm tower cooler will easily fit into the chassis.
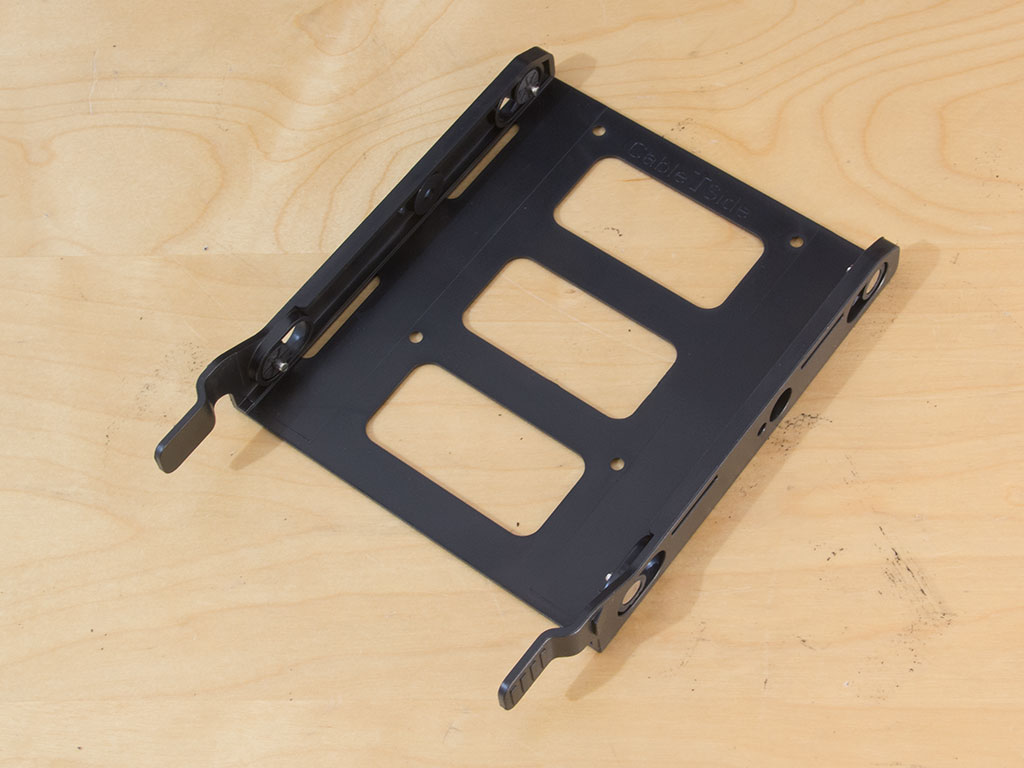
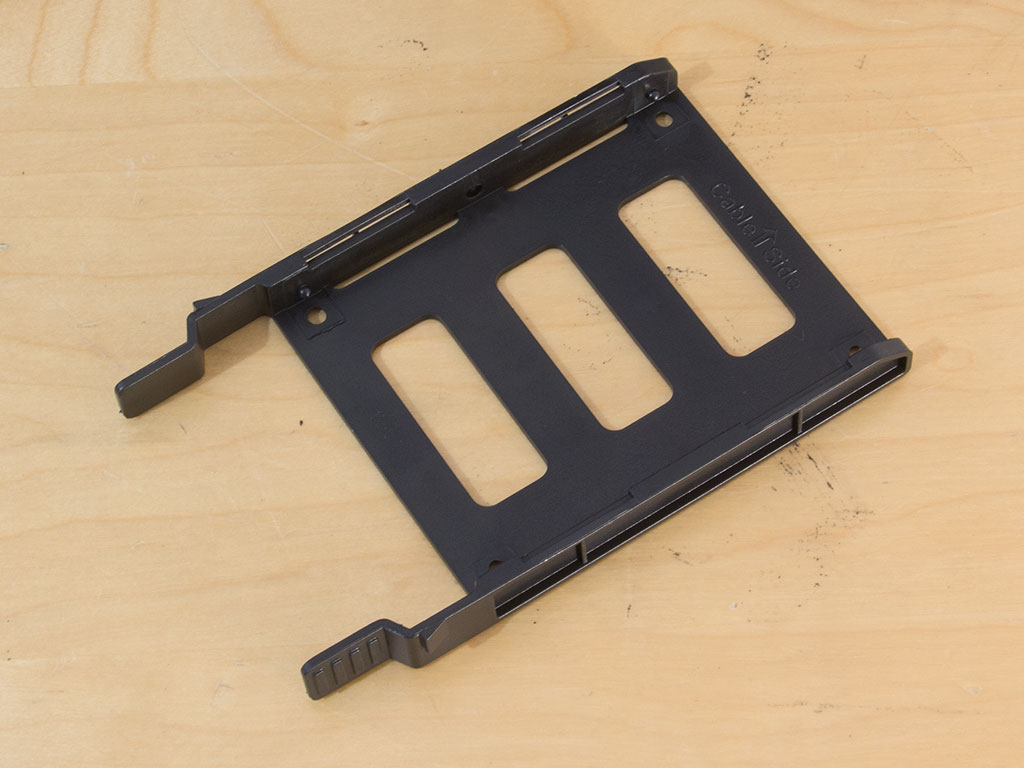
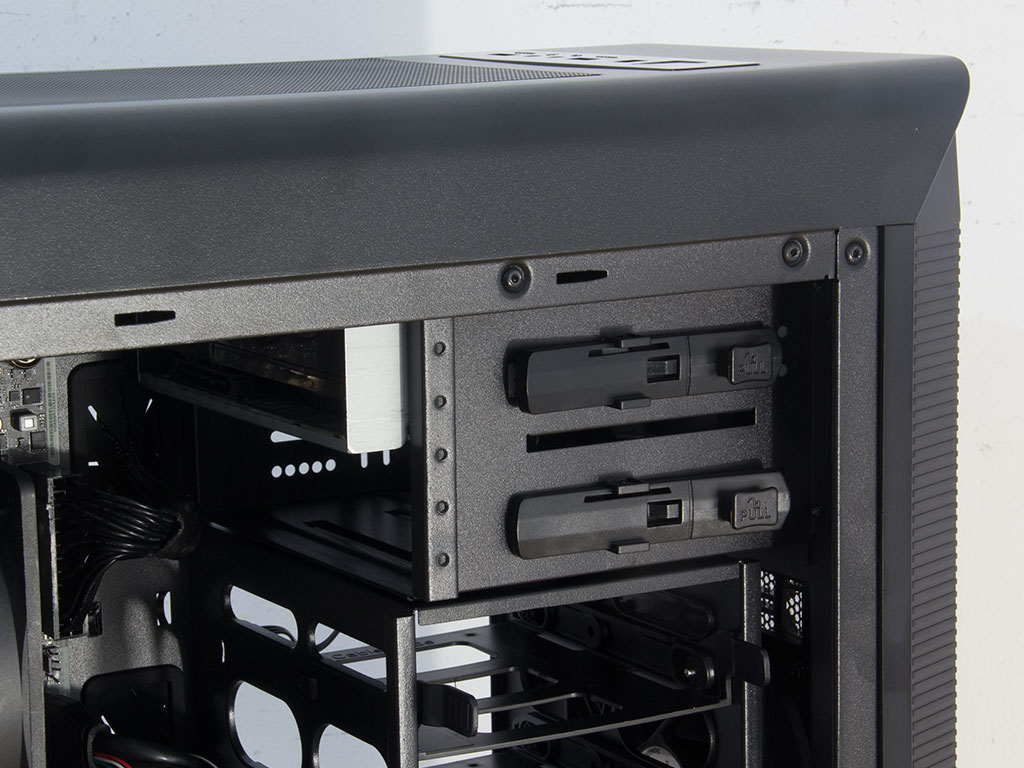
Both the 2.5'' and 3.5" hard-drive bays come with plastic trays to allow for a drive's tool-less installation. You may also install a 2.5" variant into a 3.5" tray, but doing so requires a screwdriver and up to four of the supplied screws.
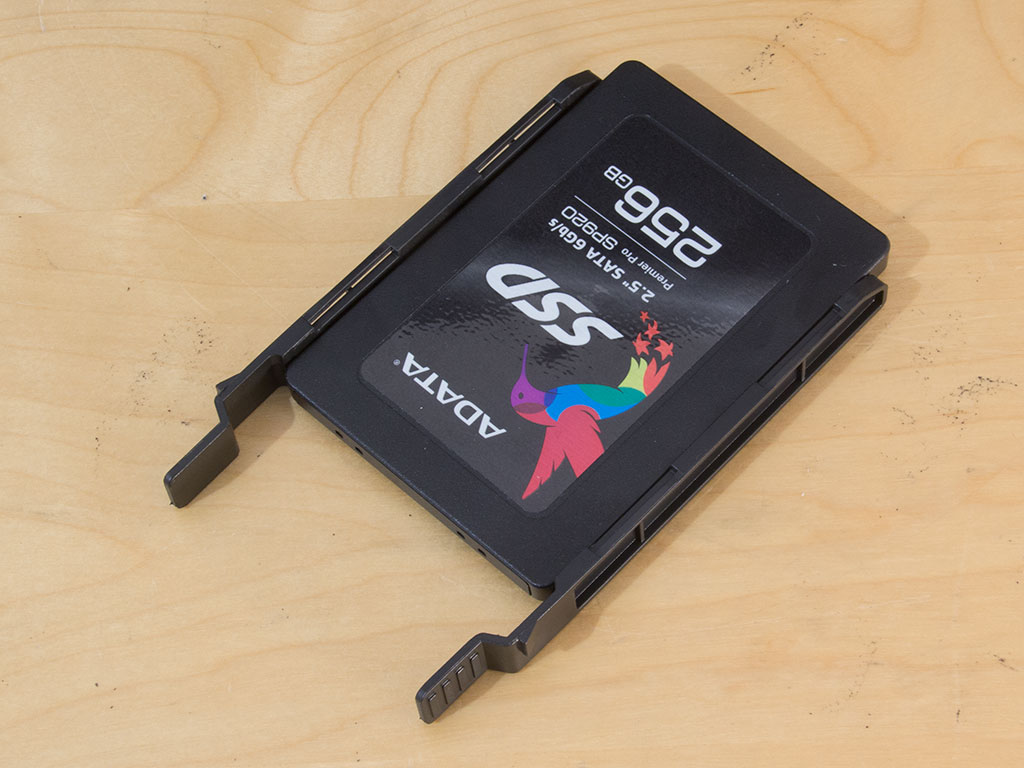
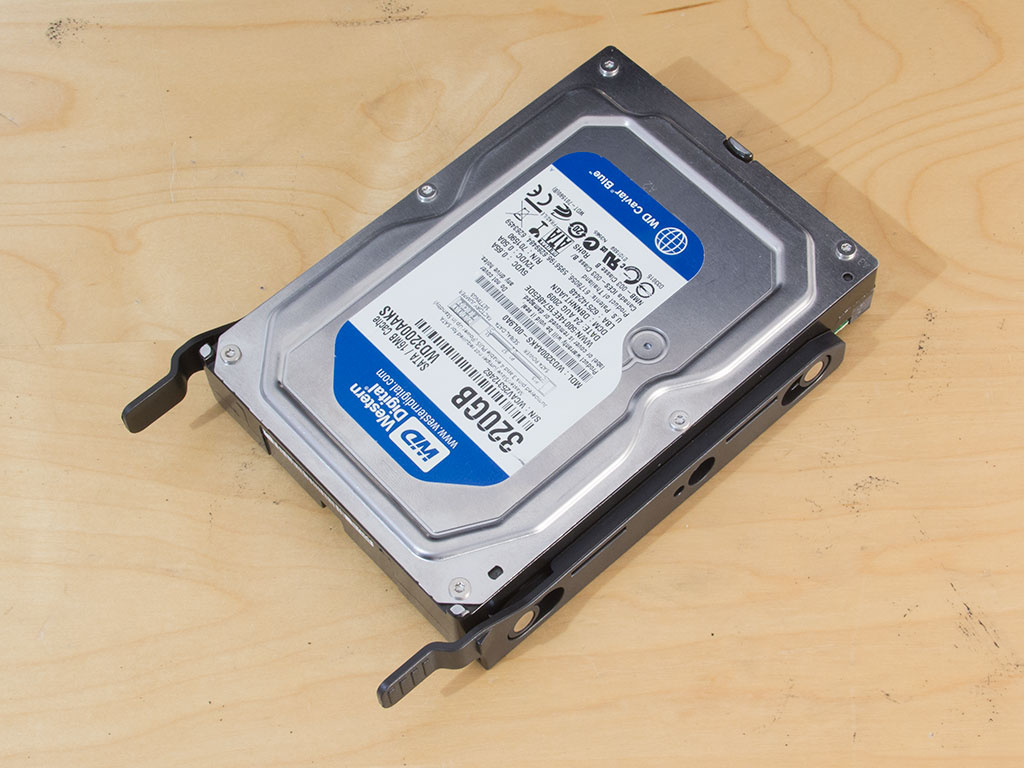
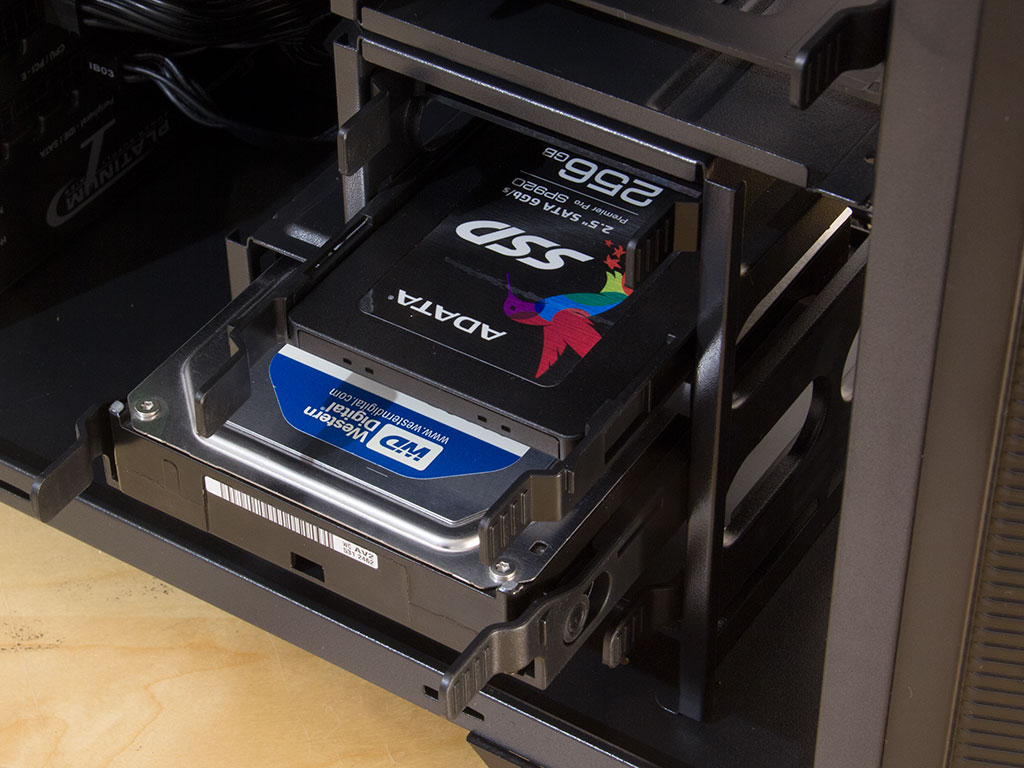
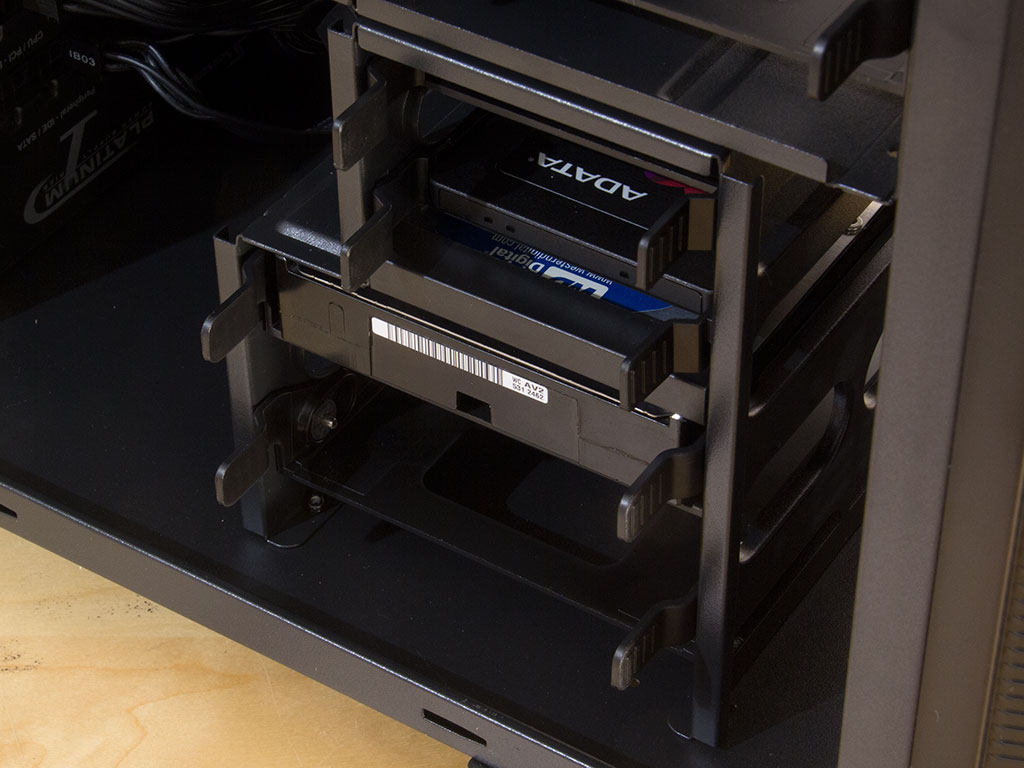
The smaller trays hold their drives in place with plastic pins, while the 3.5" trays use metal pins for some added stability. Once filled, simply slide these into their appropriate bays until you hear that satisfactory click to tell you that they have been secured; these now won't dislodge under normal use.
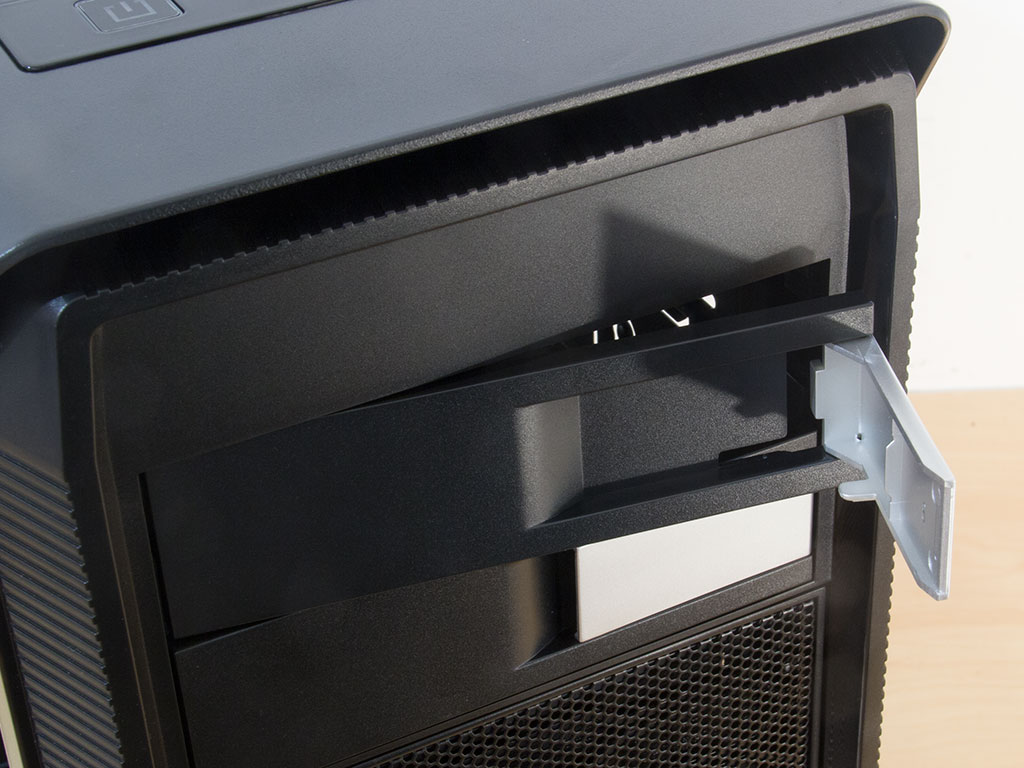
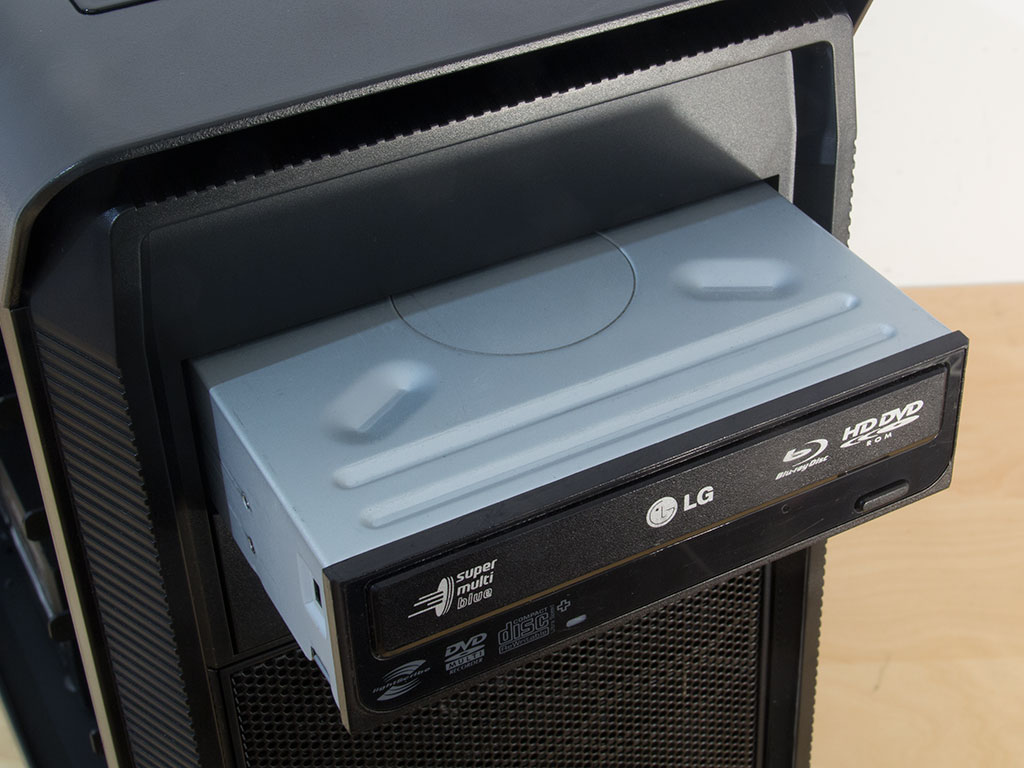
Installing the ODD is similarly quick as you only need to remove the bay cover of your choice to slide the unit into the bay until the plastic lock snaps down. While the lock does work, there is a tad bit of play, so you should use a single screw to pin your drive down perfectly, which would also kill any vibrations the unit might pass on to the frame as it operates.

The PSU is secured with the screws Aerocool supplies. There is plenty of space for a long unit - you should not find yourself in a pinch with a long, strong power supply.


With everything in place, the Aero-1000's interior makes a very clean impression, which is in part due to a good number of cable ties and loop holes for such on the motherboard tray. Given the traditional internal layout, you also won't have to sacrifice any space behind the motherboard tray on SSDs, for example.
Finished Looks


Once everything is back in place, the Aero-1000 makes a solid impression. The power button also acts as a power LED with the blue light being bright enough to notice in a well-lit room.


I am personally undecided on whether I am a fan of the silver latches of these 5.25" bays as they add quite the contrast to an otherwise black front. Especially when using one of the two bays, the left latch looks a bit out of place. I would have preferred something darker, like gunmetal gray. The side panel window is perfectly sized, just showing the motherboard, cooler, and graphics card. Looking at the rear, everything is where you would expect it to be.
May 6th, 2024 22:06 EDT
change timezone
Latest GPU Drivers
New Forum Posts
- Cybersecurity - OSINT Software for Linux (3)
- Gigabyte Aorus Elite AX V2 rev 1.1 BIOS update "AMD AGESA V2 1.2.0.B" (5)
- nvflashk - Flash any BIOS to NVIDIA GPUs - Safe board ID bypass up to 4xxx series (241)
- Only some humans can see refresh rates faster than others, I am one of those humans. (201)
- The Official Thermal Interface Material thread (1167)
- RTX 2070 8GB unable to flash (0)
- Update on the whole PC rebooting issue. There was an extra standoff in the case, but now it's crashing even more (3)
- What's your latest tech purchase? (20449)
- Battery swap for cyberpower UPS (61)
- Silly question about upcoming CPU Upgrade (9)
Popular Reviews
- Finalmouse UltralightX Review
- Cougar Hotrod Royal Gaming Chair Review
- Meze Audio LIRIC 2nd Generation Closed-Back Headphones Review
- Upcoming Hardware Launches 2023 (Updated Feb 2024)
- ASRock NUC BOX-155H (Intel Core Ultra 7 155H) Review
- Corsair iCUE Link RX120 RGB 120 mm Fan Review
- AMD Ryzen 7 7800X3D Review - The Best Gaming CPU
- ASUS Radeon RX 7900 GRE TUF OC Review
- Montech Sky Two GX Review
- HYTE THICC Q60 240 mm AIO Review
Controversial News Posts
- Intel Statement on Stability Issues: "Motherboard Makers to Blame" (248)
- Windows 11 Now Officially Adware as Microsoft Embeds Ads in the Start Menu (167)
- AMD to Redesign Ray Tracing Hardware on RDNA 4 (165)
- Sony PlayStation 5 Pro Specifications Confirmed, Console Arrives Before Holidays (118)
- AMD's RDNA 4 GPUs Could Stick with 18 Gbps GDDR6 Memory (114)
- NVIDIA Points Intel Raptor Lake CPU Users to Get Help from Intel Amid System Instability Issues (106)
- AMD Ryzen 9 7900X3D Now at a Mouth-watering $329 (104)
- AMD "Strix Halo" Zen 5 Mobile Processor Pictured: Chiplet-based, Uses 256-bit LPDDR5X (103)