 6
6
Antec DF-85 Review
Value & Conclusion »Assembly
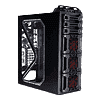
Installing the mainboard is done with the use of the included screws and spacers. Even though Antec does include a generic backplate, it will not fit 90% of the mainboards out there. As you can see there is plenty of space around the board, so you should not have any issue at all with large coolers or graphic cards. Even though I have routed all the cables behind the mainboard tray, the large openings in the metal sheet make it hard to tidy things up.


Hard drive installation is completely screw-less and tool-less. Simply slide the drive into place - that is is. Once it is inside, just close the front door and all is well. The drive will connect to the hot swap plug perfectly fine and will stay in place. For those who really want to secure the drive, you can place a single screw on each side of the drive.

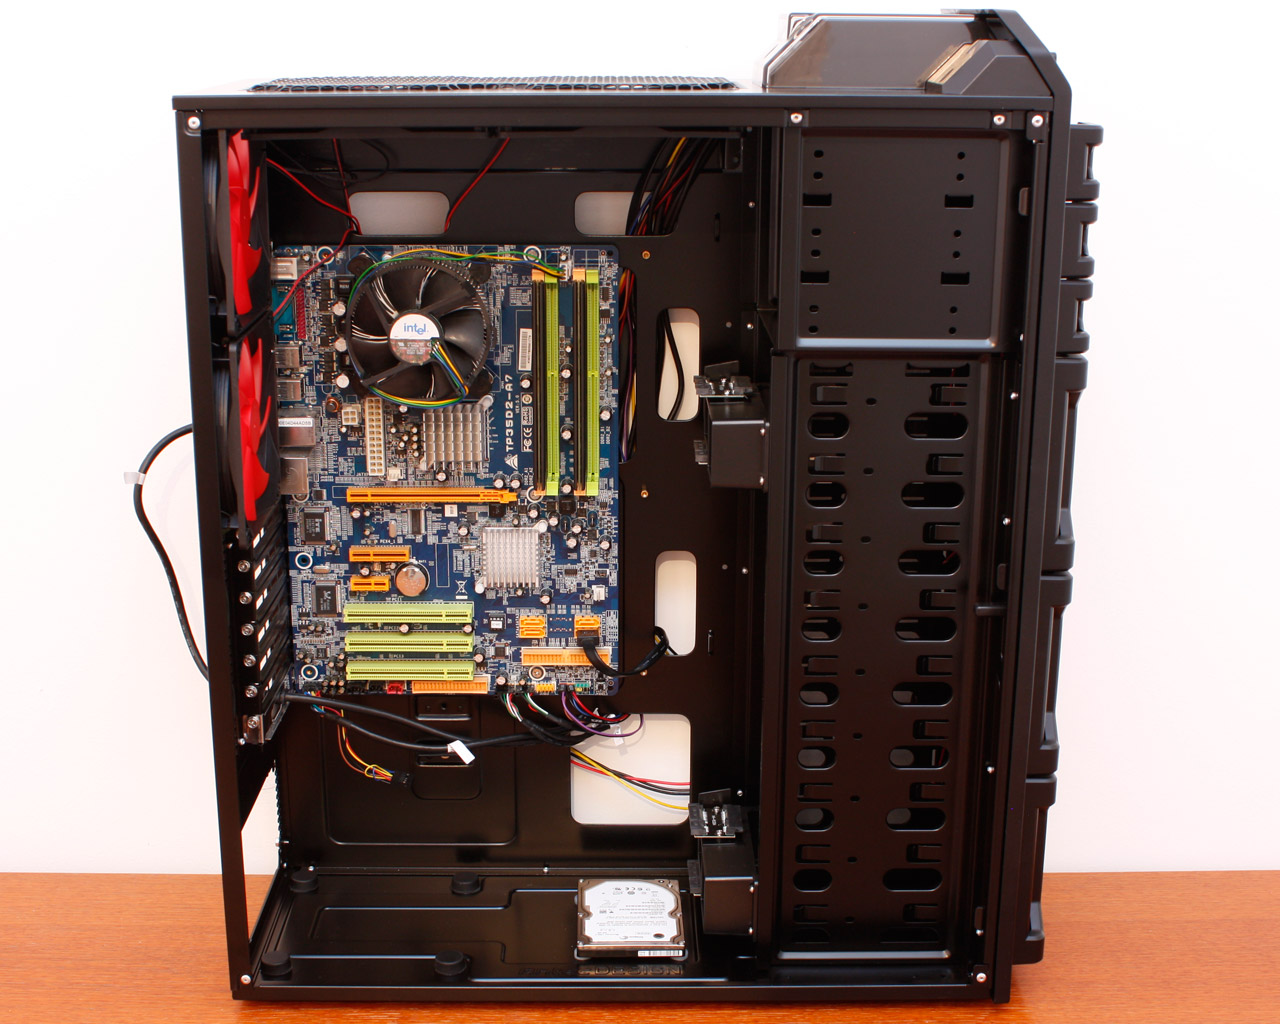
Installing the 2.5 inch drive in the bay on the floor is a different matter. You have to place the light gray spacers and use the special screws to pin the drive down. Considering the fact, that an SSD probably acts as a permanent part of the system, such an installation method is fine, but exchanging it for any reason means tipping over the entire system to do so.


Putting any 5.25 inch devices into the system on the other hand requires screws and a procedure like any other chassis out there. Slide the unit into the bay and apply screws to both sides.
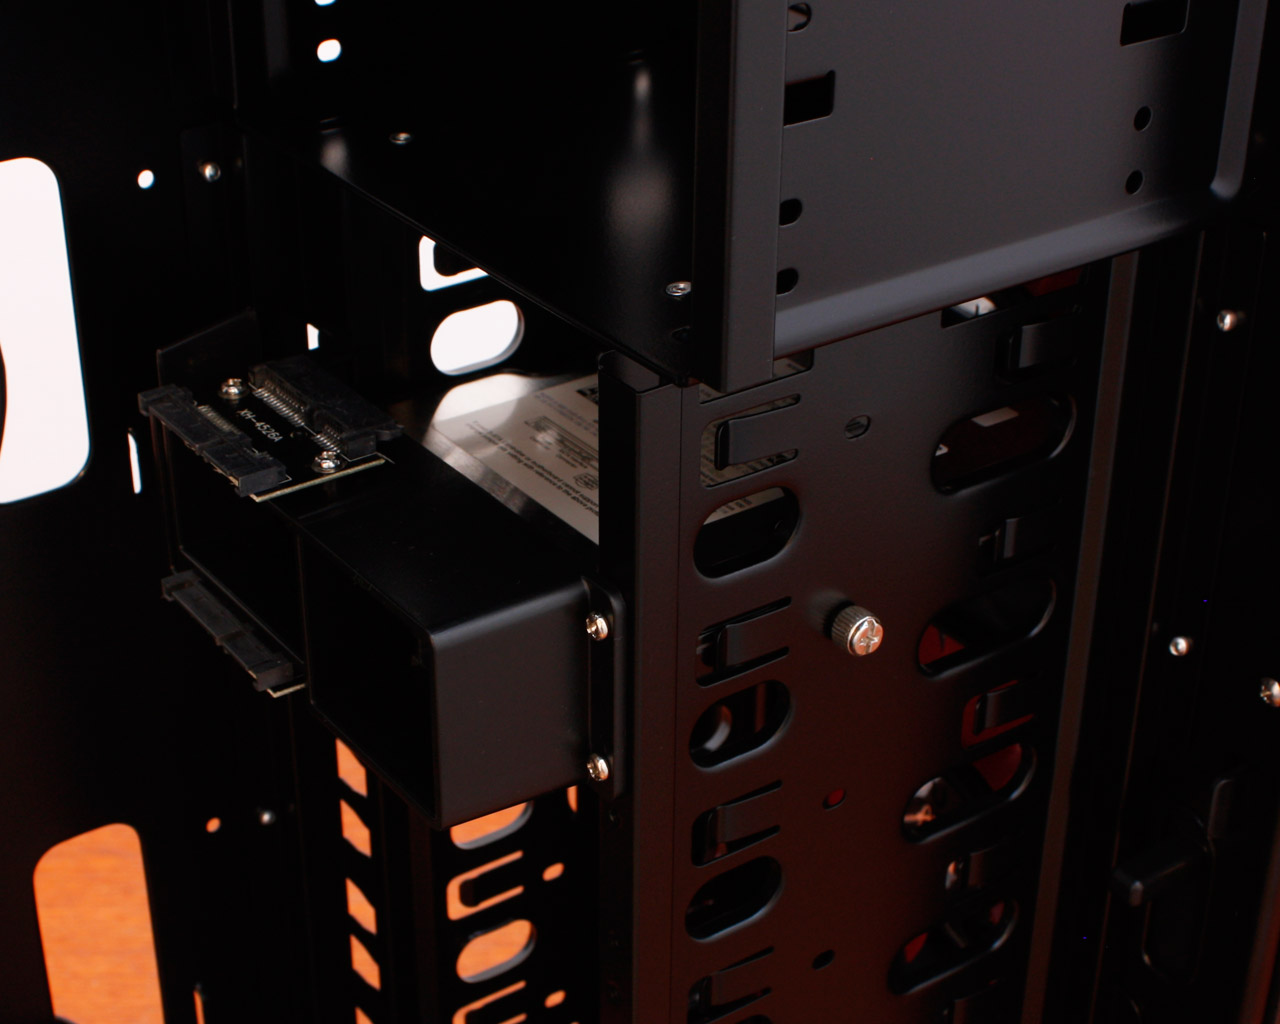
The same goes for the power supply. There is plenty of space for even the longest units out there, but you may end up having to sacrifice the internal 2.5 inch bay to fit such a PSU.


Once everything is installed it becomes apparent that the Antec DF-85 does allow for cable routing, but due to the fact that the holes are large and open, it does not come across as very clean. But interestingly enough, due to the overall design of the Darkfleet cases, seeing some cables and electronics fits really well. Having a super clean interior would be in contrast to the industrial design of the chassis.
Finished Looks


Once everything is in place and the side panels are put back on the chassis, the entire unit make for a cool look. Turning the unit on yields another nice surprise. All red bladed fans turn on with red LEDs. Turns out Antec has chosen red for the DF-85, while blue can be found in the DF-30 and white in the DF-35.

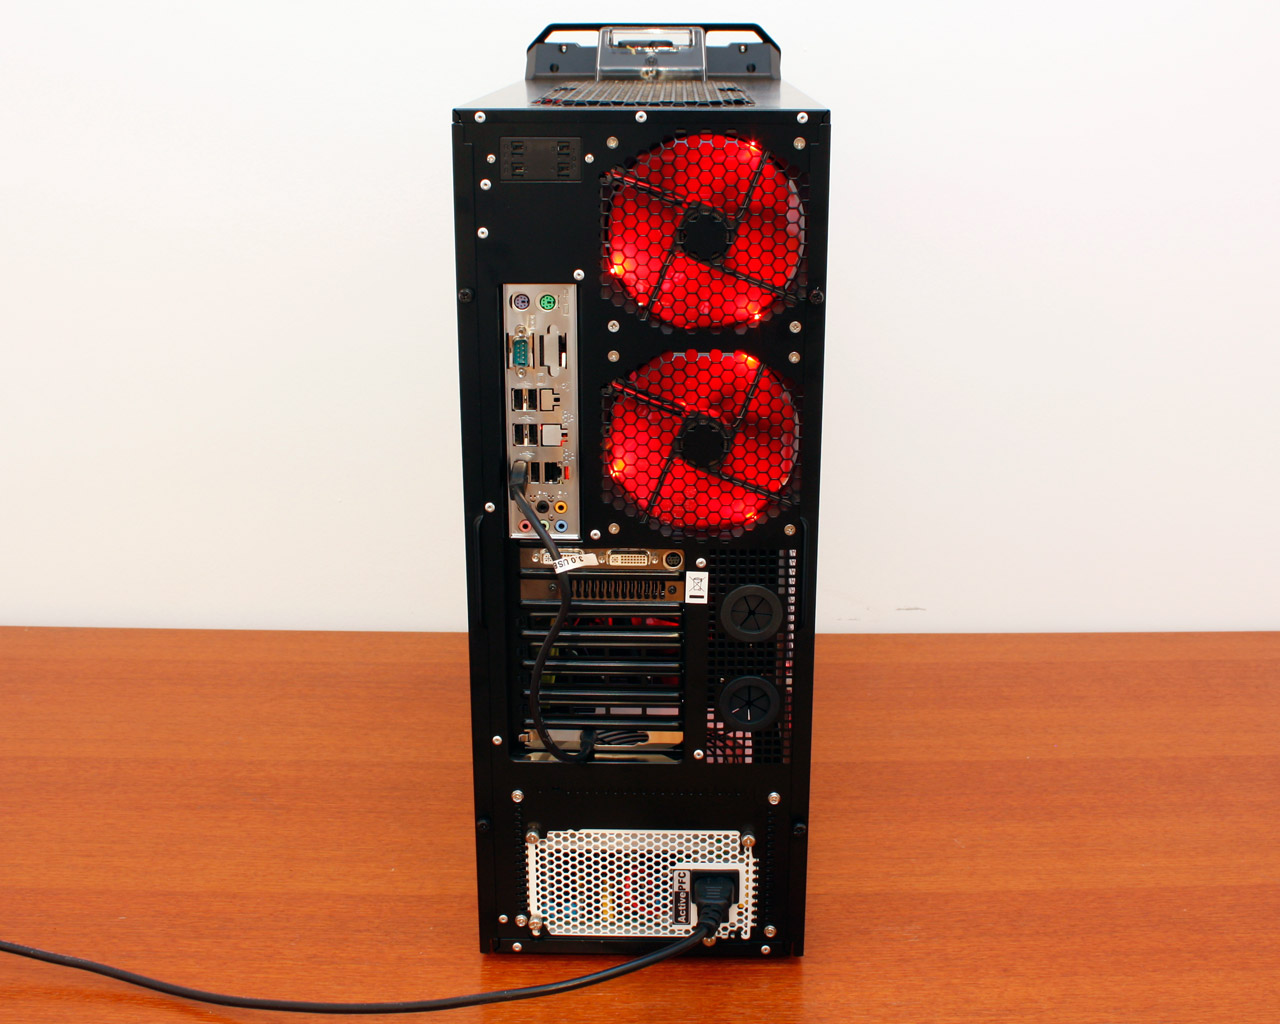
The fans are clearly visible on all sides, but thanks to the dust filters, you will not have to worry about having any build up of dirt inside the chassis. All the connectors in the rear can be reached easily and, as you can see, the USB 3.0 cable has been routed through the special mainboad expansion cover to the rear connector. While this works fine, it does get in the way of the graphic card connectors and all other expansion slots in the process.


The optical drive is hidden behind the plastic bar, while the top 2.5 inch bay works flawlessly as well. You can clearly see all the internal components through the large window, including the slight cable mess.
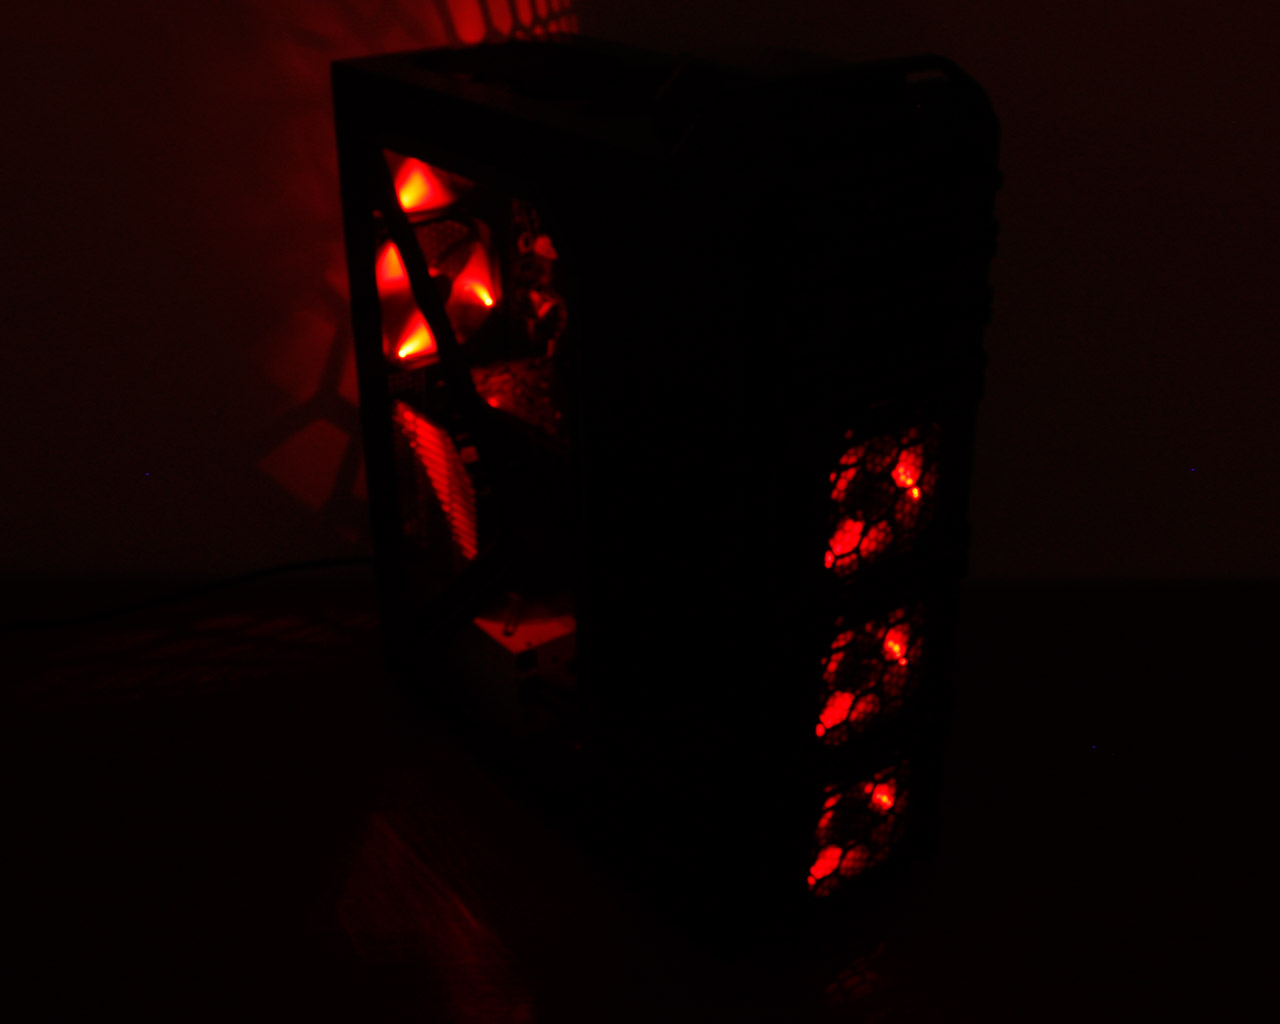
After turning off the surrounding lights, it becomes apparent that the DF-85 looks awesome in a dark environment like a LAN party. The same goes for the DF-30 and 35 I am sure. All the fans are fairly noisy when cranking things up all the way, but surprisingly quiet when all at the lowest setting. Antec has done a great job at choosing the best fan for both scenarios.
Apr 25th, 2024 05:22 EDT
change timezone
Latest GPU Drivers
New Forum Posts
- Meta Horizon OS (16)
- Core i5-6300U (14)
- (Anti) SFF fun house (351)
- Alphacool CORE 1 CPU block - bulging with danger of splitting? (4)
- The TPU UK Clubhouse (24786)
- Github comments used to push malware via Microsoft repo urls (3)
- Bizarre Throttlestop issue (5)
- GTX 1070 Ti - TDP Issues - Always Power Throttling (5)
- What phone you use as your daily driver? And, a discussion of them. (1471)
- What's your latest tech purchase? (20337)
Popular Reviews
- Fractal Design Terra Review
- Thermalright Phantom Spirit 120 EVO Review
- Corsair 2000D Airflow Review
- Minisforum EliteMini UM780 XTX (AMD Ryzen 7 7840HS) Review
- ASUS GeForce RTX 4090 STRIX OC Review
- NVIDIA GeForce RTX 4090 Founders Edition Review - Impressive Performance
- ASUS GeForce RTX 4090 Matrix Platinum Review - The RTX 4090 Ti
- MSI GeForce RTX 4090 Suprim X Review
- MSI GeForce RTX 4090 Gaming X Trio Review
- Gigabyte GeForce RTX 4090 Gaming OC Review
Controversial News Posts
- Sony PlayStation 5 Pro Specifications Confirmed, Console Arrives Before Holidays (116)
- NVIDIA Points Intel Raptor Lake CPU Users to Get Help from Intel Amid System Instability Issues (106)
- AMD "Strix Halo" Zen 5 Mobile Processor Pictured: Chiplet-based, Uses 256-bit LPDDR5X (101)
- US Government Wants Nuclear Plants to Offload AI Data Center Expansion (98)
- Windows 10 Security Updates to Cost $61 After 2025, $427 by 2028 (84)
- Developers of Outpost Infinity Siege Recommend Underclocking i9-13900K and i9-14900K for Stability on Machines with RTX 4090 (84)
- Windows 11 Now Officially Adware as Microsoft Embeds Ads in the Start Menu (83)
- TechPowerUp Hiring: Reviewers Wanted for Motherboards, Laptops, Gaming Handhelds and Prebuilt Desktops (78)