 20
20
Cooler Master Cosmos II Review
A Closer Look - Inside »A Closer Look - Outside
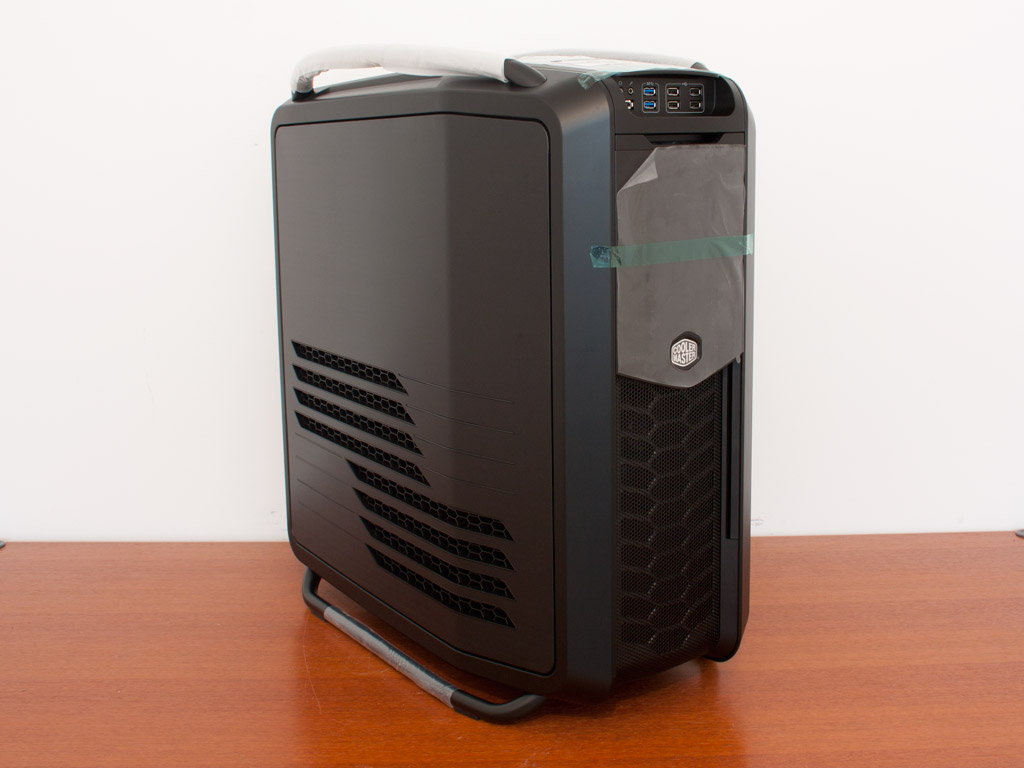
A few parts of the Cosmos II are covered in protective material, but are easily pealed off. In terms of design, Cooler Master has done an excellent job bringing the genes of the Cosmos into the year 2012. Edgy designs, with plenty design elements to give the Cosmos II a menacing look. While some may not like the fact, that a chassis of this price range utilizes steel or even plastic, the shape, look and feel would simply not have been possible if only a light material like Aluminum would have been used.

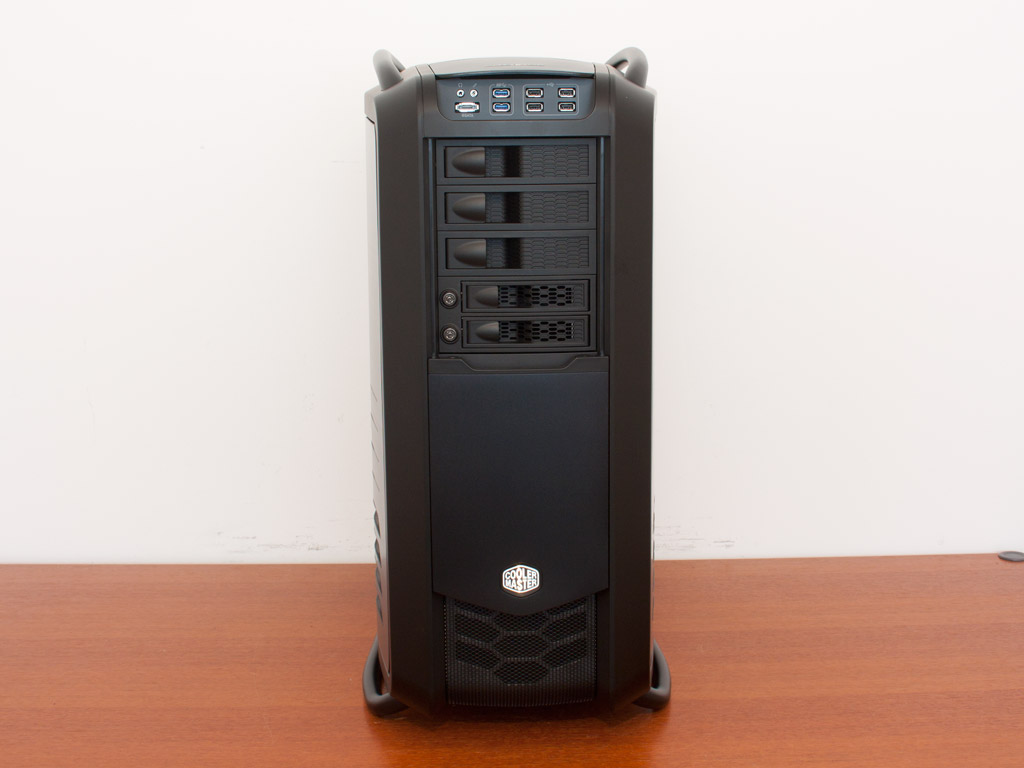
Taking a look at the front of the chassis, gone is the full height door found on the original Cosmos 1000. A sliding mechanism, held in place by magnets covers the top drive bays this time around. Unlike the Cosmos S, the front of the Cosmos II is much more elaborate, In the rear you will find that the chassis has a black frame and interior along with a bottom mounted PSU bay.
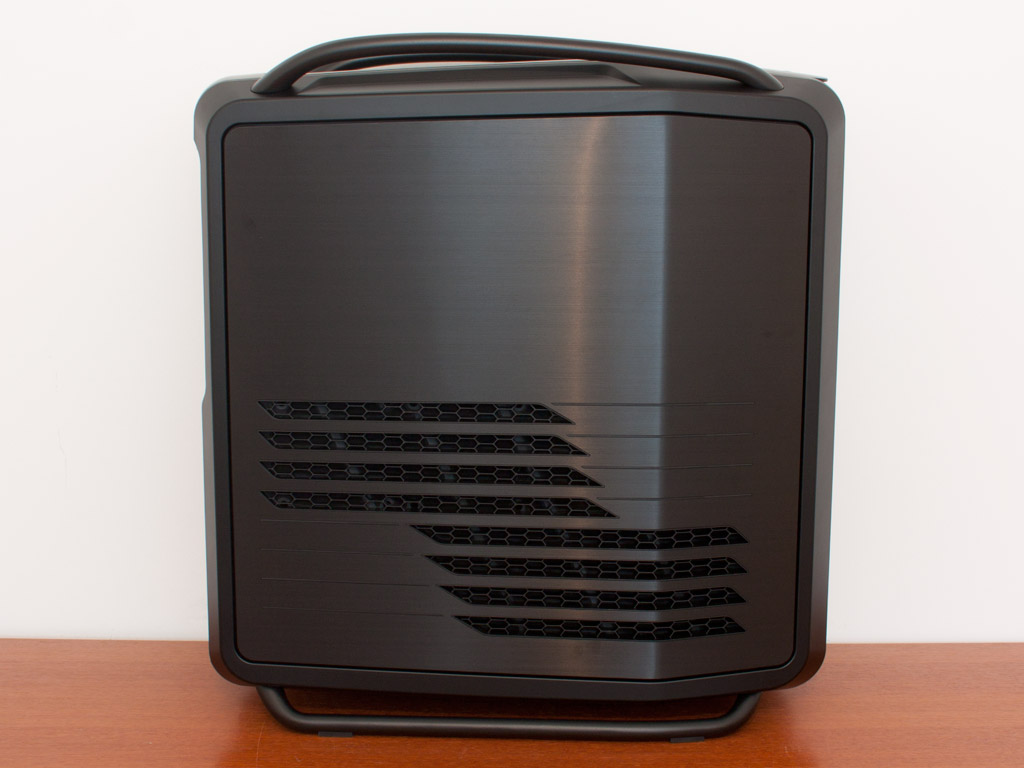

While both sides are of the same shape, the main one has a larger air vent than the other. It covers not only the bottom hard drive bays, but also the motherboard expansion slots. While the surface is lined with Aluminum, Cooler Master has made the door of plastic mostly.

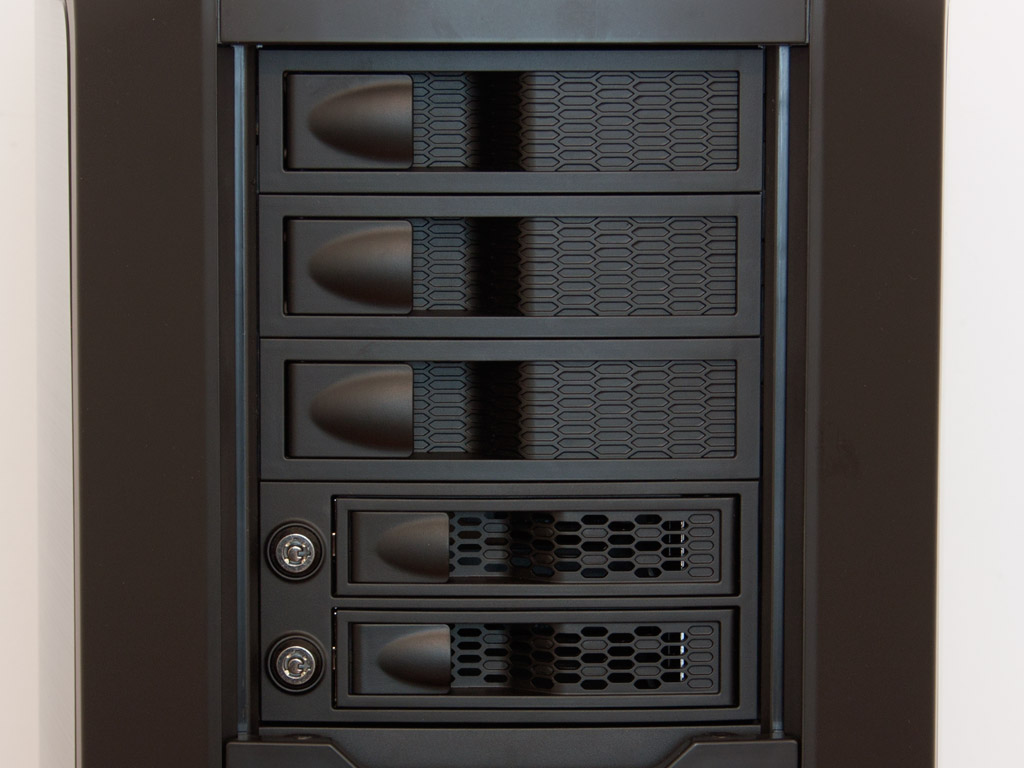

The bottom half is covered by metal mesh. I would have liked to see a bit finer mesh, to cover the plastic parts a bit more, but this does the job nonetheless. In the top you will find three 5.25 inch drive bays and two 3.5 inch hot-swap ones. The latter can be locked and Cooler Master supplies a pair of keys to each of these. Four USB 2.0, a pair of USB 3.0, audio connectors and an eSATA plug have been placed in the very top of the front.


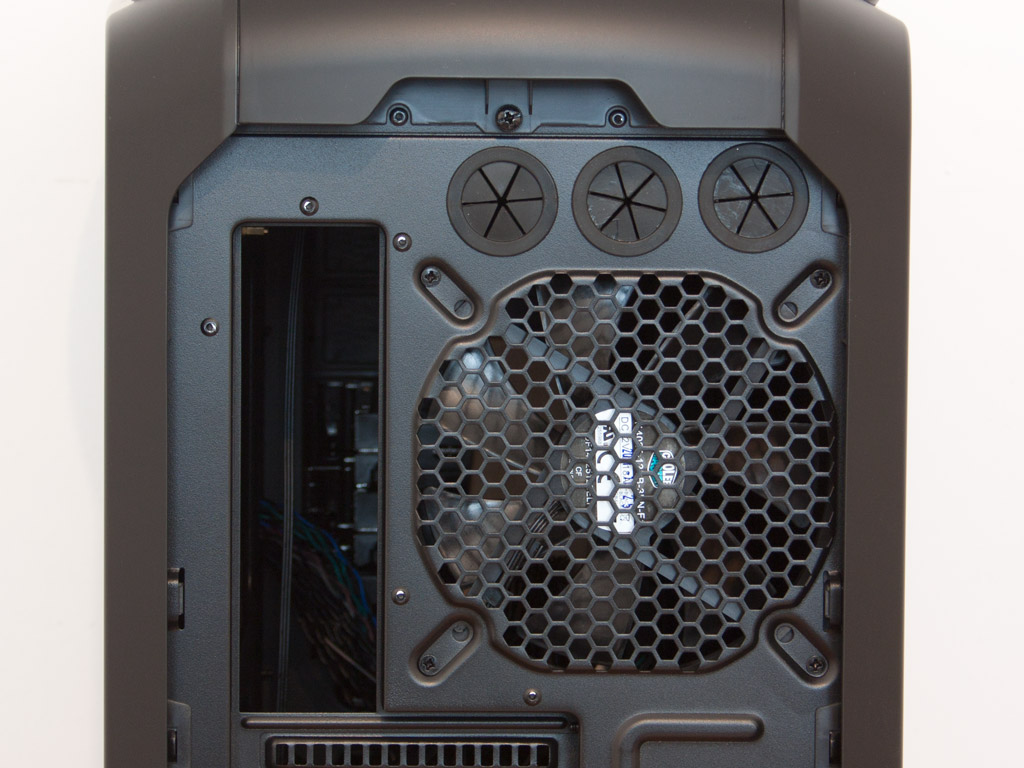
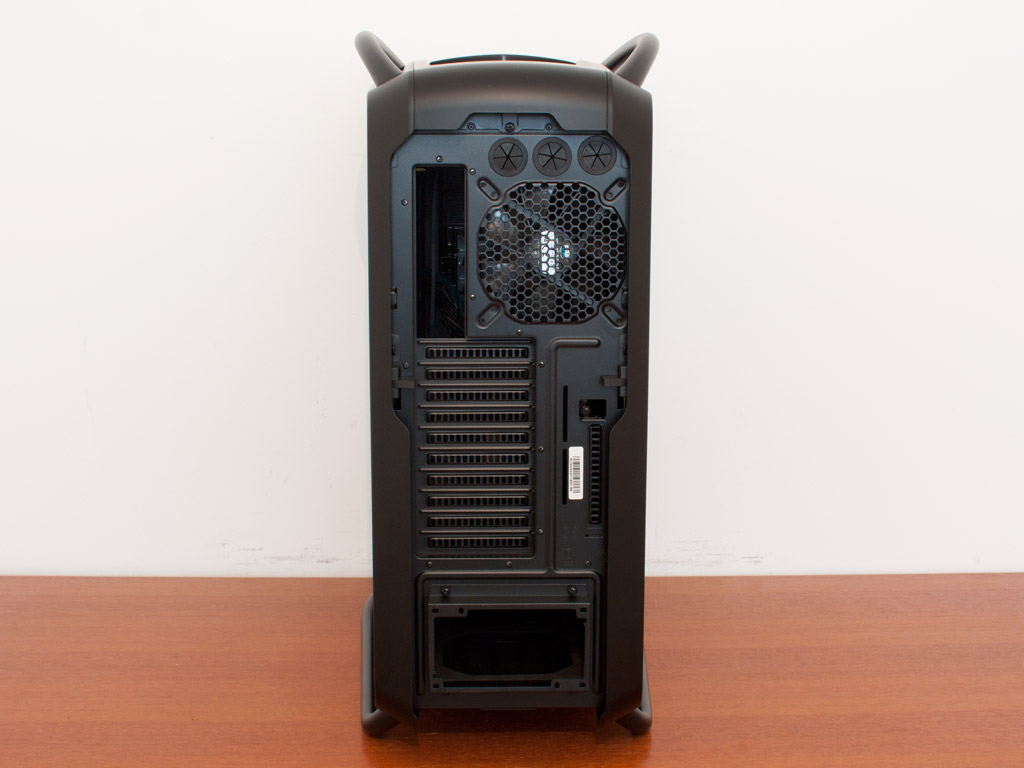
Turning the heavy case around, we have the PSU bay, which extends outward of the chassis a bit, on the very bottom. Above that are ten motherboard expansion bays, each protected by a separate cover in addition to a single vertical one off to the side. In the very top is a 140 mm exhaust fan. This shows how wide this chassis is, as there are very few cases that can hold a cooling unit of this size in this spot. There are no screws holding the side panels in place. Instead the doors are held in place by spring loaded hooks that can be pushed down to release each panel with the plastic parts visible to the left and right of the expansion slots.

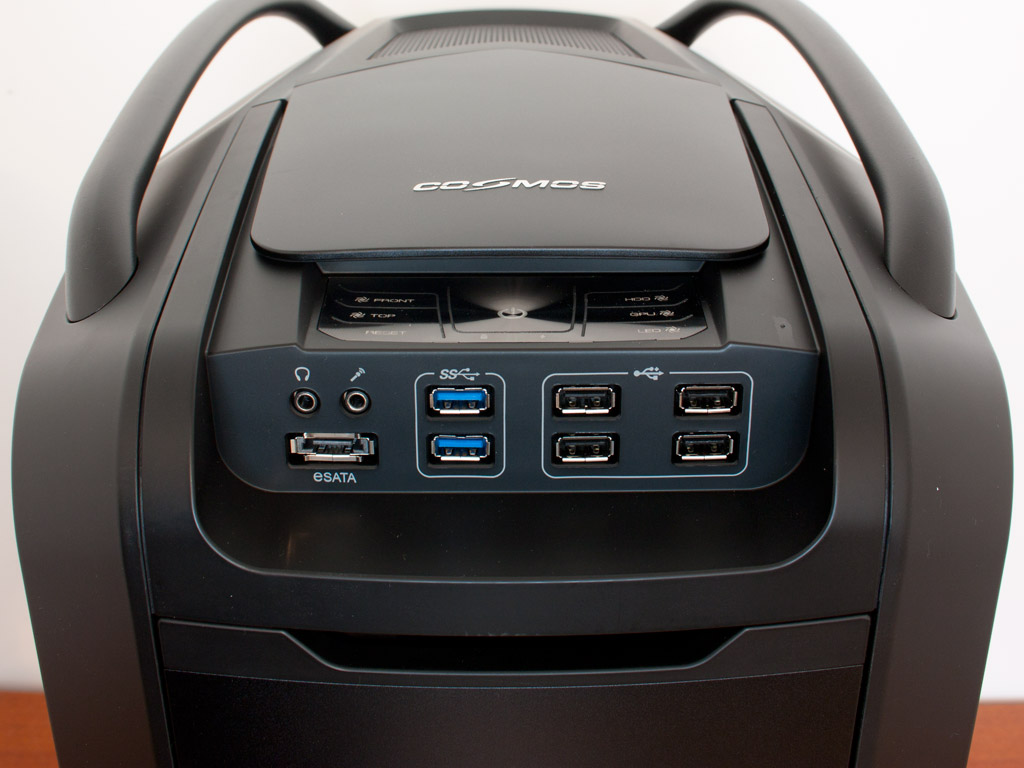


Cooler Master has hidden quite a bit of things in the top panel. A sliding cover reveals the control panel. It features the same button type as many of you may remember from the Motorola Razer phones back in the day. Here, you may control the fan speeds from various areas of the chassis separately and also toggle the LED quipped fan lighting on/off. Behind that is a plastic and mesh cover which reveals quite some room. This should allow you to install fans above the case frame and a radiator below it. Due to the construction only a 240 mm radiator will fit, as there is a PCB in the way as we will see later on.
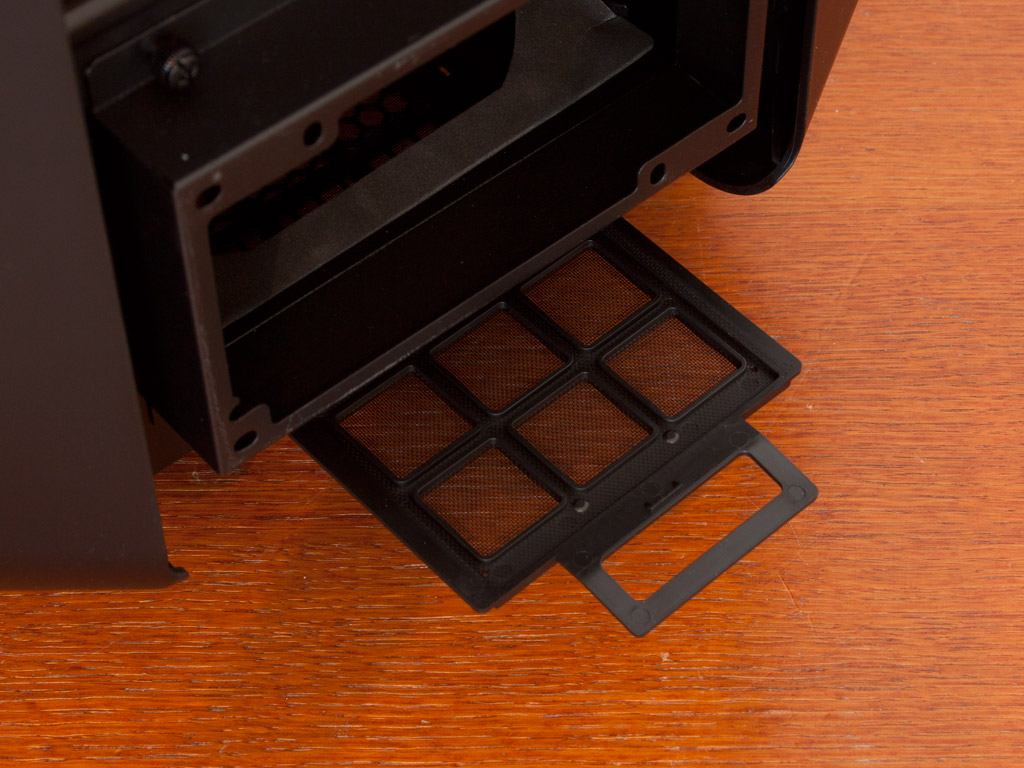
Last but not least, a simple dust filter has been placed on the underside of the chassis, protecting the PSU from dirt being pulled into the unit.
Apr 26th, 2024 14:25 EDT
change timezone
Latest GPU Drivers
New Forum Posts
- What phone you use as your daily driver? And, a discussion of them. (1485)
- XFX RX470 8GB no video and error 43 (29)
- DTS:X APO4 + DTS Interactive for Most Devices [USB Supported] (305)
- The Official Linux/Unix Desktop Screenshots Megathread (702)
- What's your latest tech purchase? (20352)
- hacked (73)
- im new to throttelstop and i think i messed it up by copying others any hints would be very much aprreciated (5)
- 2022-X58/1366 PIN Motherboards NVME M.2 SSD BIOS MOD Collection (657)
- DTS DCH Driver for Realtek HDA [DTS:X APO4 + DTS Interactive] (1909)
- checkup (1)
Popular Reviews
- HYTE THICC Q60 240 mm AIO Review
- MOONDROP x Crinacle DUSK In-Ear Monitors Review - The Last 5%
- Alienware Pro Wireless Gaming Keyboard Review
- Upcoming Hardware Launches 2023 (Updated Feb 2024)
- Thermalright Phantom Spirit 120 EVO Review
- FiiO K19 Desktop DAC/Headphone Amplifier Review
- ASUS Radeon RX 7900 GRE TUF OC Review
- AMD Ryzen 7 7800X3D Review - The Best Gaming CPU
- RTX 4090 & 53 Games: Ryzen 7 5800X vs Ryzen 7 5800X3D Review
- NVIDIA RTX 4090: 450 W vs 600 W 12VHPWR - Is there any notable performance difference?
Controversial News Posts
- Windows 11 Now Officially Adware as Microsoft Embeds Ads in the Start Menu (129)
- Sony PlayStation 5 Pro Specifications Confirmed, Console Arrives Before Holidays (117)
- NVIDIA Points Intel Raptor Lake CPU Users to Get Help from Intel Amid System Instability Issues (106)
- AMD "Strix Halo" Zen 5 Mobile Processor Pictured: Chiplet-based, Uses 256-bit LPDDR5X (103)
- US Government Wants Nuclear Plants to Offload AI Data Center Expansion (98)
- AMD's RDNA 4 GPUs Could Stick with 18 Gbps GDDR6 Memory (93)
- Developers of Outpost Infinity Siege Recommend Underclocking i9-13900K and i9-14900K for Stability on Machines with RTX 4090 (85)
- Windows 10 Security Updates to Cost $61 After 2025, $427 by 2028 (84)