 22
22
Lian Li PC-A10B Review
Installation & Finished Look »Case Inside

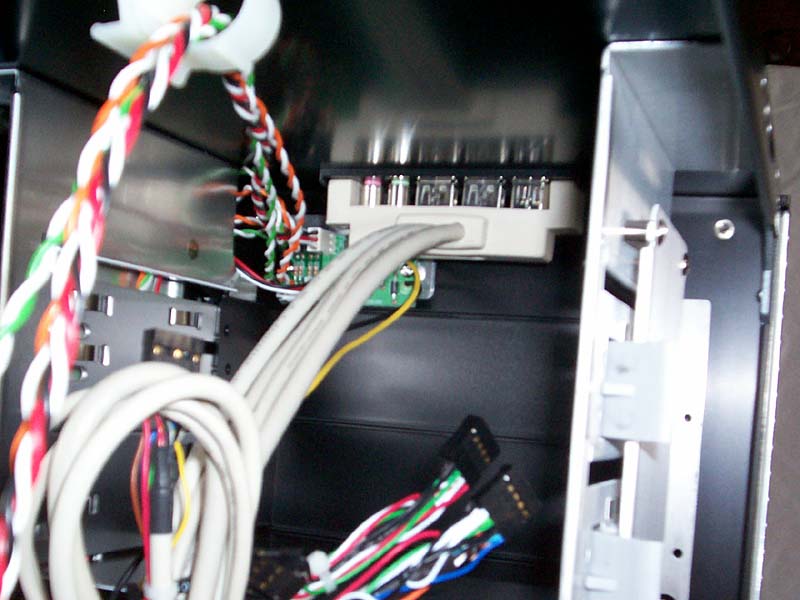
Toward the front of the case are the seven expansion bays, six of which have screw-less mounting clips for mounting optical drives and such. All seven bays have the ability to use screws for more security, especially when the case will be transported frequently. The top of the front interior is dedicated to the wiring for the top-mounted I/O ports, as well as the fan controller and LED relays. The HDD and Power LEDs connect to this panel, and the output goes to the LED’s on the upper front panel as well as the front switches. The Power switch glows a slight greenish-blue (slightly off from the true blue LED used on the top), and the Reset switch flashes red with the HDD activity. Also note that there are two horizontal supports providing some extra rigidity between the 5.25” bays.

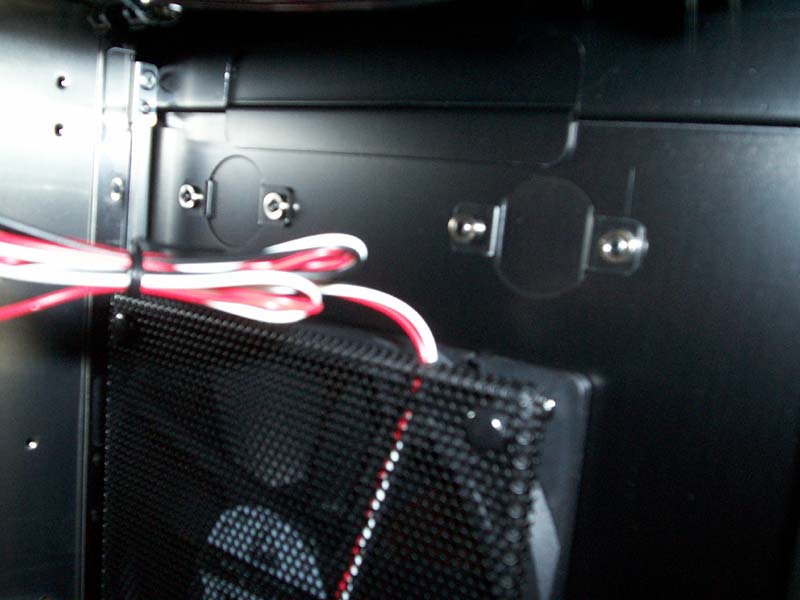
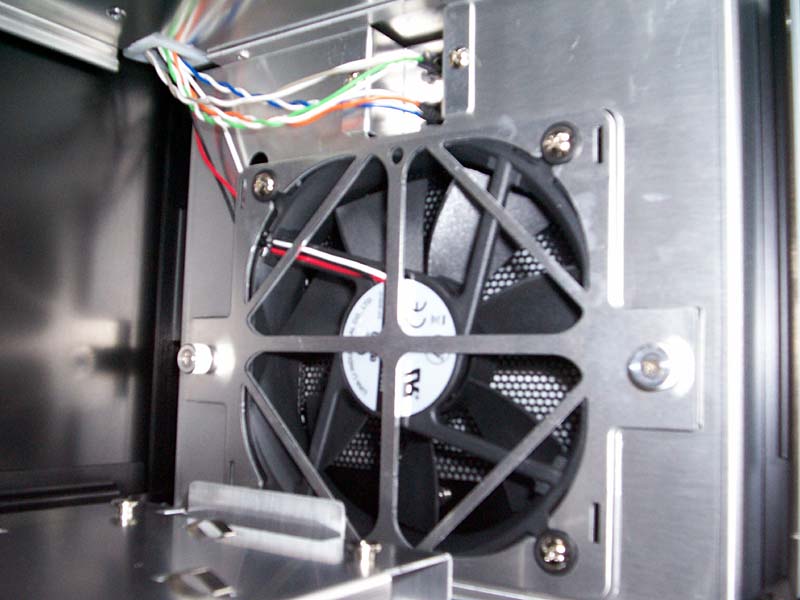
The top mounted fan also has a mesh grill on the inside. This helps to protect any stray wires or cables that might find their way near it. Between the top fan and the back we can see the inside of the knock-outs for the tubing if a watercooling system is used.

The rear 120mm fan is used in the typical exhaust fashion, and is complimented by a chrome wire grill. It would be nice to have seen a matching mesh grill here, but the inclusion of the wire grill is still farther than many other manufacturers would go. Below the rear fan and in front of the expansion slots is the patented side exhaust fan. This fan helps remove hot air from around the video and other add-in cards and blows it out the back through a grill located next to the slots. Once again this 120mm side fan uses the rubber rings and special screws to help silence unwanted vibration.


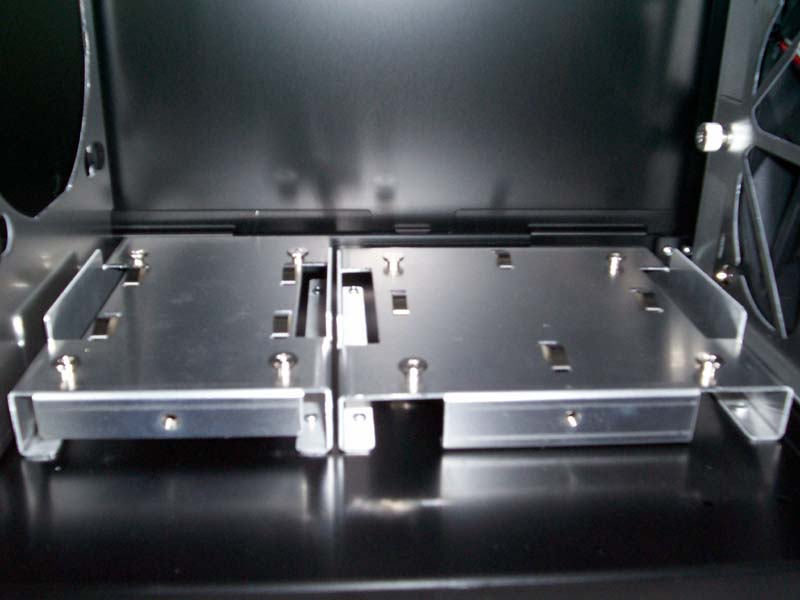
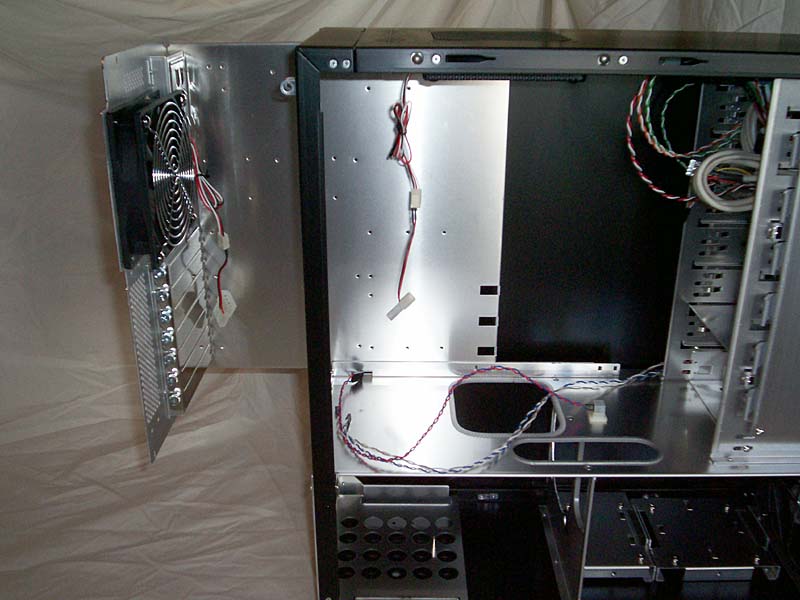
At the bottom of the main section of the interior are two openings with plastic grommets covering the edges. The smaller oval opening allows the power supply cables to run to the rest of the system, and the larger opening is perfect for running water tubing to a pump that might be located by the PSU. Both openings also come in handy for running data cables to the hard drives. Next to these openings is a small plastic clip that holds the PC speaker. I would have liked to see the clip not mounted so I could have chosen the location. The DFI NF4 Ultra D motherboard has a speaker on board, so I would have not used it at all. Instead I removed the speaker, and I can use the clip to aid in future cable management. Below this section is the lower partition where the hardware box was attached. When the box is removed you can see yet another mount for a 120mm fan. Lian Li chose not to supply one for this location, but you can see where the screws mount through the four black rubber rings. And, of course, there is another grommet covering the edge of the opening leading to the front of the case.
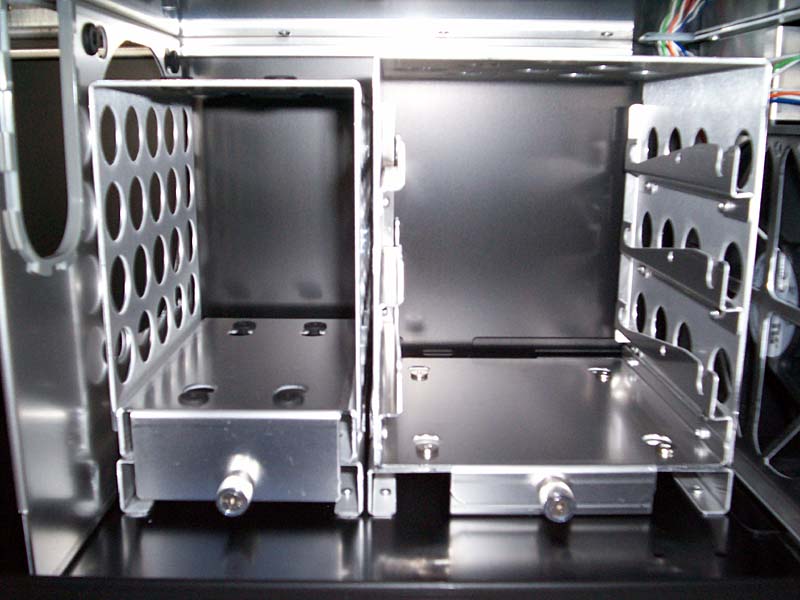

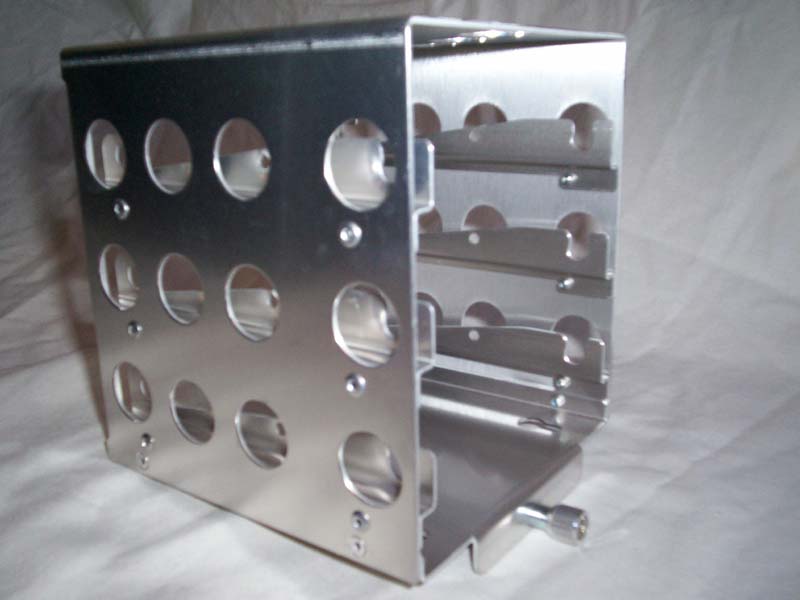
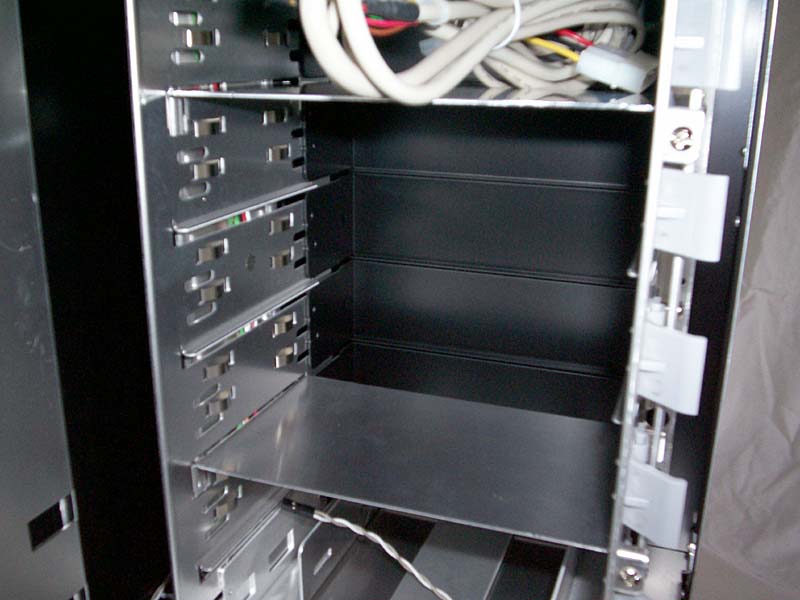
The lower front area is dedicated to mounting five 3.5” hard drives. Two cages are supplied, one which holds two drives mounted vertically and one which holds three drives mounted horizontally. Both cages are well ventilated and are secured with a spring-loaded thumbscrew that does not come off. I am constantly dropping screws during an assembly, so I like that these screws can’t be lost. Removing the cages can be tricky the first time: after the screw is loosened, you need to push down on the cage and slide it toward you. When it stops, you should be able to lift it up and out. Once the cage is out you can see how the assembly goes together and it makes it a lot easier from that point on. The mounting surface for the cages has several spring-tabs on it, which provides tension and holds the cage in place. The thumbscrew is mostly for security during transport.

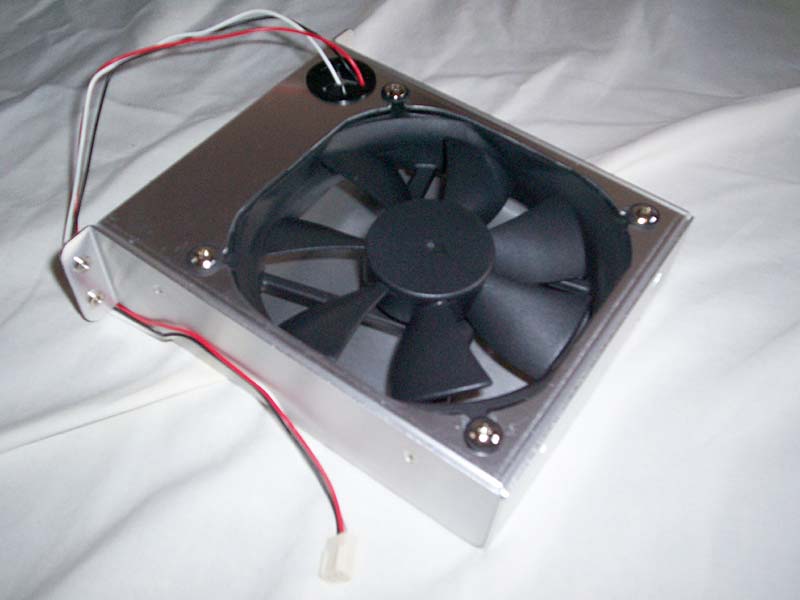
Directly behind the front panel is the location for the front 120mm intake fan. Again, this fan is mounted with vibration reducing o-rings, but this time the fan has been mounted on a removable plate. Two permanently attached thumbscrews flank the fan. Unscrewing them allows the user to clean or replace the fan as necessary. Above the fan location you can see the wires leading from the back of the switches up to the PCB located at the top of the case.
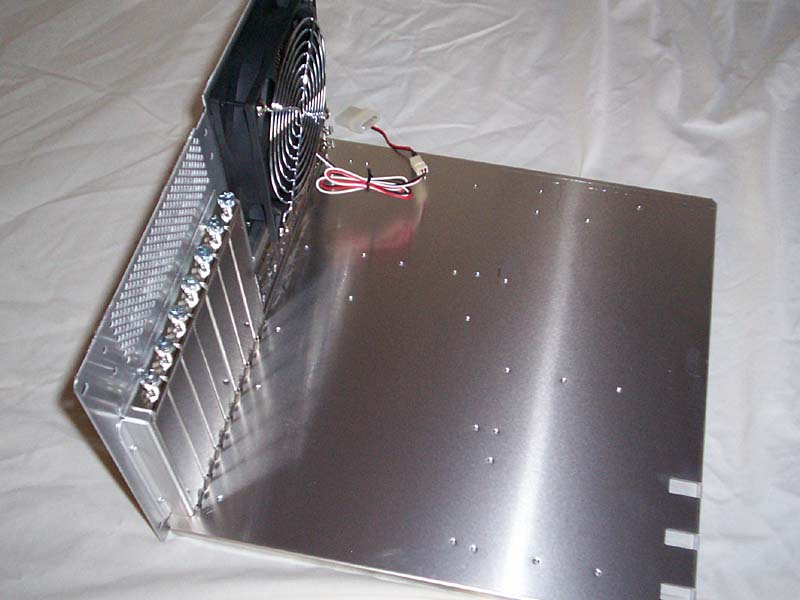
The motherboard tray is removable, as most are in the Lian Li line-up. The tray is held in place by four of the thumbscrews on the back panel, and removing them allows the tray to slide out easily. When removed, the tray allows easy assembly of the motherboard and related components. Once the processor, heatsink, memory, and expansion cards are installed, the tray slides right back in. Also, Lian Li makes the installation of the expansion cards simple with seven more thumbscrews already holding in real expansion slot covers, not cheap knock-outs or snap-in covers.

Finally, the PC-A10 includes what Lian Li calls a “slidable PSU tray.” In honesty it is more like a removable plate that attaches to the back. I would liked to have seen a tray similar to the one for the motherboard used here, as that would prevent the side of an expensive PSU from being scuffed up as it was installed or removed. However, both PSUs can be attached to the same plate and installed at the same time.
May 13th, 2024 15:02 EDT
change timezone
Latest GPU Drivers
New Forum Posts
- Which Audio System Would you Choose and Why? (17)
- 2024 and STILL no dark mode? (43)
- Results and questions (6)
- Dell Workstation Owners Club (3083)
- How to optimize my PC by overclocking my system (16)
- What's the best tube I can get for Schiit Vali 3 headphone amp under $30? (5)
- PKG Power much higher than usual (6)
- TPU's Rosetta Milestones and Daily Pie Thread (1880)
- Which RAM for AMD 7950X3D (5)
- Keyboard cleaning crime (7)
Popular Reviews
- ZMF Caldera Closed Planar Magnetic Headphones Review
- Homeworld 3 Performance Benchmark Review - 35 GPUs Tested
- Corsair MP700 Pro SE 4 TB Review
- Bykski CPU-XPR-C-I CPU Water Block Review - Amazing Value!
- ThundeRobot ML903 NearLink Review
- Upcoming Hardware Launches 2023 (Updated Feb 2024)
- AMD Ryzen 7 7800X3D Review - The Best Gaming CPU
- CHERRY XTRFY M64 Pro Review
- ASUS Radeon RX 7900 GRE TUF OC Review
- Corsair iCUE Link RX120 RGB 120 mm Fan Review
Controversial News Posts
- Intel Statement on Stability Issues: "Motherboard Makers to Blame" (266)
- AMD to Redesign Ray Tracing Hardware on RDNA 4 (224)
- Windows 11 Now Officially Adware as Microsoft Embeds Ads in the Start Menu (172)
- NVIDIA to Only Launch the Flagship GeForce RTX 5090 in 2024, Rest of the Series in 2025 (152)
- Sony PlayStation 5 Pro Specifications Confirmed, Console Arrives Before Holidays (119)
- AMD Hits Highest-Ever x86 CPU Market Share in Q1 2024 Across Desktop and Server (114)
- AMD's RDNA 4 GPUs Could Stick with 18 Gbps GDDR6 Memory (114)
- AMD Ryzen 9 7900X3D Now at a Mouth-watering $329 (104)