 10
10
NZXT Phantom 530 Review
Value & Conclusion »Assembly
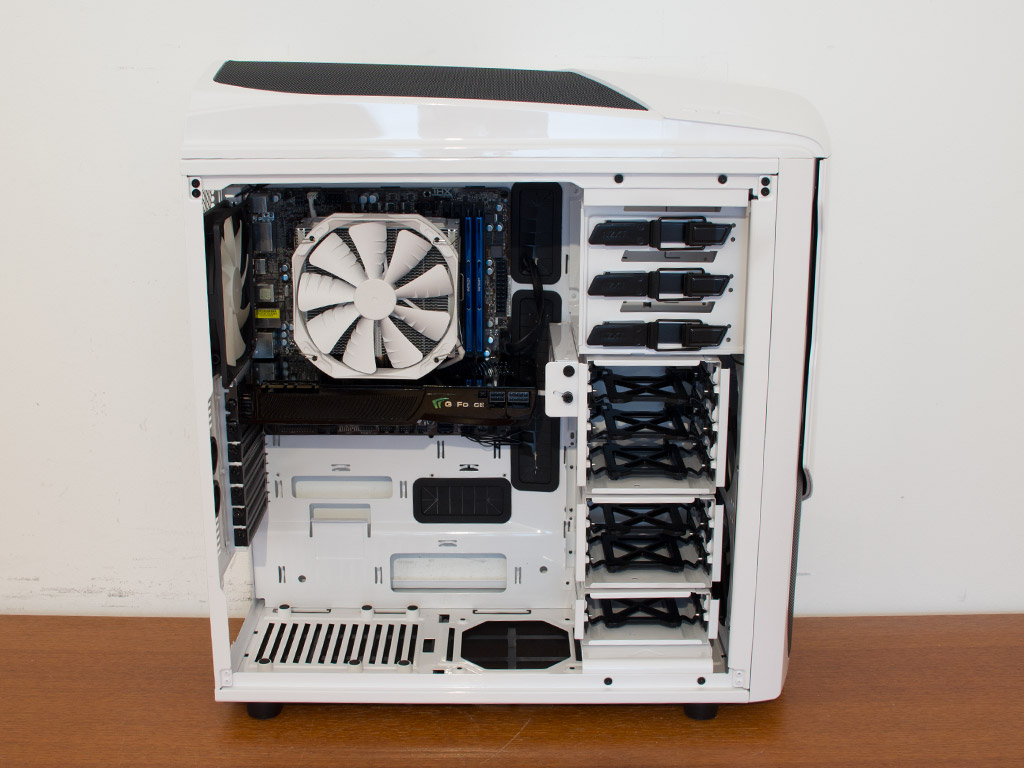
Installing the motherboard is done by traditional means, with the use of the included spacers and screws. There is, as you can see, plenty of space for large CPU coolers and graphics cards. Things may get a bit tight if you install a cooling fan on the same side as the top hard-drive cage, however.


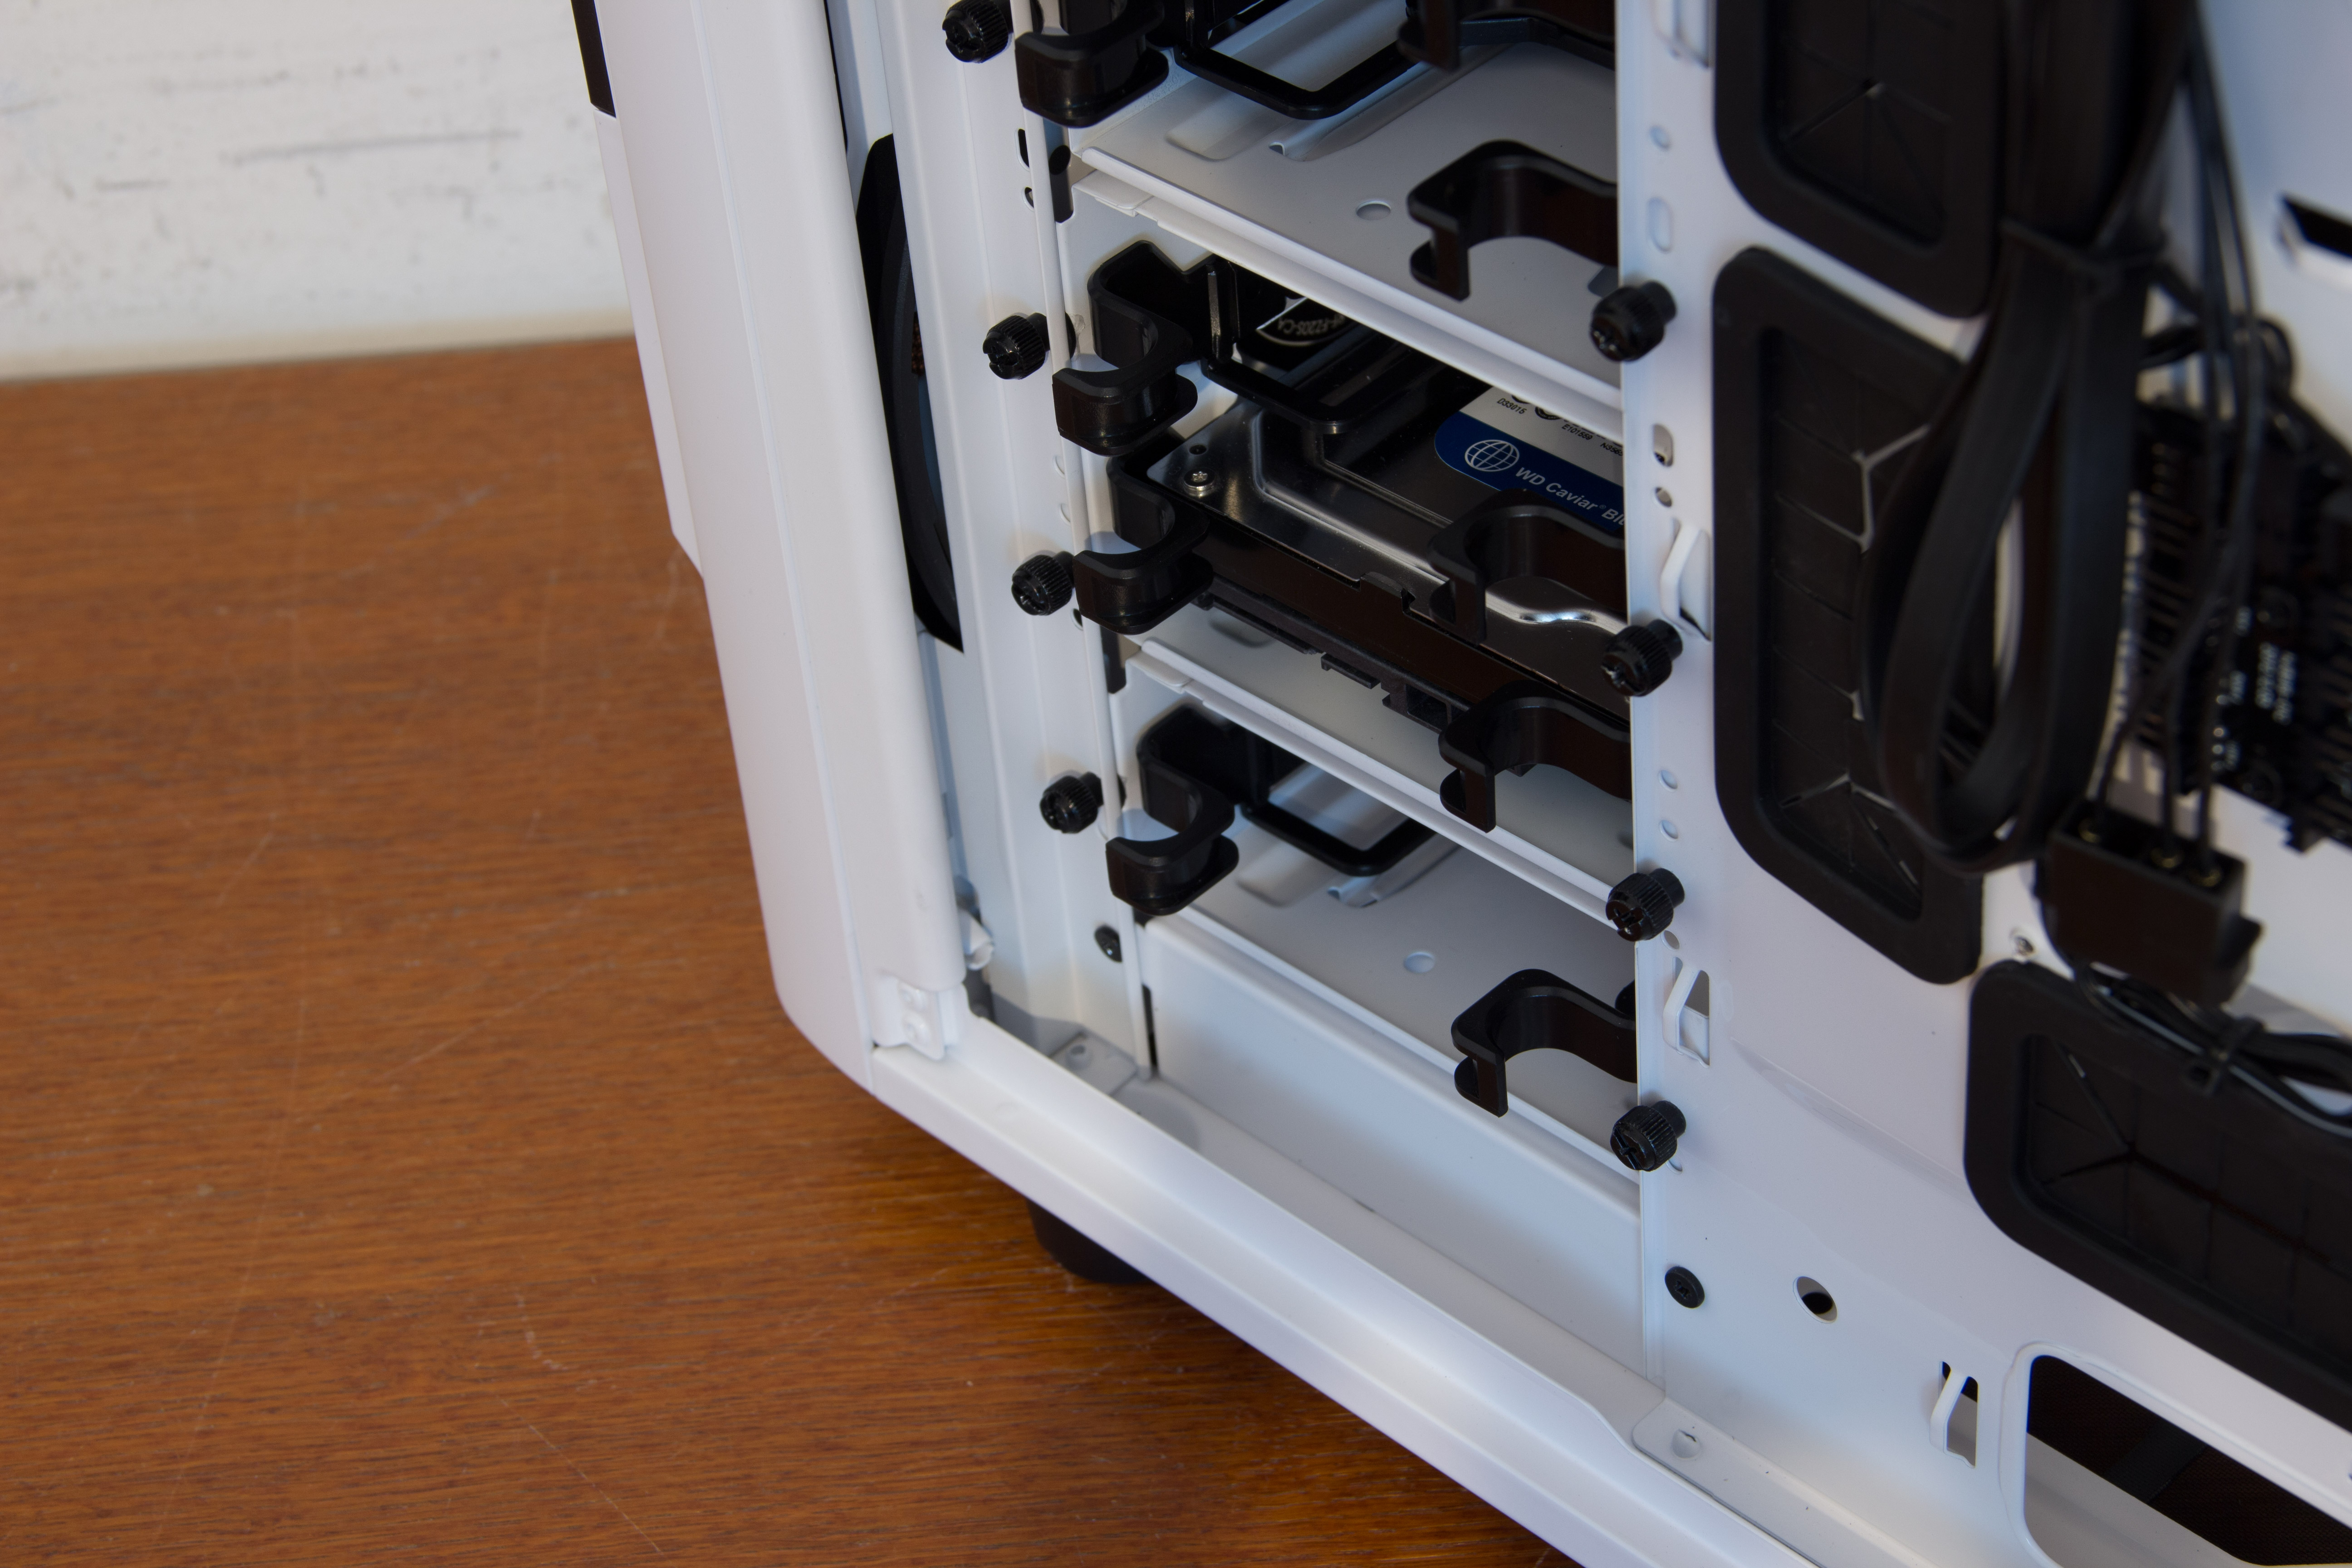
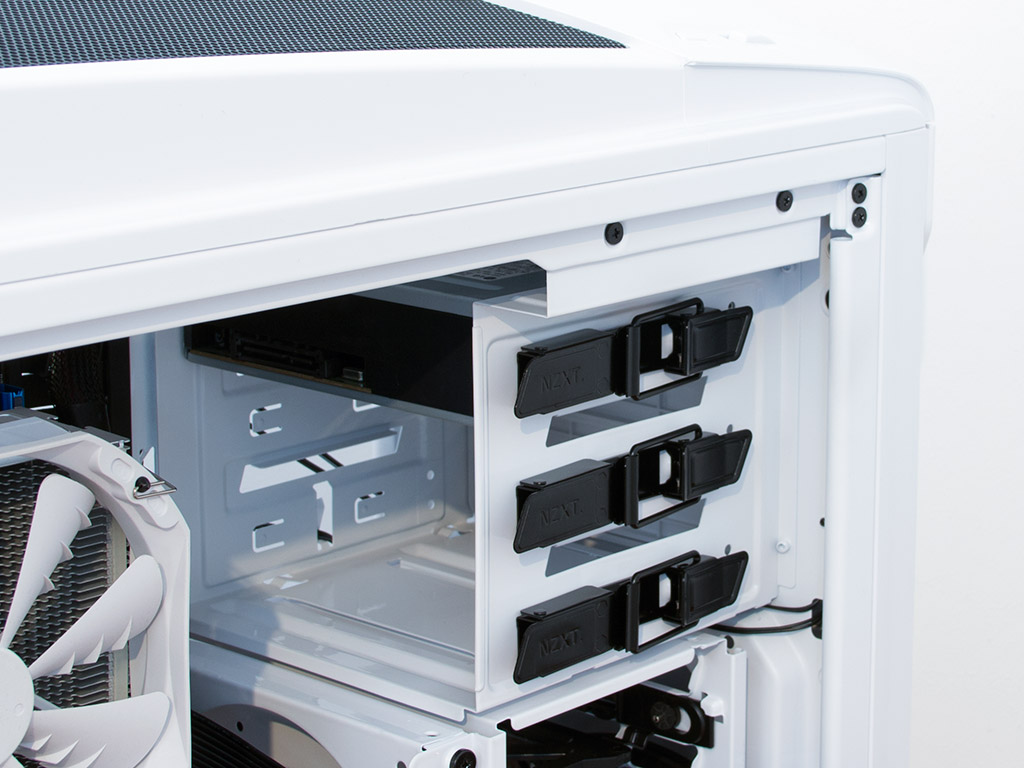
NZXT is still using the very fragile, but intricate-looking hard drive cages. We were told that future NZXT cases will use more robust trays, but have yet to see such a transition. That said, the current trays do not require any tools to be filled unless you want to place a 2.5" unit into one. Once a drive has been installed onto a tray, simply slide the tray into the slot of your choosing until it snaps into place. Connectors will face toward the motherboard, which will minimize the cable mess inside your case.
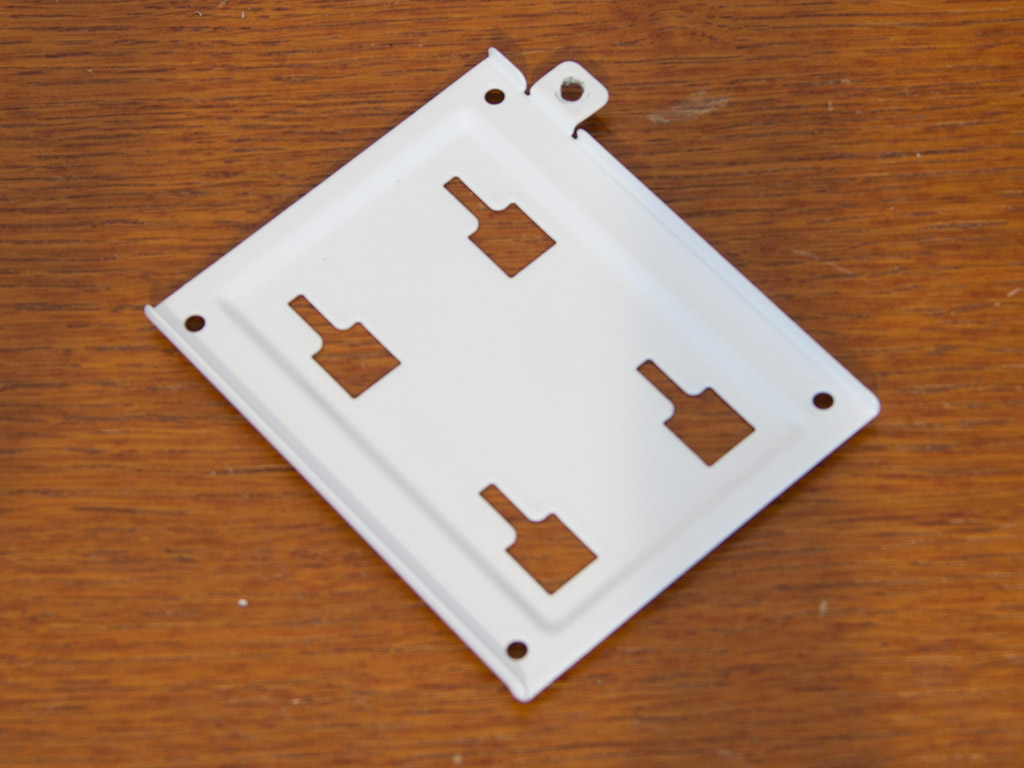


For those looking to use the 2.5" tray on the backside of the motherboard tray, the use of a screw driver is required as the drive is held in place on the tray by traditional means. Once filled, simply attach it to the backside of the tray, using the single thumbscrew to pin it down.
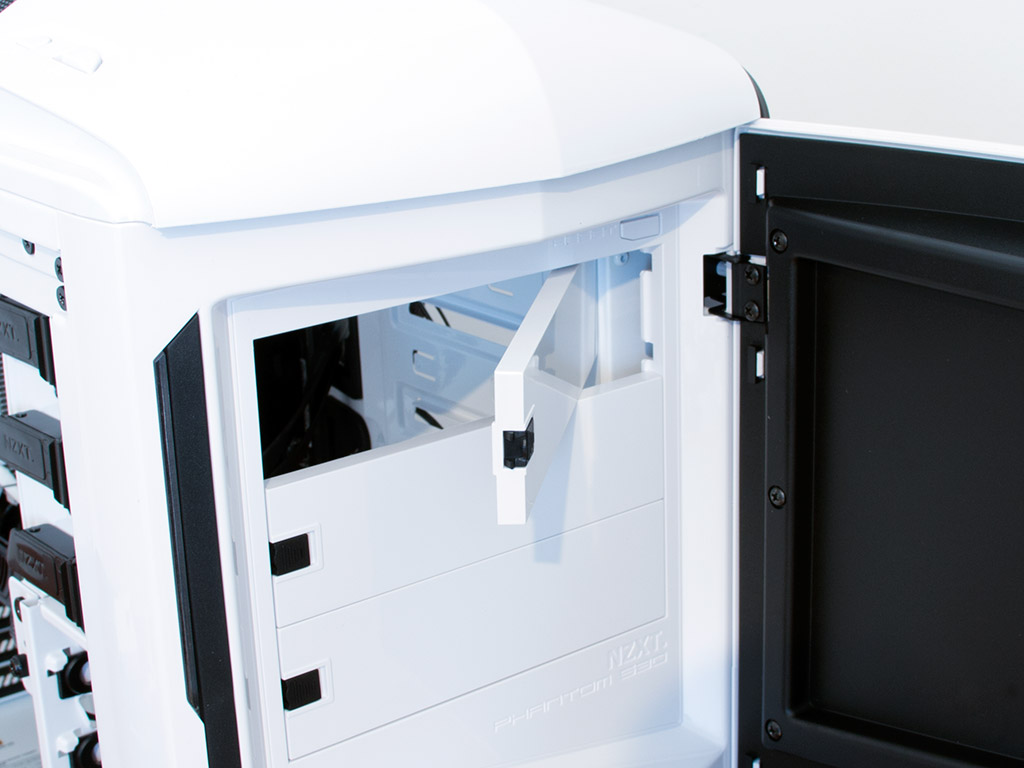
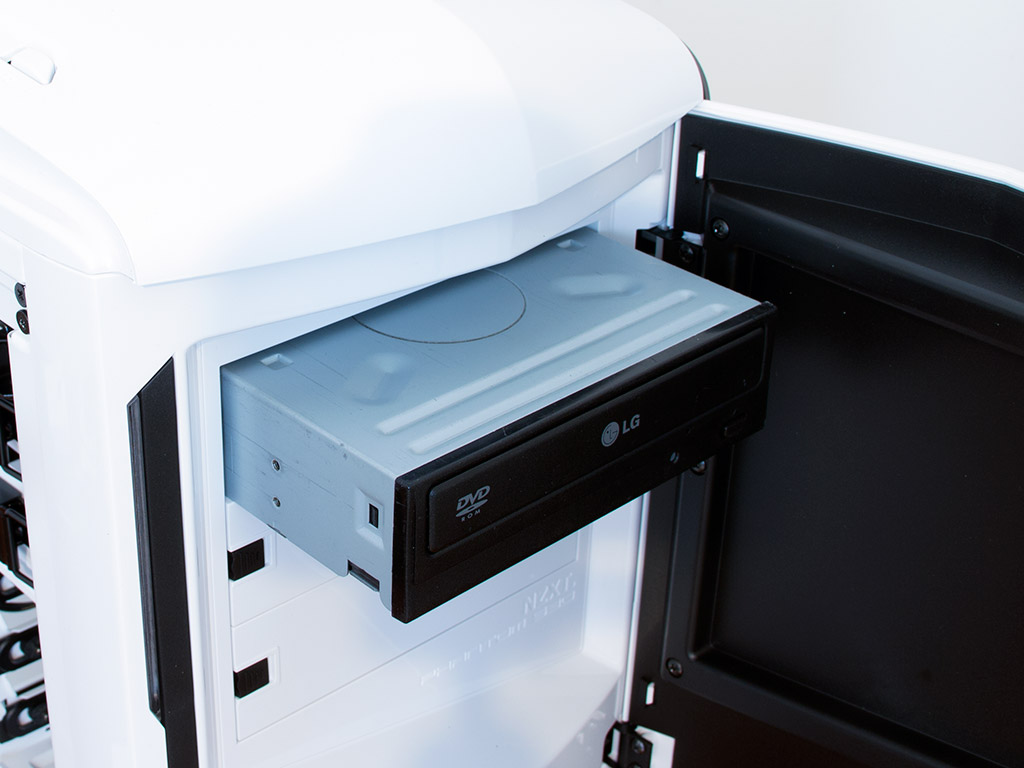
Installing an optical drive within the Phantom 530 does not require any tools. Once the bay of your choice is free, unlock the metal tension lock and slide the drive into position. Last but not least, snap the lock back into place, at which point the drive will be held in place quite well. You may want to apply a single screw to the opposite side to kill any vibrations these drives may cause.
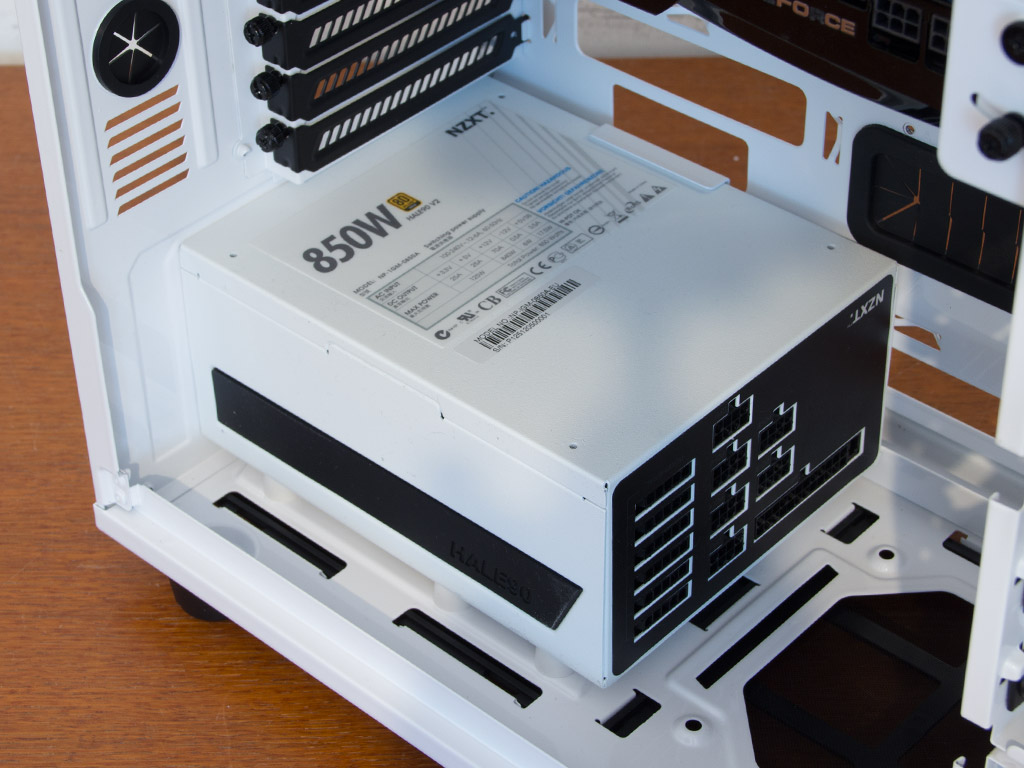
Installing a power supply is done by traditional means and does not bear any surprises. Simply screw your PSU down with the provided screws.

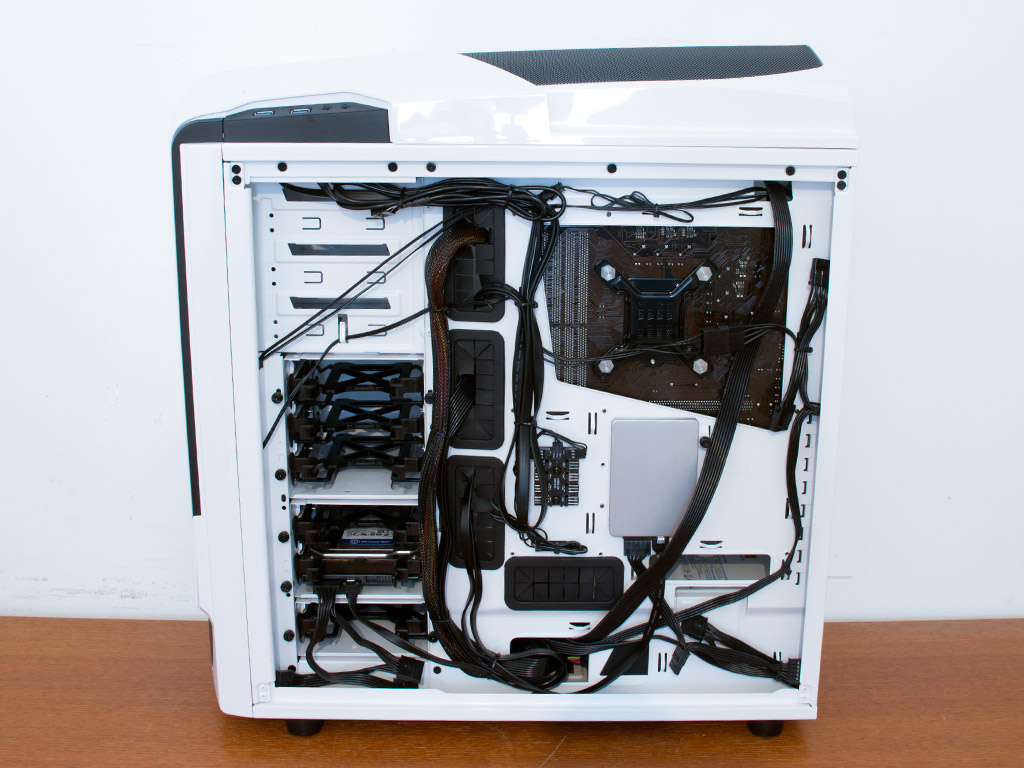
With everything in place, the Phantom 530 makes an excellent impression, as all the cables are routed out of sight of the user. While the interior of the chassis is completely free of cables, the rear holds all of the mess, hiding it away nicely.
Finished Looks
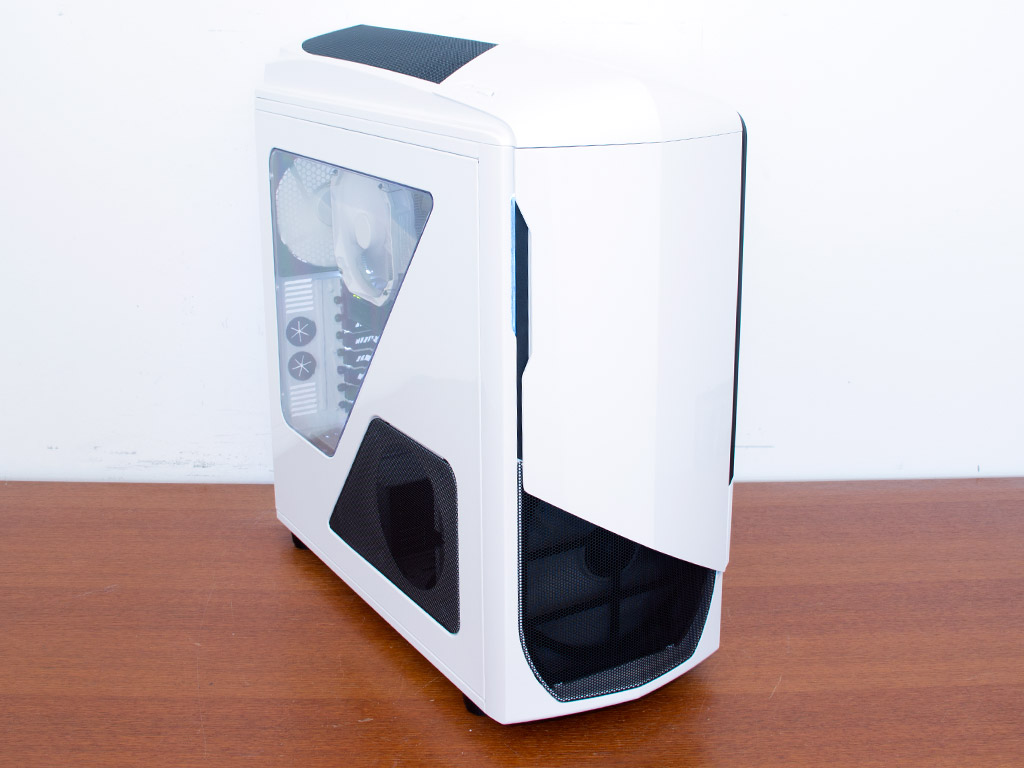

With the panels back in place, the Phantom 530 puts the same smile on our face as the original did back when it was released years ago. The rear has NZXT's signature LED which lights the I/O panel of the motherboard. This is extremely useful when trying to find the right plug in the dark. You may turn this light off with a push of the button found on the top of the chassis.
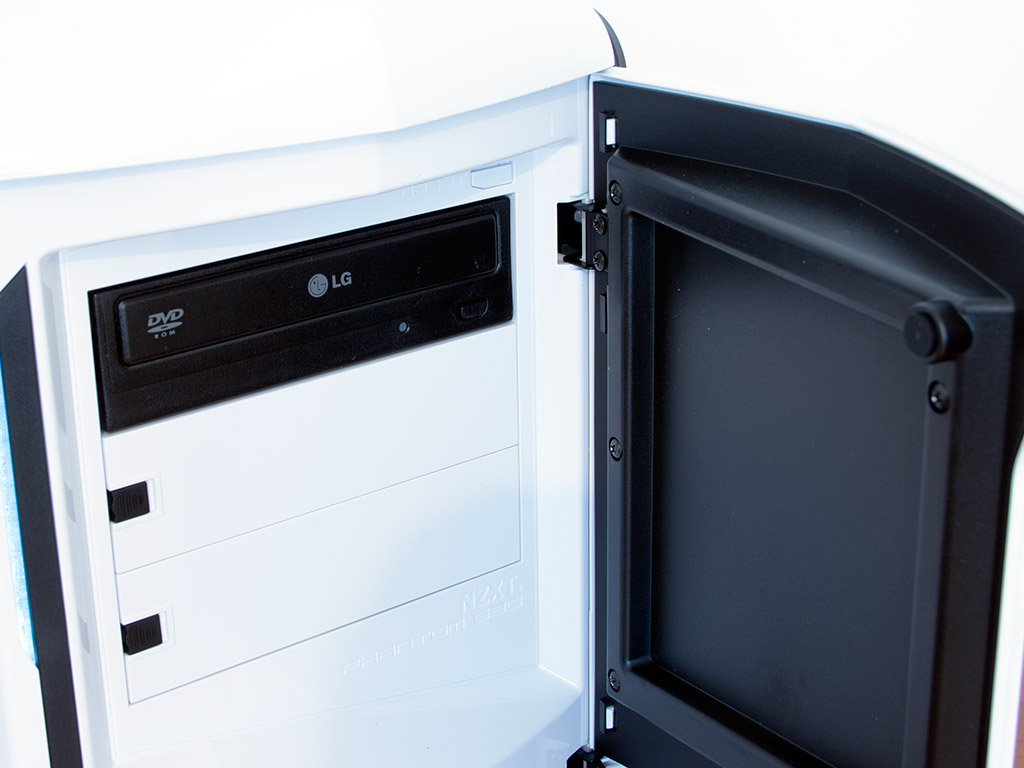
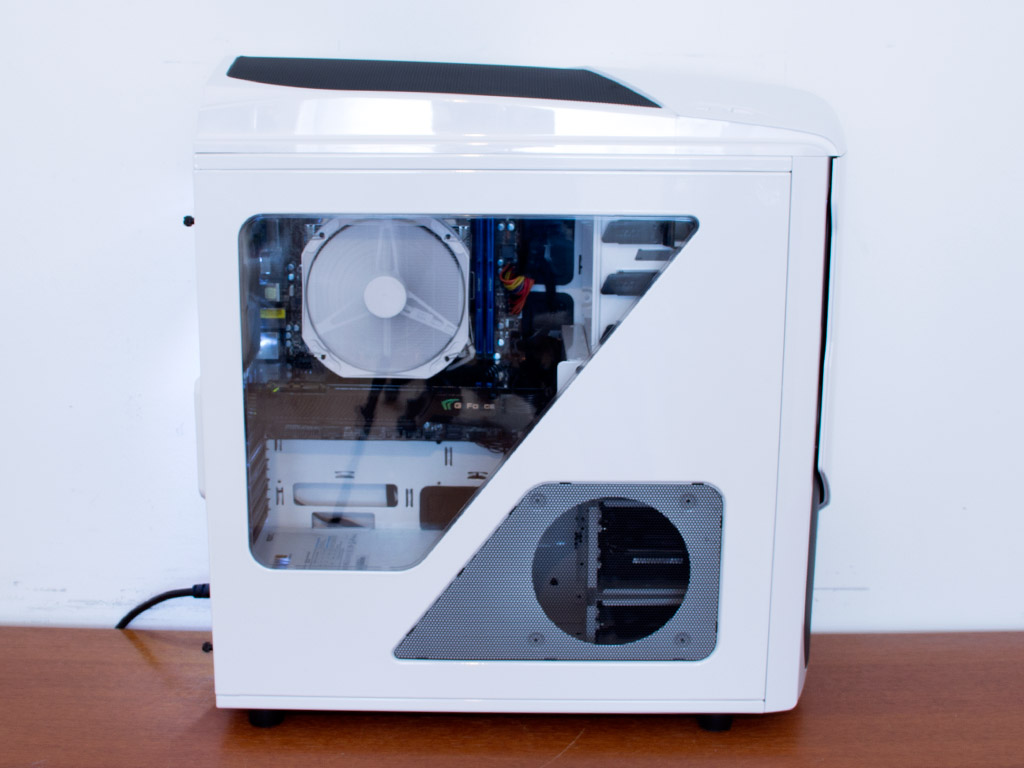
The front cover allows you to use any colored optical drive, but we would be lying if we were to say that black wasn't the best choice of color. Looking through the side window, one can clearly see the CPU cooler, graphics card, and top of the PSU, while any boring parts, like the optical drive or all hard drives, cannot be seen.
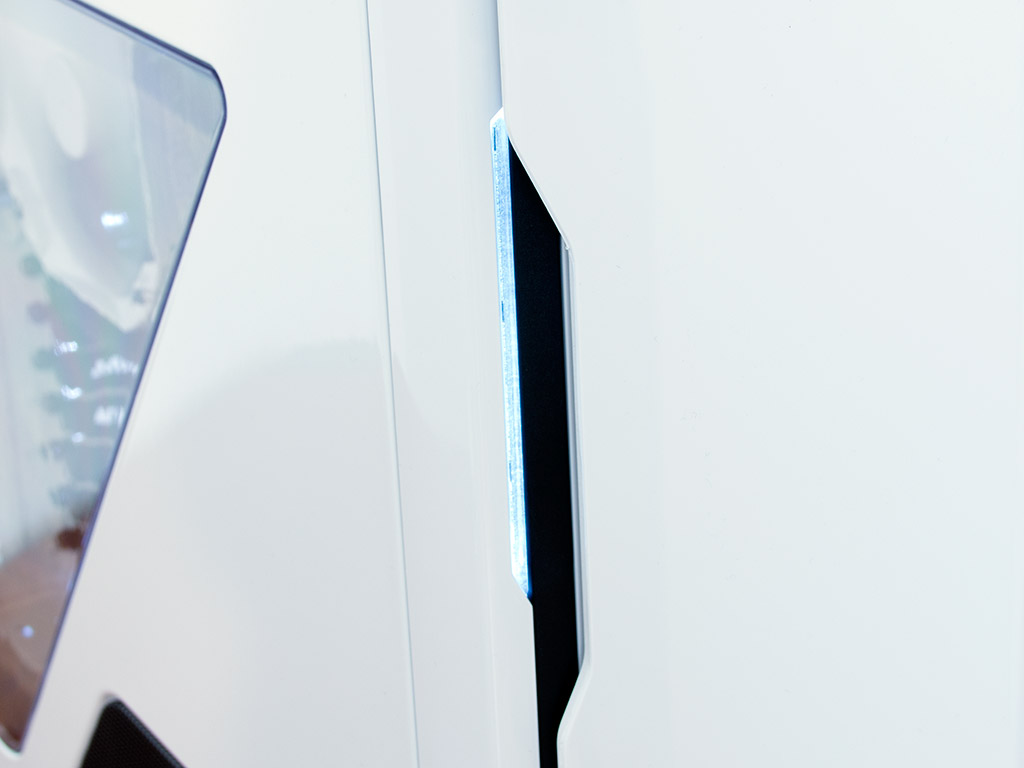
A white LED strip on the Phantom 530's left edge lights up once the system is turned on. This can be considered one signature design elements of the entire Phantom series, and NZXT has thus included it in their newest iteration.
May 12th, 2024 21:39 EDT
change timezone
Latest GPU Drivers
New Forum Posts
- Which Audio System Would you Choose and Why? (13)
- Last game you purchased? (285)
- ¿what is this setting in power options called "AMD power slider"? (5)
- Air makes its way from the reservoir into the radiator. (43)
- Purchased an AX1200i PSU as part of some forward planning, what tier is this PSU? (59)
- Locked/Greyed out settings while undervolting with ThrottleStop 9.5 (16)
- How to install nvidia driver for rtx3080 on windows 1709? (66)
- I don't think Ryzen 9900x3d is just being announced next month, I think it's launching next month. (67)
- Alphacool 280 xt45 Radiator repair (12)
- Regular frametime spikes in all games (8)
Popular Reviews
- ZMF Caldera Closed Planar Magnetic Headphones Review
- Corsair MP700 Pro SE 4 TB Review
- Bykski CPU-XPR-C-I CPU Water Block Review - Amazing Value!
- ThundeRobot ML903 NearLink Review
- Upcoming Hardware Launches 2023 (Updated Feb 2024)
- CHERRY XTRFY M64 Pro Review
- AMD Ryzen 7 7800X3D Review - The Best Gaming CPU
- ASUS Radeon RX 7900 GRE TUF OC Review
- Corsair iCUE Link RX120 RGB 120 mm Fan Review
- Sapphire Radeon RX 7900 GRE Pulse Review
Controversial News Posts
- Intel Statement on Stability Issues: "Motherboard Makers to Blame" (266)
- AMD to Redesign Ray Tracing Hardware on RDNA 4 (224)
- Windows 11 Now Officially Adware as Microsoft Embeds Ads in the Start Menu (171)
- NVIDIA to Only Launch the Flagship GeForce RTX 5090 in 2024, Rest of the Series in 2025 (147)
- Sony PlayStation 5 Pro Specifications Confirmed, Console Arrives Before Holidays (119)
- AMD's RDNA 4 GPUs Could Stick with 18 Gbps GDDR6 Memory (114)
- AMD Hits Highest-Ever x86 CPU Market Share in Q1 2024 Across Desktop and Server (109)
- AMD Ryzen 9 7900X3D Now at a Mouth-watering $329 (104)