 22
22
NZXT Switch 810 Review
Value & Conclusion »Assembly

Installing the motherboard is done by traditional means with the use of metal spacers. A full size ATX unit looks tiny in the roomy Switch 810 chassis and there is more than enough space for large CPU coolers or thick radiators.


The hard drives are placed within the chassis using plastic trays. While a 3.5 inch drive does not require any tools, you will have to utilize screws to hold SSDs in place.


Interestingly enough, you need to slide the drives in from the motherboard tray side until the tray snaps into place. All connectors also face this side, so that you can easily keep things clean and tidy within the case.


The hot-swap tray requires a bit more work. Upon removing it from the front of the chassis, you need to use traditional screws to hold a drive in place. Once filled, slide it into the bay until it connects firmly with the PCB and replace the front cover. While this feature is great, I would have liked to see a real hot-swap bay, which does not require any screws or tools.


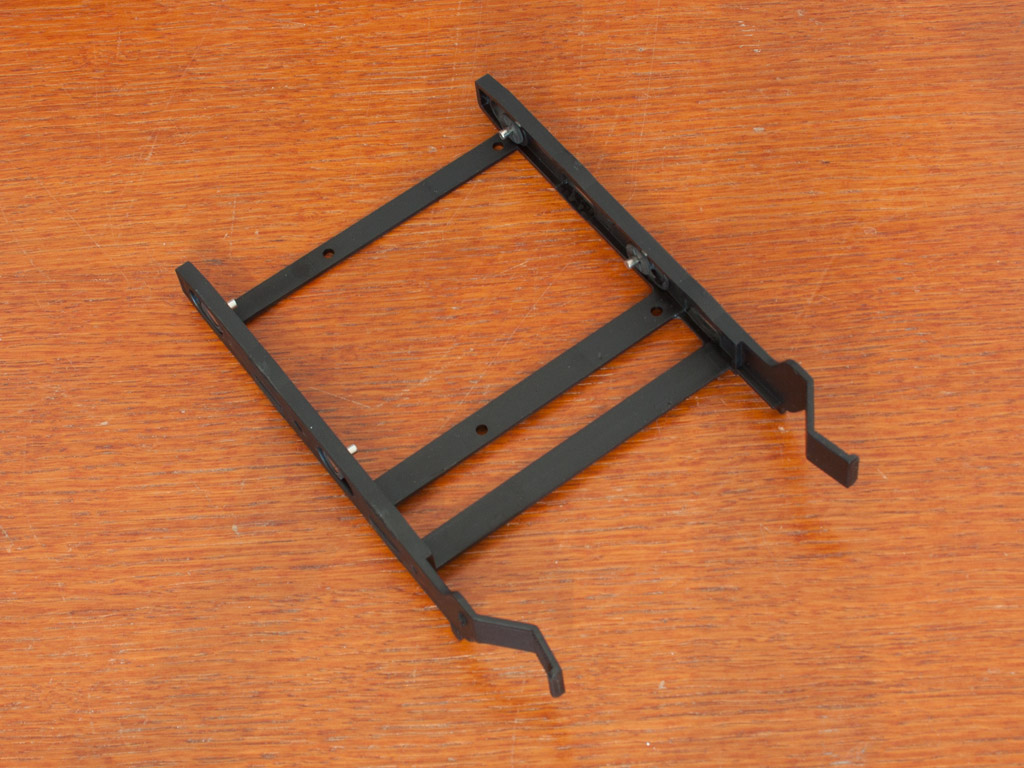
Installing the optical drive bay is just as one has come to expect from NZXT. Simply remove the front cover of the bay of your choice and slide the unit into place. Last, but not least, snap the black lock into place, at which point it still has a tad bit of play but should stay in place nicely. You may use a thumb screw to secure it properly as they are lined up right next to each bay.

Inserting the power supply is no rocket science either. Put it into position and use the screws provided - that's it, move along folks.


Once everything is installed, the Switch 810 makes an excellent impression. Thanks to the many openings and hidden hard drive bays, there are barely any cables visible from the main side. All of them are hidden nicely behind the motherboard tray - well done NZXT!
Finished Looks


Once both side panels are put back in place, the Switch 810 makes a really good impression - especially as the black ODD is hidden nicely behind the drive bay cover. You can clearly see all the major parts within the system, thanks to the big window. Overall, the chassis should be an excellent choice for those who would like to show off every part.

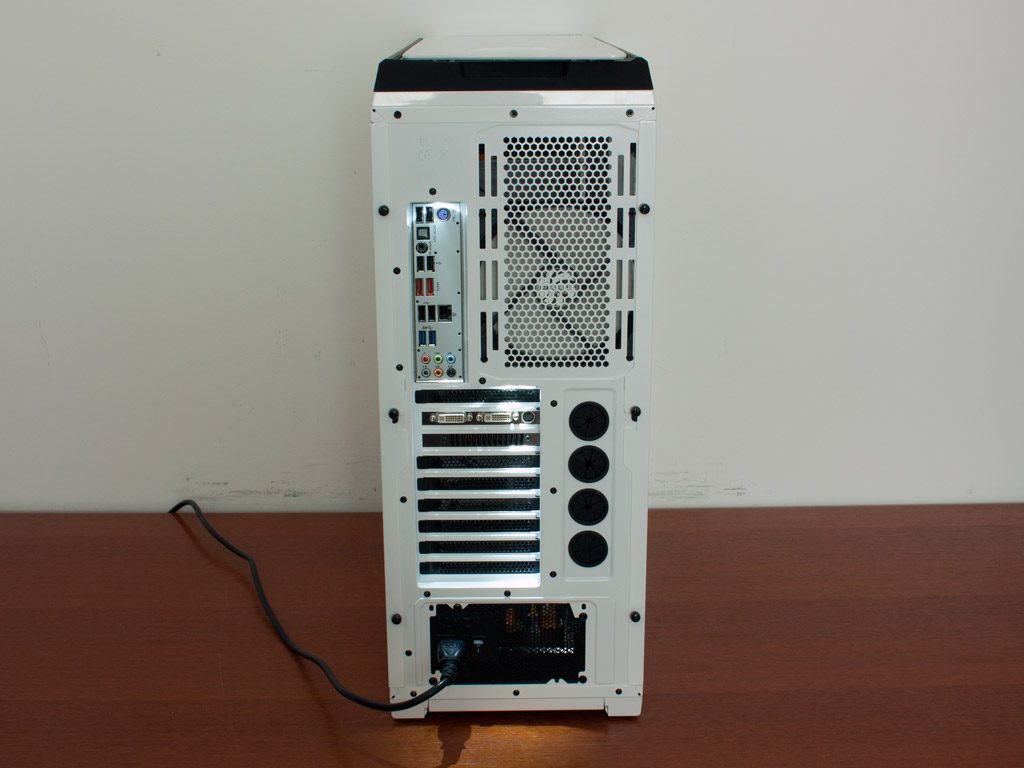
A white LED in the top of the chassis lights up when the system is powered up. It is refreshing to see, that NZXT is continuing the trend to do so, instead of simply putting a round Light somewhere. Last but certainly not least, the entire back of the chassis lights up! Yes, two LEDs in the back light up all connectors, so that you will never have to curse and search for that USB or audio plug in the dark under your desk or at a LAN party. This is a pretty cool and unique feature - nifty!
May 6th, 2024 20:00 EDT
change timezone
Latest GPU Drivers
New Forum Posts
- Only some humans can see refresh rates faster than others, I am one of those humans. (193)
- Cybersecurity - OSINT Software for Linux (0)
- Update on the whole PC rebooting issue. There was an extra standoff in the case, but now it's crashing even more (3)
- The Official Thermal Interface Material thread (1166)
- Battery swap for cyberpower UPS (62)
- What's your latest tech purchase? (20449)
- Silly question about upcoming CPU Upgrade (9)
- Gigabyte Aorus Elite AX V2 rev 1.1 BIOS update "AMD AGESA V2 1.2.0.B" (0)
- How can I improve my media serving setup? (1)
- Apparently Valve is giving refunds on Helldivers 2 regardless of hour count. Details inside. (106)
Popular Reviews
- Finalmouse UltralightX Review
- ASRock NUC BOX-155H (Intel Core Ultra 7 155H) Review
- Meze Audio LIRIC 2nd Generation Closed-Back Headphones Review
- Cougar Hotrod Royal Gaming Chair Review
- Upcoming Hardware Launches 2023 (Updated Feb 2024)
- AMD Ryzen 7 7800X3D Review - The Best Gaming CPU
- Montech Sky Two GX Review
- ASUS Radeon RX 7900 GRE TUF OC Review
- HYTE THICC Q60 240 mm AIO Review
- Logitech G Pro X Superlight 2 Review - Updated with 4000 Hz Tested
Controversial News Posts
- Intel Statement on Stability Issues: "Motherboard Makers to Blame" (248)
- Windows 11 Now Officially Adware as Microsoft Embeds Ads in the Start Menu (167)
- AMD to Redesign Ray Tracing Hardware on RDNA 4 (165)
- Sony PlayStation 5 Pro Specifications Confirmed, Console Arrives Before Holidays (118)
- AMD's RDNA 4 GPUs Could Stick with 18 Gbps GDDR6 Memory (114)
- NVIDIA Points Intel Raptor Lake CPU Users to Get Help from Intel Amid System Instability Issues (106)
- AMD Ryzen 9 7900X3D Now at a Mouth-watering $329 (104)
- AMD "Strix Halo" Zen 5 Mobile Processor Pictured: Chiplet-based, Uses 256-bit LPDDR5X (103)