 6
6
Silverstone Precision PS06 Review
A Closer Look - Inside »A Closer Look - Outside

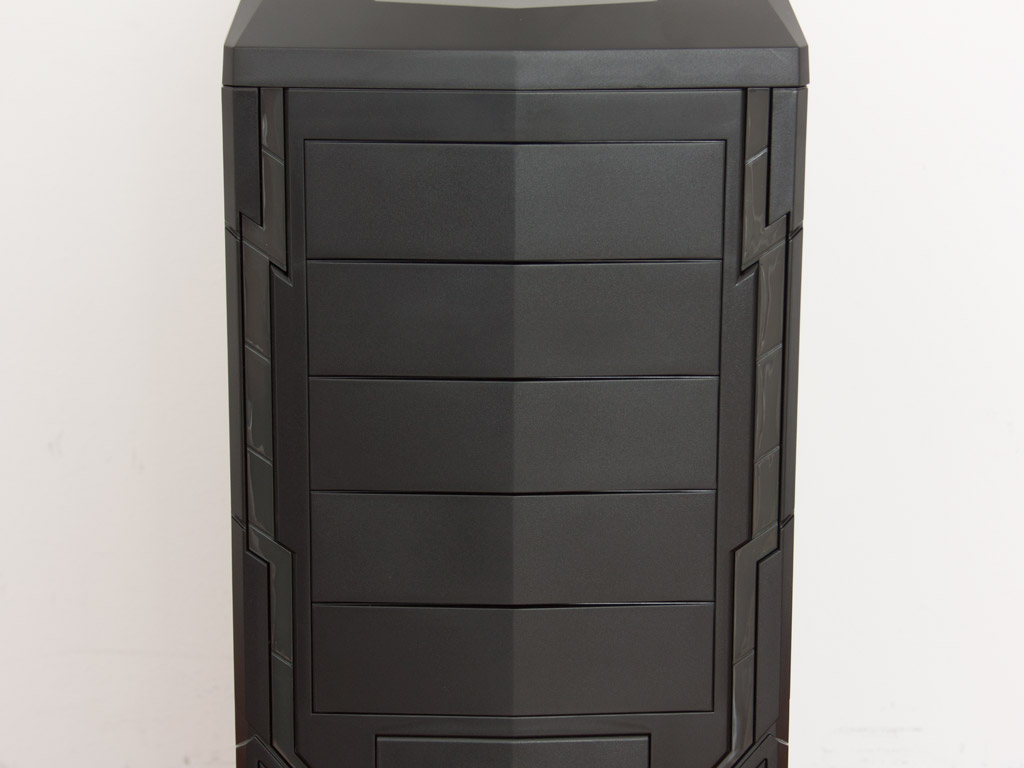
Silverstone has spent some time creating a very cool looking case with a lot of small details. The all black version (or better black/dark grey) looks pretty sweet, but having seen the black/blue variant, this one is quite the understated one of the bunch.
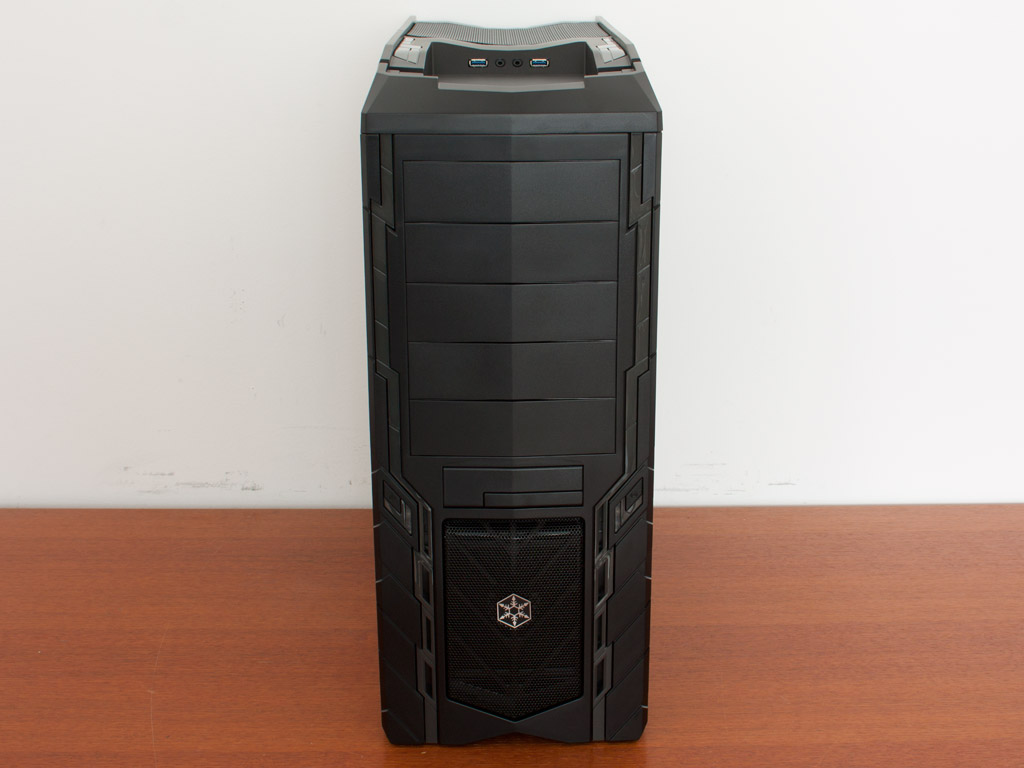

When designing the chassis, Silverstone has clearly taken its inspiration from the Raven series. The shield like front edge is also present in those cases. In the rear it becomes apparent that the entire chassis is black, including the interior and that there is no fan included in this area of the chassis.

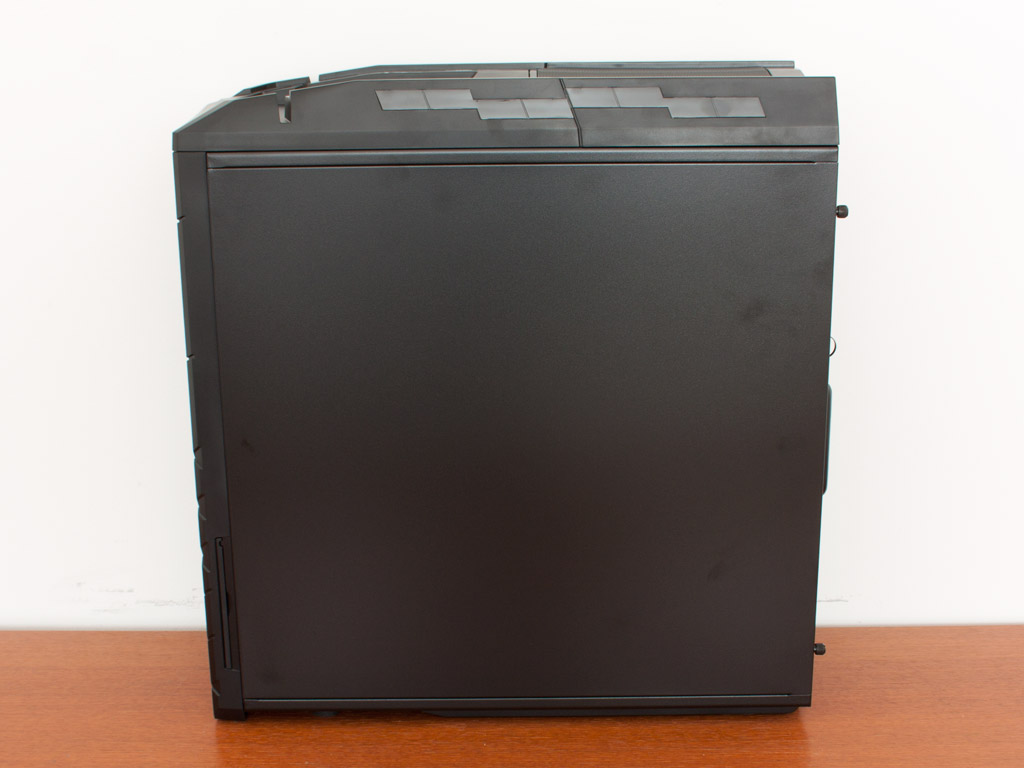
Both side panels of the PS06 are completely solid as there are no air vents or fan holes anywhere. This should aid in keeping the operating noise of the components within the chassis.

A fairly compact mesh part in the front gives way to fresh air to the included front intake fan. Above that is a 3.5 inch bay which has been modified to a hot-swap SATA bay. This is actually a pretty nifty spot for something like that, as you can easily place the chassis under your desk and still have unrestricted access to the bay - unlike those cases with such a feature in the ceiling. Above that are the five 5.25" drive bays, plenty by today's standards.
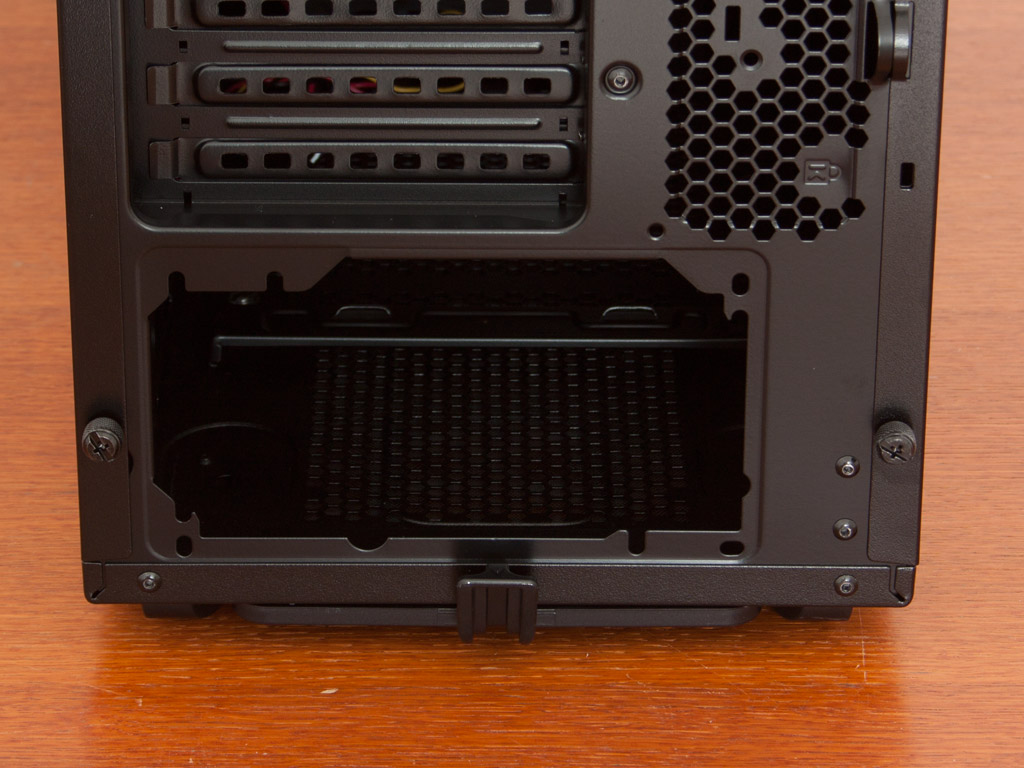


In the rear, the PSU bay can be found on the bottom, which allows you to install a power supply with the fan facing up- or downward. The eight motherboard expansion slots above that also act as air vents. In the very top you may install a 120 mm fan. If you look closely you can see a Silverstone logo on the plastic top panel. This clip allows you to pull off the top cover as we will see in a second.


A fairly large compartment has been embedded into the top of the chassis. Grooves on either side allow for cables to run down the side of the chassis. As mentioned before, the PS06 only ships with a pair of USB 3.0 and the usual audio connectors in the top I/O panel. While this will suffice for most, it would have been nice to see a more complete range. The second half of the top panel is a large metal mesh air vent. Underneath it is a large 180 mm Air Penetrator fan which actually pushes air in. This setup creates positive air pressure within the chassis, keeping dust out - much like a clean room at a fabrication plant for CPUs for example. You may also select the fan speed with a simple high/low switch in the rear of the chassis. While this is great, the cables of the Air Penetrator fan are actually firmly attached to this clip and replacing the fan means losing this functionality.


You will find dust filters on the underside of the chassis and in the front panel. In addition, there is a non-removable filter protecting the large 180 mm intake fan on top.
Apr 26th, 2024 18:25 EDT
change timezone
Latest GPU Drivers
New Forum Posts
- Best SSD for system drive (94)
- What phone you use as your daily driver? And, a discussion of them. (1492)
- AMD Radeon™ R9 390X (GV-R939XG1) (0)
- TPU's Nostalgic Hardware Club (18475)
- looking to build a new system and im considering asrock brand but i have some doubts/concerns. (6)
- What's your latest tech purchase? (20354)
- 5800x (and other Zen 3 chips) PBO settings/Temperature fix (934)
- Only EDP Other in Core? (2)
- Alphacool CORE 1 CPU block - bulging with danger of splitting? (30)
- Dell Workstation Owners Club (3061)
Popular Reviews
- HYTE THICC Q60 240 mm AIO Review
- MOONDROP x Crinacle DUSK In-Ear Monitors Review - The Last 5%
- Upcoming Hardware Launches 2023 (Updated Feb 2024)
- Alienware Pro Wireless Gaming Keyboard Review
- Thermalright Phantom Spirit 120 EVO Review
- Ugreen NASync DXP4800 Plus Review
- FiiO K19 Desktop DAC/Headphone Amplifier Review
- ASUS Radeon RX 7900 GRE TUF OC Review
- AMD Ryzen 7 7800X3D Review - The Best Gaming CPU
- Sapphire Radeon RX 7900 GRE Pulse Review
Controversial News Posts
- Windows 11 Now Officially Adware as Microsoft Embeds Ads in the Start Menu (135)
- Sony PlayStation 5 Pro Specifications Confirmed, Console Arrives Before Holidays (117)
- NVIDIA Points Intel Raptor Lake CPU Users to Get Help from Intel Amid System Instability Issues (106)
- AMD "Strix Halo" Zen 5 Mobile Processor Pictured: Chiplet-based, Uses 256-bit LPDDR5X (103)
- US Government Wants Nuclear Plants to Offload AI Data Center Expansion (98)
- AMD's RDNA 4 GPUs Could Stick with 18 Gbps GDDR6 Memory (95)
- Developers of Outpost Infinity Siege Recommend Underclocking i9-13900K and i9-14900K for Stability on Machines with RTX 4090 (85)
- Windows 10 Security Updates to Cost $61 After 2025, $427 by 2028 (84)