 0
0
Thermaltake Extreme Giant III Review
Performance, Value & Conclusion »Introduction
I would like to thank Thermaltake for supplying me with the unit for review.From the manufacturer Thermaltake:
- Application for video card with mounting holes on the PCB only
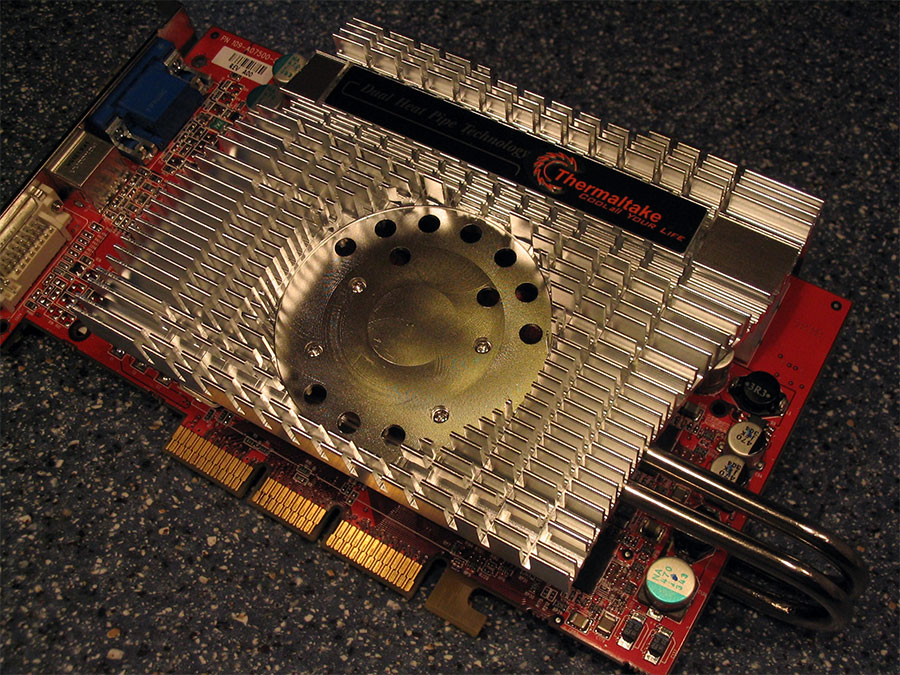
- Dual heatpipe moves the heat more efficiently
- Much better heat dissipation is delivered by larger heatsink surface
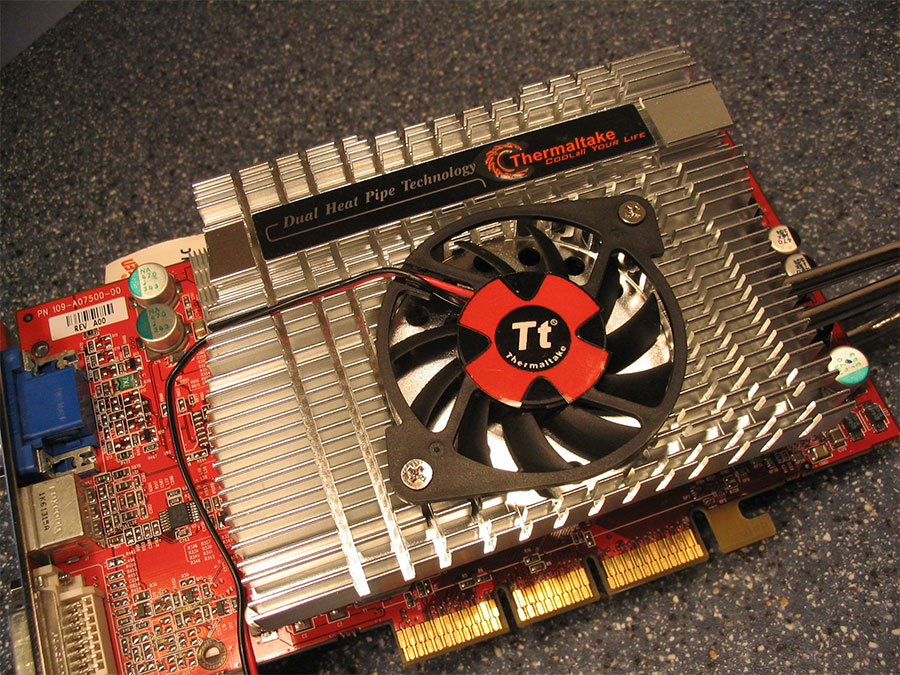
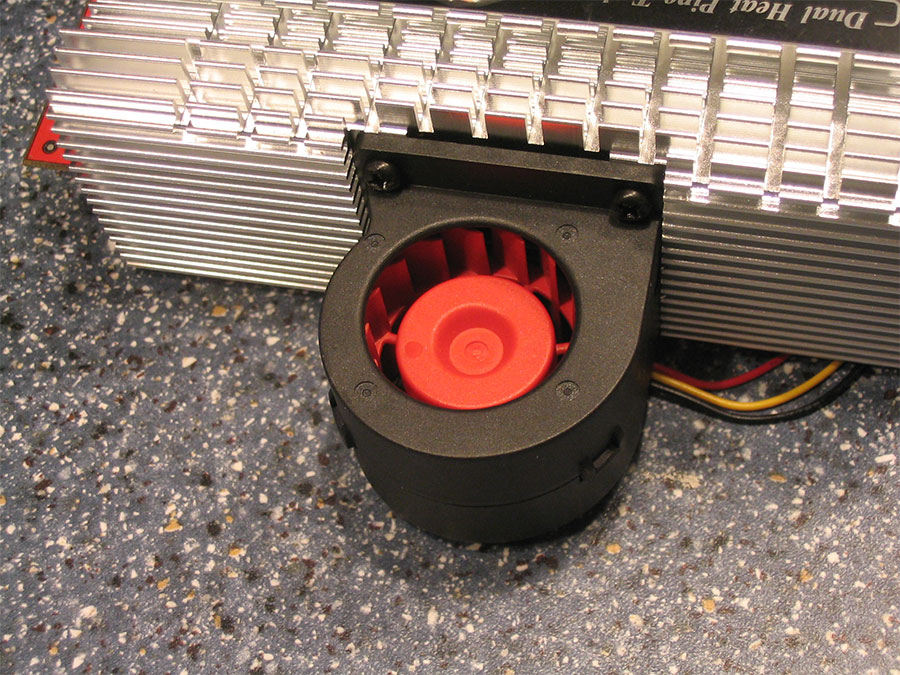
- Ventilation channel and blower fan improve the cooling performance
- Fan speed switch control the fan at different speed and noise level
- Universal clip for both nVIDIA and ATI
- Eight Copper Ramsinks included, can be applied on any chipset
Specification
| Heatsink: | Aluminum | ||
|---|---|---|---|
| Fan Type: | ReverFlow Fan | Blower | |
| Fan Dimension: | 60x60x10 mm | 40x40x40 mm | |
| Rated Voltage: | 12V | 12V | |
| Startup Voltage: | 7V | 7V | |
| Rated Current: | 0.35 A | 0.35 A | |
| Power Input: | 4.20 W | 4.20 W | |
| Speed Settings: | High, Medium, Low | On, Off | |
| Fan Speed: | High: Medium: Low: | 5300 RPM 4200 RPM 3000 RPM | 9000 RPM |
| Max. Air Flow: | 22.3 CFM | 3.53 CFM | |
| Max. Air Pressure: | 3.68 mmH2O | 6.56 mmH2O | |
| Noise: | High: Medium: Low: | 38 dBA 30 dBA 21 dBA | 41.6 dBA |
| Bearing Type: | 1 Ball, 1 Sleeve | Sleeve | |
| Life Expectation: | 40,000 hrs | 30,000 hrs | |
| Power Connector: | 4 Pin | 3 Pin | |
| Heatpipe: | Nickel-plated copper tube | ||
| Ramsink: | Copper, 20x9x6 mm | ||
Packaging


Box contents:
- Front Heatsink
- Back Heatsink
- Two Heatpipes
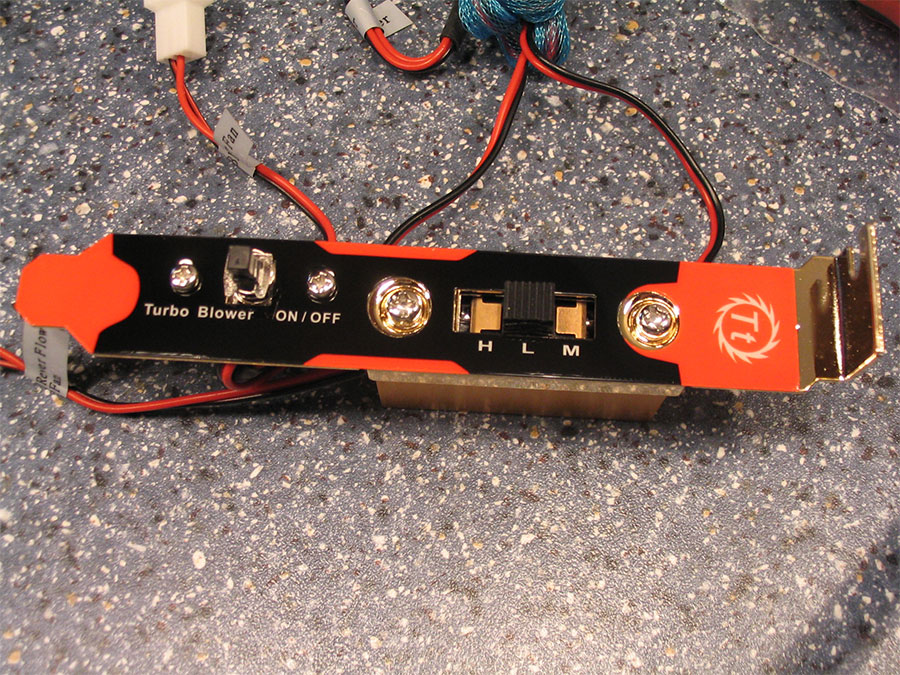
- PCI Slot Cover with two switches
- Eight Copper Ramsinks
- Front Heatsink Fan
- Blower Fan
- Thermal Grease
- Front and Back Heatsink Base with clipsets to hold them in place.
- Screw Packages A, B and C.
- Booklet with Installation Instructions


Installation
Installation of the Giant III is relatively complex because there are many parts. The instructions are very precise - split into three chapters keeping confusion at a minimum. The installation process takes about one hour if you do it the first time.Here is a quick summary of it:
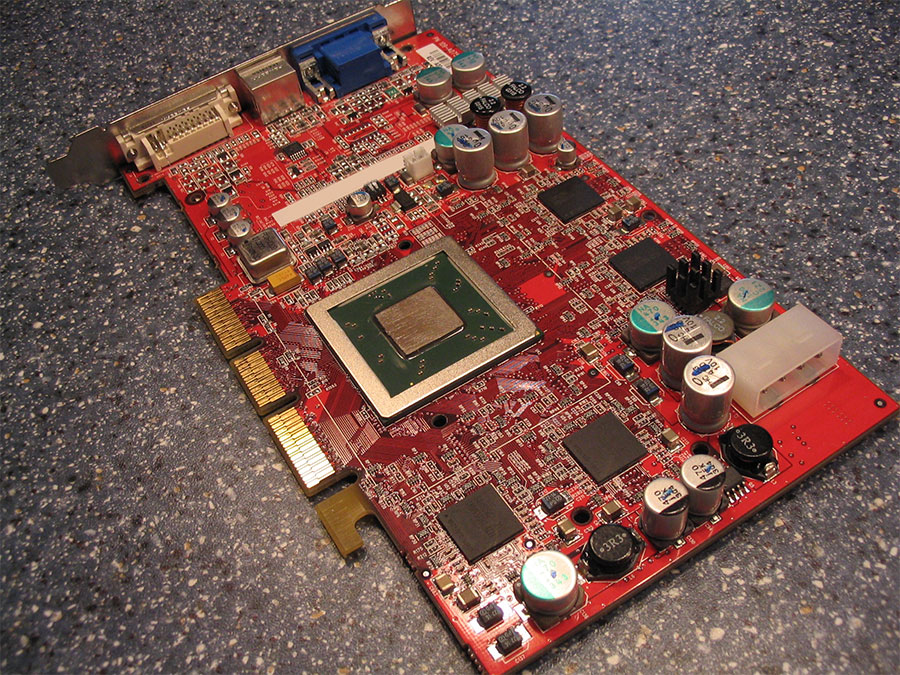
- Remove the stock cooler and clean GPU.
- Put thermal paste on GPU.
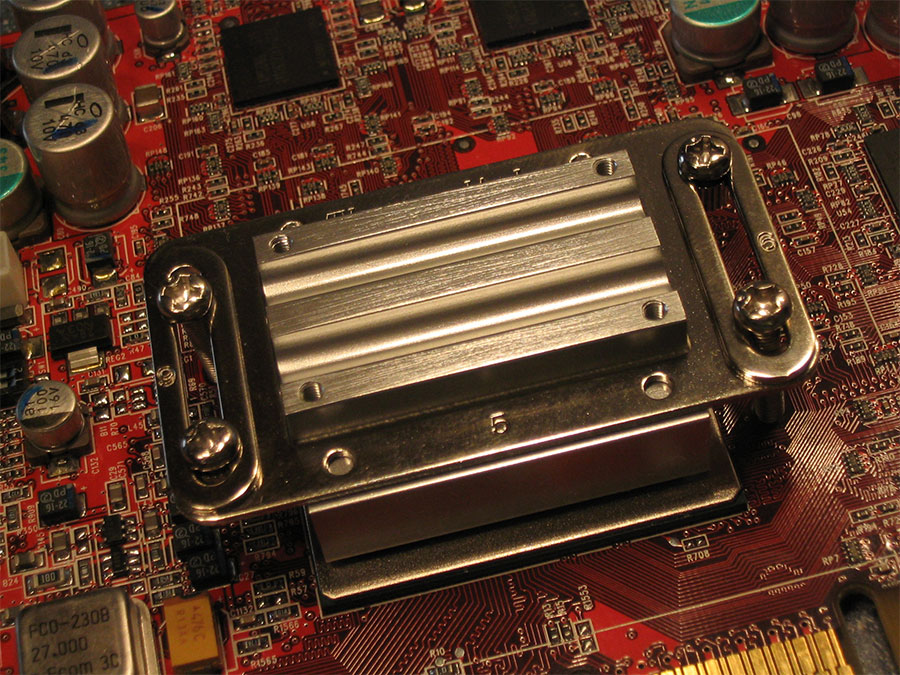
- Put front heatsink base on GPU.
- Put clipset on front heatsink base and fix it.
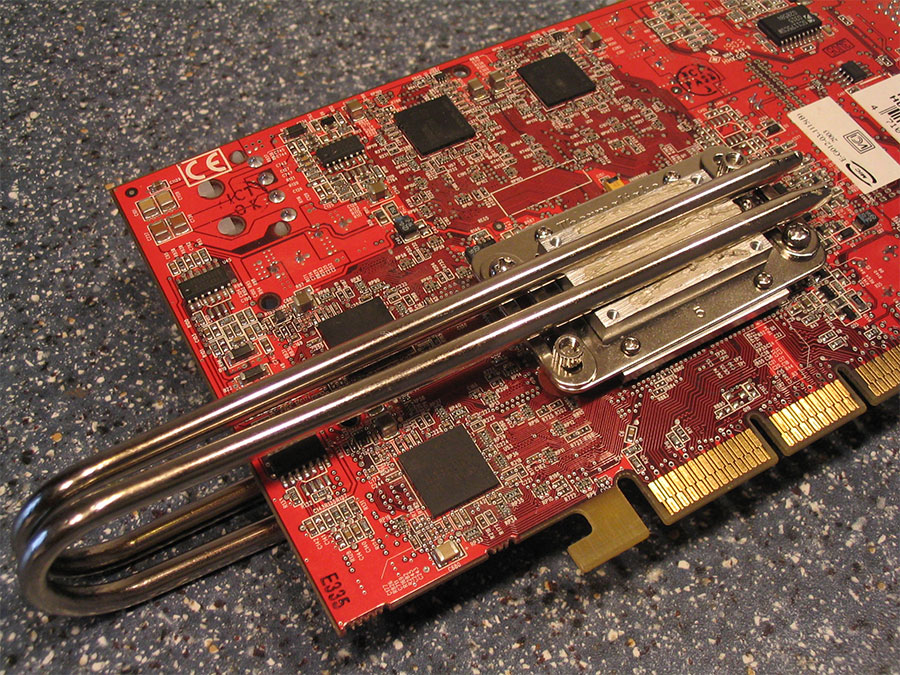
I found this step a bit difficult to perform since the front heatsink easily moves around while tightening the screws. It helped a bit to just hold the screw with the screwdriver and tighten the backside screw with the other hand. - Put rear heatsink base on video card backside.
- Put clipset on rear heatsink base and fix it.
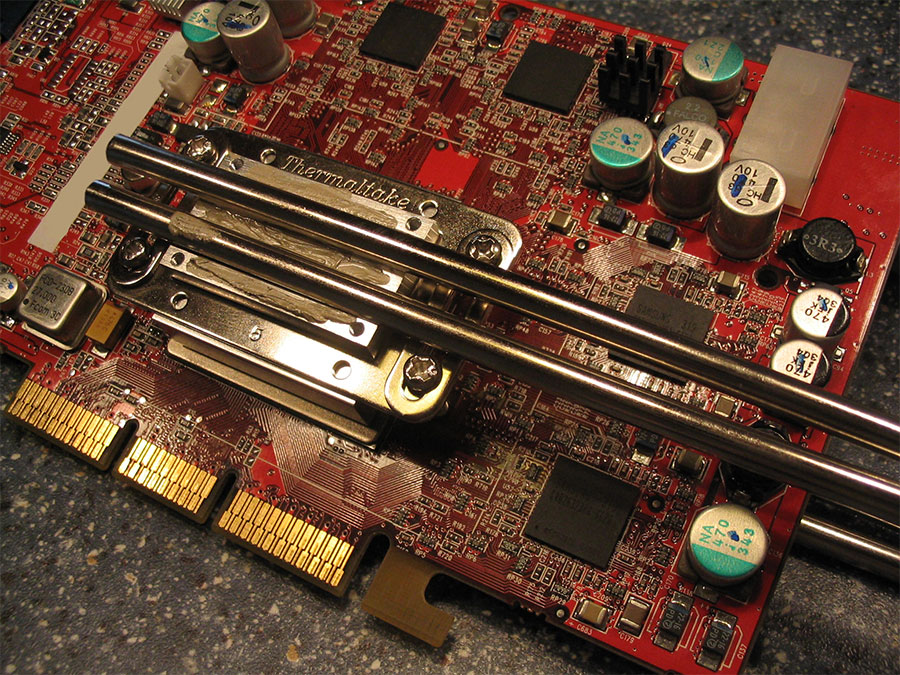
While screwing down the fixing screws I heard a strange 'pop' sound. After looking I found out that the screws go through the rear heatsink base, and push the protective adhesive tape on it away from the heatsink which makes a sound. This is perfectly fine and does not create any problems. - Apply thermal grease where the heatpipes will contact the front heatsink base.
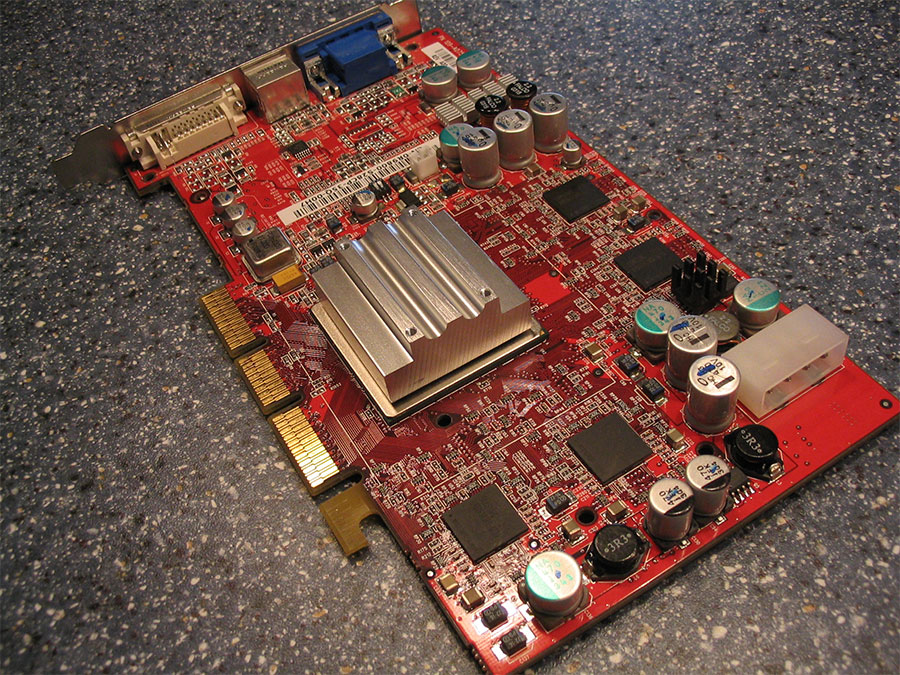
- Install front heatsink.
- Apply thermal grease where the heatpipes will contact the back heatsink base.
- Install back heatsink.
- Install fan on front heatsink.
- Install blower fan.
- Connect fans to speed switch.


On the backside the spacing between the Giant III backside cooling plate and Northbridge cooler is about 2 mm. Which is not enough if you plan on using a bigger aftermarket heatsink on your Northbridge.
Jun 30th, 2025 18:43 CDT
change timezone
Latest GPU Drivers
New Forum Posts
- Will you buy a RTX 5090? (581)
- The TPU UK Clubhouse (26529)
- Do you use Linux? (663)
- Can you guess Which game it is? (194)
- Help me choose the right PSU , Cooler Master vs Seasonic (53)
- HOW TO ADD NVMe M.2 SSD SUPPORT TO OLD MOTHERBOARDS WITH AWARD-Phoenix LEGACY SUPPORT? (2)
- Whats a fair asking price - MSI 4070 Super (4)
- HTPC Power Consumption Discussion, Upgrade vs Migration (18)
- RX 9000 series GPU Owners Club (1103)
- Rare GPUs / Unreleased GPUs (2111)
Popular Reviews
- Sapphire Radeon RX 9070 XT Nitro+ Review - Beating NVIDIA
- ASUS ROG Crosshair X870E Extreme Review
- Sapphire Radeon RX 9060 XT Pulse OC 16 GB Review - Samsung Memory Tested
- Lexar NQ780 4 TB Review
- AVerMedia CamStream 4K Review
- ASRock Phantom Gaming Z890 Riptide Wi-Fi Review
- AMD Ryzen 7 9800X3D Review - The Best Gaming Processor
- Upcoming Hardware Launches 2025 (Updated May 2025)
- NVIDIA GeForce RTX 5060 8 GB Review
- Intel Core Ultra 7 265K Review
TPU on YouTube
Controversial News Posts
- Intel's Core Ultra 7 265K and 265KF CPUs Dip Below $250 (288)
- NVIDIA Grabs Market Share, AMD Loses Ground, and Intel Disappears in Latest dGPU Update (204)
- Some Intel Nova Lake CPUs Rumored to Challenge AMD's 3D V-Cache in Desktop Gaming (140)
- Microsoft Partners with AMD for Next-gen Xbox Hardware (105)
- NVIDIA Launches GeForce RTX 5050 for Desktops and Laptops, Starts at $249 (104)
- Intel "Nova Lake‑S" Series: Seven SKUs, Up to 52 Cores and 150 W TDP (100)
- NVIDIA GeForce RTX 5080 SUPER Could Feature 24 GB Memory, Increased Power Limits (90)
- Reviewers Bemused by Restrictive Sampling of RX 9060 XT 8 GB Cards (88)