 4
4
be quiet! Pure Base 600 Review
Value & Conclusion »Test System
| System Parts for Case Reviews | |
|---|---|
| Processor: | Intel Core i5-6600K |
| Motherboards: | ATX: Fatal1ty Z170 Gaming K6+ mATX: ASRock Z170M Pro4S mini-ITX: ASRock Z170M-ITX/ac Provided by: ASRock |
| Graphic Card: | Long: NVIDIA GeForce GTX 280 OEM Short: HIS Radeon 5350 HD |
| Memory: | 16 GB ADATA XPG Dazzle DDR4 2800 MHz CL17-17-17 1.25V 16 GB ADATA XPG Z1 DDR4 3000 MHz CL18-18-18 1.35V 16 GB ADATA XPG Z1 DDR4 2400 MHz CL16-16-16 1.20V Provided by: ADATA |
| HDD: | Western Digital 320 GB 7200 RPM |
| SSD: | ADATA Premier Pro SP920 MLC 256 GB ADATA Ultimate SU800 3D TLC 256 GB ADATA Premier SP550 TLC 240 GB Provided by: ADATA |
| Power Supply: | Thermaltake Smart SE 630W ATX 2.3 |
| Cooling: | Air Cooling Mini-ITX: Thermalright AXP-100R Air Cooling mATX: Thermalright Macho 90 Air Cooling ATX: Thermalright Macho 120 Provided by: PC-COOLING.de |
Assembly

Installing the motherboard within the Pure Base 600 is done by traditional means, with the use of spacers and screws. Due to the compact dimensions of the chassis, any full ATX board will cover the main cable-routing holes, so you either pre-route all the cables and then install the board or opt for the remaining opening by the 5.25" drive bays.

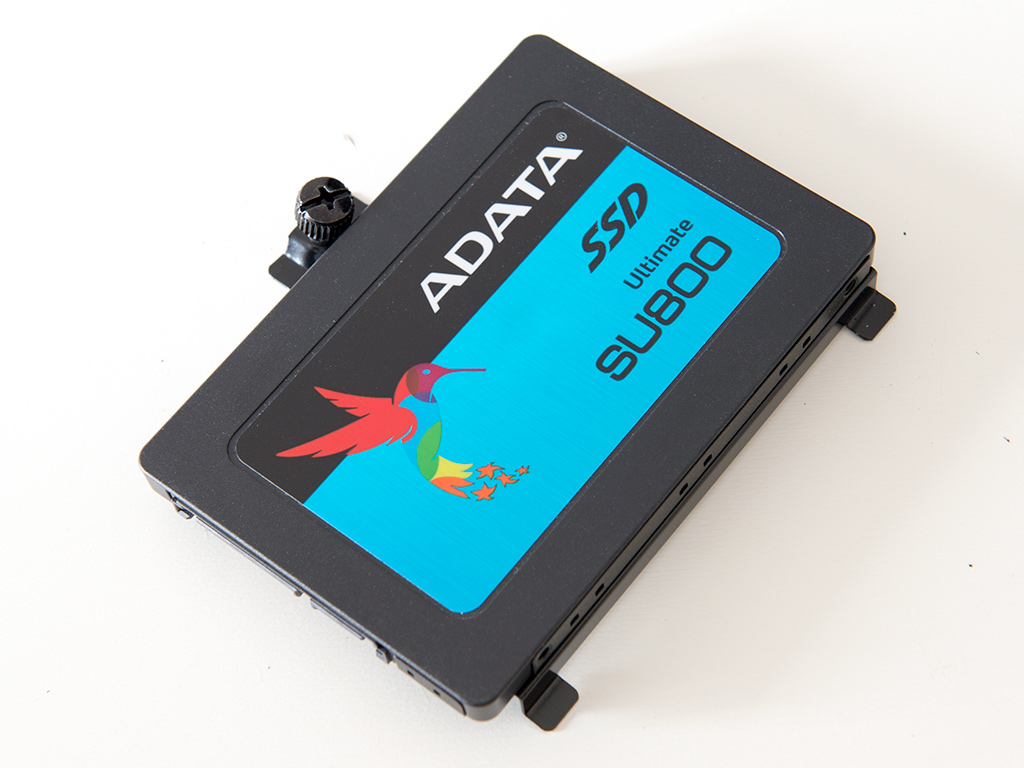

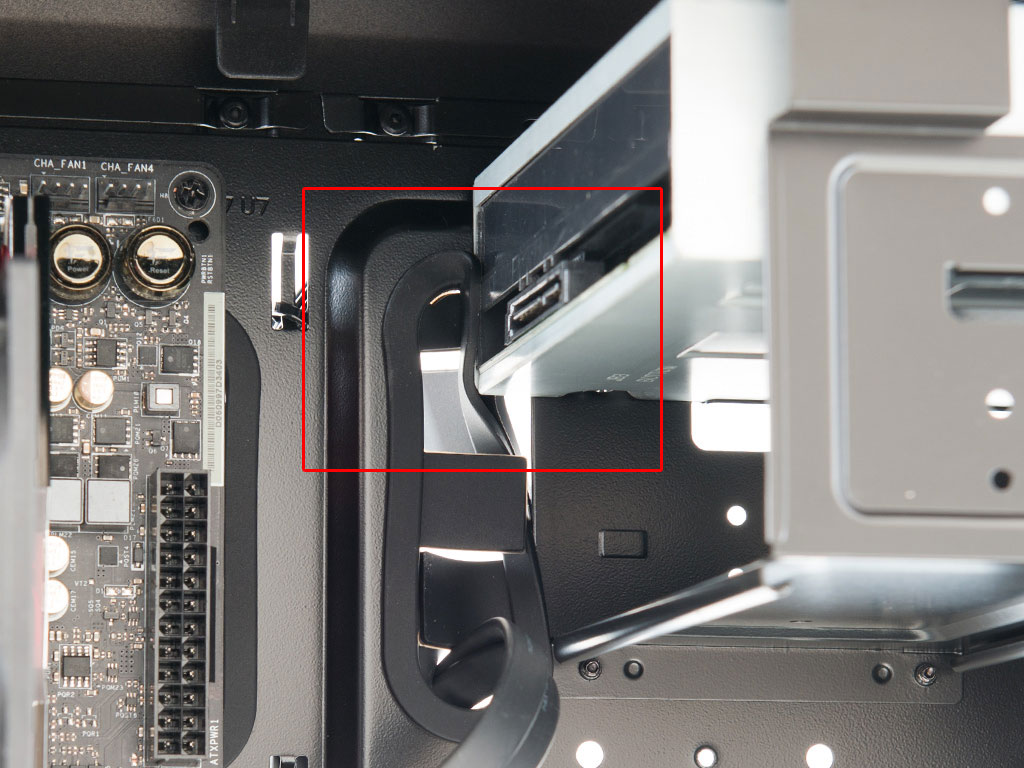
To install an SSD, you first take the bracket off the motherboard tray to then attach a drive to it with traditional screws. Once filled, place it back onto the motherboard tray and secure it with the thumbscrew.

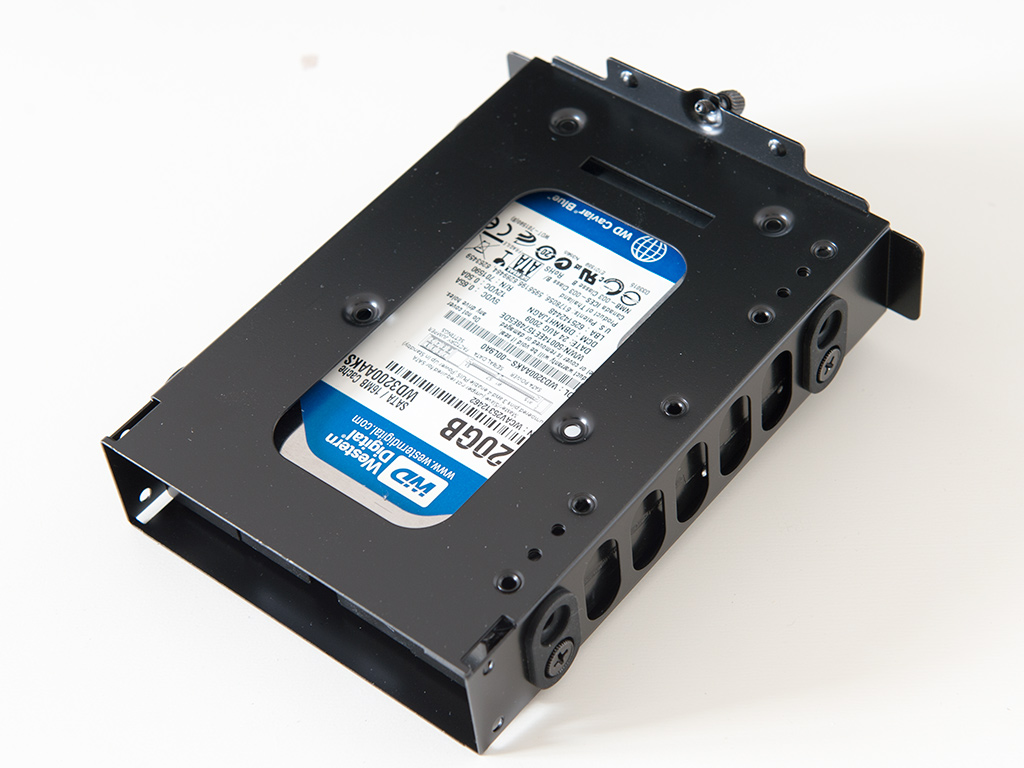
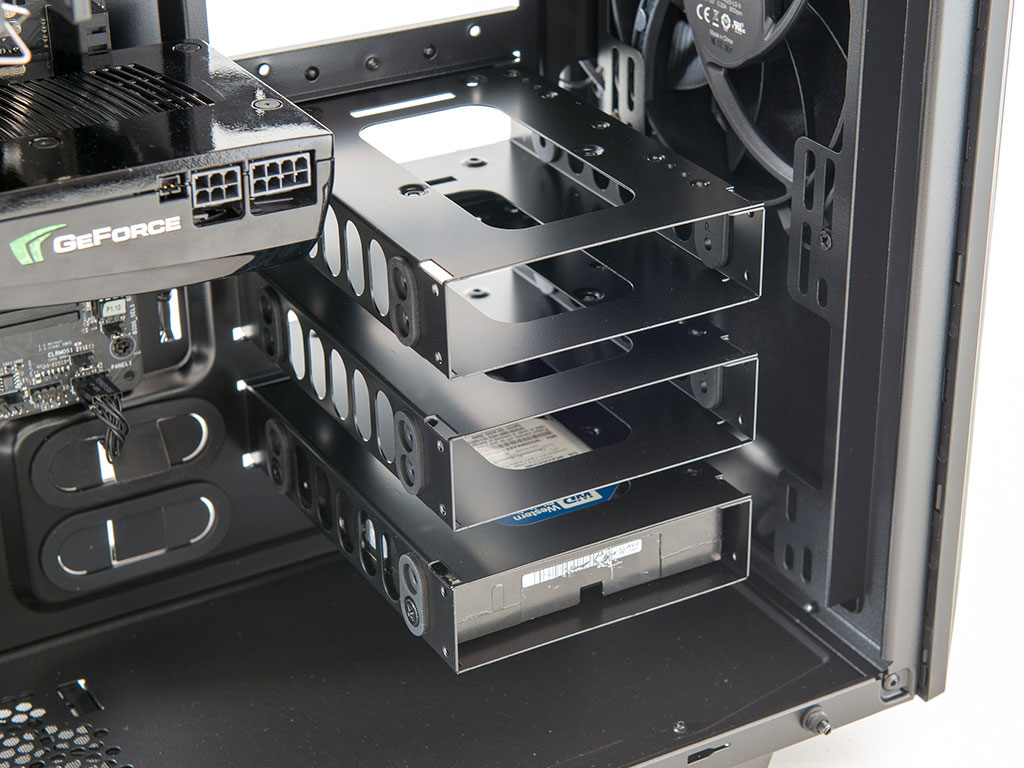
The 3.5" drive bay is actually quite elaborate. Pull one out of the chassis after removing the three thumbscrews holding it in place and you may slide a drive in and secure it with the special screws. Rubber inserts act as an anti-vibration measures. Once filled, slide it back into the bay of your choice.

Once in place, the drive connector sits flush with the motherboard tray, which should give you enough space to connect a cable to the storage unit.


Adding an optical drive is quite the traditional affair as you just have to remove the cover and slide the unit in to then secure it with thumbscrews. Interestingly enough, the grommet got in the way, so I had to use some tough love to get the drive past it. While this is a small design flaw, it is of no real-world consequence.
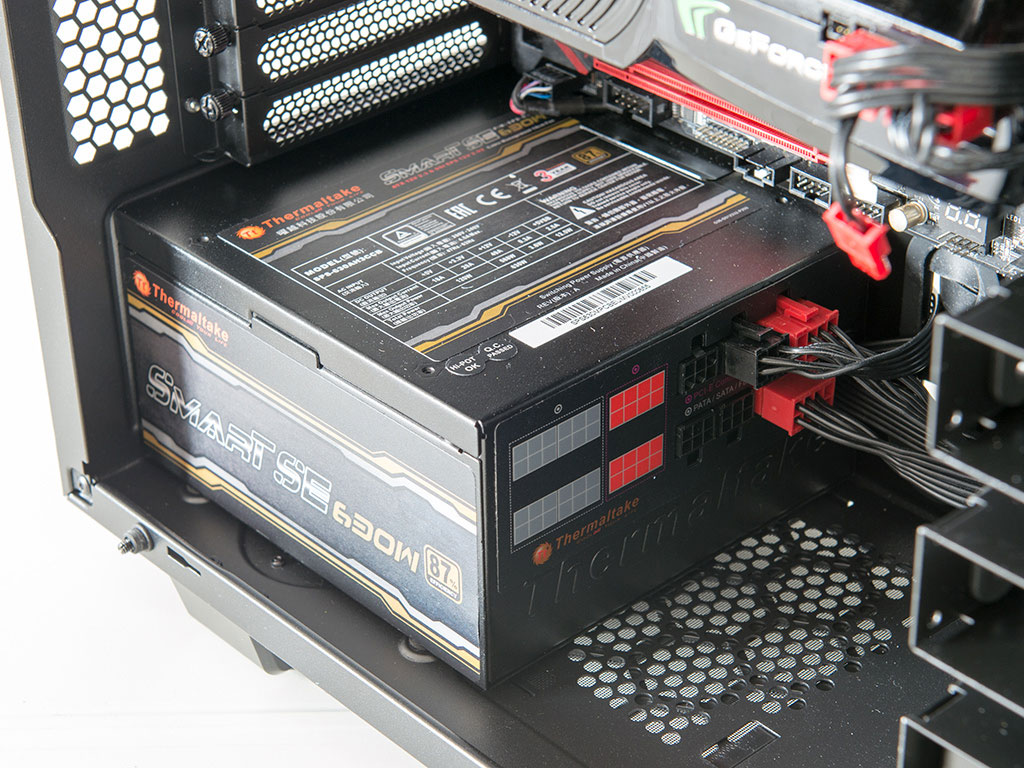
Installation of the PSU makes use of normal screws to hold it in place. As you may install a unit of up to 210 mm in size, it is pretty safe to say that any variant of your choosing will fit.

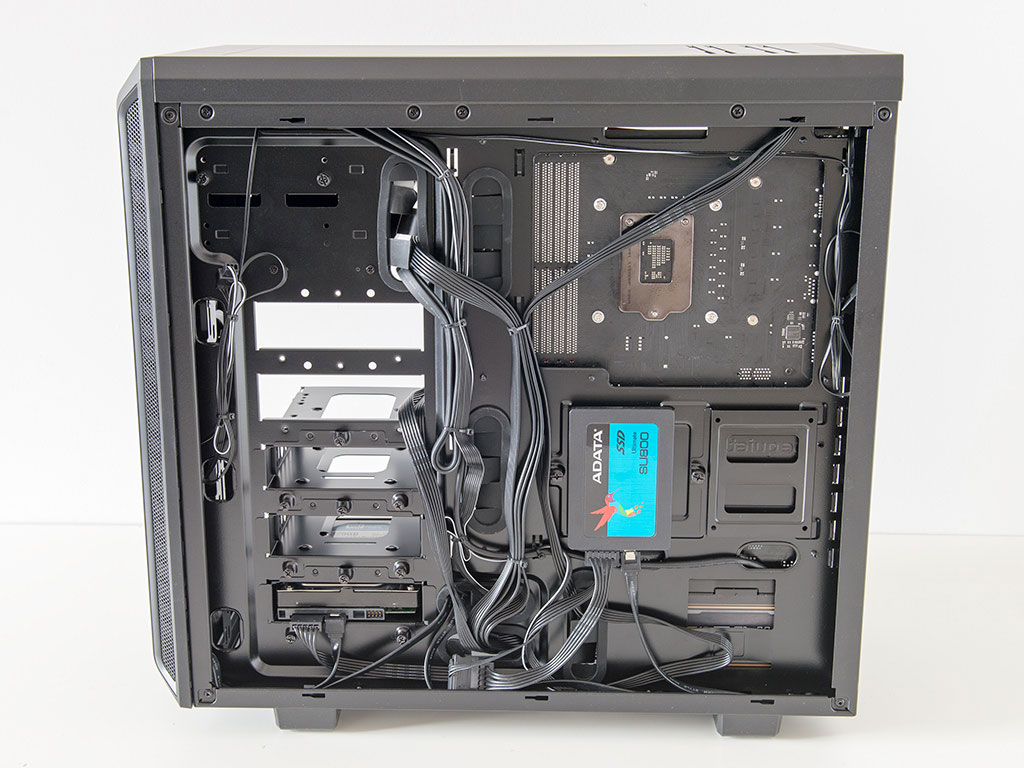
With everything installed, you can see that I had to route some cables through one of the available hard-drive bay openings. be quiet! could have avoided this issue by moving the main grommets about a centimeter towards the front of the chassis. While it would have still been a tight fit, one could have squeezed all the cables through quite easily. However, all the cable mess is hidden nicely behind the motherboard tray. Interestingly enough, the cutout for the CPU cooler also offers complete access to the underside of the DIMM slots, which seems pretty unusual.
Finished Looks
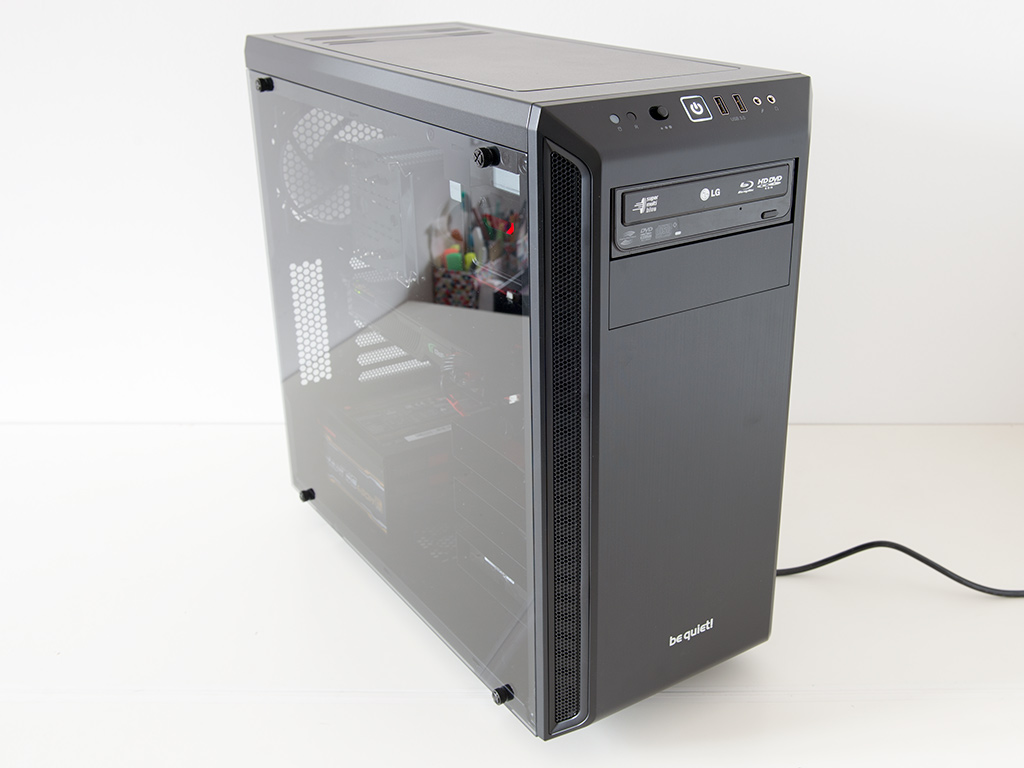
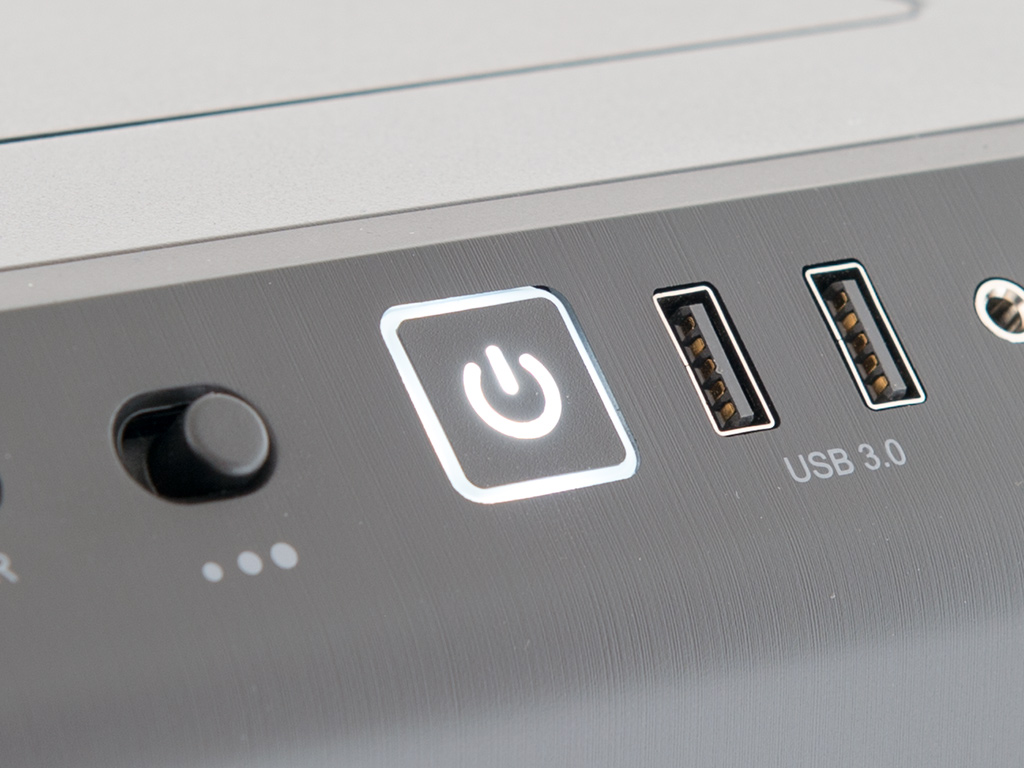
The first thing you will notice once the panels are placed back onto the chassis and the system has been turned on is the white LED around the power button. The be quiet! Pure Base 600 makes quite the nice and clean impression.


The optical drive in front has a nice snug fit without any large gaps around it. Unfortunately, you can see the ugly gray color of the ODD's housing clearly through the glass window. There is also the aforementioned cable mess that blends in a bit due to the solid back panel obfuscating the view a bit. In the rear, everything is where you would expect it to be.
Apr 27th, 2024 19:35 EDT
change timezone
Latest GPU Drivers
New Forum Posts
- RTX 3080 and RX 6800XT video/graphics cards (4)
- Anyone know if Rufus gets around the SSE4.2 issue with Windows 11 24H2? (15)
- Your PC ATM (34514)
- On ACER V3-772G GDDR5 laptop no display (2)
- Best SSD for system drive (107)
- Core PL1 + GPU PL1 + Ring EDP OTHER (11)
- Which air cooler for a ryzen 9 5900x (168)
- Black screens leading to restarts (Event ID 18) on AMD platform since changing graphics card (45)
- Usb 3.2 and usbc speeds became very slow (6)
- Looking for recommendations to upgrade the GPU (16)
Popular Reviews
- Ugreen NASync DXP4800 Plus Review
- HYTE THICC Q60 240 mm AIO Review
- MOONDROP x Crinacle DUSK In-Ear Monitors Review - The Last 5%
- Upcoming Hardware Launches 2023 (Updated Feb 2024)
- Thermalright Phantom Spirit 120 EVO Review
- FiiO K19 Desktop DAC/Headphone Amplifier Review
- AMD Ryzen 7 7800X3D Review - The Best Gaming CPU
- Alienware Pro Wireless Gaming Keyboard Review
- ASUS Radeon RX 7900 GRE TUF OC Review
- Gigabyte GeForce RTX 4070 Ti Super Gaming OC Review
Controversial News Posts
- Windows 11 Now Officially Adware as Microsoft Embeds Ads in the Start Menu (139)
- Sony PlayStation 5 Pro Specifications Confirmed, Console Arrives Before Holidays (117)
- NVIDIA Points Intel Raptor Lake CPU Users to Get Help from Intel Amid System Instability Issues (106)
- AMD "Strix Halo" Zen 5 Mobile Processor Pictured: Chiplet-based, Uses 256-bit LPDDR5X (103)
- US Government Wants Nuclear Plants to Offload AI Data Center Expansion (98)
- AMD's RDNA 4 GPUs Could Stick with 18 Gbps GDDR6 Memory (95)
- Developers of Outpost Infinity Siege Recommend Underclocking i9-13900K and i9-14900K for Stability on Machines with RTX 4090 (85)
- Windows 10 Security Updates to Cost $61 After 2025, $427 by 2028 (84)