 17
17
NZXT H440 Review
Value & Conclusion »Assembly

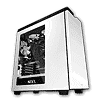
Installing the motherboard bears no surprises. There is a ton of room above the CPU cooler and the board does not cover up any cable-routing holes even though it is of full width by ATX standards, which should make installing length-specific components a breeze as graphics cards of up to 294 mm length will fit without sacrificing any HDD bays. While there is enough room to satisfy most users, those going for cards of up to 406 mm will have to take out the tray next to the expansion slot. As there is no external drive bay, NZXT is using the front for cooling instead. You will find three 140 mm fans that pull air into the chassis there. There is also a large removable dust filter, so you won't have to worry about dirt or grime entering your system as time goes on.
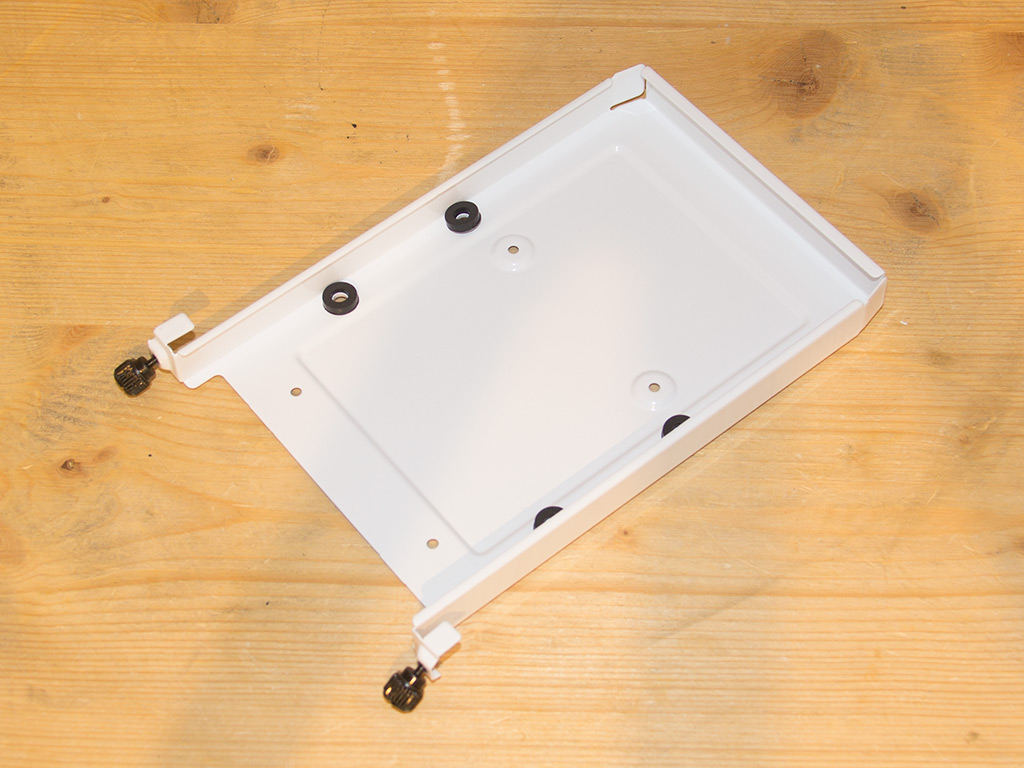
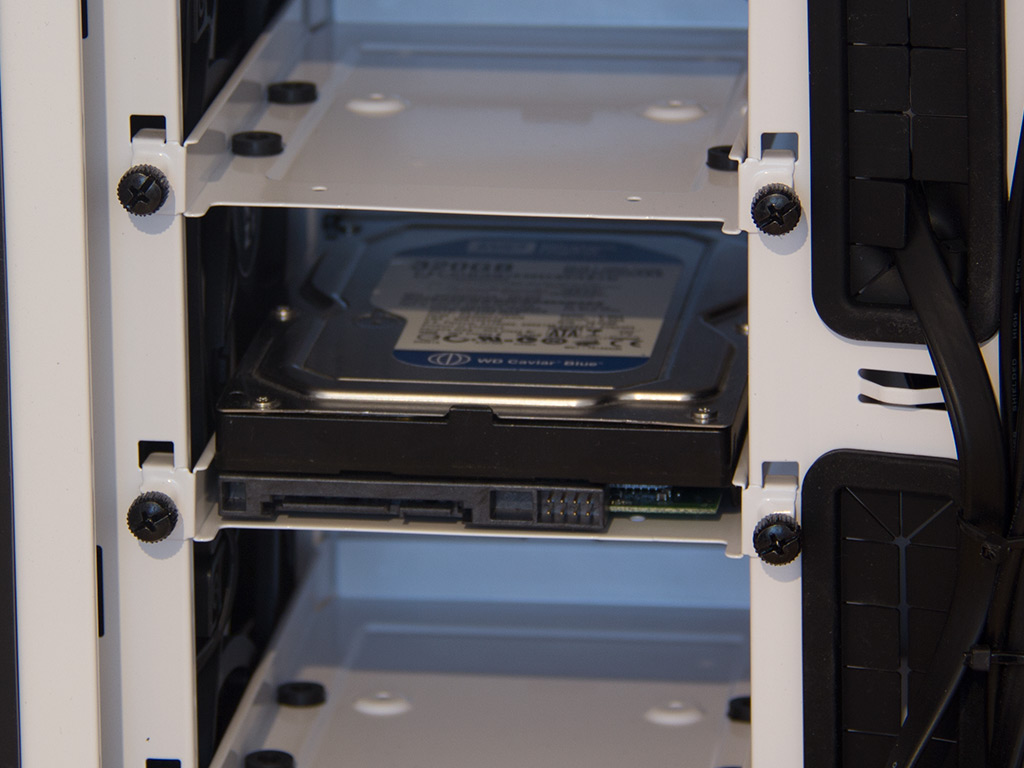
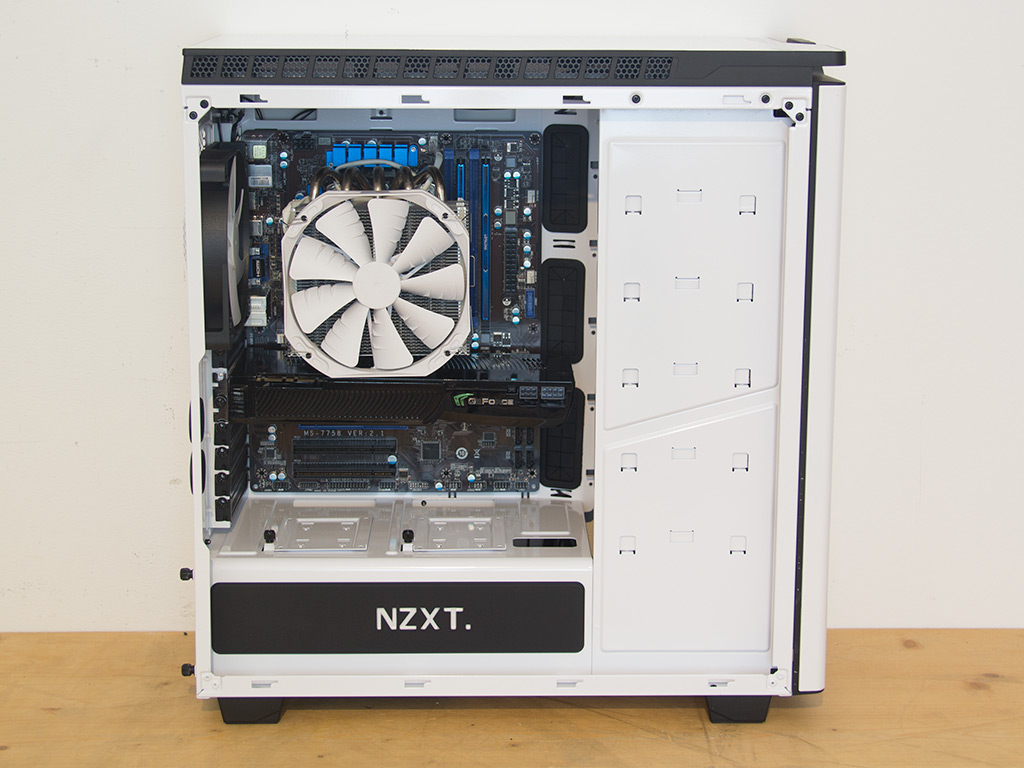
Installing a 3.5" drive is quite easy, but you need to use a screwdriver and screws. NZXT has finally done away with their fragile plastic trays, and I sincerely hope they keep it that way. As the new trays are made of metal, they also come with rubber rings as an anti-vibration measure, which allows you to pin the drive down without having to worry about its movements reverberating on to the tray and frame. Simply slide the drive back in and secure the thumbscrews once the tray has been filled. These screws are fitted to the trays in the same manner as those on the side panel, so you cannot misplace any.
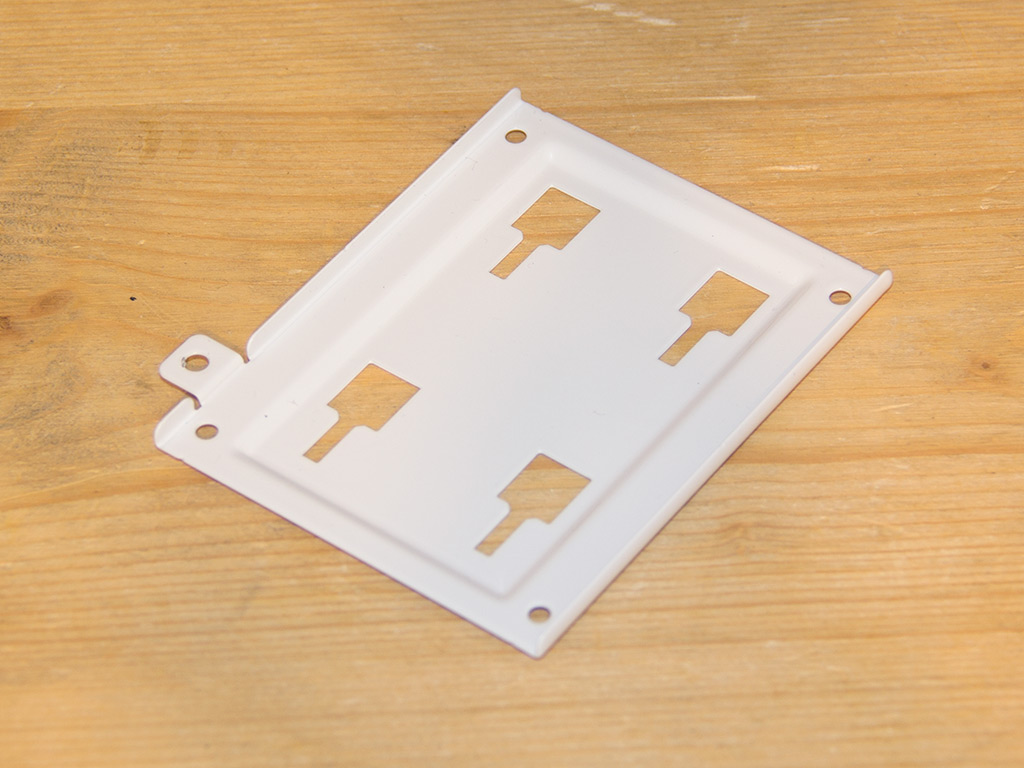
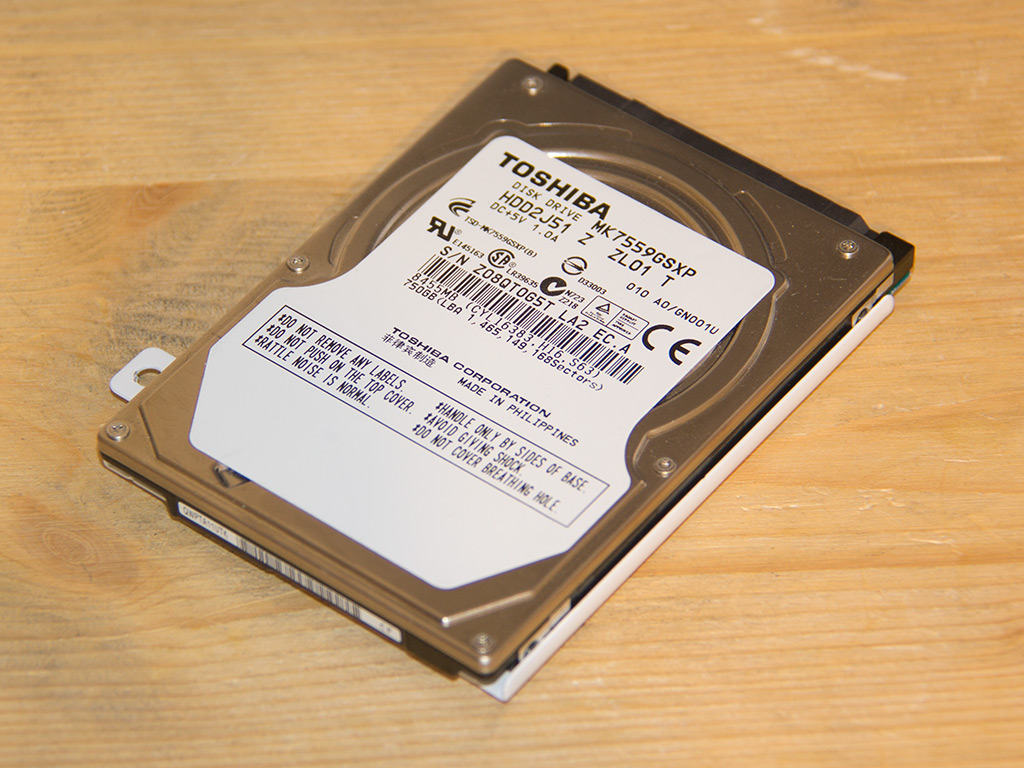

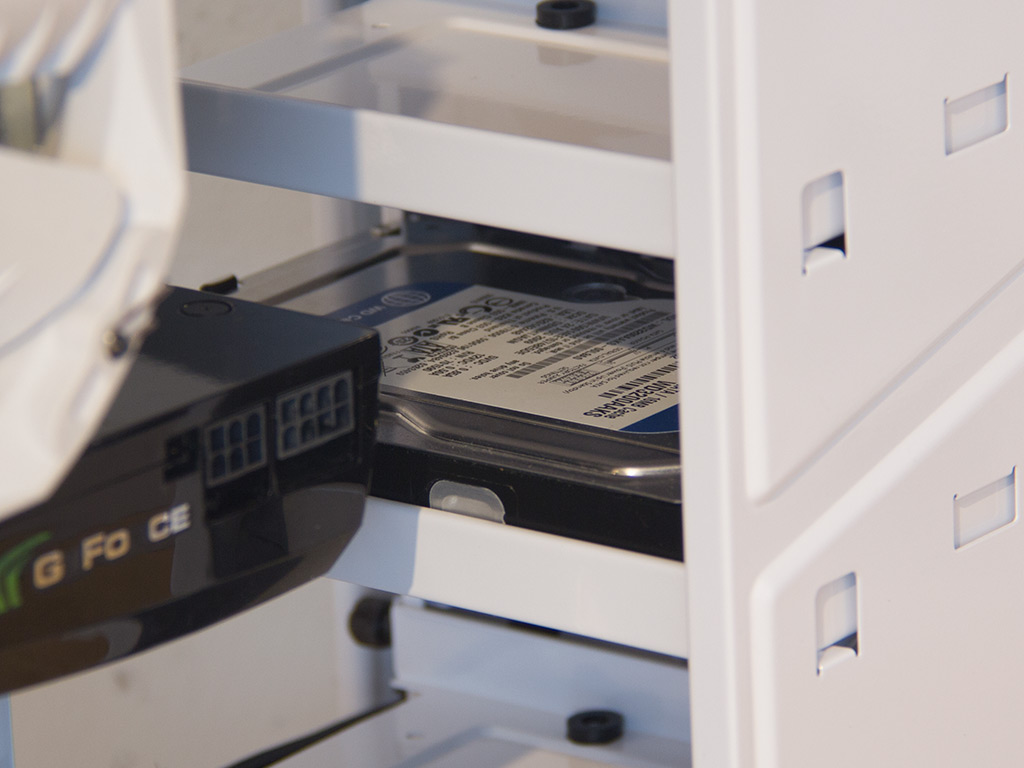
You go about installing a 2.5" drive or SSD in the same way. With these trays, the drive is again secured with screws you pass through the tray and into the drive from below. Put the tray back into position and pin it down with its thumbscrew once filled. Every connector specific to these drives will face away from the window, which contributes to keeping everything within the NZXT H440 as clean as possible.
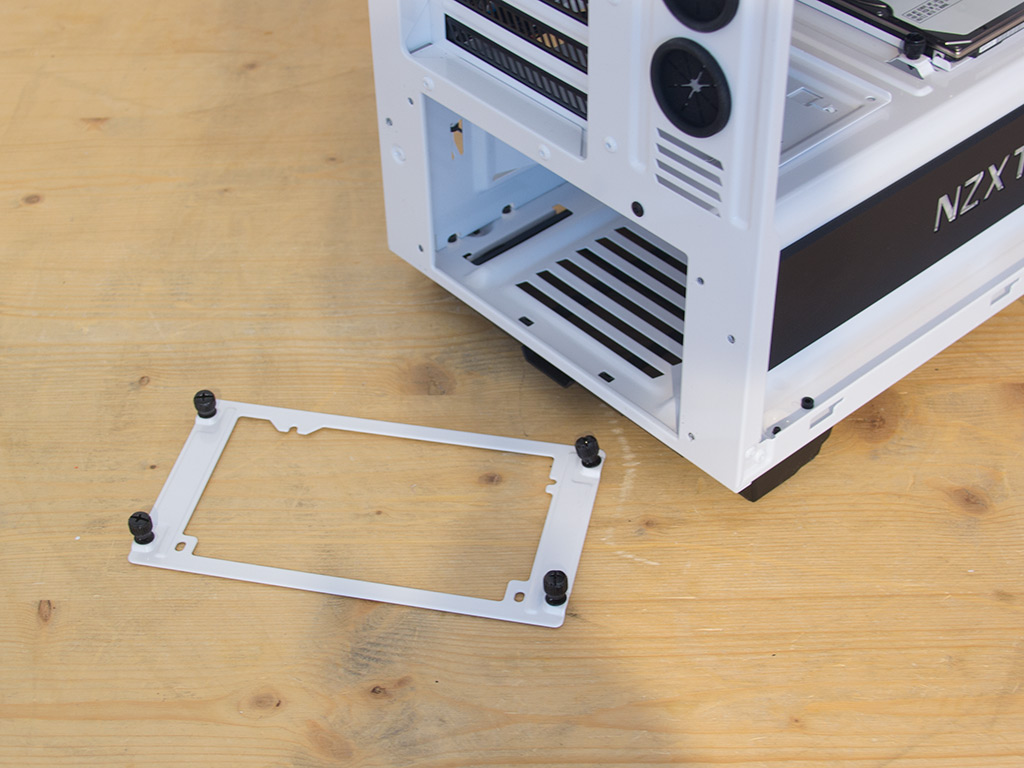


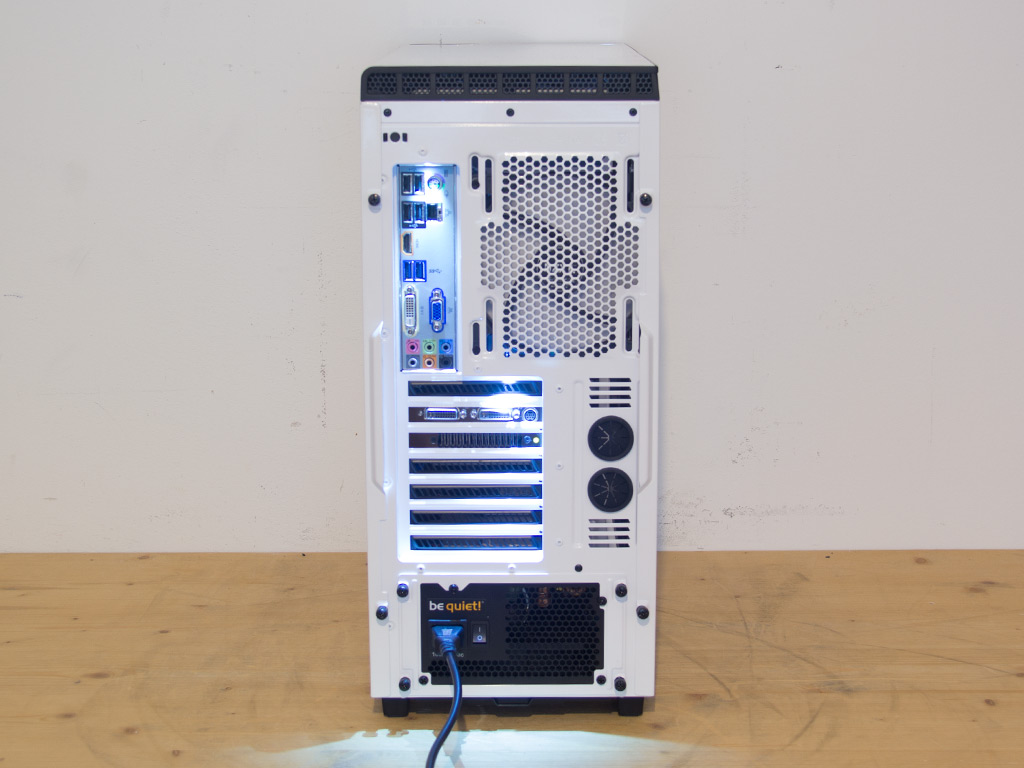
Installing the PSU requires you to take the frame in the rear off as you have to place it on the power supply itself. The frame is then pushed into chassis through the opening in the rear. NZXT unfortunately did not make the opening large enough to fit the Xigmatek PSU, although a larger hole would have been possible. While some will argue that the fault lies with Xigmatek for not making a default-sized unit by de-emphasizing certain design elements in the PSU's enclosure, one could also argue that NZXT should make sure their case can accommodate every currently available PSU.
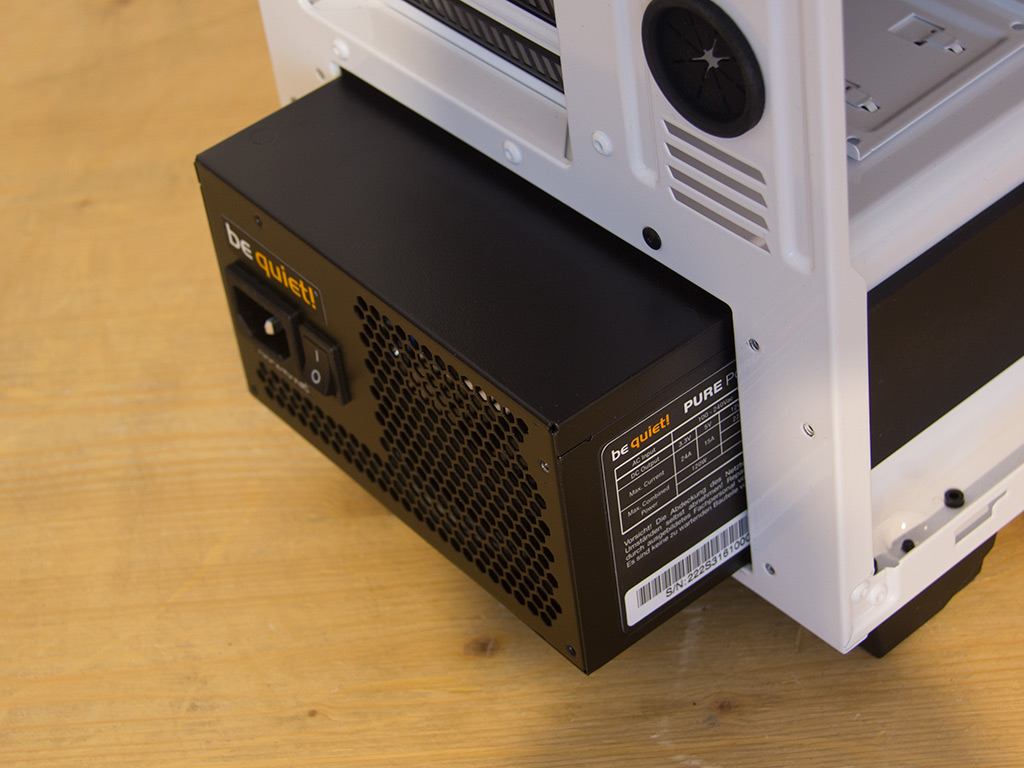
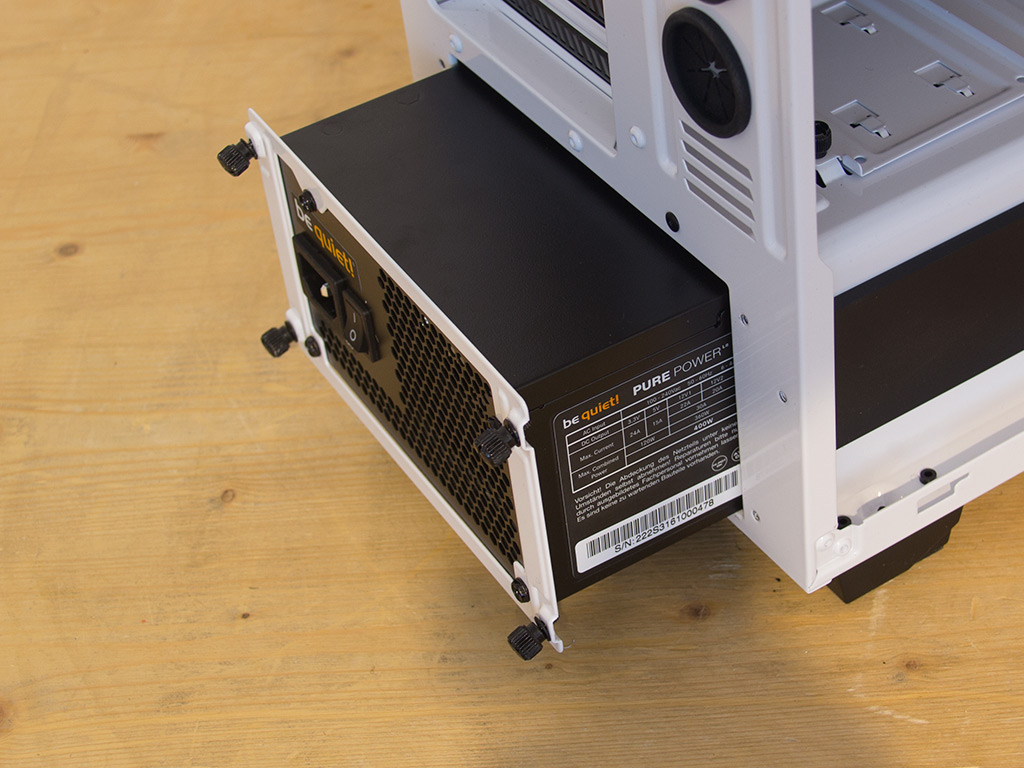
After successfully checking to make sure it fit, I defaulted to my back-up unit, a mainstream be quiet! PSU with a normally sized enclosure.
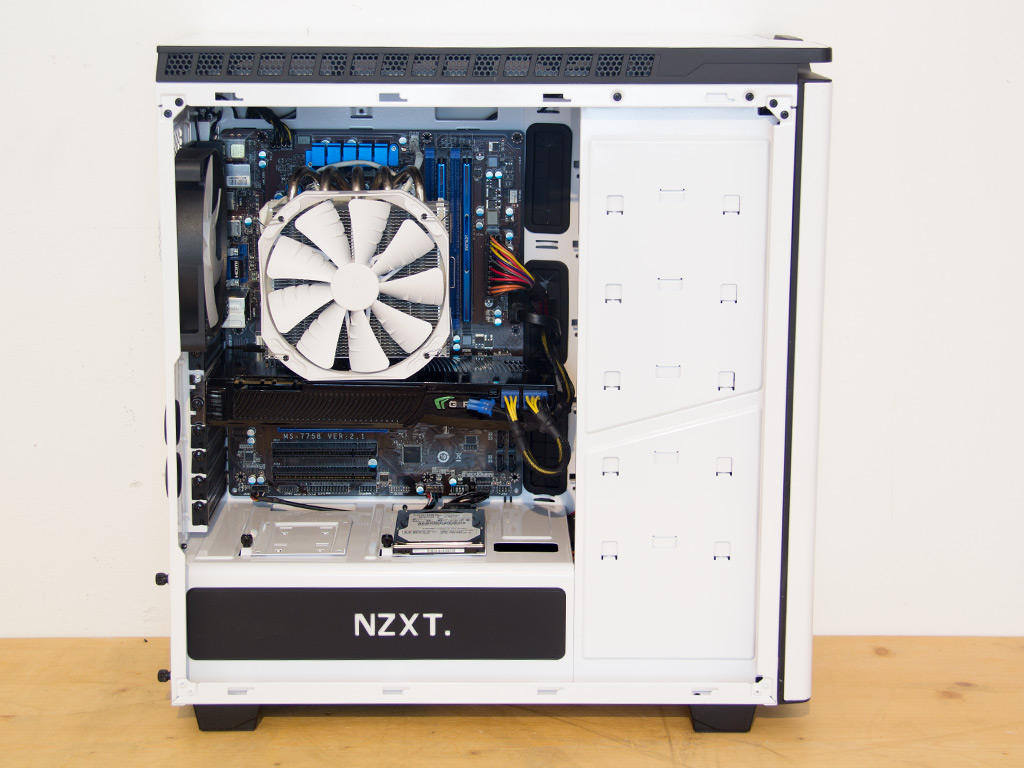
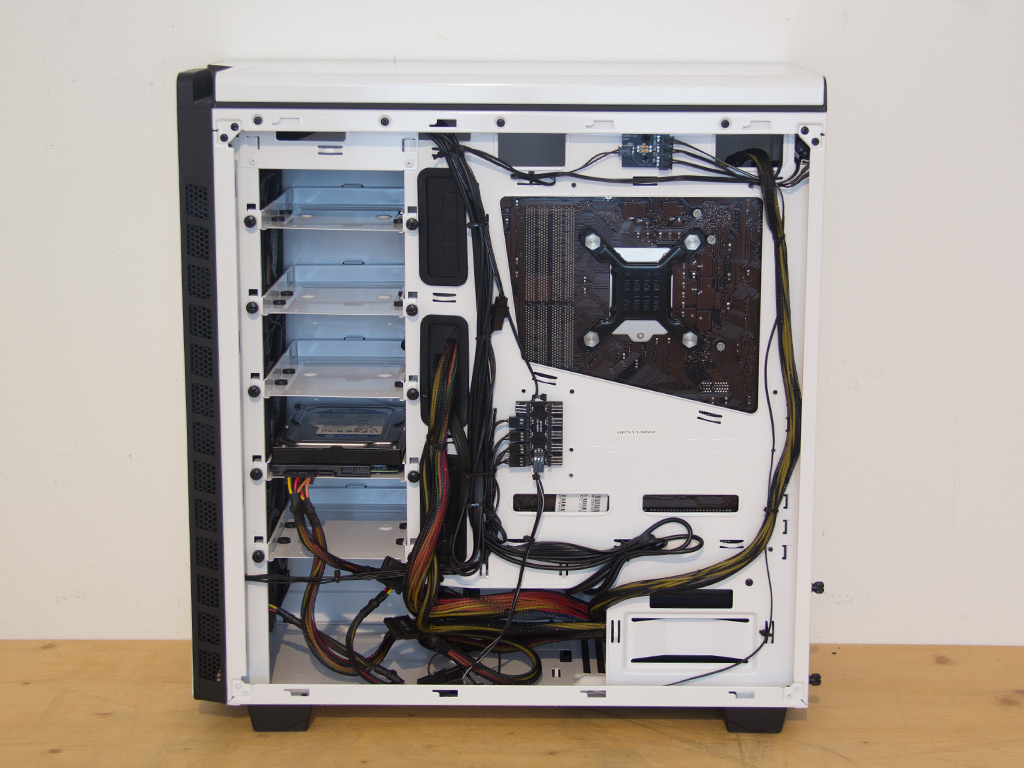
With everything in place, the interior of the H440 makes a very tidy impression. Its PSU bay cover allows you to nicely hide all those cables to only route the bits you need out through its two openings. All the leads are routed behind the motherboard tray, and the CPU cooler's bracket is fully accessible as well.
Finished Looks

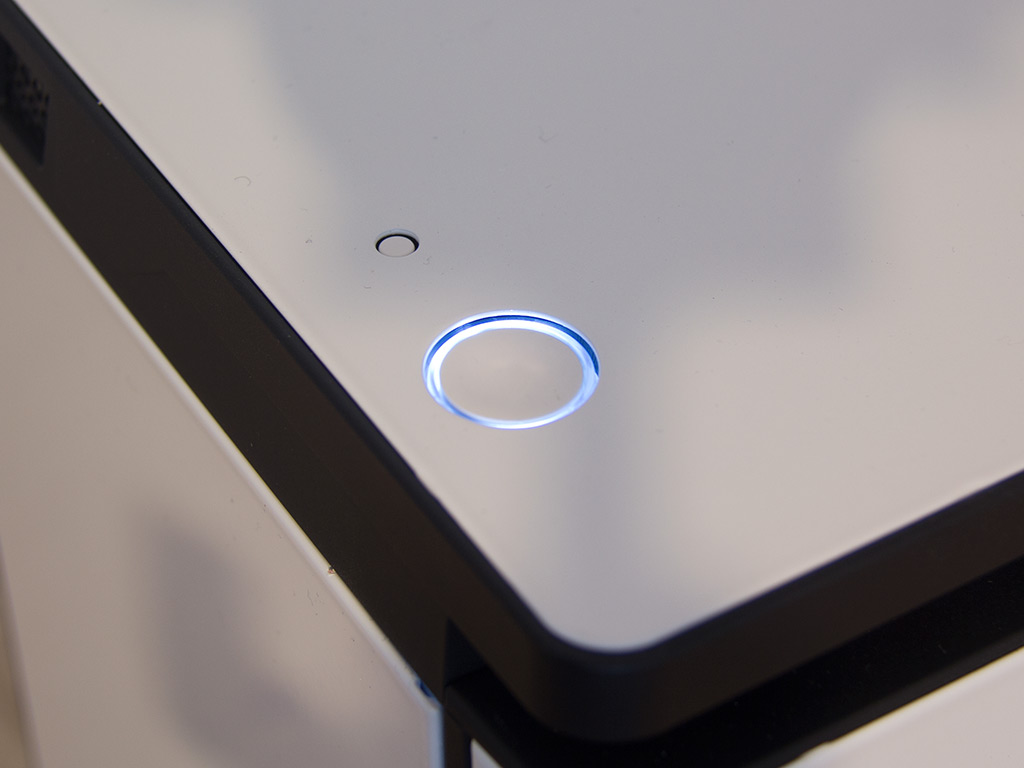
I successfully put the side panel back in its place, although it took a lot of tough love. You have to get used to the fact that you will rip into the sound-dampening material in the process, though. With everything in place, turning the system on also lights up several elements. The power button's LED is white, for example, which suits the H440's overall design.
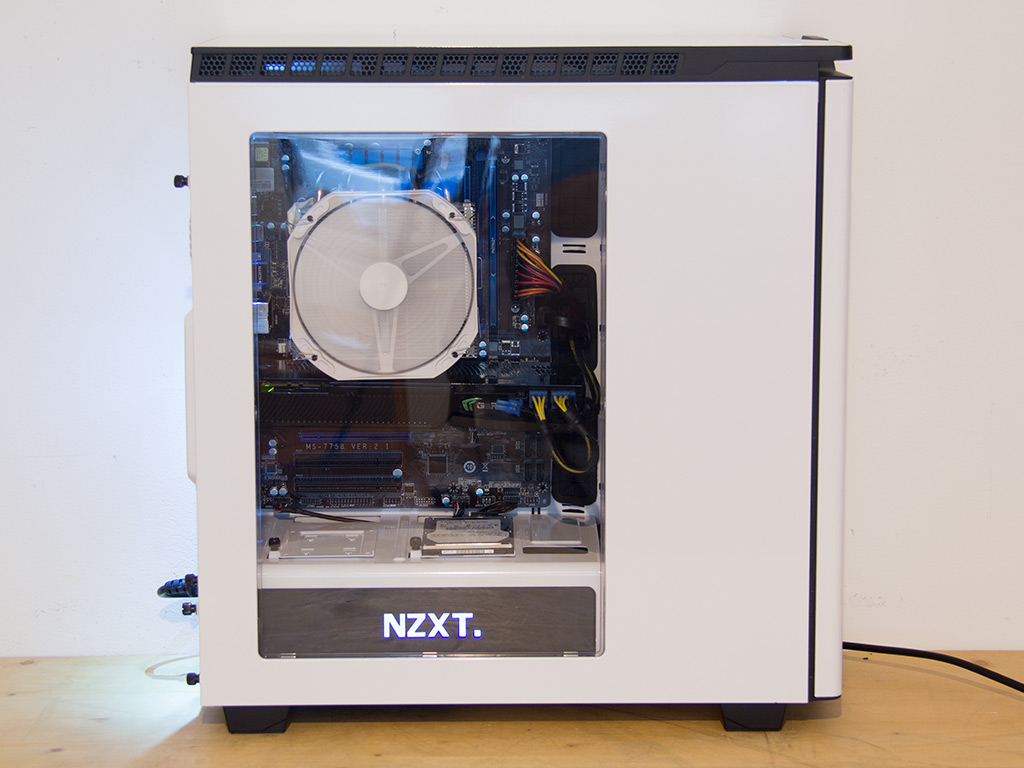
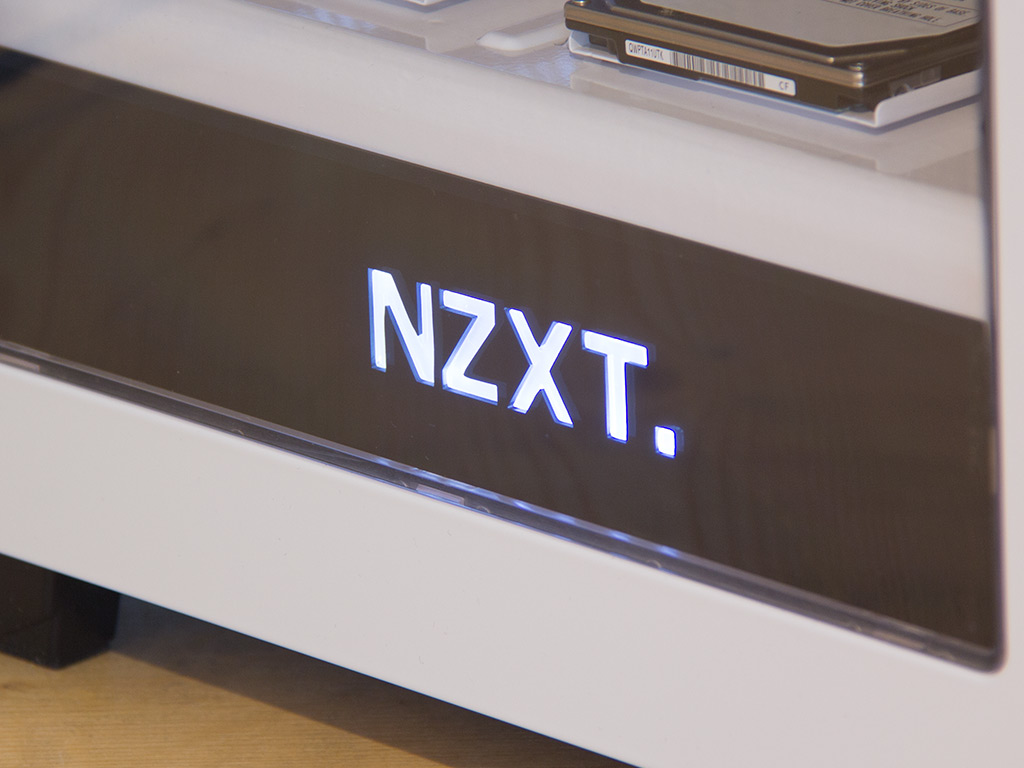
Turning the chassis around to look at its windowed side panel reveals the second lighting element in the shape of a back-lit NZXT logo. It not only looks pretty cool, but will also serve as a great NZXT advertisement at a LAN party, for example. You can easily make out all the hardware and the CPU cooler through the clear window, and the rear is where you will find the last and third lighting element in form of NZXTs signature back-panel I/O lighting. It now even consists of two LEDs instead of one, which ensures that everything there is always readily visible in the dark.
May 21st, 2024 10:29 EDT
change timezone
Latest GPU Drivers
New Forum Posts
- For general use - moving files around and playing games, would you have an Optane boot drive or PCie gen 5? (70)
- Gigabyte am5 motherboard ddr5 not posting when rebooting (2)
- Does a faster NVMe make any difference? (19)
- Is 6000MHz C36 DDR5 memory too much for 12600KF with XMP? (18)
- Dell 5400 TPL Help (7)
- Ryzen 5 5600x stock overclocked reaching high temps (19)
- AAF Optimus DCH Audio Modded Driver for Windows 10/11 - For ALL HDAUDIO Enumerator Chips (660)
- What are you playing? (20726)
- Kepler BIOS Tweaker problem (0)
- 20 Years? (52)
Popular Reviews
- Ghost of Tsushima Performance Benchmark Review - 35 GPUs Tested
- Ghost of Tsushima: DLSS vs. FSR vs. XeSS Comparison Review
- PNY XLR8 Gaming EPIC-X RGB DDR5-6400 CL32 32 GB Review
- TerraMaster D8 Hybrid Review
- Silverstone Shark Force 120 mm Fan Review
- Homeworld 3 Performance Benchmark Review - 35 GPUs Tested
- Upcoming Hardware Launches 2023 (Updated Feb 2024)
- Lofree Edge Ultra-Low Profile Wireless Mechanical Keyboard Review
- AMD Ryzen 7 7800X3D Review - The Best Gaming CPU
- AMD Ryzen 7 7700 Review - Affordable Zen 4 Powerhouse
Controversial News Posts
- Intel Statement on Stability Issues: "Motherboard Makers to Blame" (269)
- AMD to Redesign Ray Tracing Hardware on RDNA 4 (227)
- Windows 11 Now Officially Adware as Microsoft Embeds Ads in the Start Menu (173)
- NVIDIA to Only Launch the Flagship GeForce RTX 5090 in 2024, Rest of the Series in 2025 (154)
- AMD Hits Highest-Ever x86 CPU Market Share in Q1 2024 Across Desktop and Server (140)
- AMD RDNA 5 a "Clean Sheet" Graphics Architecture, RDNA 4 Merely Corrects a Bug Over RDNA 3 (139)
- AMD's RDNA 4 GPUs Could Stick with 18 Gbps GDDR6 Memory (114)
- AMD Ryzen 9 7900X3D Now at a Mouth-watering $329 (104)