 50
50
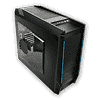
NZXT Tempest EVO Review
Assembly & Finished Looks »A Closer Look - Inside

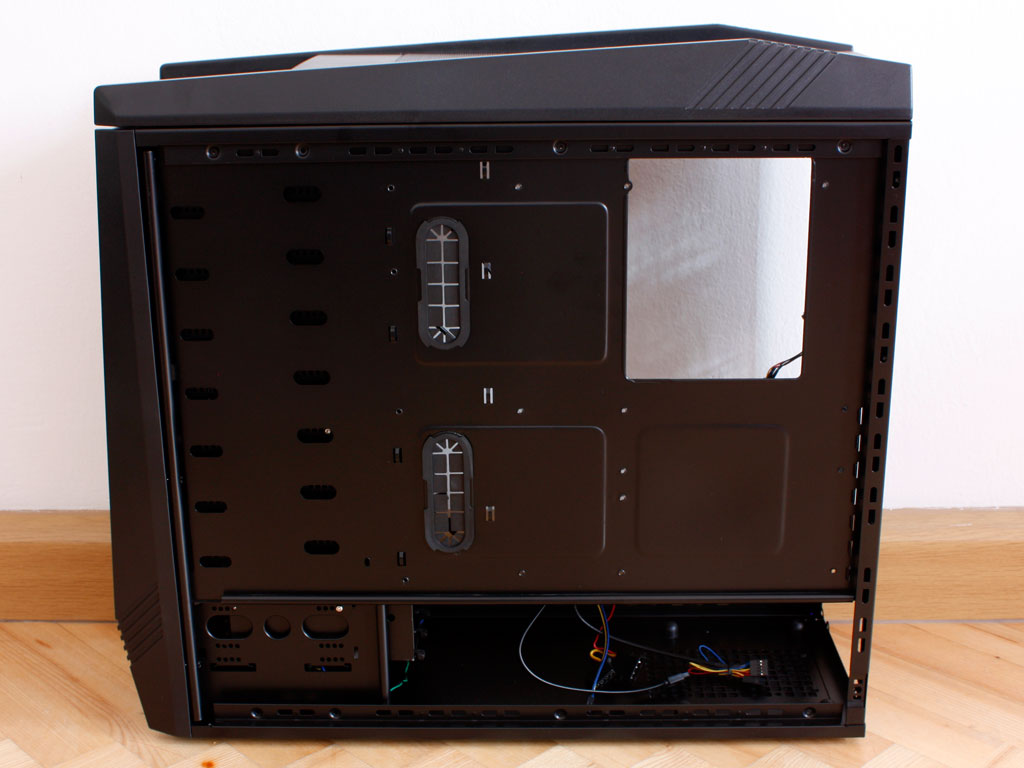
To gain access to the chassis, simply remove the four thumb screws - two holding each side panel in place. The most obvious internal change is the color. Gone is the boring grey, being replaced by black. NZXT has chosen to keep the interior layout identical between the Tempest and Tempest EVO. The latter features rubber covers in the holes for cable management and additional holes by the front drive bays to apply screws to the drives.
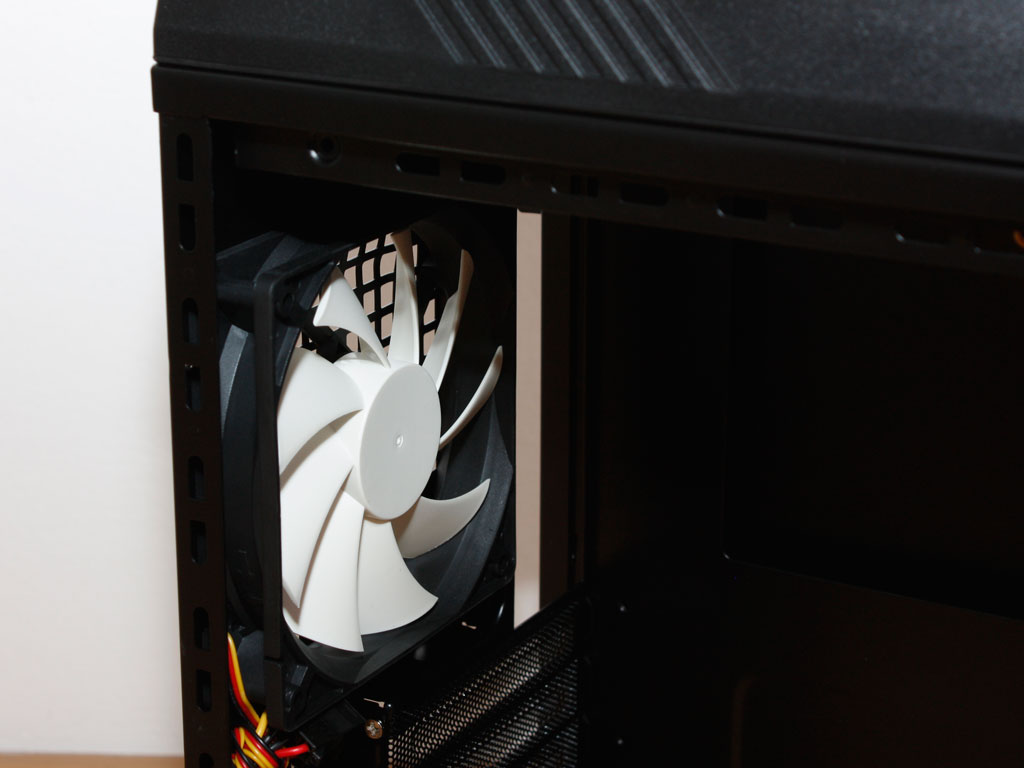
Let's take a closer look at the rear interior, starting with the PSU bay on the bottom. The little metal bar, which supported the weight of the PSU in the original Tempest has now been replaced by four rubber mounts. This does not only reduce vibrations in this area of the chassis, but also allows for the dust filter to be placed in the right spot. Above that area are the seven expansion slots. Not much has changed here as far as the layout is concerned. The very top is taken by the white bladed fan. All of the cooling units now come with black connectors instead of white ones - a nice touch to go with the rest of the chassis.

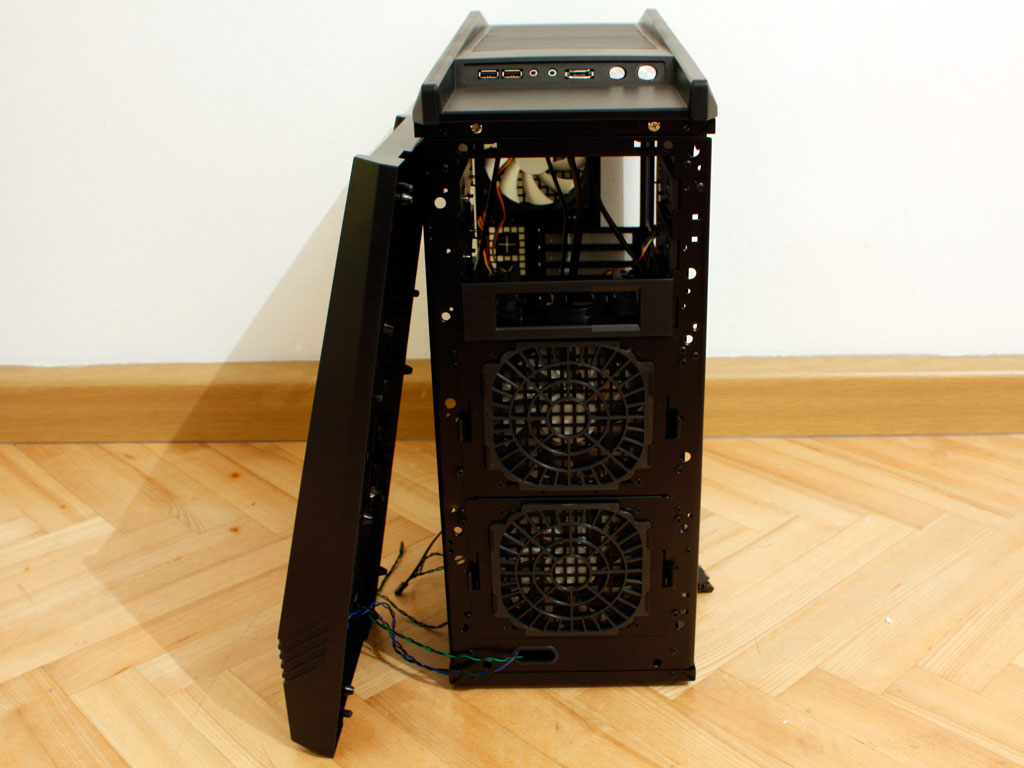

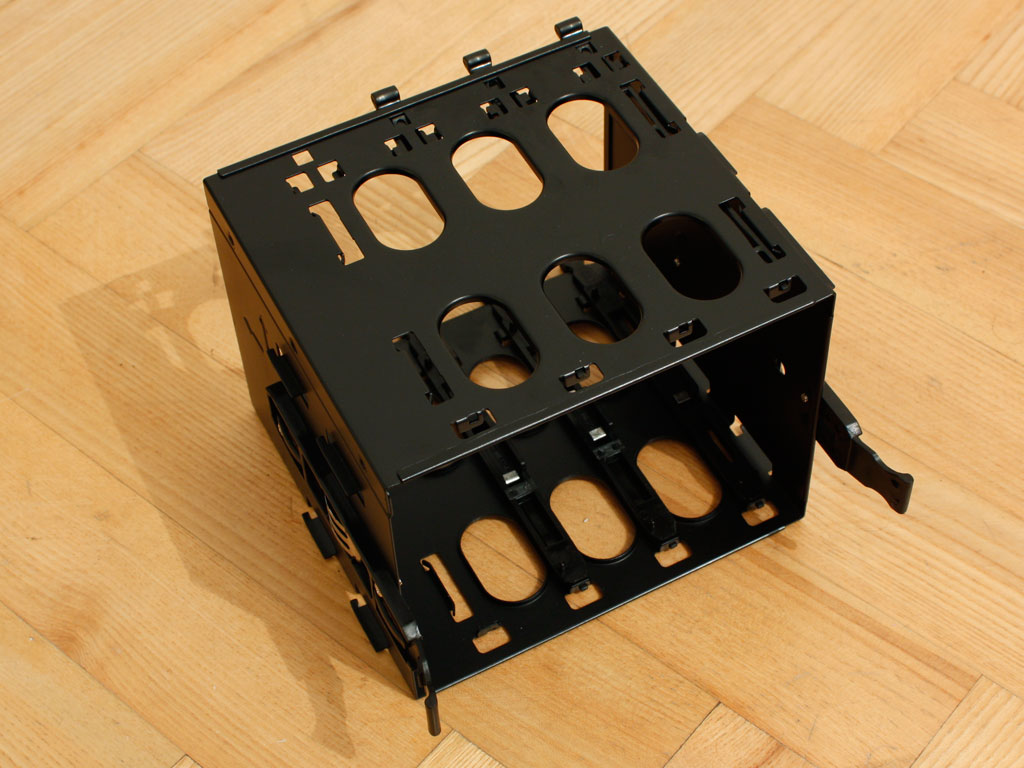
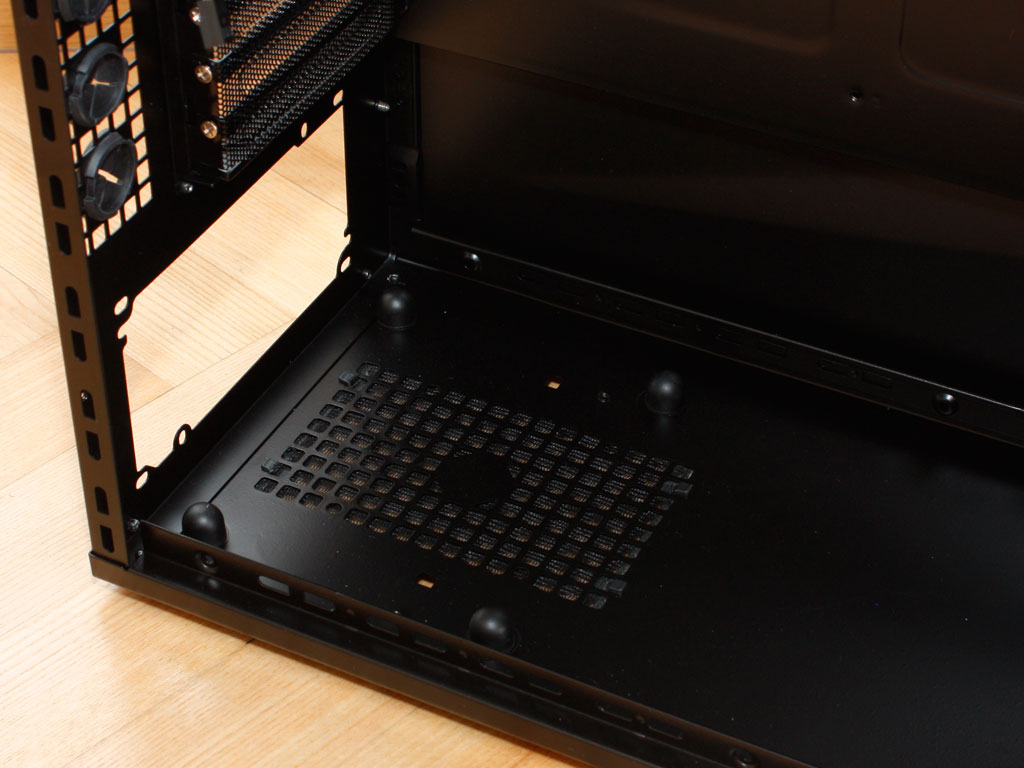
NZXT has not changed anything in the front part of the Tempest EVO. There are two HDD cages, which allow for eight hard drives to be installed. You can pull off the front of the chassis with a firm tug, revealing the two 120 mm fans, covered by dust covers. Removing the four screws of the cover allows you to pull out the hard drive tray if you wish to install the drives outside of the case.


Even the cable colors for the I/O and case connectors has been changed from white to black - pretty cool! NZXT has also opted to go with a Molex connector to supply the power LEDs with the juice needed. As soon as you turn the case on, the two rows of LEDs will turn on if this Molex connector is plugged in. I would have liked to see a traditional power LED as well, as some may choose to unplug the lighting when not at a LAN party or when wanting to sleep next to the system.
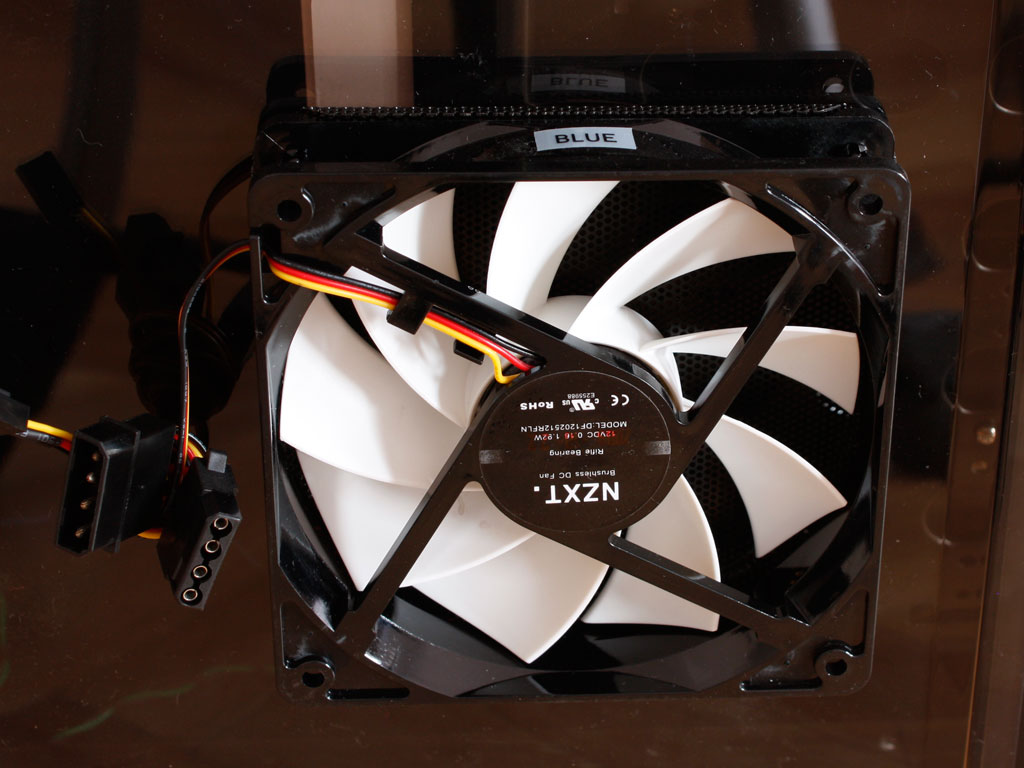

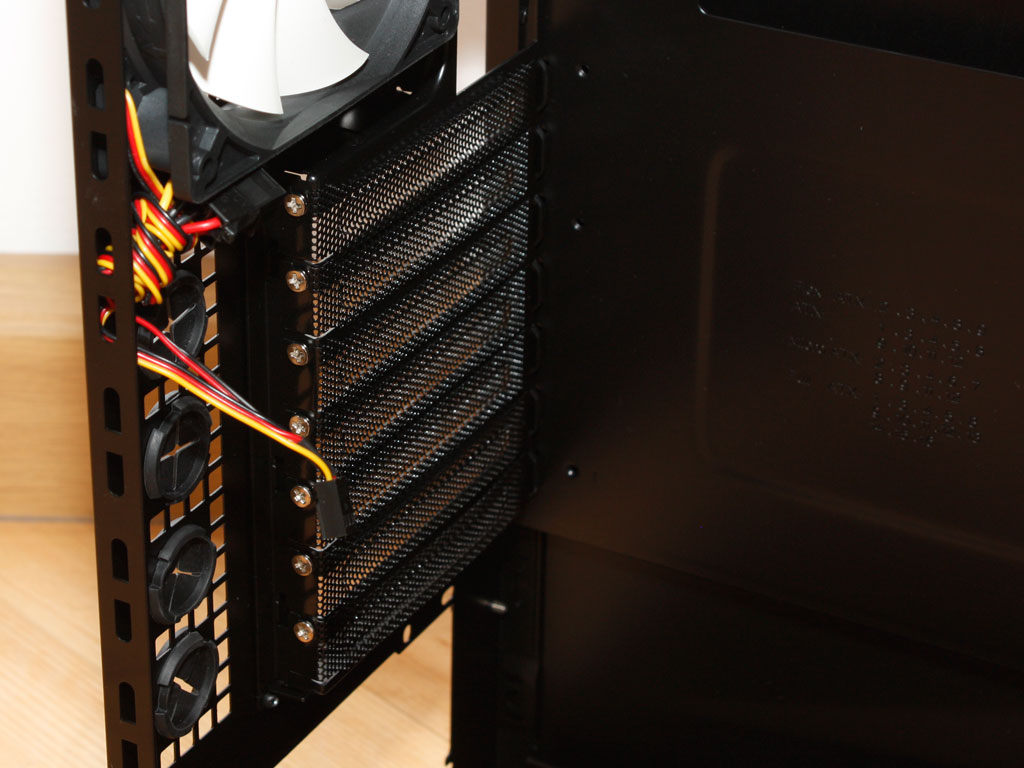
Taking a quick look at the fans. There are four 120 mm and two 140 mm units in this chassis. As you can see, they now have nine instead of seven blades. You also have a choice of plugging the fans directly into the mainboard or straight into the power supply with the Molex connector.
May 17th, 2024 16:53 EDT
change timezone
Latest GPU Drivers
New Forum Posts
- ThrottleStop stopped working with Windows 23H2 update, VBS & virtualization disabled, BIOS rollback, no undervolt protection notice, what next? (2)
- be quiet! Customer Service - so far is absolutely awesome. (0)
- goodbye :) (0)
- What are you playing? (20667)
- MSI Z370 SLI PLUS + i9 9900k bad perfomance. (19)
- not impressed - nvme vs ssd (135)
- Windows 12 (143)
- What's your latest tech purchase? (20552)
- A slew of Event ID: 7 within Even Viewer (0)
- EK seems to be having major issues (92)
Popular Reviews
- Homeworld 3 Performance Benchmark Review - 35 GPUs Tested
- Ghost of Tsushima Performance Benchmark Review - 35 GPUs Tested
- Enermax REVOLUTION D.F. X 1200 W Review
- Lofree Edge Ultra-Low Profile Wireless Mechanical Keyboard Review
- Silverstone Shark Force 120 mm Fan Review
- Upcoming Hardware Launches 2023 (Updated Feb 2024)
- AMD Ryzen 7 7800X3D Review - The Best Gaming CPU
- ZMF Caldera Closed Planar Magnetic Headphones Review
- Corsair MP700 Pro SE 4 TB Review
- Horizon Forbidden West Performance Benchmark Review - 30 GPUs Tested
Controversial News Posts
- Intel Statement on Stability Issues: "Motherboard Makers to Blame" (268)
- AMD to Redesign Ray Tracing Hardware on RDNA 4 (227)
- Windows 11 Now Officially Adware as Microsoft Embeds Ads in the Start Menu (172)
- NVIDIA to Only Launch the Flagship GeForce RTX 5090 in 2024, Rest of the Series in 2025 (154)
- AMD Hits Highest-Ever x86 CPU Market Share in Q1 2024 Across Desktop and Server (138)
- AMD RDNA 5 a "Clean Sheet" Graphics Architecture, RDNA 4 Merely Corrects a Bug Over RDNA 3 (130)
- AMD's RDNA 4 GPUs Could Stick with 18 Gbps GDDR6 Memory (114)
- AMD Ryzen 9 7900X3D Now at a Mouth-watering $329 (104)