 16
16
Phanteks Enthoo Luxe Review
Finished Looks »Assembly

Installing the motherboard is done by traditional means, with pre-installed spacers and the supplied screws. As you can see, there is plenty of space around the board to route cables, and reaching all connectors is not a problem. You could also reach through the top of the chassis if need be. With the Rajintek 120 mm tower cooler installed, it becomes apparent that a 140 mm unit will probably fit, but it will be a tight fit, even though the chassis is rather wide. This is due to the fact that a lot of its width is there to provide ample room to route cables with behind the motherboard tray.


Adding 3.5" hard drives does not require any tools. Simply take the tray of your choice, flip open its securing flaps, and place the drive on the tray. Push the little plastic wings back into place and the storage device will be held in place perfectly.
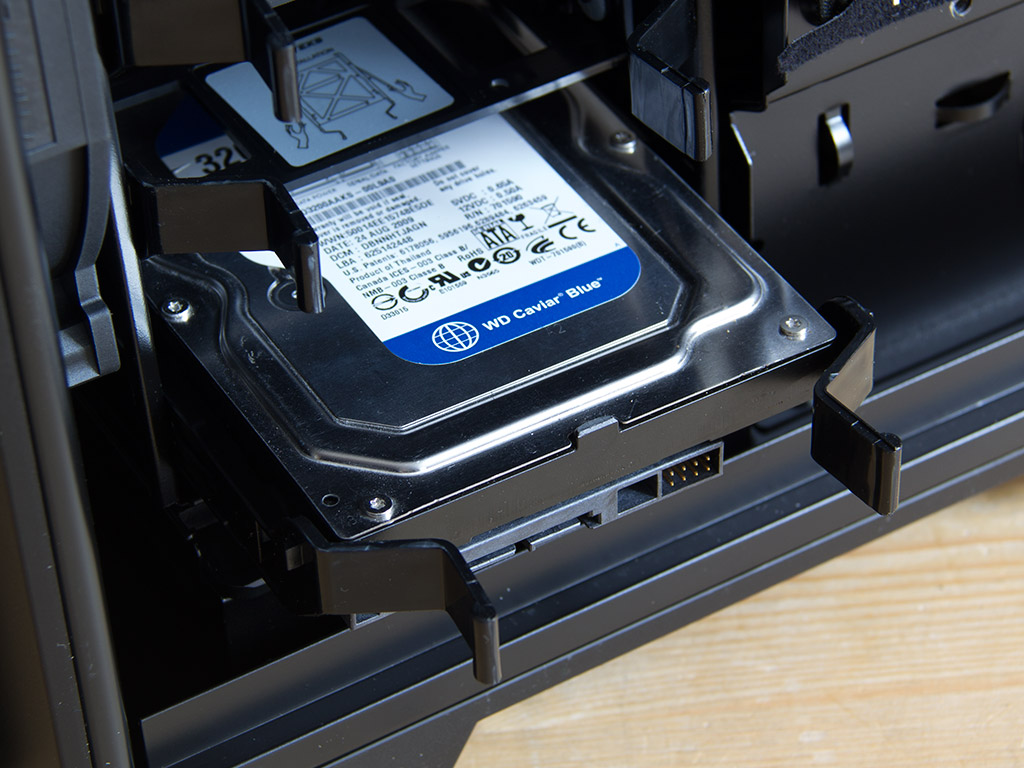

Once ready, you may slide the tray into any of the six bays. It will snap down firmly once inserted completely, so you won't have to worry about it coming loose as you move your rig around.


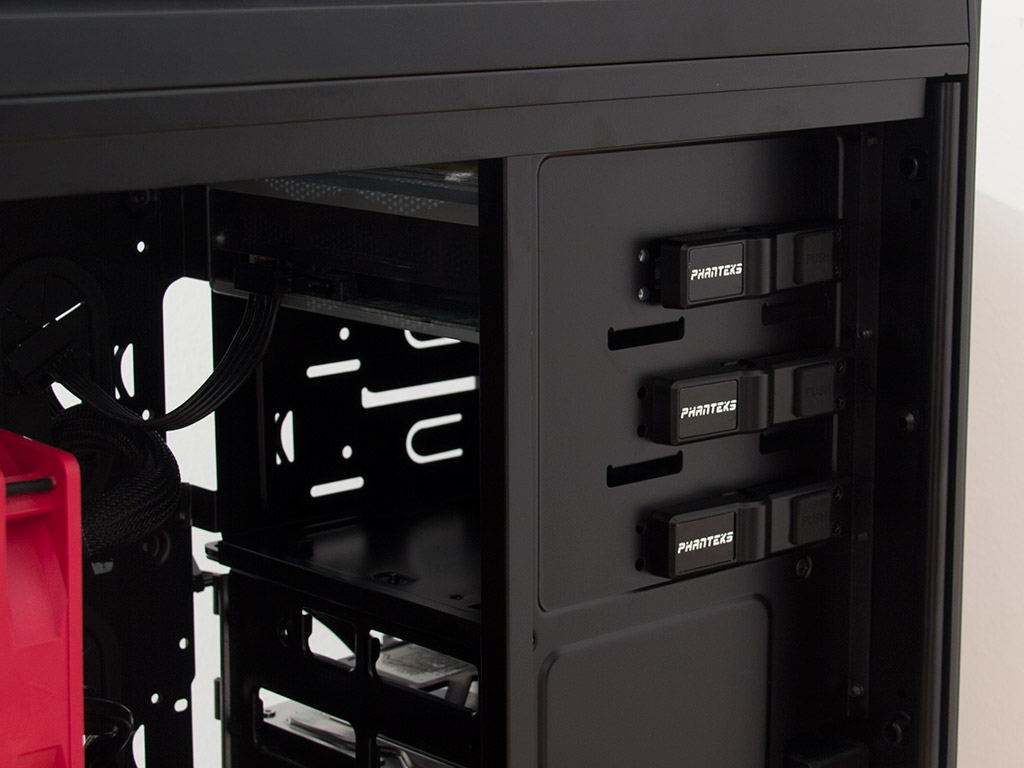
While you could also install 2.5" drives onto those trays, Phanteks includes two specific trays on the motherboard tray. You can remove both without a screwdriver, but securing a drive does call for tools since traditional screws are necessary when it comes to securing the drive itself. Placing the tray back on top of its rubber-ringed mounting elements, it does hold in place quite well.

You will first have to remove one of three 5.25" covers to install an optical drive. This is easily done because of the large flaps on the insides of these protective pieces. Once free, slide the drive into place until the locking mechanism snaps down. With our Luxe sample, the ODD drive did have quite a bit of play so you will probably be forced to use screws to properly pin it down. Its tool-less securing mechanism is a bit of a hit and miss as the Enthoo Pro essentially uses the same setup only to fare a bit better.

To install the PSU, remove the protective cover, slide the PSU into place, and apply traditional screws to hold it in place. You can install virtually any PSU on the market as there is plenty of space to do so.


With everything in place, the Enthoo Luxe makes a great impression. All the cables can be routed behind the tray nicely, and the opening around the CPU is large enough for easy access to any cooler's backplate. Every cable within the chassis quickly disappears behind the tray, which keeps the clutter to a minimum. I chose to route both PCIe leads out through the PSU cover's opening and straight up to the GPU.
May 10th, 2024 05:29 EDT
change timezone
Latest GPU Drivers
New Forum Posts
- Epic Games launcher's ridiculous CPU usage (36)
- Only some humans can see refresh rates faster than others, I am one of those humans. (241)
- not impressed - nvme vs ssd (77)
- What are you playing? (20608)
- RM750x (2021) enough for my 5800X3D + 7900XT system? (6)
- RTX 4070 vs RTX 4070 Ti power scaling (8)
- ALPHACOOL - ideas for IMPROVING products and NEW products (0)
- Battery swap for cyberpower UPS (67)
- Is hard drive sentinel trustworthy (9)
- What's a good option for a digital touchless thermometer? (19)
Popular Reviews
- CHERRY XTRFY M64 Pro Review
- Bykski CPU-XPR-C-I CPU Water Block Review - Amazing Value!
- Corsair iCUE Link RX120 RGB 120 mm Fan Review
- Corsair MP700 Pro SE 4 TB Review
- ThundeRobot ML903 NearLink Review
- Upcoming Hardware Launches 2023 (Updated Feb 2024)
- Finalmouse UltralightX Review
- AMD Ryzen 7 7800X3D Review - The Best Gaming CPU
- Sapphire Radeon RX 7700 XT Pure Review
- ASUS Radeon RX 7900 GRE TUF OC Review
Controversial News Posts
- Intel Statement on Stability Issues: "Motherboard Makers to Blame" (264)
- AMD to Redesign Ray Tracing Hardware on RDNA 4 (206)
- Windows 11 Now Officially Adware as Microsoft Embeds Ads in the Start Menu (169)
- NVIDIA to Only Launch the Flagship GeForce RTX 5090 in 2024, Rest of the Series in 2025 (144)
- Sony PlayStation 5 Pro Specifications Confirmed, Console Arrives Before Holidays (119)
- AMD's RDNA 4 GPUs Could Stick with 18 Gbps GDDR6 Memory (114)
- NVIDIA Points Intel Raptor Lake CPU Users to Get Help from Intel Amid System Instability Issues (106)
- AMD Ryzen 9 7900X3D Now at a Mouth-watering $329 (104)