 3
3
Phanteks Enthoo Pro Review
A Closer Look - Inside »A Closer Look - Outside
The Enthoo Pro continues to use the design elements of its more high-end brethren, but instead of aluminum, the top and front covers are made of sturdy plastic. The overall design has also been simplified as the chassis does not have embedded lighting elements, for example.


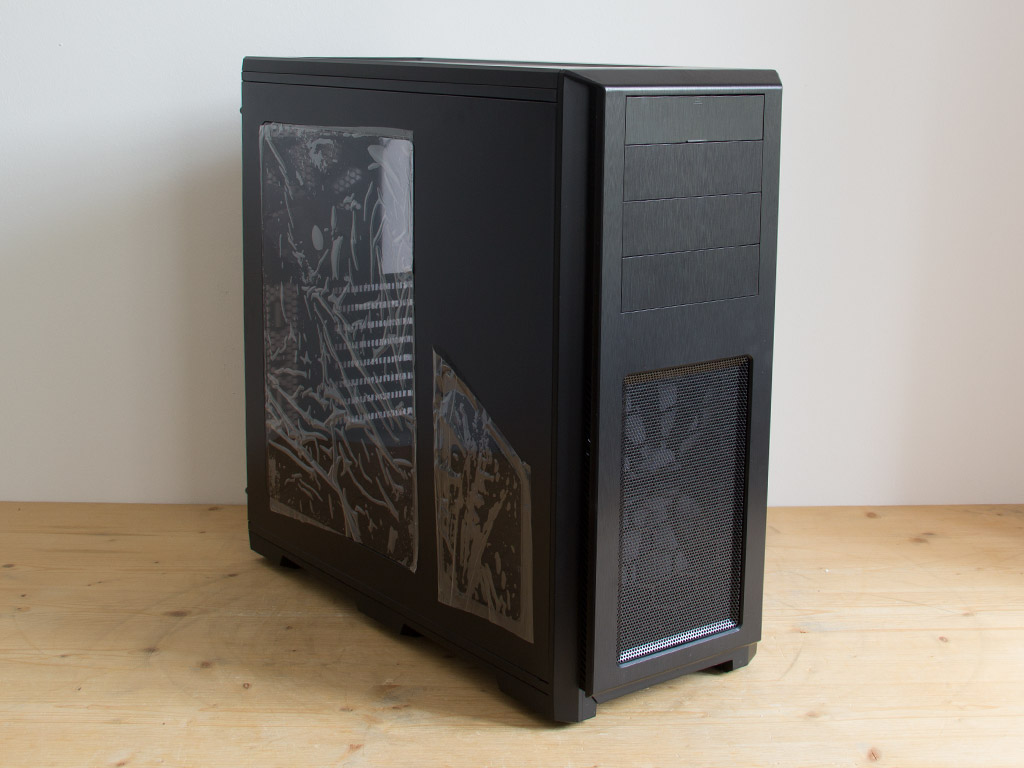
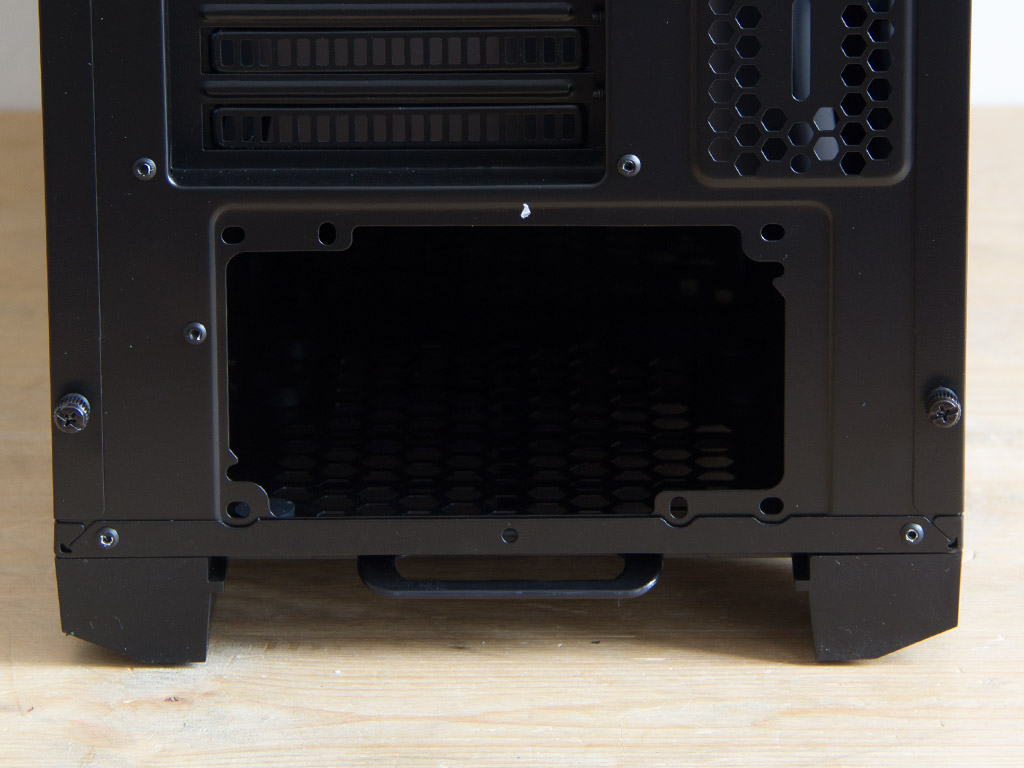
In the front, there is no cover on the bottom half of the chassis, unlike the Luxe and Primo. Instead, the metal-mesh cover is fully visible. Turning the chassis around, one can also see the bottom-mounted PSU bay and the white blades of the rear exhaust fan.

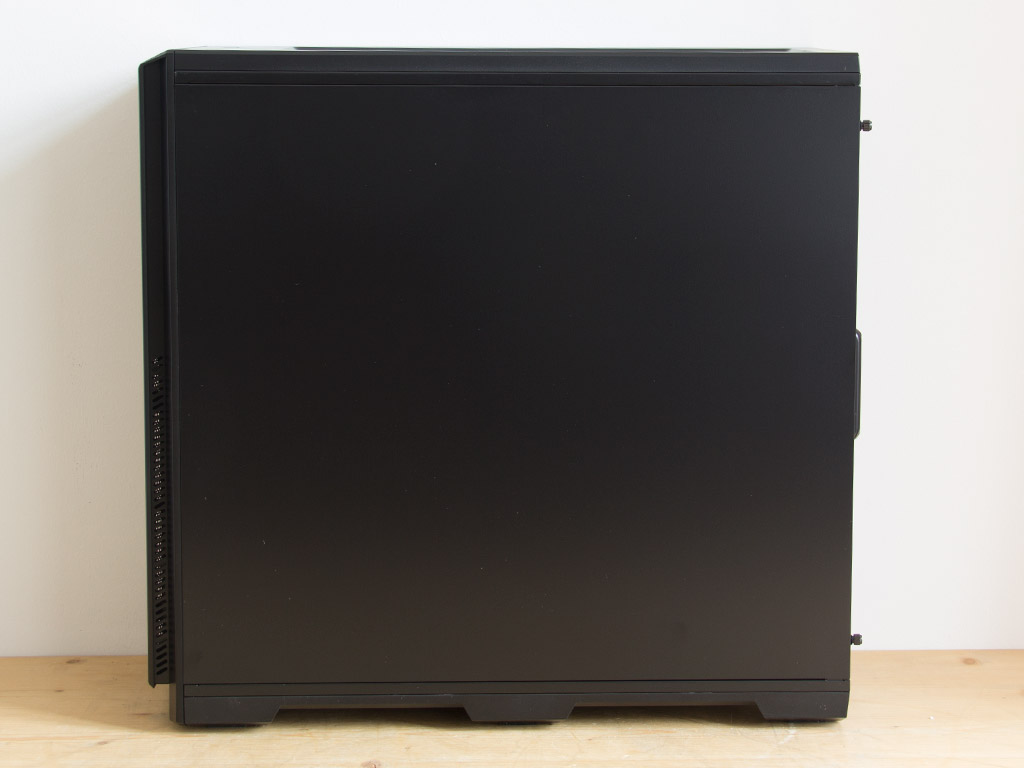
One of the Phanteks Enthoo's signature design elements are its two windows on the main side panel, and the Pro is no exception. These windows are actually tinted quite heavily, which allows you to hide messy cables from the superficial onlooker. The side panel on the other side is completely solid—void of windows or vents.
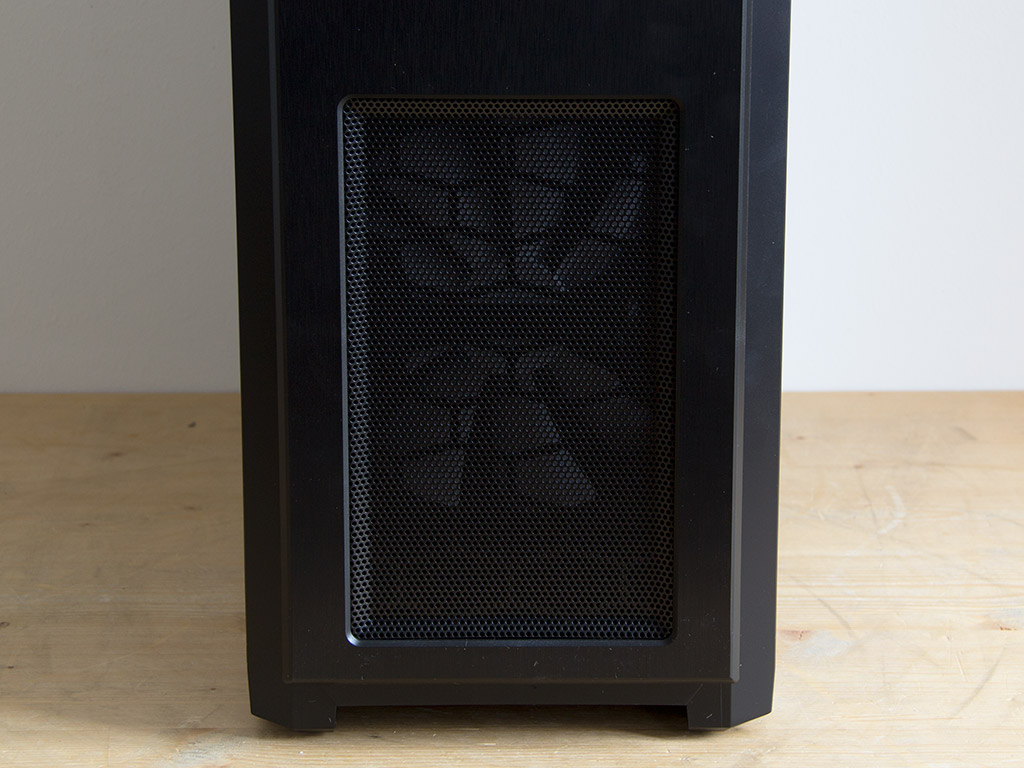

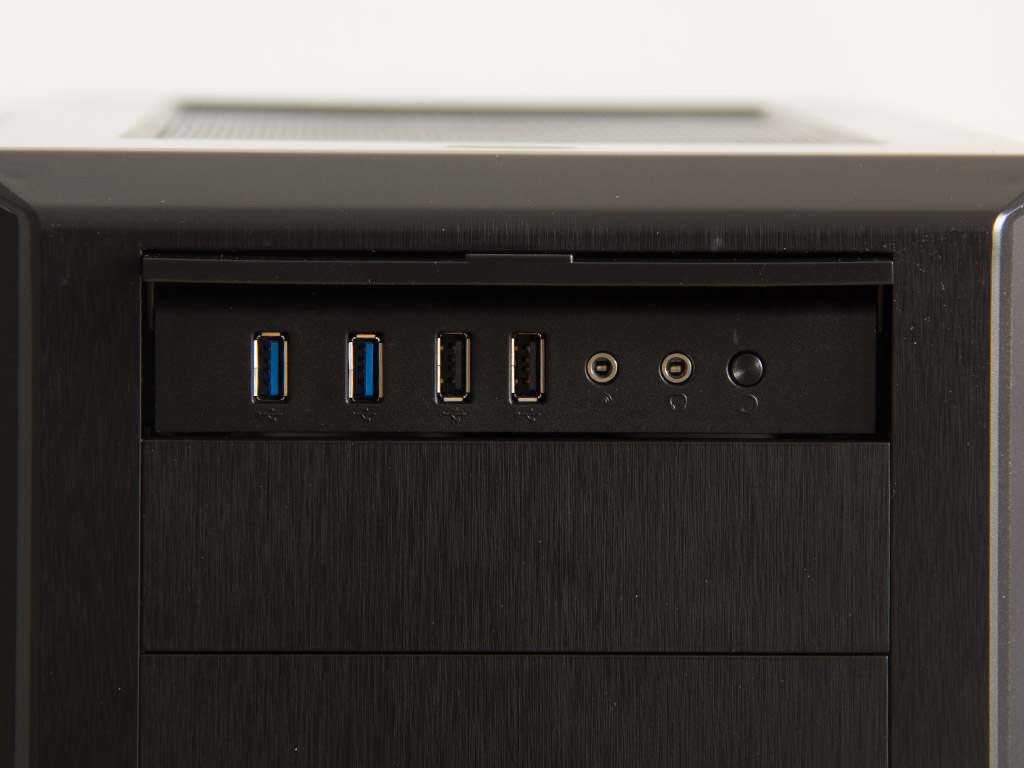
The front of the Enthoo Pro can be divided into two areas. The bottom portion consists of a metal-mesh square. It allows for fresh air to pass through and acts as an intake vent for any fans you install into the front. Above this are the three 5.25" drive bays and a panel you can flip open, which covers the I/O. The I/O consists of two USB 3.0, a pair of USB 2.0, and the usual audio connectivity. You will also find the reset button to the right of these.
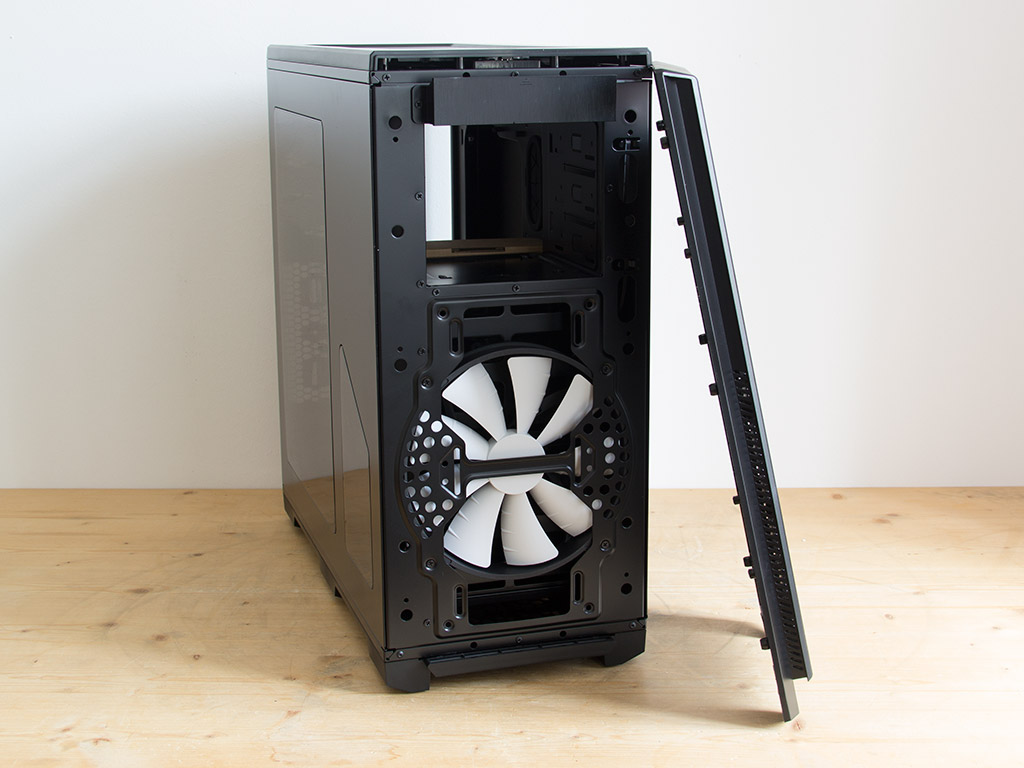
You may pry the entire front off the chassis, revealing the large, pre-installed fan. This unit may be exchanged for smaller ones, and you may also mount a radiator in the front if need be.
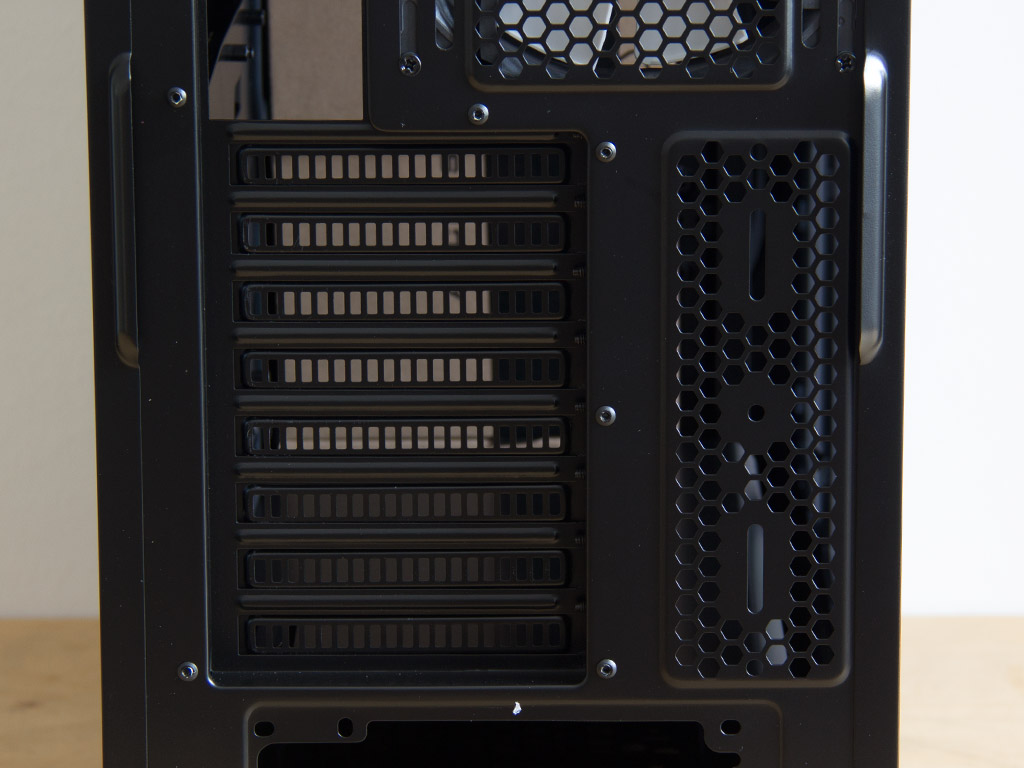
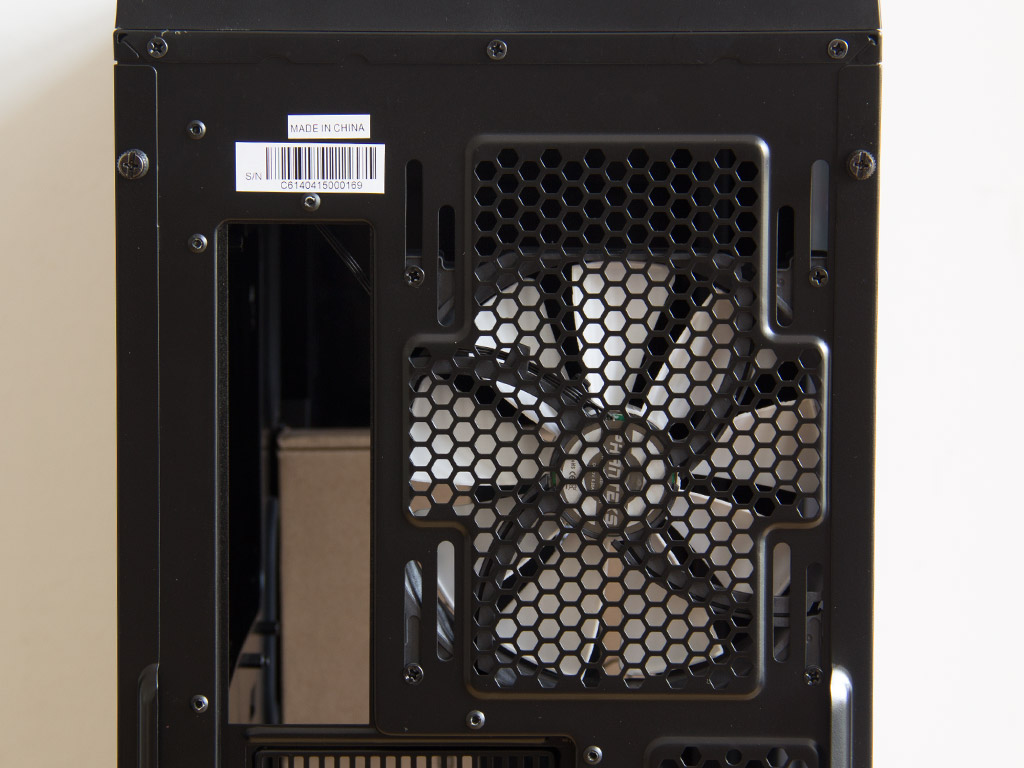
The bottom-mounted PSU in the rear can be installed with the fan facing up- or downward. Above the bay are eight motherboard expansion slots and an air vent onto which you can also mount a liquid-cooling reservoir. A large 140 mm fan has been installed into the very top. It pushes hot air out the back of the Enthoo Pro. The elongated cutouts allow you to adjust its position vertically to line it up with your CPU cooler for as much performance as possible.
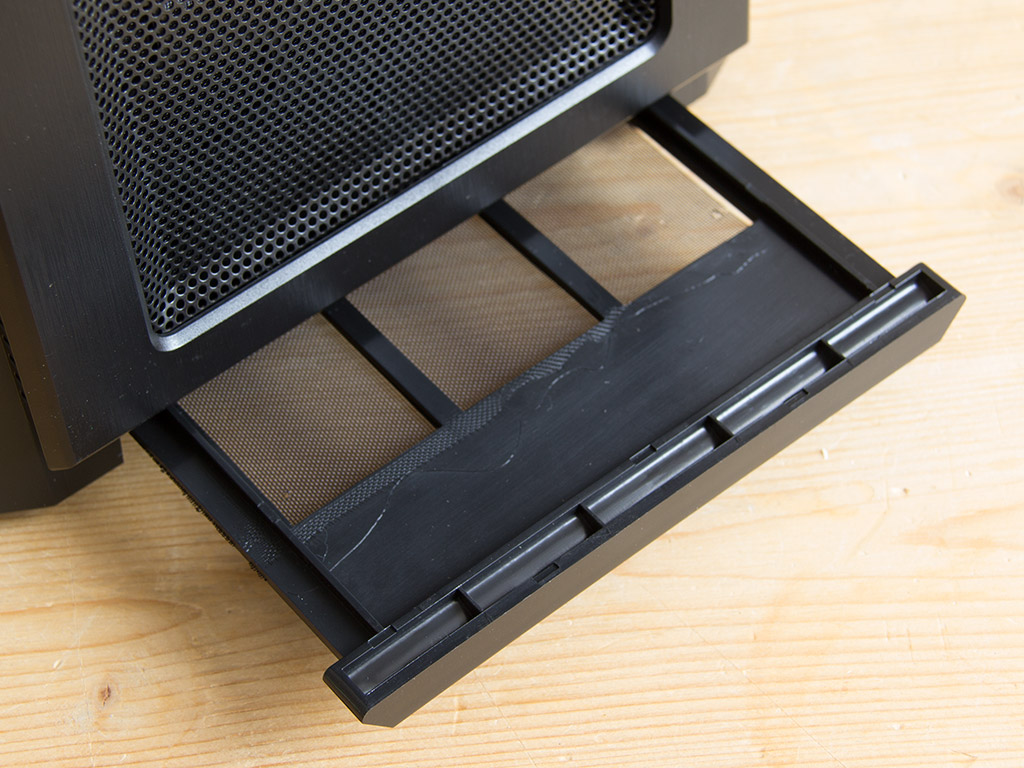

The entire underside of the chassis is lined with two dust filters. Each filter can be pulled out from under either end of the case for easy cleaning.
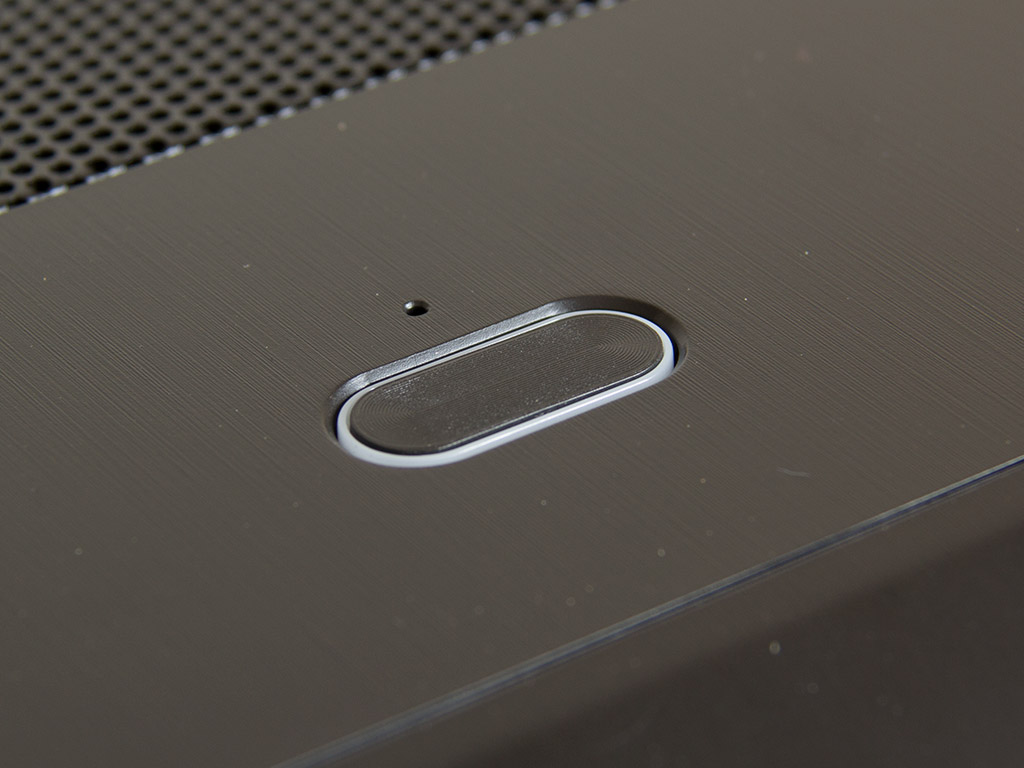

On the top is a power button with an embedded LED ring. Behind it is another vent similar to the one in the front, which gives way to any cooling or liquid-cooling units you may install into the ceiling.
May 16th, 2024 05:51 EDT
change timezone
Latest GPU Drivers
New Forum Posts
- Ubuntu 24.04 LTS released (31)
- Homeworld 3 [Official Thread] (42)
- EULA in Games (13)
- Ads in forums. under news (8)
- What's your latest tech purchase? (20533)
- Unknown Subvendor in GPU-Z (2)
- not impressed - nvme vs ssd (134)
- Last game you purchased? (297)
- MSI Z370 SLI PLUS + i9 9900k bad perfomance. (4)
- Double radiator setup with GPU fans on top (6)
Popular Reviews
- Homeworld 3 Performance Benchmark Review - 35 GPUs Tested
- Enermax REVOLUTION D.F. X 1200 W Review
- Lofree Edge Ultra-Low Profile Wireless Mechanical Keyboard Review
- Upcoming Hardware Launches 2023 (Updated Feb 2024)
- ZMF Caldera Closed Planar Magnetic Headphones Review
- AMD Ryzen 7 7800X3D Review - The Best Gaming CPU
- Corsair MP700 Pro SE 4 TB Review
- ASUS Radeon RX 7900 GRE TUF OC Review
- ThundeRobot ML903 NearLink Review
- Sapphire Radeon RX 7900 GRE Pulse Review
Controversial News Posts
- Intel Statement on Stability Issues: "Motherboard Makers to Blame" (267)
- AMD to Redesign Ray Tracing Hardware on RDNA 4 (227)
- Windows 11 Now Officially Adware as Microsoft Embeds Ads in the Start Menu (172)
- NVIDIA to Only Launch the Flagship GeForce RTX 5090 in 2024, Rest of the Series in 2025 (152)
- AMD Hits Highest-Ever x86 CPU Market Share in Q1 2024 Across Desktop and Server (137)
- AMD RDNA 5 a "Clean Sheet" Graphics Architecture, RDNA 4 Merely Corrects a Bug Over RDNA 3 (124)
- AMD's RDNA 4 GPUs Could Stick with 18 Gbps GDDR6 Memory (114)
- AMD Ryzen 9 7900X3D Now at a Mouth-watering $329 (104)