 46
46
G.Skill Ripjaws Z 2133 MHz DDR3 CL9 16 GB Kit Review
Installation & Setup »A Closer Look
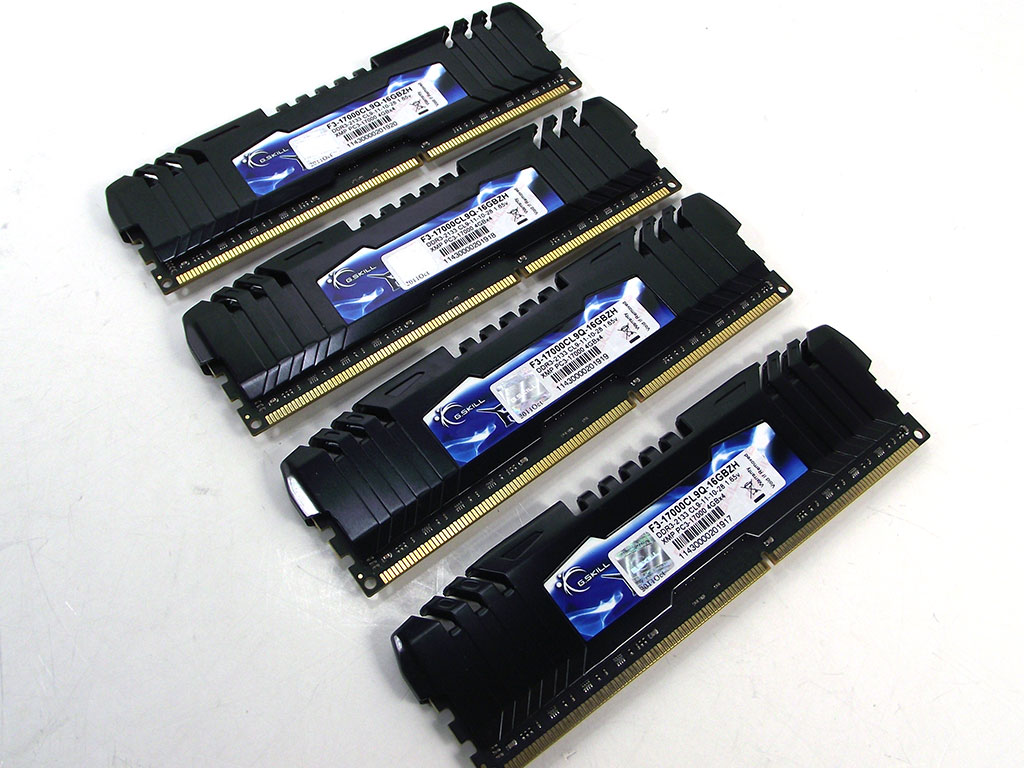

With all the modules out of the packaging, we can see them all clearly, and noticed that although the appearance of each side of the DIMMs is different at first glance; this is just due to the sticker with the module specifications on one side. With the modules inserted into the slot, the sticker is on the hidden side that faces the CPU socket itself, allowing the blue and black "Ripjaws Z" logo to be seen unobstructed.
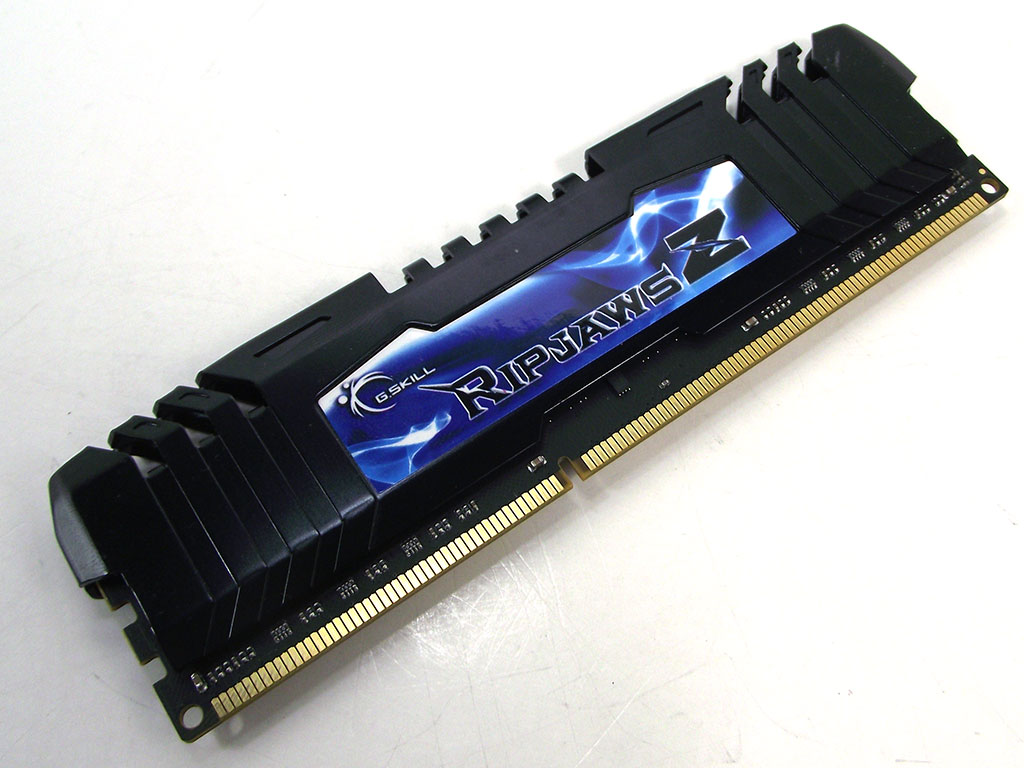


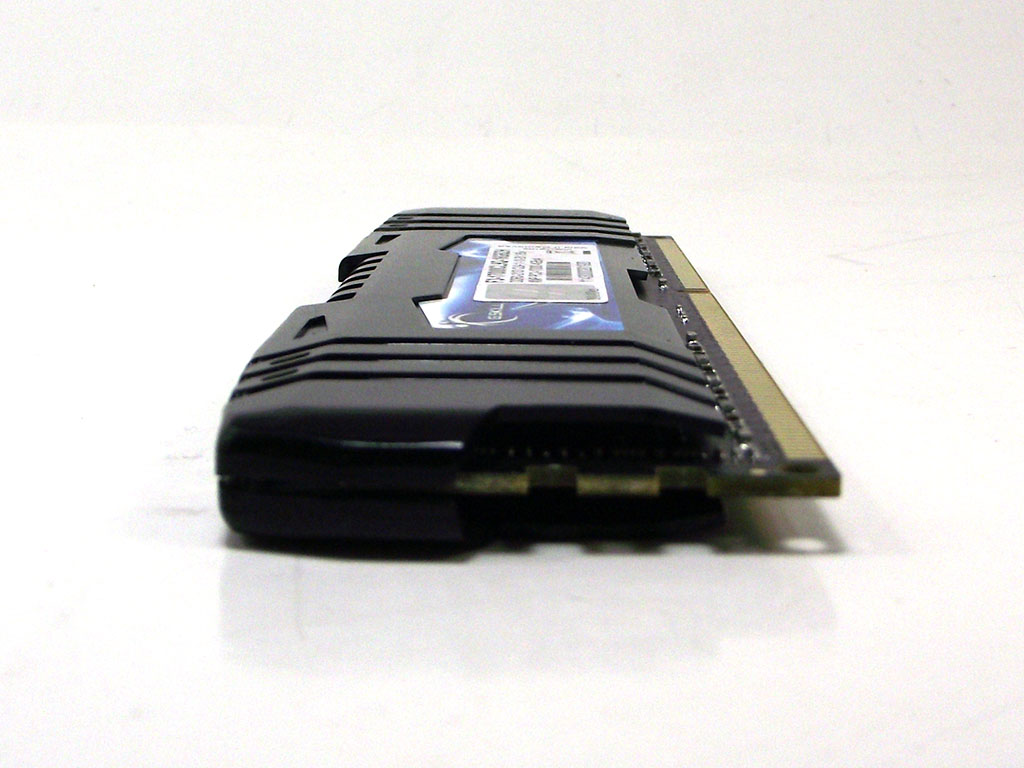
A close look at an individual module reveals that the black heatspreader with slots in the top covers nearly the entire DIMM from end to end, wrapping over the top and sides over the DIMM's black PCB. The fins at the edge of each DIMM continue down the front of the module in a pattern that highlights the logo. Flipping the DIMM over we can see the specifications sticker more clearly, and that the heatspeader on this side of the module is a perfect match for what's found on the opposite side. Looking closely at the sticker, we can see an assembly date of October, 2011, along with the specified timings, voltage, a line that indicates the module is part of a 4x 4 GB kit, a UPC bar code, and at the bottom, the module's individual serial number.
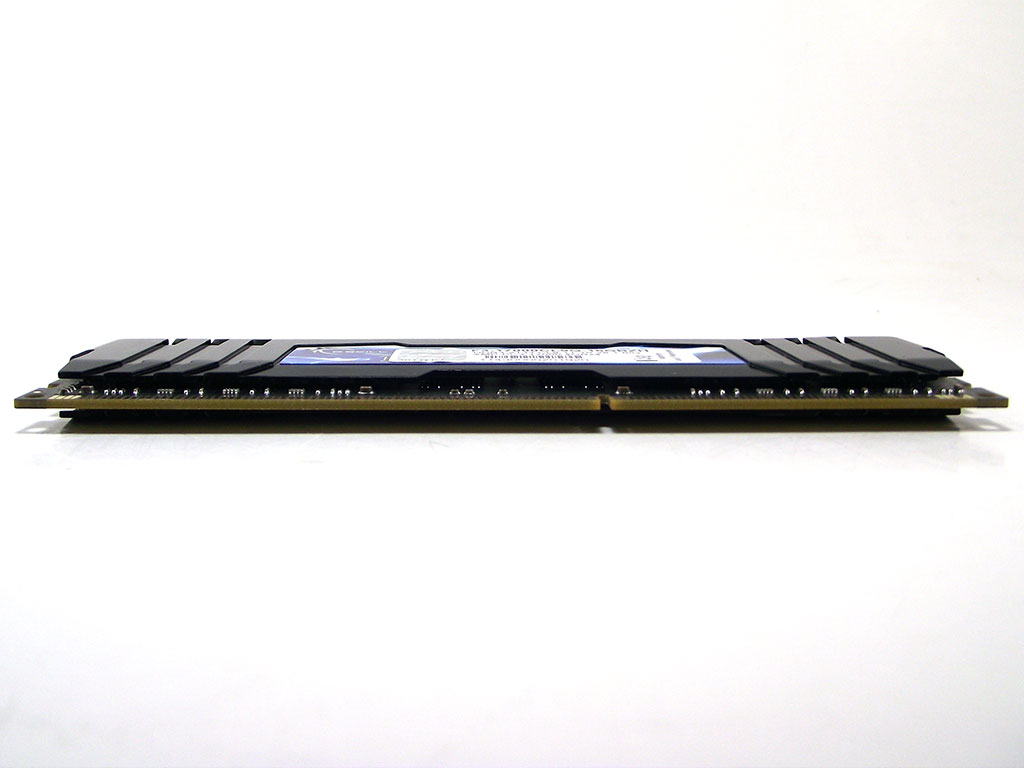
Looking up at the DIMM's connector edge, we can see that the heatspeader dips closer to the PCB near the connector, for easy installation. From the top, we can see the few fins used to help convective cooling, aided by airflow around the socket. With so few cooling fins, it seems like this module doesn't really need a lot of cooling.
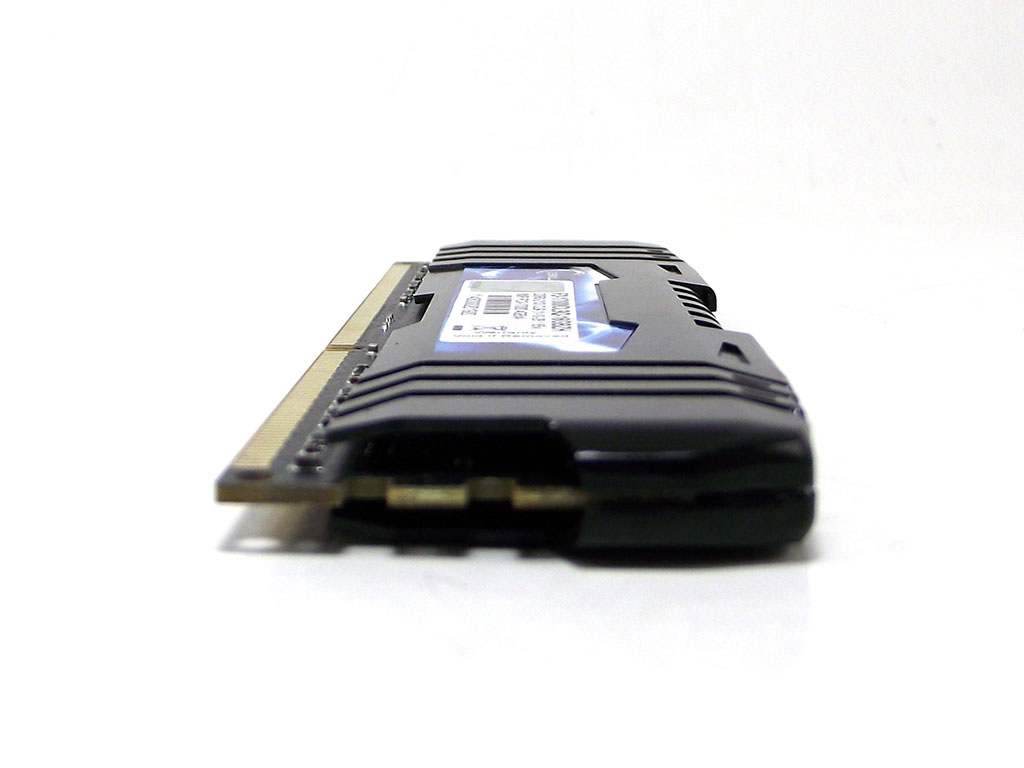
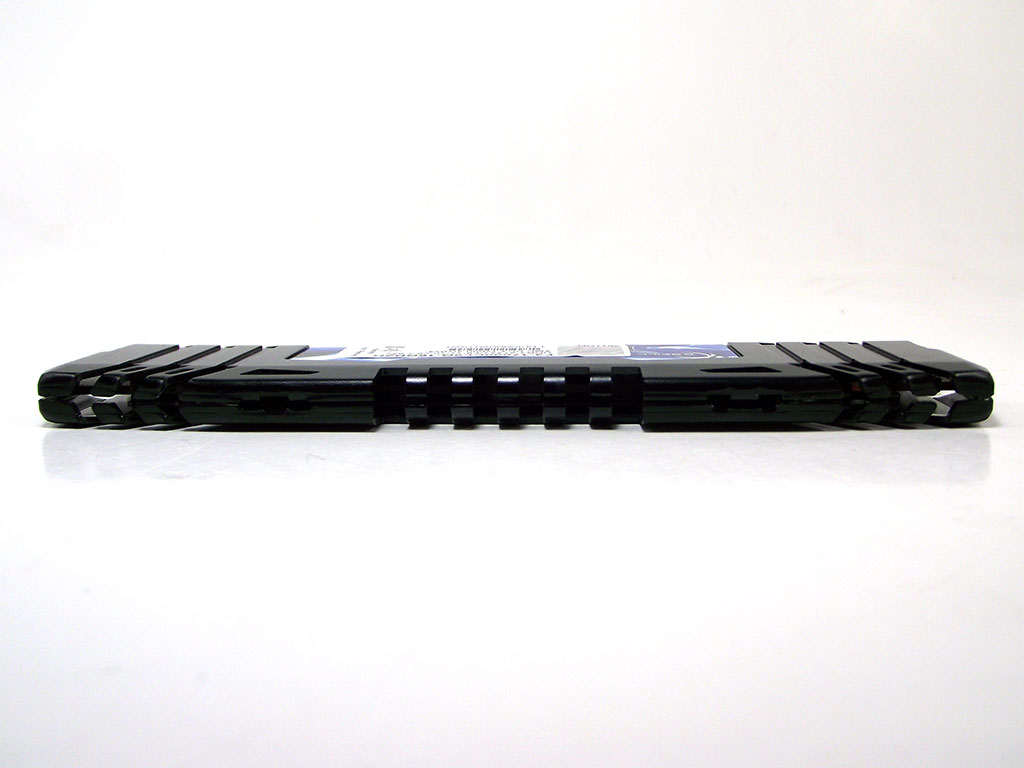
Looking at the side of the DIMM shows the rounded corners and how the heatspreader itself covers nearly every part of the DIMM possible, with the indentations to secure the DIMM in the slot barely peeking out from under the heatspeader. We did attempt to have a peek under the heatspreader to see what type of ICs are contained below, but the glue used to attach the heatspreaders is extremely tacky, making the heatspreaders nearly impossible to remove. Although we were unable to remove the heatspreader, we did notice some physical characteristics that indicate there is some form of the Hynix "BFR" ICs on our DIMMs, made obvious by the number of solder balls each IC attaches with, as well as the shape of the IC itself. It's widely known in extreme overclocking circles that the Hynix "BFR" IC is quite flexible, and offers significant headroom not seen in other 4 GB DIMMs. As always, OEMs can change the chips mid-production, so while our sticks contain Hynix "BFR", that is no guarantee that all kits will have Hynix ICs, nor that they will overclock as well as our particular sample does, but typically if you can get modules from the same batch, users can expect similar performance. Let's take a look.
May 10th, 2024 21:13 EDT
change timezone
Latest GPU Drivers
New Forum Posts
- Who here likes big monitors? 42inch and bigger gang? (4)
- 2024 and STILL no dark mode? (8)
- Going from a 2070 to a 4070 ti super, should i uninstall drivers first? (22)
- I don't think Ryzen 9900x3d is just being announced next month, I think it's launching next month. (29)
- AM5 boot times improve RADICALLY with memory context restore enabled (35)
- NVME underperforming (3)
- Flash VBIOS to turn RX 580 2048SP into RX 570 (35)
- What are you playing? (20618)
- The Official Thermal Interface Material thread (1181)
- Intel Core Ultra 9 185H - PROCHOT (3)
Popular Reviews
- Bykski CPU-XPR-C-I CPU Water Block Review - Amazing Value!
- CHERRY XTRFY M64 Pro Review
- ThundeRobot ML903 NearLink Review
- Corsair MP700 Pro SE 4 TB Review
- ZMF Caldera Closed Planar Magnetic Headphones Review
- Corsair iCUE Link RX120 RGB 120 mm Fan Review
- Upcoming Hardware Launches 2023 (Updated Feb 2024)
- AMD Ryzen 7 7800X3D Review - The Best Gaming CPU
- Finalmouse UltralightX Review
- ASUS Radeon RX 7900 GRE TUF OC Review
Controversial News Posts
- Intel Statement on Stability Issues: "Motherboard Makers to Blame" (264)
- AMD to Redesign Ray Tracing Hardware on RDNA 4 (206)
- Windows 11 Now Officially Adware as Microsoft Embeds Ads in the Start Menu (170)
- NVIDIA to Only Launch the Flagship GeForce RTX 5090 in 2024, Rest of the Series in 2025 (144)
- Sony PlayStation 5 Pro Specifications Confirmed, Console Arrives Before Holidays (119)
- AMD's RDNA 4 GPUs Could Stick with 18 Gbps GDDR6 Memory (114)
- NVIDIA Points Intel Raptor Lake CPU Users to Get Help from Intel Amid System Instability Issues (106)
- AMD Ryzen 9 7900X3D Now at a Mouth-watering $329 (104)