Thanks my loyal follower

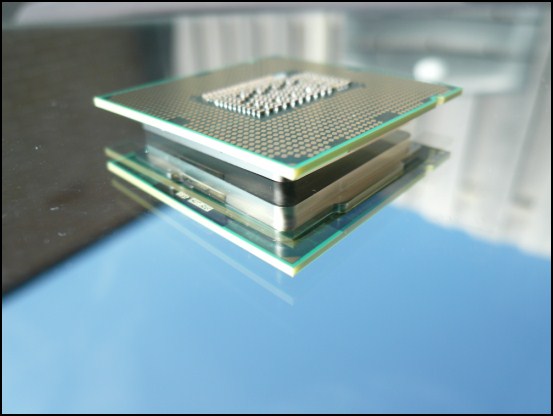
Lovely weather yesterday, so went out to lap my Cpu
")
This time I'm going to lap it faster then normal.
How to with extensive explanation can be found here:
http://www.l3p.nl/other-builds-mods/cpu-lapping/

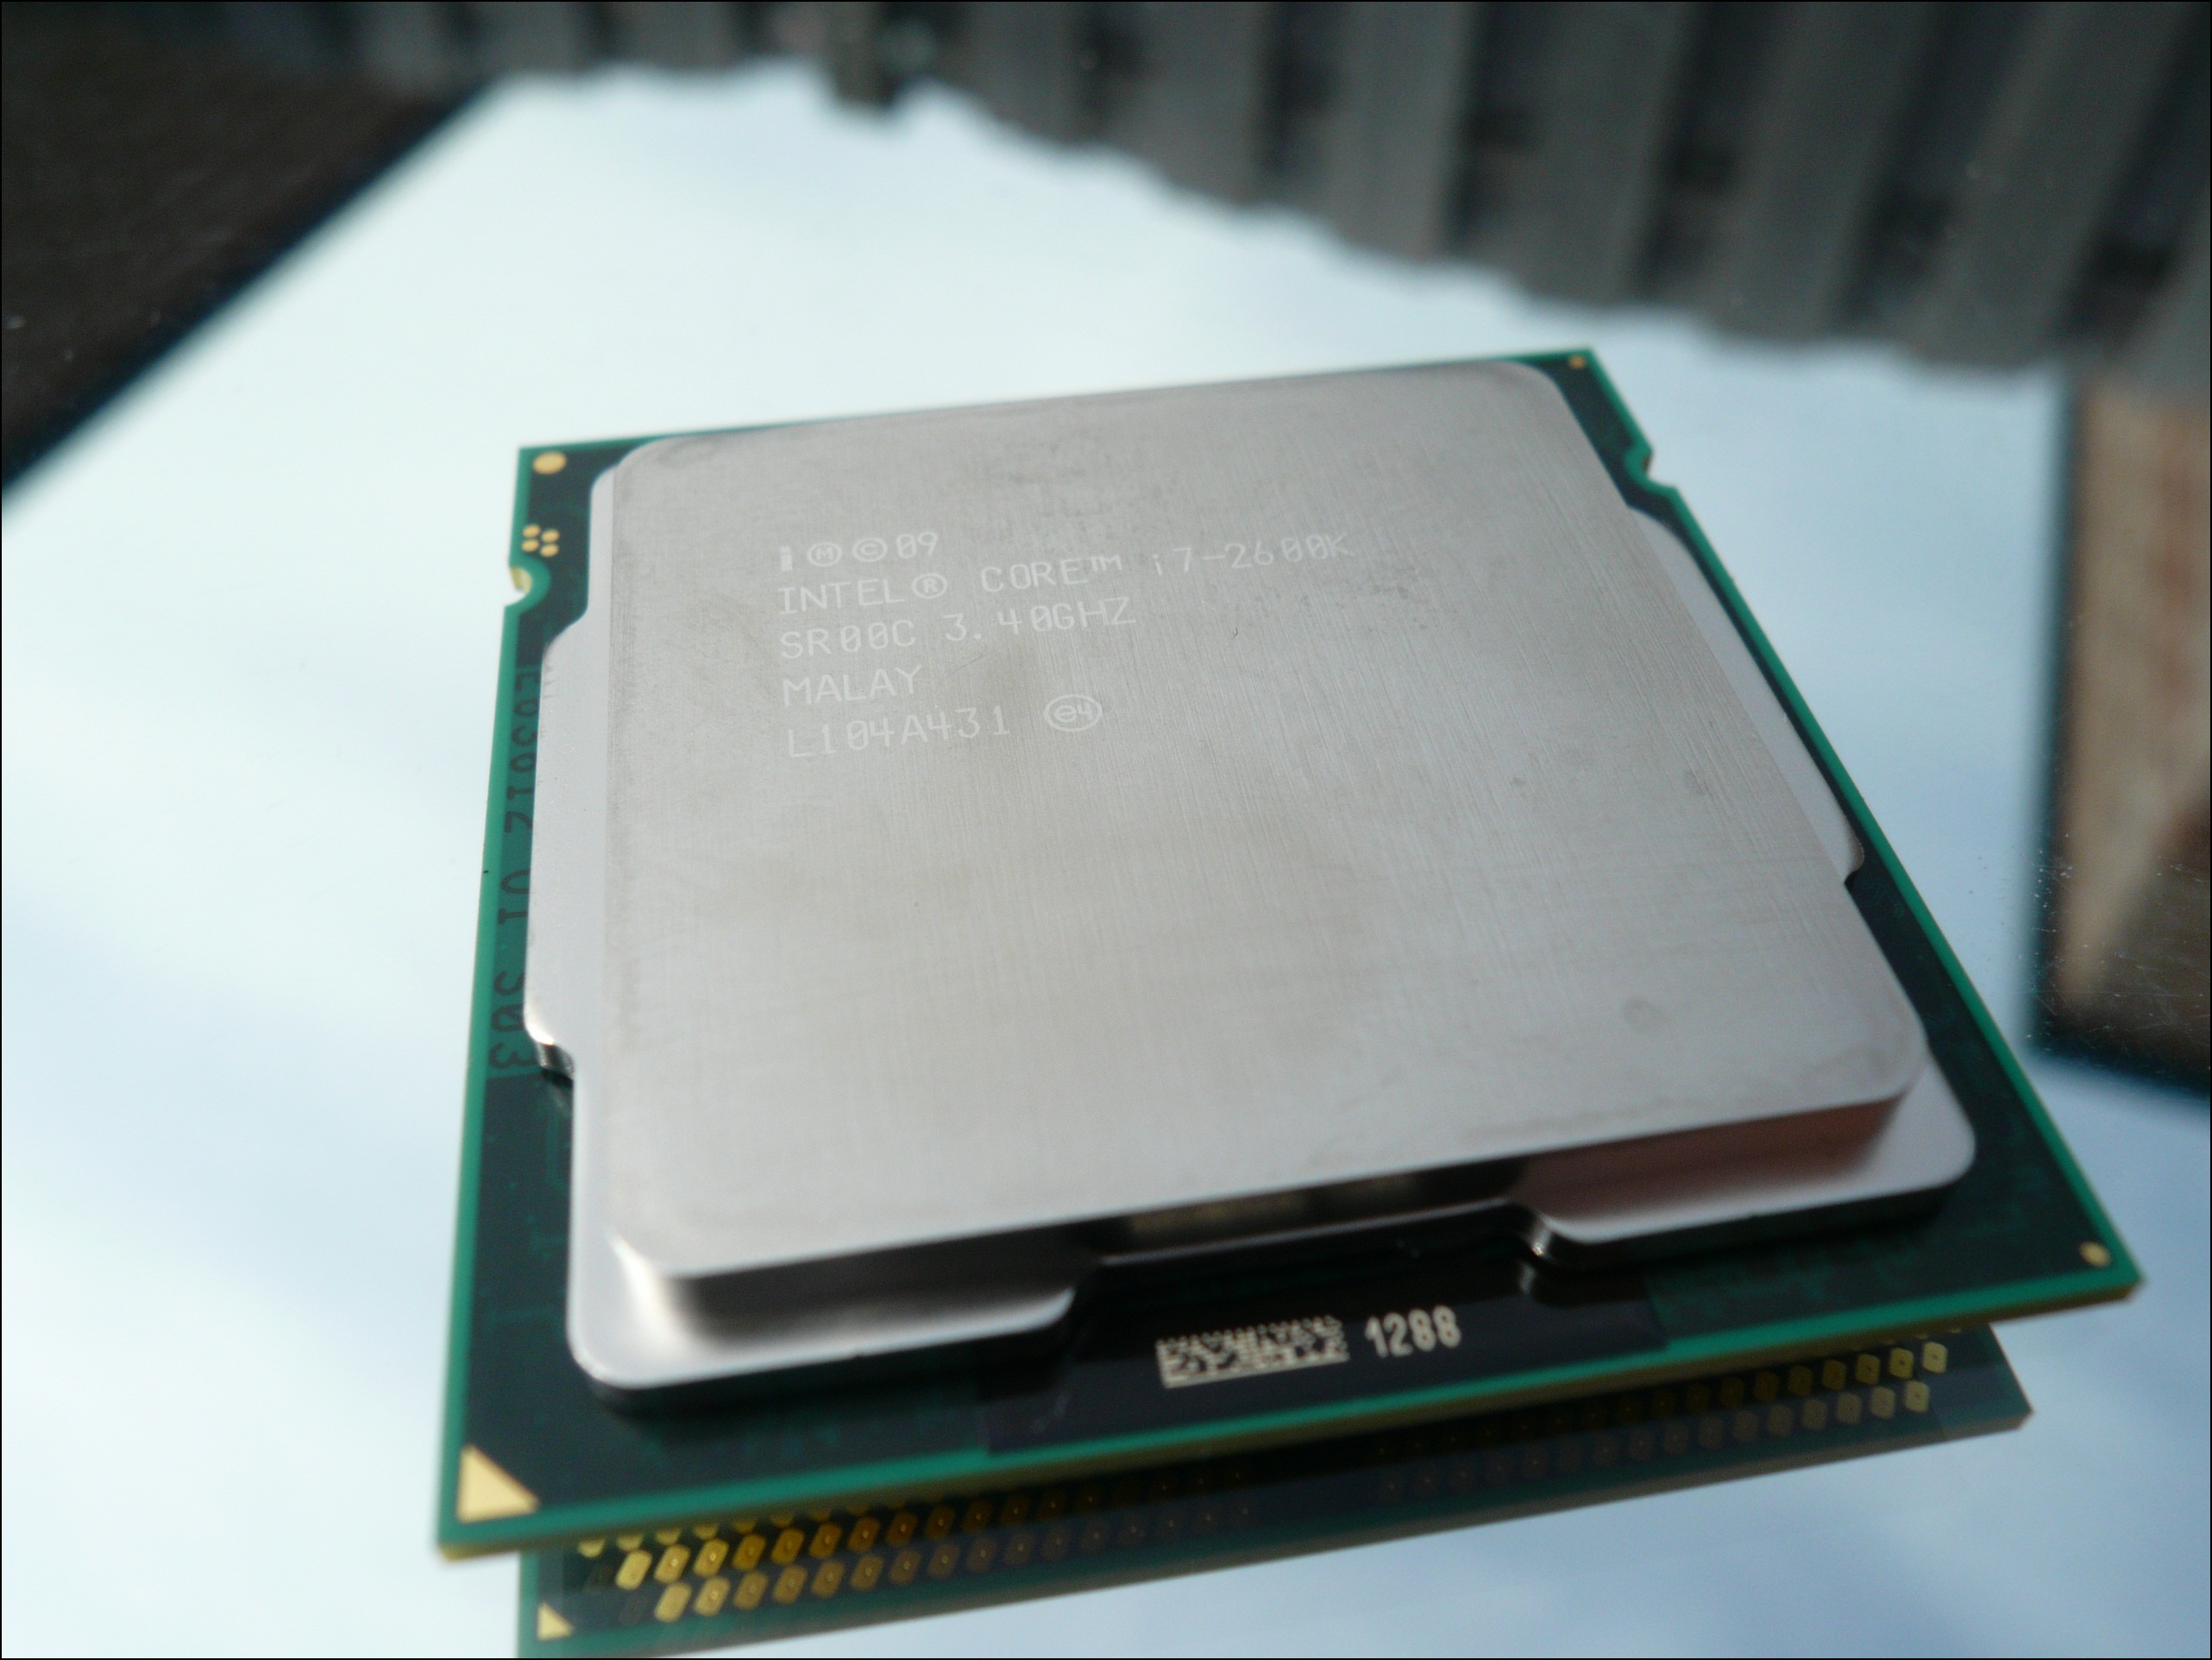
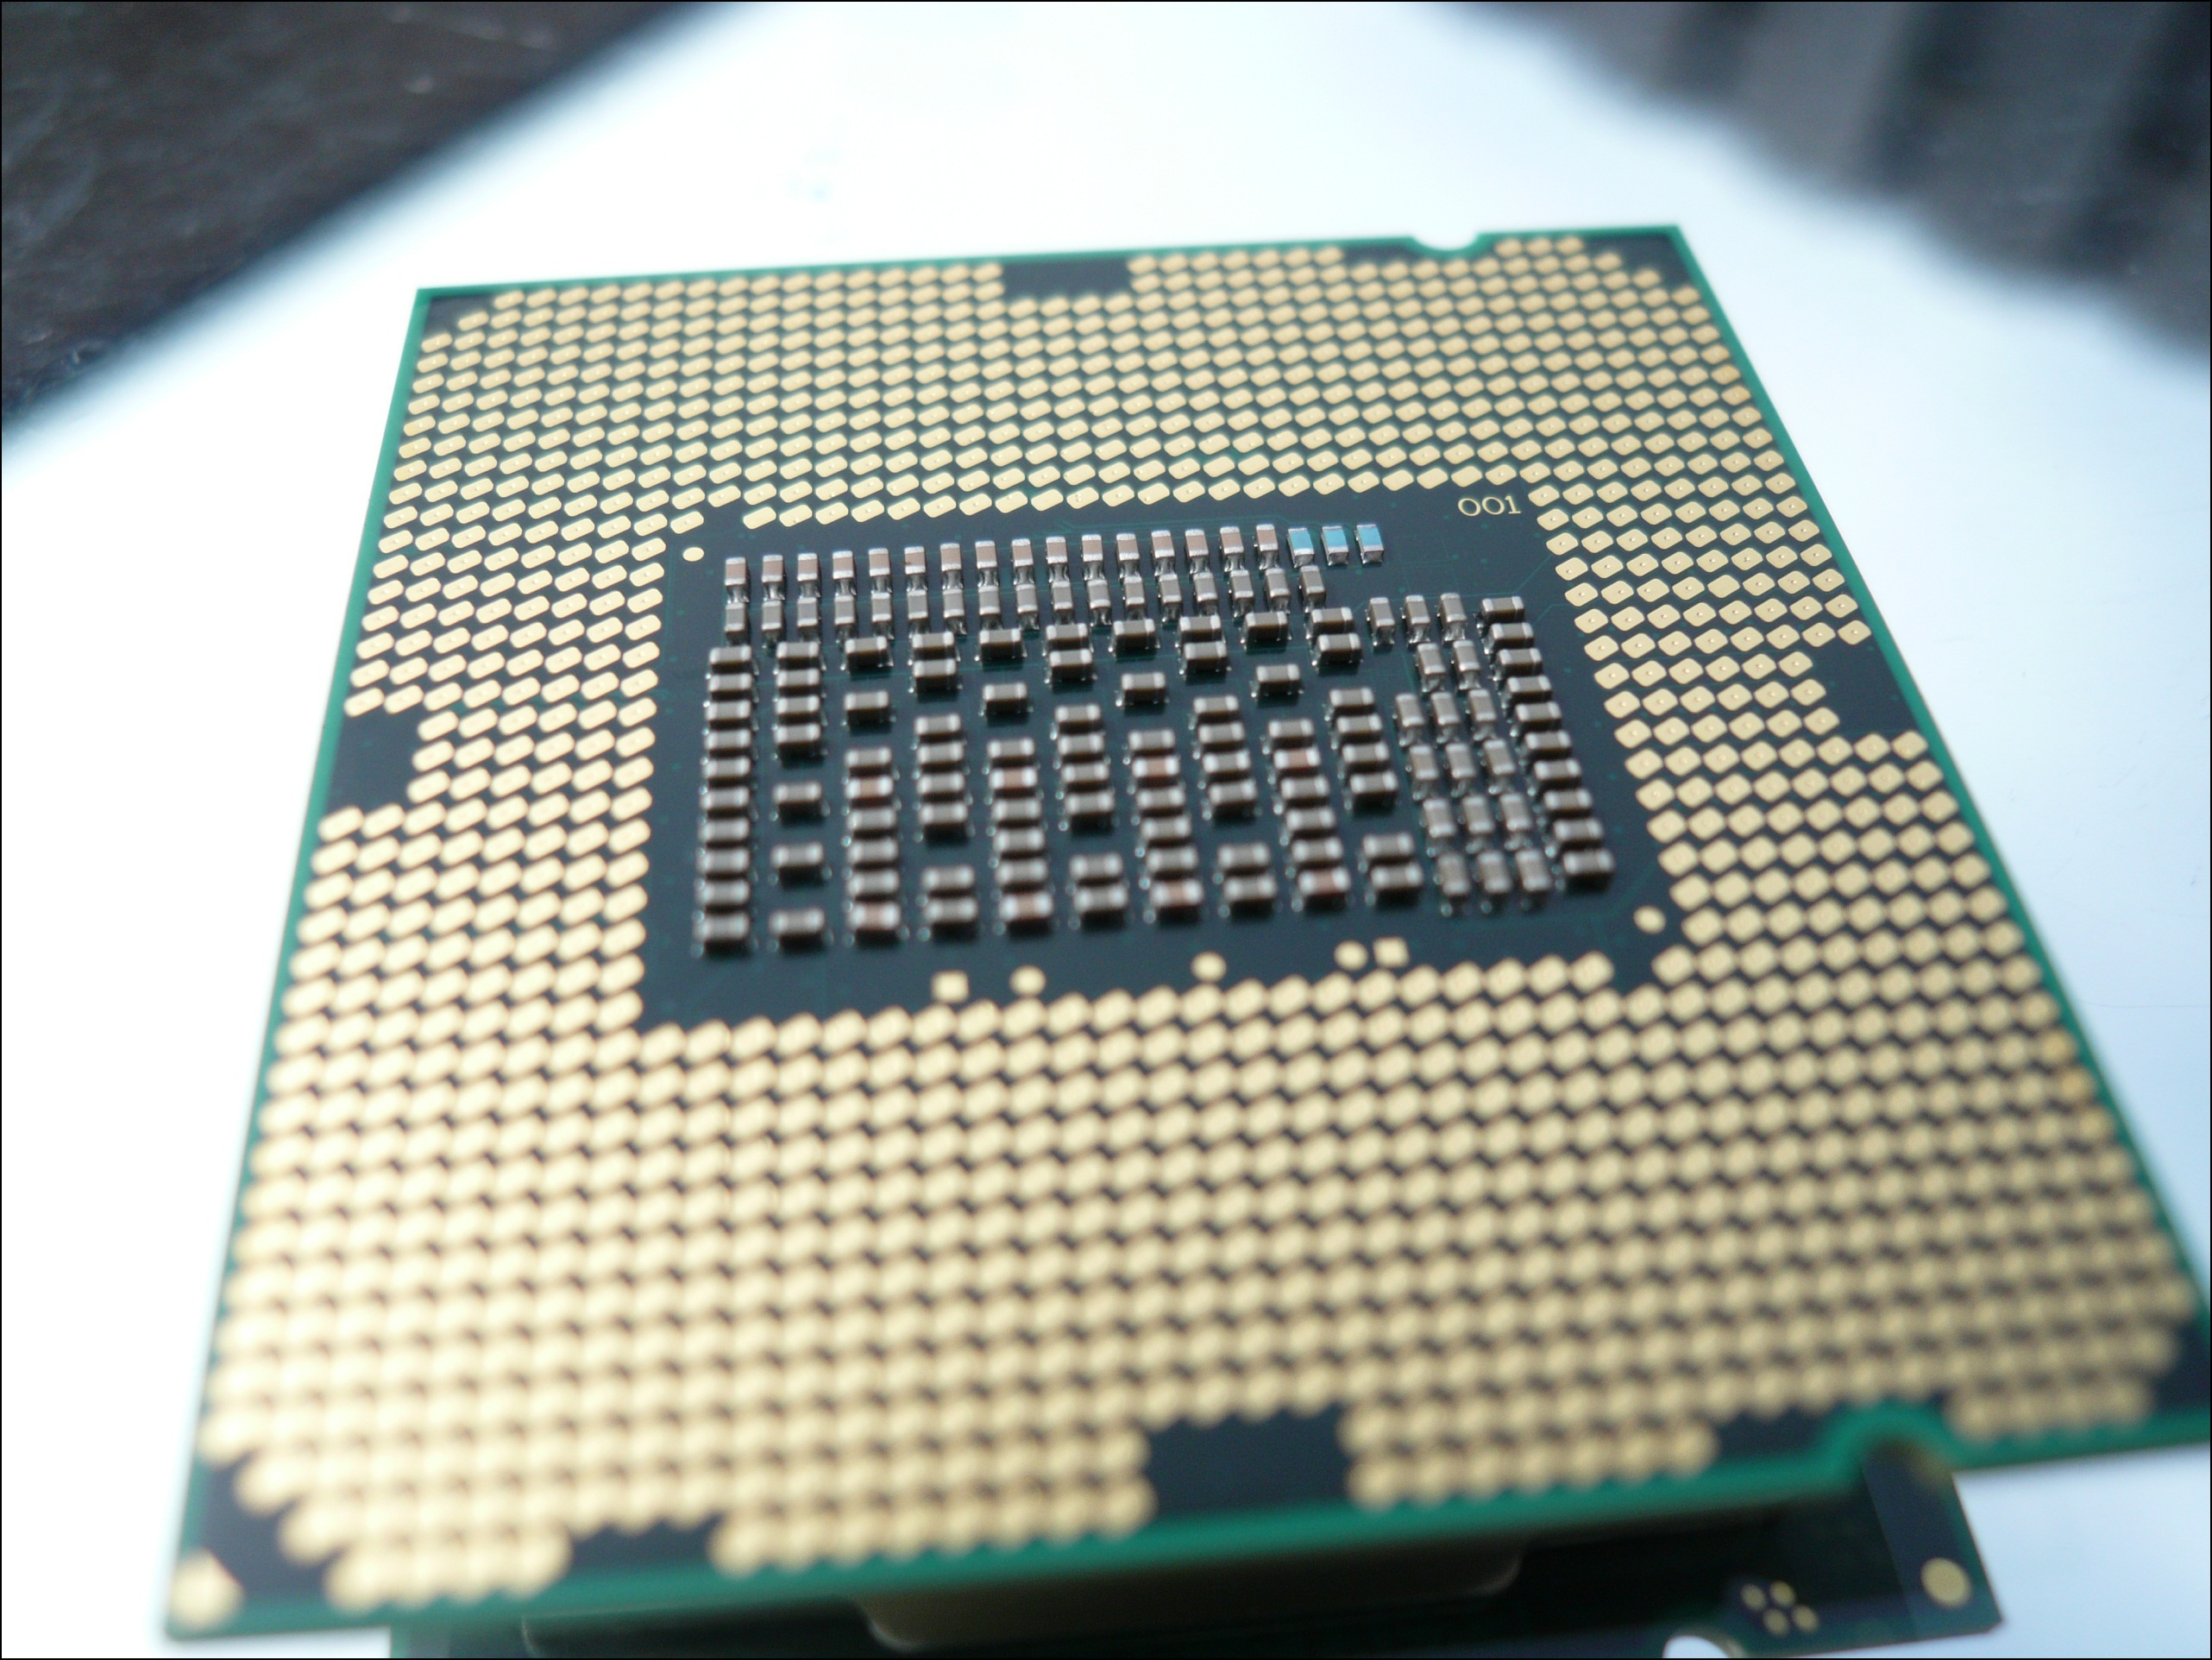
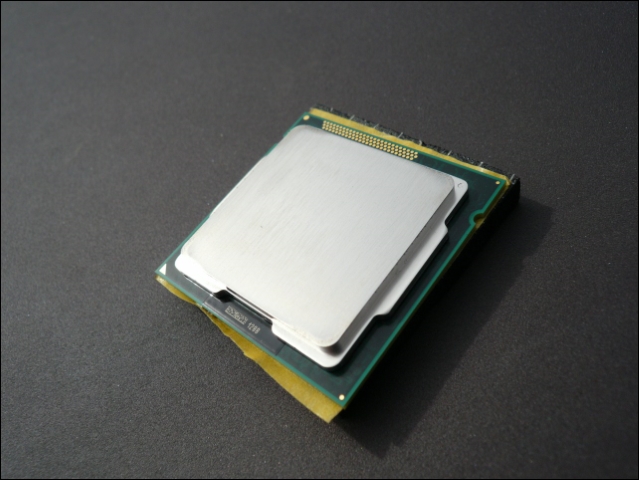
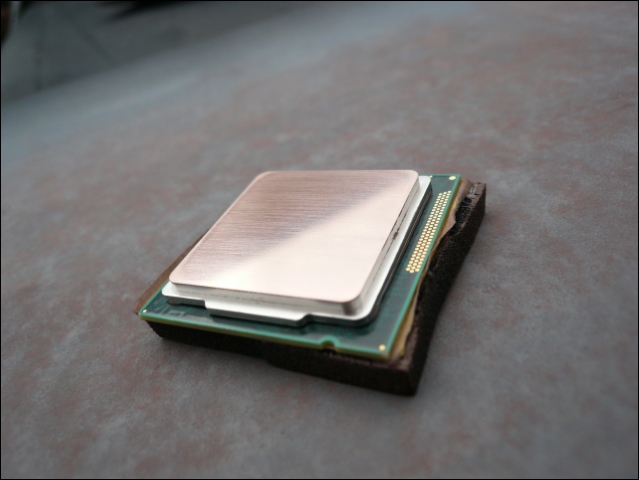
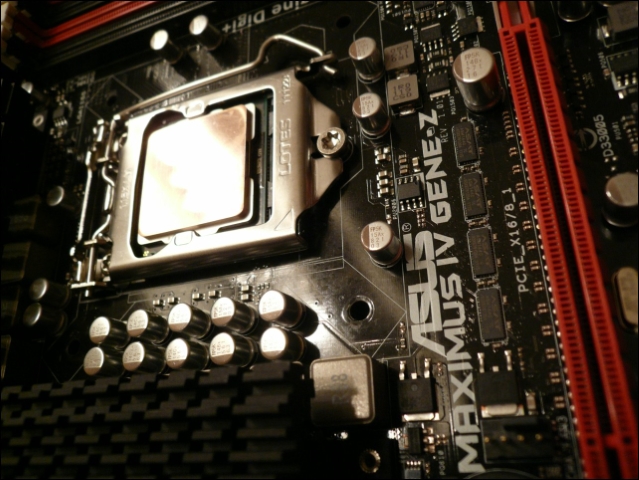
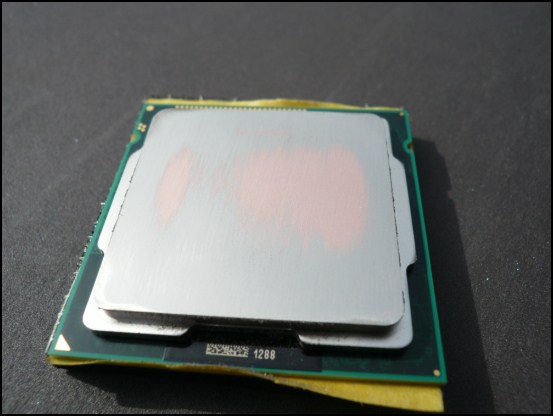
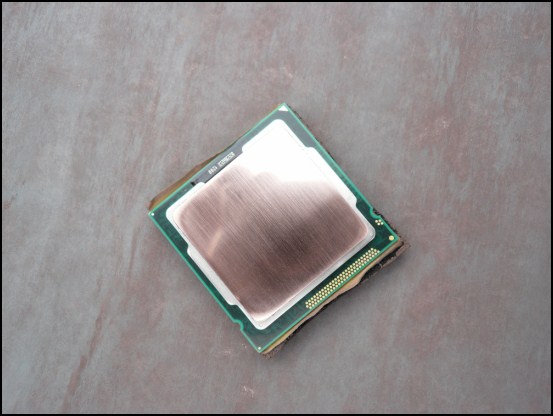
Cpu still WITH warranty here

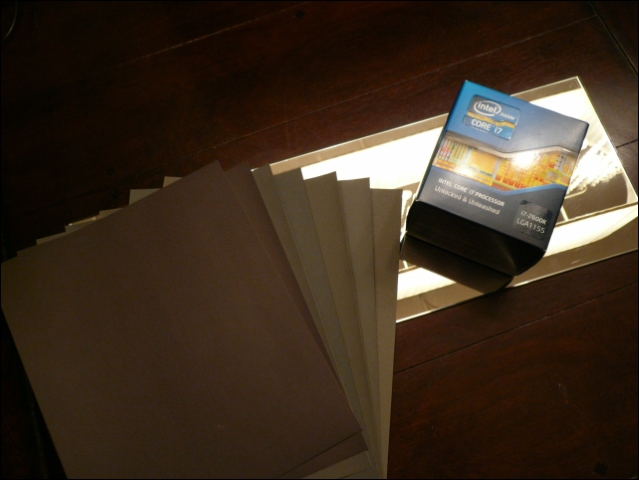
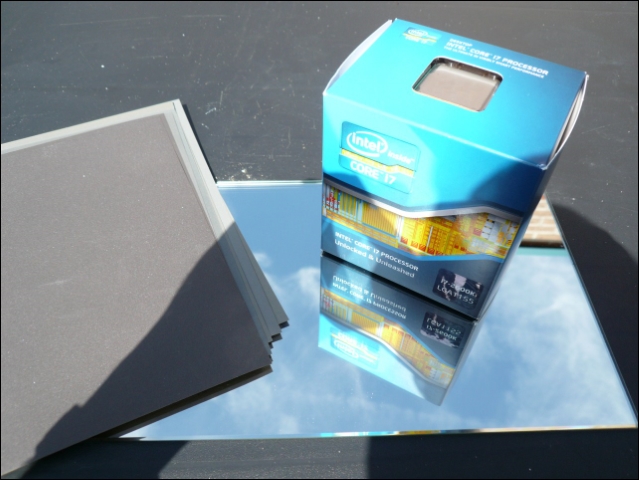
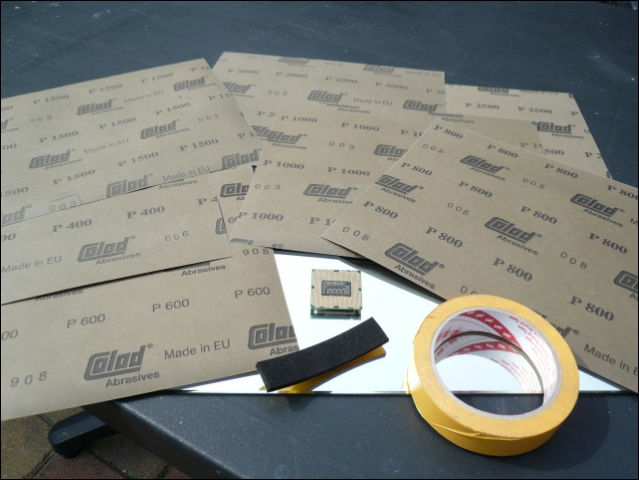
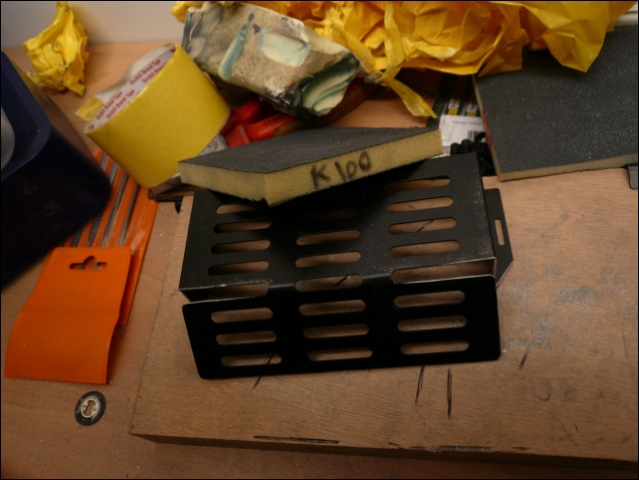
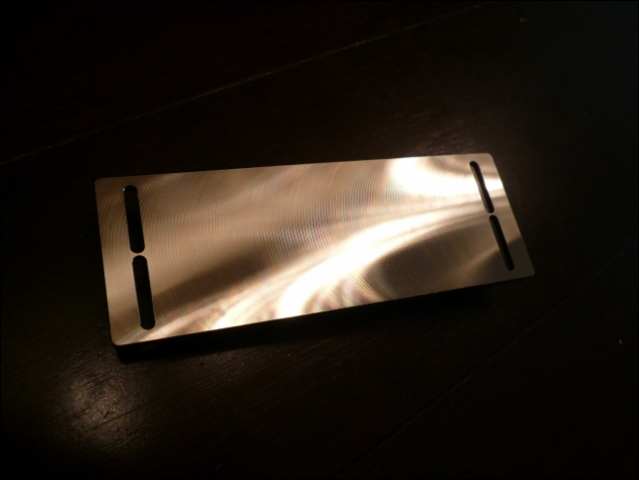
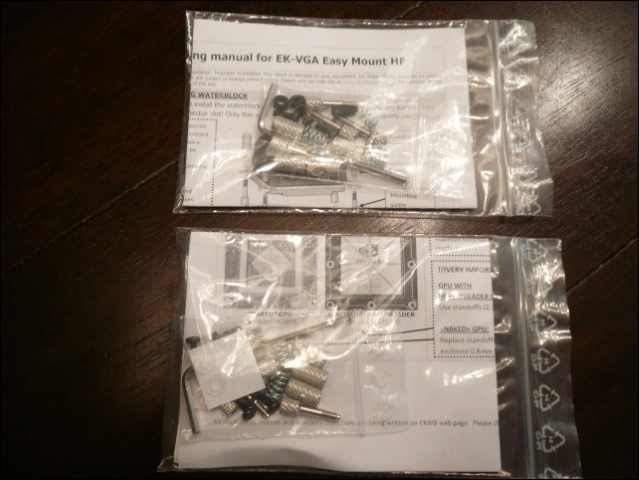
All you need..

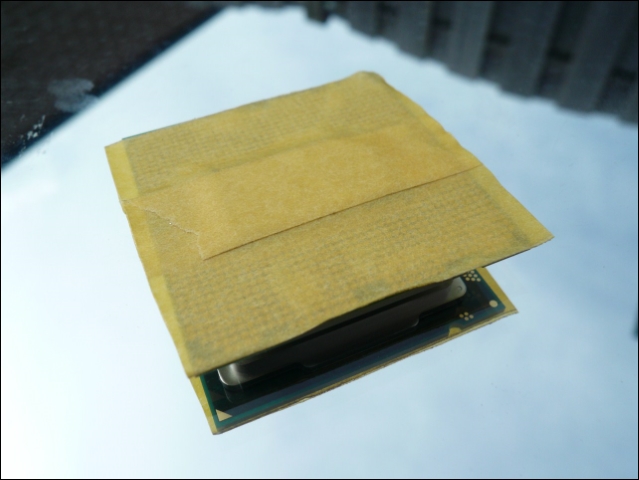
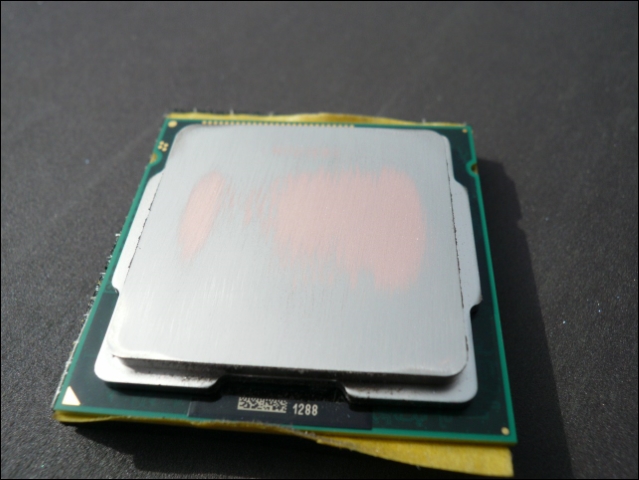
Finding a way to protect the backside of the Cpu since Intel doesn’t
give a nice protection cap any more on boxed s1155 Cpu’s.

So we use marking / painters tape.

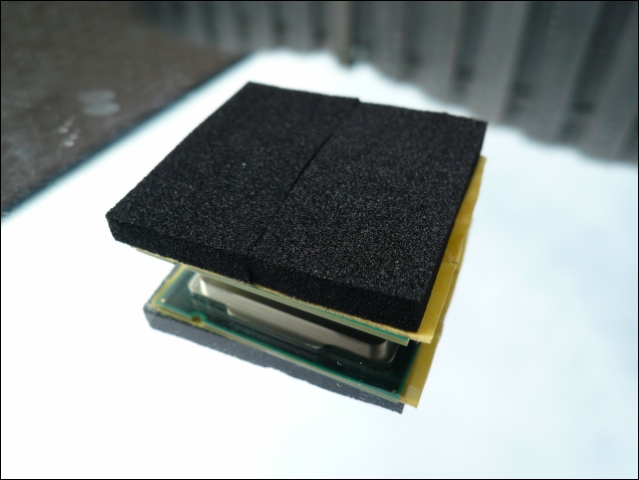
I’m using some rubber tape too.
This way you have a better grip and don’t get sore fingers.

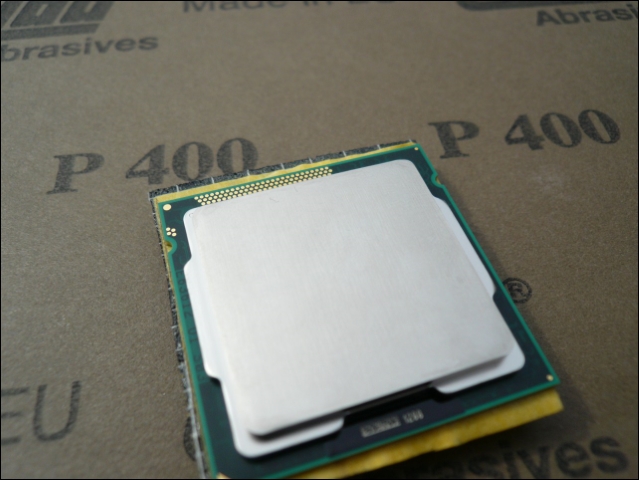
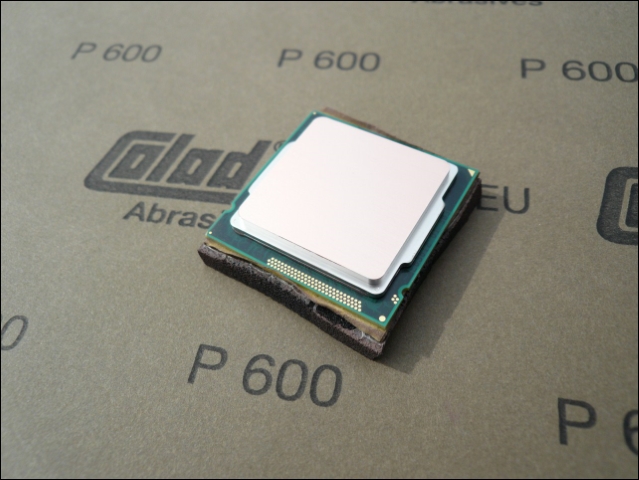
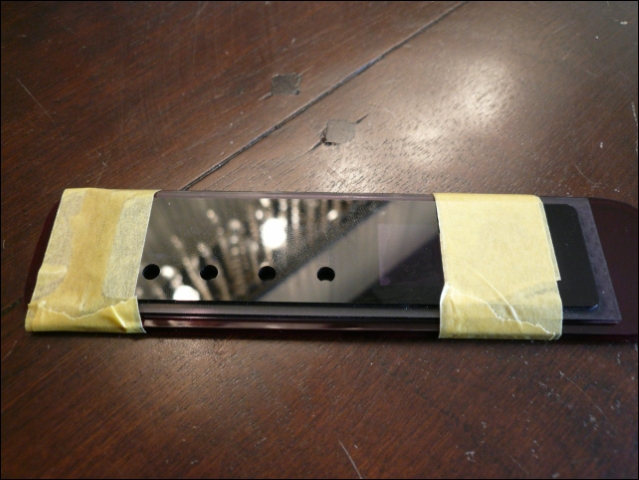
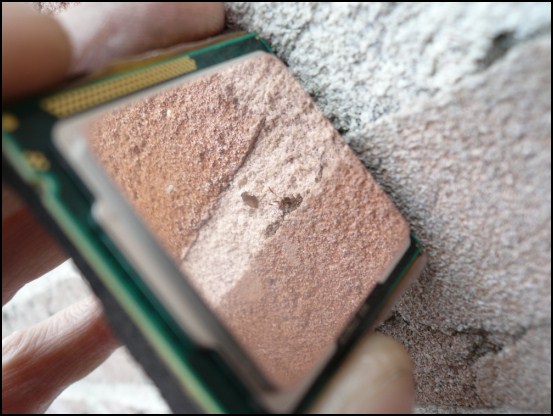
Starting with P400.
Only a few “wipes” and … gone warranty.
The sanding with P400 is the most important and longest step.
Some people tape the sandpaper to the mirror, but if you hold it tight with your other hand you don’t have to.
Just go from left to right on the paper.
Don’t press on the cpu, just use the weight of your hand.
Every 2 minutes turn the cpu 90° clockwise.

2 Minutes with P400.
Nothing to see yet.

7 Minutes with P400.
You can see clearly this Cpu isn’t flat.
Another 3 Minutes with P400.
Total 10 Minutes.

Another 10 Minutes with P400.
Total 20 Minutes.

And another 10 Minutes with P400.
Total 30 Minutes.

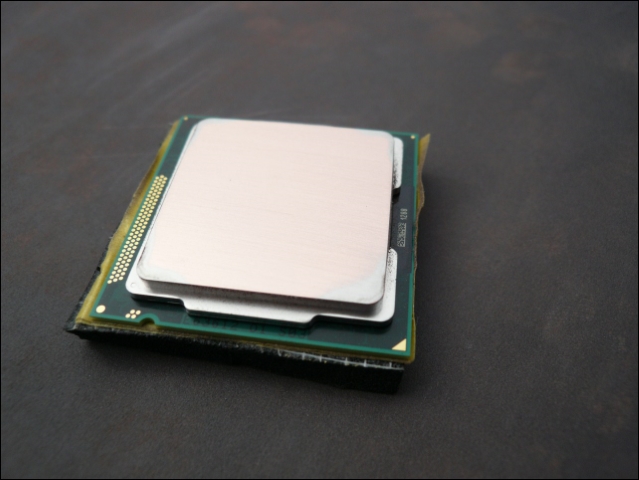
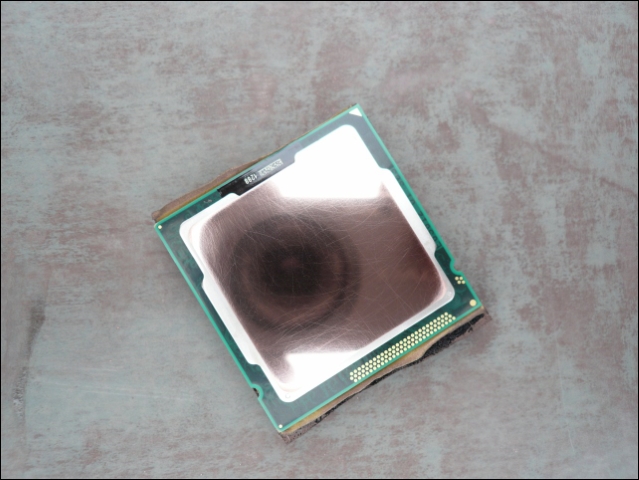
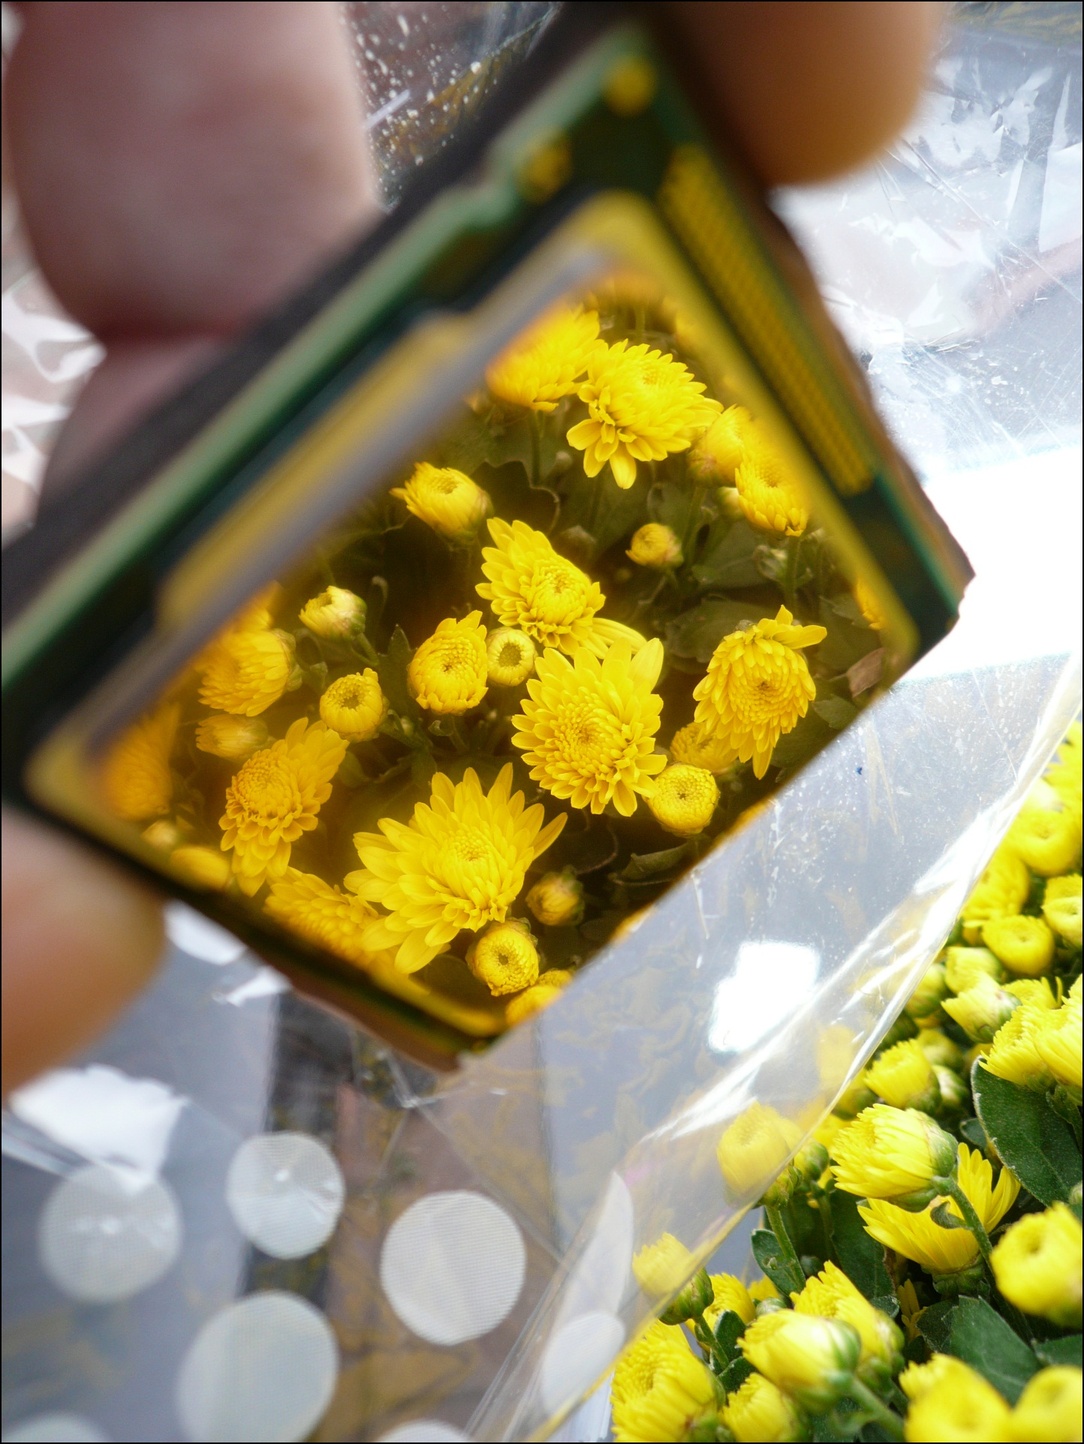
You can see the IHS is completely flat copper now.
Now the real polishing comes.

10 Minutes with P600.
Total 40 Minutes.

Skipping P800.
Straightly to P1000.
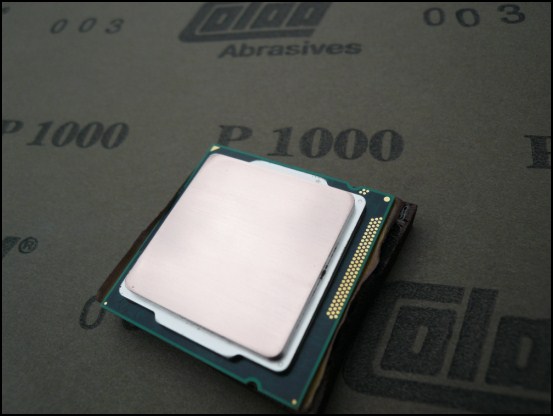
10 Minutes with P1000.
Total 50 Minutes.
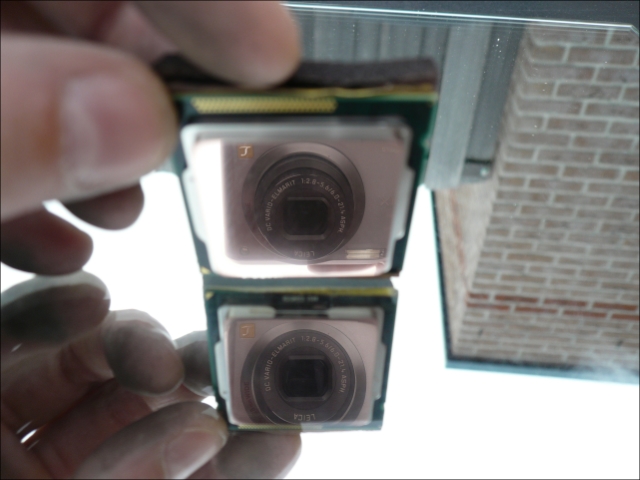
You can see it’s already starting to mirror.

Further on with P1500.
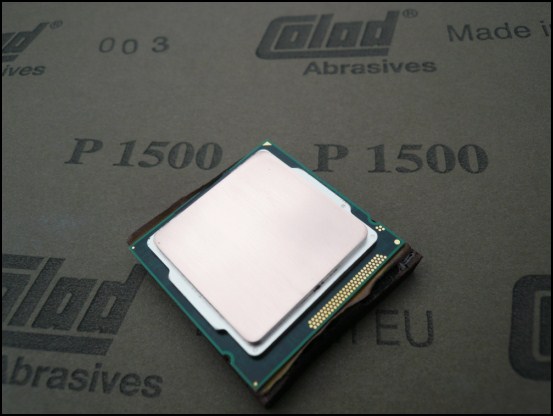
10 Minutes with P1500.
Total 1 hour.

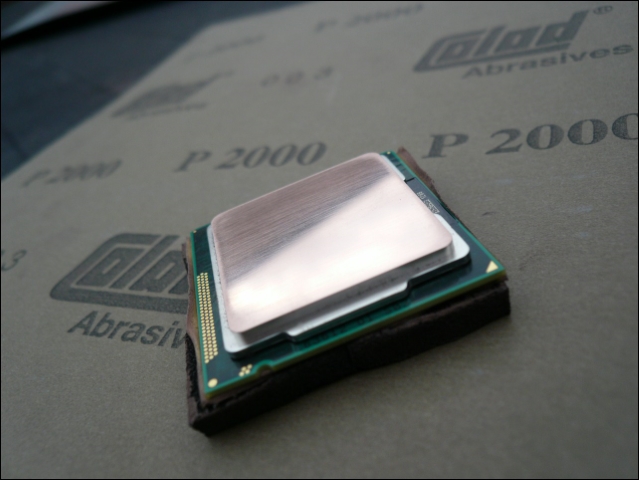
P2000.

10 Minutes with P2000
Total 1 hours and 10 Minutes
Now we need to change our strategy.
First of all clean the mirror and the cpu.
This is because the old copper particles can ruin your polish job by rubbing them into the IHS.
Now you don’t go from left to right with the cpu.
Just move in a circle for 2 minutes and then turn the cpu 90° clockwise again.

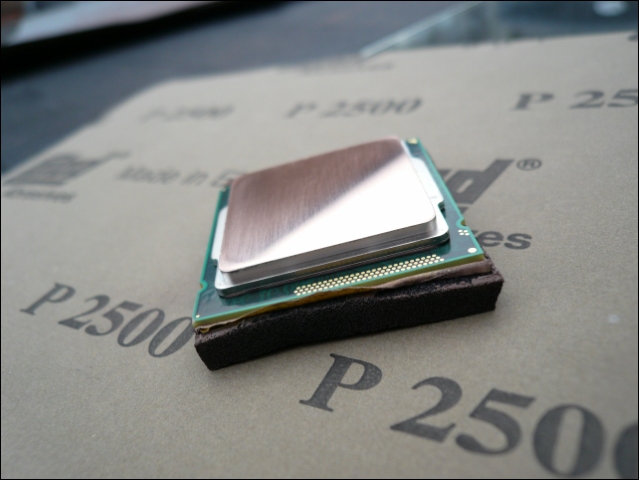
10 Minutes with P2500.
Total 1 hours and 20 Minutes.

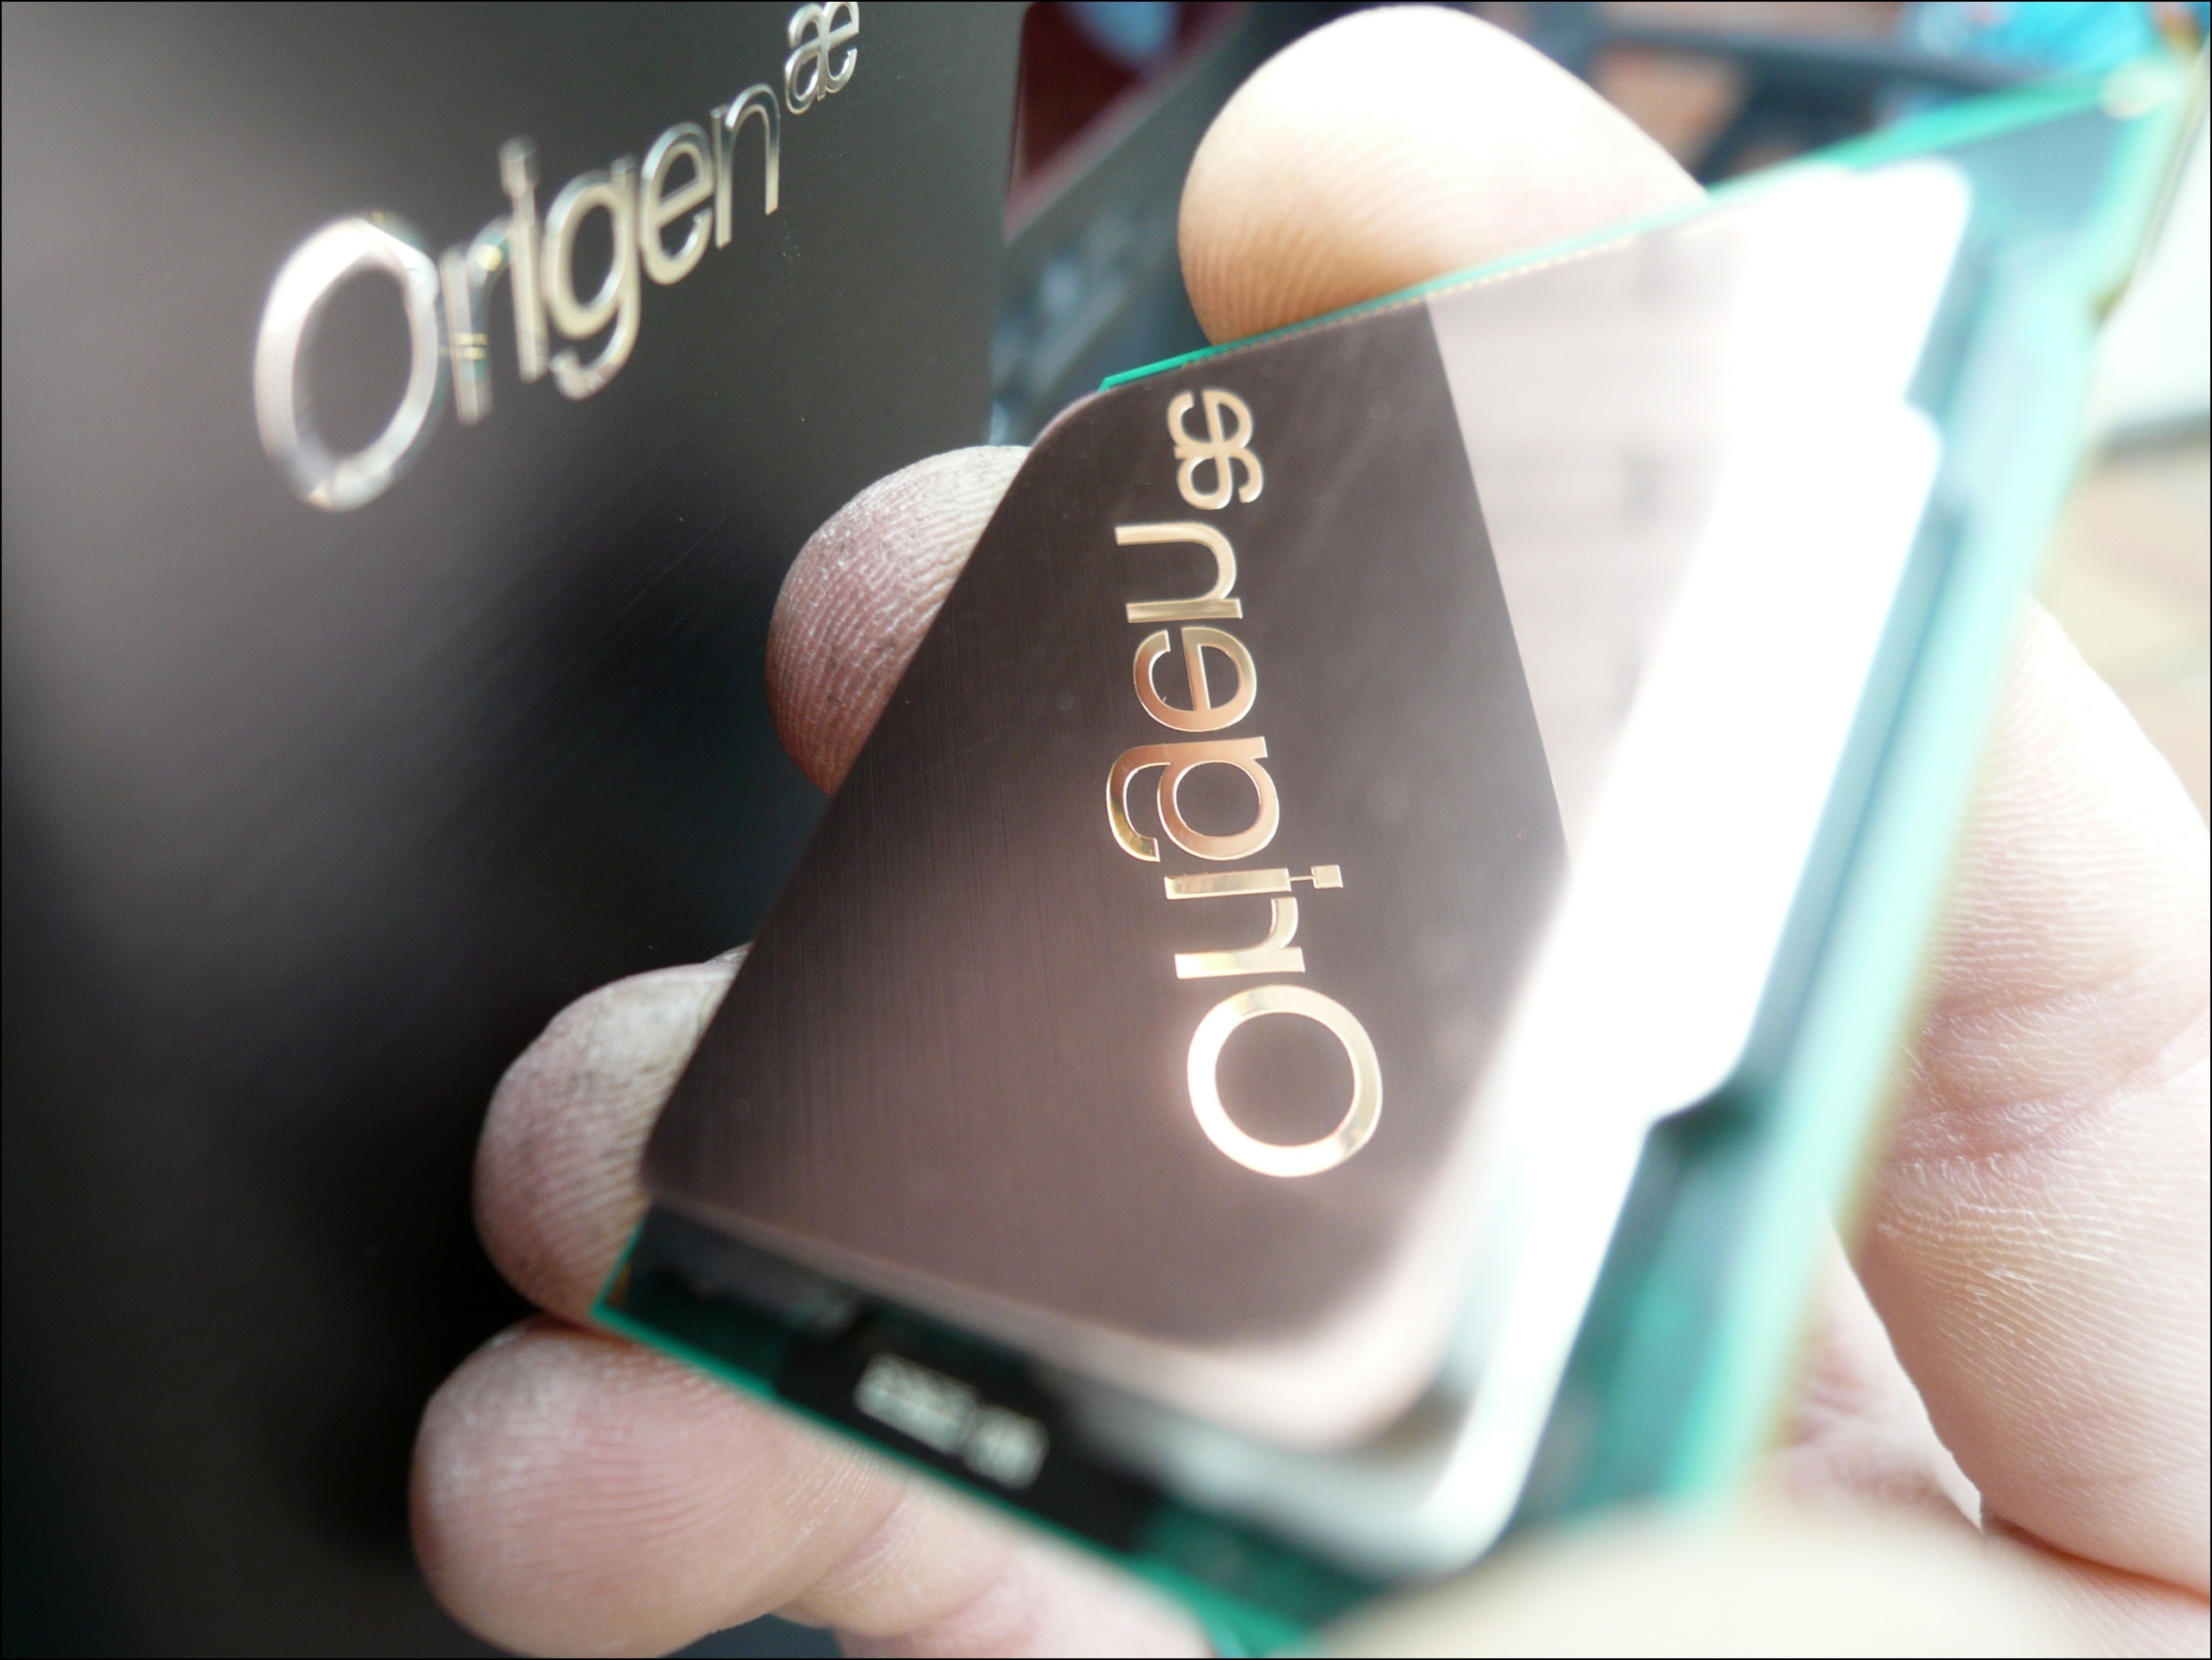
You can see the copper dust already starts to oxidise.

5 Minutes with P2500.
Total 1 hours and 25 Minutes.
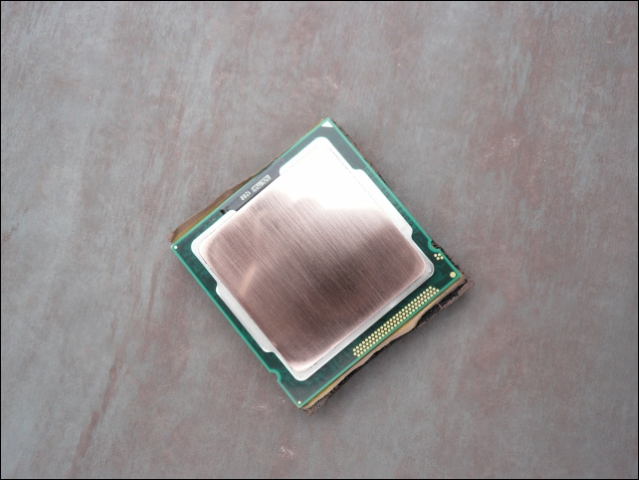
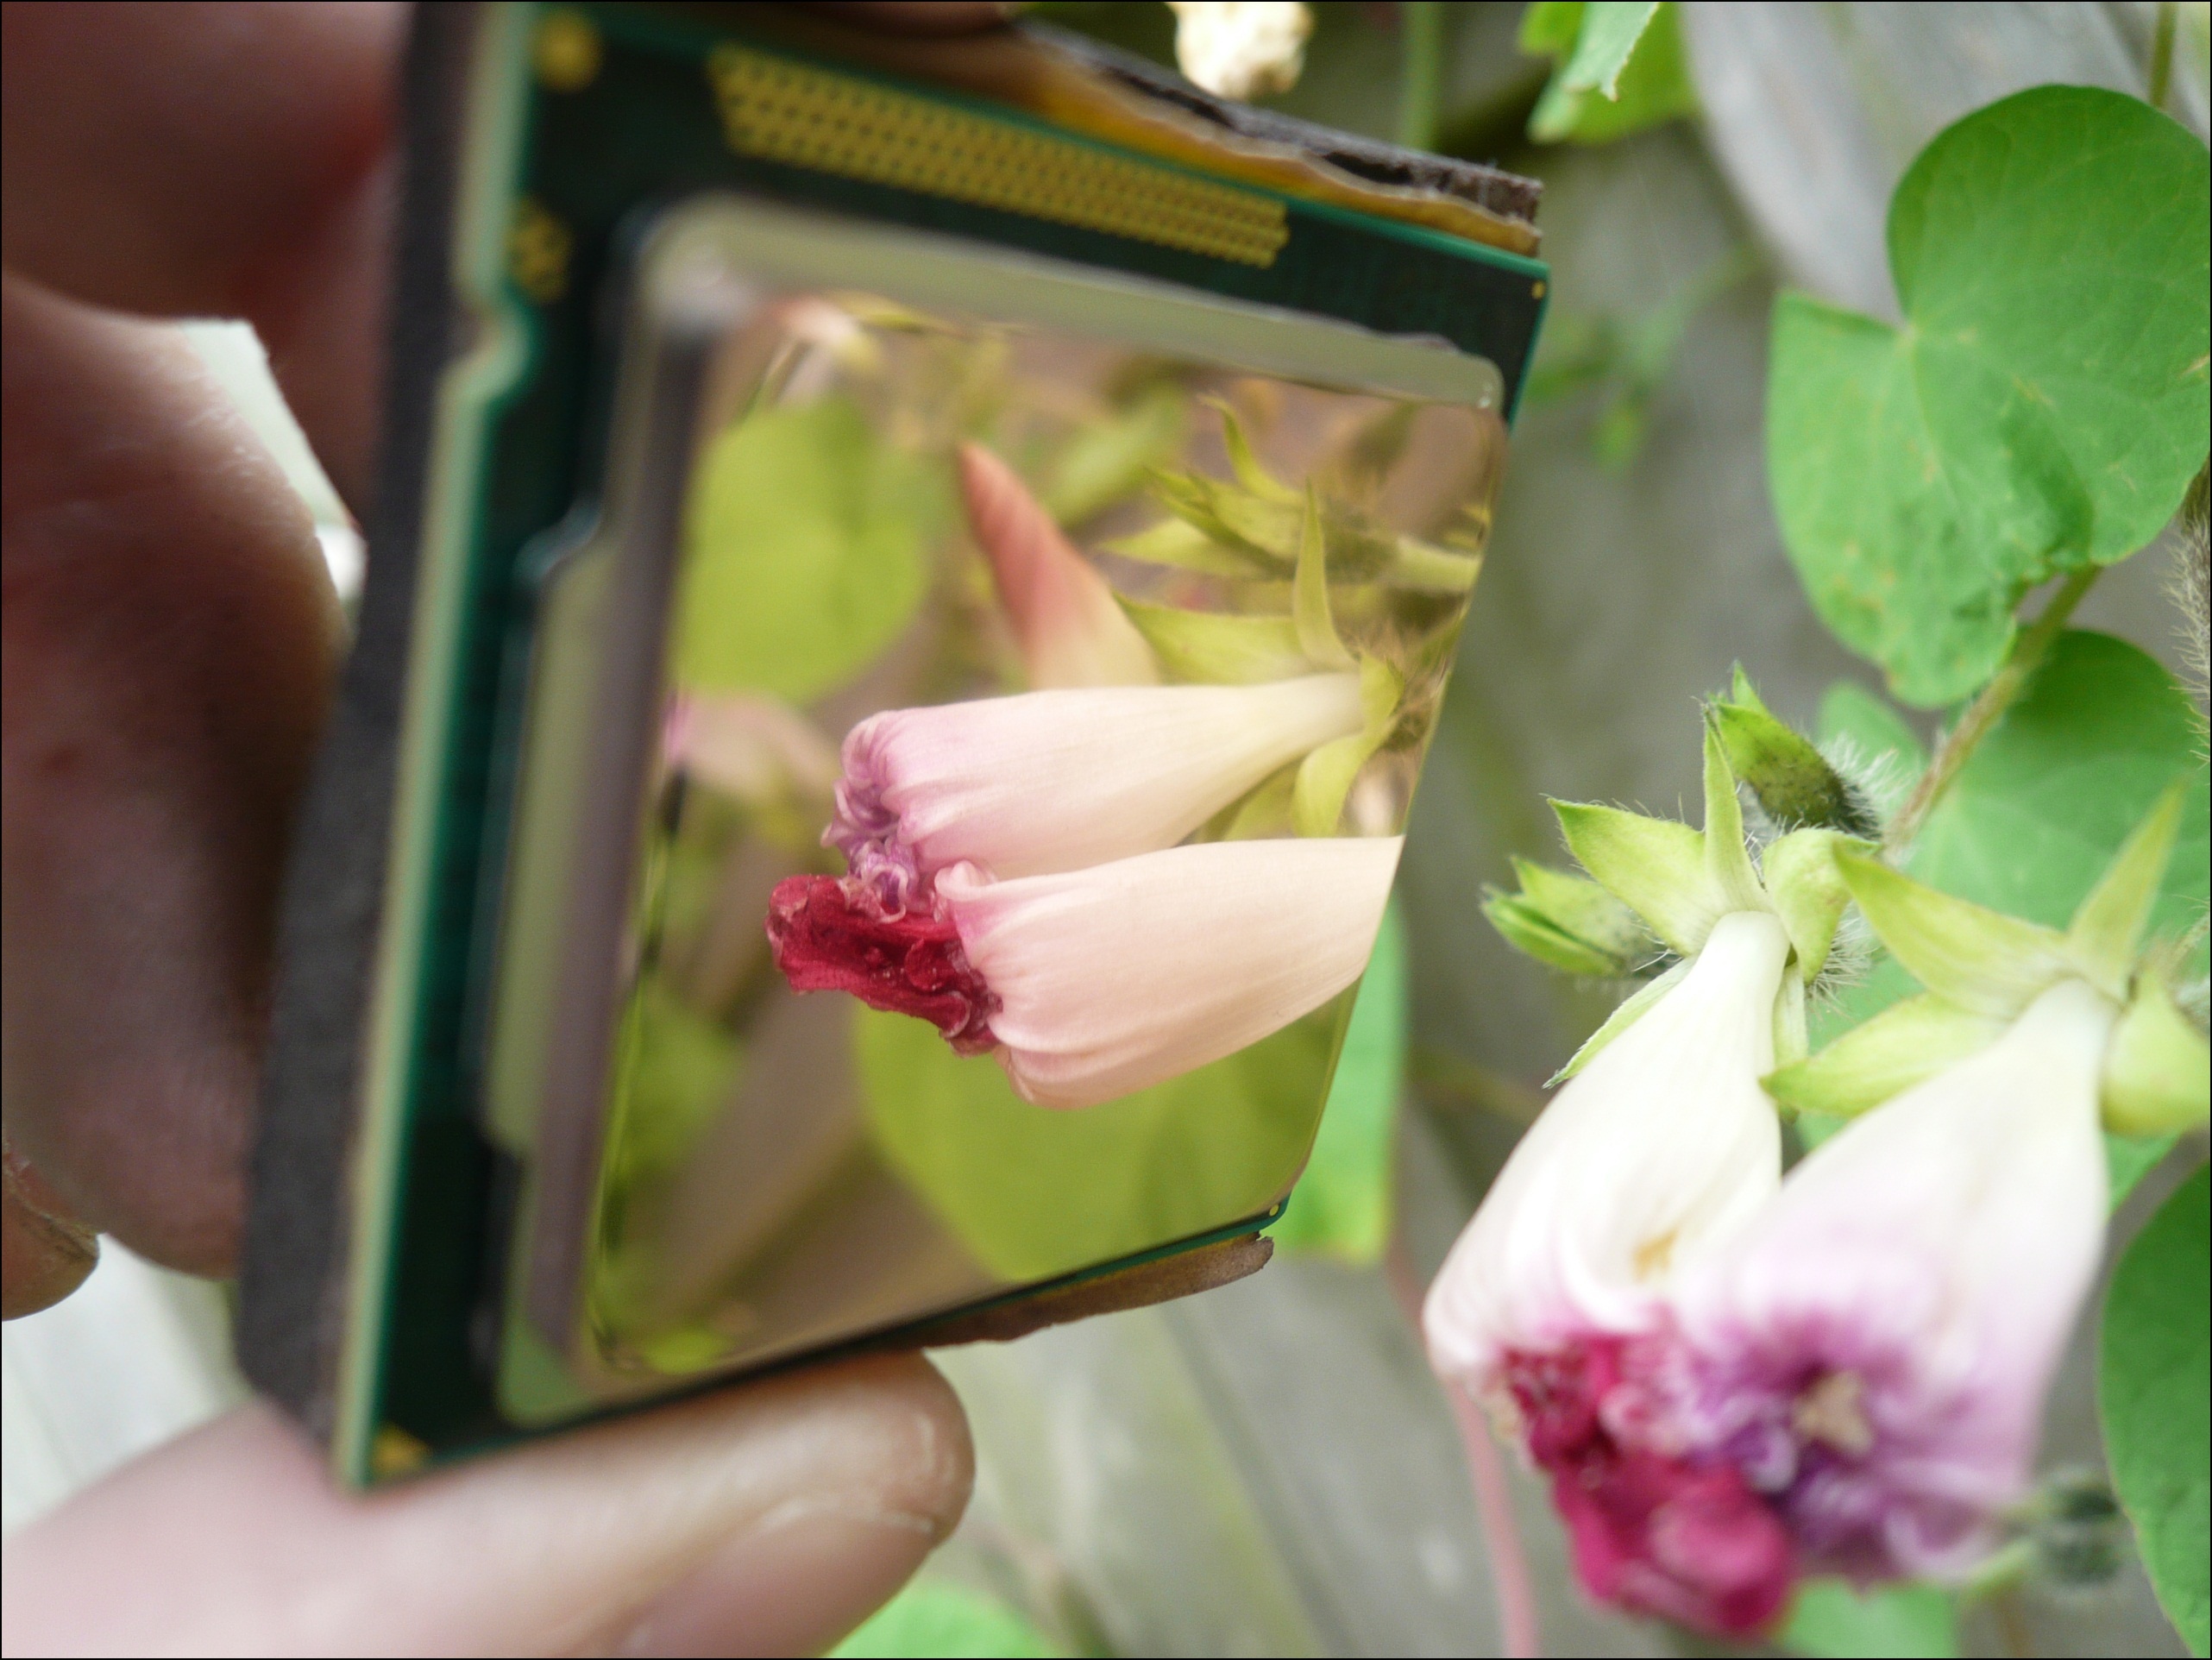
Almost done.
Another 5 Minutes with P2500
Total One and a half hour!

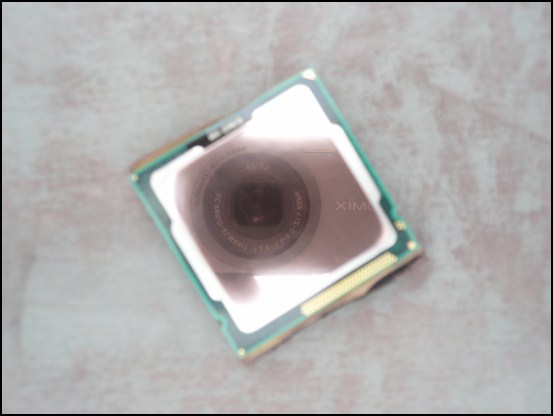
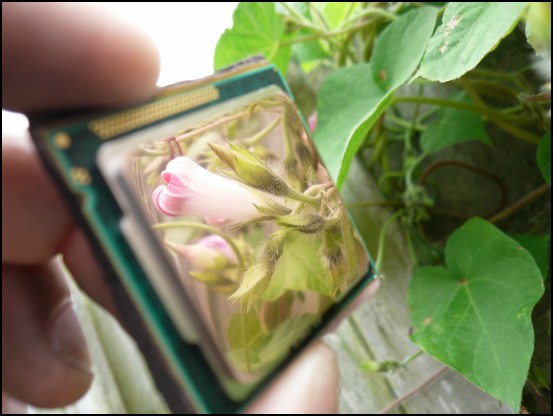
Pictures are clickable for full resolution.


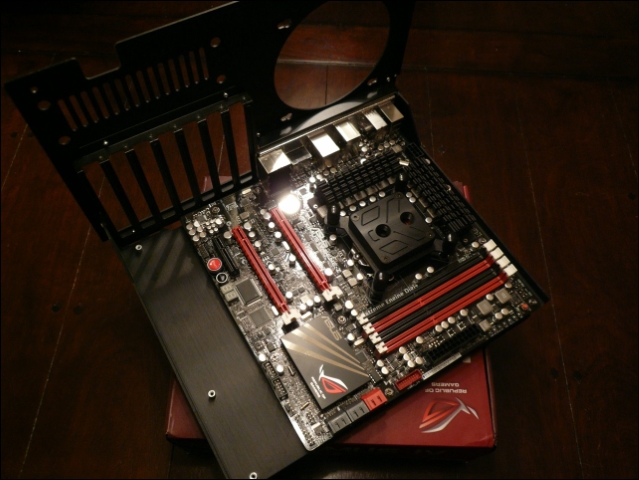
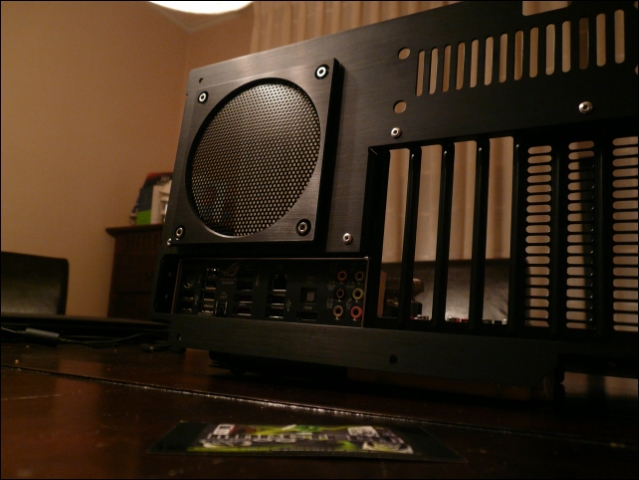
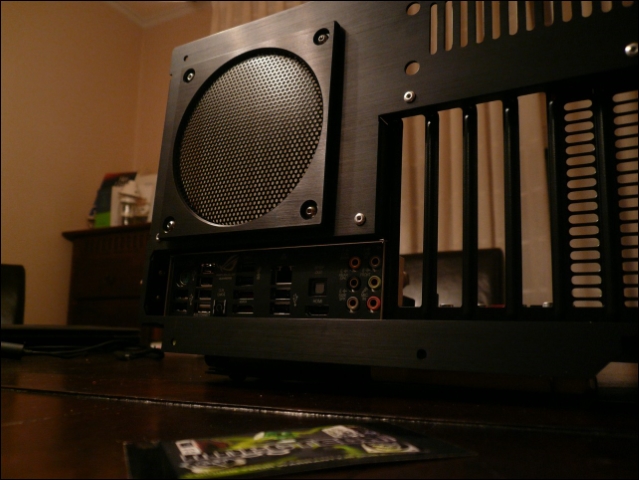
Back to the case tomorrow


")