• Welcome to TechPowerUp Forums, Guest! Please check out our forum guidelines for info related to our community.
  • The forums have been upgraded with support for dark mode. By default it will follow the setting on your system/browser. You may override it by scrolling to the end of the page and clicking the gears icon.

[Project] L3p L4n

waiting for the work on the copper block... i know it wont be long now :D:D:D
 
  • Like
Reactions: l3p
The copper block...


I ordered a piece of 300x155x15,5, this was going to be 6kg.
When I wanted to lift it quickly I had some problems...
Appeared my 'foreign friend' sent a brick of 300x200x20.


Price for a piece of copper with these measures in Holland is around €360
Got it for €185 now :)


Think it'll fit.


Sending it to Quepee tomorrow, he loves copper :)


Today Quepee also engraved the backplate.
He told me he had a plan for the "Inspired by EKWB" text.
Go ahead I said..


Full of pride he showed the first picture....
I got a stroke :O
INSIRED by EKWB!


Appeared he was having fun with me :D :P


Again thanks a lot Quepee!!


"Insired" :roll: Oh God, I laughed so hard when I saw that as I was just skipping through without reading at first!
 
  • Like
Reactions: l3p
Wow, that is a huge block of copper. :eek:
They say if you want something done right, you do it yourself. Nice job, always premium quality builds.
 
  • Like
Reactions: l3p
To give you guys something .. ;)

Backplate changed a bit.


And today Quepee started with the front side of the copper.


Took it back home carefully to match it with the POM part :P


Well .. we're in love with the block :)


Probably next week the backside.


Oh .. out of curiosity .. :)

Poll: Just Copper or Nickelplated?
Keep it as it is.
Nickel plate it!

results.cgi
 
By the way, the copper block went from 10.6kg to 6.4kg now.
After the backside milling it will 'only' weight around 1.8kg :)

 
  • Like
Reactions: l3p
Small update/teaser ;)


Mill-route-check of the blocks backside.


Almost done! (movie completely failed cause of the coolant used while milling :/ )


Really can't wait to assemble this with the backplate, POM top en MARSII!


Maybe more this weekend :)
 
Received a very nice package this weekend from Ivo.

Sorry for the amount of pictures, didn't know which ones to delete :)
Everything is clickable to 2560 pixels.


Somehow I didn't dare to unpack :P


And actually stared at it for half an hour before doing anything :)


As you can see there isn't much left from the 10.6 kg.
The copper part weight is now exactly 1.8kg.


I really think I'm going to nickel plate it.
Copper part is already oxidizing after a few weeks.


But what a job Ivo did ... (And Daniel off course in front!)


POM next to it.


And the 'screwless' backplate.


Just had to put it together fast :)


Next day some pics in the sun.


Exploded view.


Original red aluminum parts on it.


First time testing the M3 holes with stainless steel I ordered at Highflow


Hmmm nickelplate it?


Think I'm going to polish the POM.


For a next time. :)


Ok .... it just screamed to be polished :D


Love Coca Cola.


Love the result :)
(Camera didn't with all that light)


And put it together once more for you guys :)


Ivo and Daniel ... Real craftsmanship!
Thanks a very lot to be able to be so close to all this!!!


Now .... let's enjoy the nice weather over here :)
 
*hipster mode on*
ive seen this pictures before they were put on here :cool:
 
  • Like
Reactions: l3p
So sexy.
 
  • Like
Reactions: l3p
I'm in copper extasy :roll:

Thanks for letting us follow the progress l3p!
 
  • Like
Reactions: l3p
  • Like
Reactions: l3p
Copper part has been sent to the nickel plater.
So curious how it will look! :)

Meantime.

Highflow sent me 3 'Cpu lapping kits' to try polishing the POM part.
(Hopefully this will succeed :) )
Thanks Freddy!


I was looking for O-rings for a while to seal the block.
Luckily Skiryl had some left from a previous project! :)


The 'Inspired by' logo was grey anodised aluminum.


Now I think it should look like the nickel and fittings.


So lets polish :)


When I got an hour left next week I will polish the last scratches out.


Sorry, just a teaser this time ;)

Need some more time for testing/fitting.
Already had to adjust the backplate 'a bit' cause of a small miscalculation.

Very glad I decided to nickelplate it :D

 
Mother of GOD!
 
  • Like
Reactions: l3p
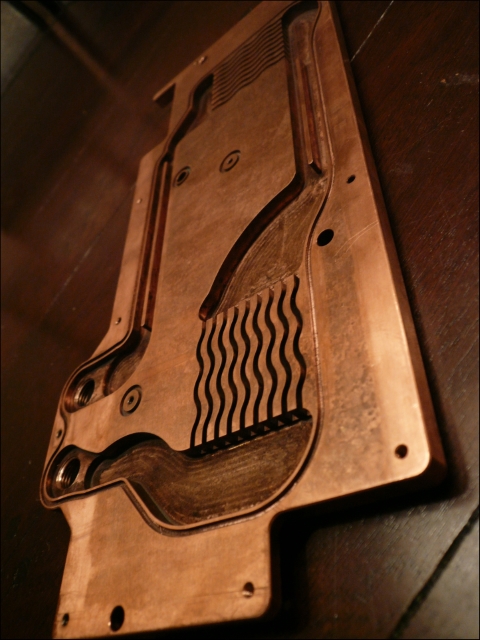
And the promised update :)

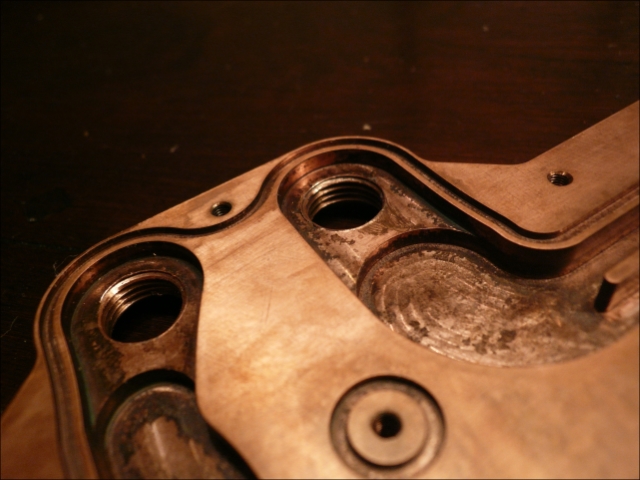
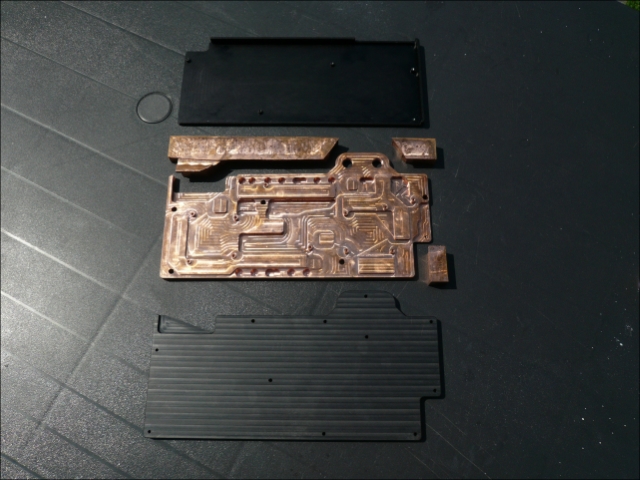
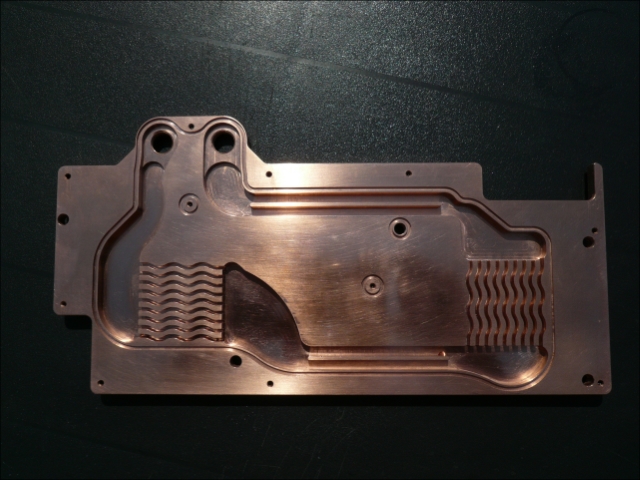
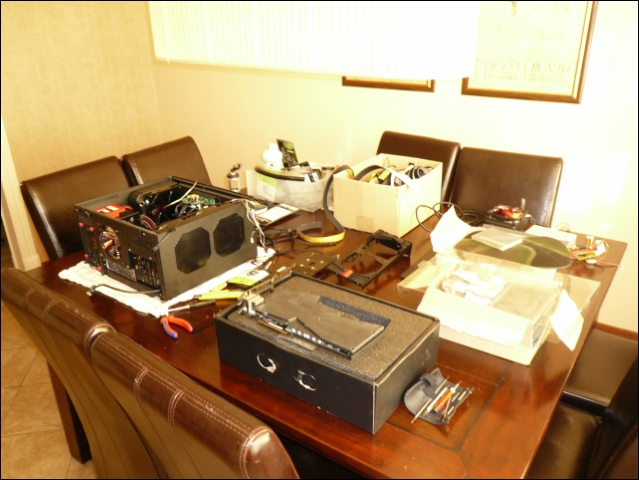
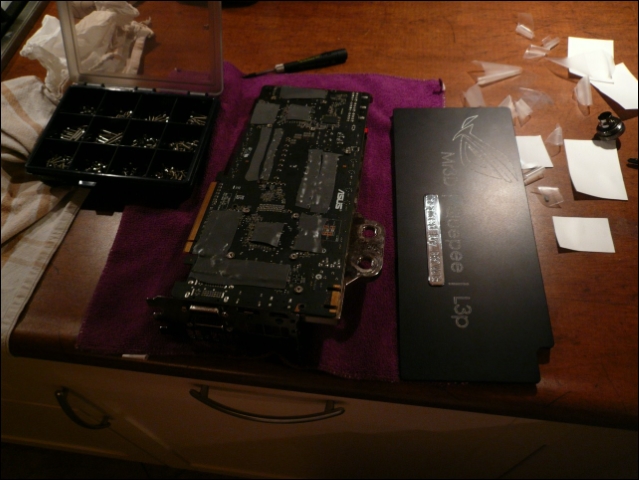
It all didn't start as I want to last week.


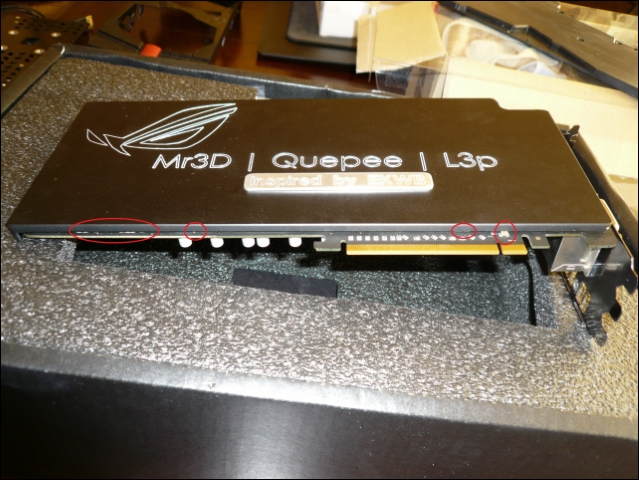
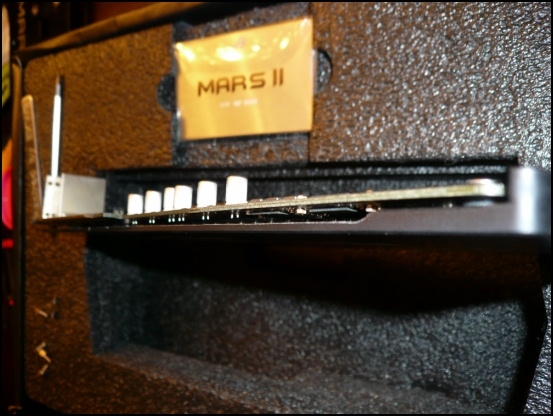
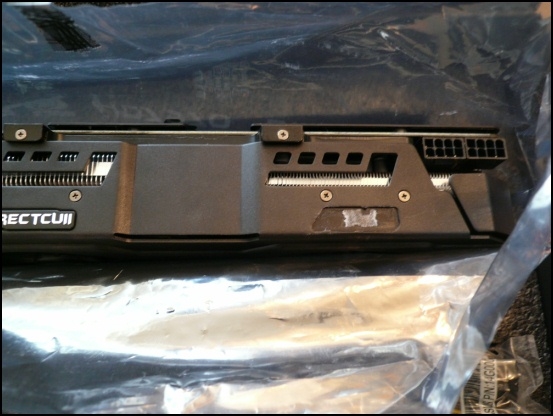
It started with one m3 hole that didn't align.


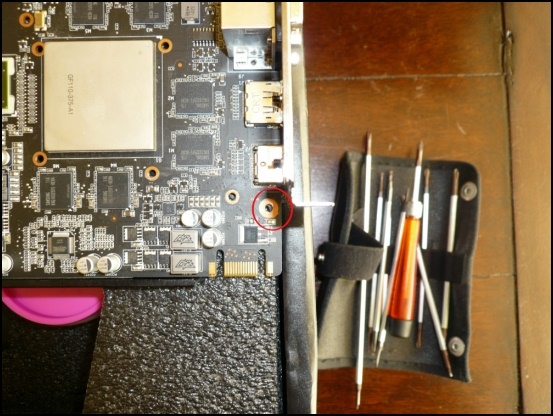
Forgot the pci bracket holder.


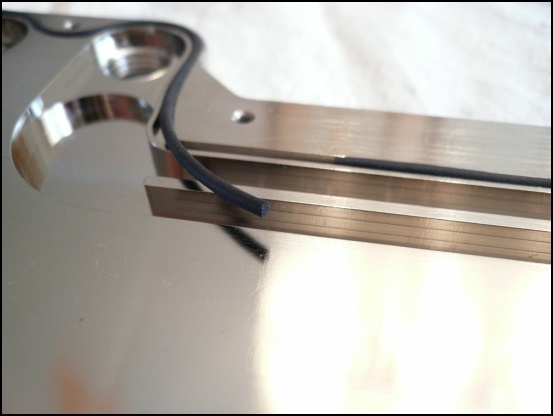
And the bottom border of the backplate.


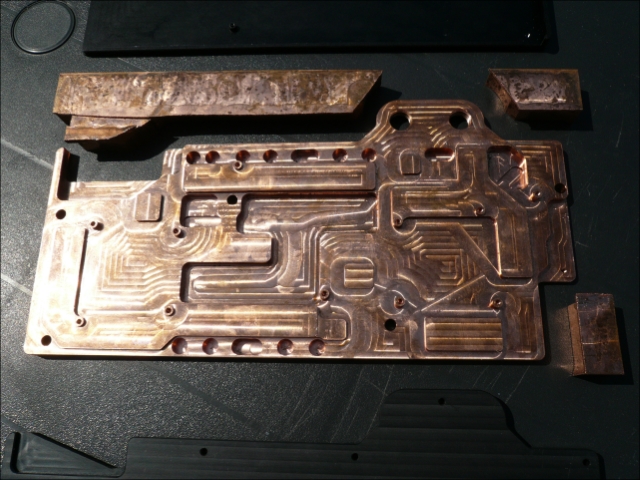
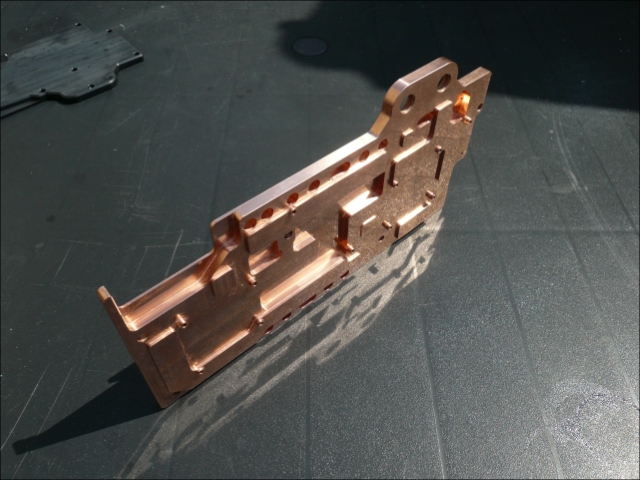
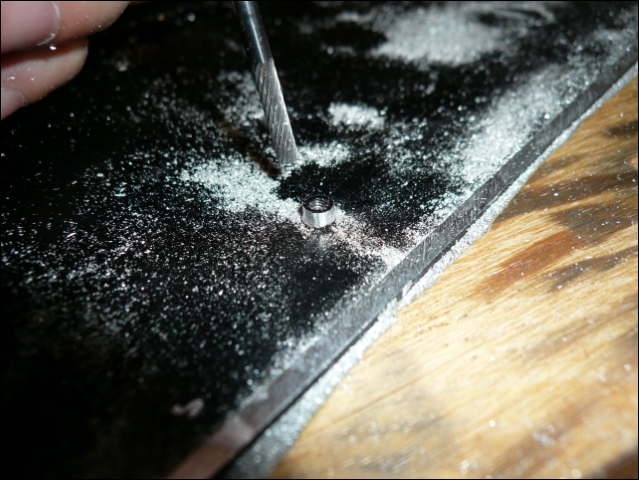
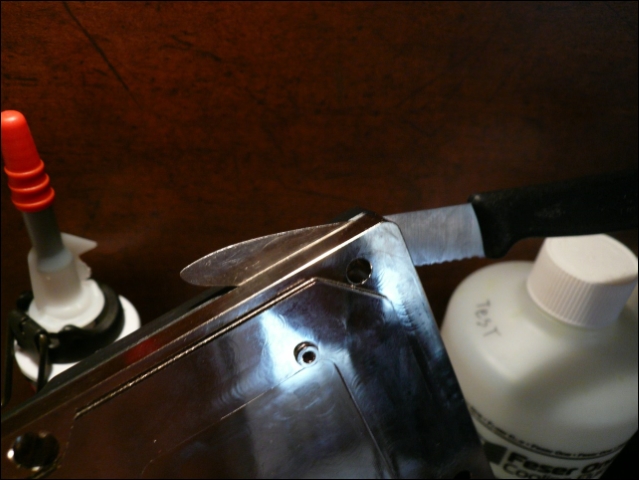
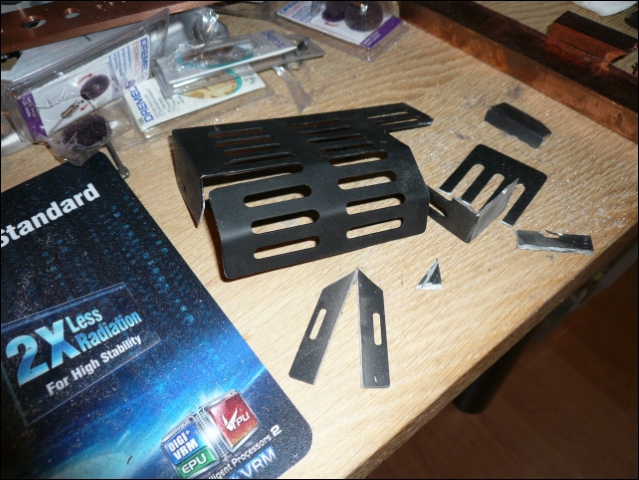
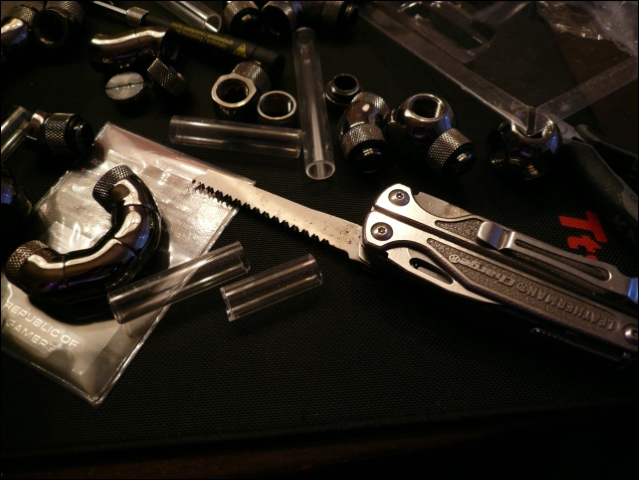
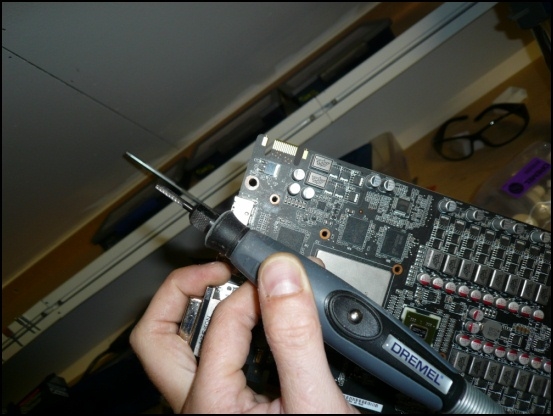
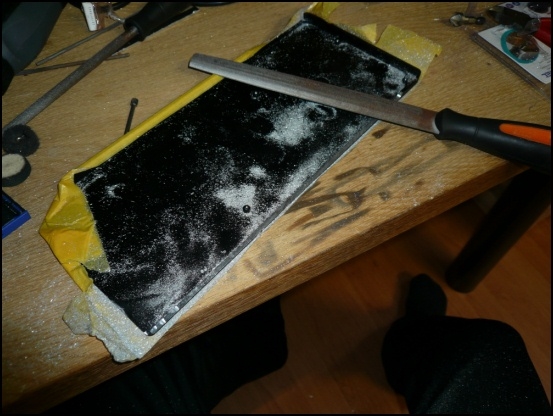
So, let's get the dremel.
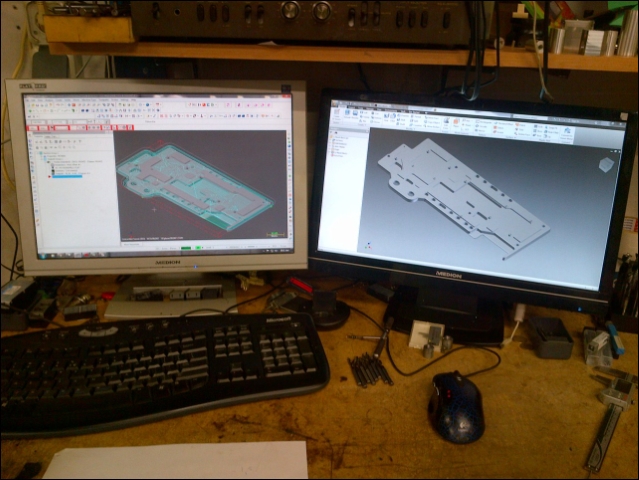
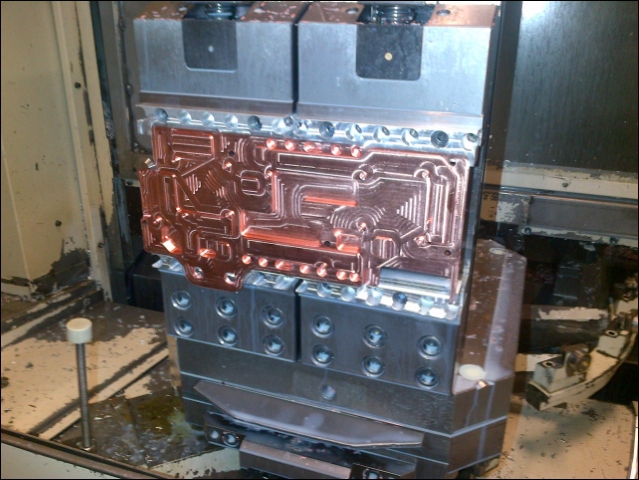
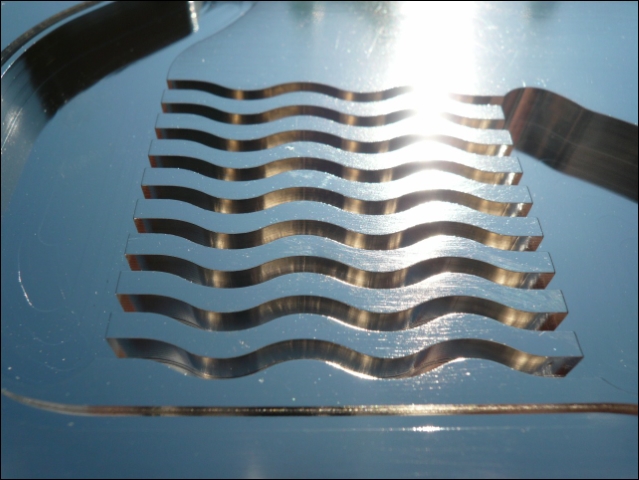
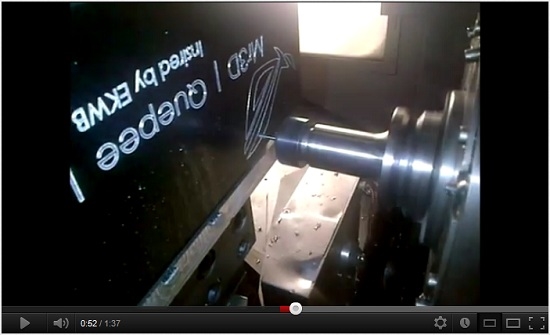
Appears this is possible to do :)
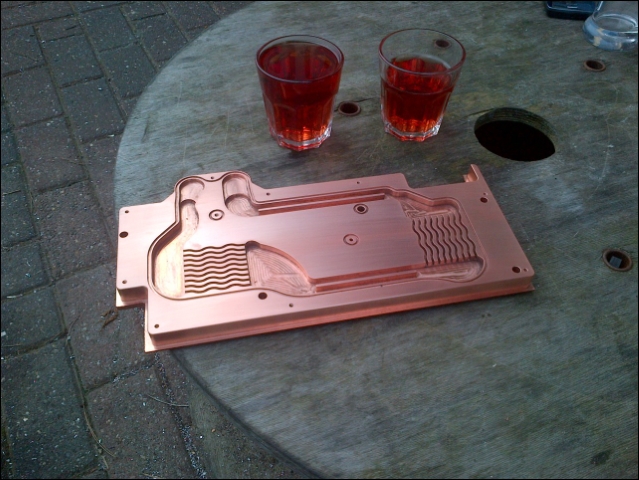
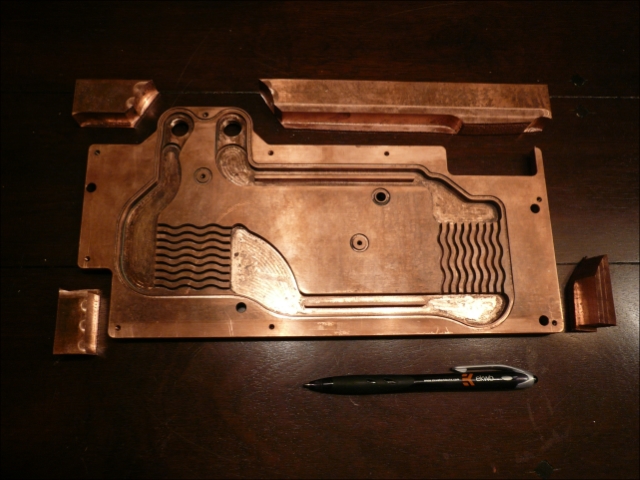
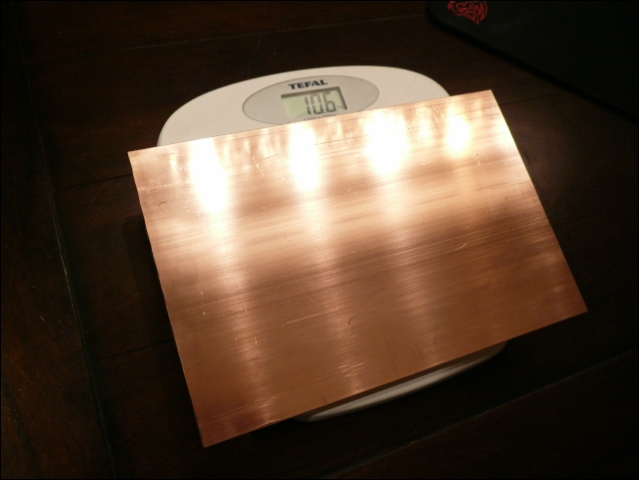


And the raw file.


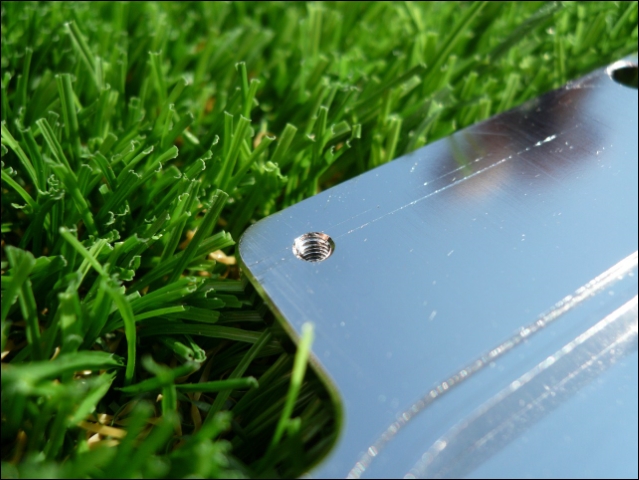
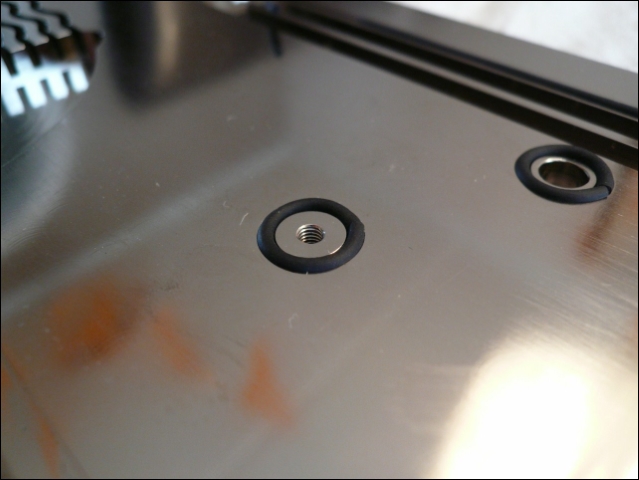
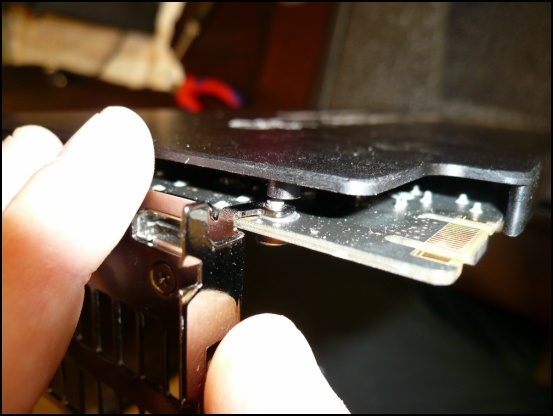
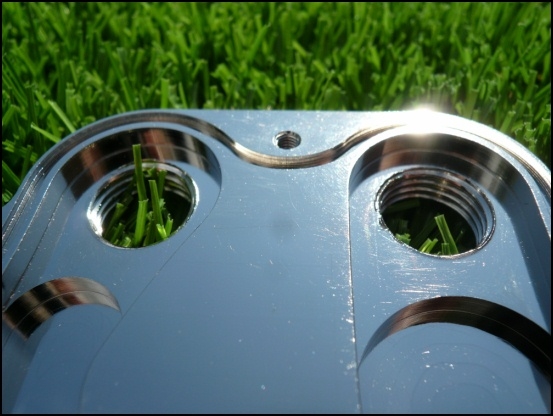
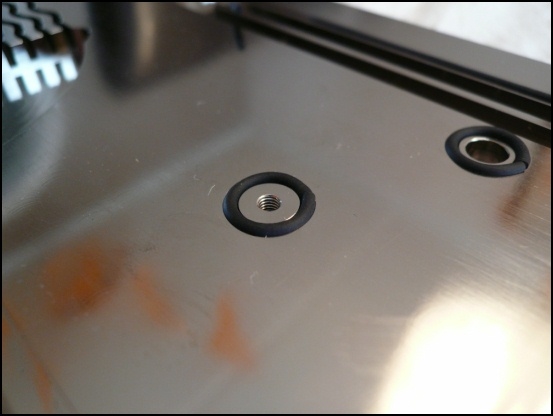
Made the OD of screw hole smaller.
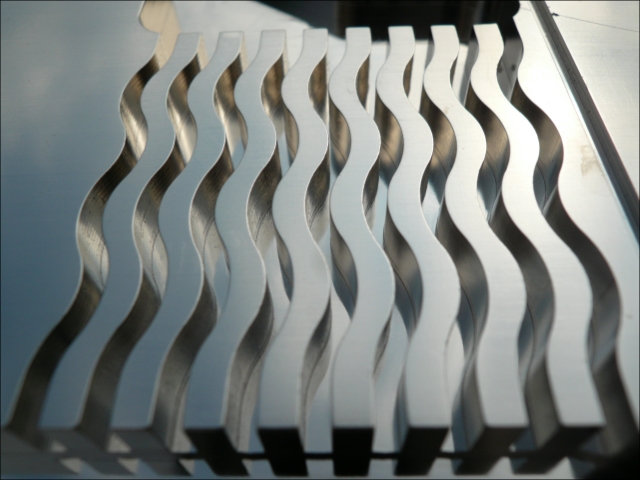
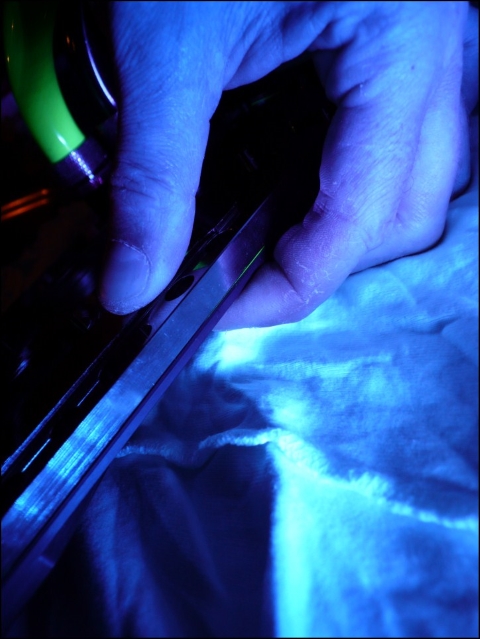
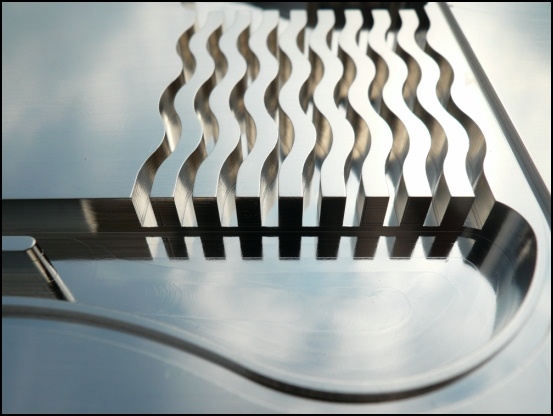
Love these cutters!


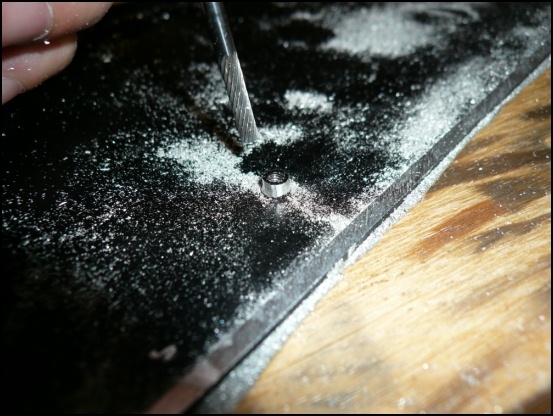
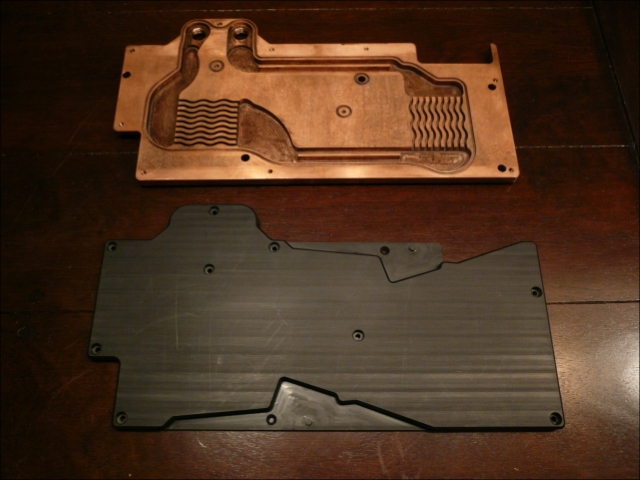
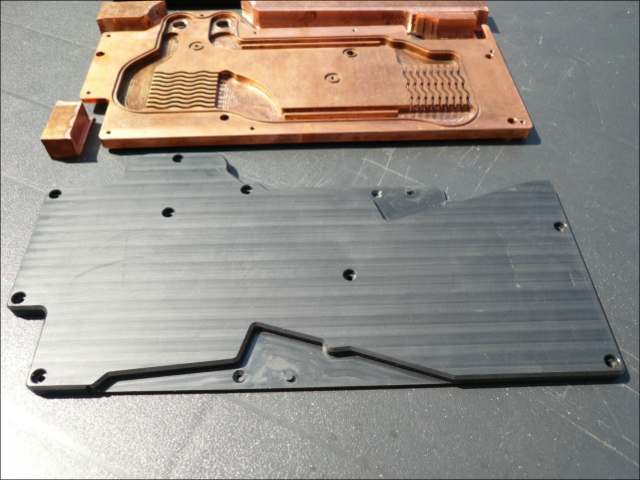
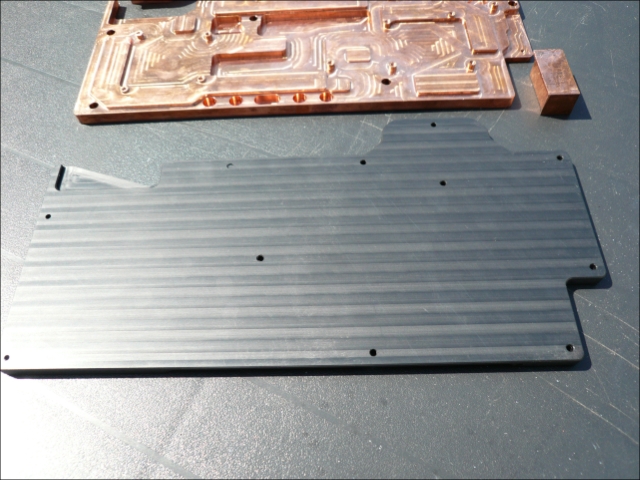
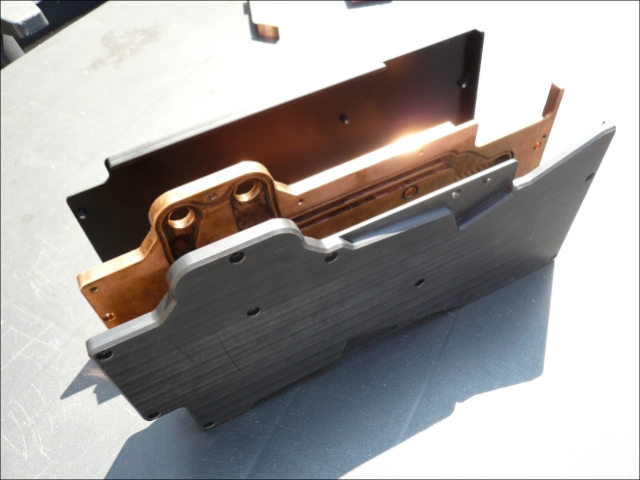
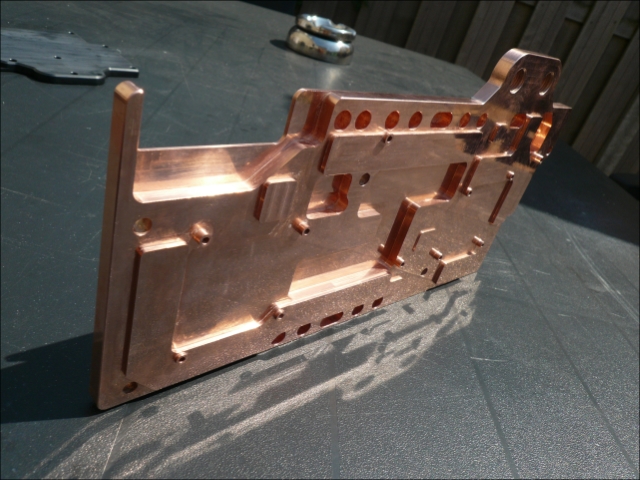
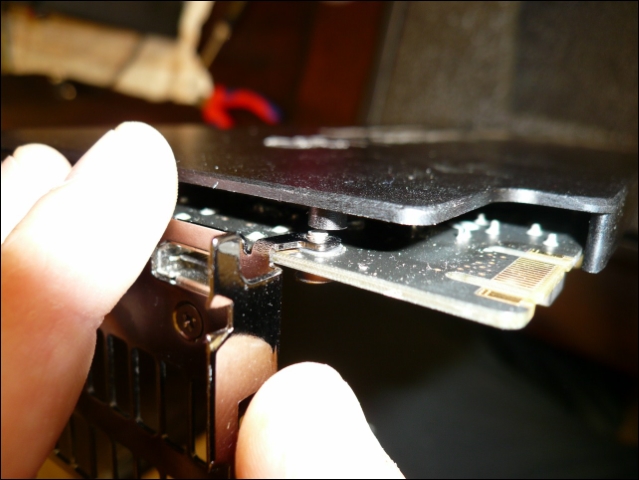
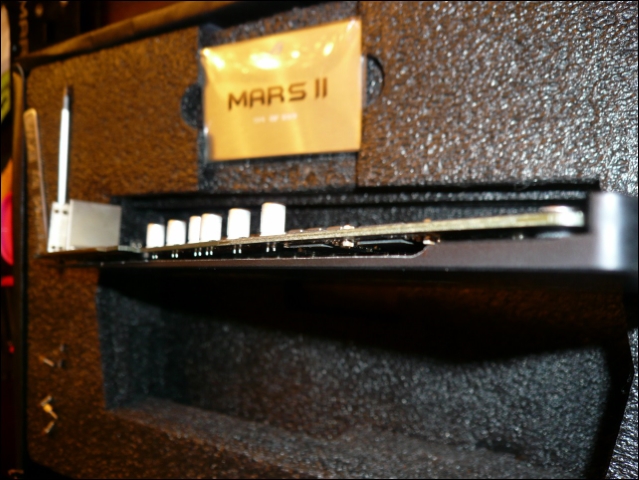
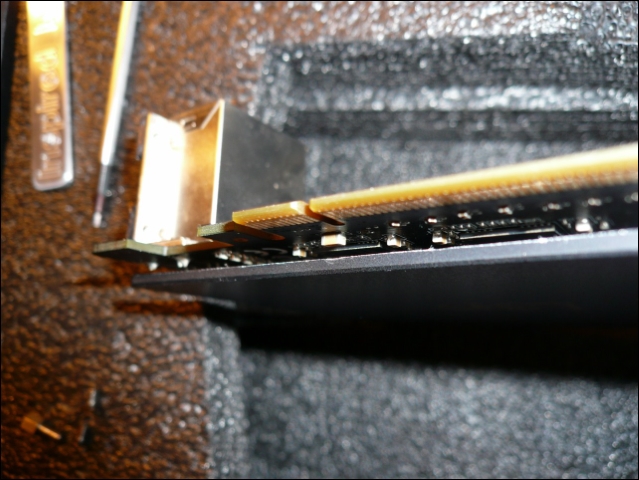
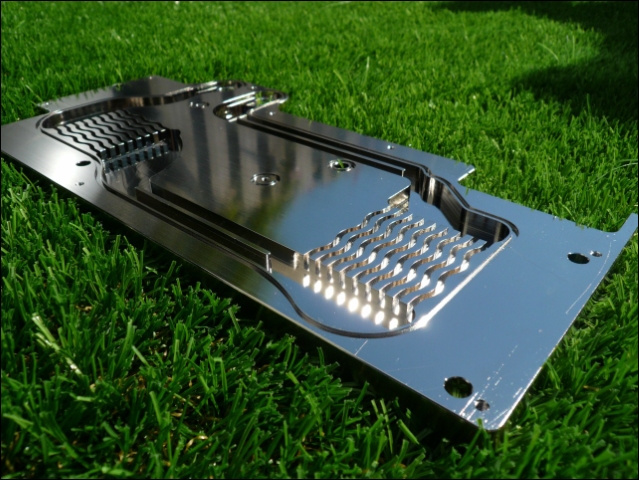
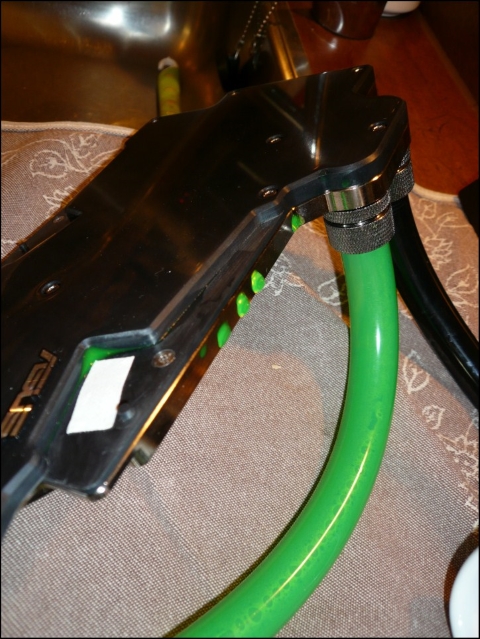
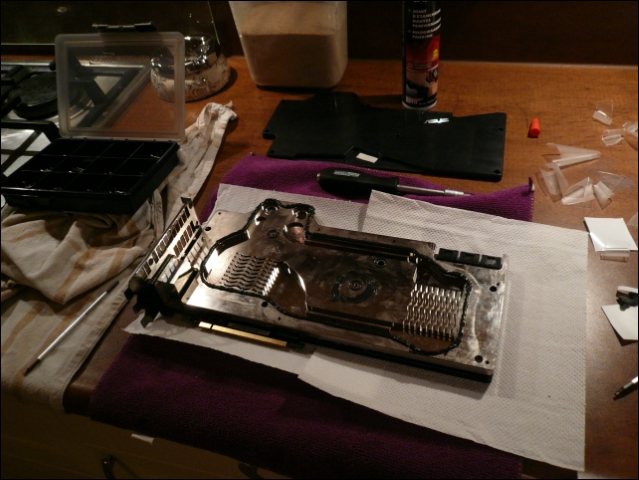
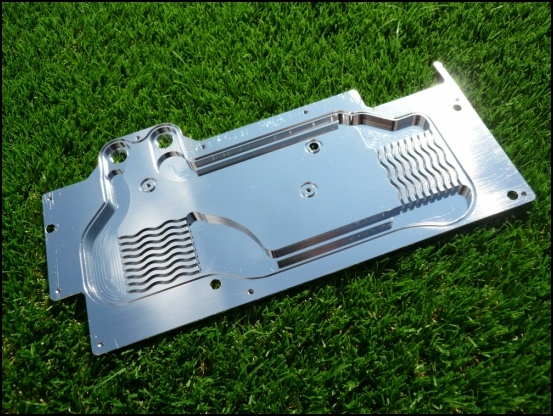
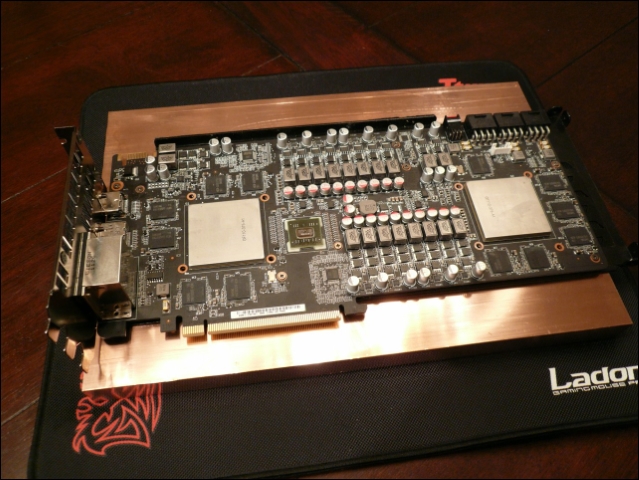
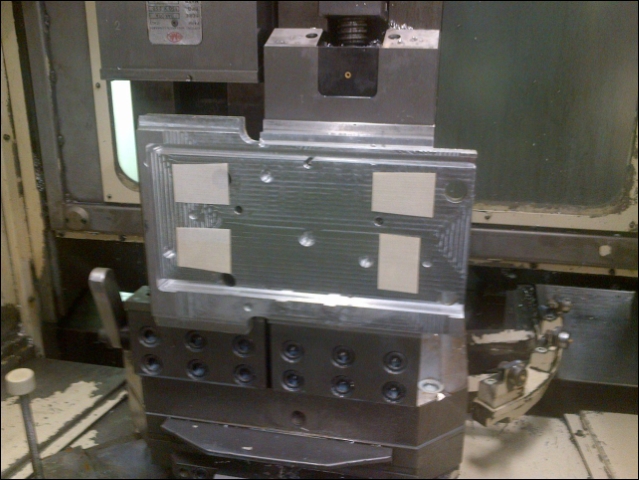
No contact with the backplate anymore.


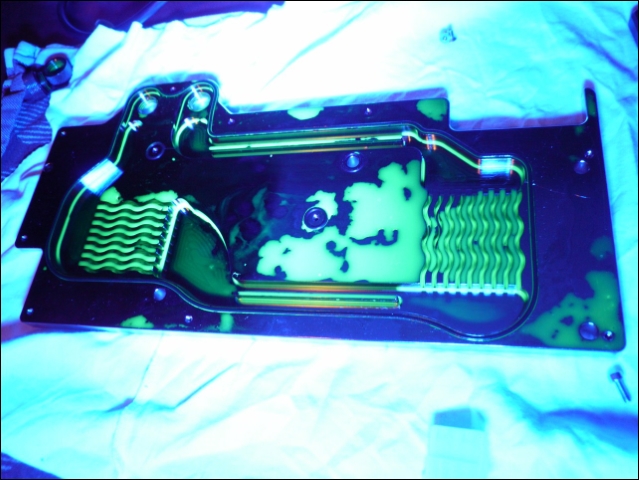
And backplate screw holes align.


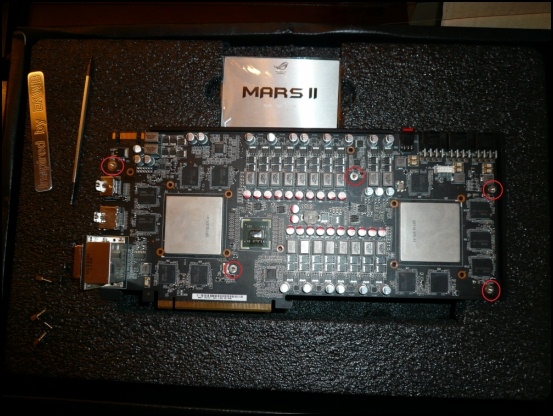
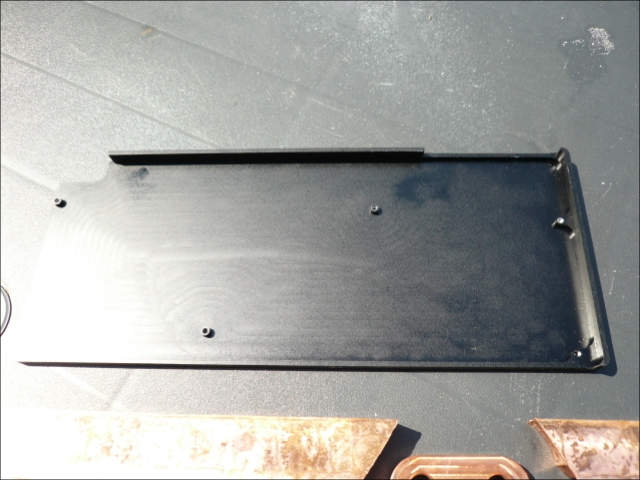
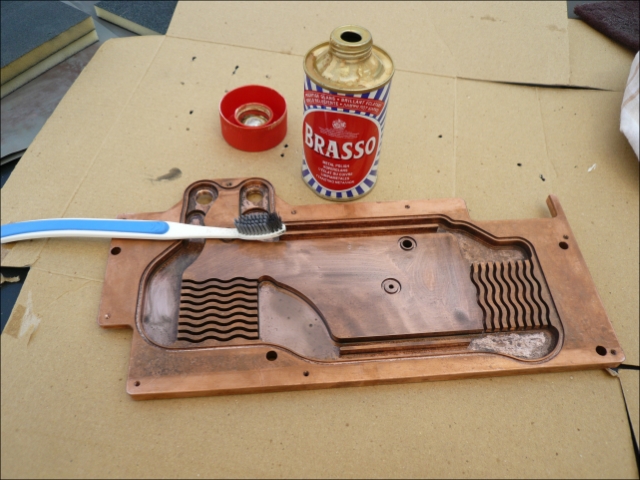
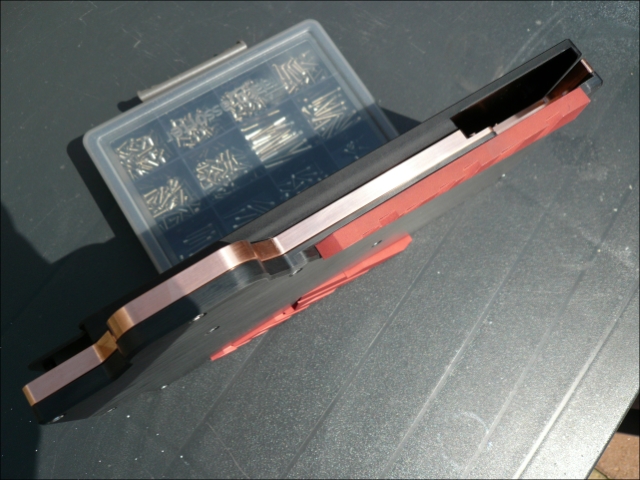
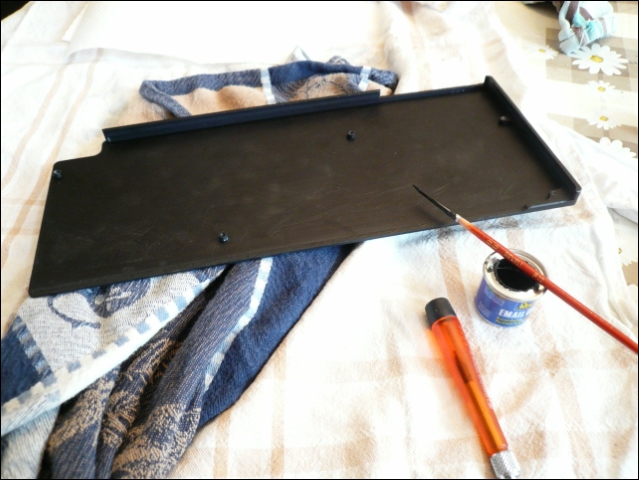
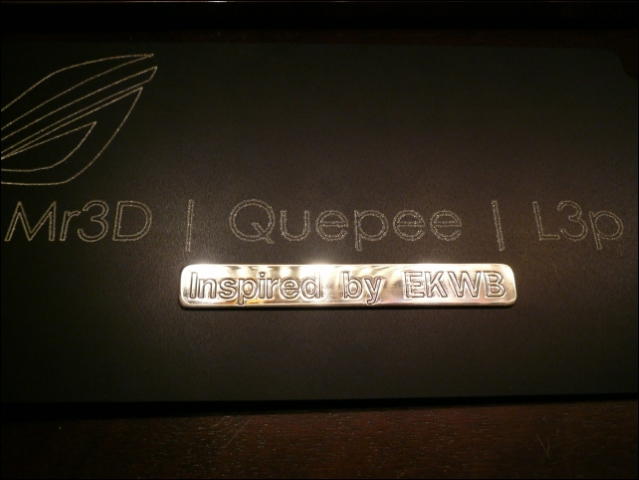
Covering it up. (Even if you can't see it)


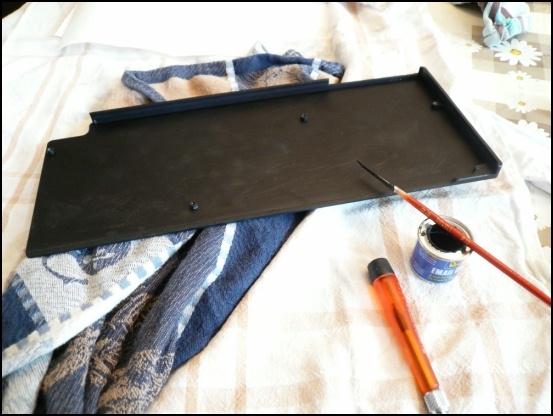
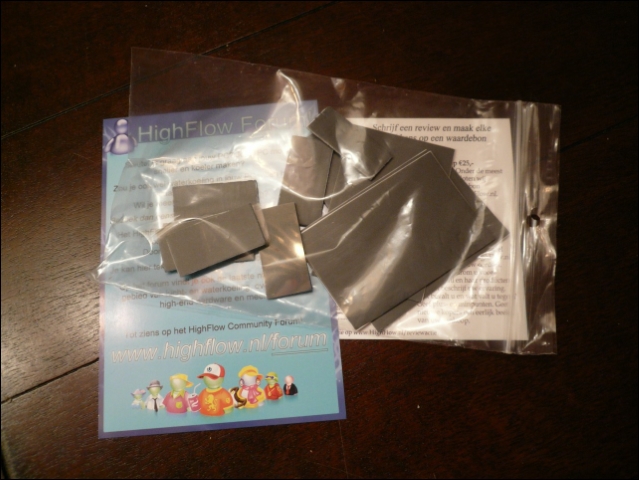
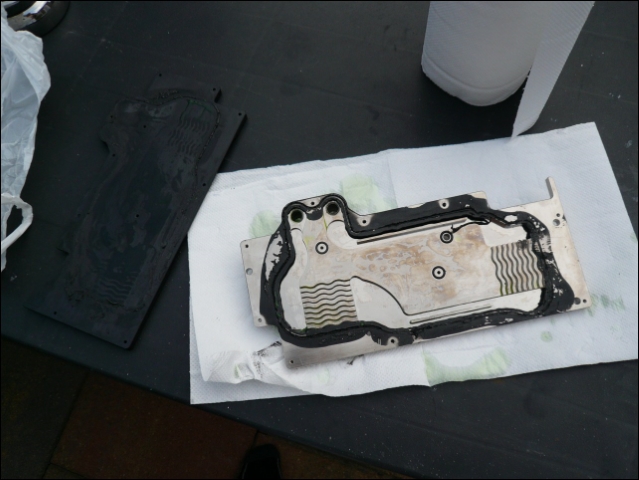
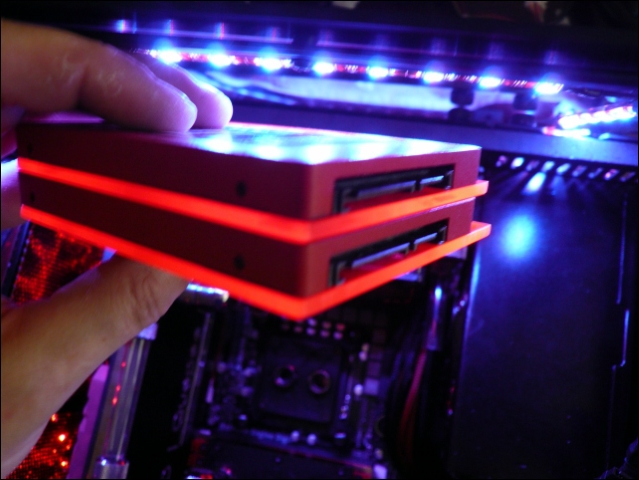
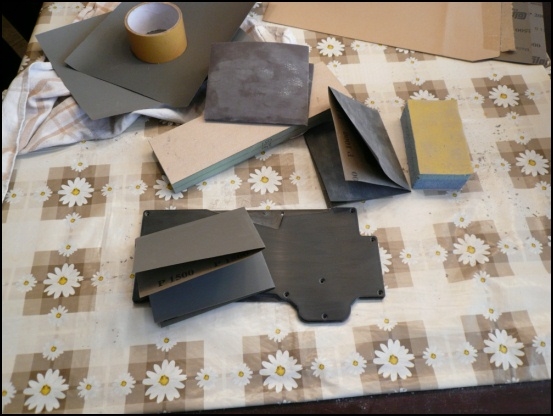
Already ordered some thermal pads from Highflow.


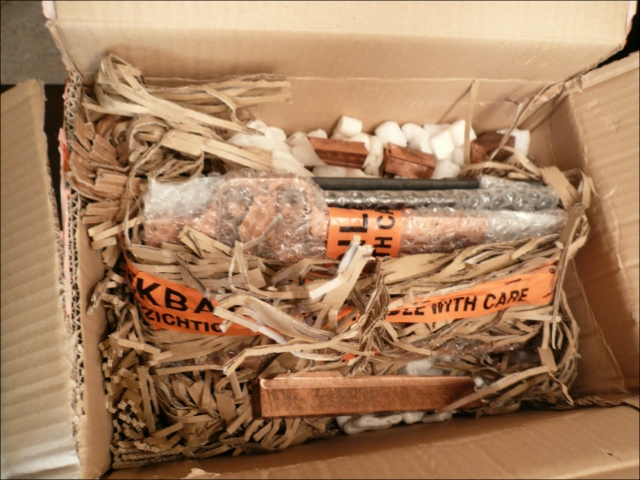
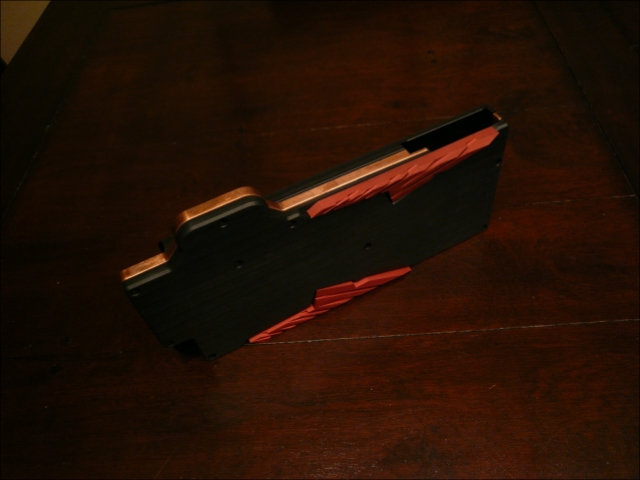
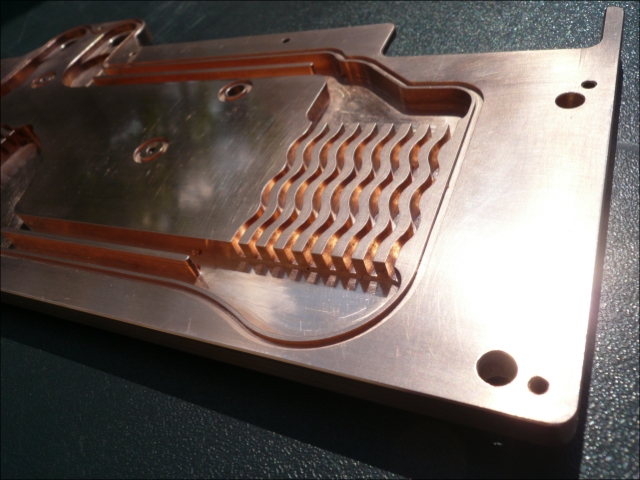
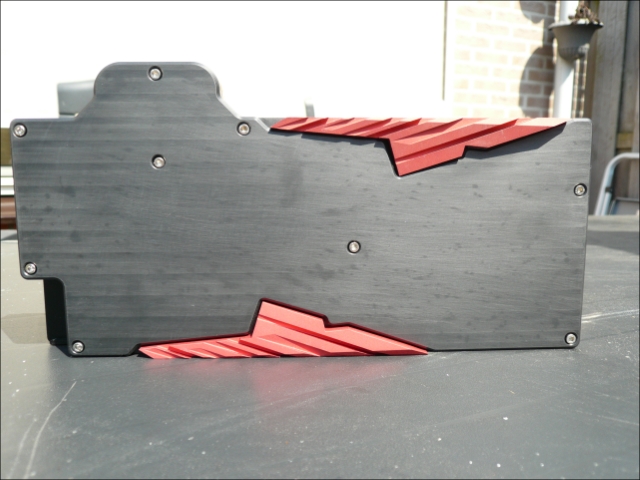
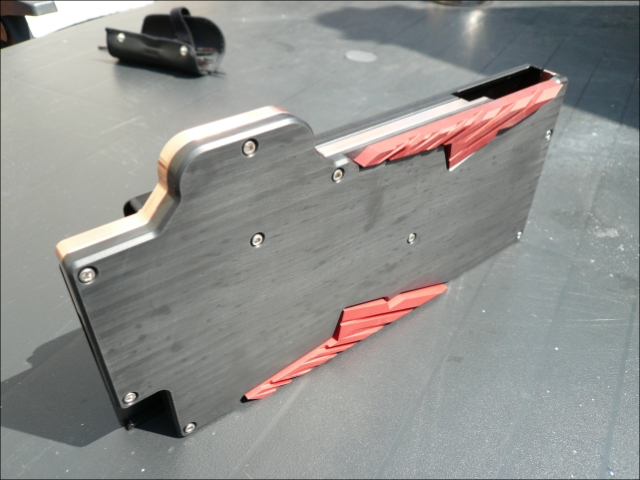
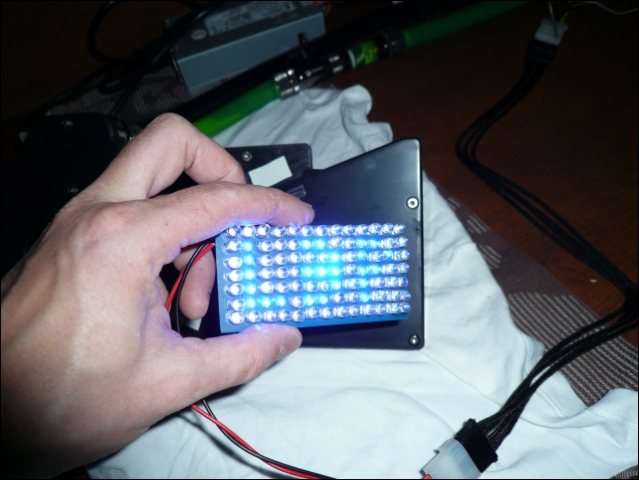
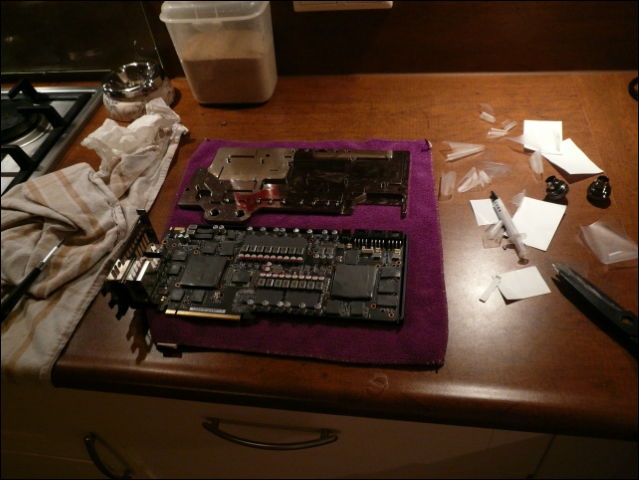
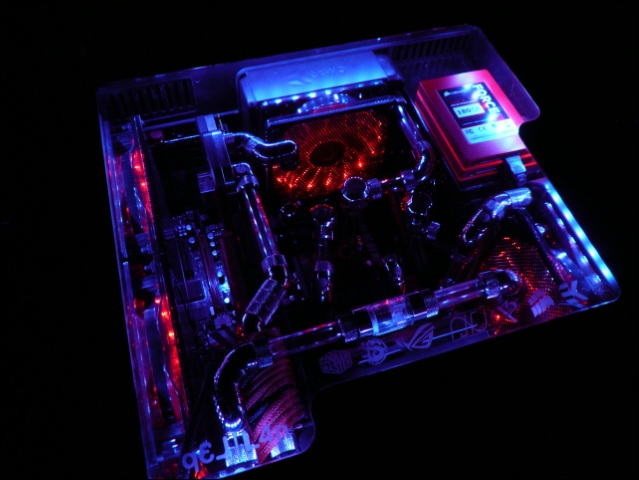
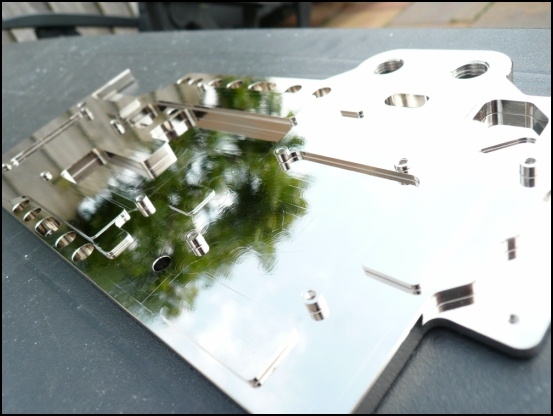
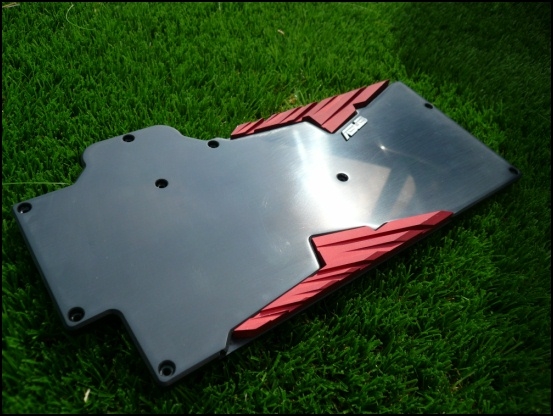
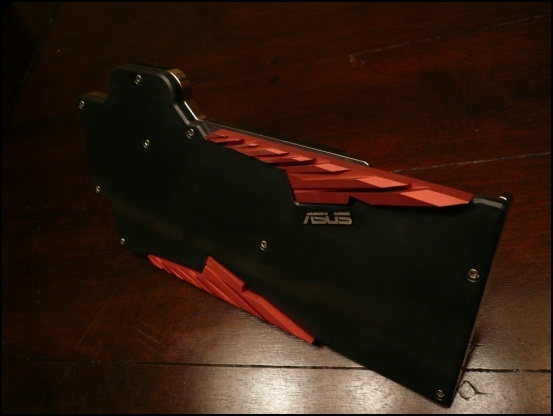
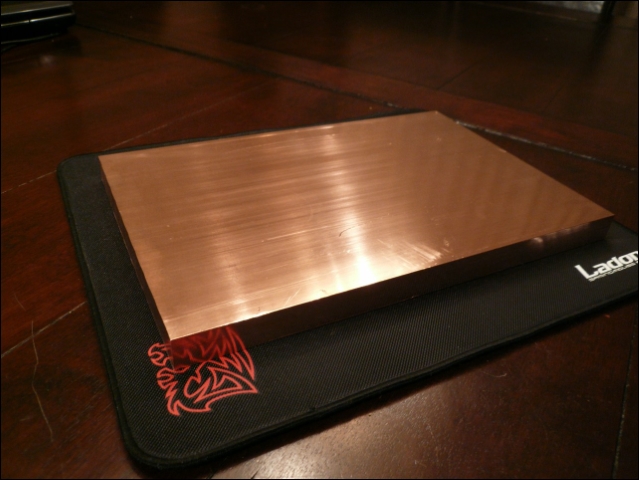
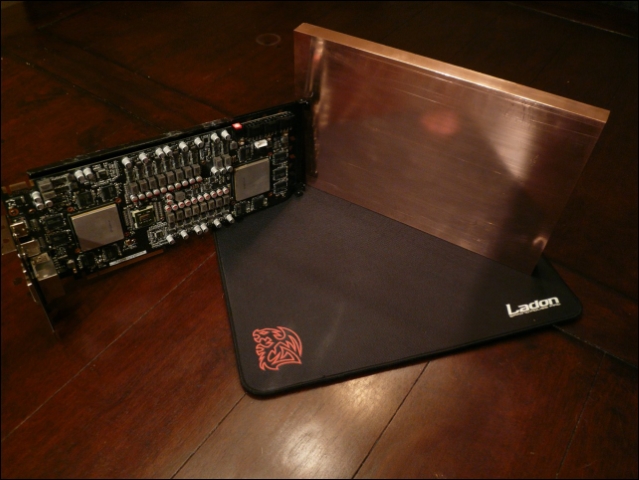
And the package arrived I've been waiting for :)


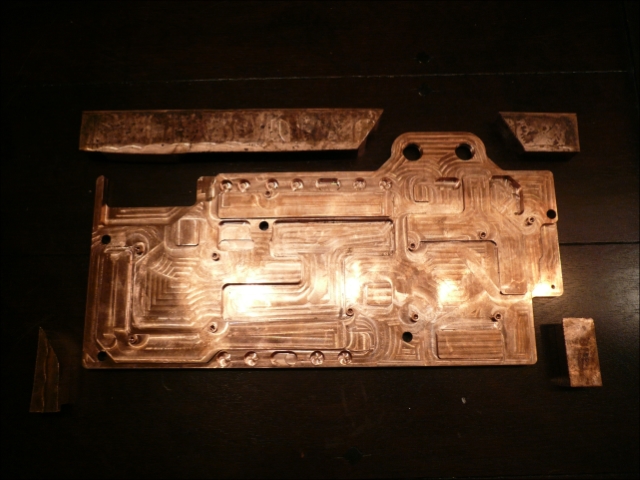
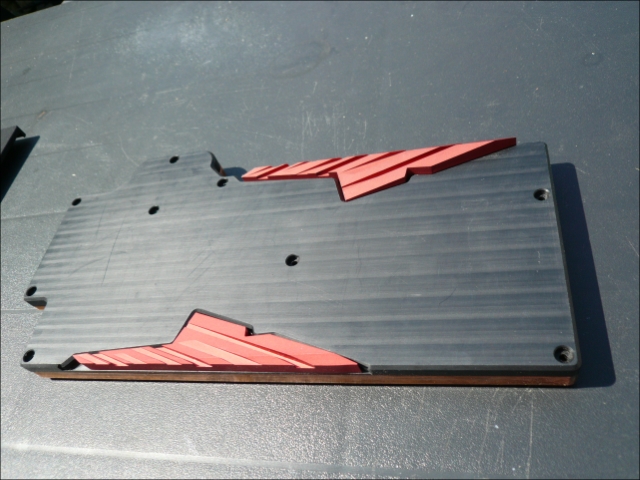
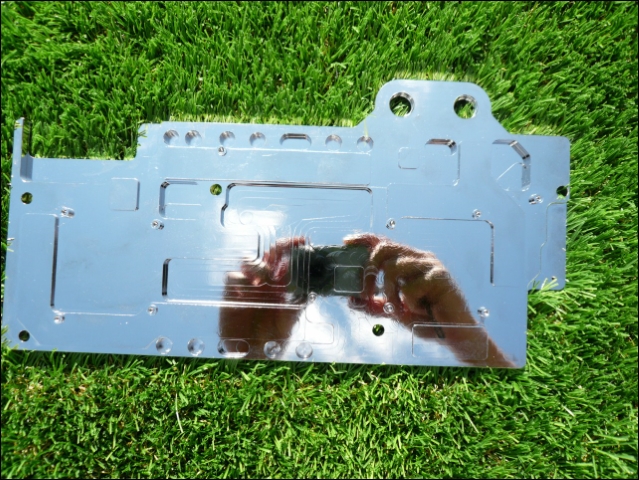
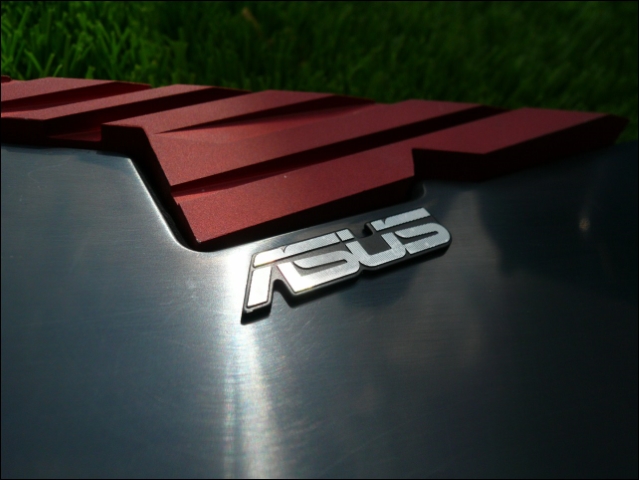
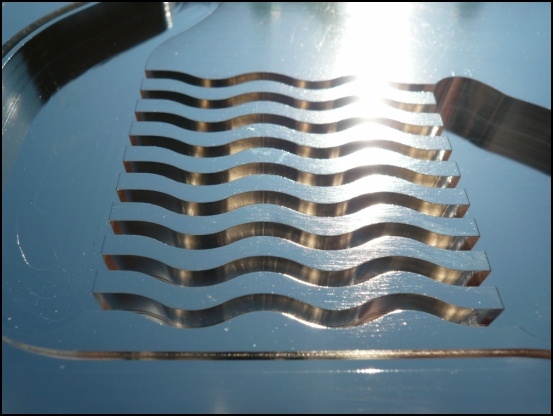
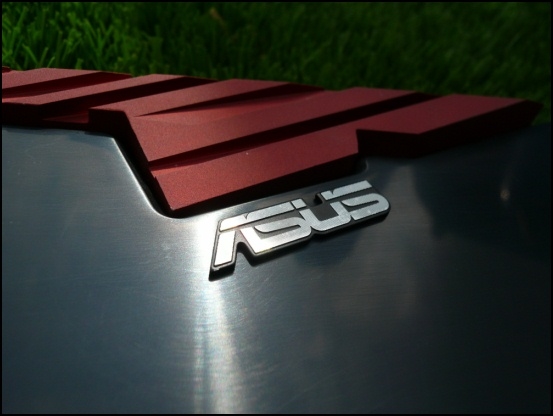
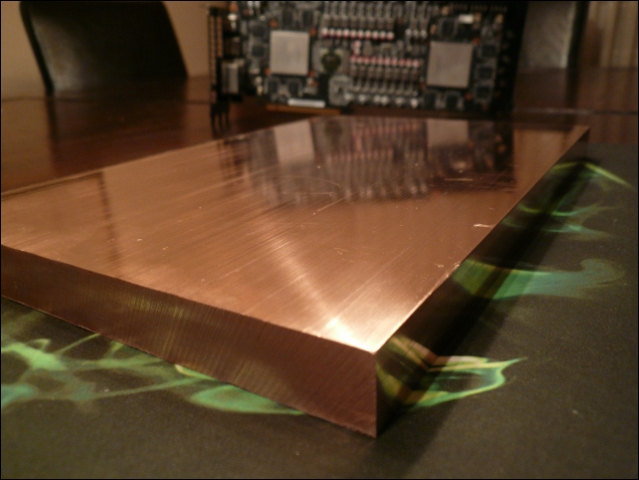
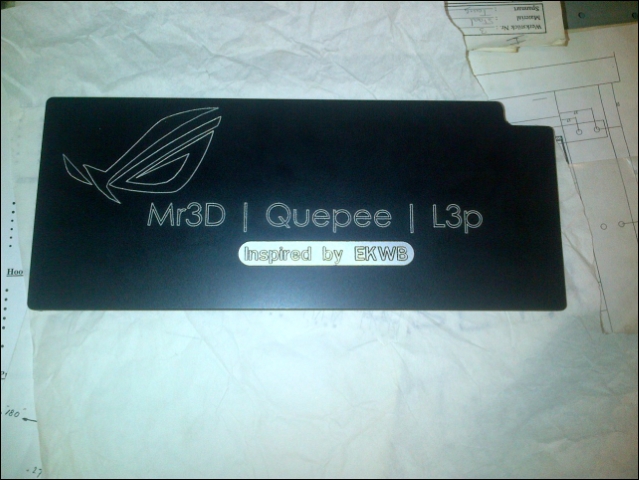
I have to say, all the tiny scratches that were already there are even more visible now in the right light.
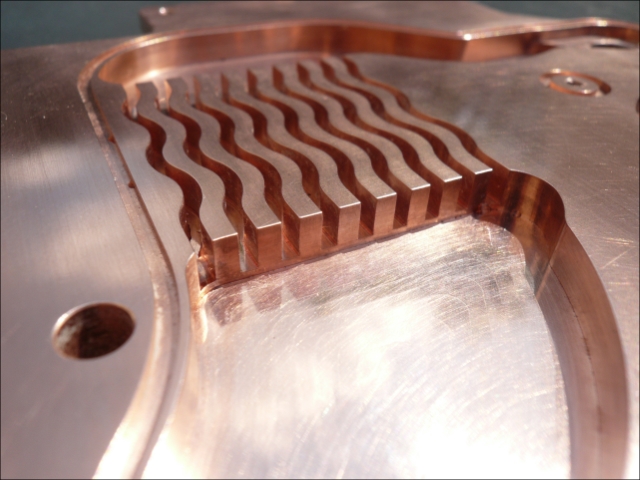
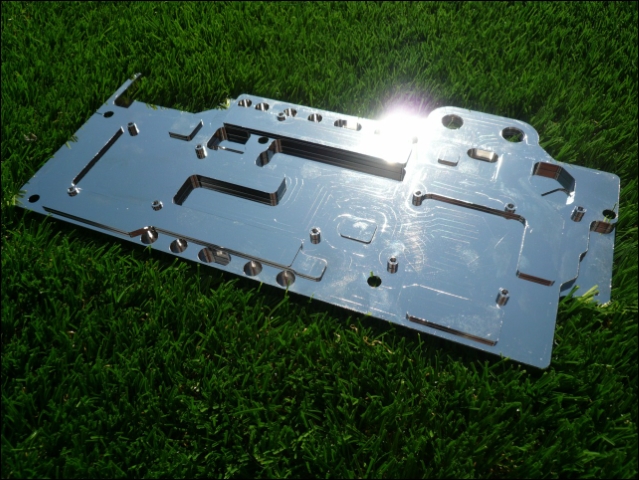
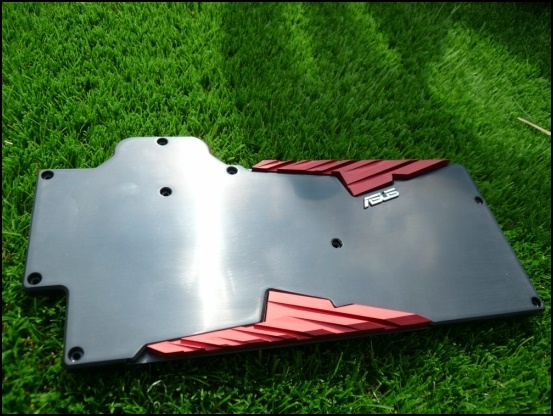
However I'm really satisfied!


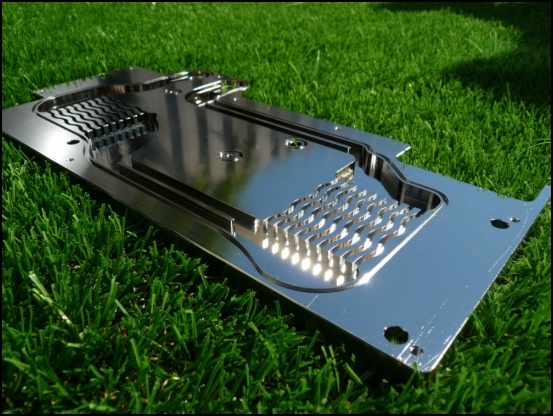
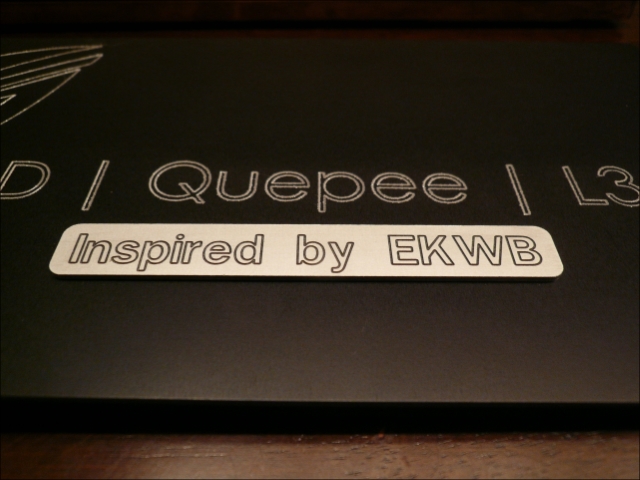
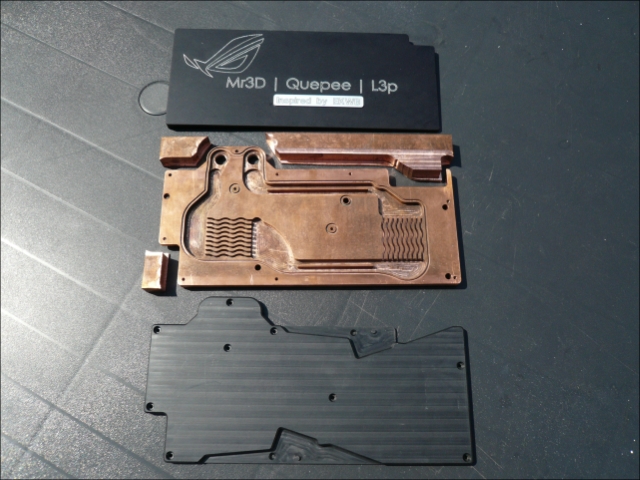
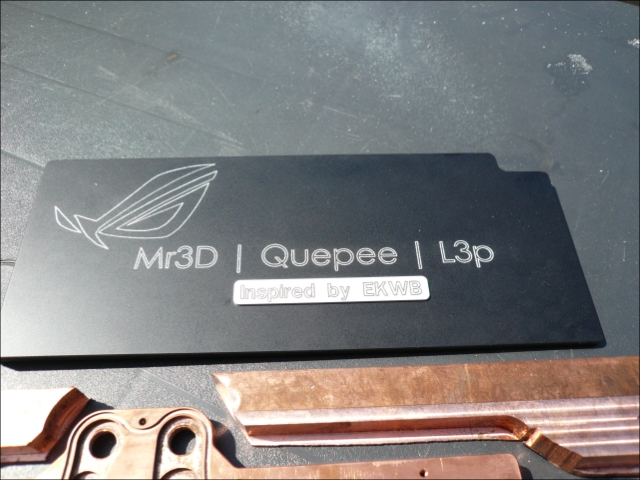
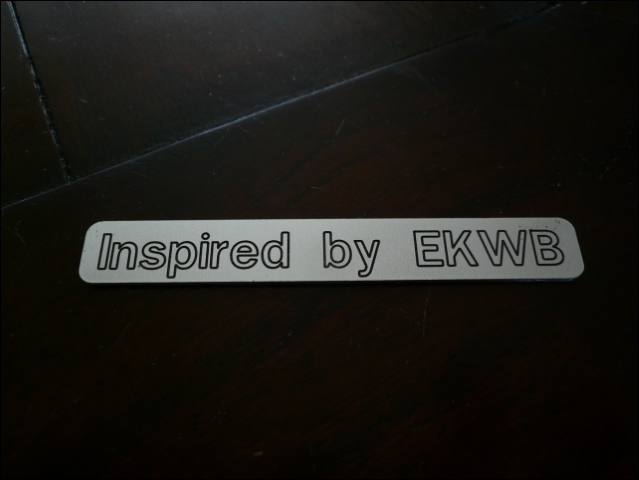
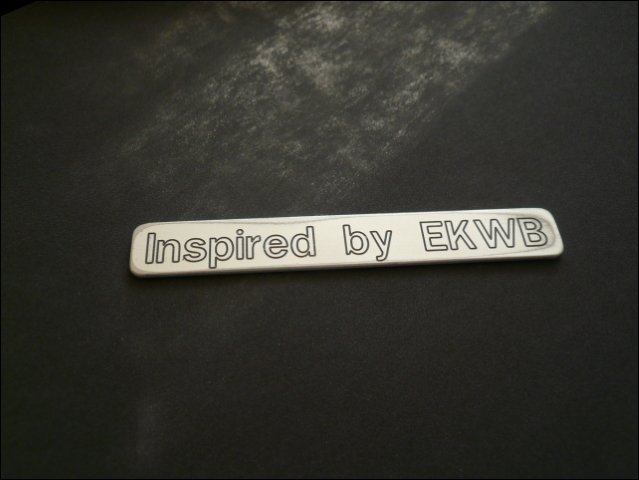
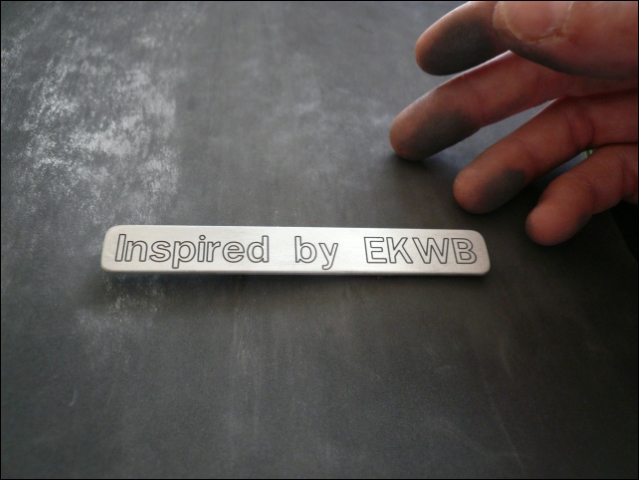
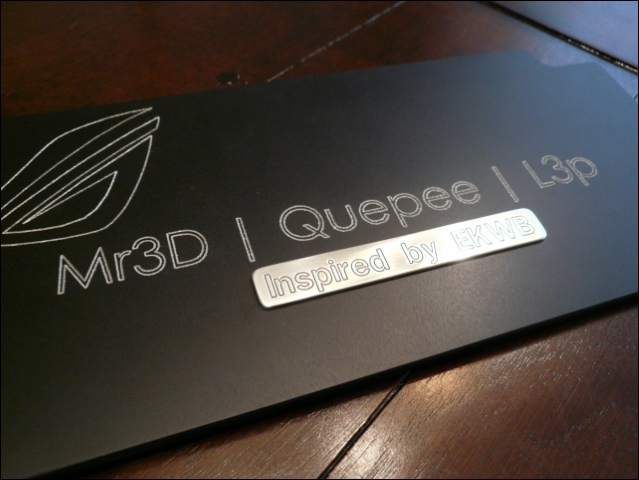
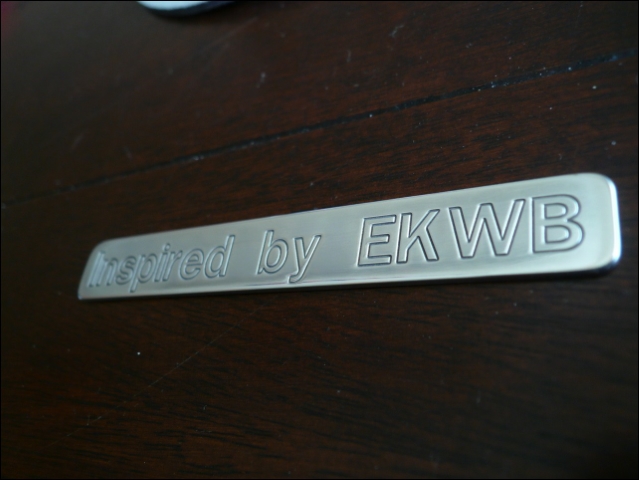
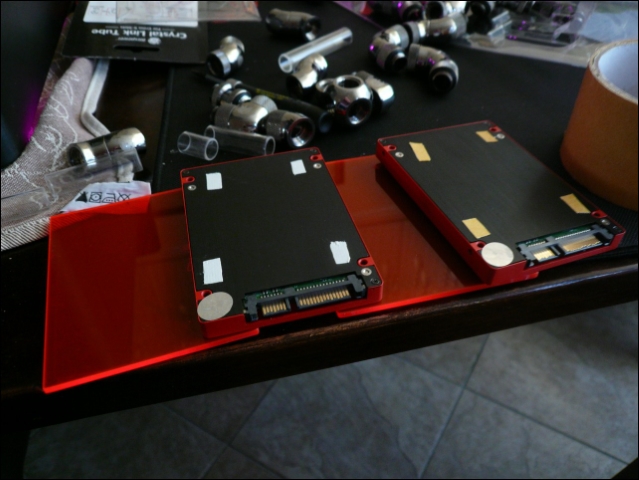
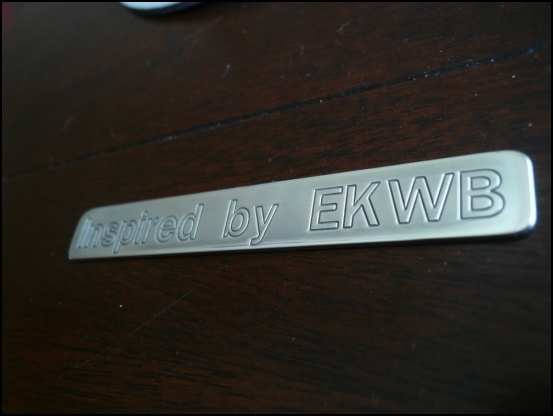
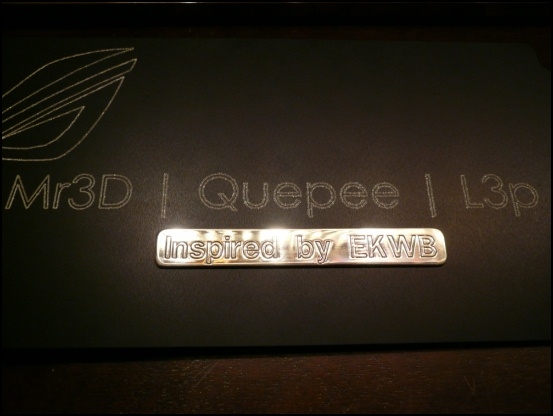
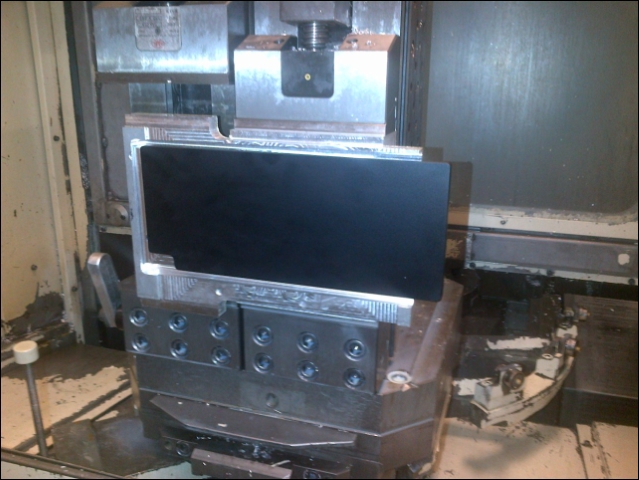
Want the EKWB plate in the same style


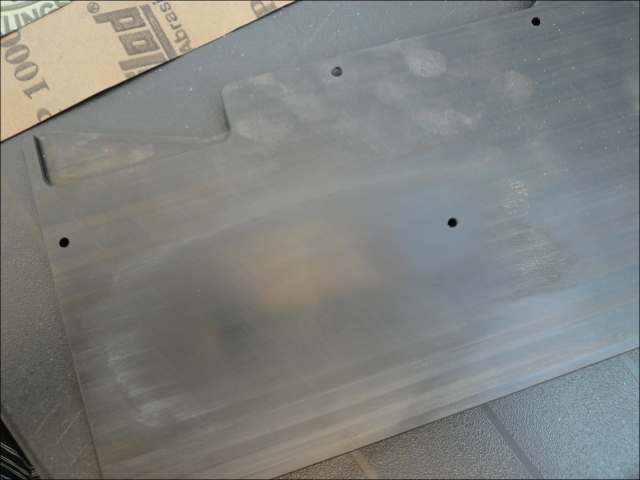
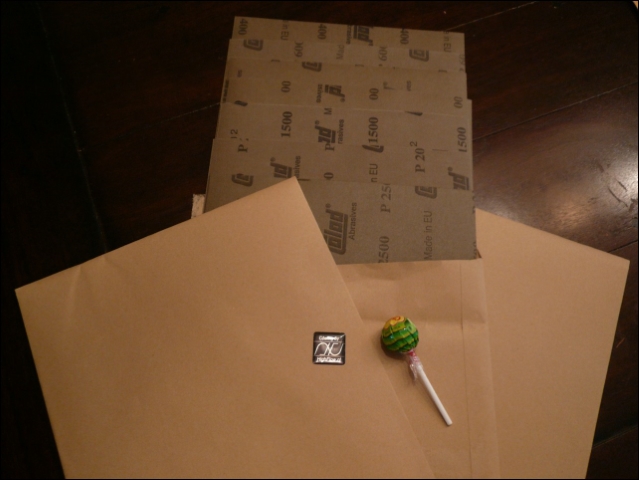
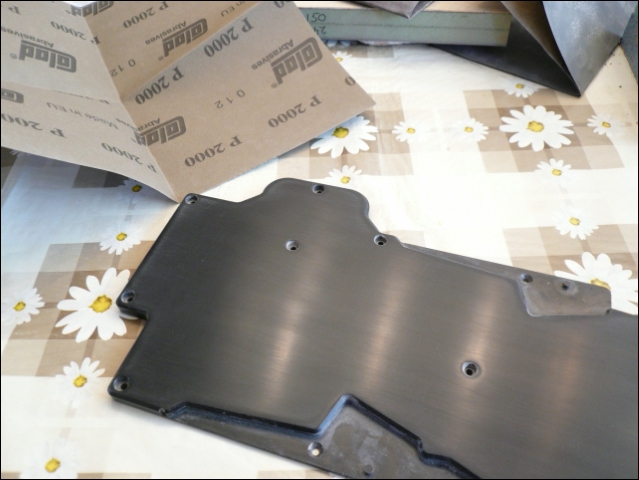
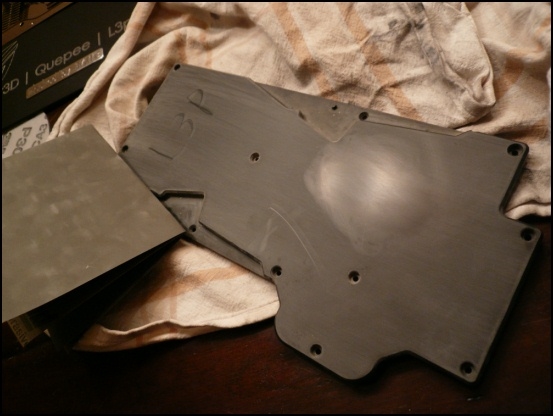
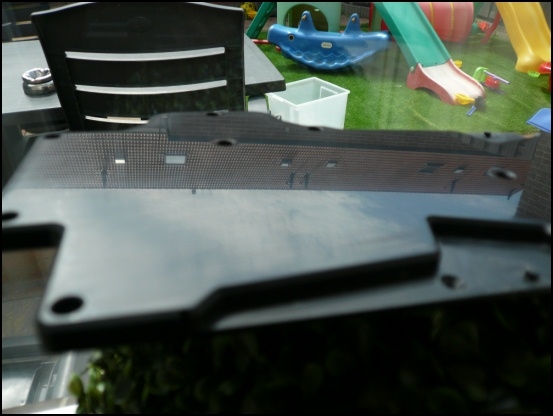
And the next problem ...... POM :)

When I just got the POM there was a little scratch on it.
I thought lets remove that with some P2500 .....
Well ..forget it.. wish I had asked someone with knowledge before I did that :)
So eventually had to sand the complete top ... what a mess .
When I just touched it with a nail it already had a scratch on it.
It's like high carpet, when you chuck it in 2 different ways.

After some google, reading, and asking people I found out there are a few ways to recover it.
Machining it again, flaming it, sanding it in lots of grits
I chose the way to sand it like I lap a cpu. (And never again :) )


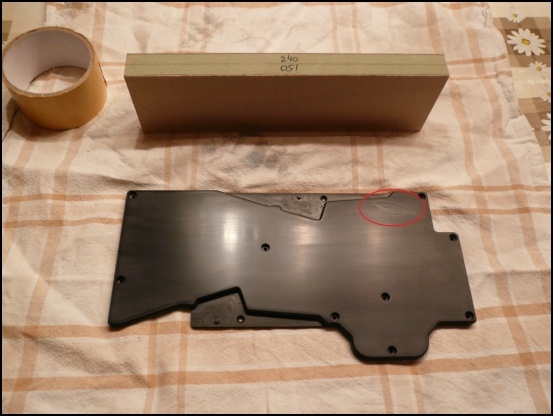
Started with P150, after that P240 (30 min)
You can see you can still easily scratch it with your nail


90 minutes with P600, P1000 and P1500


Next day my arms already didn't want to go further .. let's continue :P
P2000 it is.


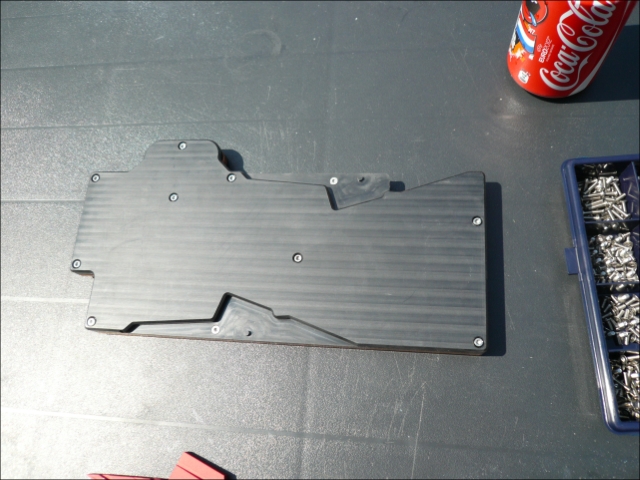
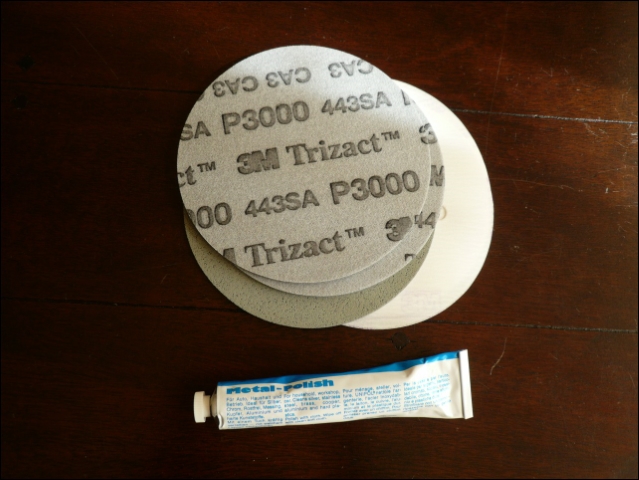
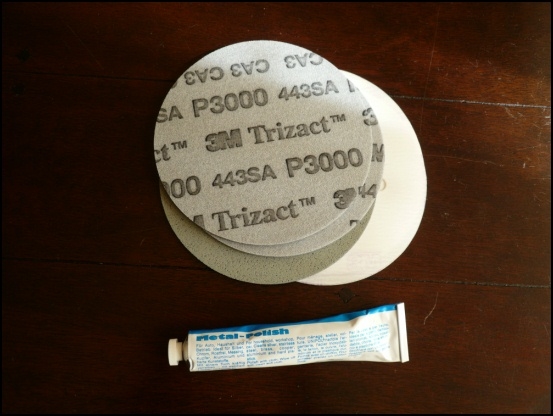
P3000, starts to look like something.


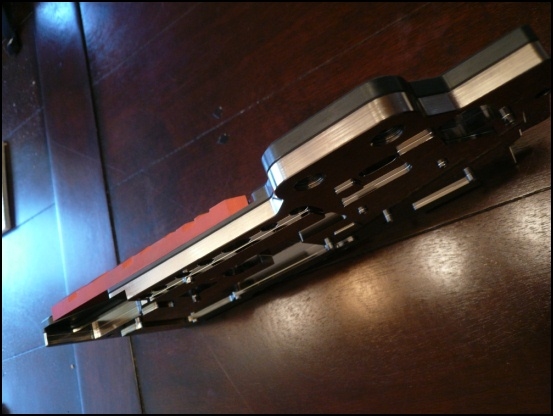
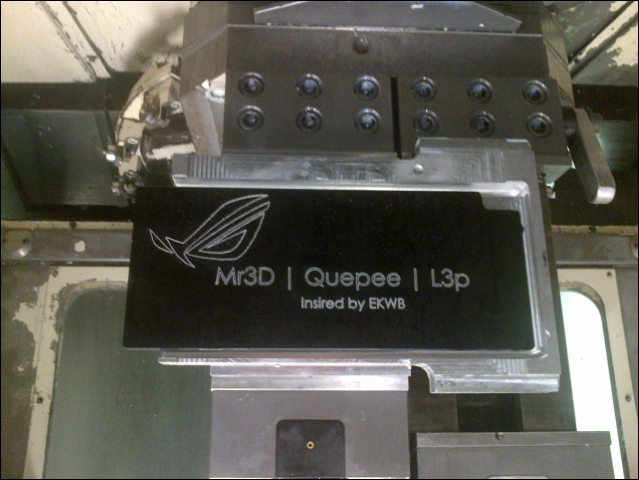
After sanding 3.5 hours I'm done with it :)


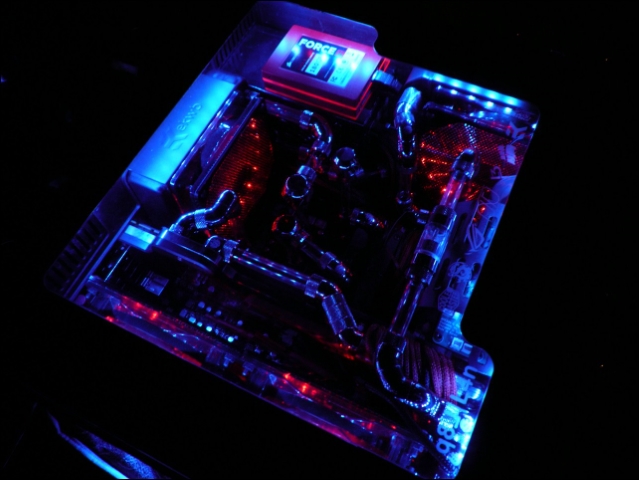
Borrowed something from the marsII's younger brother.


I'm satisfied!
Not able to scratch it anymore with my nails or any other softer object then POM. (Weird stuff)


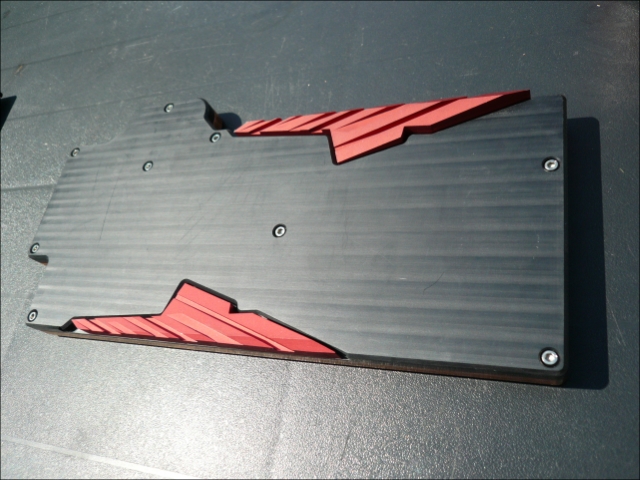
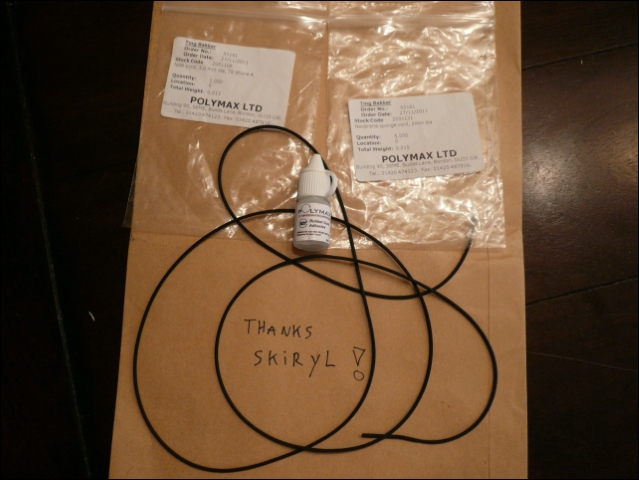
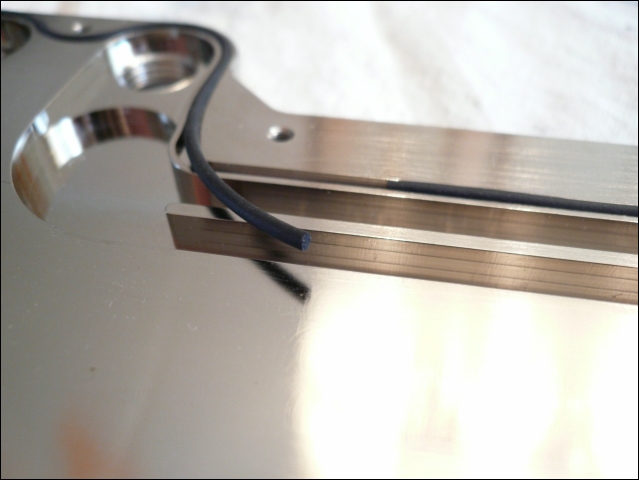
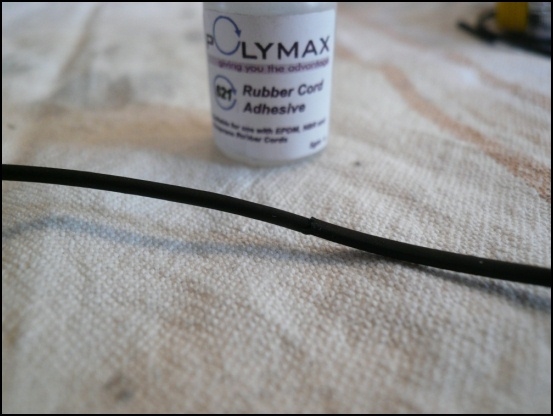
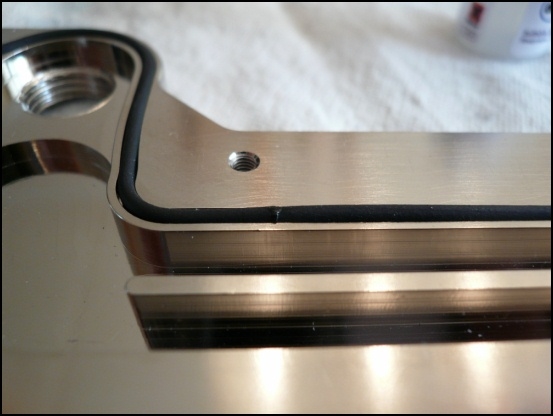
This is easier then I thought.
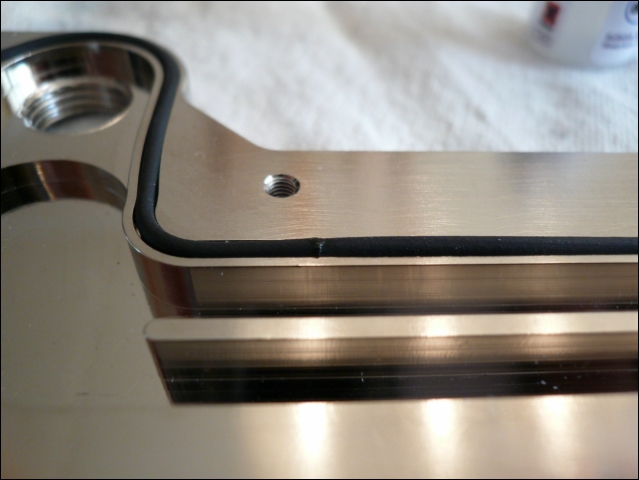
Put in the rubber, cut it on the exact size and glue it together holding it for 10 seconds.
The 'O-ring glue' smells like superglue. (And sticks to your fingers the same fast way)


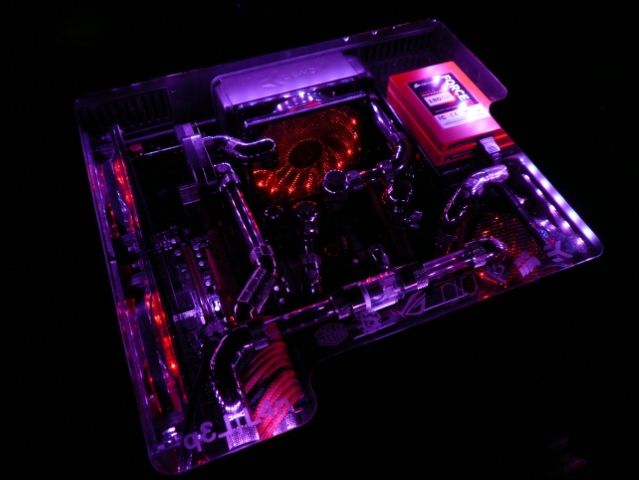
I'm done with it for this week :P
Next week hopefully testing it on pressure and the mounting!


There is all ways a catch... But, sometimes the catch can make things A LOT better.


:toast:


Looks great.
 
Sometimes everything goes as I want ... sometimes not.
That next to my 2 jobs at the moment, got some problems finding time :)


Last week after a 3 hour test I noticed this ...


So time to get my UV light, maybe I can discover more.


Setup.


Lights off.


Probably 2 small leaks.


So opened it carefully again, maybe I can see more.


Going to test it once more with a POM remount and 2x serial connected D5's. (This to be really sure)
This time with a new glued big O-ring and small cast O-rings.
Problem could be the distance between some of the M3 bolts (6-7cm) to keep the POM really flat on the copper.
It does seem it's completely flat..

So one solution is to use Loctite Quick Gasket.

Or ... I'm going to add some M3's ... and probably polish the POM again. (I will succeed!! :P )
Anyway, learned something again :)
 
Second remount + leaktest was a failure too :(


So .. ordered the Loctite quick gasket


Met Rogier from Asus last friday for a coming project and ..
He asked me if he could borrow L4n for an Asus media event next friday.
Told him I couldn't get it fully running that fast, that was no problem.
So he would pick it up next tuesday..

Oops...
Will be some late evenings this weekend :P


First tests without PCB.


After a full leaktest still dry!! :)
Also didn't leave any Loctite


And then I had to remove it again for a full mount..pff
I really had to cut it loose.


And clean it for an hour :)


Used and army of heat transfer pads on back and front


And a new layer of Loctite.


Made a quick movie that night of the mess.


Next day.. change the bracket .. for the third time.
This will be on top of the pump controller.


Small idea I got for the ssd's
The backside will be out of sight, but is able to catch light from the RGB leds.
That will give a nice effect on the front side.


Rest of the day ... Bitspower..
My skin let go on my vingers :D
Even sawing the crystallinks .. had to do it with my knife.
Left both of my saws at work :/


Didn't have much time to make pics.
Got 2 hours left tomorrow.
So it will be on the event as below, just the RGB leds and the touchscreen.


When it's back I'll make it 'flowready' and leaktest it completely for multiple days.
And off course some more pictures from the case and MarsII
The loop can still even change, didn't have enough C47's :)
 
Here a small video from L4n one day before it got picked up.


And 2 days ago Asus BNL called me ...
They were very happy with it!

Asus_Product_Launch_Event_2012_1.jpg


Asus_Product_Launch_Event_2012_2.jpg


Asus_Product_Launch_Event_2012_3.jpg


Asus_Product_Launch_Event_2012_4.jpg


Such a shame I couldn't be there cause of my job :/

Asus_Product_Launch_Event_2012_5.jpg


And a video on the Asus Facebook where you can see L4n for 3 seconds @ 2:00 :D
http://www.facebook.com/photo.php?v=368991666504515

Now waiting to get it back and resume :)

Thanks Asus!!
 
Last edited:
:toast:dude, your hard work is inspiration for me
 
  • Like
Reactions: l3p
really nice L3p and if u wanna link direct youtube do this [ y t ]af8dAKQ-71s[ / y t ] without space ^^
 
Thanks guys!
I know puma99dk, the problem is I got another few forums to post it and somehow they all have a different code :P
 
Back
Top