 16
Aerocool Klaw Review
Value & Conclusion »Test System
| System Parts for Case Reviews | |
|---|---|
| Processor: | Intel Core i5-8600K |
| Motherboards: | ATX: MSI Z370 GAMING PRO CARBON AC MATX: Z370M GAMING PRO CARBON Mini-ITX: MSI Z370i GAMING PRO CARBON Provided by: MSI |
| Graphics Card: | Long: ASUS Radeon RX580 Short: HIS Radeon 5350 HD |
| Memory: | 16 GB XPG Dazzle DDR4 2800 MHz CL17-17-17 1.25 V 32 GB GB XPG SPECTRIX D40 3000 MHz. CL16-18-18 1.35 V 16 GB XPG GAMMIX D10 DDR4 2400 MHz CL16-16-16 1.20 V Provided by: ADATA |
| HDD: | Western Digital 320 GB 7200 RPM |
| SSD: | ADATA XPG SX850 256 GB ADATA Ultimate SU800 3D 256 GB ADATA Ultimate SU700 240 GB Provided by: ADATA |
| Power Supply: | Antec High Current Gamer 650 W Antec High Current Gamer 750 W Provided by: Antec |
| Cooling: | be quiet! Dark Rock 4 be quiet! Pure Slim be quiet! Shadow Rock 2 be quiet! Shadow Rock LP Provided by: be quiet! |
Assembly
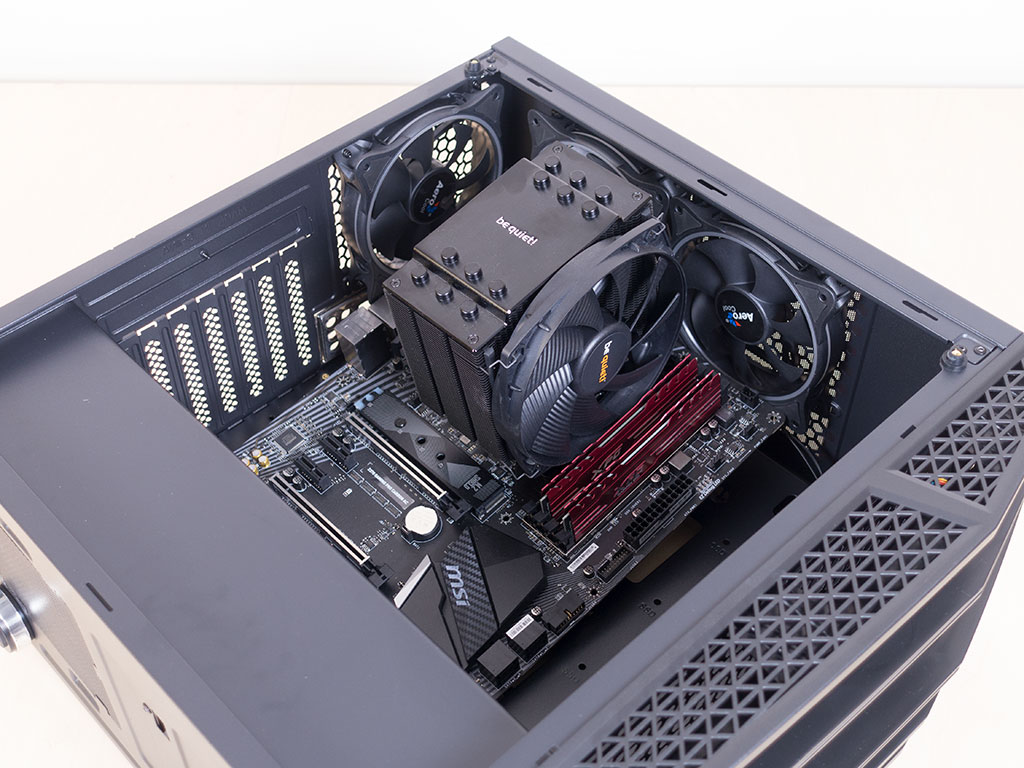
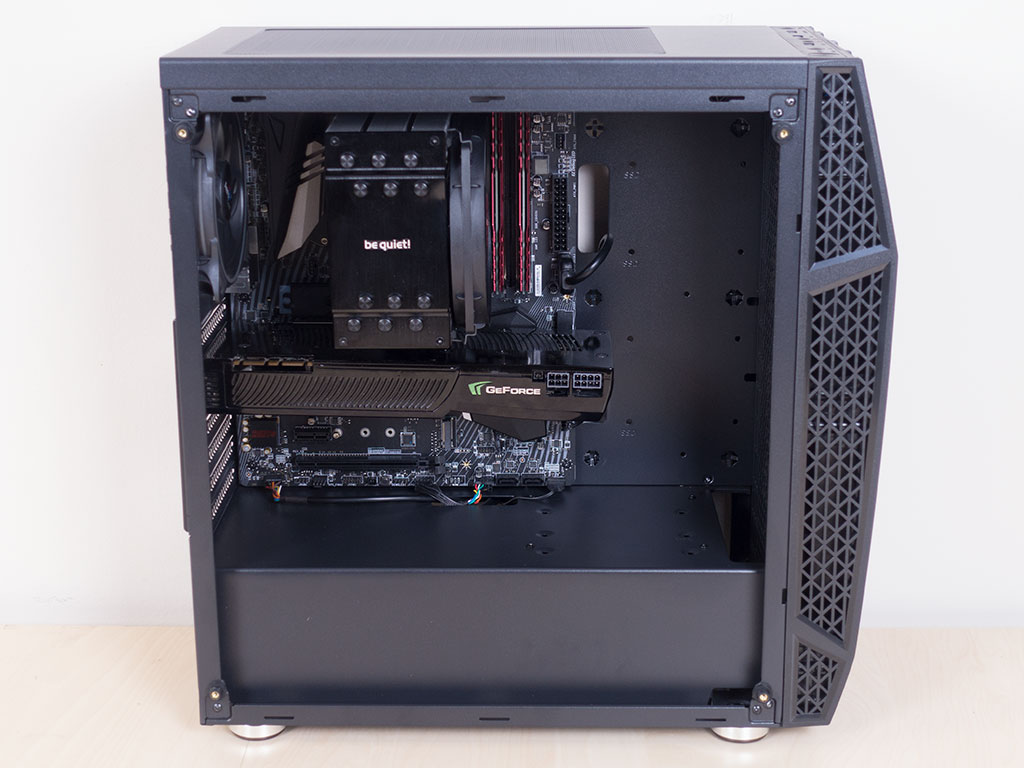
Installing the motherboard is done by traditional means, but turned out to be a tight affair. Thanks to the pre-installed fans and tight case dimensions, I had to gently bend and push the motherboard past them. On the upside, the Klaw can easily handle the large CPU cooler and obviously will be able to hold even the longest GPUs thanks to the lack of drive bays in the front.
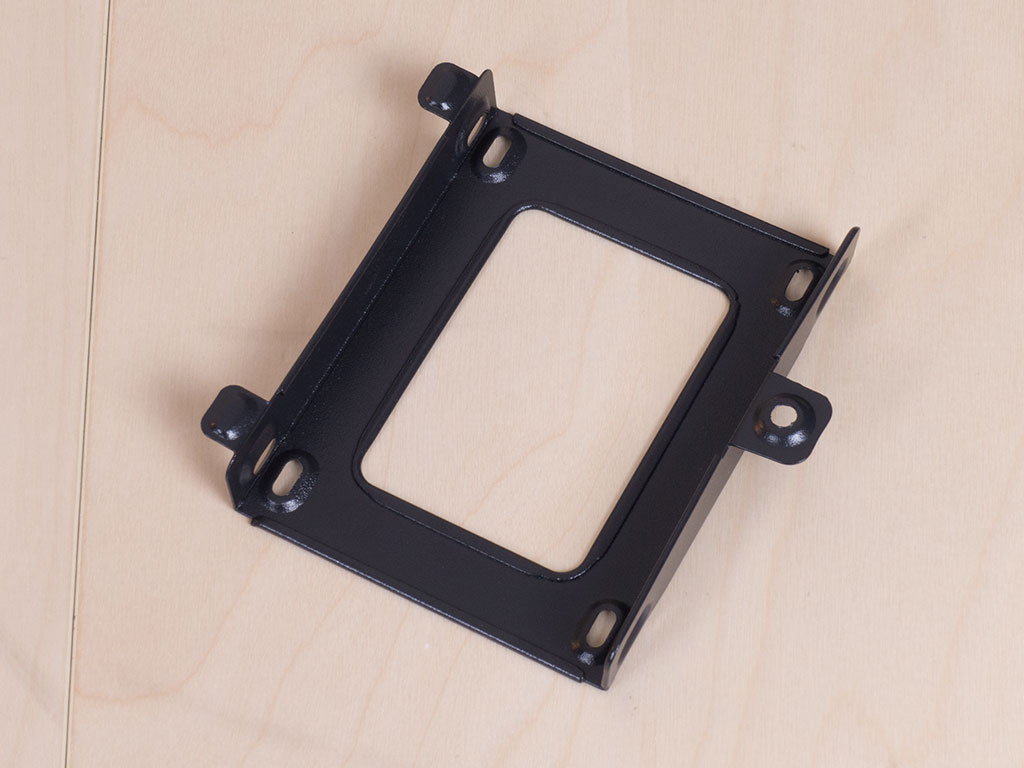
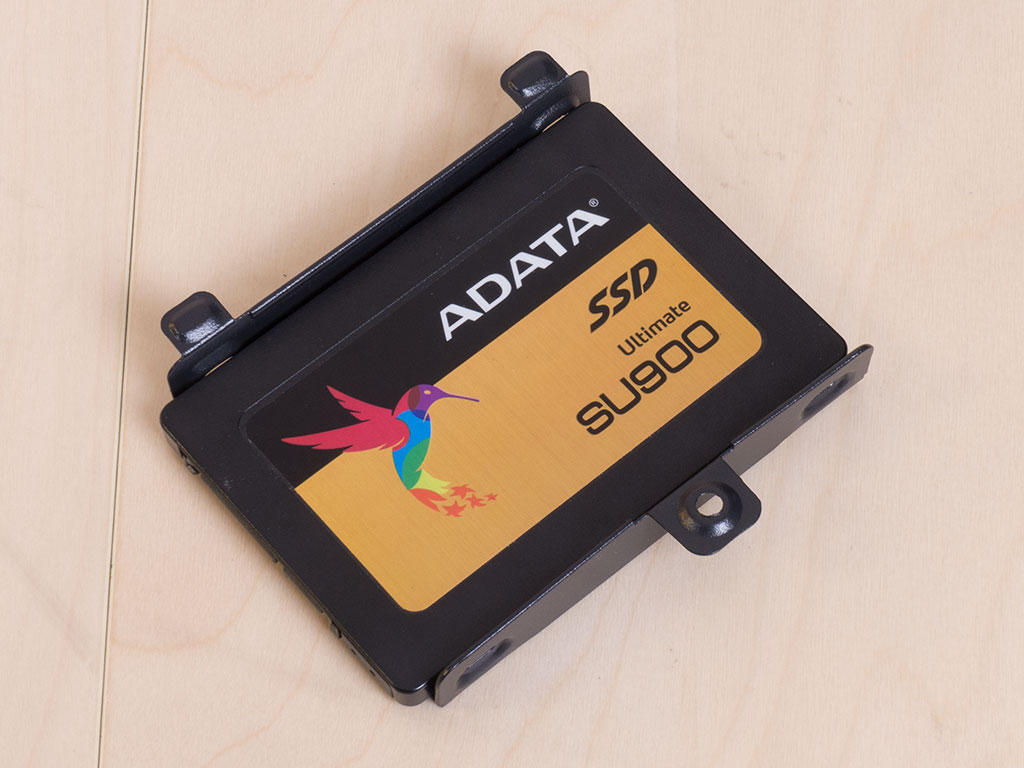
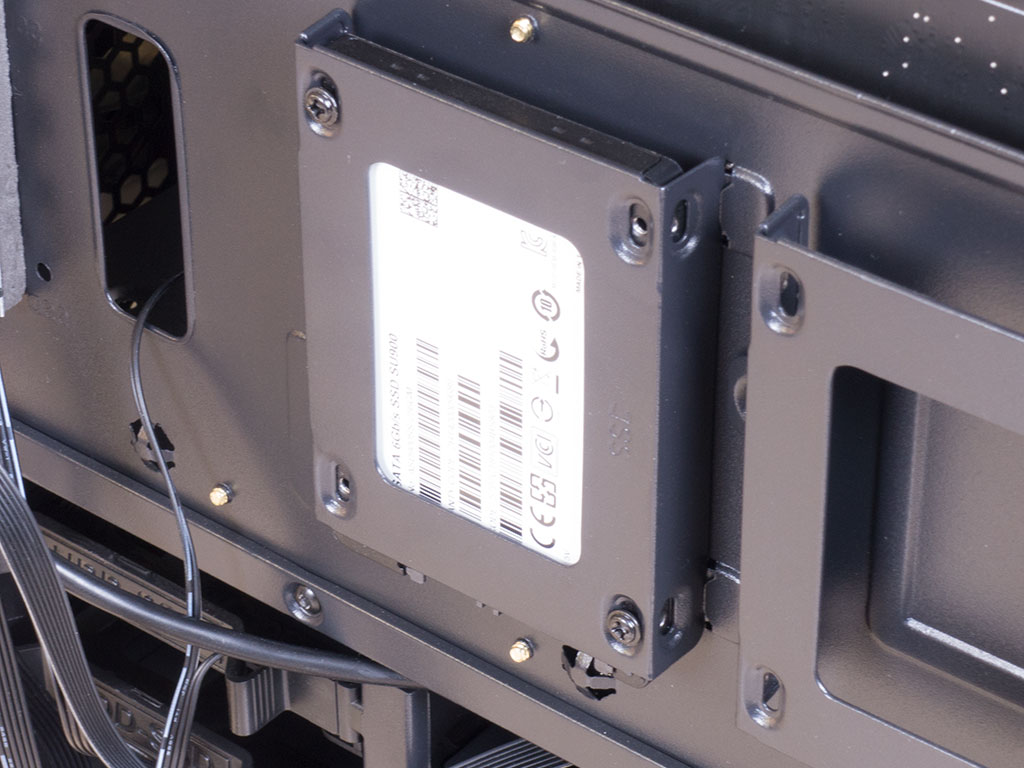
Interestingly enough, the SSD trays come with two sets of mounting possibilities, so you can use screws on the side or bottom of the drive. This is great as you won't run into any compatibility issues regardless of whether you use a solid state or traditional drive, however thick it may be. Once filled, simply put the whole contraption back into place.
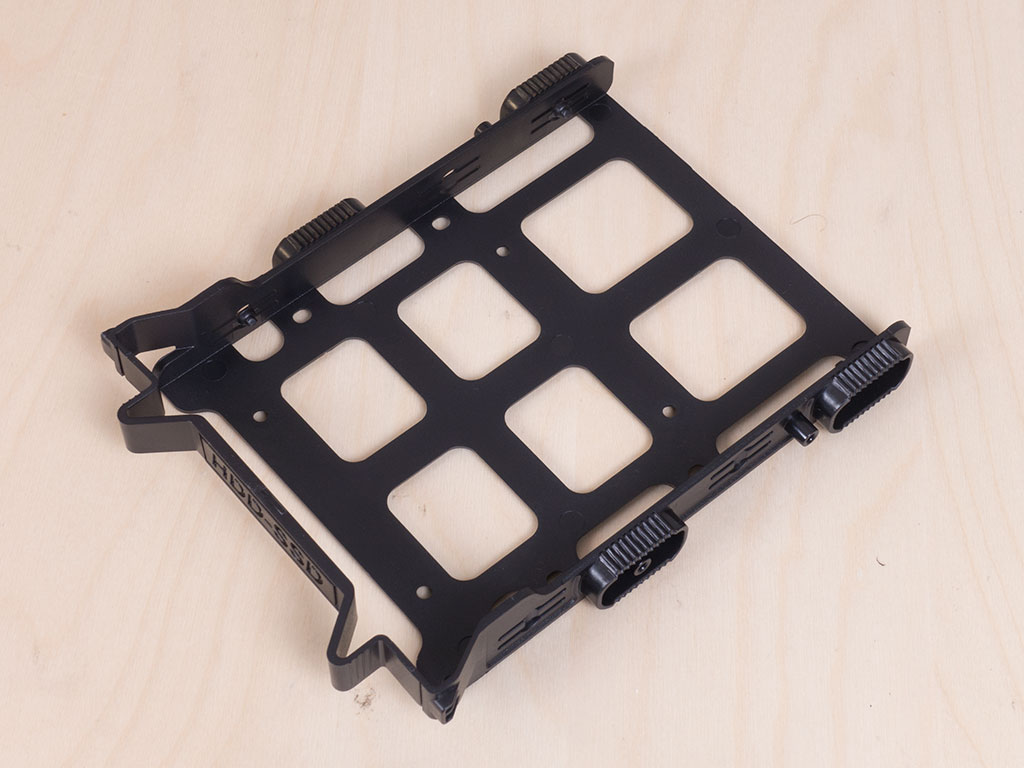
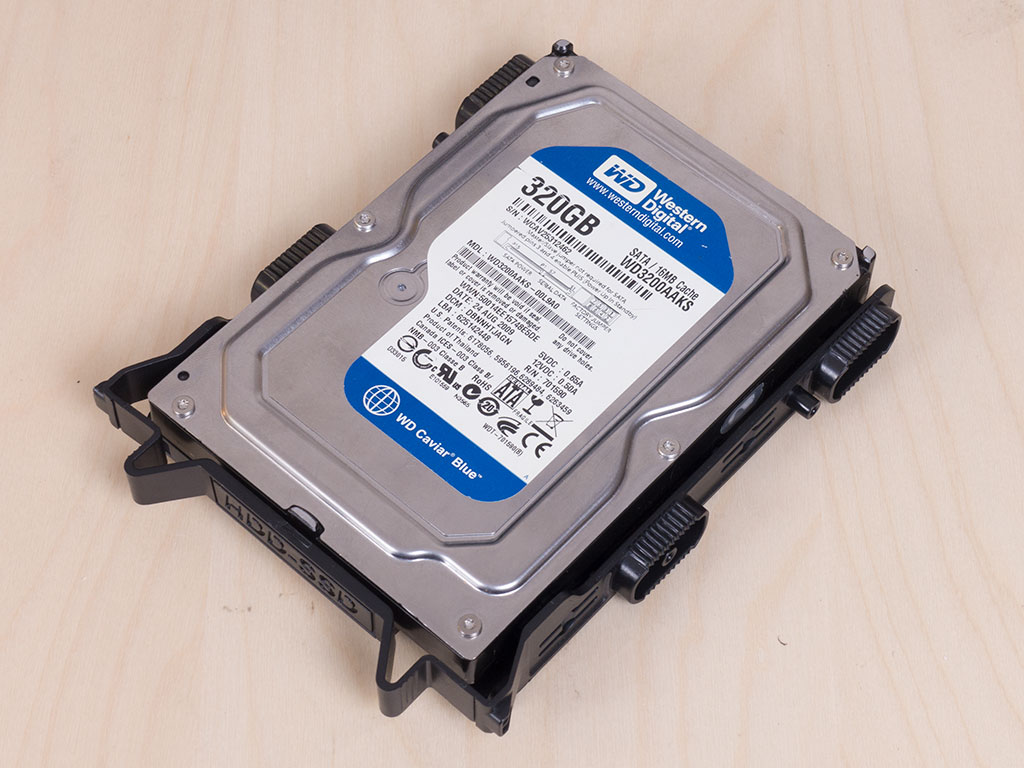
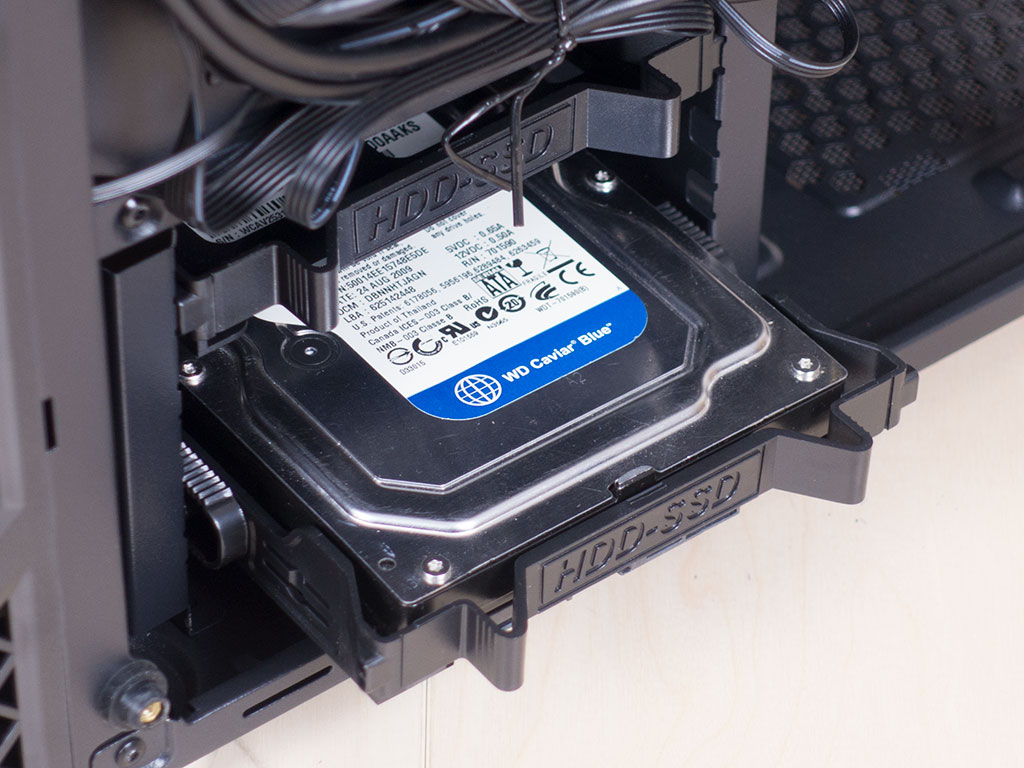
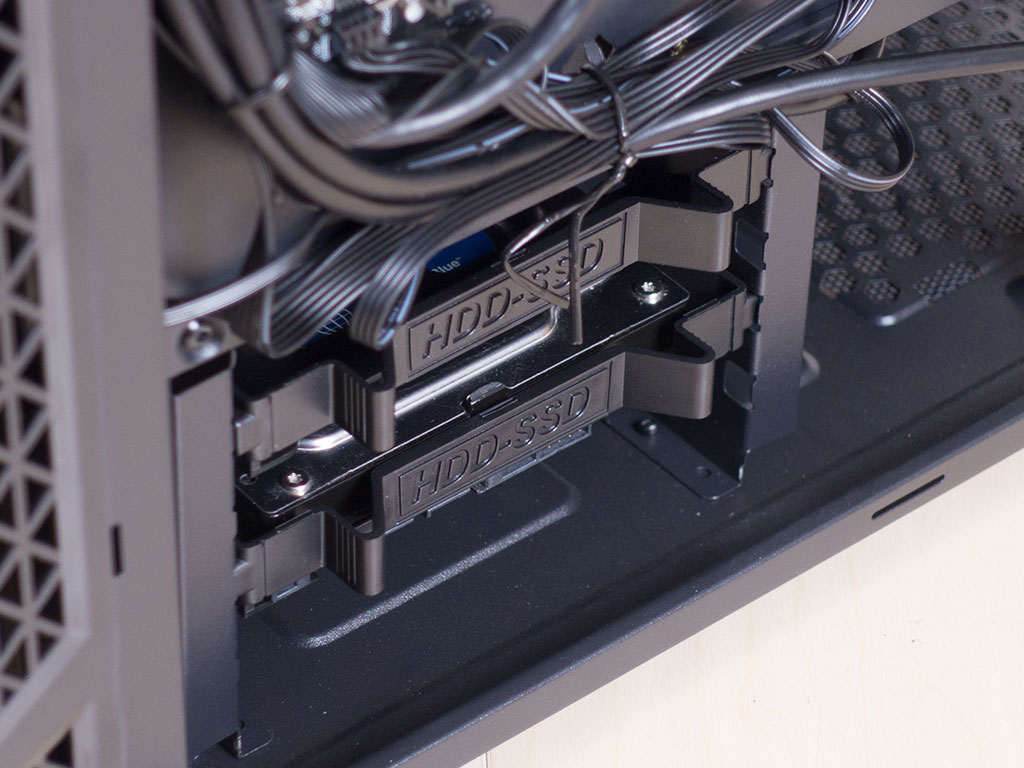
The 3.5" trays are actually made out of plastic and tool-less. However, there is a little play when the drive is put into place, so you are better off using a screw or two to pin it down properly.
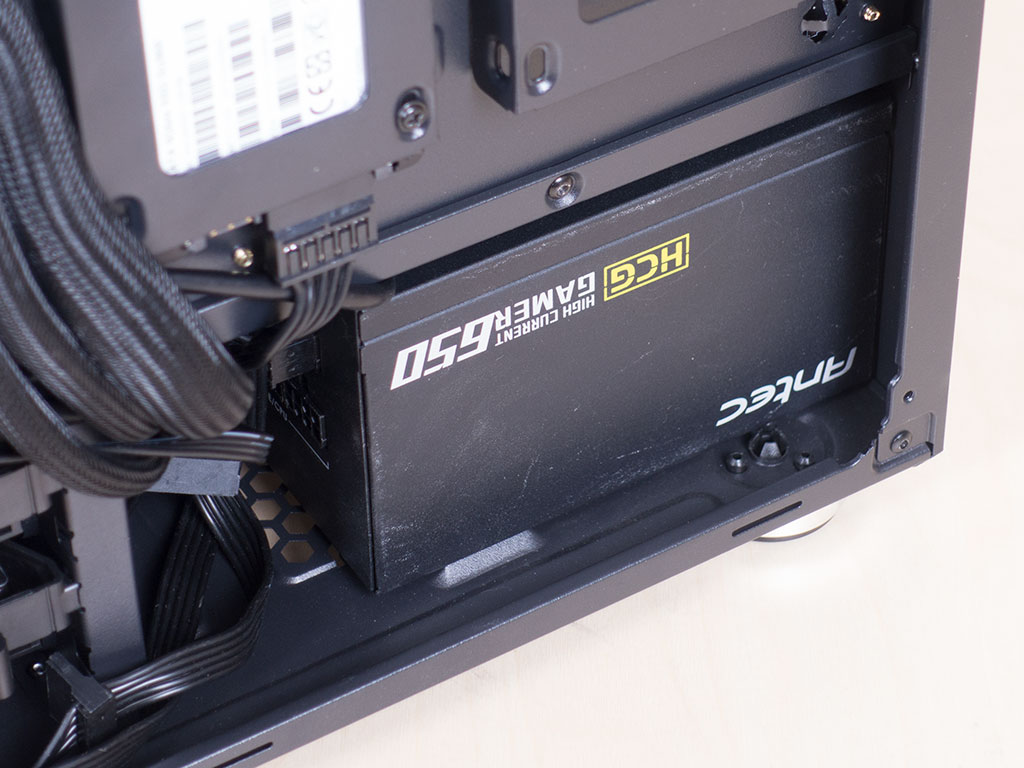
Adding the PSU is pretty straightforward, but things are pretty tight. This is partially due to the shape of the HDD cage, which has a pretty big folded element to the left and right of it. If those were not present, Aerocool could have moved the whole cage over by about an inch—valuable space for those wanting to go for a larger PSU.
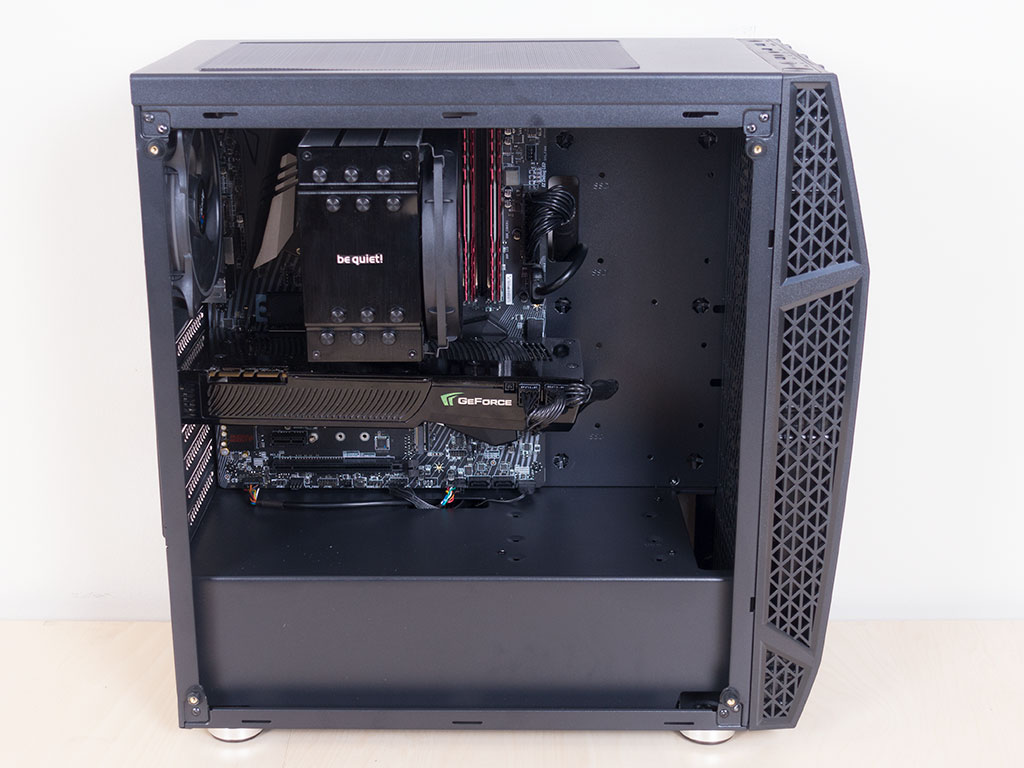
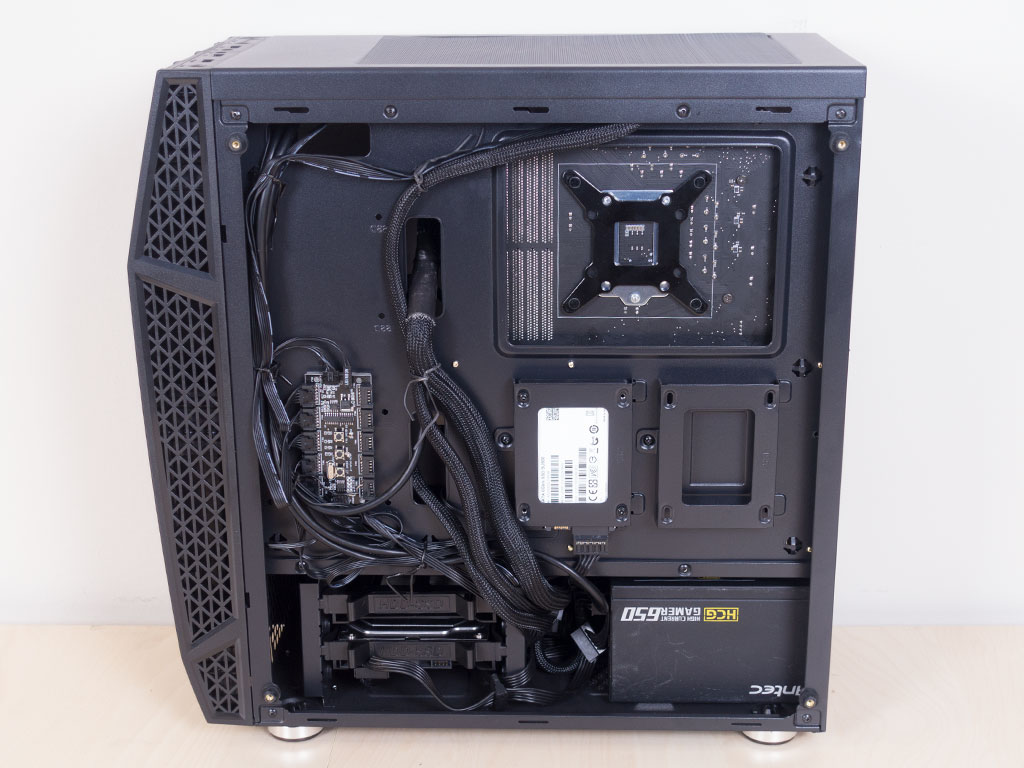
With everything installed, the interior of the Klaw looks nice and clean, and the lack of grommets turned out to be a non-issue. All the wiring is hidden nicely behind the motherboard tray.
Finished Looks
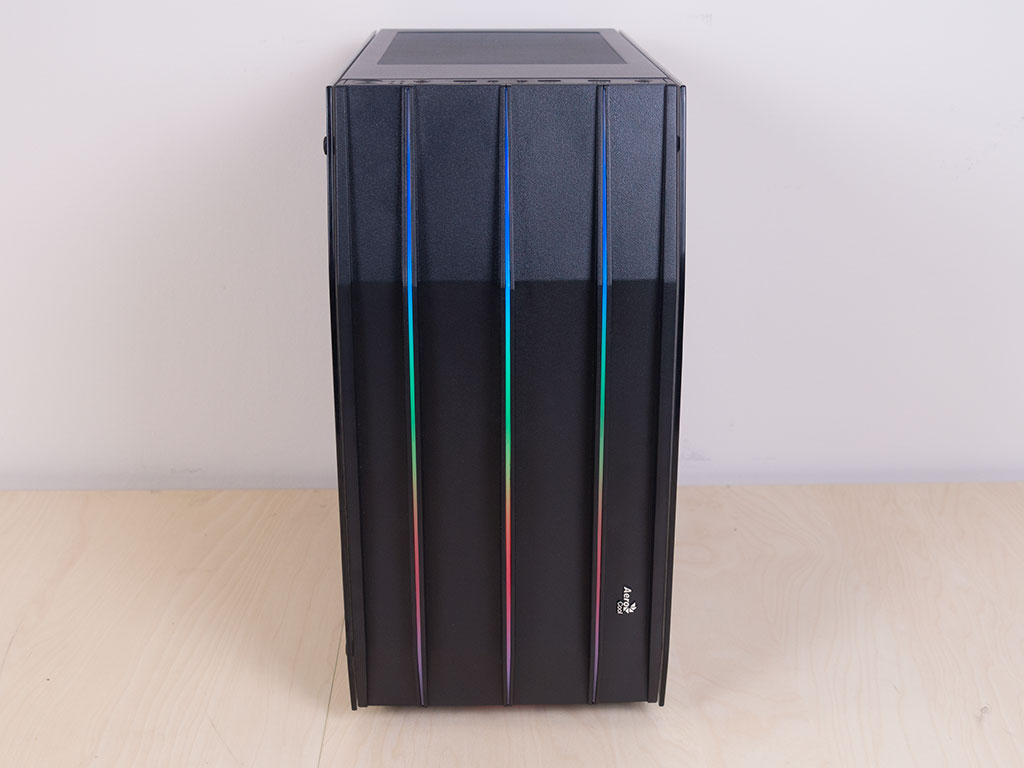
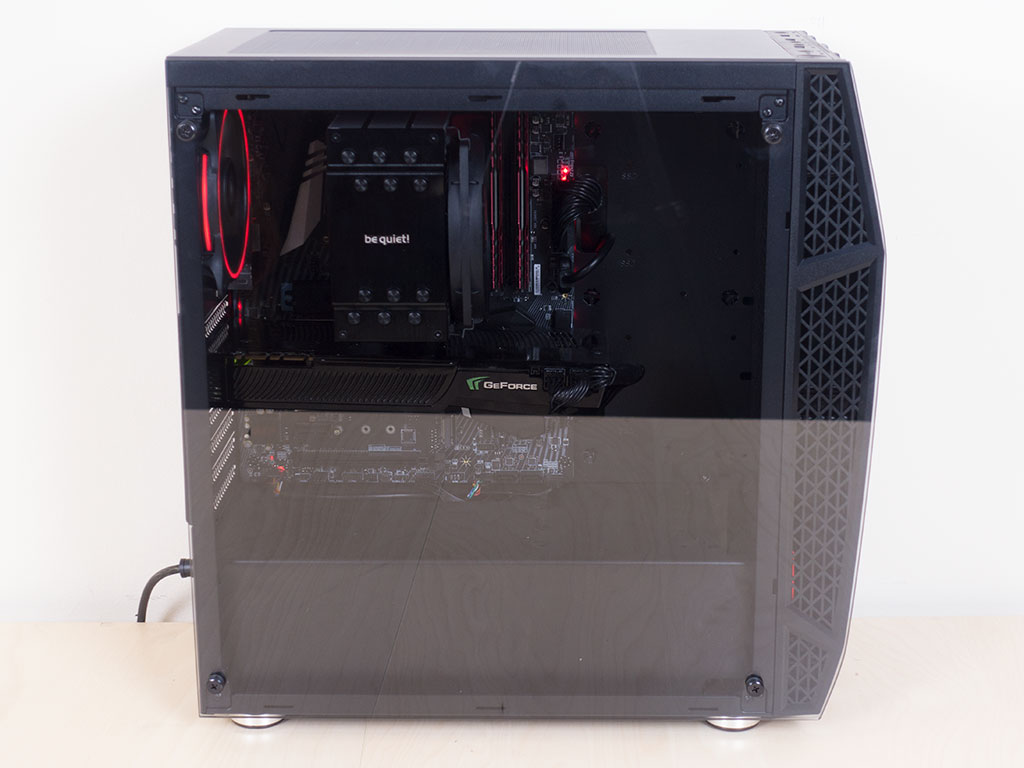
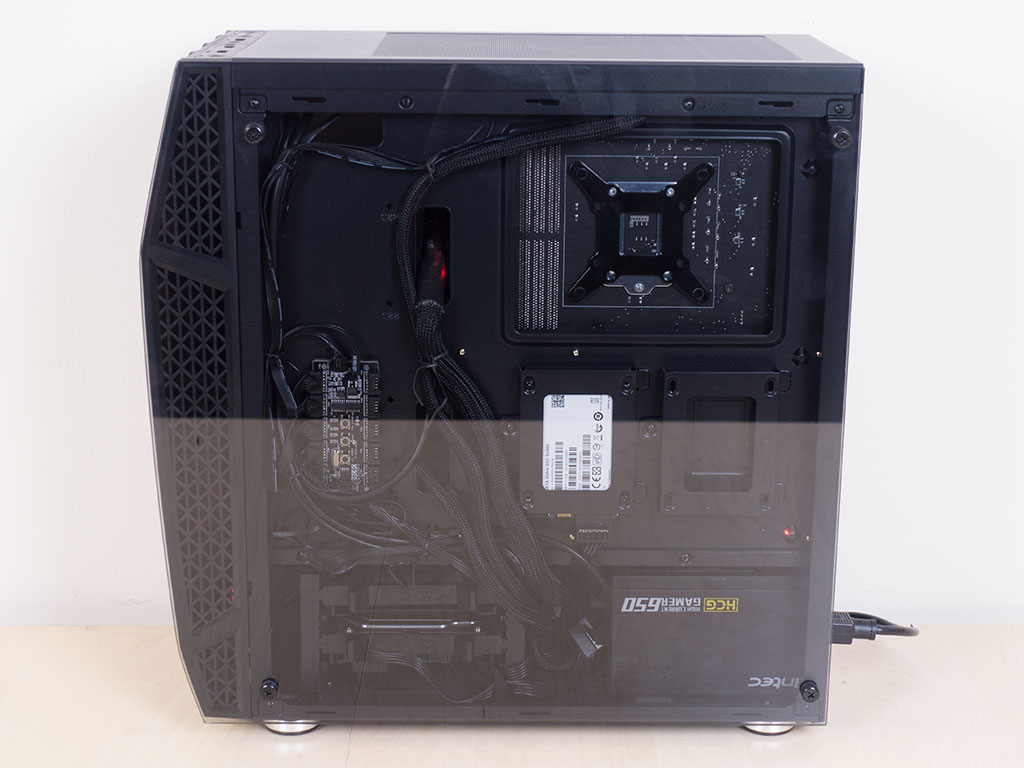
Once turned on, the Aerocool Klaw looks super nice thanks to the multiple addressable RGB strips down the front of the chassis. You can clearly see all the interior parts due to the light tint of both side panels. This includes the one behind the motherboard tray, so your cable-routing skills better be on point!
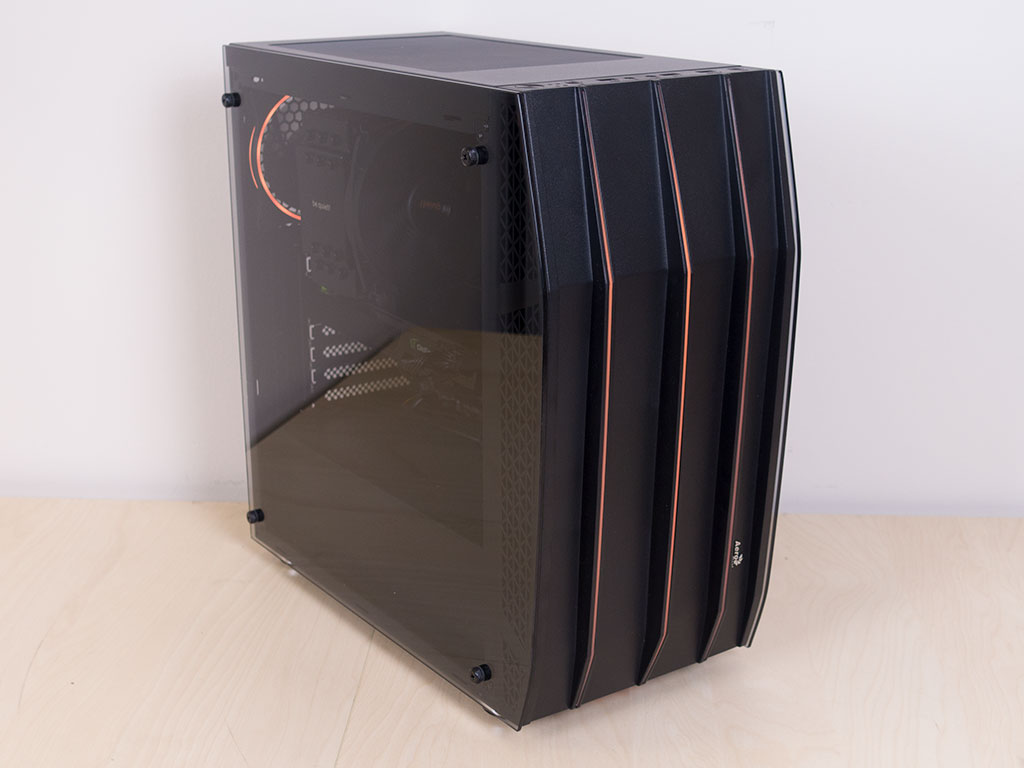
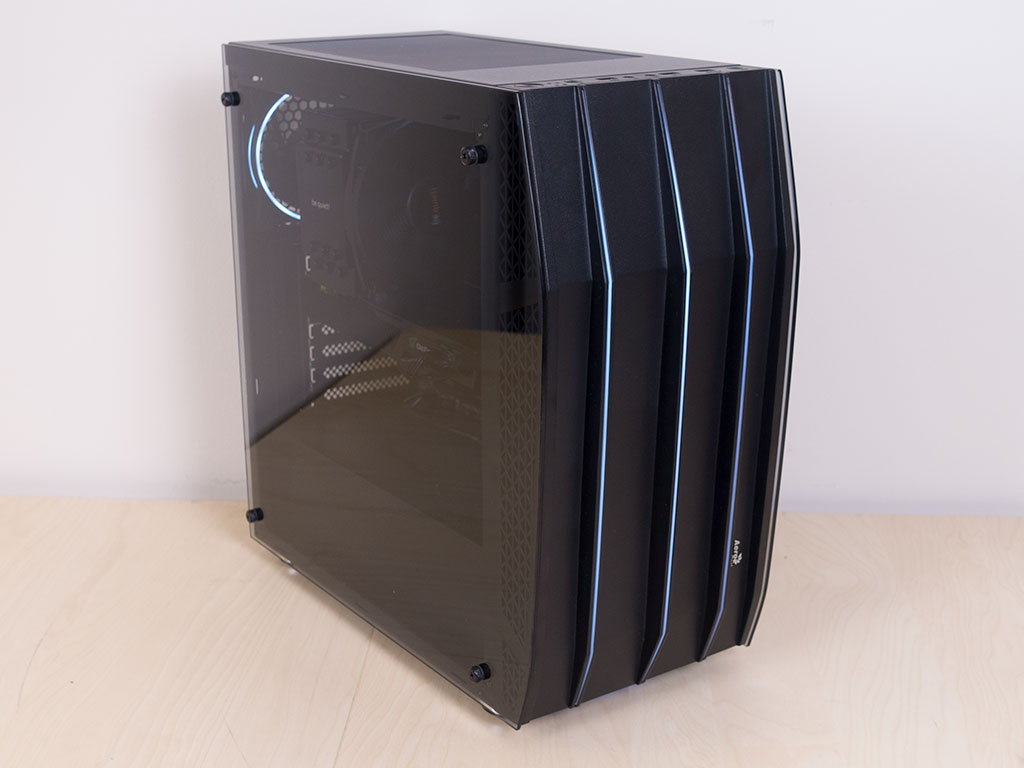
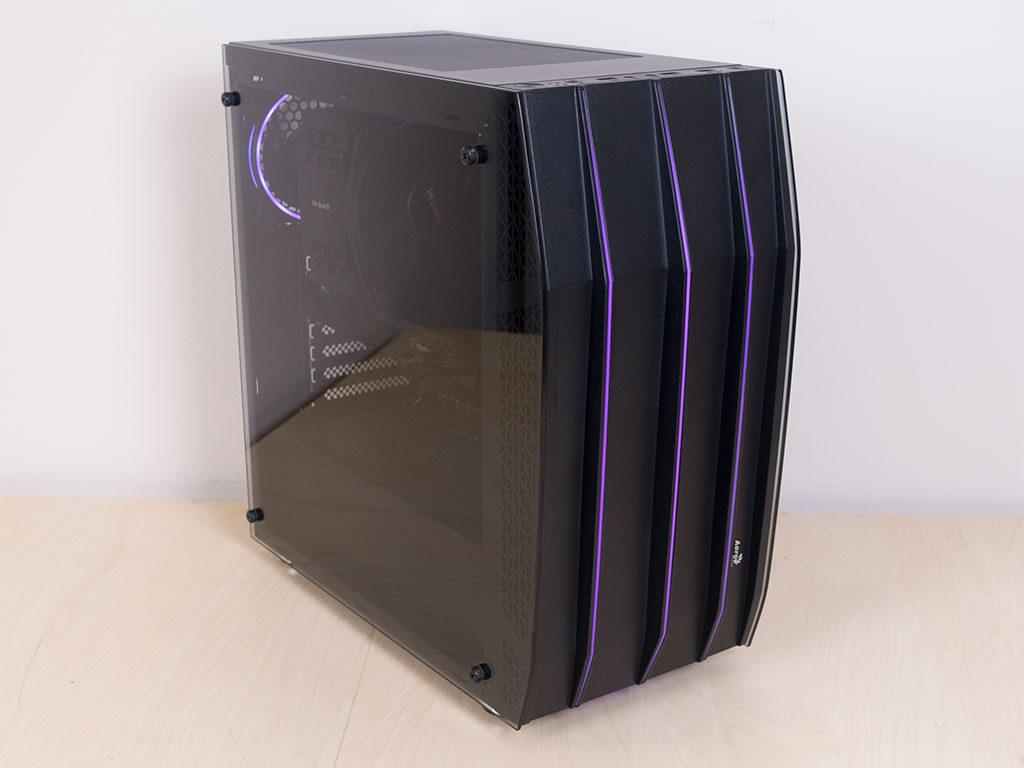
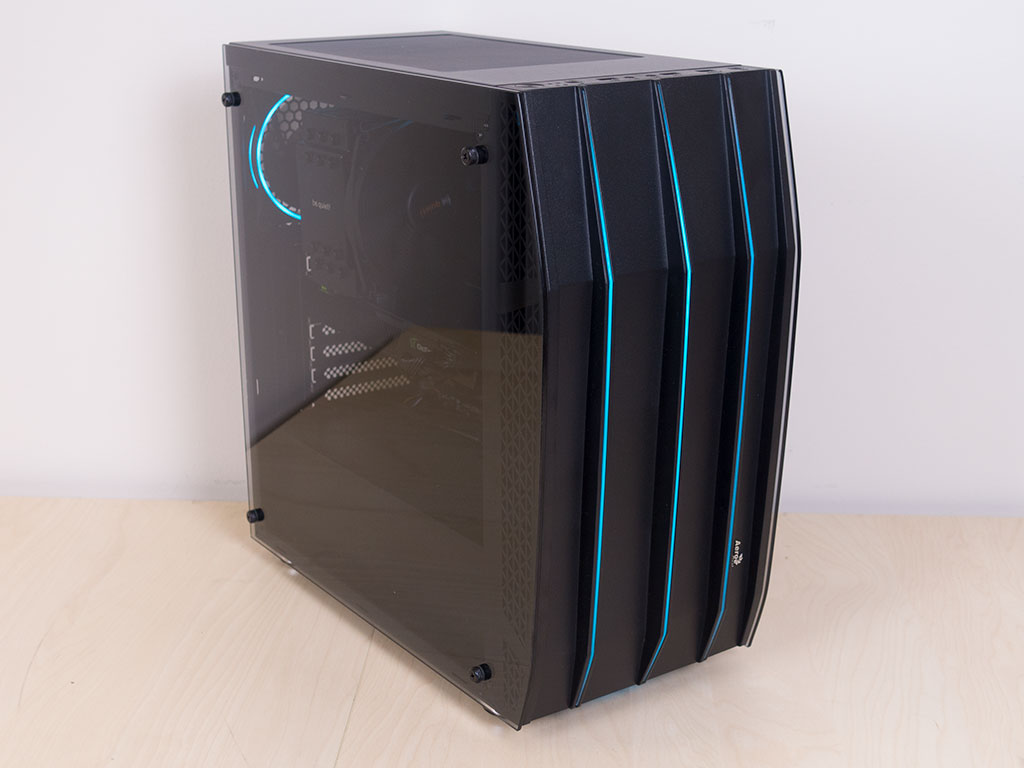
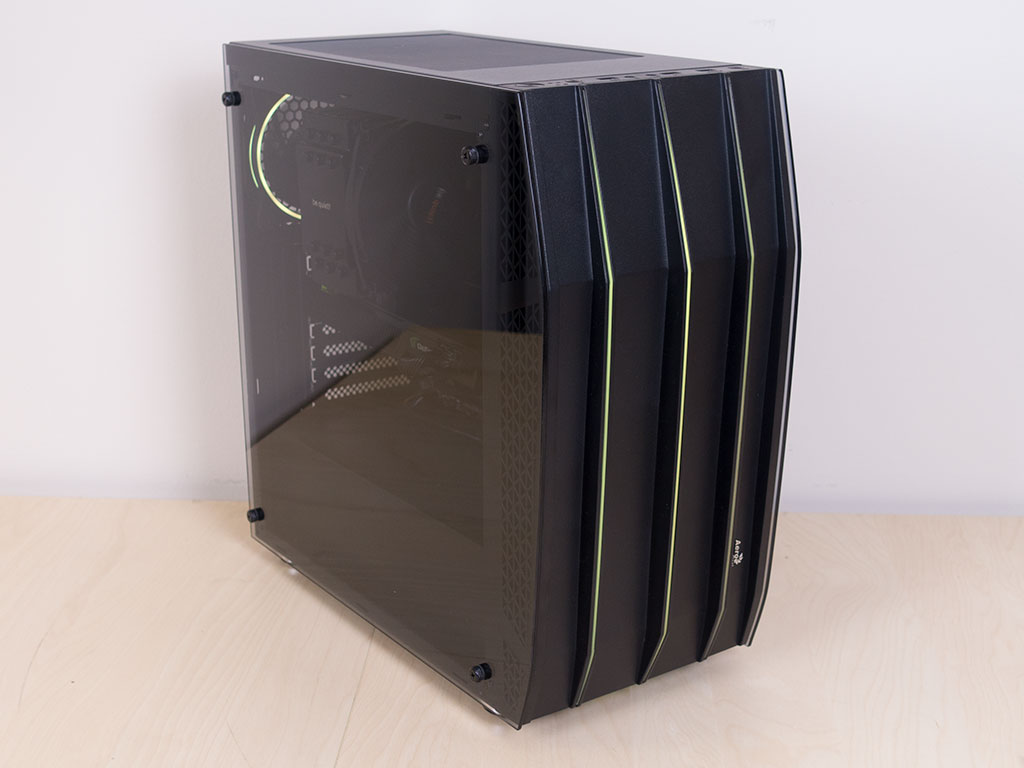
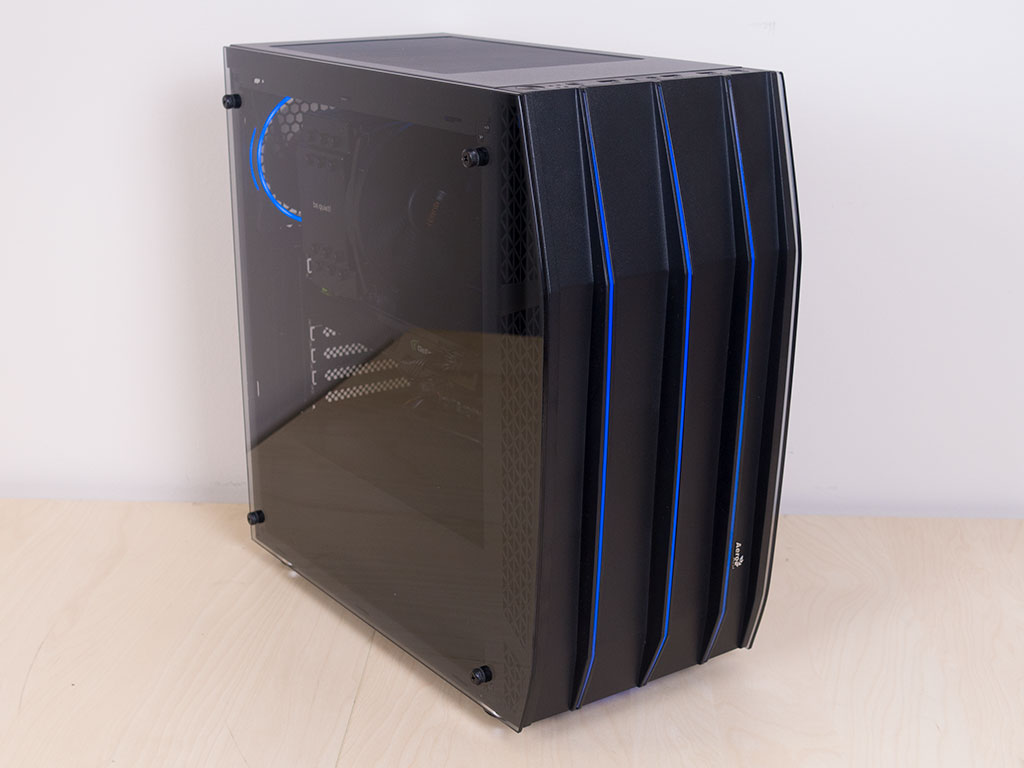
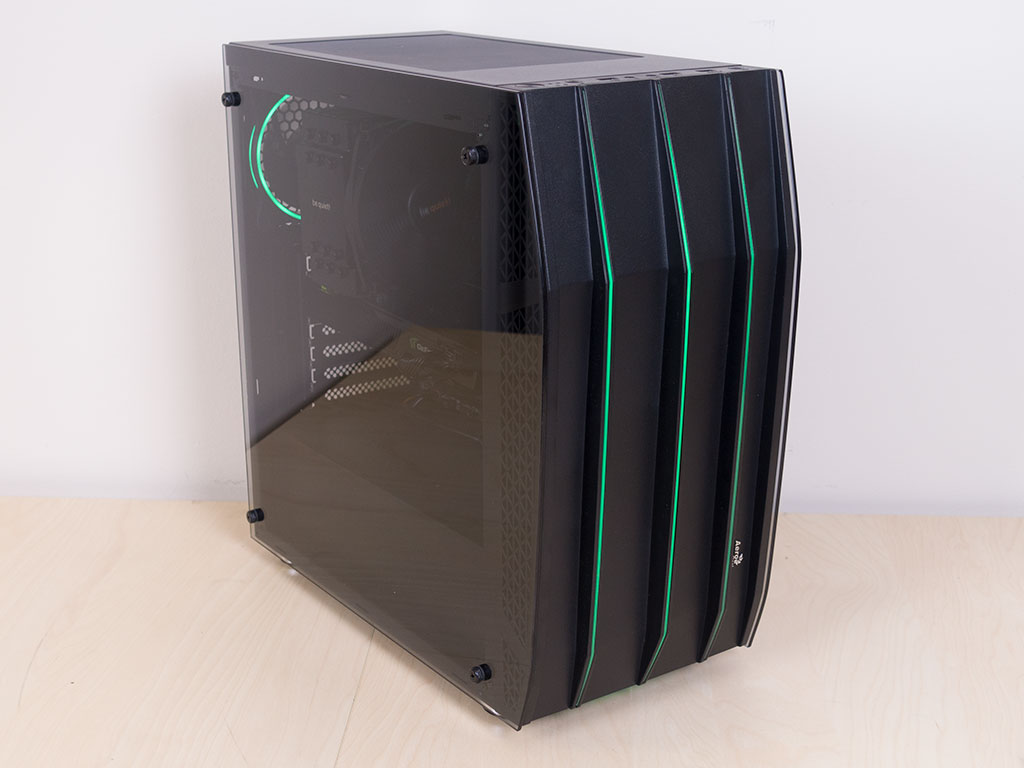
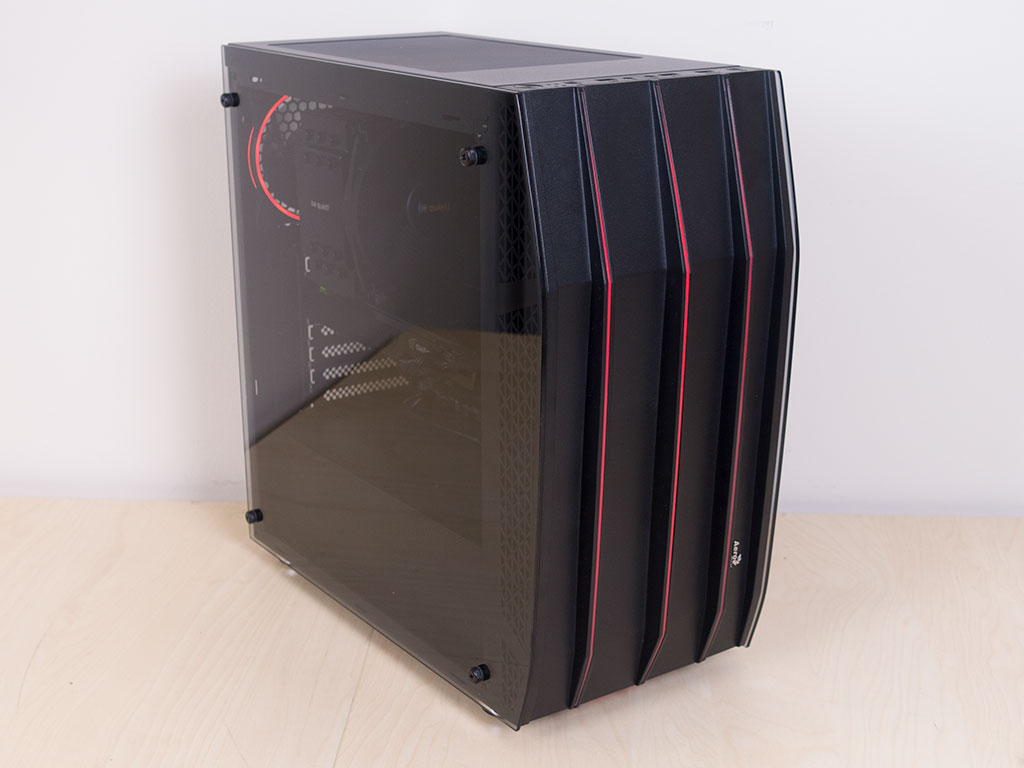
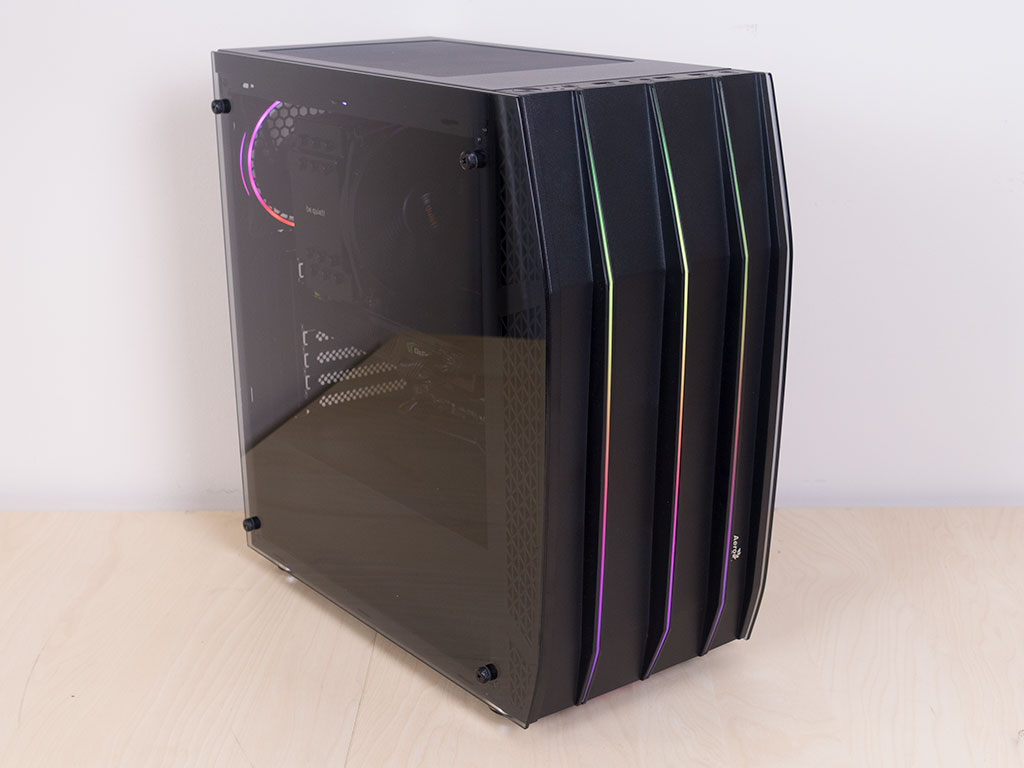
Thanks to the onboard controller, you may cycle through a vast number of colors, animations, and lighting effect, which is pretty cool and makes the remote especially useful.
Nov 21st, 2026 16:47 PST
change timezone
Latest GPU Drivers
New Forum Posts
- Ryzen or Intel system (6)
- TPU's Nostalgic Hardware Club (22183)
- Honestly, do you care about GTA VI? (227)
- repair an NVIDIA Quadro M4000 (0)
- 1 - 5 person file storage server equivalent accasible from anywhere + general VM server. (4)
- Windows 11 General Discussion (7748)
- RX 580 2048SP 8GB - SK Hynix - Ardiyes - BIOS Needed (2)
- UPS what one to get? (23)
- Local LLM General Discussion (694)
- Can you guess Which game it is? (345)
Popular Reviews
- Microsoft Surface Laptop Ultra Review - The Next-gen Arm Laptop
- Corsair RM1200e (Second Generation) Review
- Pulsar Office Tour & First Look at P1 Dual-Sensor Mouse
- Upcoming Hardware Launches 2027 (Updated Nov 2026)
- Ugreen NASync DXP4800 GT Review
- AMD Ryzen 7 9800X3D Review - The Best Gaming Processor
- Biwin Black Opal NV7400 2 TB Review
- AMD Zen 6 Technical Deep Dive
- Phantom Blade Zero Performance Benchmark Review - 35 GPUs Tested
- Acemagic Retro X3 Review
TPU on YouTube
Controversial News Posts
- NVIDIA Co-Founder and CEO Jensen Huang Officially Resigns (492)
- Report: Jensen Huang Eyes NVIDIA Comeback (261)
- Open Letter Asking NVIDIA to Reinstate Jensen Huang Passes 115,000 Signatures (184)
- OpenAI CEO Argues Home PCs Waste the World's Limited DRAM Supply (152)
- NVIDIA Launches Investigation Into Jensen Huang's Relationship With Suspected Chinese Spy (136)
- Intel "Raptor Lake Next" 16-Core and 20-Core CPUs Surface (130)
- NVIDIA GeForce RTX 50-Series Scheduled for up to $500 Price Hike This Week (89)
- Intel Razor Lake Gets a 12 P-Core bLLC Chip With No E-Cores, Per Leak (86)