 16
16
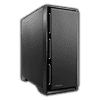
Antec P101 Silent Review
Value & Conclusion »Test System
| System Parts for Case Reviews | |
|---|---|
| Processor: | Intel Core i7-8600K |
| Motherboards: | ATX: MSI Z370 GAMING PRO CARBON AC MATX: Z370M GAMING PRO CARBON Mini-ITX: MSI Z370i GAMING PRO CARBON Provided by: MSI |
| Graphics Card: | Long: ASUS Radeon RX580 Short: HIS Radeon 5350 HD |
| Memory: | 16 GB XPG Dazzle DDR4 2800 MHz CL17-17-17 1.25 V 32 GB GB XPG SPECTRIX D40 3000 MHz. CL16-18-18 1.35 V 16 GB XPG GAMMIX D10 DDR4 2400 MHz CL16-16-16 1.20 V Provided by: ADATA |
| HDD: | Western Digital 320 GB 7200 RPM |
| SSD: | ADATA XPG SX850 256 GB ADATA Ultimate SU800 3D 256 GB ADATA Ultimate SU700 240 GB Provided by: ADATA |
| Power Supply: | Antec High Current Gamer 650 W Antec High Current Gamer 750 W Provided by: Antec |
| Cooling: | be quiet! Dark Rock 4 be quiet! Pure Slim be quiet! Shadow Rock 2 be quiet! Shadow Rock LP Provided by: be quiet! |
Assembly
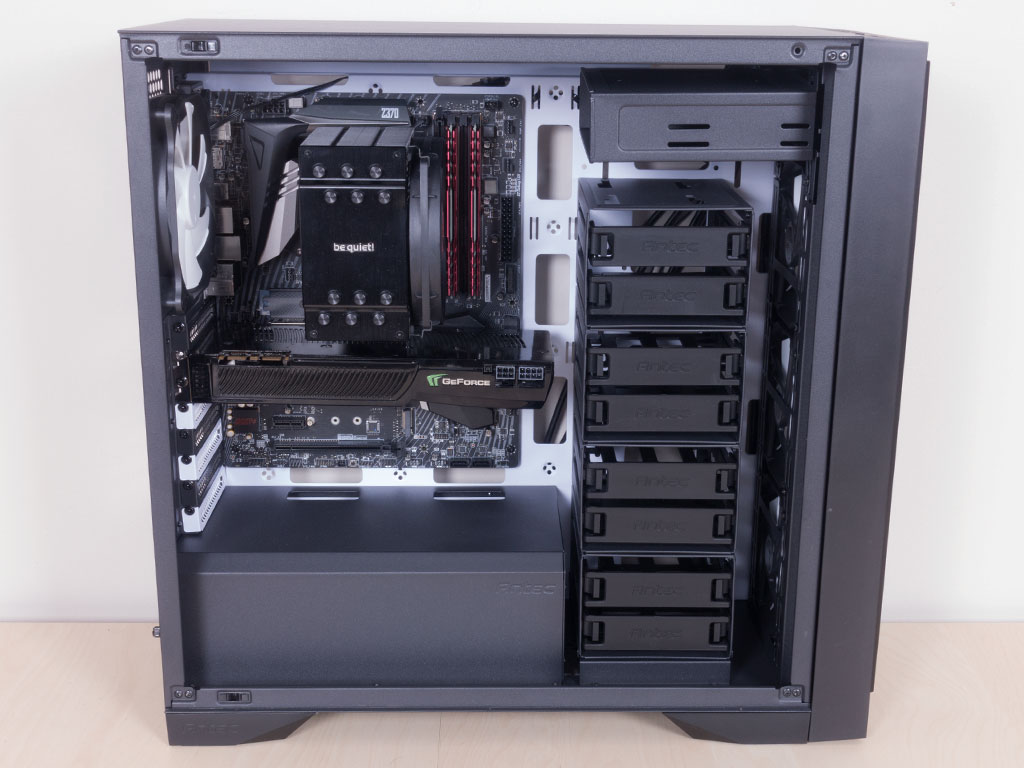
Installing a full ATX board inside the Antec P101 Silent is done via traditional means, with the use of spacers and screws. There is plenty of space on all three sides of the board for easy cable routing. GPUs of around 270 mm will fit without having to take out any hard-drive cages, which basically means that this won't be a scenario you will have to worry about with the bulk of GPUs out there.

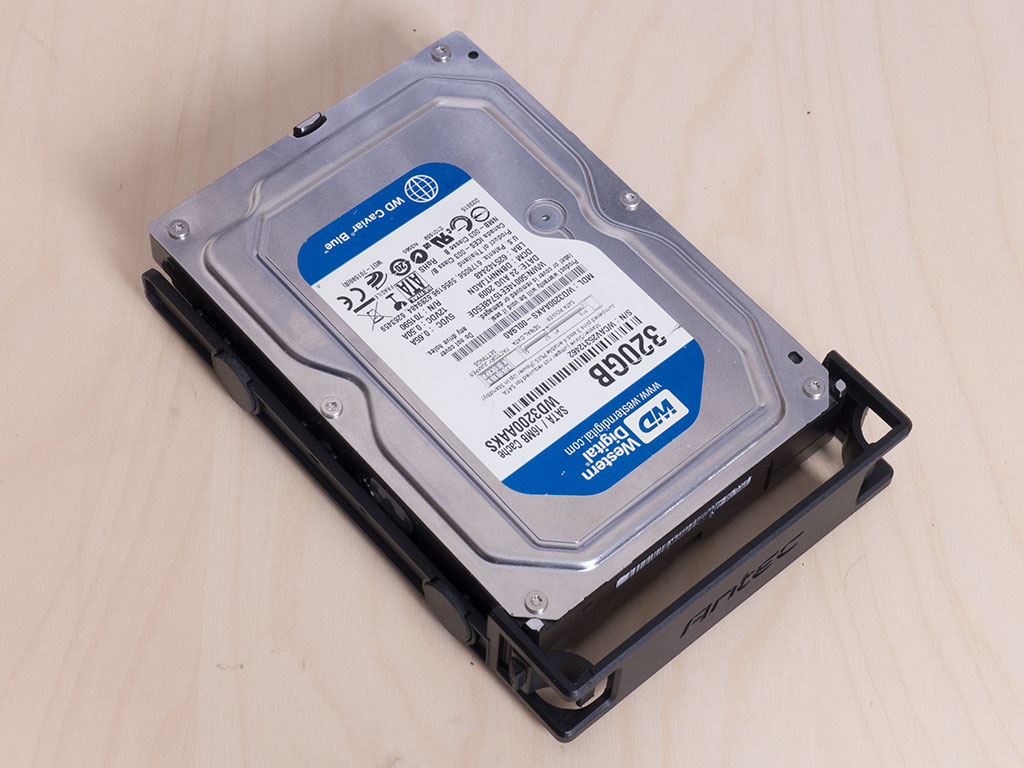


Adding a 3.5" drive is easily achieved by simply pulling out the plastic tray, inserting the drive, and sliding it back into a cage of your choice—no tools or screws are needed.


Installing a 2.5" drive, on the other hand, does take a traditional screw driver and screws to secure the drive to the metal tray, which may then be placed back on to the back of the motherboard tray with the thumb screw.


To gain access to the 5.25" bay, simply pop the plastic cover out and slide the drive in. Even though I use a pretty old and thus long optical drive, it does not extend beyond the metal frame of the bay, which also means that it won't interfere with your motherboard.


Antec has made things simple when it comes to adding a PSU as well. Simply screw it on to the frame and slide it into the chassis. There is plenty of space, so you may use larger, higher capacity units without issue.
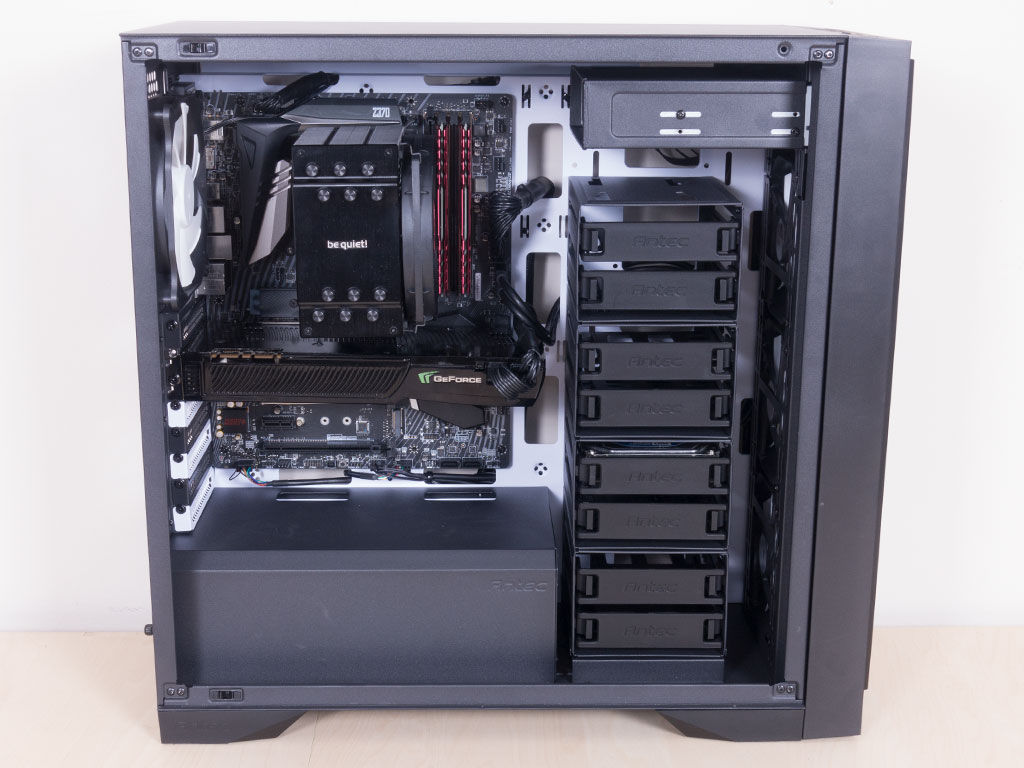

With everything in place, the interior of the P101 Silent looks quite clean. However, grommets on the motherboard openings would have really helped make it look even better, especially as the cables are visible against the white motherboard tray. As you can see, I tried hiding all the leads as far away from the openings as I could to minimize the visual impact.
Finished Looks


With everything assembled and the system turned on, there isn't really much to see as the P101 Silent doesn't sport a side window. The four USB ports light up in a fairly bright white to let you know the system is up and running.


The three fans in the front can be seen spinning if you swing open the door, and the ODD bay fits perfectly without any issues as well. In the rear, you will see that fourth fan as well, with all the connectors and the PSU bay in their expected locations.
Jun 1st, 2024 09:07 EDT
change timezone
Latest GPU Drivers
New Forum Posts
- 3D/Game Design Workstation (6)
- what are these partitions and can they be removed? (6)
- Which VBIOS for my RTX 3070? (1)
- How do you get games for PC? (2)
- What's your latest tech purchase? (20708)
- Ghetto Mods (4340)
- DTS DCH Driver for Realtek HDA [DTS:X APO4 + DTS Interactive] (1920)
- Gigabyte am5 motherboard ddr5 not posting when rebooting (49)
- Enabling HDR Win 11 LG GN600-B (5)
- The Official Linux/Unix Desktop Screenshots Megathread (721)
Popular Reviews
- ID-Cooling FX360 PRO Review - Shots Fired @ Arctic
- SilverStone KL07E Review
- NuPhy Air96 V2 Low Profile Wireless Mechanical Keyboard Review
- Senua’s Saga: Hellblade II: DLSS vs. FSR vs. XeSS Comparison Review
- Upcoming Hardware Launches 2024 (Updated May 2024)
- Montech Titan Gold 1000 W Review
- Waizowl OGM Cloud Review
- Elysian Acoustic Labs Pilgrim In-Ear Monitors Review
- Ghost of Tsushima Performance Benchmark Review - 35 GPUs Tested
- Senua's Saga: Hellblade II Performance Benchmark Review
Controversial News Posts
- AMD to Redesign Ray Tracing Hardware on RDNA 4 (227)
- NVIDIA to Only Launch the Flagship GeForce RTX 5090 in 2024, Rest of the Series in 2025 (154)
- AMD Hits Highest-Ever x86 CPU Market Share in Q1 2024 Across Desktop and Server (140)
- AMD RDNA 5 a "Clean Sheet" Graphics Architecture, RDNA 4 Merely Corrects a Bug Over RDNA 3 (139)
- NVIDIA RTX 5090 "Blackwell" Founders Edition to Implement the "RTX 4090 Ti" Cinderblock Design (115)
- Core Configurations of Intel Core Ultra 200 "Arrow Lake-S" Desktop Processors Surface (101)
- Biden Administration to Revive Trump-Era Tariffs on China-made GPUs and Motherboards (95)
- NVIDIA Testing GeForce RTX 50 Series "Blackwell" GPU Designs Ranging from 250 W to 600 W (84)